I almost didn’t put this recipe up because it’s barely homemade. It’s almost a baking cheat recipe and I’m sure more serious bakers will scoff at this.
But it’s so freaking good that I don’t care.  Continue reading
I almost didn’t put this recipe up because it’s barely homemade. It’s almost a baking cheat recipe and I’m sure more serious bakers will scoff at this.
But it’s so freaking good that I don’t care. Continue reading
You know what the world needs more of? Dessert. Is that the popular, healthy blogger thing to say? Nope. But I’m gonna say it anyway.
So often we get told to skip dessert or go for a healthier option like fruit if we want a sweet treat. Sometimes fruit is great but sometimes? You just want a big ol’ piece of cake or scoop of ice cream or full of butter/regular flour/white sugar cookie.
I’m here to tell you, that’s ok!  Continue reading
I’m not a huge snacker, but every now and then the snacking bug will bite and I can’t seem to stop grazing. Luckily I try to only keep healthy snacks around the house so I’m not binging on cookies and chips, but store bought healthy snacks can be full of unnecessary ingredients.
While some people might crave sweet snacks or salty snacks, I usually crave a combo. I love the mix of sweet and salty. Kettle corn is a weakness and Garrett’s Chicago Mix (it will never be anything else to me)? Forget about it.
I have seen coconut chips in the stores and online for awhile now and they always sound really good. A nice mix of sweet and salty, healthy fats from the coconut, and the satisfying crunch of the baked chips. A snacker’s dream. Not so dream like? The cost. A tiny bag of coconut chips at the store can cost almost $15. Ain’t nobody got time for that.
Good for you and me that it’s really easy to make your own at home! A few things, don’t worry if you don’t like the flavor of coconut these do not have a very coconutty taste. You will also want to make sure that you get the coconut flakes and not shreds otherwise you’ll end up with a pile of shriveled and burnt coconut shreds.
These come together fast and don’t require many ingredients, so if you feel a snack attack coming on you’re only a few minutes away from these sweet and savory coconut chips!
Coconut Chips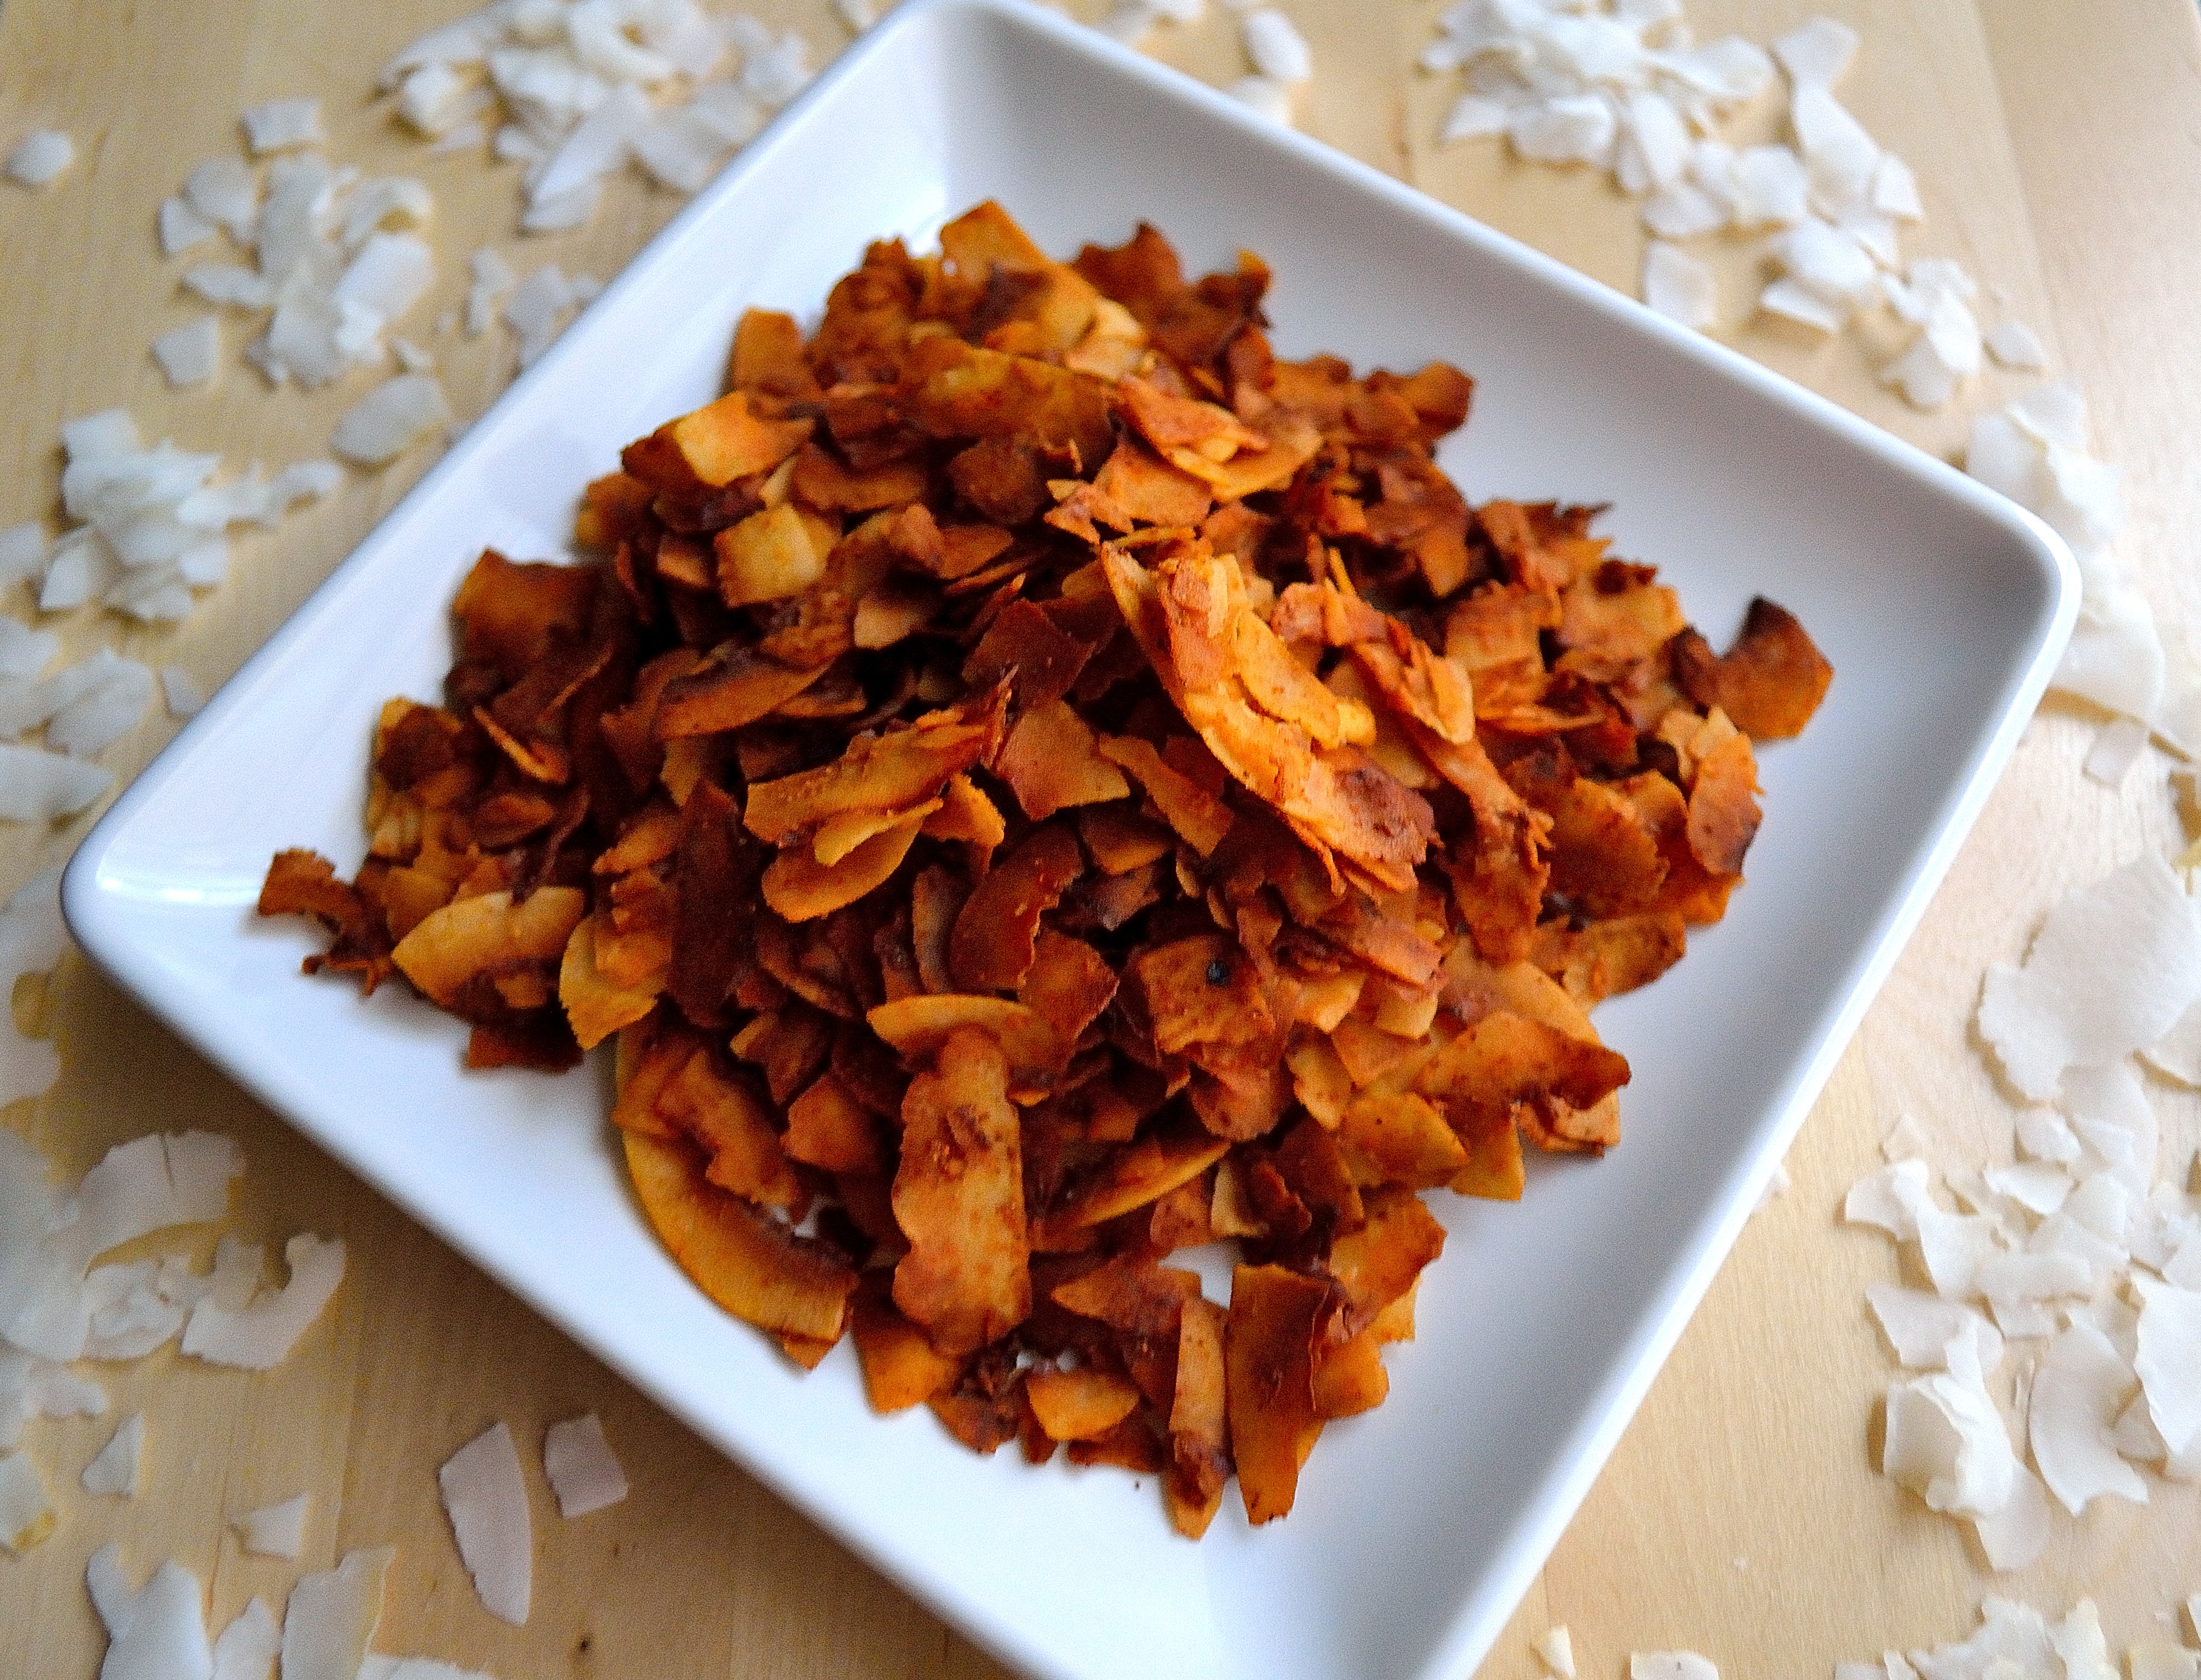
Make sure to keep an eye on the coconut chips in the last few minutes because these can go from golden and delicious to charred very quickly. Store them in an airtight container for up to a week…. if they last that long! 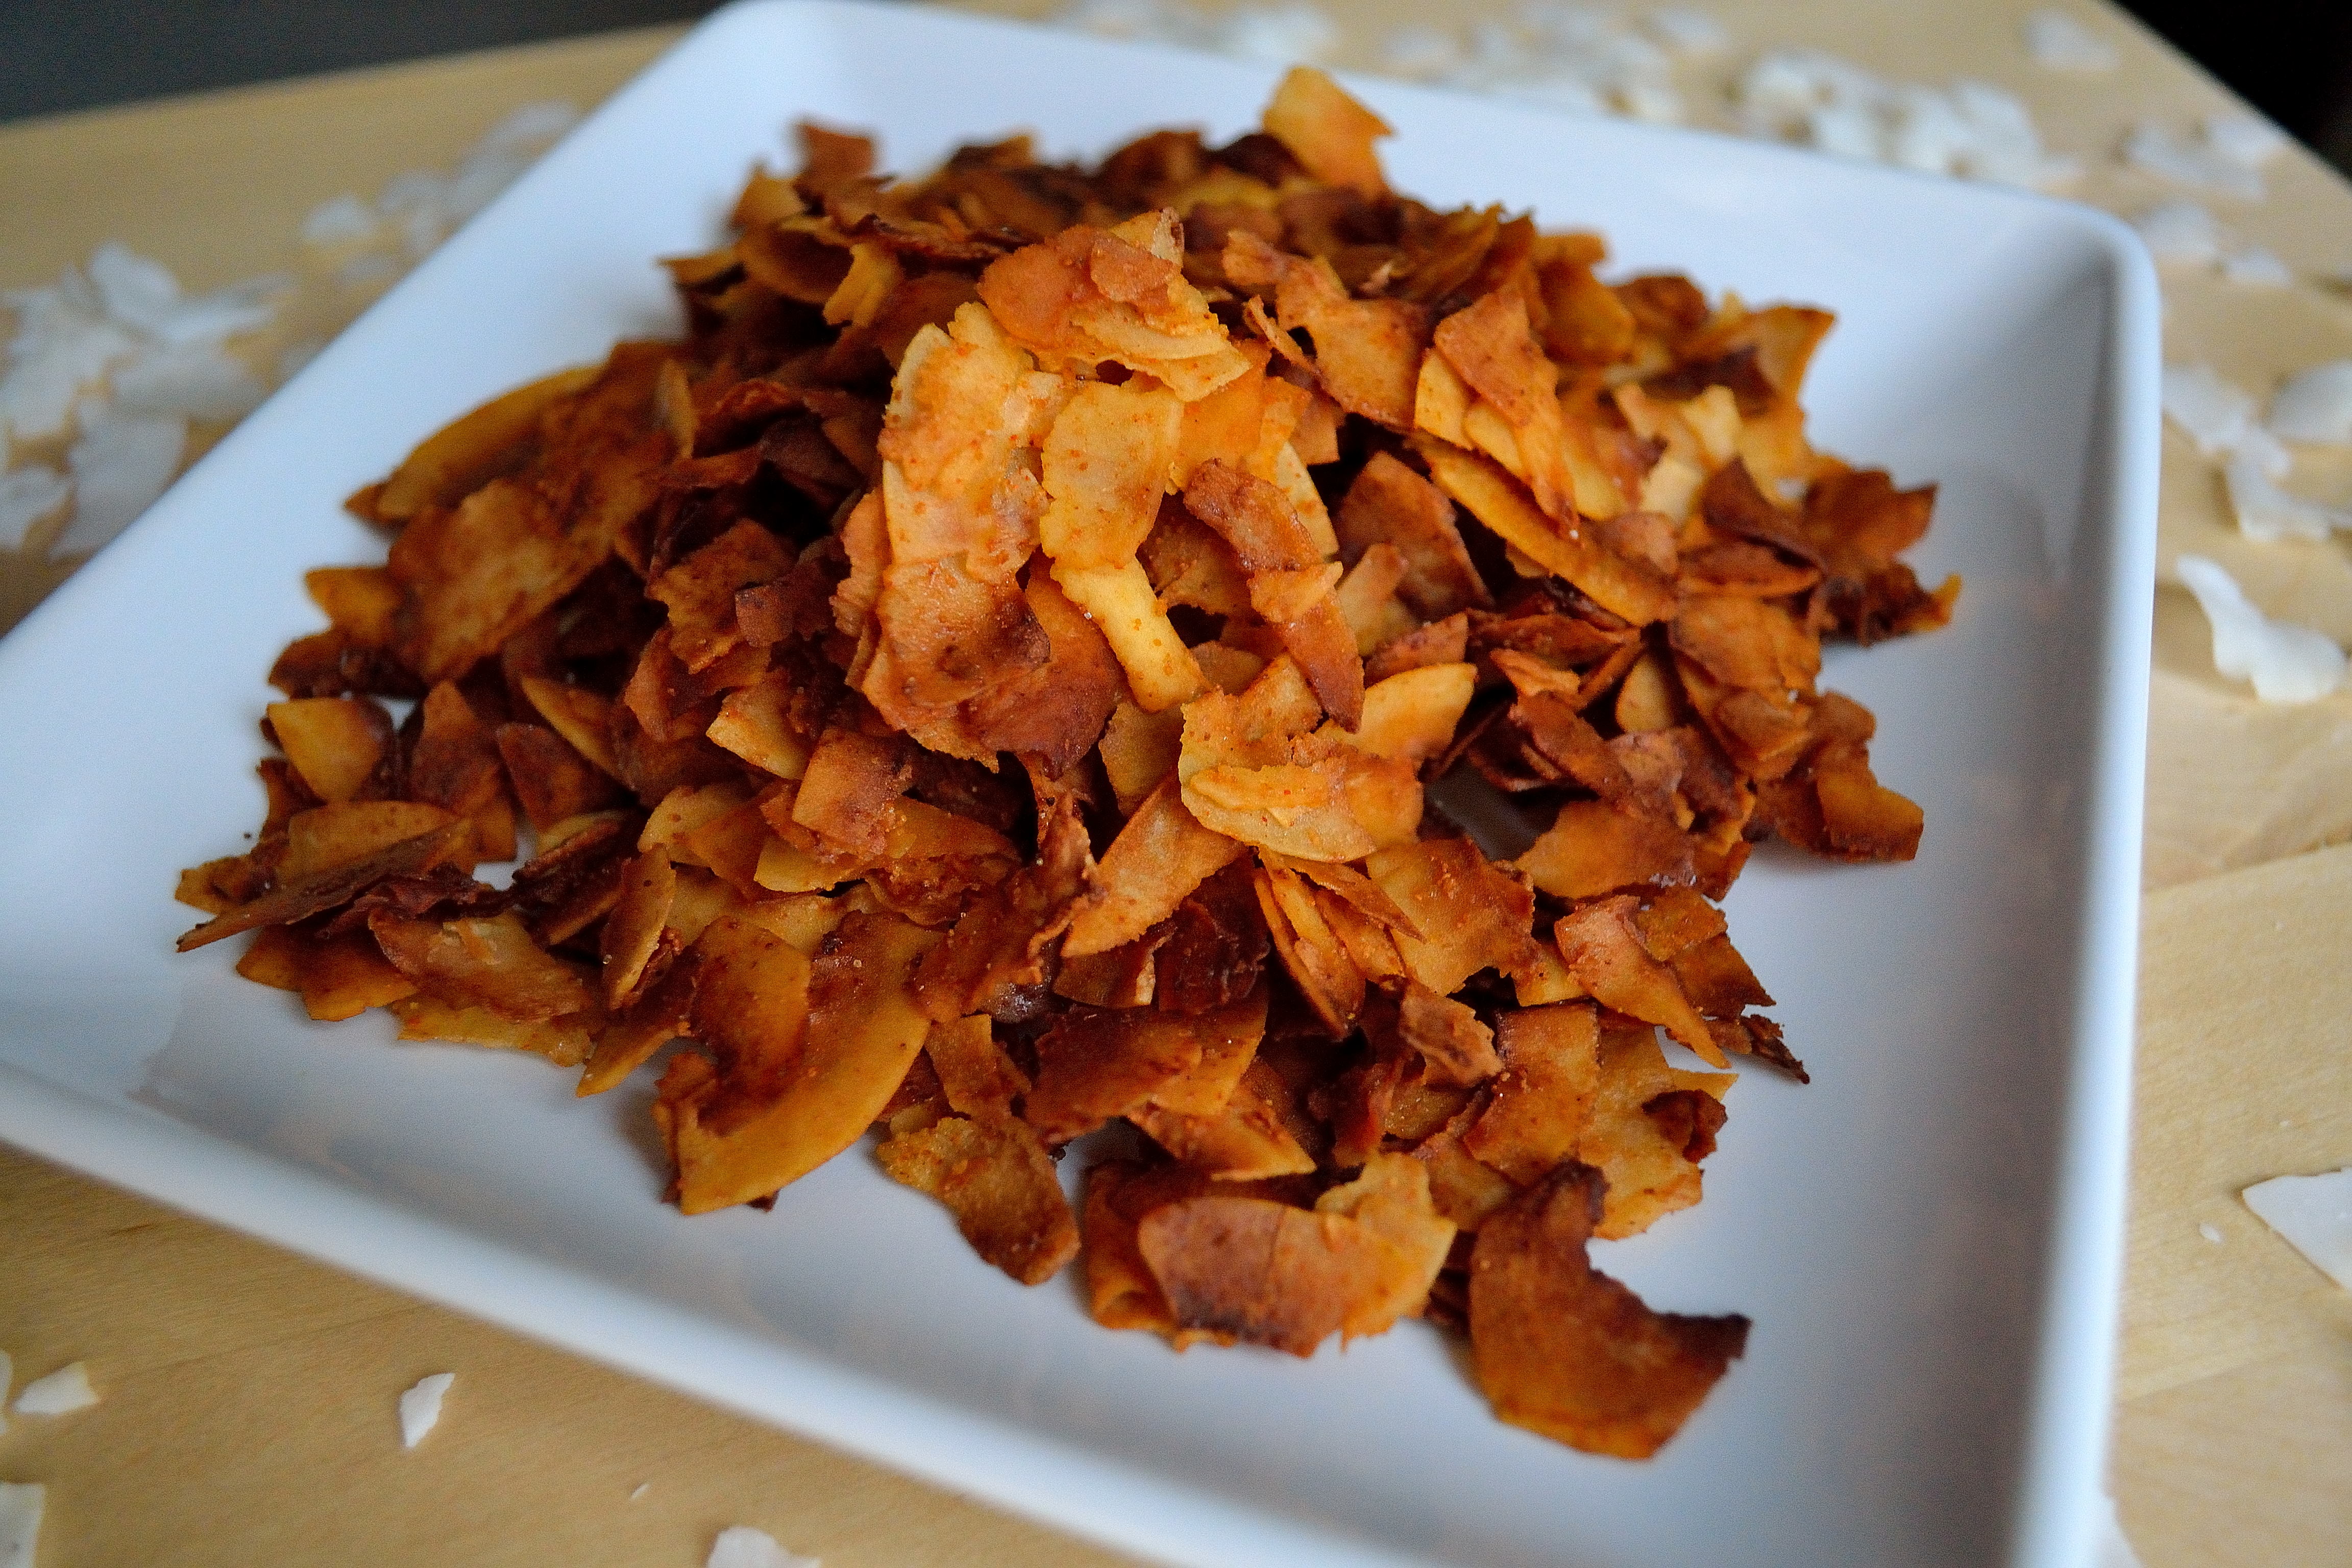
Hello everyone! I hope that you have had a great week and that you are starting to emerge from the caves of winter into the warmth (sort of) of spring! I know that I haven’t done a regular post that doesn’t include a recipe in a while, but I have a few coming your way soon and once this move is over they will be coming more often! Today I have a quick and healthy snack recipe for you. I have been having a love affair with chickpeas lately, I can’t seem to get enough of them! I eat them any way I can, in hummus, in salads, sauteed with greens, and roasted. Roasted chickpeas are a great crunchy snack that you can season any way you like. If you want a sweeter snack you can use cinnamon or nutmeg and if you are craving salty you can try garlic and pepper. The options are endless!
Roasted Chickpeas

1. Cook your soaked and rinsed chickpeas in a large pot. Bring to a boil, then lower the heat to a simmer and cook for about 20-30 minutes. You want a firm texture, not too mushy.
2. Preheat oven to 425. Place your silpat or parchment paper on to a large baking sheet. You want the baking sheet to be big enough that the chickpeas will have enough room to spread out, otherwise you’ll get chewy not crunchy chickpeas
3. Pat the chickpeas dry and place into a large mixing bowl. Add in the olive oil (enough to cover the chickpeas, but don’t drown them in it) and whichever seasonings you’re going to use. Mix well so everything is coated.
4. Spread the chickpeas out in a single layer on the baking sheet, making sure they have a enough room between each and place in the oven. Cook for about 15 minutes, then rotate the pan and cook for about 5 more minutes. Keep an eye on them for the last 5 minutes so they don’t burn.
That’s it! Remove them from the oven and let them cool a bit before you dig in. I promise I have never burnt my fingers or tongue trying to eat these right out of the oven… Enjoy your tasty and healthy snack! Have a great weekend and see you all on Monday!
