Happy 4th of July! I hope you are enjoying the day off and participating in all the fun festivities! I am spending the day with family, but I still wanted to leave you with a recipe today! I know it’s not very “4th of July-y” but it is delicious whenever you make it. This is kind of a grown up mac n cheese because the chipotle adds a little bit of a kick. Also, if you have an Aldi near you and are gluten free, you need to go and stock up on their gluten free pasta. They have two types of corn flour pasta, penne and fusilli, and brown rice spaghetti. They all cost less than $2 for over a pound of pasta and the only ingredients are corn flour and water or brown rice. Considering most gluten free pasta costs well over $4 and sometimes has more ingredients than I can count, this is a fantastic deal. Aldi is really doing a great job of adding better quality products to their store, including a line of organic food called simply organic. I have been able to find honey, almond milk, and even almond butter at one, all for reasonable prices. Ok, public service announcement over, on to the recipe!
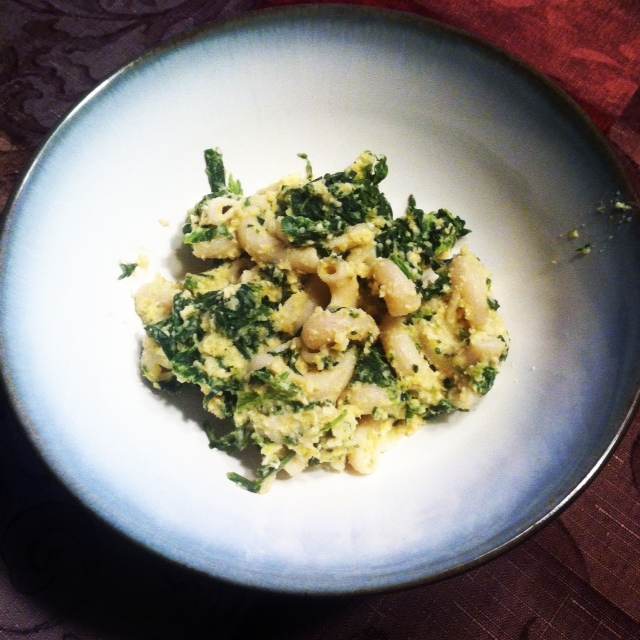
Chipotle Chili Mac N “Cheese”

- 1 package of whole wheat or gluten free pasta (I used penne but obviously macaroni would work too)
- 1 small onion, diced
- 4 cloves garlic, minced
- 1 cup raw cashews, soaked in water overnight
- 3 chipotle chili’s soaked in warm water for at least 30 minutes (save the water!)
- 1 cup vegetable broth or water
- 1/2 cup reserved chili water
- 1 tbsp tapioca starch (corn starch could work too, but I haven’t tried it)
- 1 tsp ground cumin
- 3/4 tsp chili powder
- 4 tbsp nutritional yeast
- 1 tsp salt
- smoked paprika, as a garnish (optional but really tasty!)
1. Cook the pasta according to the package instructions and then drain and set aside
2. While the pasta is cooking, remove the chili’s from their soaking water (but remember to keep it!) and chop into bite size pieces. Saute the onion over medium high heat until soft, about 5 to 7 minutes. Add in the garlic and saute for another 1 to 2 minutes.
3. Place the onion and garlic into a blender along with the rest of the ingredients, except the smoked paprika. Blend everything until you have a smooth and creamy sauce. The sauce will be thin and liquid-y at this point, don’t worry that’s ok!
4. Pour the cheese sauce into the pot that you cooked the pasta in and heat over medium heat until the sauce starts to thicken up. Add the pasta back into the pot and stir to combine with the sauce. Sprinkle the smoked paprika over the pasta after it has been served if desired.
This is a fairly quick meal to throw together as long as you remember to soak your cashews before hand. If you forget though, have no fear. You can do a quick soak by boiling some water and then pouring that over the cashews and letting them soak for at least 30 minutes. You can also double this and serve to a hungry crowd, so if you’re looking for a healthy and tasty dish to bring to your 4th of July BBQ, this might fit the bill! Enjoy!