How to Pack a Healthy Lunch

1009w-getty-lunchbox-l


It seems like such an easy thing to do.  Who really needs a tutorial on how to pack a lunch?  I mean, most of us have been packing a lunch since grade school.  That’s where I see the problem.  Most of us still pack a lunch like we’re in grade school.  PB&J, package of chips, package of cookies, can of soda, and maybe an apple that won’t get eaten.  Or maybe you haven’t packed a lunch since grade school and choose to eat out and spend a lot of money on food that might not be all that healthy.  I thought it would be good to show you how easy, health, and budget friendly it is to pack your own lunch for work, school, or wherever you’re headed for the day.


Pick a main course.  There is such a variety of food out there that you can pack as the main bulk of your lunch.  You should step outside your realm of quickly thrown together sandwiches.  The easiest and cheapest thing to do is to use leftovers as the bulk of your meal.  I like to make more food than Adam and I can eat for dinner, and then use the leftovers for lunch the rest of the week.  You could also spend some time on the weekend and make a big batch of a few different meals and use that.  Salads are a really great and easy way to make a bunch of food that won’t spoil quickly throughout the week.  Try my Simple Vegetable Millet or Curried Quinoa Salad.  Get creative too.  Use the grilled chicken you made over the weekend in a whole wheat pita pocket, add some lettuce, tomato, and mustard and you have a yummy pita pocket.  Or buy a bunch of collard greens and scoop quinoa salad into the middle and make a lettuce wrap.  The possibilities are endless and you never have to have a boring main meal for lunch.

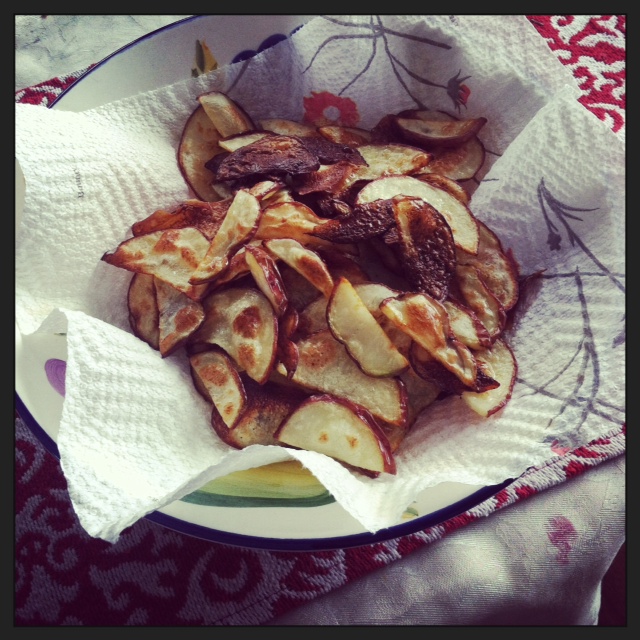
Slice up some sides.  Rather than grabbing a bag of chips or crackers, slice up your own sides.  Fresh fruit and vegetables are a lot healthier than most of the fair you will find in the snack aisle of your grocery store.  Yes, it’s really easy to buy a big case of chips and then just grab a bag each day.  It’s really simple to just walk to the vending machine in your office and get some pretzels or crackers too.  But it isn’t helping your health or wallet either.  Buy a big bag of carrots, celery, cherry tomatoes, radishes, or any other vegetable that strikes your fancy.  Then cut it all up and portion it out at home, then voila!  You now have an easy to grab and healthy side for your lunch.  Bring along hummus or homemade BBQ sauce to dip your vegetables in and you won’t have to be crunching on boring celery (although I don’t think any vegetable is boring… is that just me?).  Fruit is also a great thing to have in your lunch and apple, pear, or orange slices are delicious and portable.  The other good thing about eating fruit and vegetables for your sides is that they will fill you up with healthy fiber and help keep you fuller longer.  That’s a win-win!

Hydrate up.  This isn’t just a tip for lunch, you should be drinking water all day long.  Invest in a really good water bottle that you can fill up and just keep sipping throughout your day.  If you’re not into plain water, jazz it up with some lemon or lime slices, berries, cucumber, mint, or even watermelon.  Just keep yourself hydrated.  Often when we think that we are hungry, we’re really thirsty.  Instead of reaching for food, try a glass of water first and see if your body just needed some water instead.

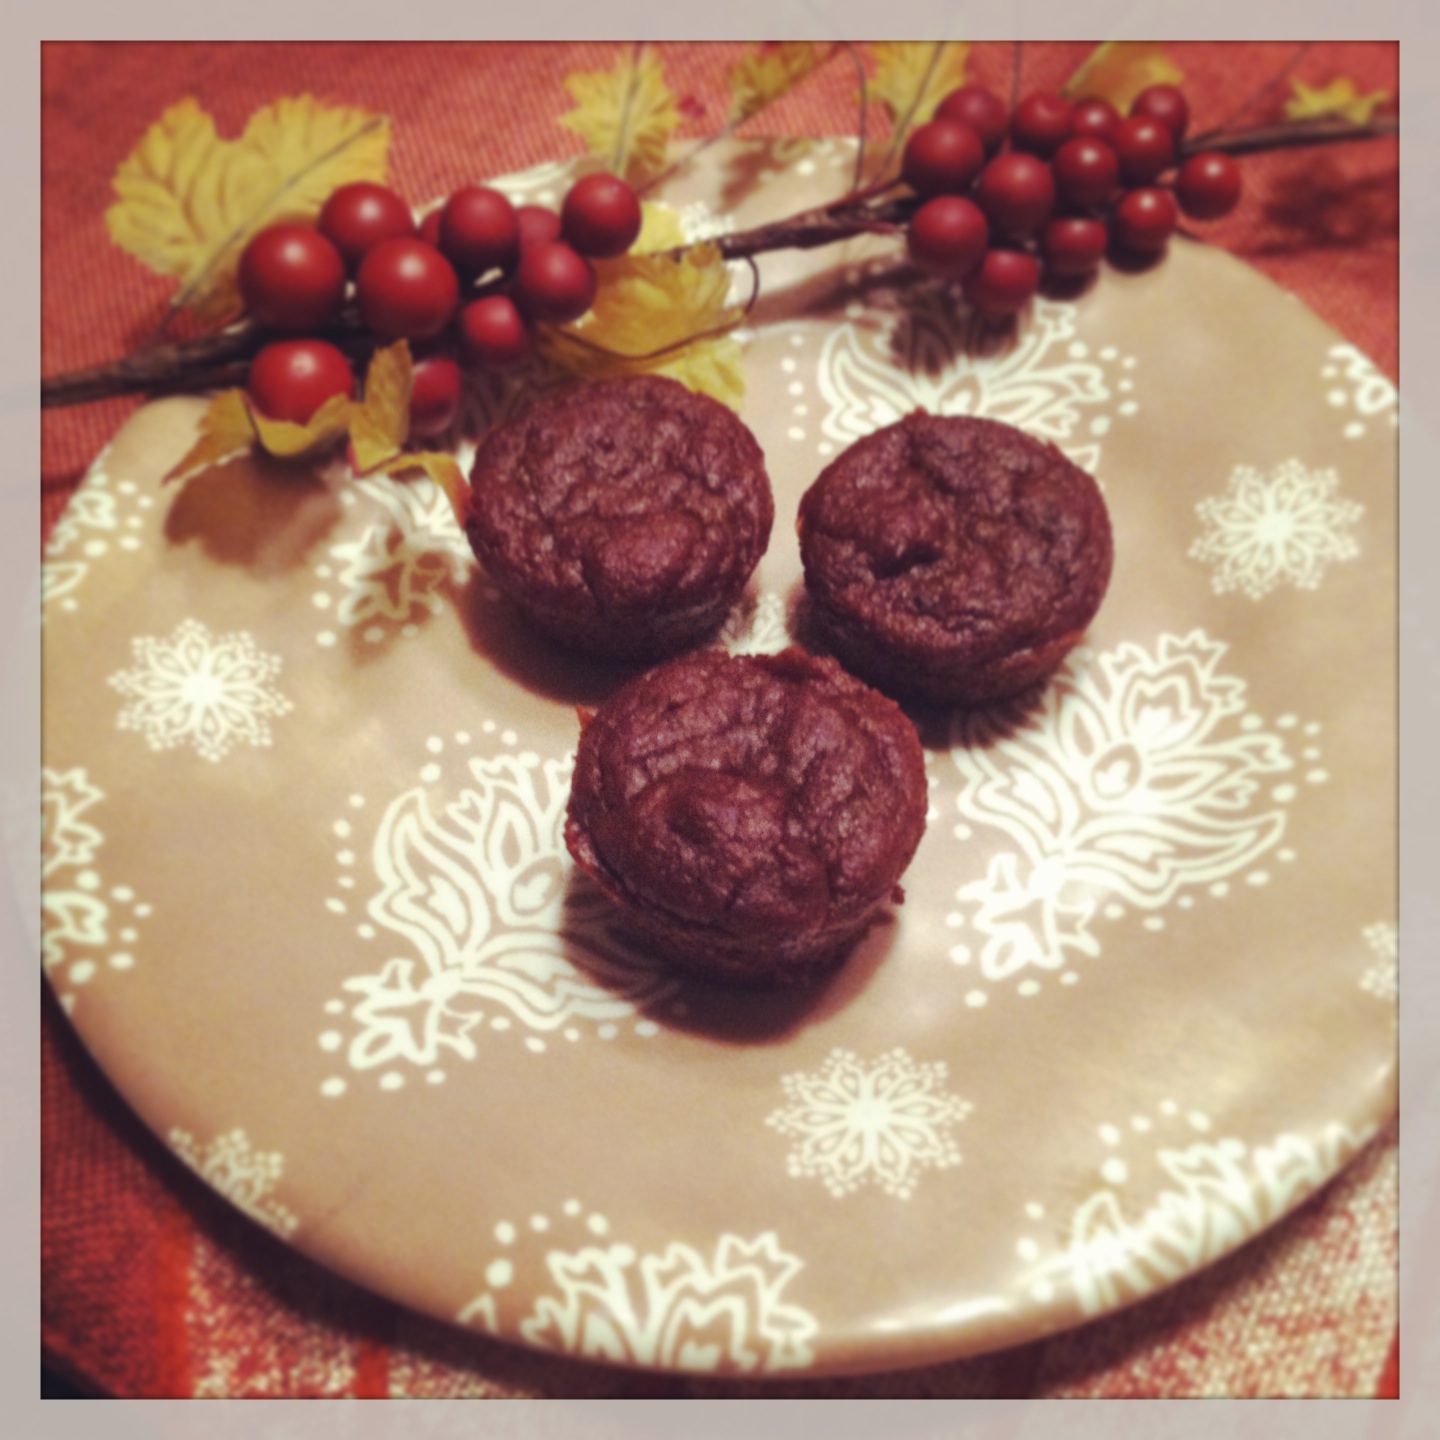
Plan for a snack.  3:00 pm rolls around and you find yourself wandering to the vending machine looking for a candy bar to tide you over until dinner.  Or maybe you start downing cups of coffee to help you push through the last few hours of work.  Instead of doing that, plan to bring a snack with your lunch.  Adam likes hard-boiled eggs as his afternoon snack, and those are really easy to make a bunch at the beginning of the week.  Plus they are portable.  Eggs aren’t your thing?  Try making a mix of dry-roasted almonds, pistachios, walnuts, and pumpkin seeds to keep you going.  Need a little sweet?  Add some raisins or other dried fruit to the mix.  Just make sure to read your labels and check to see that there isn’t any added sugar.  If you’re looking for salty and crunchy, try some roasted chickpeas.  Also, don’t go overboard with your afternoon snack, just enough to keep you going until it’s time for dinner!


See?  Packing a lunch doesn’t have to be hard or boring.  Take a little time to plan what you are going to have for the week and then just throw it all in your lunch box and head out the door.  Packing your own lunch is a great way to save money and support your healthy lifestyle.  And if every once in a while a cookie finds it’s way into your lunch, that’s ok too!


Roasted Chickpeas

Hello everyone!  I hope that you have had a great week and that you are starting to emerge from the caves of winter into the warmth (sort of) of spring!  I know that I haven’t done a regular post that doesn’t include a recipe in a while, but I have a few coming your way soon and once this move is over they will be coming more often!  Today I have a quick and healthy snack recipe for you.  I have been having a love affair with chickpeas lately, I can’t seem to get enough of them!  I eat them any way I can, in hummus, in salads, sauteed with greens, and roasted.  Roasted chickpeas are a great crunchy snack that you can season any way you like.  If you want a sweeter snack you can use cinnamon or nutmeg and if you are craving salty you can try garlic and pepper.  The options are endless!


Roasted Chickpeas

photo (66)

  • 1 cup dried chickpeas, soaked overnight and rinsed (you could use canned, but the texture isn’t quite the same)
  • 2-3 tbsp olive oil
  • seasonings of your choice (I like garlic, garam masala, cumin, or italian seasonings)
  • silpat or parchment paper (aluminum foil doesn’t work well with these)
  • large baking sheet


1. Cook your soaked and rinsed chickpeas in a large pot.  Bring to a boil, then lower the heat to a simmer and cook for about 20-30  minutes.  You want a firm texture, not too mushy.

2. Preheat oven to 425.  Place your silpat or parchment paper on to a large baking sheet.  You want the baking sheet to be big enough that the chickpeas will have enough room to spread out, otherwise you’ll get chewy not crunchy chickpeas

3.  Pat the chickpeas dry and place into a large mixing bowl.  Add in the olive oil (enough to cover the chickpeas, but don’t drown them in it) and whichever seasonings you’re going to use.  Mix well so everything is coated.

4.  Spread the chickpeas out in a single layer on the baking sheet, making sure they have a enough room between each and place in the oven.  Cook for about 15 minutes, then rotate the pan and cook for about 5 more minutes.  Keep an eye on them for the last 5 minutes so they don’t burn.


That’s it!  Remove them from the oven and let them cool a bit before you dig in.  I promise I have never burnt my fingers or tongue trying to eat these right out of the oven… Enjoy your tasty and healthy snack!  Have a great weekend and see you all on Monday!

Simple Potato Chips

There are a plethora of healthy chip recipes out on the internet.  I have tried probably about half of them and usually end up with a soggy pile of potatoes that no one could even generously call potato chips.  I set out to try and figure out what the secret trick was to make crispy and yummy chips.  I think that I got pretty close, not exactly like a bag of Lays, but pretty close.  I will say that you might want a few special tools to make sure you get as close to a store bought potato chip as possible.  These two tools are a Silpat and a mandoline.  The Silpat really helps so that your potato slices don’t stick to the pan while you are cooking them, but if you don’t have one parchment paper can work as well.  The mandoline helps to slice the potato very thin, which is uber important to a crispy chip.  If you don’t have a mandoline, you can use a regular knife.  Just make sure to cut the potatoes as thin as possible.  Alright enough talking, let’s make some chips!

Simple Potato Chips 

photo (59)

  • 3-4 medium potatoes (I used red potatoes because that’s what I had on hand.  Russet also works really well)
  • 1 big pot of boiling water
  • 1 big bowl of cold water
  • Olive oil
  • sea salt
  • pepper or garlic powder or any other seasoning you want, optional


1. Bring your pot of water to a boil.  Wash and dry your potatoes.  With either a mandoline or a knife, slice the potatoes into thin rounds.

2. Bring your bowl of cold water over to the boiling water and place your potatoes into the boiling water.  Cook for 2-5 minutes and then immediately put them into the cold water.  Drain the potatoes and pat dry as best as possible.

3. Preheat oven to 450 and line a large baking sheet with either a Silpat or parchment paper.  Lay your potato rounds in a single layer on the baking sheet, making sure they aren’t touching or overlapping.  You may have to make them in batches.

4.  Lightly brush or spray the potatoes with olive oil (you don’t need a ton), and then sprinkle with sea salt and any other seasonings you want.

5. Bake in the oven for 15 minutes. Remove and flip over the slices and bake for another 5 to 10 minutes.  Keep checking to make sure your chips don’t burn.  Remove from the oven and let them cool on a wire rack.  This also helps them to crisp up a little as the cool.

You can experiment with seasonings as well as cook time to make the perfectly crispy chip.  This is just what worked best for me and my oven.  Now go enjoy your tasty snack!

Once you pop…

No, this isn’t a post about Pringles.  Sorry!  But it is about popcorn, which happens to be one of my favorite snack foods.  I’m not a huge snacker anymore, but Friday and Saturday nights beg to have a big bowl of popcorn in your lap while you watch a movie.  I don’t have a recipe for you this Friday per say, but I do have a few ways that you can enjoy popcorn as a healthy (yes, healthy) and delicious snack.

First, let me be clear and say when I talk about popcorn I am NOT talking about movie theater popcorn covered in “butter” and salt nor am I talking about microwave popcorn that is also covered in “butter”.  I am talking about buying the actual kernels of corn and popping them yourself.  Before you stop reading and move on to other things because making popcorn yourself takes way too much time and energy, let me assure you it really doesn’t.  Making your own popcorn is a fairly simple and easy process.  The easiest way to make healthy and totally customizable popcorn is to pop it using an air popper and then add your own toppings.  This is how I make my popcorn and it is as easy as measuring out your popcorn, pouring it into the machine, and turning it on.  That’s it.  No extra oils or additives just delicious popcorn.  Most air poppers are fairly inexpensive and will last you a long time too.

Popcorn made in my air popper. Yum!

Popcorn made in my air popper. Yum!

Another way to make popcorn is on the stovetop.  In a large pot, heat a little oil (coconut oil is really good for this) and add in your kernels.  Shake the kernels occasionally and as the oil heats up your kernels will start to pop.  I’ve done this a few times and I recommend you make sure you keep an eye on the popcorn because once the kernels start to pop, it can get a little crazy.  If you’re not watching you might have a kitchen full of popcorn, which might not be a bad thing…..

For those of you who like to just put a bag of popcorn in the microwave and hit go, you can still do that too.  Place your popcorn into a paper bag and roll it closed.  Use the popcorn setting on your microwave and you’re good to go.  No added chemicals or preservatives, just popcorn!

Now that you know how easy it is to make popcorn on your own, how about some topping ideas? You can add pretty much anything your little heart desires and that is what makes popcorn such a great snack.  You can customize it to whatever craving you have at that time! For toppings try:

  • Salt and pepper. A classic flavor and really yummy
  • Garlic powder and Italian seasonings. A very savory treat
  • Nutritional yeast.  A healthy way to add a cheesy flavor and one of my favorite toppings
  • Cinnamon and nutmeg.  A nice and light sweet flavor
  • Pumpkin Pie spice.  Who doesn’t like all things pumpkin?
  • Dark chocolate or cocoa nibs.  Chocolate is a great popcorn topping.  Melt it first and drizzle it or add chips while your popcorn is hot and make melty clusters.
  • Cajun seasoning.  Like spicy? Then try some cajun or creole seasonings
  • Honey and peanuts. Ok, this might sound weird but this combo tastes an awful lot like cracker jacks.  Add in some warm honey and peanuts to your popcorn and stir to combine everything

There are seriously endless ideas when it comes to popcorn toppings.  Popcorn is a great snack that is light, fills you up, and satisfies the need to munch on something while relaxing at home.  So give homemade popcorn a try and see why I absolutely LOVE a nice big bowl of popcorn on the weekends!

Healthy Brownie Bites

Sometimes, you just need some chocolate.  Sometimes, that chocolate needs to come in the form of a brownie.  We all know that brownies are not the healthiest of treats, but they are delicious.  Have no worries though because the brownie bites will satisfy your chocolate/brownie craving without making all the not so good for you ingredients.  Plus they are the perfect snacking size!  With the holidays right around the corner, these are a quick and easy way to have tasty dessert on hand!

Healthy Brownie Bites

photo (44)

  • 1 cup tahini, ground sesame seeds (you could also use almond butter, but the tahini really enhances the chocolate flavor)
  • 3/4 cup canned pumpkin (not pumpkin pie filling)
  • 1 egg or 1 flax egg (1 tbsp flax meal and 3 tbsp water mixed together)
  • 1/3 cup honey or maple syrup
  • 1 tsp baking soda
  • 1/2 tsp salt, optional
  • 1 tsp cinnamon
  • 2 tbsp cocoa powder

1.  Preheat oven to 350.  Mix all the wet ingredients together and then whisk in the dry.  Make sure your batter is smooth with no lumps.

2.  In a mini muffin tin drop in about 1 tbsp of the batter.  Bake for about 15 minutes or until the middle of the bites are set.  Remove from oven and let cool before you pop them out of the tins.

See?  Super quick and easy way to get a brownie in your belly!  You could also make extra because these freeze really well.  Just pull them out of the freezer a few minutes before you want to eat them.  Eat, enjoy, and if you try them out let me know what you think!