DIY Wednesday: Squash Apple Butter

IDIY Wednesday: Squash Apple Butter | Life Healthfully Lived 
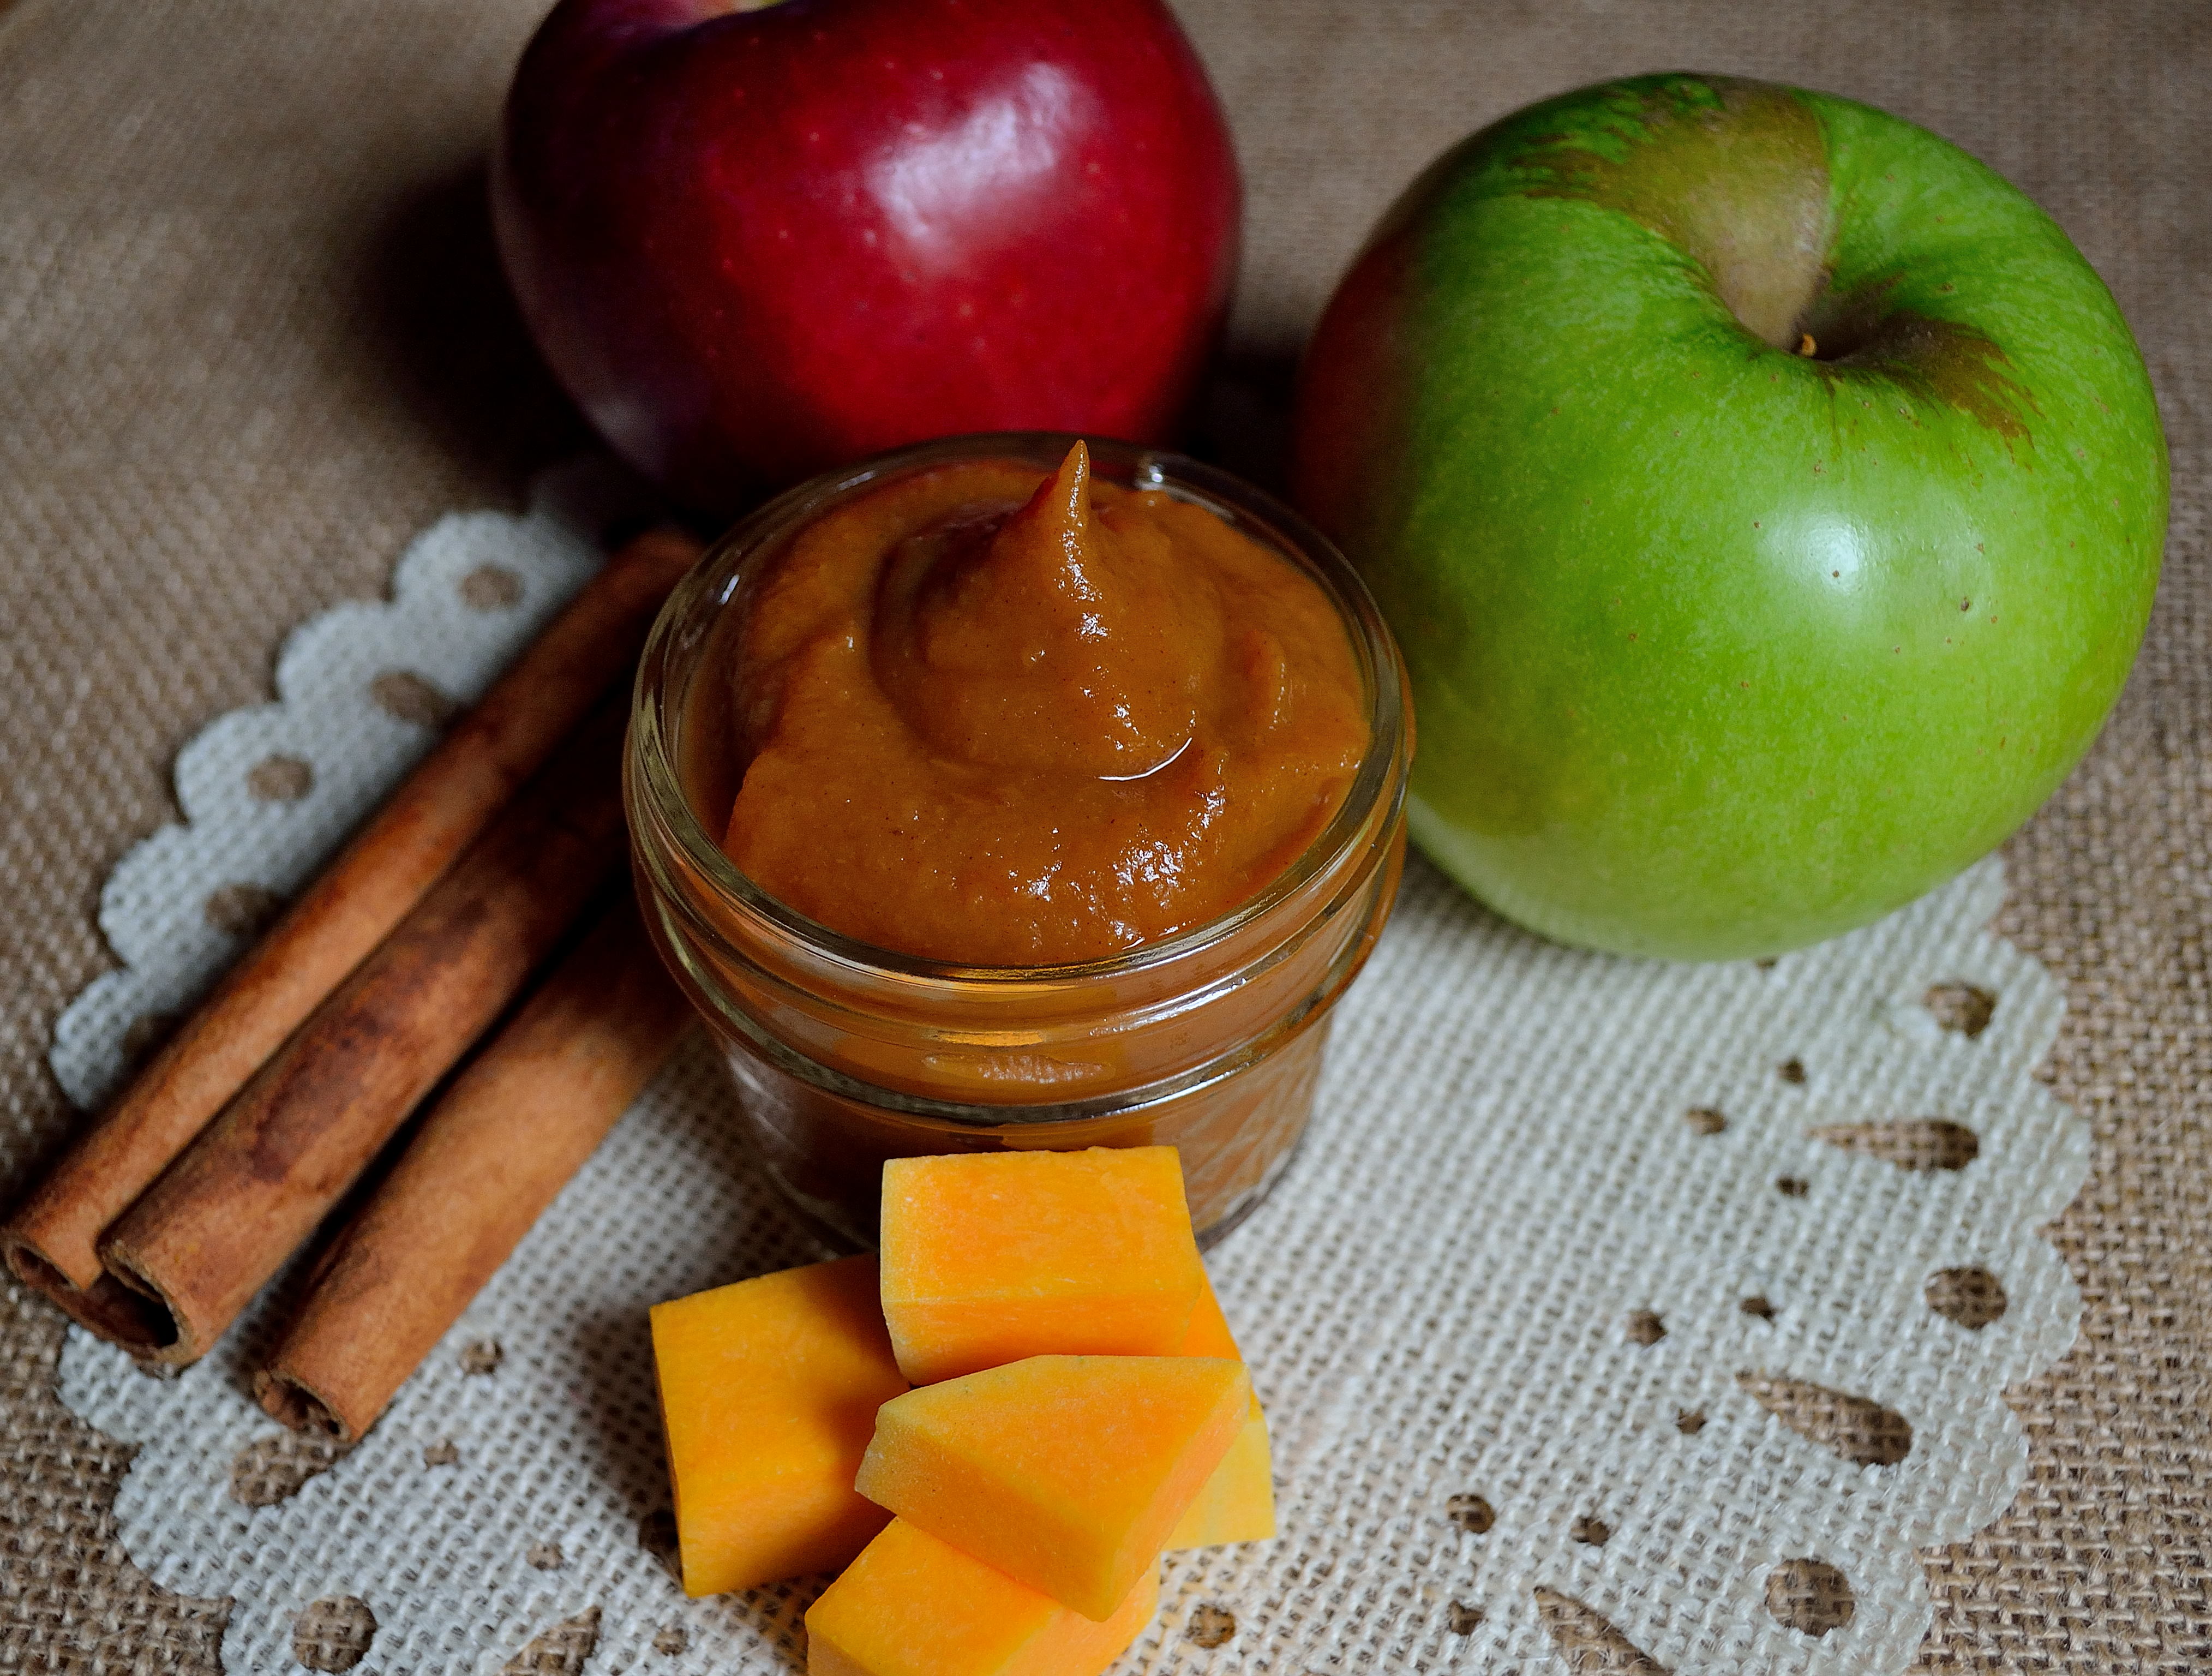
certainly did not invent apple butter, although that would be pretty awesome if I did.  I’m also certainly not the first to put a recipe for apple butter on their blog.  But I’m putting a little spin on the typical apple butter today for your DIY post of the week.

I actually had never really tried apple butter until I met Adam.  His grandma sent us home from a visit once with some apple butter and it was delicious.  It was smoother and creamier than applesauce and that was what I loved about it.  It’s funny that Adam was technically the one to introduce me to apple butter since the man doesn’t like cooked apples!  I know, he’s weird.DIY Wednesday: Squash Apple Butter | Life Healthfully Lived

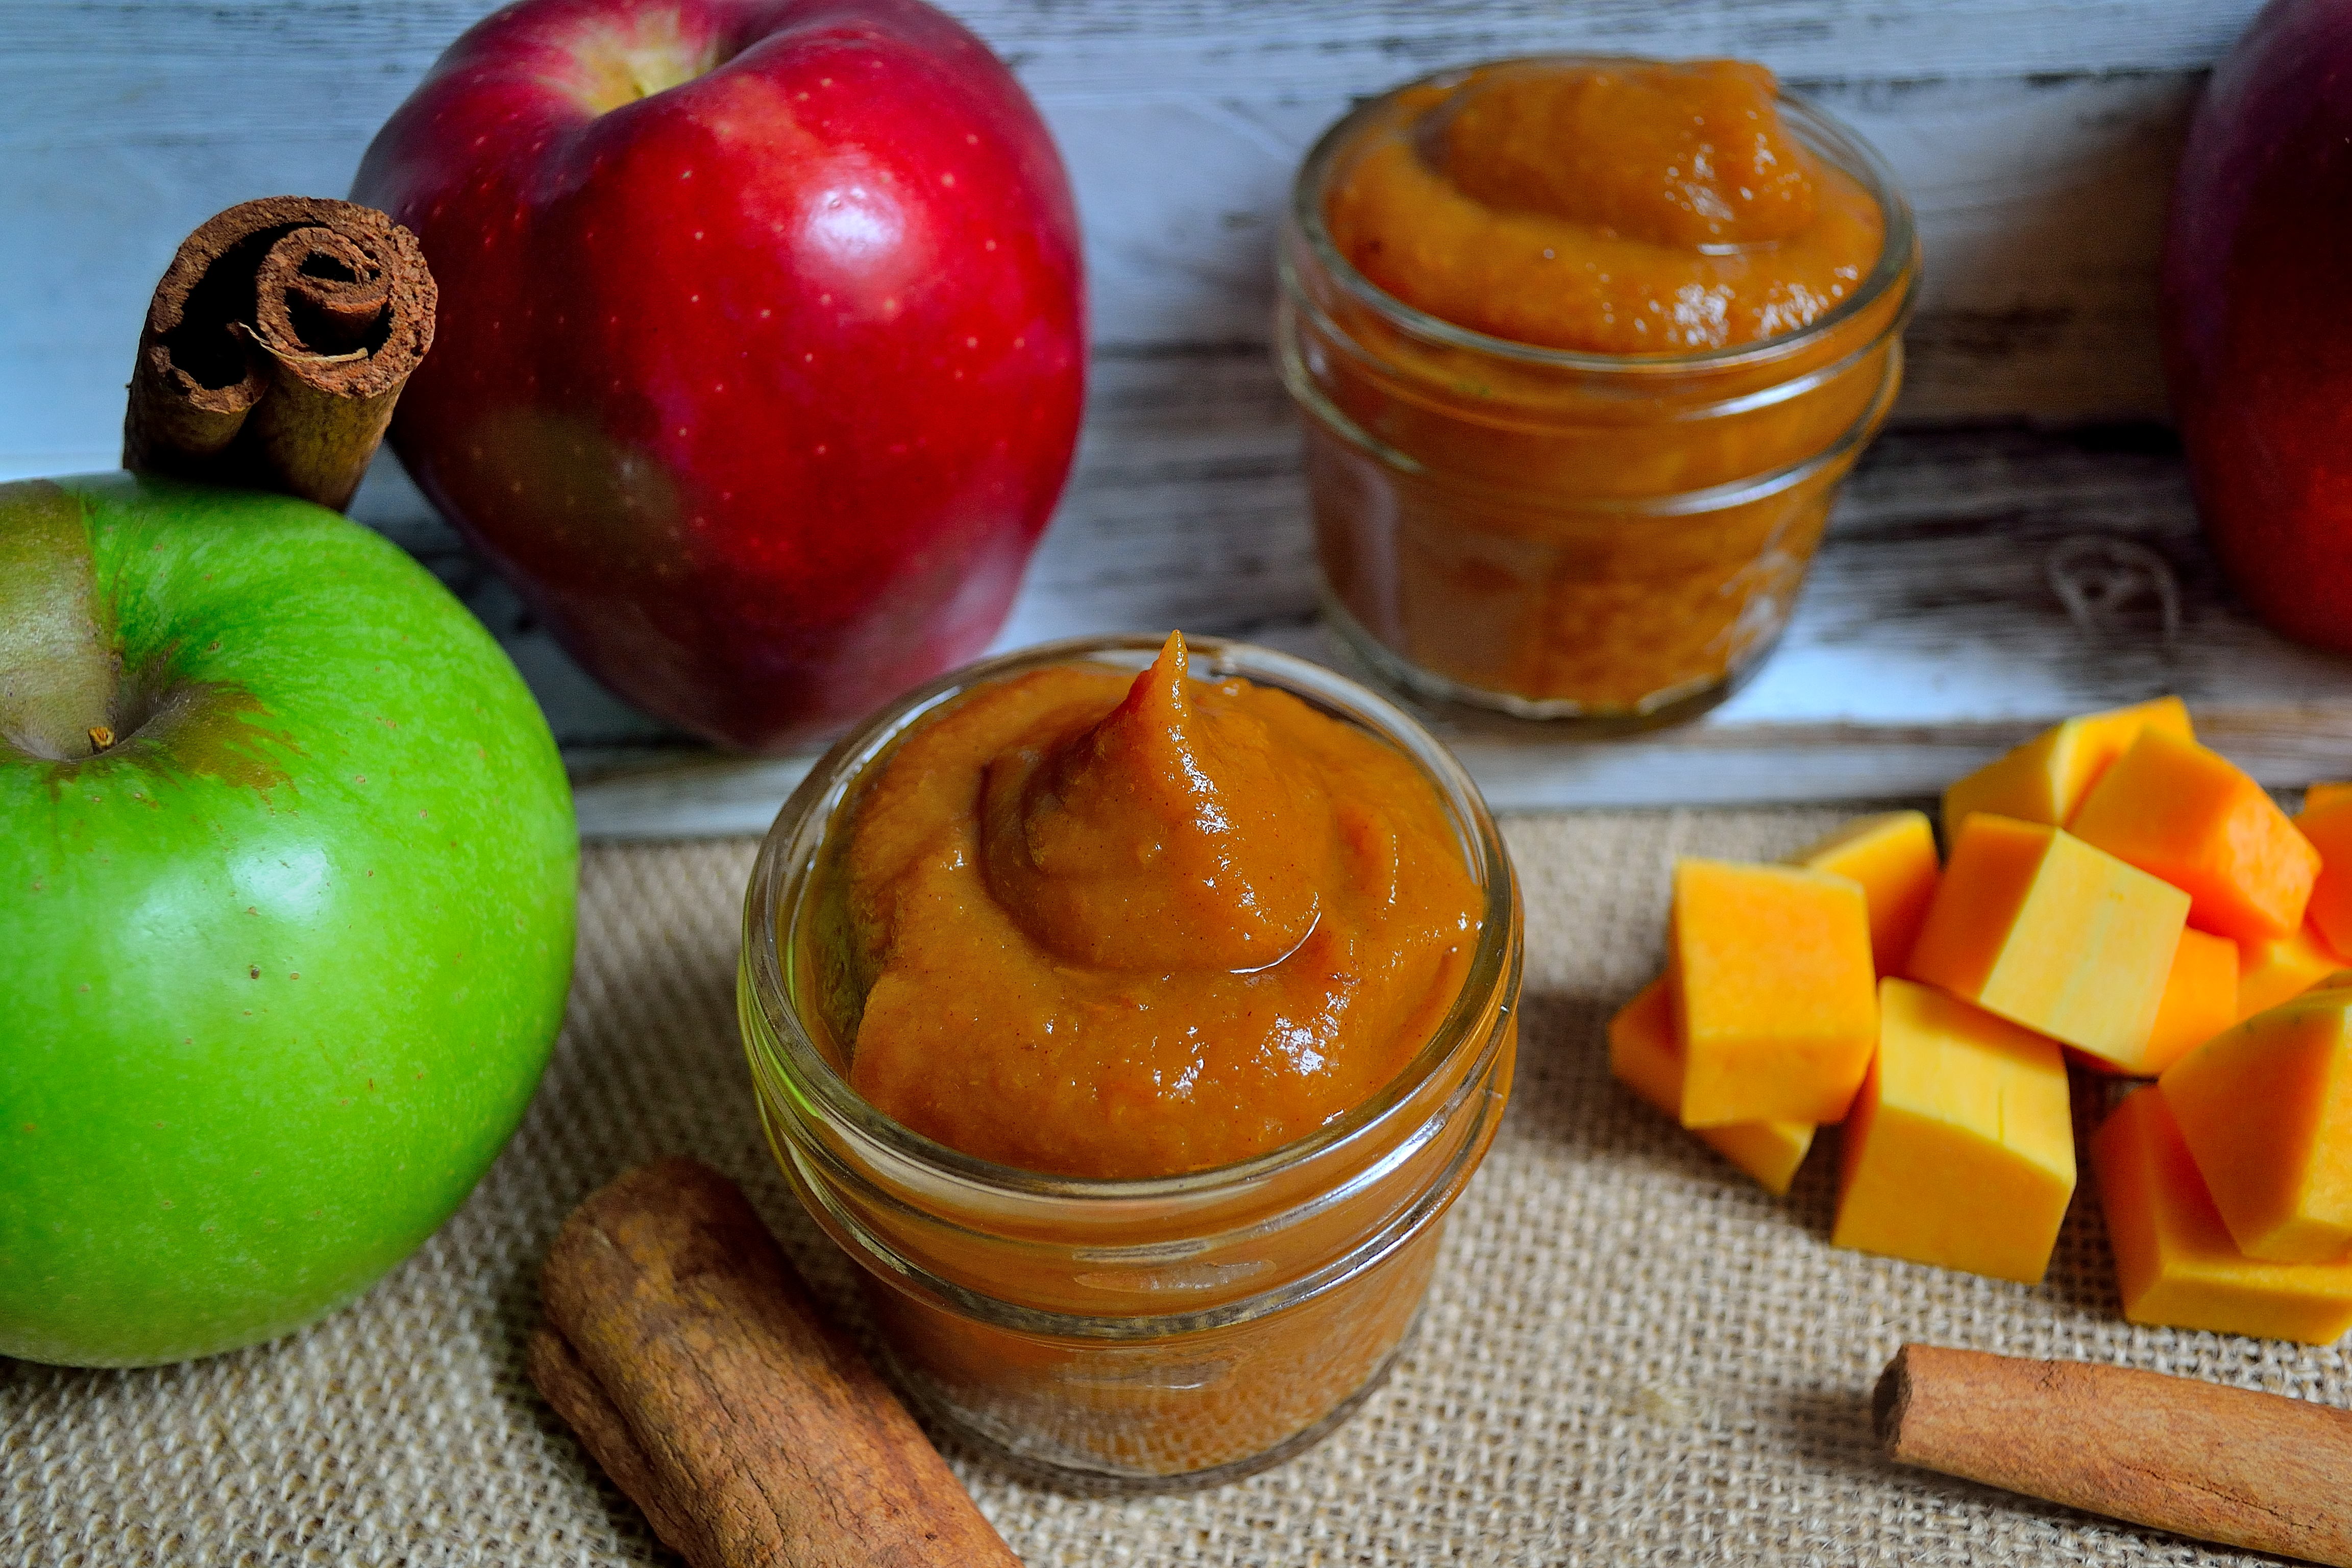
Anyway, most apple butter is made with a TON of sugar.   Besides adding sweetness, it helps preserve the apple butter.  That’s fine for some, but since I don’t do refined or much added sugar, I wanted to try an apple butter that didn’t use sugar.  To me, cooked apples are already fairly sweet.  Plus if you add in spices like cinnamon it ups the sweet factor.  I also wanted to do something to make my apple butter even smoother.  Pureed squash is really smooth and creamy plus it tends to lean toward the sweet side.  And squash is just awesome in general so I thought why not add it into my apple butter.

Luckily it worked out and I ended up with a fall hybrid butter that is perfect on toast, in oatmeal, on pancakes, or on a peanut butter sandwich.  It is so easy to make your own apple butter and it will cost a lot less than buying it from the apple orchard or specialty shops.  So if you have a plethora of apples hanging around and want to try something a little different than your typical apple butter, give this squash apple butter a try!

Squash Apple ButterDIY Wednesday: Squash Apple Butter | Life Healthfully Lived

  • 5 to 6 large apples of different varieties, I used a mix of sweet and tart like granny smith and gala.
  • 2 cups diced butternut squash, you could also try pumpkin or delicata
  • 2 tsp lemon juice
  • 2 to 3 cinnamon sticks, optional
  • 2 tsp freshly grated nutmeg, optional
  • 1 tsp ground cloves, optional
  • 1 tsp ground cinnamon, optional
  1. Place sliced apples, cubed squash, and cinnamon sticks if you are using them into a slow cooker.  You want to make sure you fill the cooker almost to the top leaving just a little space.
  2. Cook on high for 4 hours.  If your apples and squash start sticking, you can use a little water.  Don’t use too much because you don’t want a watery butter.
  3. After 4 hours, the apples and squash should be fairly soft.  Remove the cinnamon sticks and smash everything else with a potato masher or fork and transfer the whole thing to a blender.  You could also use an immersion blender.  Puree the apples and squash until super smooth.  This is important to make sure you have a smooth and creamy butter.
  4. Return the puree to the slow cooker and cook on high for another hour.  At the end stir in the lemon juice and any spices you want.
  5. Allow the whole mixture to cool before you transfer to jars or other airtight containers.  Store in the fridge.DIY Wednesday: Squash Apple Butter | Life Healthfully Lived

I have really liked swirling this into my oatmeal in the morning.  The whole thing just reminds me of fall and that makes me happy!

In other news, my little sister is getting married this weekend ( 😀 😀 😀 😀 ) and I am just a tad busy helping her with that!  While I have plenty of new recipes to share with you, my Friday post will be a round-up of my favorite fall recipes around the blog world.  I hope you have a great Wednesday and see you soon!

My Review of: Fall FoMo No More from House Vegan

I think that I may have found someone who loves fall just as much, maybe a little more, than I do.  If you have followed me for any length of time, you know that this is my favorite season.  From my love of pumpkins and all things squash to it being my birthday and wedding anniversary time of year, it just doesn’t get any better than fall.  

Hannah TesonMy Review of: Fall FoMo from House Vegan | Life Healthfully Lived pretty much feels that exact same way about fall.  So much so that she decided to write a book about it!  Fall FoMo No More is an ebook for those of you who love everything about fall and want to get the most out of this season.  Not only are there amazing and delicious autumn recipes, there is a whole section of the book that is dedicated to helping you plan out fall activities.  From Halloween to Thanksgiving, Hannah helps you organize your fall so that you can get the most enjoyment from this time of year.  She has a fall shopping list, a cooking and cleaning schedule, fun fall activities, and so much more that make planning your fall activities a breeze.

And then there are the recipes, my favorite part!  I was given the opportunity to help Hannah test out a few of her recipes and I can tell you with the highest confidence that they are absolutely delicious.   The even more surprising part for some of you, they’re all vegan!  She has apple cider donuts, chickpeas and dumplings, onion dip, and of course, all the pumpkin things.  If you aren’t drooling just looking at the list of recipes in her ebook, then you might need to get your taste buds checked!

My Review of: Fall FoMo from House Vegan | Life Healthfully Lived

Pumpkin Pie Almond Milk from Fall FoMo

Trust me when I say that you don’t want to miss out on this awesome ebook.  Hannah put so much time, dedication, and pure love of fall into this book and it absolutely shines through.  I’m so happy to be able to share her hard work with you guys and applaud her for the amazing job she has done!

If you want to grab your own copy, you can head over to her blog House Vegan and get the link for the download.  It will be the best $5.99 that you have ever spent, especially if you love fall!  You can also check out two of the recipes from the book and see just how tasty your fall could be if you buy this ebook!  I loved her pumpkin almond milk and the chili con cashew queso just screams sweaters, football, and fun.

My Review of: Fall FoMo from House Vegan | Life Healthfully Lived

Chili Con Cashew Queso from Fall FoMo

What fall things are you guys looking forward to?  I would have to say apple picking, making everything with pumpkin, and fall clothes are at the top of my list this year!  I hope that you have a great Monday and I’ll see you guys on Wednesday!

Arepas with Chipotle Sausage Crumbles & Cilantro Sauce

TheArepas with Chipotle Sausage Crumbles & Cilantro Sauce | Life Healthfully Lived day is here my friends.  I’m finally putting up the recipe for the delicious arepas that I have been making.  Don’t know what an arepa is?  Think of it as the Colombian version of a sandwich, kind of like a pita.  It’s a bun made out of pre-cooked corn meal and then sliced halfway through and stuffed with tasty fillings.  Arepas are eaten for any meal depending on what you fill them with.  The filling can be as simple as cheese to as elaborate as what I created because I love all the things.

I started obsessing over arepas after I saw them on some Food Network show, I can’t remember which one.  They looked delicious and I was intrigued by how simple it looked to make them.  Then Juli over at PaleOMG started posting pictures of the arepas she would get from a food truck in her city.   They looked amazing and I was so jealous that she could get these delicacies out of a truck.Arepas with Chipotle Sausage Crumbles & Cilantro Sauce | Life Healthfully Lived

Finally after mooning over arepas for months, I decided to see what it would take to actually make them.  There are plenty of recipes for them and they really are easy to make.  You just need the right flour.  It has to be pre-cooked corn flour or these won’t turn out.  If you have a large Latin section at your grocery store or better yet an actual Latin grocery store, you can probably find this flour pretty easy.  If you can’t you can get it from Amazon and it is fairly inexpensive.

For the filling, I decided to make sausage crumbles out of oatmeal.  Hang with me on this one.  I saw this idea on a blog awhile ago and while I was skeptical, I gave it a try.  It totally had the taste and texture of sausage crumbles.  It’s the spices you use that really make a difference.   I used the same method from the blog and just changed up the seasonings.  I also included a cilantro sauce that I made by just switching the basil with cilantro from my dressing recipe.Arepas with Chipotle Sausage Crumbles & Cilantro Sauce | Life Healthfully Lived

It might look like this will take forever to make, but it all comes together pretty easily.  So if you want to get in on the awesomeness that is arepas, try out my version!

For the Arepas: 

  • 2 cups pre-cooked corn meal sometimes called harina de maiz (I used this brand)
  • 2 1/2 cups water
  • 1 tbsp coconut oil
  • 1 tsp salt
  1. Measure out the water and pour into a large bowl with the coconut oil.  Set aside.  Mix together the cornmeal and salt.
  2. Slowly add the cornmeal and salt to the water, using your hand to combine the two and keep lumps from forming.  Once all the cornmeal is in the water, keep using your hands and mix everything together well.  It will seem like you have too much water and that the dough is too runny.  Don’t worry it will thicken up.
  3. Place a damp paper towel over the dough and let it rest for 10 minutes.  Preheat the oven to 350 and line a large baking sheet with parchment paper or Silpat.
  4. After the 10 minutes is up, remove the paper towel and portion out the dough into about 6 to 8 balls.  Roll each portion into a ball and then slightly flatten it out so it roughly resembles a hockey puck.  You don’t want them too small and thick because you will be cutting these and stuffing them.
  5. Heat a large skillet, no oil, over medium heat and cook each side of the arepas for about 2 minutes to seal the dough.  Place them back on the baking sheet after you’re done.  Once you have sealed all the arepas, place them in the oven and bake for 10 to 15 minutes.  They are done when you can tap them and it sounds hollow inside.
  6. Remove from the oven and let cool for about 10 minutes before you slice them.  When you’re ready to fill them, slice only halfway through so it forms a little pocket.  Stuff them and then your face!

For the Chipotle Sausage Crumbles: 

  • 1/2 cup steel cut oats
  • 1 cup water
  • 2 tbsp tomato paste
  • 1 to 2 tsp chipotle powder
  • 1/2 tsp onion powder
  • 1/2 tsp garlic powder
  • 1 tsp smoked paprika
  • 1/2 tsp salt
  • 1/2 tsp cumin
  • 1/2 tsp oregano
  • juice of half a lime
  1. Add oats, water, and tomato paste in a medium saucepan and bring to a boil.  Cover the pot, lower to a simmer and cook for 10 minutes.
  2. Uncover the oats and add in all the seasonings and lime juice.  Mix to combine and cook for another 5 minutes.  You want most of the water to cook out so you are left with a very thick mixture that resembles cooked ground meat.
  3. Alternatively, if you want to use ground beef, turkey, or chicken you can cook it as usual and just use the seasonings listed here to flavor it.

For the Cilantro Sauce:

  1. I just used my basil dressing and substituted cilantro in for the basil.

Yes, it looks like a lot for one meal but once you get the hang of it, it gets a lot easier.  You can fill the arepas with whatever you want.  Along with the chipotle sausage crumbles, I spread some guacamole on the arepas and made a corn and tomato salsa.  You can also try shredded pork, refried beans, rice, or sauteed vegetables.  Seriously, give this recipe a try and I promise you won’t regret it!Arepas with Chipotle Sausage Crumbles & Cilantro Sauce | Life Healthfully Lived

Have a great weekend everyone and see you on Monday!

Ever had arepas?  Tell me where and what you filled it with in the comments!

DIY Wednesday: Basil Salad Dressing

FriendsDIY Wednesday: Basil Salad Dressing | Life Healthfully Lived, I’m ready to admit something.

I’m kind of having a love affair with basil.   I know, I know.  It’s just a summer fling, but I can’t get enough of the stuff.  It smells so good, looks so pretty, and tastes phenomenal.  Even better, it makes any food I put in my mouth taste phenomenal.

I got into the fresh basil game a little late this summer because for most of the summer we were gone every weekend and I couldn’t get to the farmer’s market and I was not going to pay over $3 for the tiny little packages at the store.  But this past month we have made it to the market and one stand there sells fresh herbs of all kind and I can get a whole bunch of basil for $2.  Naturally I load up on it and come home and make all the basil things.

Besides the obvious pesto (which I have like 3 jars of right now) I have been making basil and lemon oil, and this dressing.  I have swooned about this dressing a few times over on Instagram so  I thought that I would share it with you guys.DIY Wednesday: Basil Salad Dressing | Life Healthfully Lived

I’ve talked about making your own salad dressing before and I think it’s the best money and health saving switch you can make.  Making your own salad dressing is SO simple and you get to control the ingredients.  Store bought dressing is full of preservatives and you’re paying a lot of money to ingest those things.

So why not make your own?  This literally comes together in the touch of a blender button and BAM, you have a delicious, basil-filled dressing ready to go on salad, over vegetables, or straight into your mouth with a straw.  Which I’ve never done…

Basil Salad DressingDIY Wednesday: Basil Salad Dressing | Life Healthfully Lived

  • 1 cup loosely packed, whole basil leaves
  • 2 tsp roasted garlic or 2 cloves fresh garlic
  • 2 tbsp tahini
  • 1/3 cup full-fat coconut milk (you could also use almond milk)
  • juice of half a lime
  • 1/4 tsp salt
  • 1/4 tsp black pepper
  1. Ready for this?  Put everything into a blender and blend until smooth.  Taste and adjust seasoning.  Store it in an airtight container in the fridge for up to a week…. if it lasts that long.

I love one step recipes almost as much as I love basil.  See how easy it is to make dressing?  You can even switch up the herbs you do and use parsley, dill, or cilantro.  Whatever your little heart desires! DIY Wednesday: Basil Salad Dressing | Life Healthfully Lived

Simple Fish Salad

RememberSimple Fish Salad | Life Healthfully Lived that wall of fish in my freezer?  Well, it has made me become very creative with cooking fish and I thought that I would share some of my creations with you wonderful people.

I don’t eat fish but my husband, Adam does.  I know that fish is a very popular, healthy protein and that many people eat fish.  The problem with fish is preparing it.  Some people have this perception that it is really difficult to cook and while it can be easy to overcook fish, it isn’t as hard as you might think.  Some people think the best way to make fish is to dunk it in batter and fry it up, right mom :)?  While this method is tasty, it isn’t the healthiest way to make fish.Simple Fish Salad | Life Healthfully Lived

Here is a simple and healthy way to make fish that is a nice change from pan or deep frying.

Simple Fish SaladSimple Fish Salad | Life Healthfully Lived

  • 1 lb of white fish, I used rockfish but halibut, tilapia or cod would work well
  • 2 tsp lemon juice
  • 1 tsp fresh or dried dill
  • 1 tsp oregano
  • 1/2 tsp garlic powder
  • 1/2 tsp onion powder
  • 1/2 tsp salt
  • 1/2 tsp black pepper
  • 2-3 tbsp homemade mayo (or use your favorite brand)
  • 1/2 a medium zucchini, shreddedSimple Fish Salad | Life Healthfully Lived
  1. Fill a medium saucepan with a little water and then place a steamer basket over the top.  Cover and bring to a boil.
  2. While water is coming to a boil, remove any skin from your fish and cut into 1 in. cubes.  Place the fish in a medium bowl.
  3. Sprinkle fish with lemon juice and all the seasonings.  Mix well to make sure all the fish is coated.  Place the fish into the steamer basket and cover.  Steam until the fish is cooked through about 5 to 8 minutes.
  4. Remove the fish and place it in a clean bowl.  Shred the fish with two forks and allow it to cool a little.  Once the fish is cool, mix in the mayo.  Use enough that the fish is covered by not drowning in the mayo.  Stir in the zucchini shreds.
  5. You can serve this right away or keep in the fridge and serve cold.

That’s it!  This is a meal that comes together fast and can be made ahead of time.  You can also serve it numerous ways.  You can spread it over toasted bread, in lettuce wraps, or you can scoop it up with celery or carrot sticks.  So many delicious options!  If you’re looking for a new way to eat your fish, give this fish salad a try!Simple Fish Salad | Life Healthfully Lived

Have an excellent weekend everyone!