DIY Wednesday: Cream Of Celery Soup

ThisDIY Wednesday: Cream Of Celery Soup | Life Healthfully Lived 
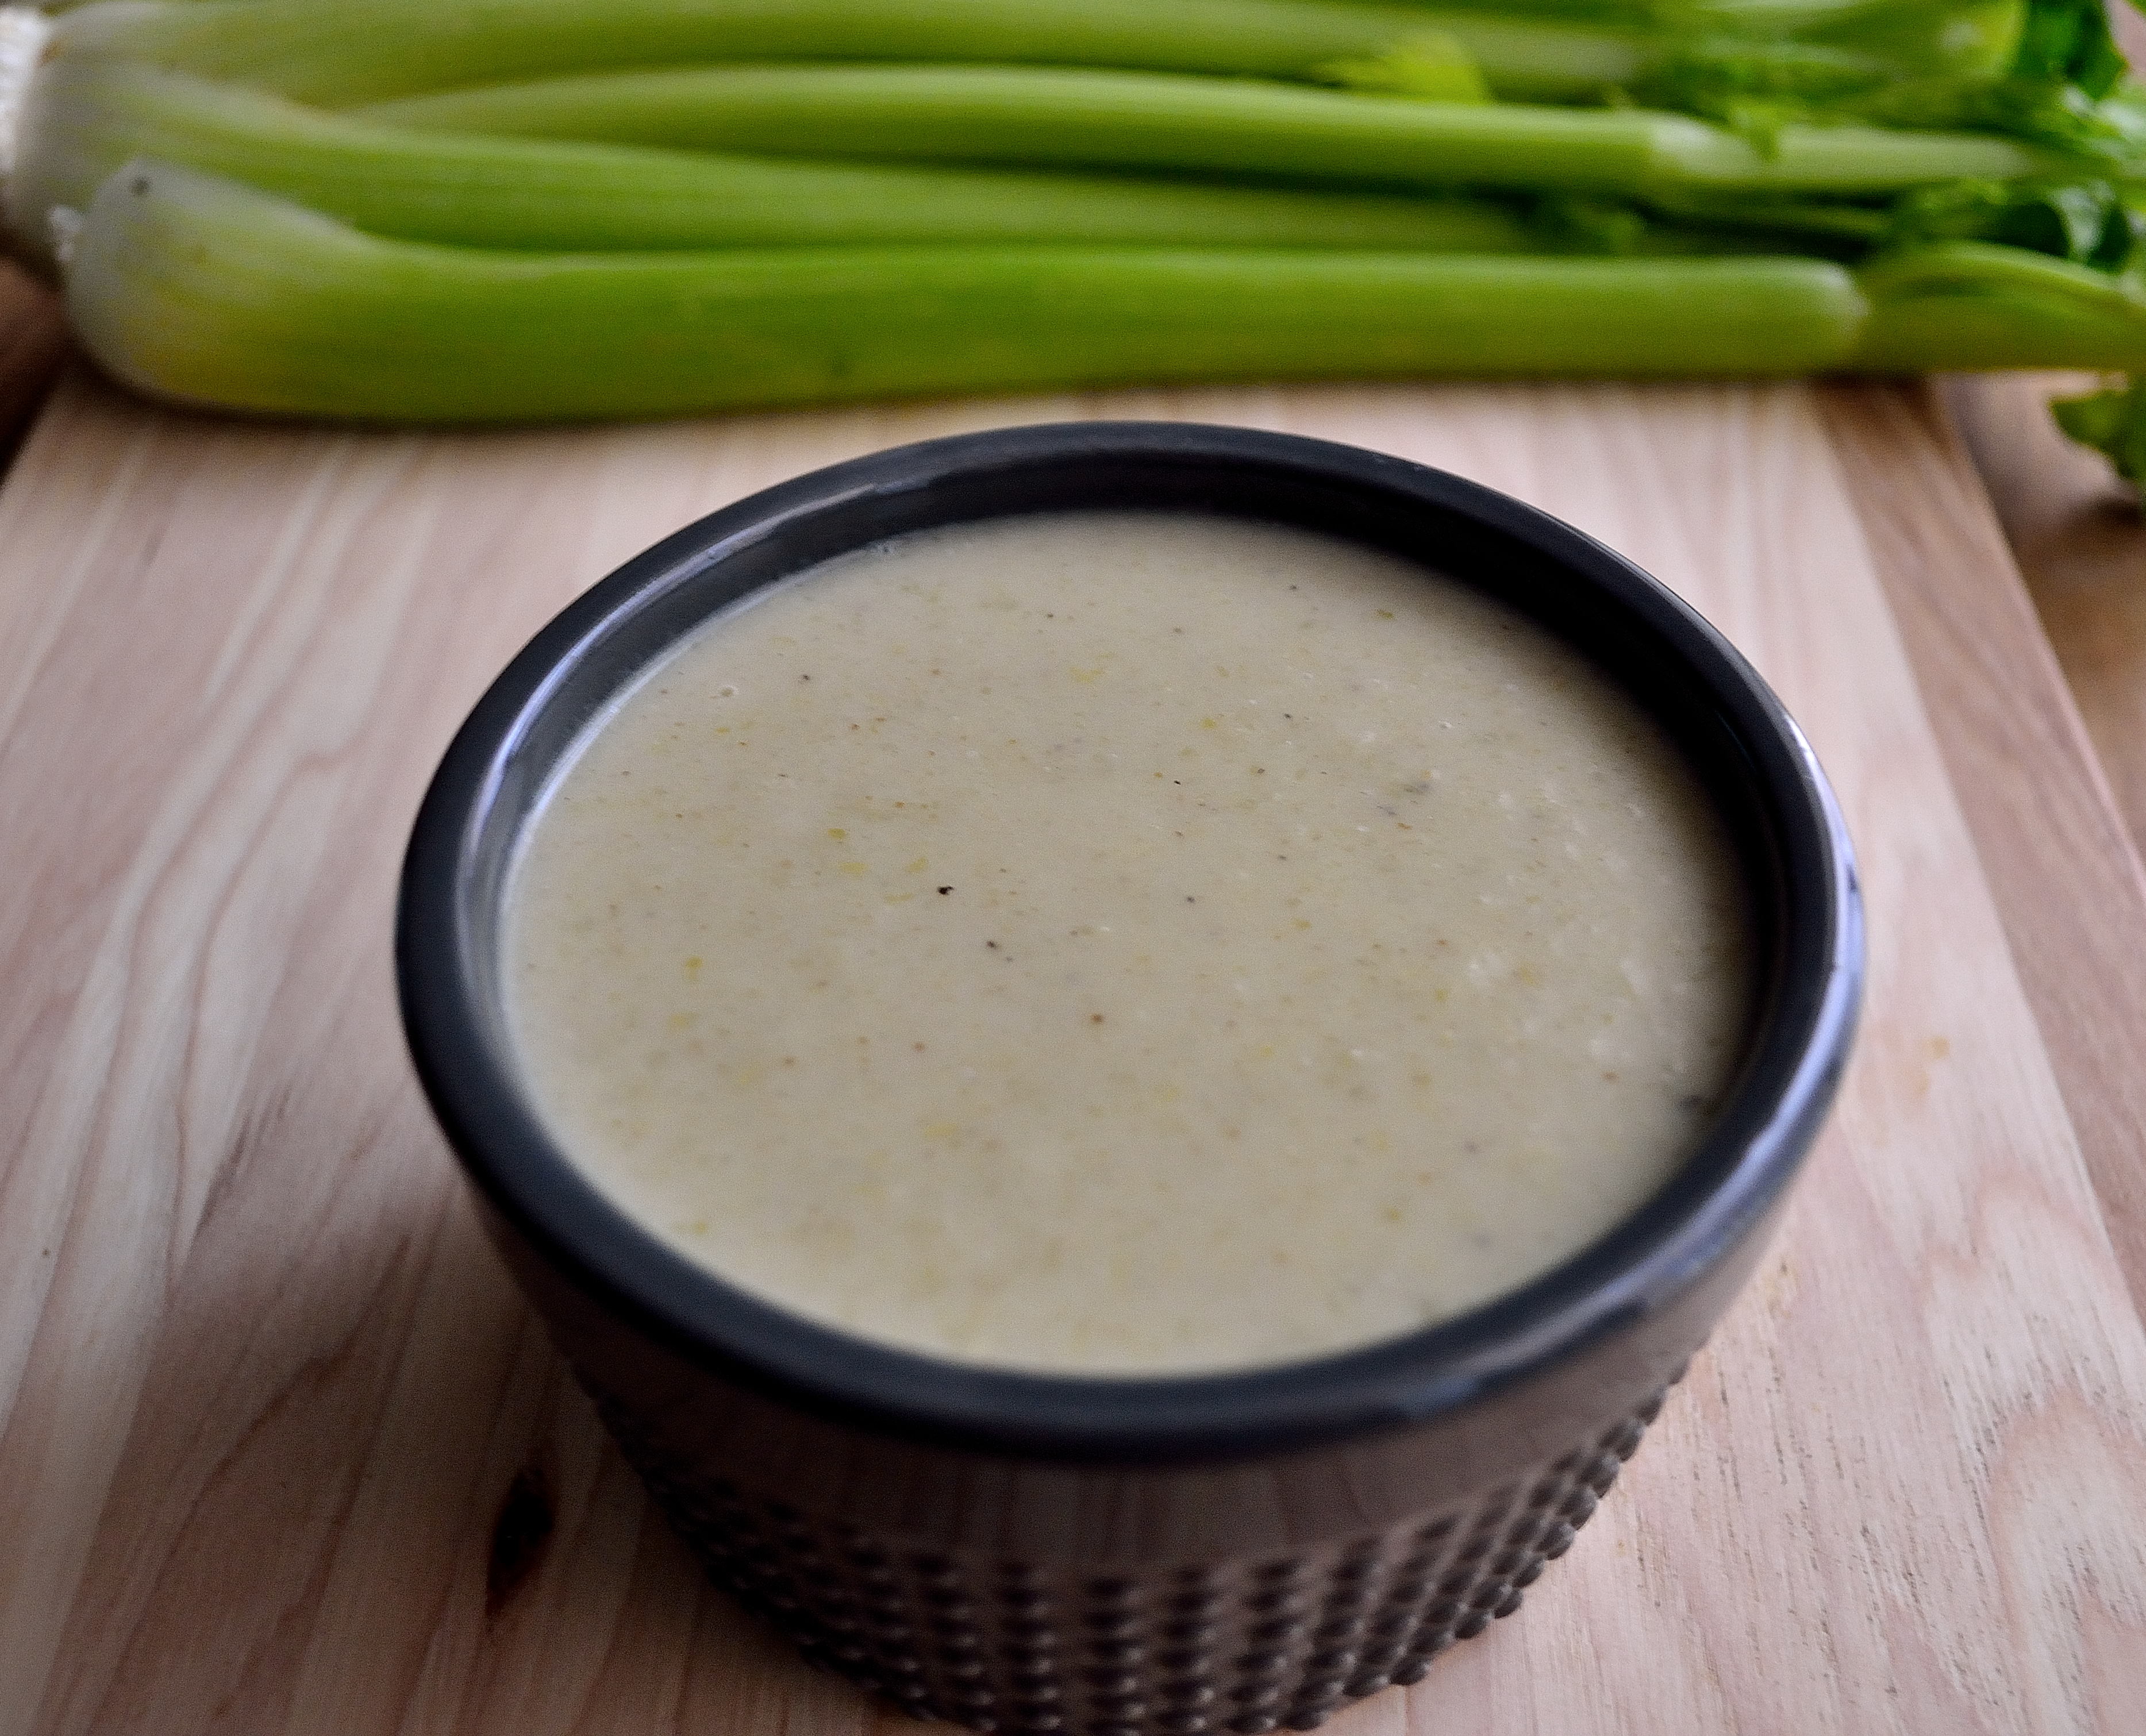
might not seem like a DIY post at first glance, but trust me it’s a good one.  Have you ever made a recipe that called for a can of whatever cream soup?  Mushroom, chicken, celery, broccoli… They are used frequently in casseroles and other baked dishes to add a creamy flavor.

They’re also full of preservatives, MSG, artificial colors, and other not so good for you things.  But they are SO convenient.  Open a can, dump in, and go about your business.  I get it, sometimes you need dinner to be fast and things like cans of cream of soup make the process smoother.

Which is why I made this DIY post.  You can have the same convenience of the canned stuff but the nutrition benefits of homemade.  Make a big batch of this cream of soup and freeze into batches.  That way when you need to use it, you can pull out one serving and move on with your life.  Simple right?DIY Wednesday: Cream Of Celery Soup | Life Healthfully Lived

I made cream of celery for this version, but this formula will also work for mushroom and chicken.  Just make sure if you do chicken, you cook the chicken before you add it to the soup.  You also might want to add a carrot or two to the chicken version.

This soup is really easy to make, so whenever you meal prep for the week just add this into the mix.  Another plus?  This homemade version tastes WAY better than that red and white can. 🙂

Cream Of Celery SoupDIY Wednesday: Cream Of Celery Soup | Life Healthfully Lived

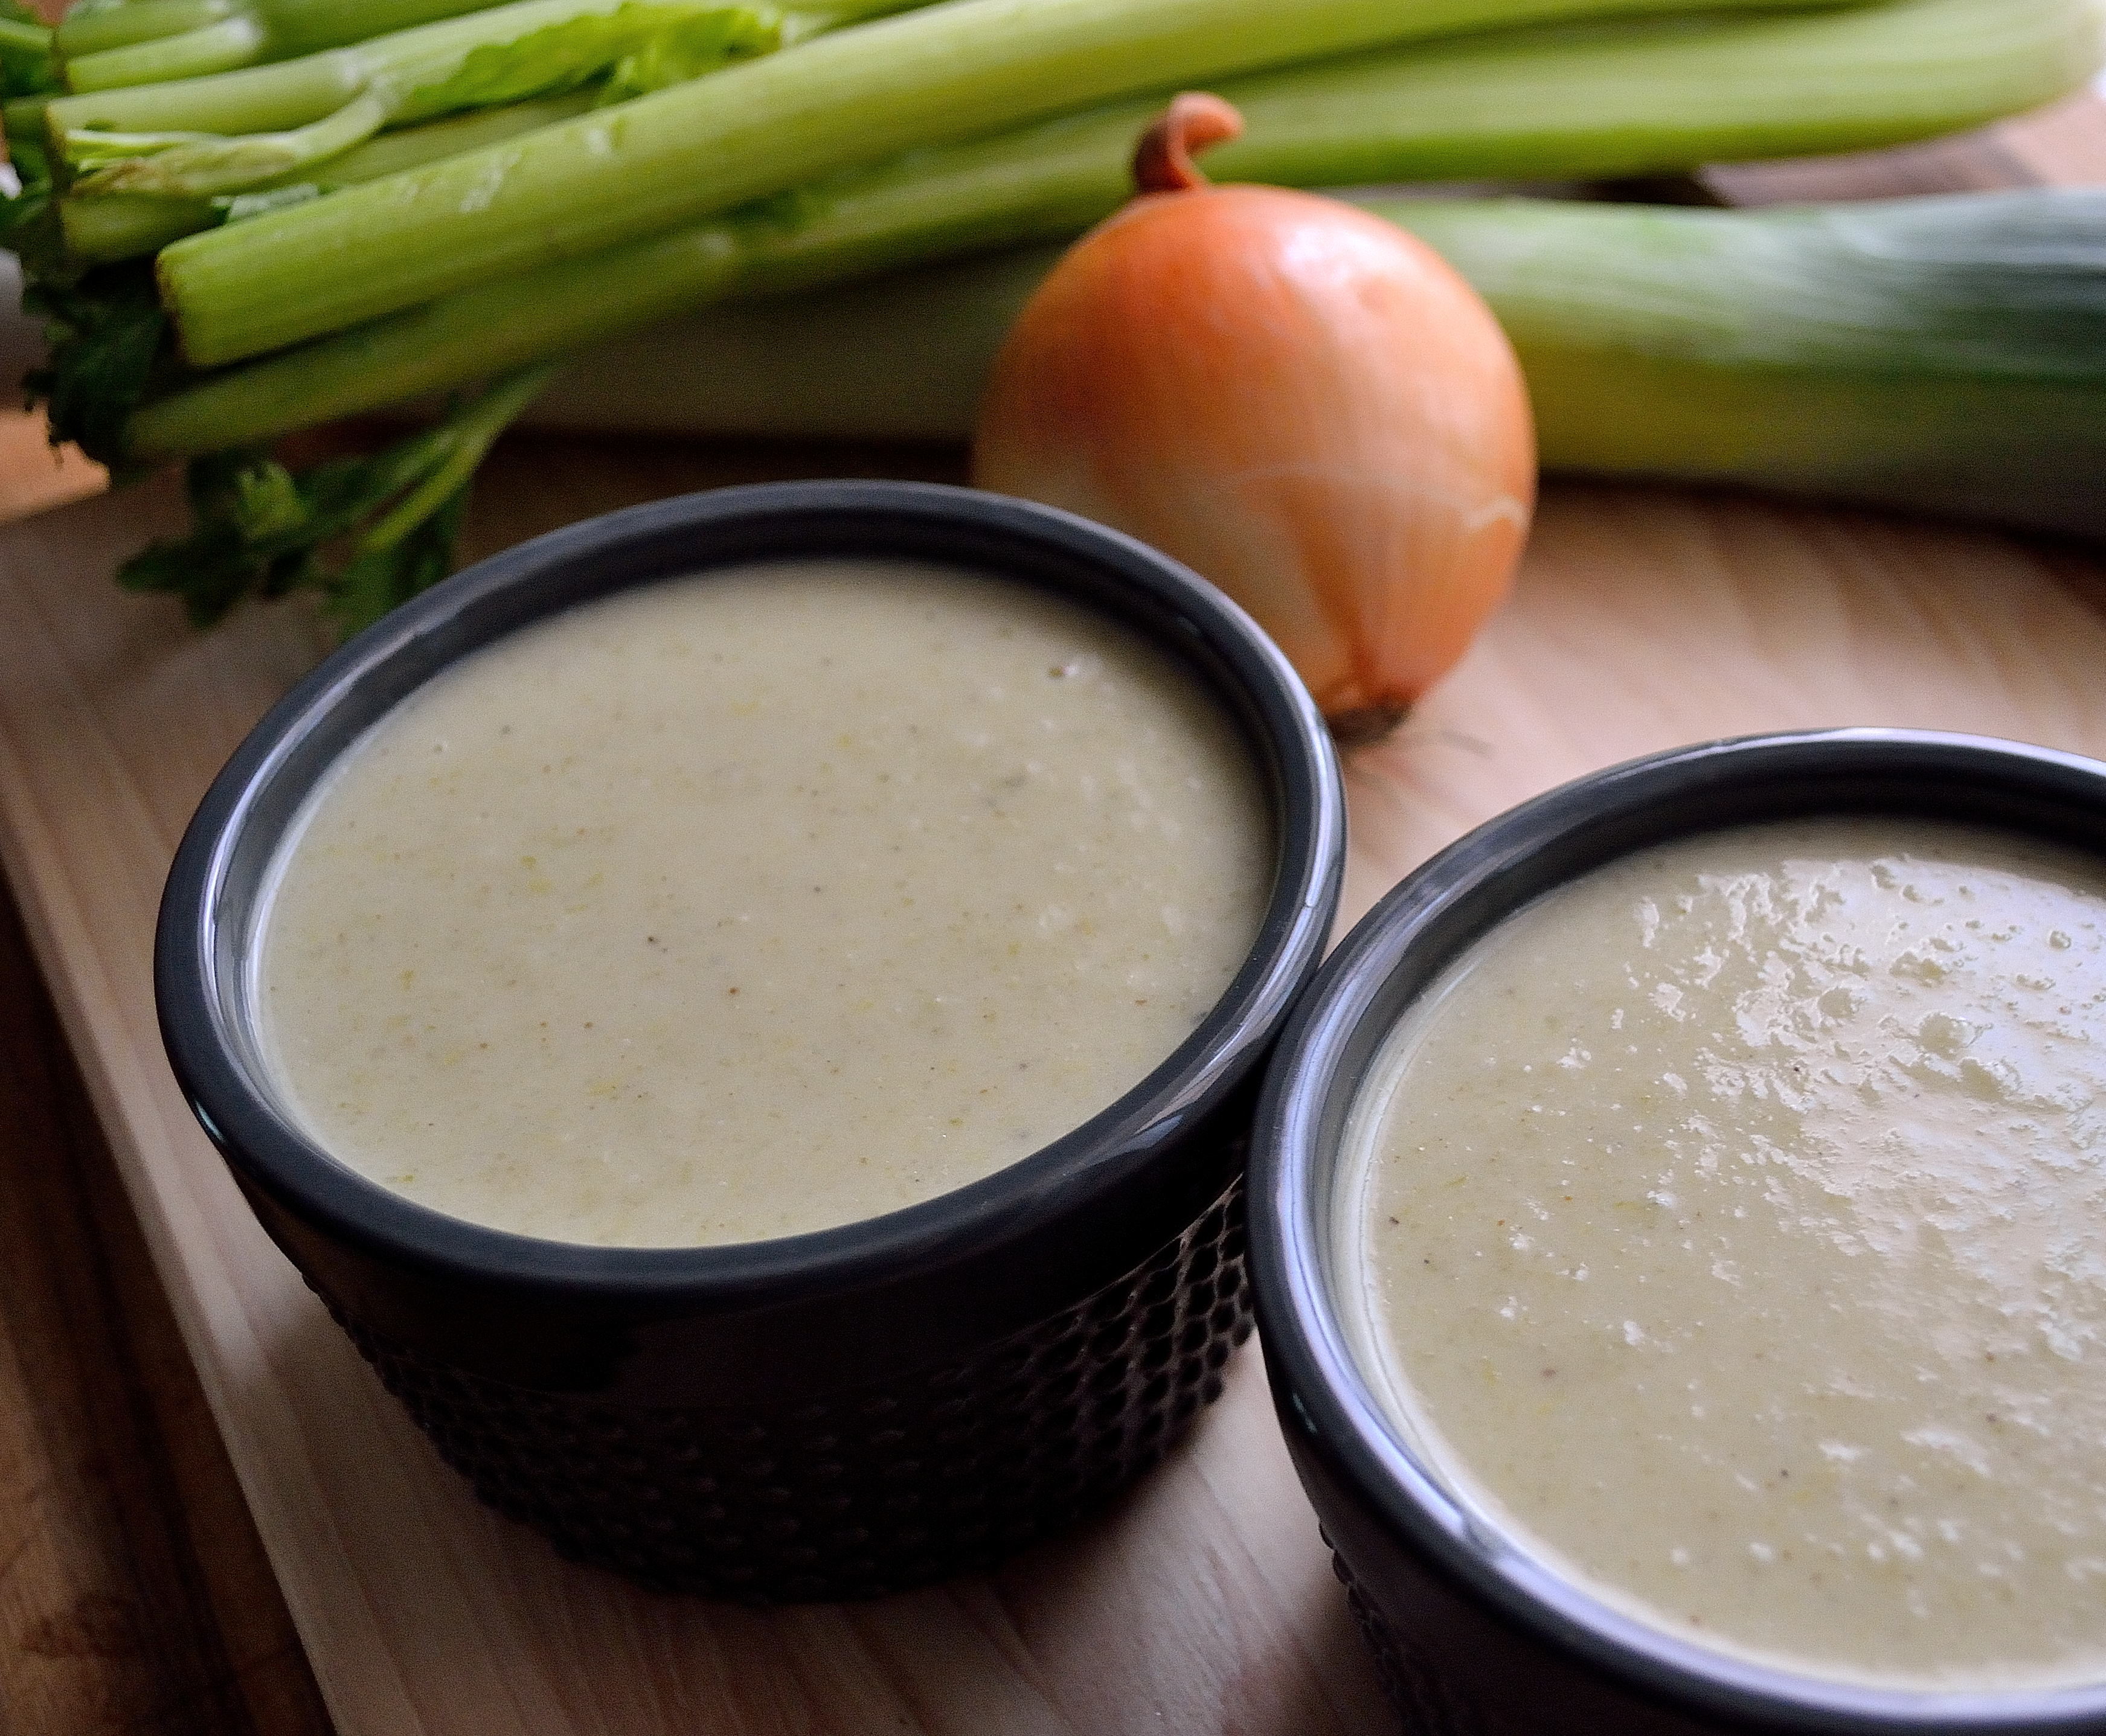
  • 2 1/2 cups celery, diced
  •  1/2 cup onion, diced
  • 1/2 cup leeks, sliced
  • 3 cloves garlic, minced
  • 3 cups vegetable broth or water
  • 1 cup full-fat coconut milk
  • 1/2 tsp celery salt
  • and pepper, to taste
  1. Heat a little olive oil in a large pot over medium-high heat.  Saute the onions and leeks for about 10 minutes, until they’re soft.
  2. Add in the garlic and celery and stir to mix together.  Cover the pot and cook for another 10 minutes, stirring occasionally.
  3. Remove the lid and pour in the 3 cups of broth or water and season with celery salt.  Bring the pot to a boil and then lower to a simmer.  Cook until the liquid is reduced by about half, about 15 minutes.
  4. Remove the pot from the heat and puree the soup until smooth.  You can do this in batches in the blender or use an immersion blender.  Return the puree to the pot and add in the 1/2 cup coconut milk.  Stir to combine and heat over low heat, but don’t let the soup boil.  Taste and add salt and pepper as needed.DIY Wednesday: Cream Of Celery Soup | Life Healthfully Lived

You can use this soup right away, but it will thicken up even more once it cools.  Let the soup cool completely before you freeze it into batches.

Spinach Artichoke Lasagna

TodaySpinach Artichoke Lasagna | Life Healthfully Lived is my last day of being 27 years old.  27 has been good to me, but I’m excited to see what 28 has in store.  It’s weird to think that I only have two more years of being in my 20’s.  I can remember the day I turned 20 and thinking, “Finally! I’m not a teenager anymore.  I’m an adult and I’m important.”

While I’m important at any age, I was far from being an adult.  20 is barely not a teenager and I had so much I still needed to learn.  In all honesty, I still have a lot to learn and I think that is true for any age.  Except maybe 100.  Once you hit 100, you can pretty much do whatever you want and your excuse is I made it this long I think I’m gonna be just fine. Spinach Artichoke Lasagna | Life Healthfully Lived

I decided to make you a delicious dinner for my birthday, which now that I’m typing it out sounds backwards.  You should be making me a delicious dinner for my birthday.  Jeez, you’re lazy!  Making me do all the work on my birthday!

You know how delicious spinach artichoke dip is?  That was my inspiration for this lasagna.  Instead of cheese, I used bechamel sauce and artichokes along with a layer of spinach to create a creamy and delicious filling.  This meal can come together really fast if you use a jar of tomato sauce and a box of lasagna noodles.  But if you want to make everything from scratch like I did, I promise you won’t regret the time you put in. Spinach Artichoke Lasagna | Life Healthfully Lived

This is also one of those meals that is even better the next day and makes really great leftovers for lunches throughout the week.

See?  I’m feeding you even beyond dinner.  28 is making me a giver!

Spinach Artichoke LasagnaSpinach Artichoke Lasagna | Life Healthfully Lived

  • 1 batch of my tomato sauce or a jar of your favorite store brand
  • 1 box of gluten free lasagna noodles (I made these from Against All Grains)
  • 3-4 cups spinach leaves
  • 1 can artichoke hearts, drained and rinsed
  • 1 can full-fat coconut milk
  • 1/3 cup raw cashews
  • 1 tsp Italian seasonings
  • 1/2 tsp salt
  • 1/4 tsp celery salt
  • 4 tbsp nutritional yeast
  • salt and pepper to taste
  1. If you are making the tomato sauce and noodles get those ready and set aside.  If you’re using boxed noodles make sure they are cooked and ready to go.
  2. To make the bechamel sauce: In a blender or food processor, grind the cashews, Italian seasonings, 1/2 tsp salt, and 1/4 tsp celery salt into a fine powder.  Set aside.
  3. Heat a little olive oil in a medium saucepan over medium-high heat.  Add in 2 tablespoons of the cashew powder and stir to make a paste.  Cook until the cashew powder turns golden brown.
  4. Whisk in the can of coconut milk and keep whisking to combine the paste and milk.  Whisk in the nutritional yeast and salt and pepper.  Keep cooking and whisking the milk until it is thick enough to coat the back of a spoon.  Taste and adjust the salt and pepper to your preference.
  5. Pour the sauce into a blender and add in the drained artichoke hearts.  Pulse a few times to break up the artichokes, but don’t make it completely smooth.
  6. Now it’s time to build the lasagna.  Preheat the oven to 350 and get out a 9 x 13 casserole dish.  Put a thin layer of tomato sauce on the bottom, then a layer of noodles, a layer of artichoke sauce, a layer of spinach, and a layer of tomato sauce.  Keep going until you run out of noodles and make sure you end on tomato sauce.
  7. Cover with aluminum foil and bake for 25 minutes, until the sauce is bubbling.  Remove from oven and uncover.  Let the lasagna cool for 10 minutes before you slice and serve. Spinach Artichoke Lasagna | Life Healthfully Lived

You can make this lasagna ahead of time and then just pop it in the oven at dinner time.  I hope you have a Happy Halloween and a great weekend!

Simple Fish Salad

RememberSimple Fish Salad | Life Healthfully Lived that wall of fish in my freezer?  Well, it has made me become very creative with cooking fish and I thought that I would share some of my creations with you wonderful people.

I don’t eat fish but my husband, Adam does.  I know that fish is a very popular, healthy protein and that many people eat fish.  The problem with fish is preparing it.  Some people have this perception that it is really difficult to cook and while it can be easy to overcook fish, it isn’t as hard as you might think.  Some people think the best way to make fish is to dunk it in batter and fry it up, right mom :)?  While this method is tasty, it isn’t the healthiest way to make fish.Simple Fish Salad | Life Healthfully Lived

Here is a simple and healthy way to make fish that is a nice change from pan or deep frying.

Simple Fish SaladSimple Fish Salad | Life Healthfully Lived

  • 1 lb of white fish, I used rockfish but halibut, tilapia or cod would work well
  • 2 tsp lemon juice
  • 1 tsp fresh or dried dill
  • 1 tsp oregano
  • 1/2 tsp garlic powder
  • 1/2 tsp onion powder
  • 1/2 tsp salt
  • 1/2 tsp black pepper
  • 2-3 tbsp homemade mayo (or use your favorite brand)
  • 1/2 a medium zucchini, shreddedSimple Fish Salad | Life Healthfully Lived
  1. Fill a medium saucepan with a little water and then place a steamer basket over the top.  Cover and bring to a boil.
  2. While water is coming to a boil, remove any skin from your fish and cut into 1 in. cubes.  Place the fish in a medium bowl.
  3. Sprinkle fish with lemon juice and all the seasonings.  Mix well to make sure all the fish is coated.  Place the fish into the steamer basket and cover.  Steam until the fish is cooked through about 5 to 8 minutes.
  4. Remove the fish and place it in a clean bowl.  Shred the fish with two forks and allow it to cool a little.  Once the fish is cool, mix in the mayo.  Use enough that the fish is covered by not drowning in the mayo.  Stir in the zucchini shreds.
  5. You can serve this right away or keep in the fridge and serve cold.

That’s it!  This is a meal that comes together fast and can be made ahead of time.  You can also serve it numerous ways.  You can spread it over toasted bread, in lettuce wraps, or you can scoop it up with celery or carrot sticks.  So many delicious options!  If you’re looking for a new way to eat your fish, give this fish salad a try!Simple Fish Salad | Life Healthfully Lived

Have an excellent weekend everyone!