Friends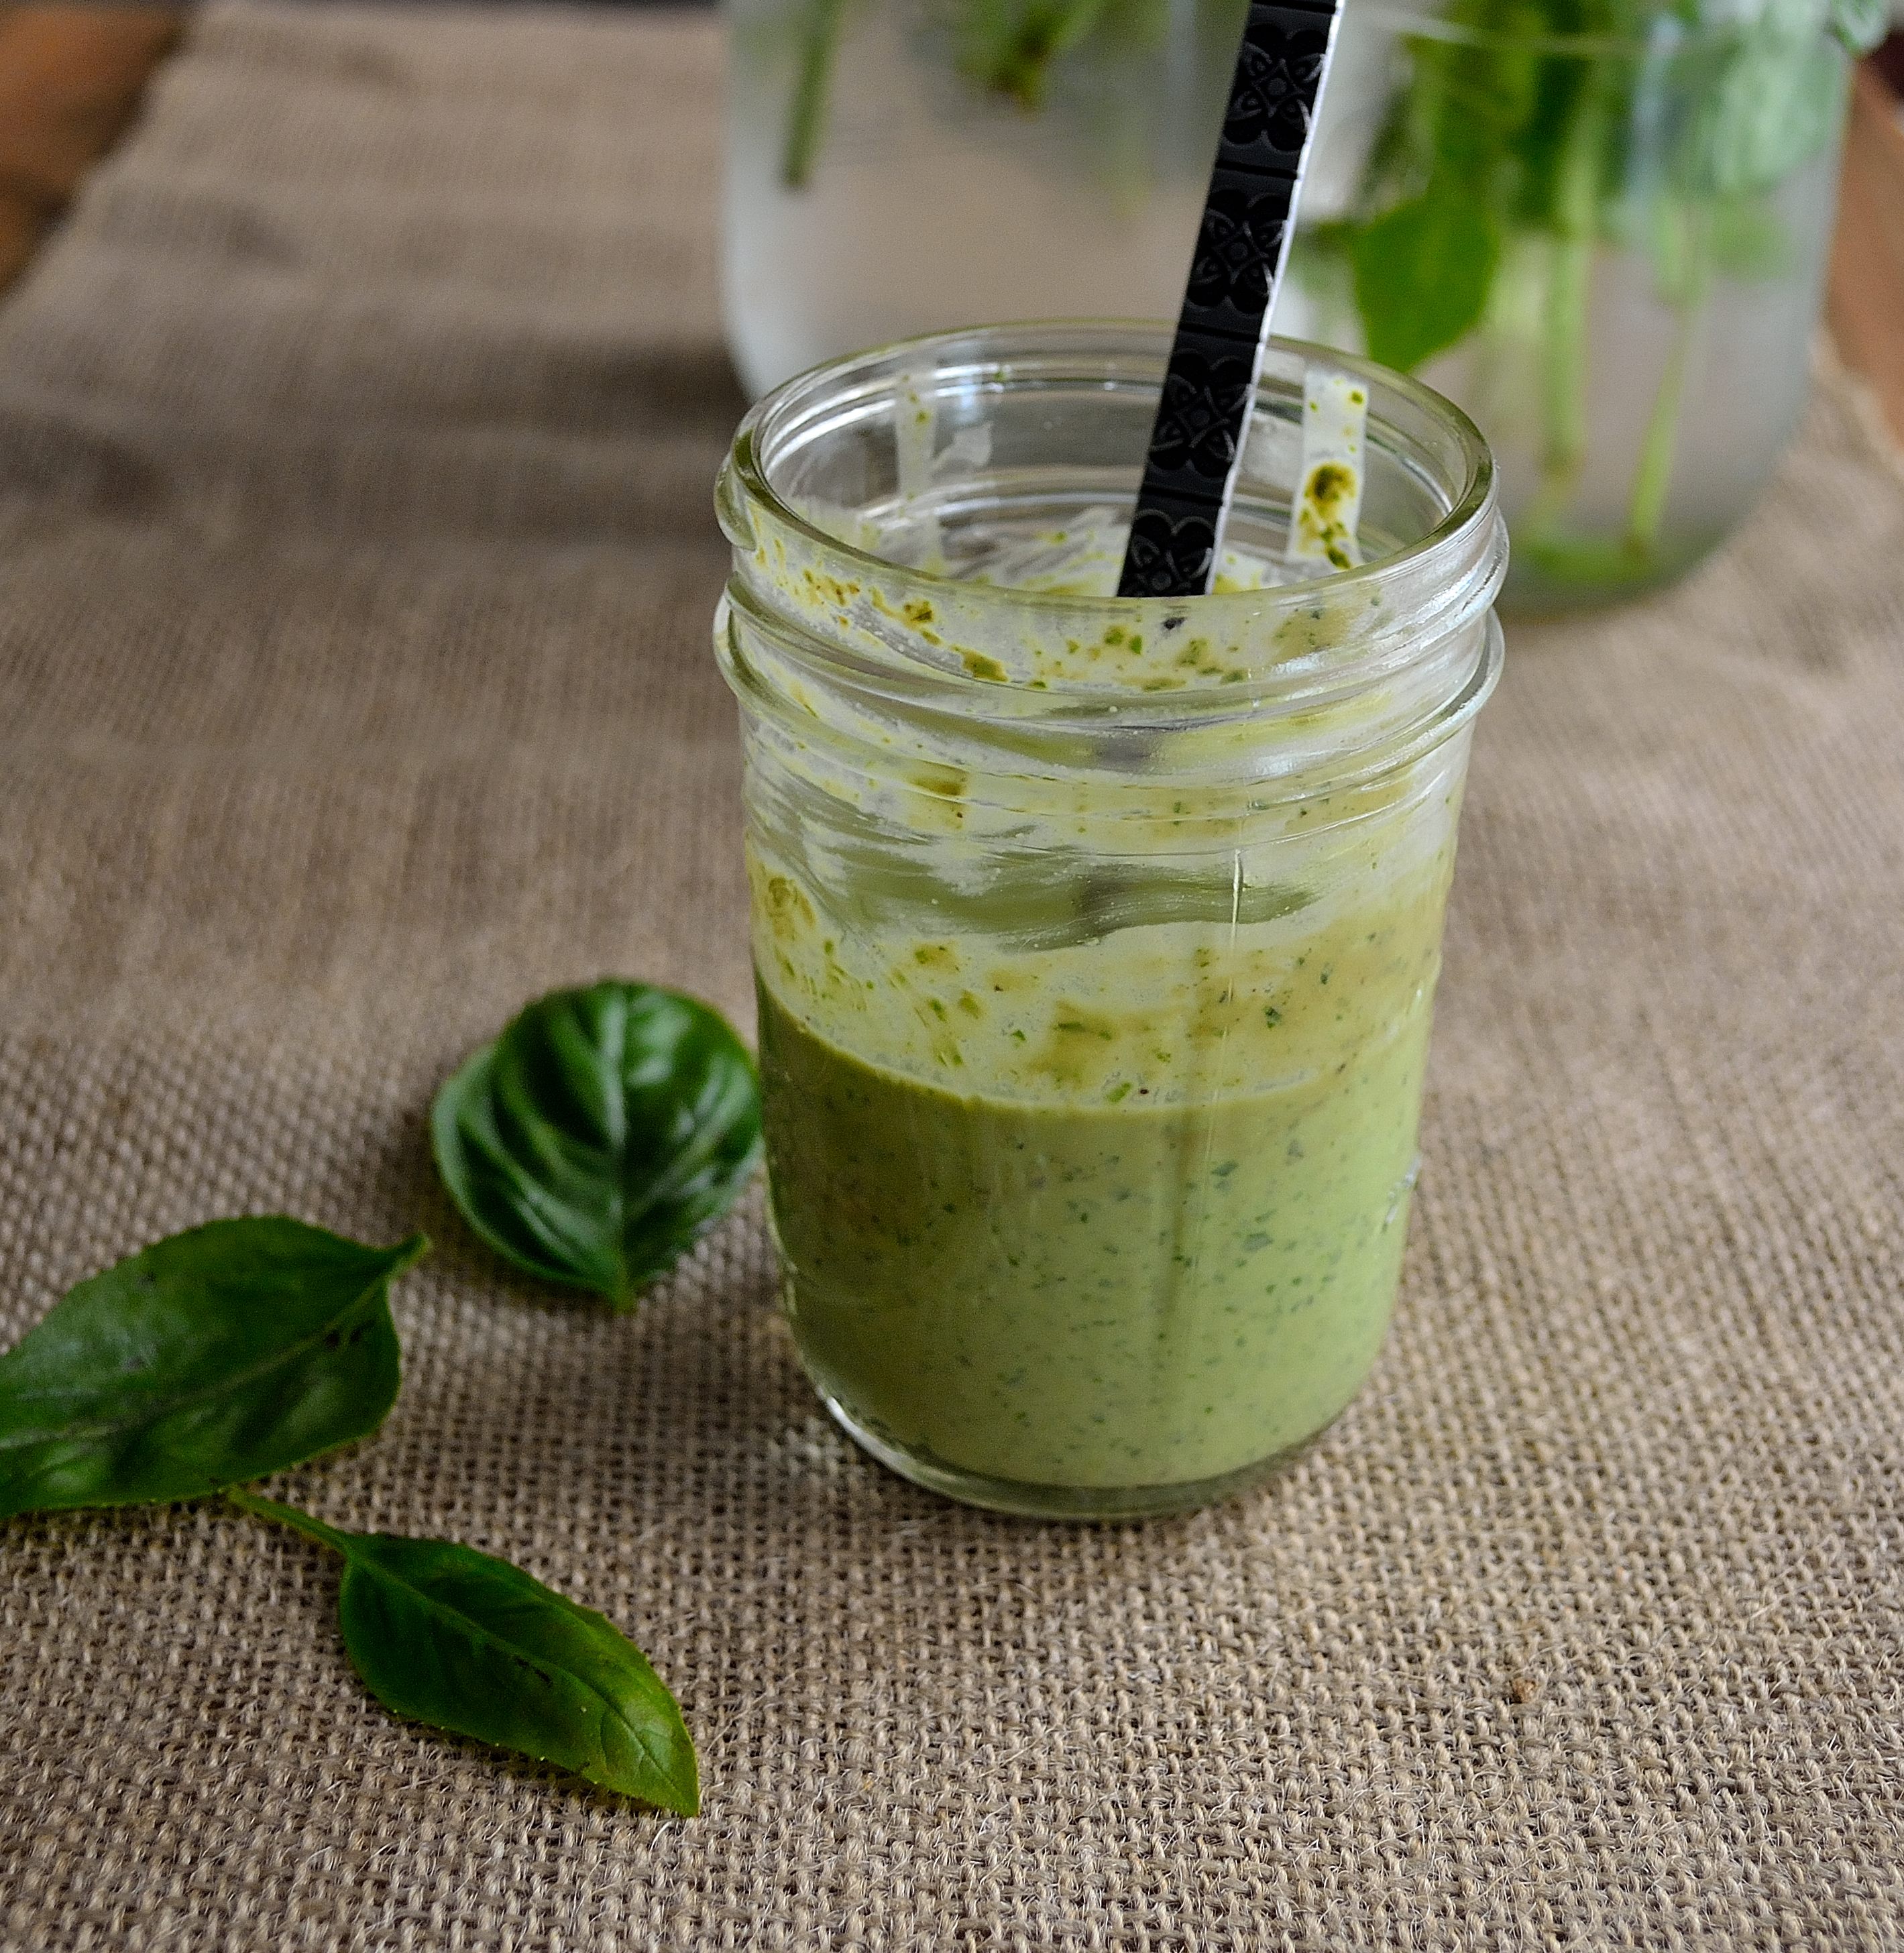 , I’m ready to admit something.
I’m kind of having a love affair with basil. I know, I know. It’s just a summer fling, but I can’t get enough of the stuff. It smells so good, looks so pretty, and tastes phenomenal. Even better, it makes any food I put in my mouth taste phenomenal.
I got into the fresh basil game a little late this summer because for most of the summer we were gone every weekend and I couldn’t get to the farmer’s market and I was not going to pay over $3 for the tiny little packages at the store. But this past month we have made it to the market and one stand there sells fresh herbs of all kind and I can get a whole bunch of basil for $2. Naturally I load up on it and come home and make all the basil things.
Besides the obvious pesto (which I have like 3 jars of right now) I have been making basil and lemon oil, and this dressing. I have swooned about this dressing a few times over on Instagram so I thought that I would share it with you guys.
I’ve talked about making your own salad dressing before and I think it’s the best money and health saving switch you can make. Making your own salad dressing is SO simple and you get to control the ingredients. Store bought dressing is full of preservatives and you’re paying a lot of money to ingest those things.
So why not make your own? This literally comes together in the touch of a blender button and BAM, you have a delicious, basil-filled dressing ready to go on salad, over vegetables, or straight into your mouth with a straw. Which I’ve never done…
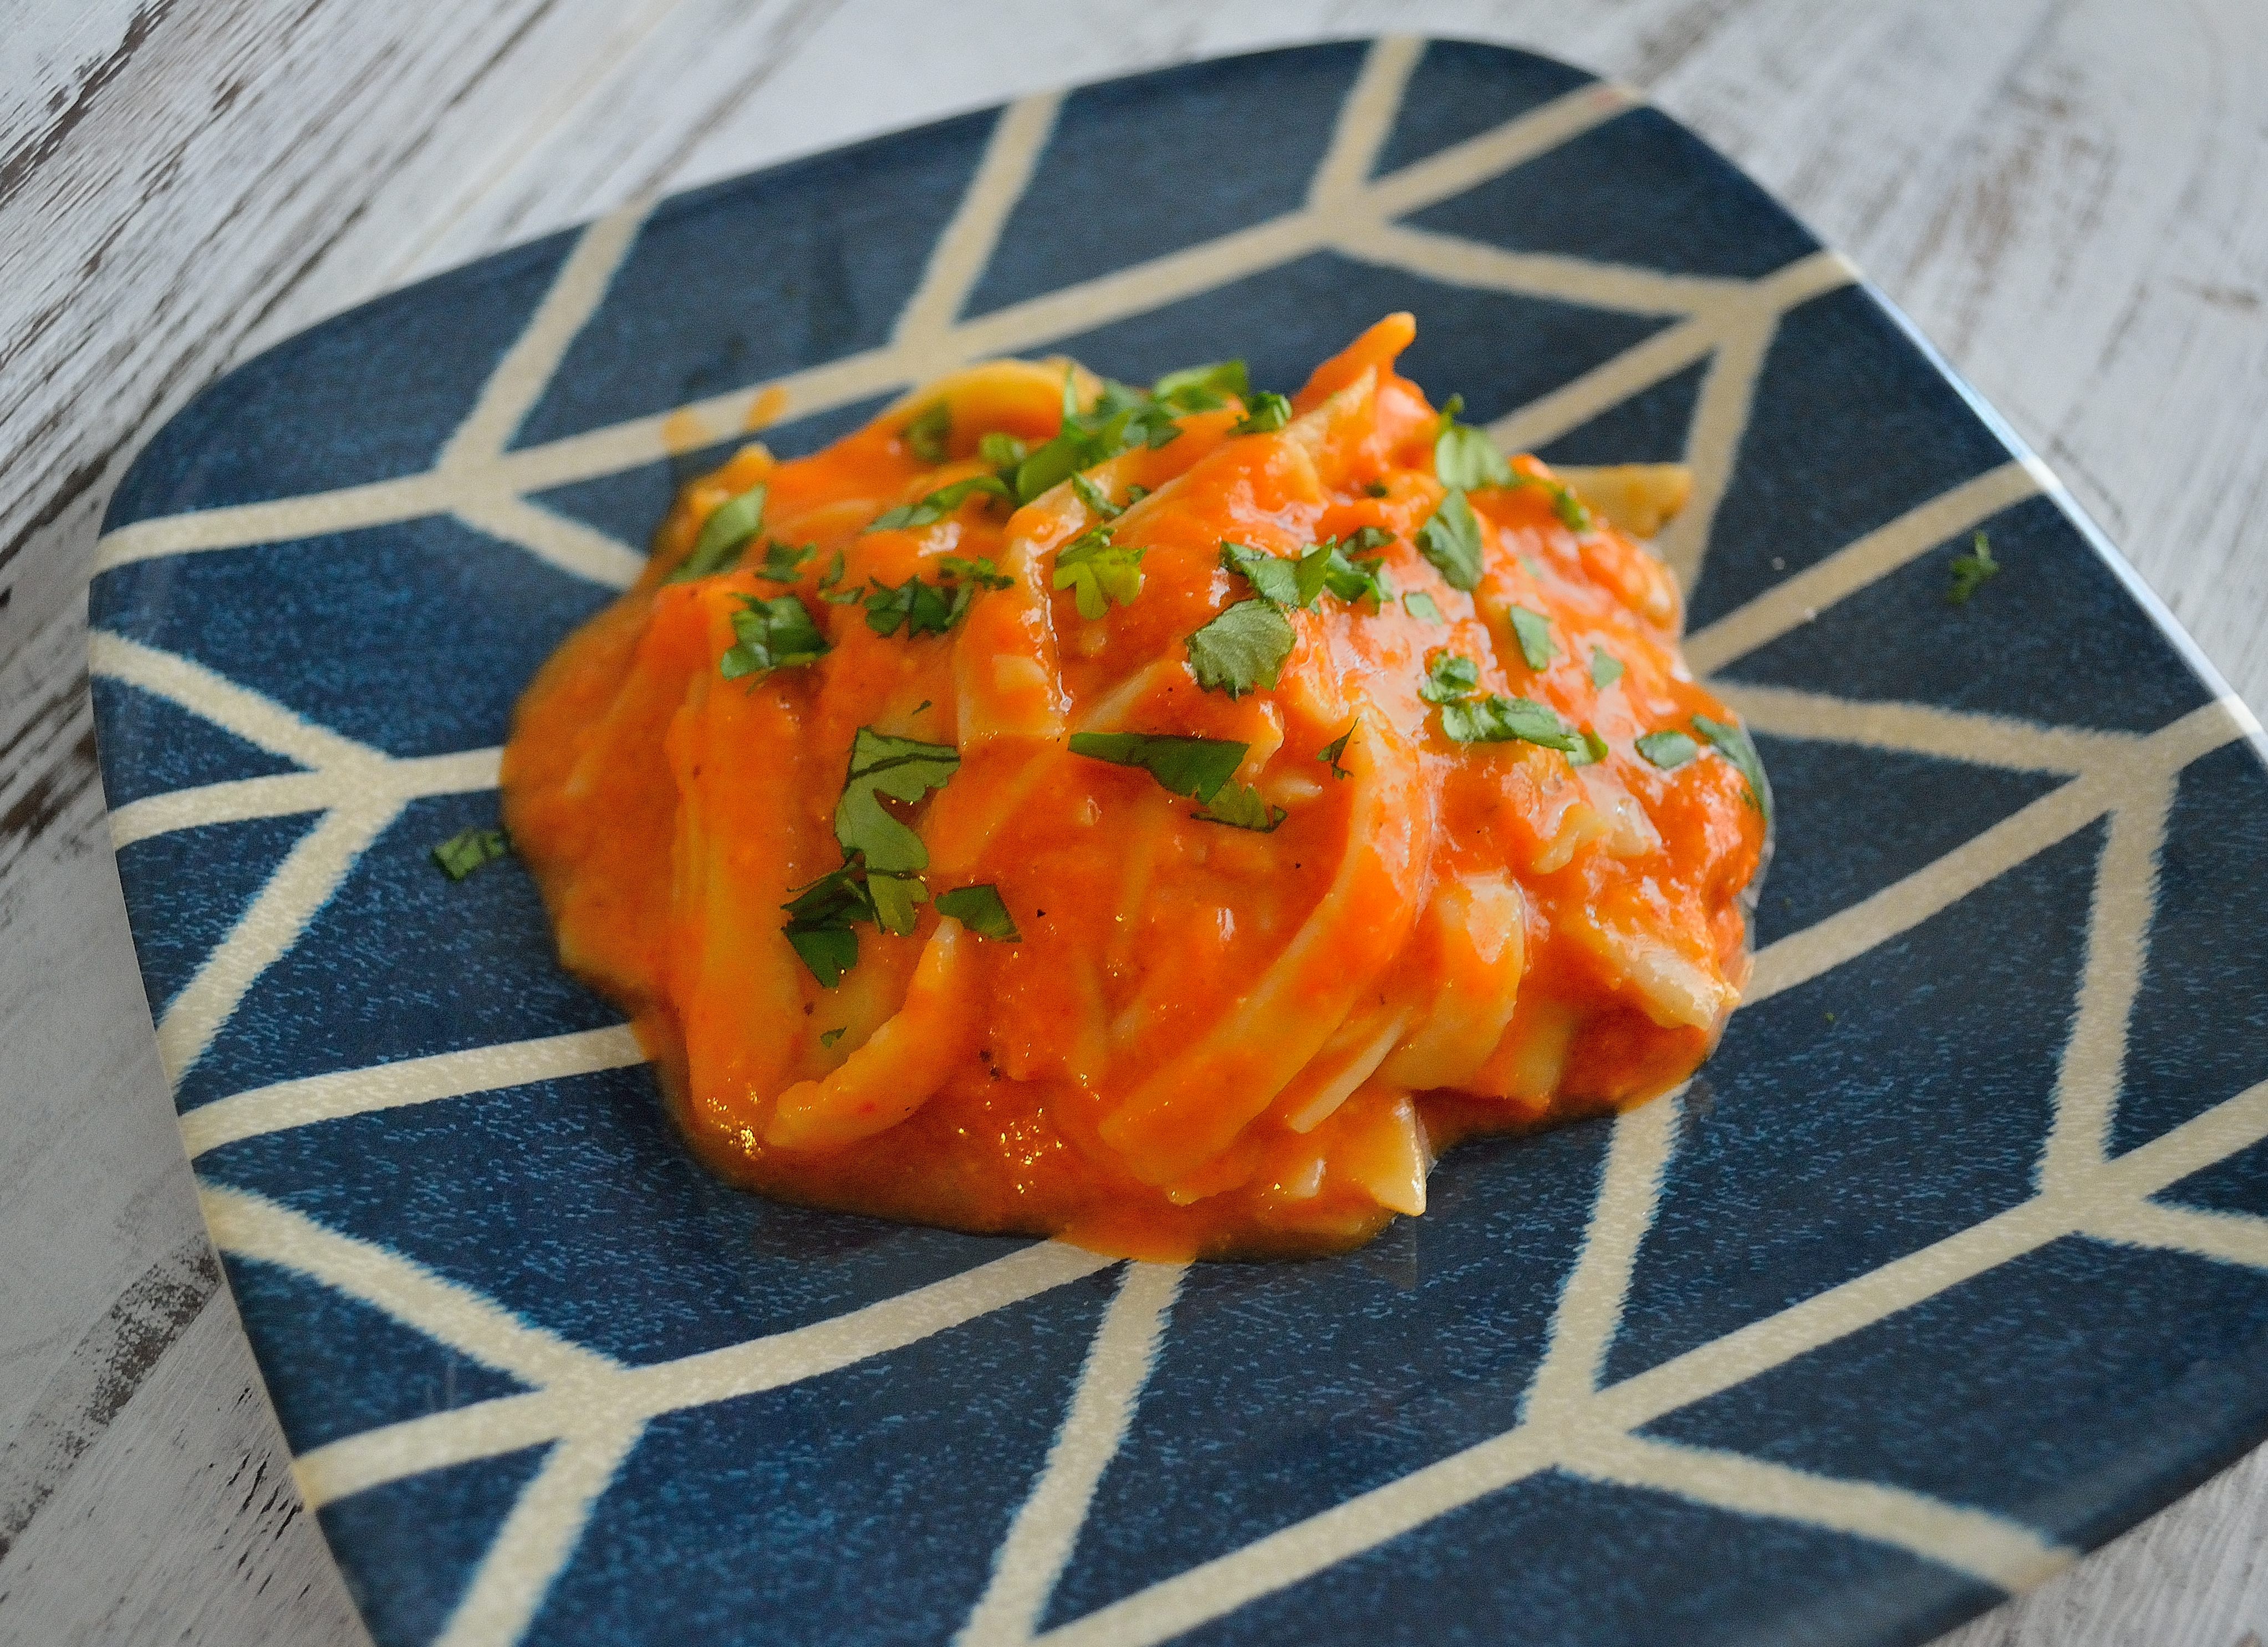
Basil Salad Dressing
- 1 cup loosely packed, whole basil leaves
- 2 tsp roasted garlic or 2 cloves fresh garlic
- 2 tbsp tahini
- 1/3 cup full-fat coconut milk (you could also use almond milk)
- juice of half a lime
- 1/4 tsp salt
- 1/4 tsp black pepper
- Ready for this? Put everything into a blender and blend until smooth. Taste and adjust seasoning. Store it in an airtight container in the fridge for up to a week…. if it lasts that long.
I love one step recipes almost as much as I love basil. See how easy it is to make dressing? You can even switch up the herbs you do and use parsley, dill, or cilantro. Whatever your little heart desires!