Friday Recipe Round-Up

Yay Friday!  This week has been a doozy for me.  A ton of projects were suddenly due all at once and I have been working to get all of those done.  On top of that, this weekend is my sister’s bachelorette party so I have been getting things ready for that!  Seriously, how is it possible that my baby sister is getting married?!  We were literally just playing with our Barbies and Polly Pockets.  Like yesterday.  For reals.

Anyway!  Because it’s been a crazy week in the Dawson house I don’t have a new recipe for you today BUT do not start sobbing yet!  I do have a round-up of all the delicious recipes I have found on all the blogs I follow.

I will have new stuff for you next week, but in the meantime enjoy these recipes as well as all the ones I have over on my recipe page!

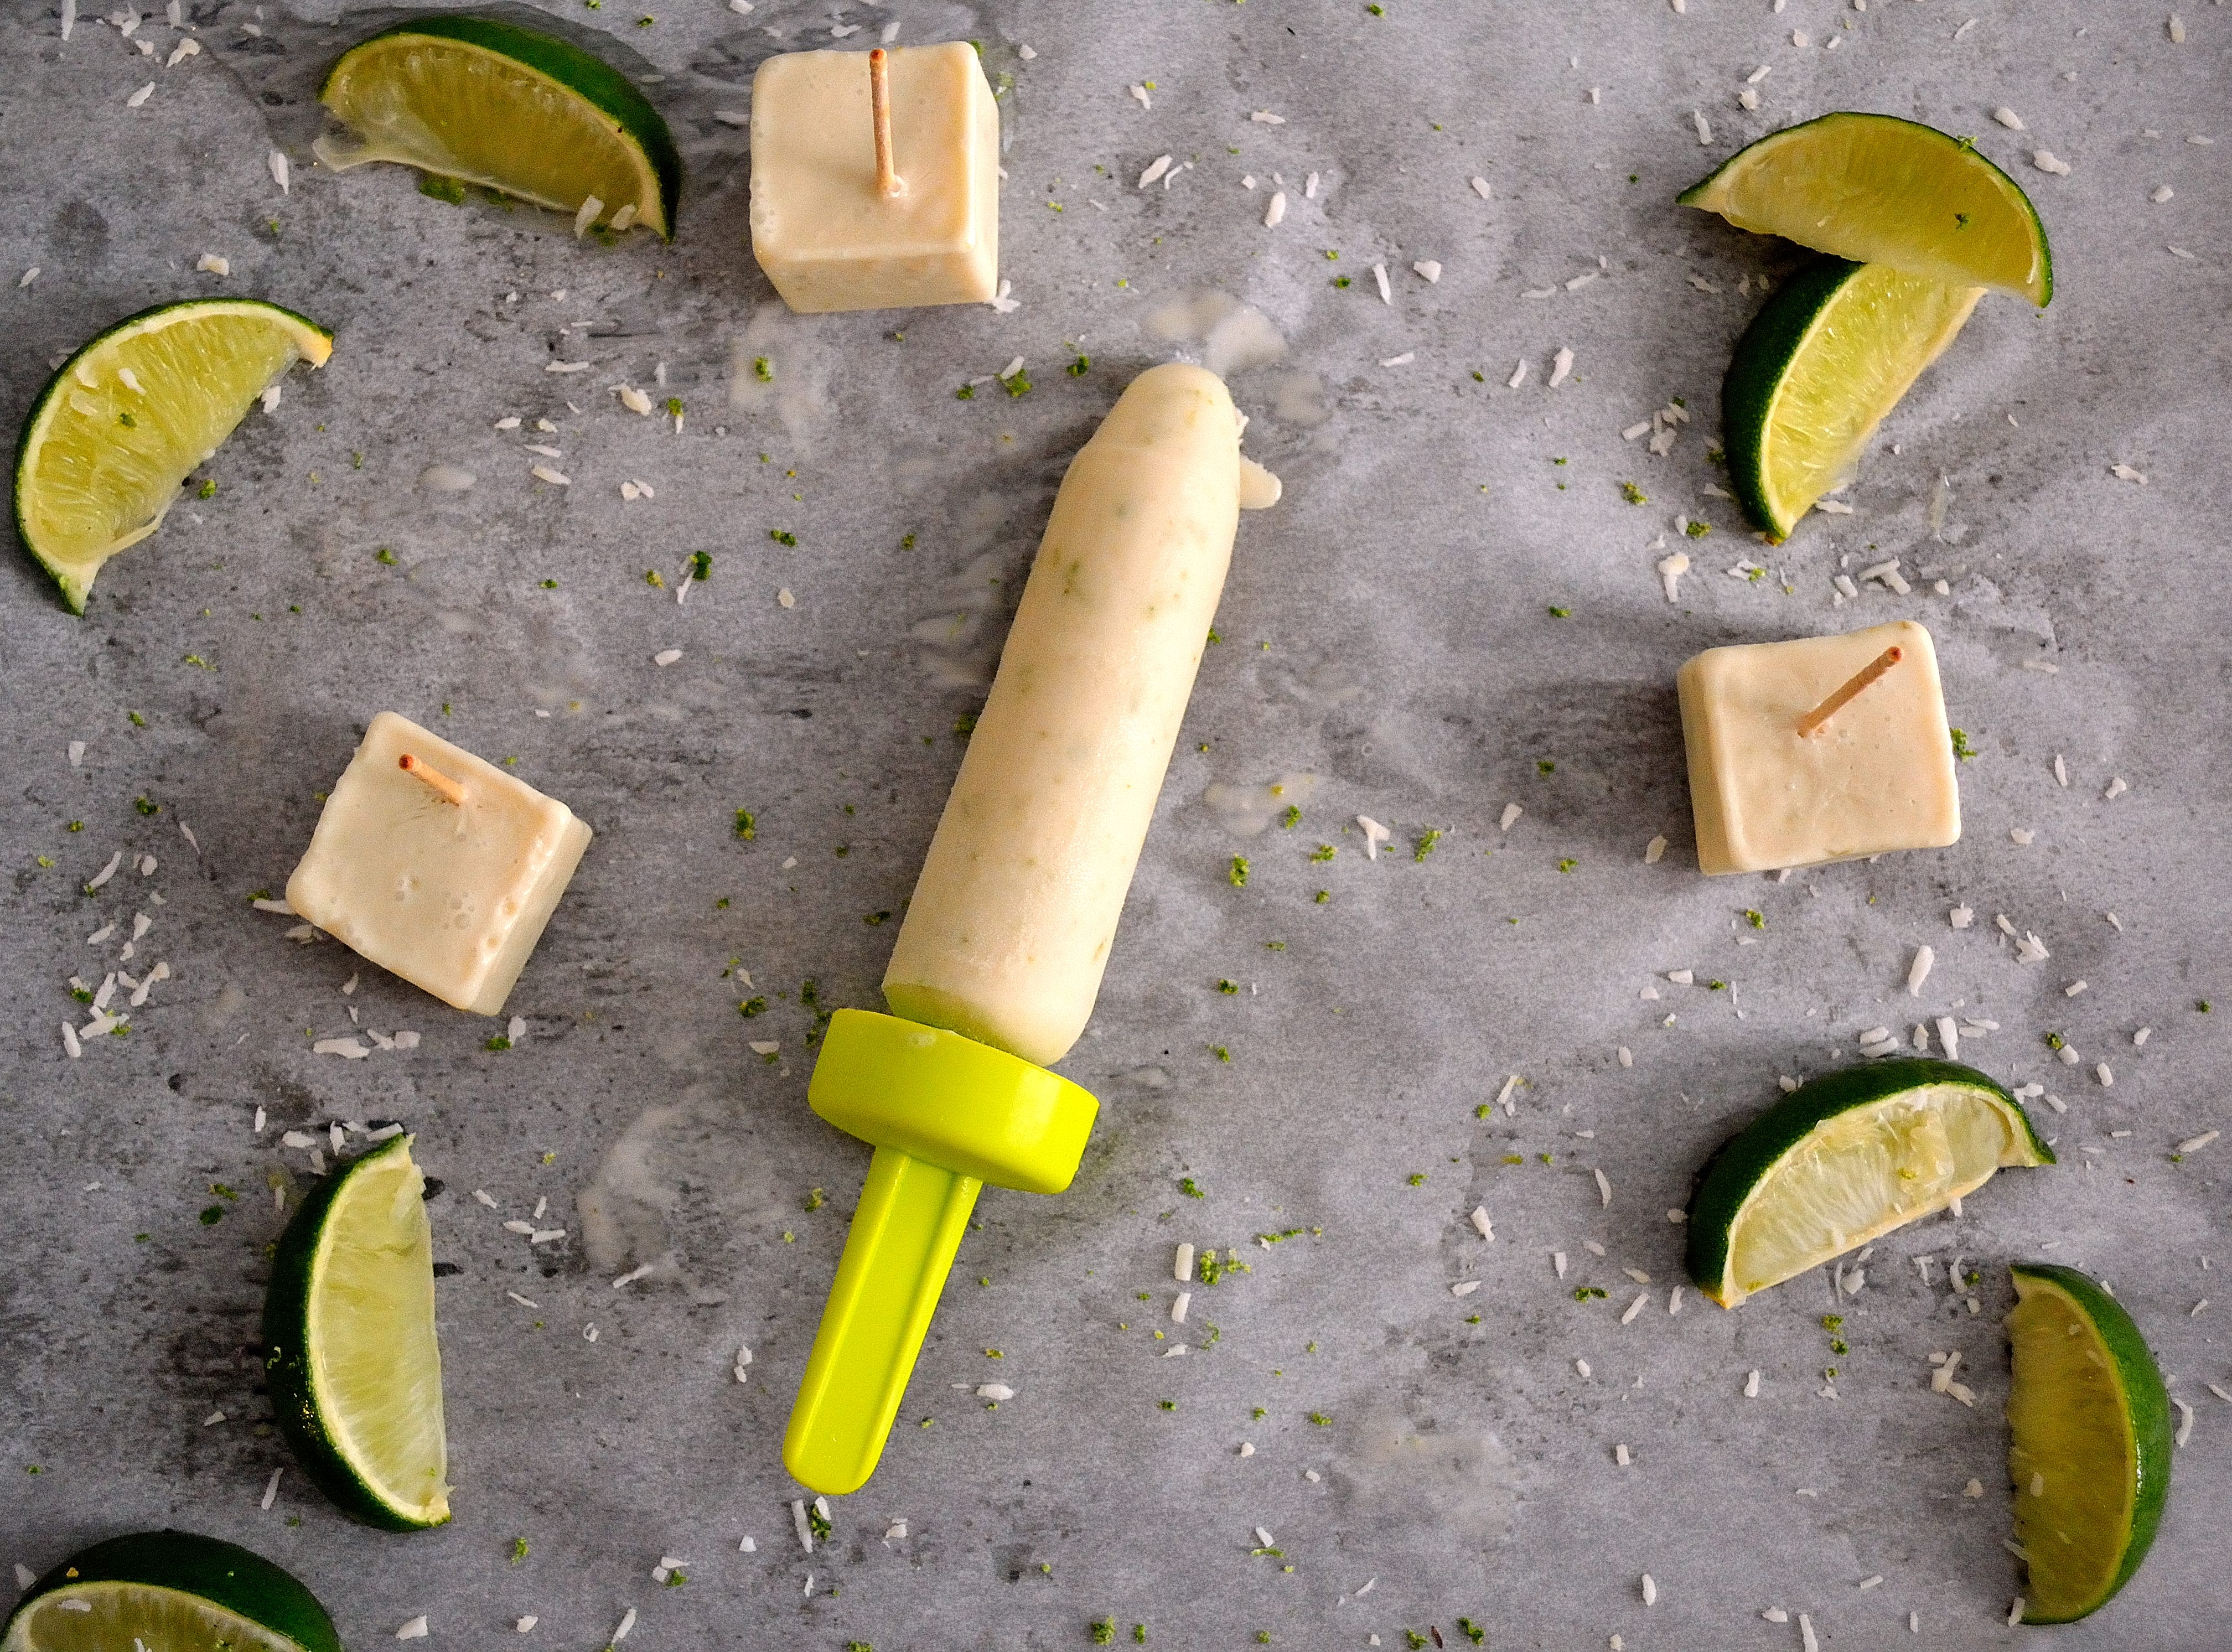
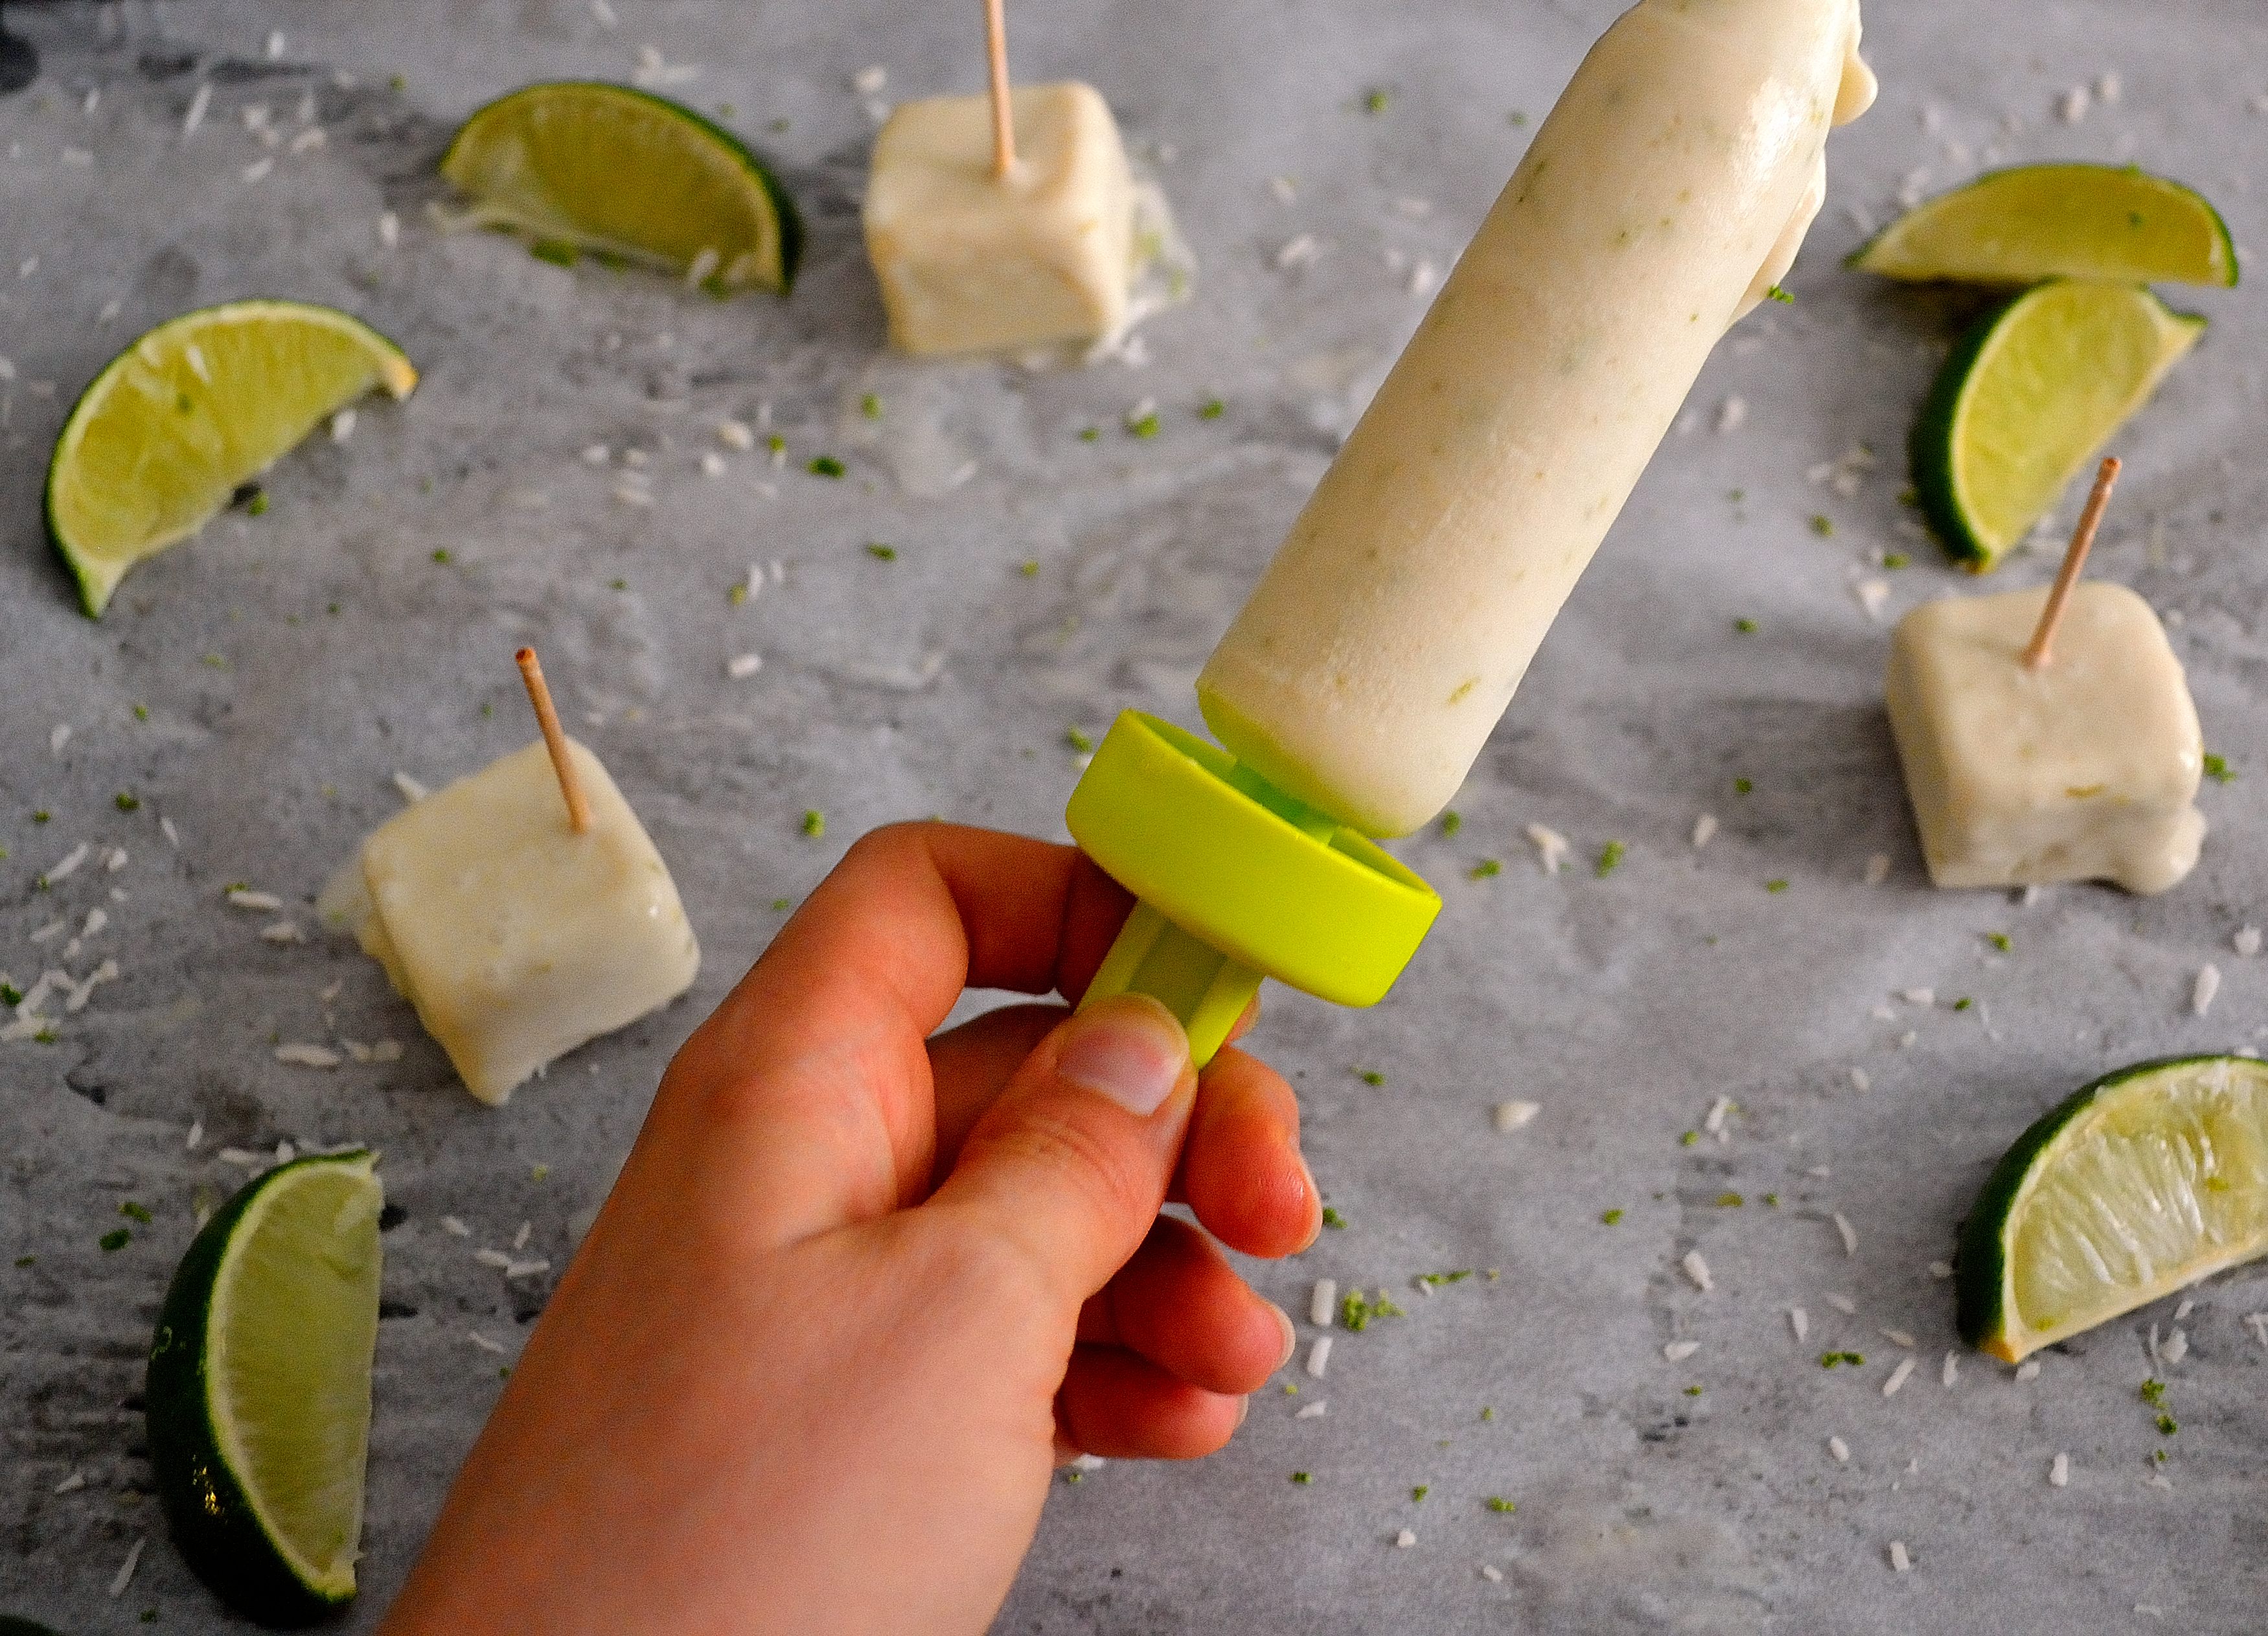
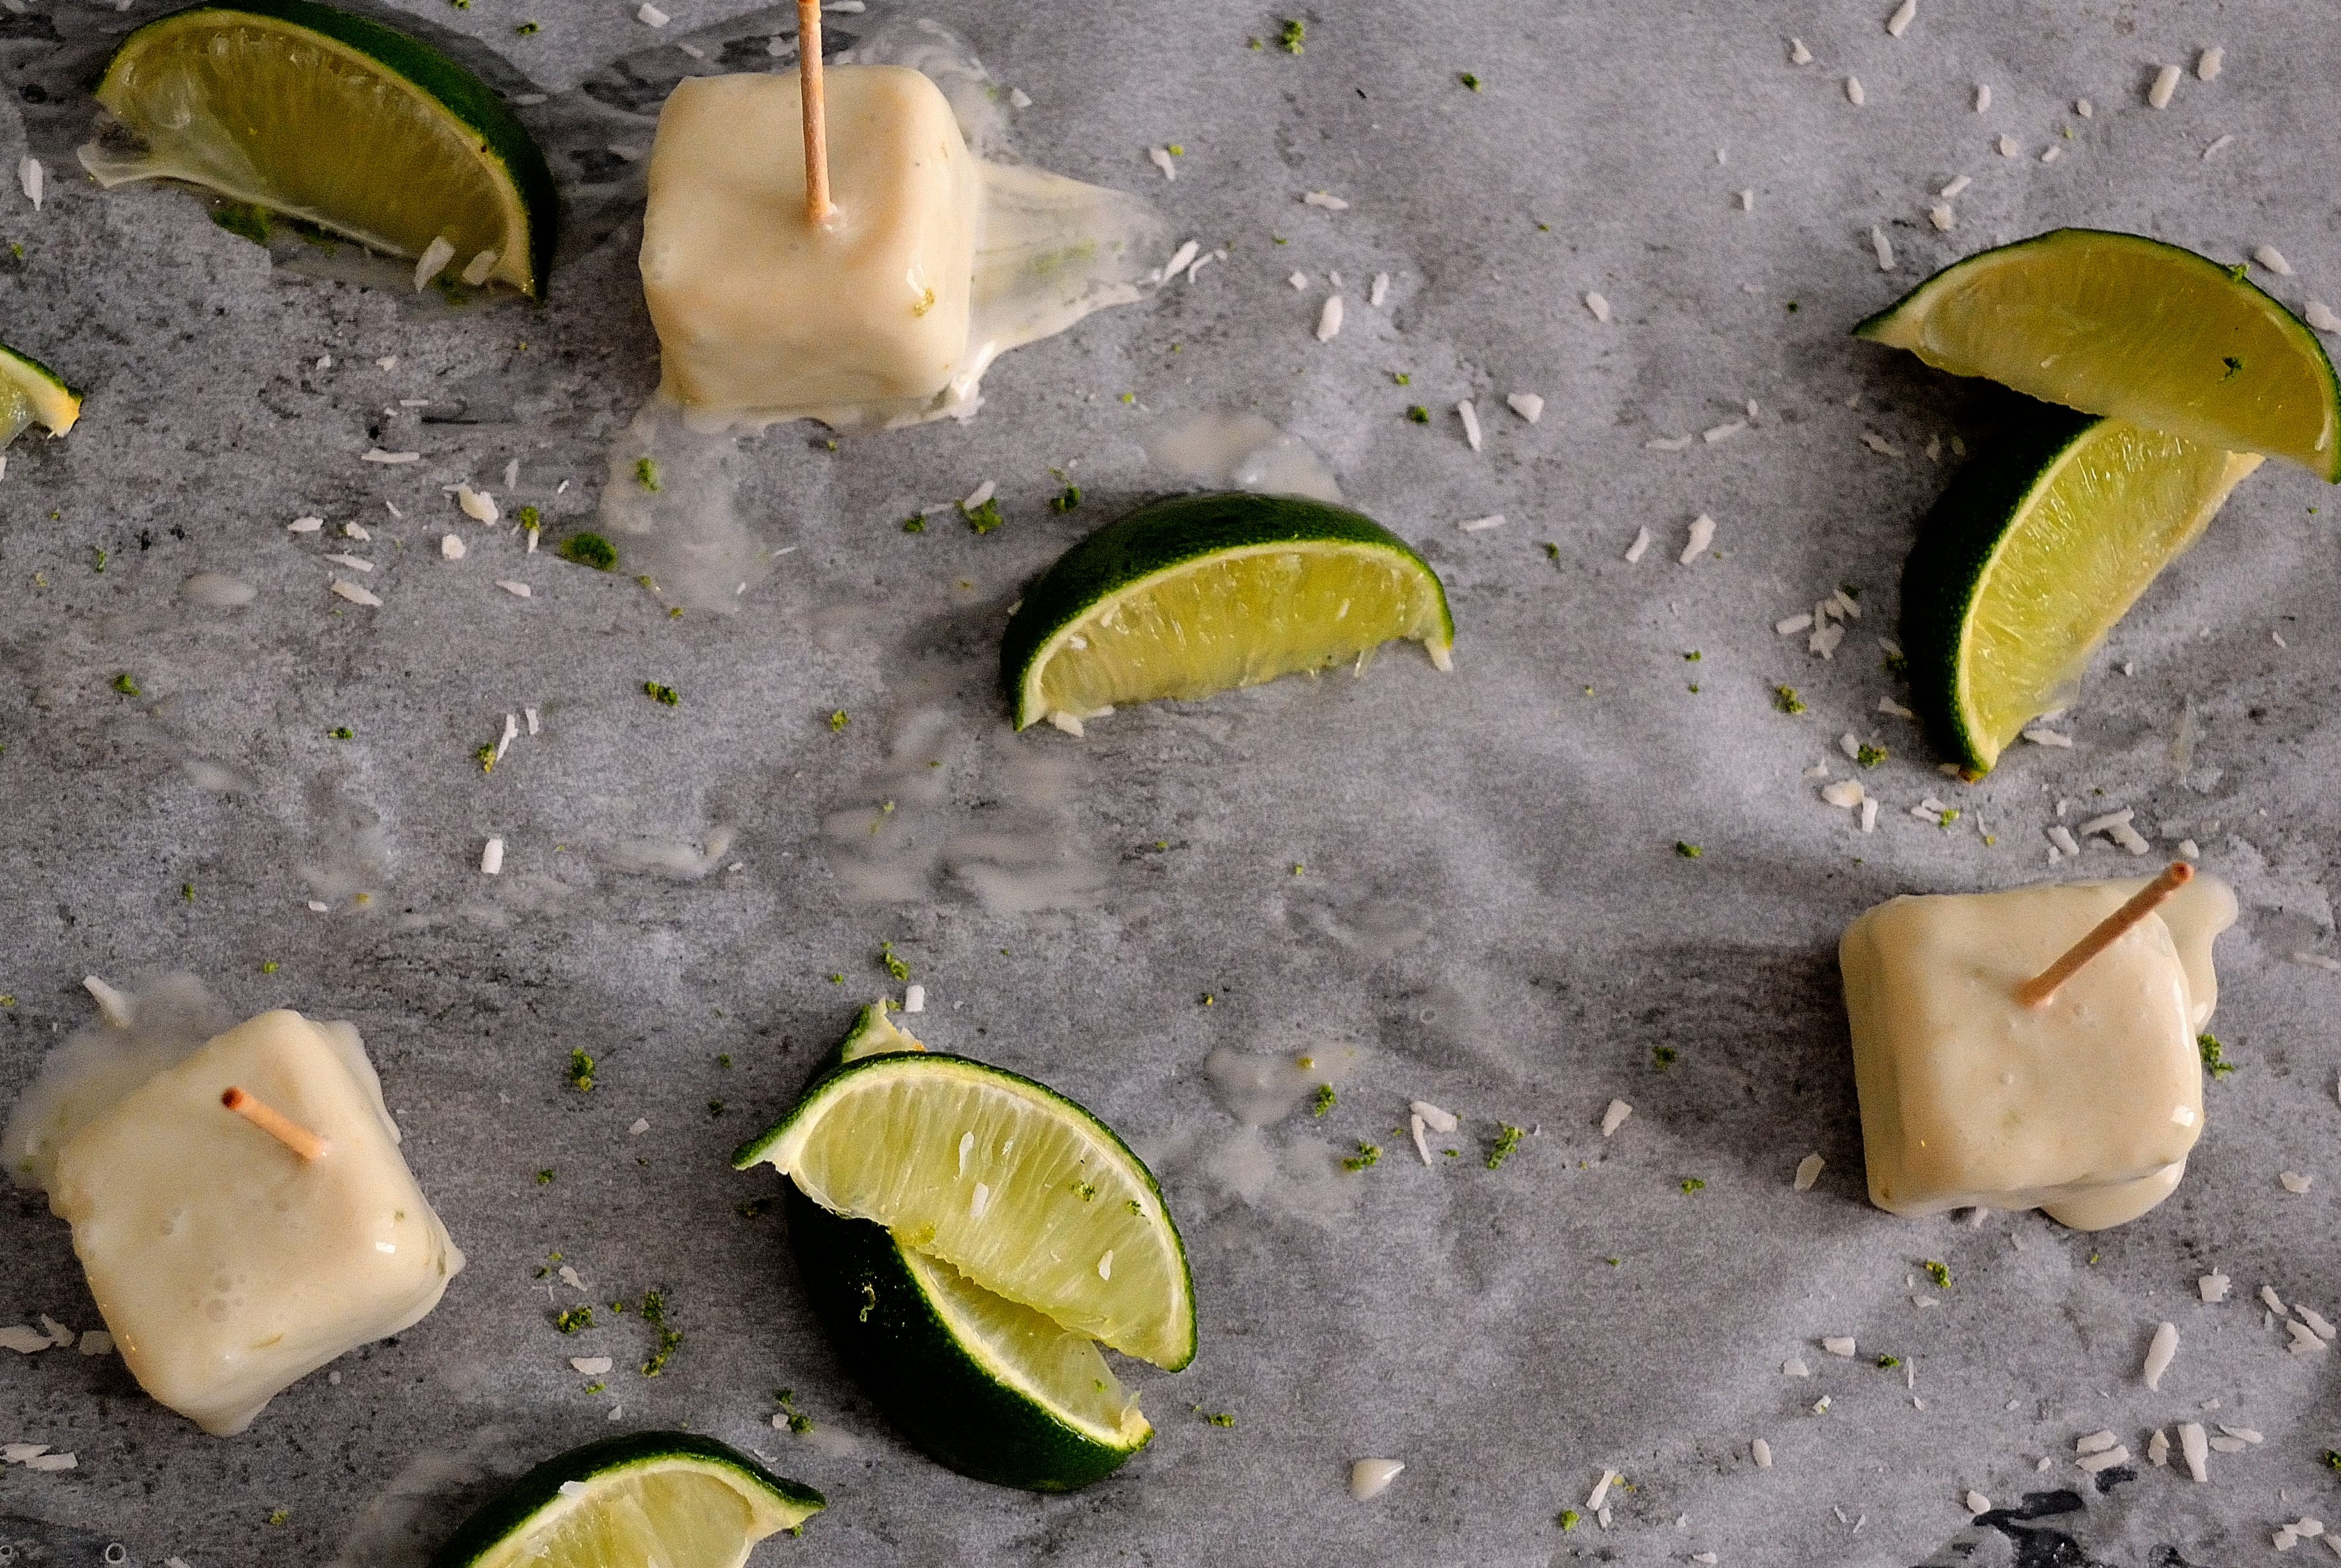
Key Lime Pistachio Truffles from The Clean DishKey Lime Pistachio Truffles

I am really having a thing with key lime lately.  It is the perfect summer treat and there are so many ways to make it.  These truffles look amazing!

Grain-Free Chocolate Zucchini Bread from Predominantly PaleoGrain-Free Chocolate Zucchini Bread

About this time of year, we’re pretty much drowning in zucchini.  It’s delicious but the same old zucchini bread can get a little tiresome.  I love this chocolate twist!

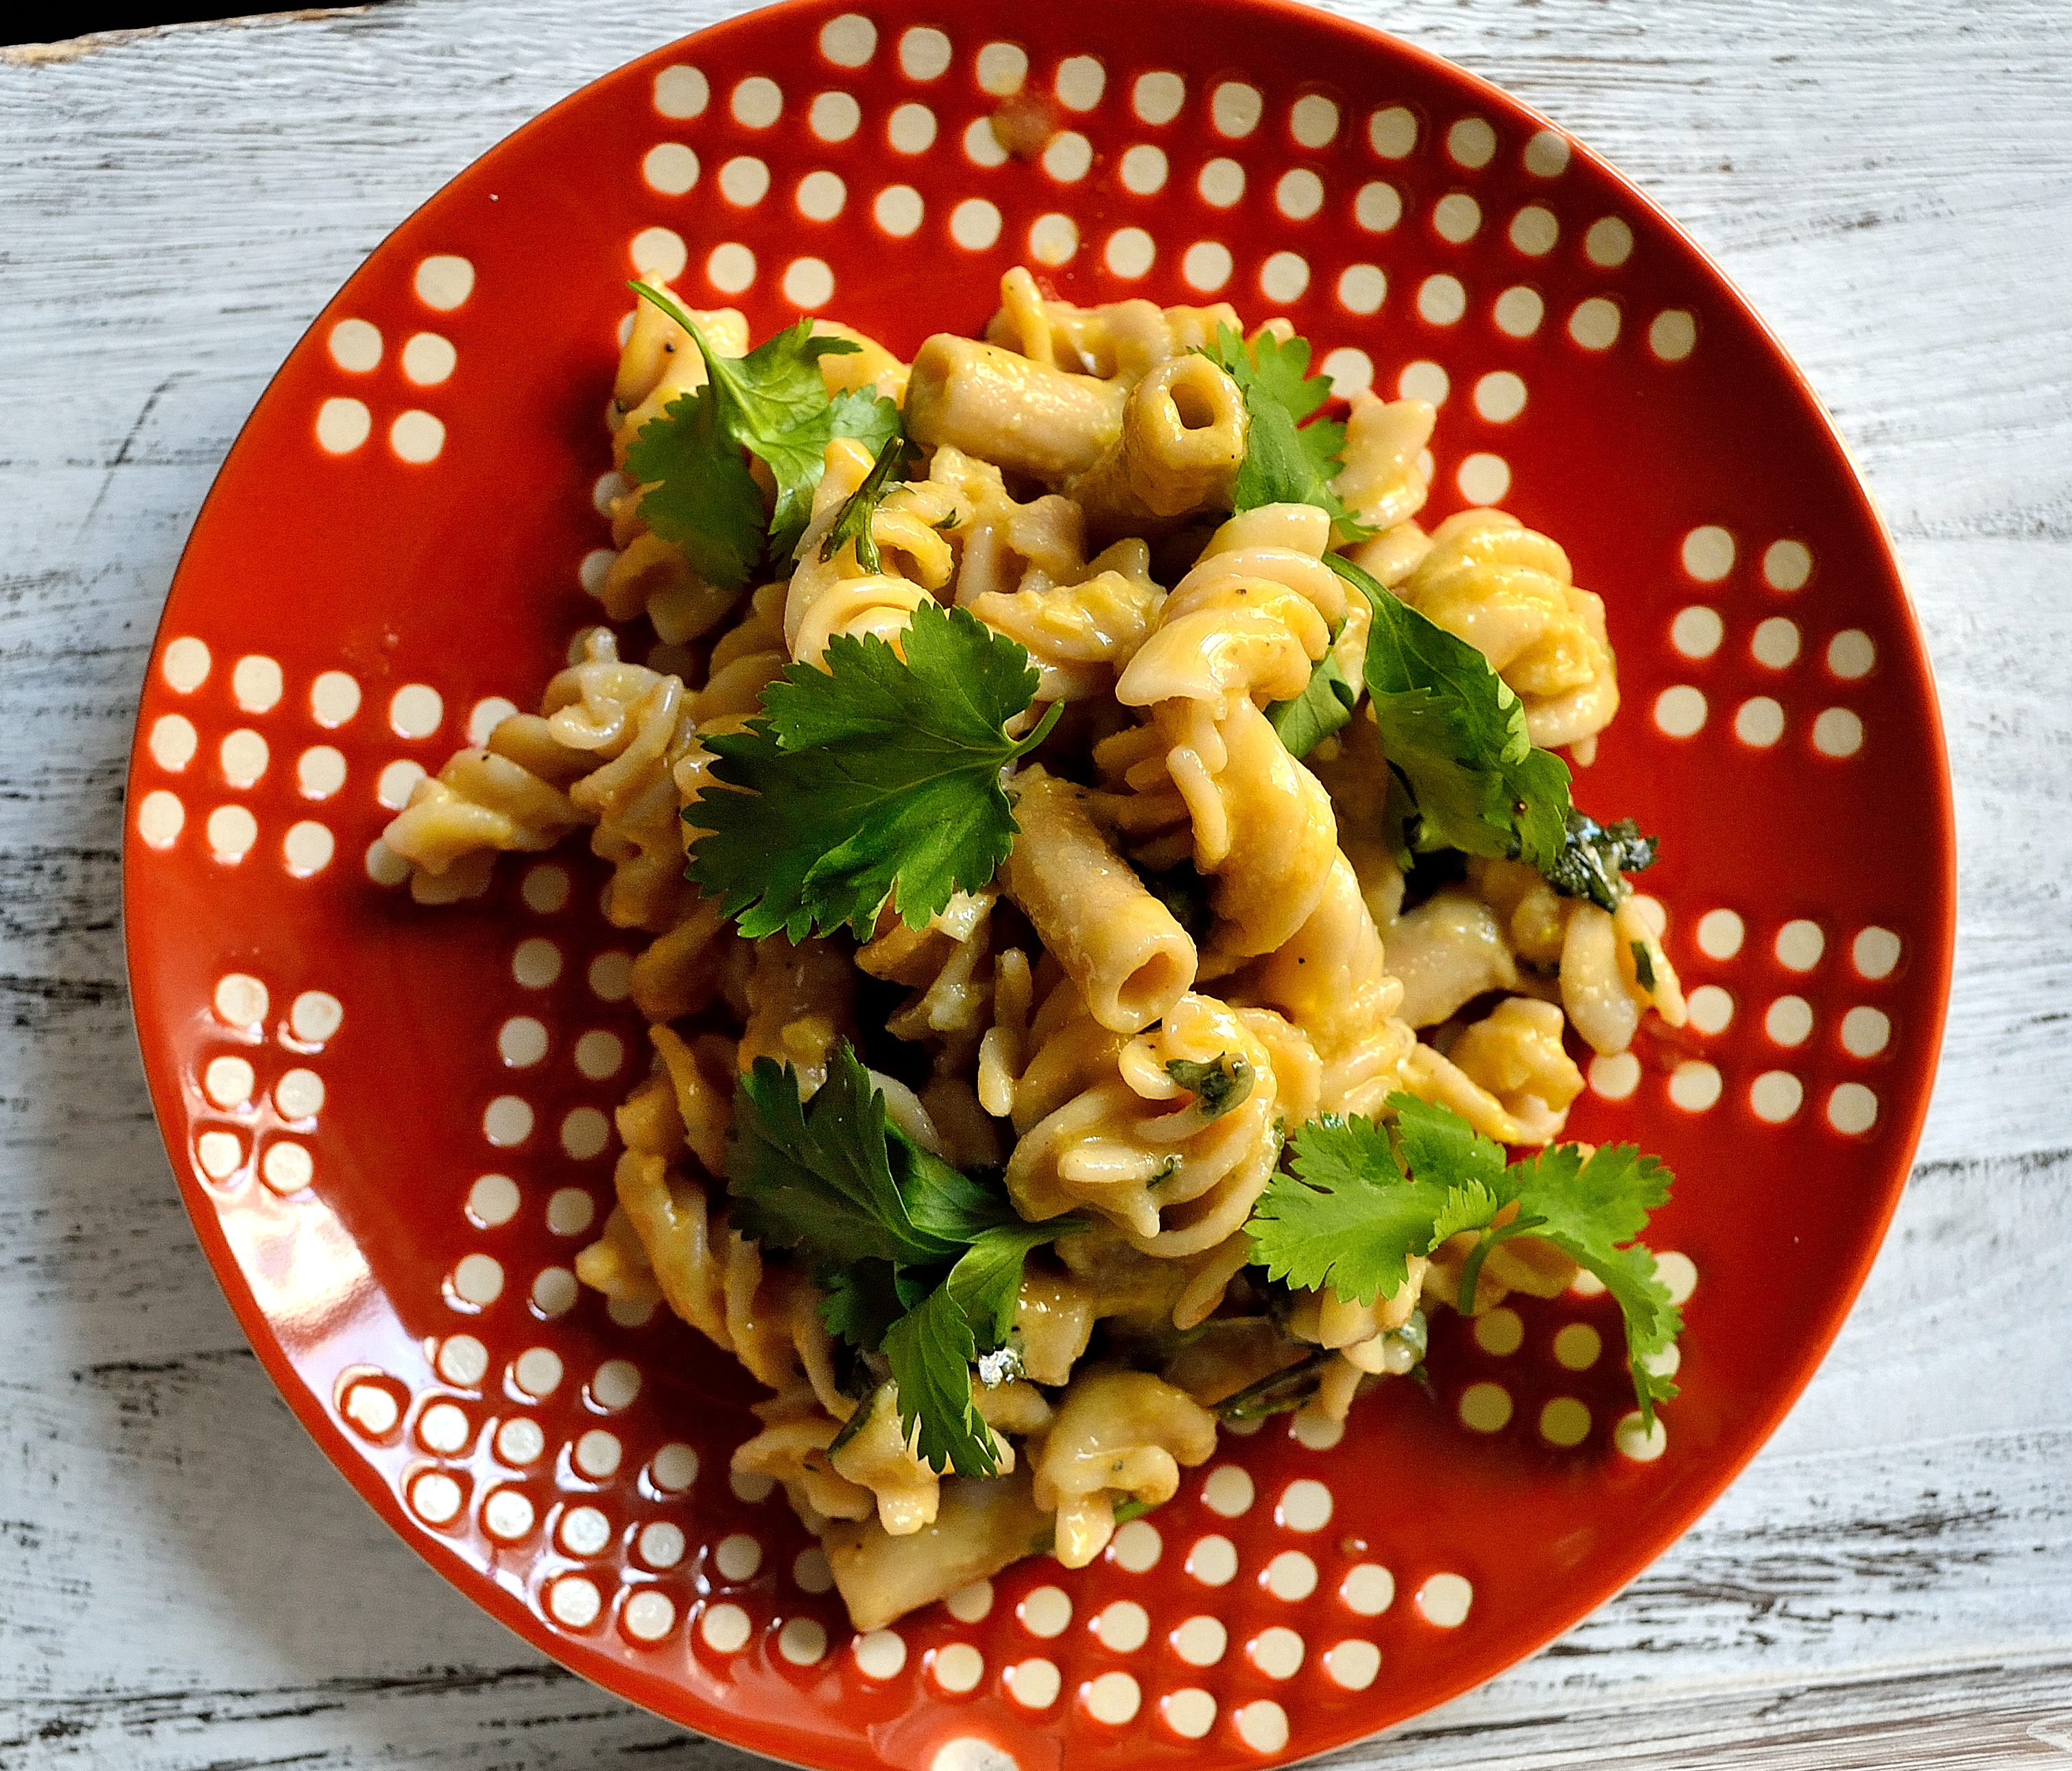
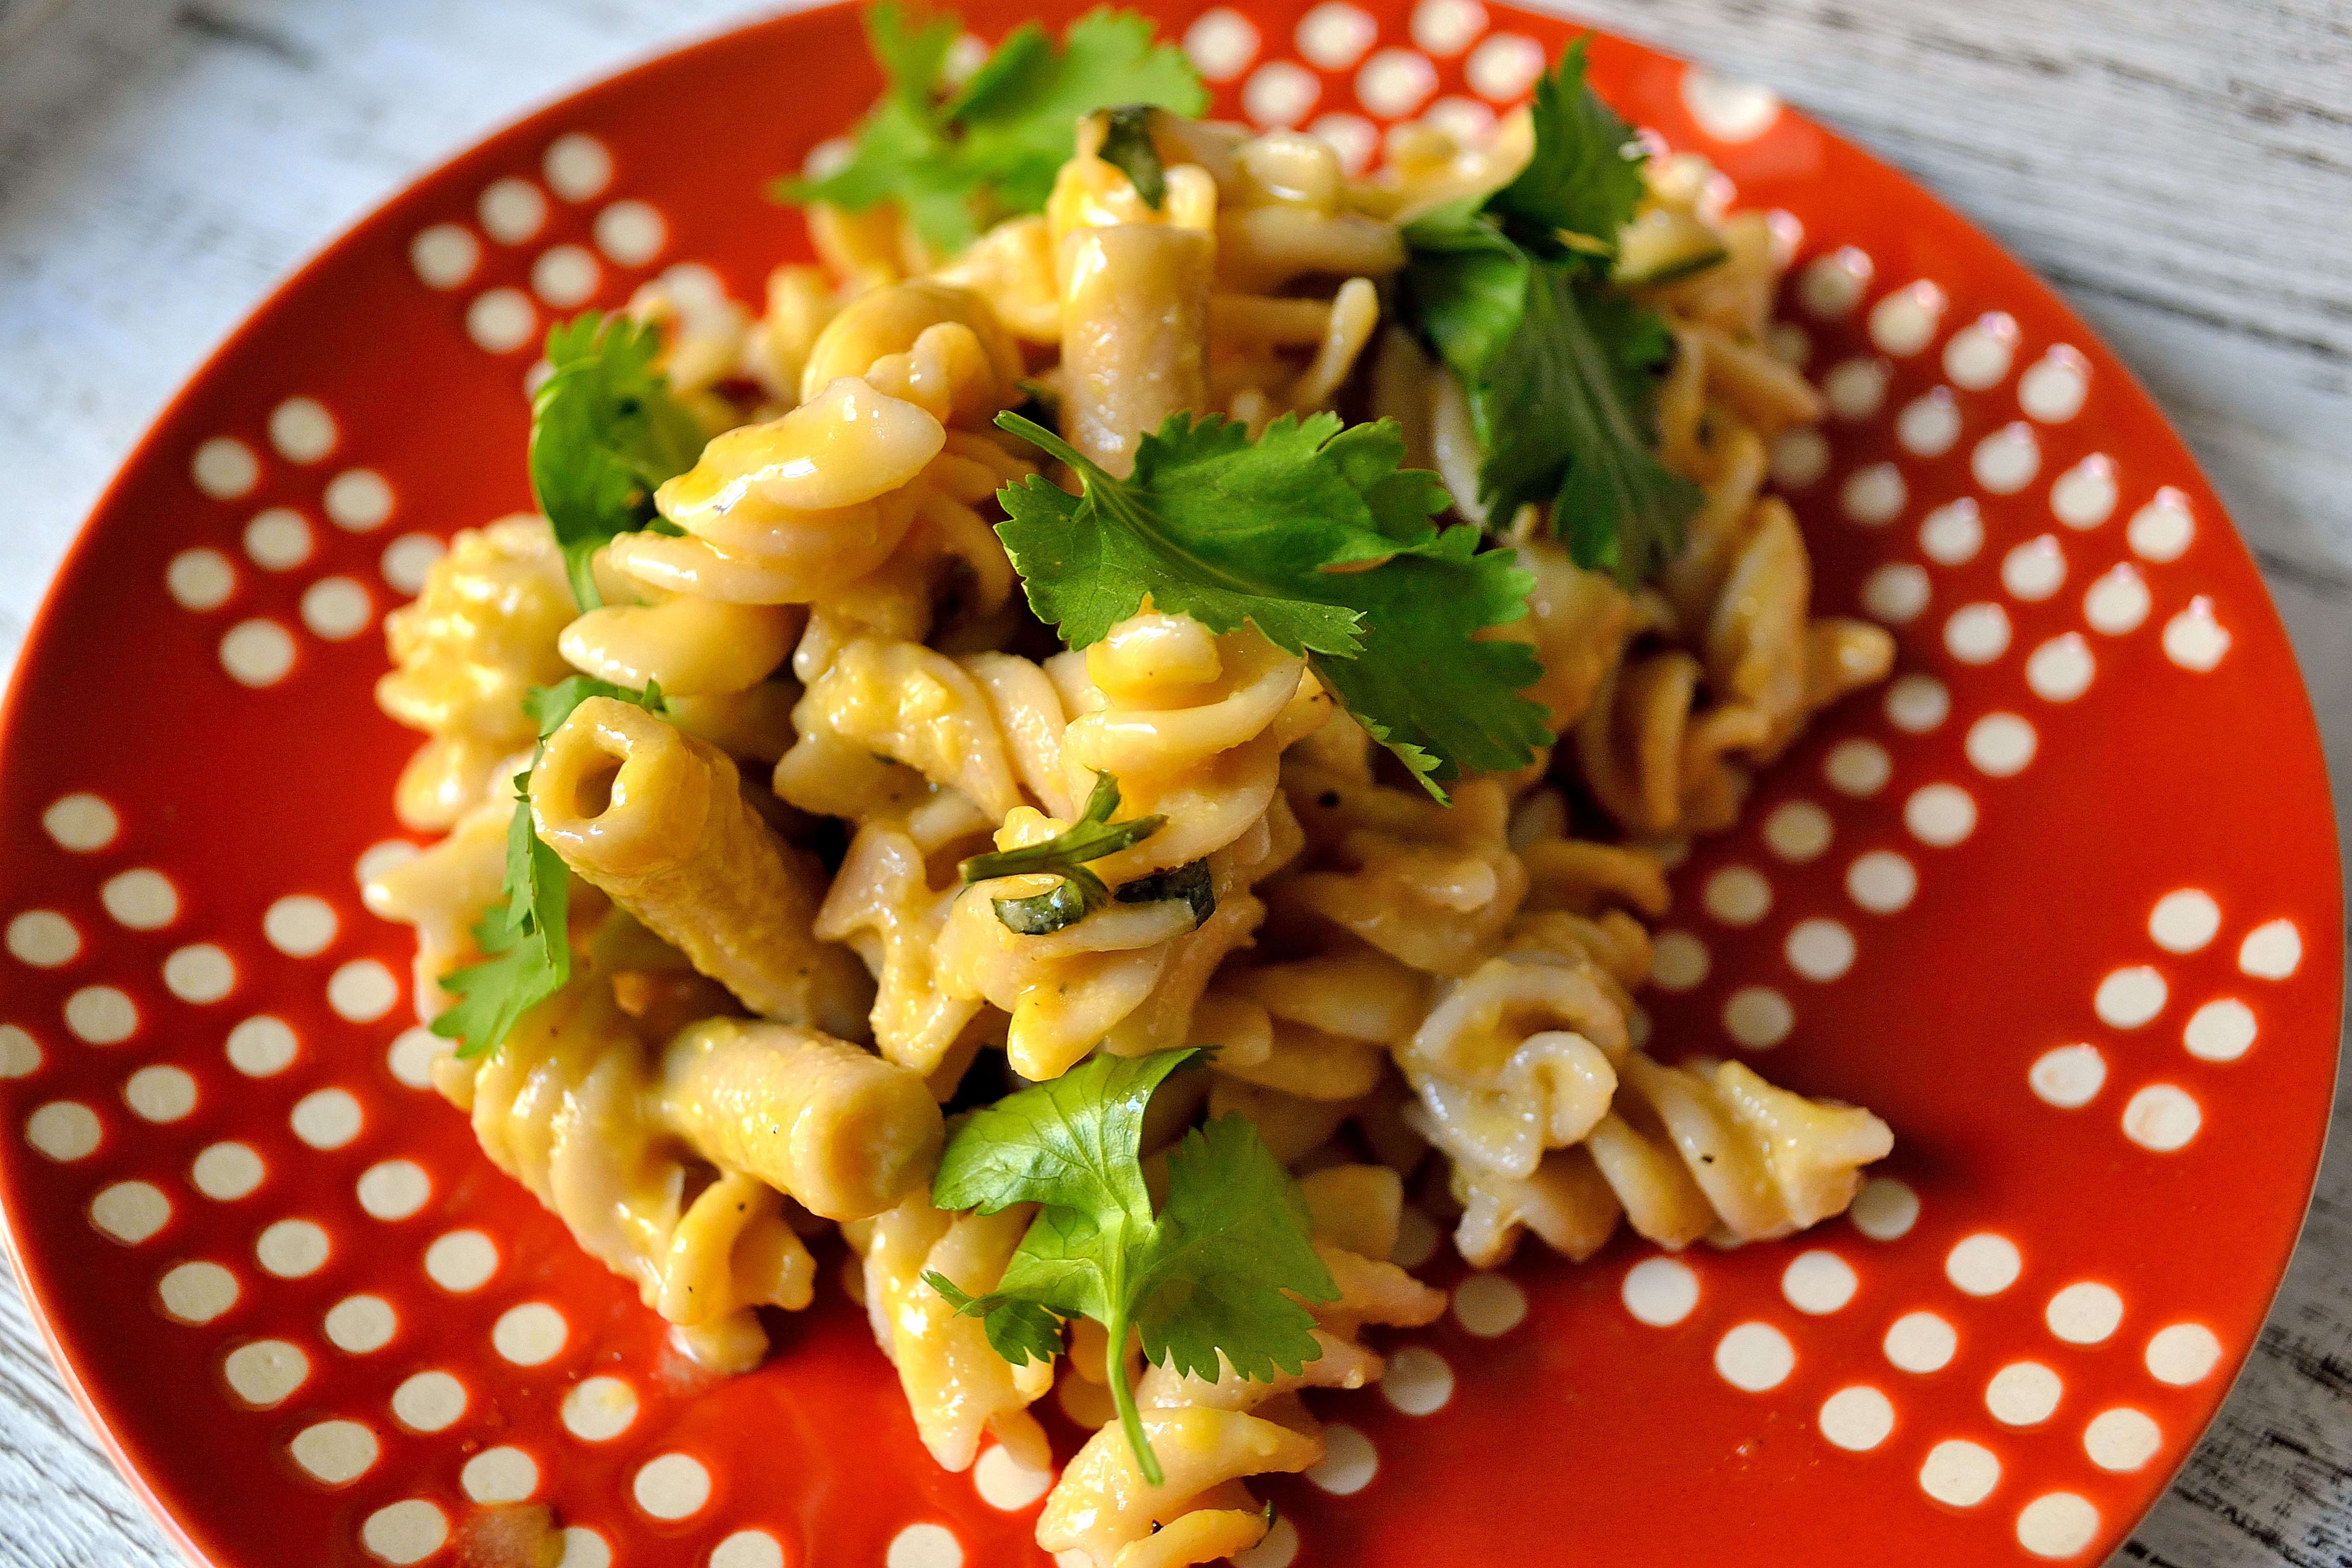
Avocado Lemon Basil Pesto from Kathy HesterAvocado Lemon Pesto

Along with key lime, I have been having a love affair with pesto this summer.   My fridge has not been without a jar of the stuff for more than 2 hours.  The lemon basil in this is amazing, but if you can’t find any regular basil still makes a tasty pesto!

Chocolate Peanut Butter Magic Shell from The Lemon BowlChocolate PB Magic Shell 

Be prepared for me to cover everything in this delectable concoction.  If you’re smart you should do the same.

Have an awesome weekend and make one of these glorious dishes!

Key Lime Popsicles

IKey Lime Popsicles | Life Healthfully Lived am excited about this one you guys.  One of my favorite desserts is key lime pie.  I love the tanginess of the lime and the fact that it isn’t overly sweet.  And key lime cheesecake?  Forget about it.  Creamy, tangy, limey goodness.

Back in the day, my family would go to this restaurant called Omega.  They were a greek place (duh, their name is Omega) and they had all the food.  Seriously so much food.  You could get a whole 3-course dinner which would include soup/salad, an entree, and then dessert.  You could also order a la carte, but who would do that?  Crazy people that’s who.  Anyways, back to the 3-course feast.  They had a huge dessert counter and big glass cases that would display hundreds of cookies, cakes, and pies.  After our dinner, my sister and I would run to the dessert counter to choose what we were going to get.  I would make the obligatory lap around the cases, but I already knew what I was going to get.  A big slice of key lime cheesecake.  It always hit the spot and no matter how full I was from my massive dinner, I had a little room for that cheesecake.

Key Lime Popsicles | Life Healthfully Lived

I haven’t had key lime pie or cheesecake in many years, but I still crave that tangy goodness especially around summer.  I decided it was high time that I made a key lime dessert that would satisfy my craving without being totally decadent.

My one hurdle was the sweetened condensed milk.  That is one of the key ingredients in key lime pie and there was no way I was including it in my “healthy” version.  I thought about doing just plain coconut milk and leaving it at that, which would certainly work.  But I decided to take it a step further and made a coconut condensed milk.

Key Lime Popsicles | Life Healthfully Lived

Bingo.

This key lime popsicle is cool, creamy, slightly sweet, and wonderfully tangy.  It passed the husband test (although I handed it to him right as he was in the middle of a video game. Gamer wife fail) and he ate it with glee.  It also doesn’t require a ton of ingredients and once you make the condensed milk, it takes like 2 minutes to put together.  After that, all you have to do is wait for it to freeze…

Key Lime Popsicles

Key Lime Popsicles | Life Healthfully Lived

  • 1 can full-fat coconut milk, unsweetened
  • 1/4 cup maple syrup or honey
  • 1/2 to 2/3 cup lime juice (I used 2/3 but I like it very tangy, use less if you don’t want it as tart)
  • 1 tsp grated lime zestKey Lime Popsicles | Life Healthfully Lived
  1. Shake your can of coconut milk well and pour into a medium saucepan.  Bring to a low boil over medium heat stirring occasionally.
  2. Once the milk is at a boil, whisk in the maple syrup or honey and keep at a low simmer for about 15 minutes, stirring frequently so it doesn’t scald.  The milk should get a little thicker and reduce down just  a little.
  3. Remove from heat and pour into another bowl and let it cool completely.  Once it’s cool add in lime juice and zest.  Stir it all together.
  4. Pour the mixture into popsicle molds and let them freeze for at least 2 hours, overnight if you can.  If you don’t have popsicle molds you can use an ice cube tray and toothpicks or dixie cups and popsicle sticks.  Key Lime Popsicles | Life Healthfully Lived

DIY Wednesday: Coconut Whip Cream

FullDIY Wednesday: Coconut Whip Cream | Life Healthfully Lived Disclosure:  I do NOT like whip cream.  I know, I know, I’m not American, but it’s a texture thing for me.  For some reason, I don’t like the way whip cream feels in my mouth.  Yes, I’m a weirdo and I’m ok with that.

Second Full Disclosure: I did NOT come up with this recipe.  There are plenty of blogs/websites out there that have this recipe but I wanted to share it with you guys to show you how easy it is to make your own whip cream.

When you think about it, the method to this is right there in the name.  You are just whipping cream.  Fresh whipped cream can be a beautifully simple thing and it’s fun to watch cream turn into something light and fluffy.  Unfortunately, many people rely mostly on cans or tubs of whip cream and that’s where things get messy.

Fresh whip cream is meant to be eaten right away and not stored for a long period of time.  In order to make the whip cream sold in stores have a longer shelf life, chemicals and preservatives are added.  Things like stabilizers, gums, sugar are all used to make sure you can use your whipped cream for a long period of time.  Luckily, it’s really easy to make your own whipped cream and you don’t have to add any questionable ingredients.  This recipe is even better because those of you who have/choose to avoid dairy can still enjoy this dessert topping.

Add it to berries for a simple dessert, try it on top of your favorite cobbler or crisp, put some in your yogurt and create a parfait, or use it on your banana split.  You can use this whip cream just like store bought and feel better about the ingredients and the cost!

DIY Coconut Whip Cream

DIY Wednesday: Coconut Whip Cream | Life Healthfully Lived

  • 1 can full fat unsweetened coconut milk, chilled overnight in the fridge
  • 1 tbsp maple syrup
  •  1 tsp vanilla extract, optional
  1. Place your can of coconut milk in the fridge overnight so it can chill and create the cream.

    DIY Wednesday: Coconut Whip Cream | Life Healthfully Lived

    Pour off that liquid on the top…

  2. Open the can from the bottom and pour out the liquid into a cup or bowl and set aside.  Scoop out the cream and place into a large bowl or into the bowl of your mixer.  Add in the maple syrup and optional vanilla extract.

    DIY Wednesday: Coconut Whip Cream | Life Healthfully Lived

    …and scoop out the cream on the bottom.

  3. Using a hand mixer, immersion blender, or stand mixer, whip the coconut cream until it is light and fluffy.
  4. Use the whipped cream right away. It will last a few hours in the fridge but not much longer than that.DIY Wednesday: Coconut Whip Cream | Life Healthfully Lived

What is your favorite thing to top with whip cream?

DIY Wednesday: Pickles

Let’sDIY Wednesday: Pickles talk about pickles for a second.  Is there anything more satisfying than the briny crunch of a good dill pickle?  Put a pickle on anything and it’s instantly elevated.  Sandwiches are good but add a pickle and they become phenomenal.  Need a little zip on your burger?  Slap on a pickle.  You can even make soup out of pickles.  It’s better than you would think, trust me.  Pickles also come in so many different types.  Spicy, sweet, dill, bread and butter, gherkins, kosher…. The list is endless.

I’m sure you know that you can make your own pickles.  It’s not that difficult of a process, but for some reason pickling anything causes some people to back away slowly.  It seems like a complicated process that can be messed up very easily.  It isn’t, but I get it.  For the longest time, I shied away from making my own pickles and just bought mine at the store.  Unfortunately when I started to read labels, I had the hardest time finding any that didn’t have added sugar, preservatives, or weird ingredients.  There were a few out there, but they were few and far between.

So I decided to try and make my own.  I looked at a few recipes and came up with my own brine and got to pickling.  It was really easy and I was left with some tasty pickles.  I’ll share how I made my own brine, but I’m also going to share a little secret.  You don’t have to make your own brine to make homemade pickles, you can use a little shortcut.  If you have a brand of pickles you usually buy and the ingredients are good, you can just re-use that for your own pickles.  All you have to do is cut up your cucumber and add it to the jar.  Voila! You have pickles.  Easy-peasy!

DIY Pickles

DIY Wednesday: Pickles

  • 1-2 cucumbers, sliced into spears
  • 3-4 cloves garlic
  • 1 cup vinegar
  • 2 tsp salt
  • 2 tsp mustard seeds
  • 2 tsp dried dill or small bunch of fresh dill
  • 1 tsp coriander seeds
  • 1/2 tsp turmeric
  1. Find a large jar that has a tight seal.  Place the cucumber spears and cloves of garlic into the jar and pour in the vinegar.
  2. Add in all the seasonings.  Close the jar and then shake to disperse the seasonings throughout.  Place the jar into the fridge for about a week to fully pickle the cucumbers.

Isn’t that simple?  And it’s even easier if you’re just reusing a store bought jar.  You can play with the seasonings and adjust them to your taste.  If you want to have a spicy pickle try adding in cayenne pepper or red pepper flakes.  If you want to try something a little sweeter add in a little honey, maple syrup, or coconut sugar.  You can also change up which vegetables you use.  Try carrots, beets, cauliflower, parsnips, or zucchini.  This is a great way to preserve the vegetables you get at the market and it makes for a quick healthy snack.

DIY Wednesday: Pickles

Have you ever tried making your own pickles?

Cilantro-Garlic Pasta with Egg Sauce

SometimesCilantro-Garlic Pasta with Egg Sauce when I am coming up with recipes I let things get a little out of hand.  I blame The Flavor Bible and The Vegetarian Flavor Bible.  These are my go-to cookbooks when I am creating recipes and they are awesome.  You look up whatever ingredient you have and find flavors and other ingredients that go well with them.  I get a little ingredient happy as I’m looking through the lists and soon I end up with a recipe that has 500 ingredients, not all of which are easy to find.

I have to remind myself to keep it simple.  We often think simple recipes that have fewer ingredients can’t be as good as the fancy elaborate recipes.  Fancy recipes have their place, but it’s the simple recipes that are the backbone of the food world.

I took it simple with this pasta dish.  I was looking for a meal that was light and refreshing but also felt like comfort food.  I also didn’t have much food on hand so I had to work with what I had.  I remembered seeing a recipe for spaghetti carbonara and wanted to try and make a pasta using the same kind of a sauce.  This in no way is spaghetti carbonara, but the egg sauce is made in the same way.  With only four ingredients and less than 20 minutes to put together, this makes for a really easy weeknight meal that everyone will love.

Cilantro-Garlic Pasta with Egg Sauce 

Cilantro-Garlic Pasta with Egg Sauce

  • 1 package of pasta like penne or rotini (I used Trader Joes brown rice pasta)
  • 4 large cloves garlic, minced
  • 1/3 cup cilantro, chopped
  • 4 large eggs
  • salt and pepper to taste
  1. Cook pasta according to package drain and set aside.  While pasta is cooking, mince the garlic and chop the cilantro and whisk the eggs.
  2. Once the pasta is cooked and drained, in a medium saucepan, heat a little olive oil over medium high heat.  Add the minced garlic and saute for 1 minute.  Add the pasta into the pan and mix to coat with olive oil and garlic.
  3. Remove the pan from the heat.  Pour in the eggs while constantly stirring the pasta.  Make sure you keep stirring the pasta or else you will end up with scrambled eggs over pasta instead of a creamy sauce.
  4. Once all the eggs have been whisked in, stir in chopped cilantro and season with salt and pepper.

Cilantro-Garlic Pasta with Egg Sauce

That’s it!  The egg sauce makes this dish feel super comforting and indulgent, but the cilantro helps brighten it up and make it not feel too heavy of a meal.  This is also great poor college student food because there are no specialty ingredients and each serving is less than $3.00.

Cilantro-Garlic Pasta with Egg Sauce

What is your favorite simple meal?

Happy Friday and have a great weekend everyone!