Simple Fish Salad

RememberSimple Fish Salad | Life Healthfully Lived 
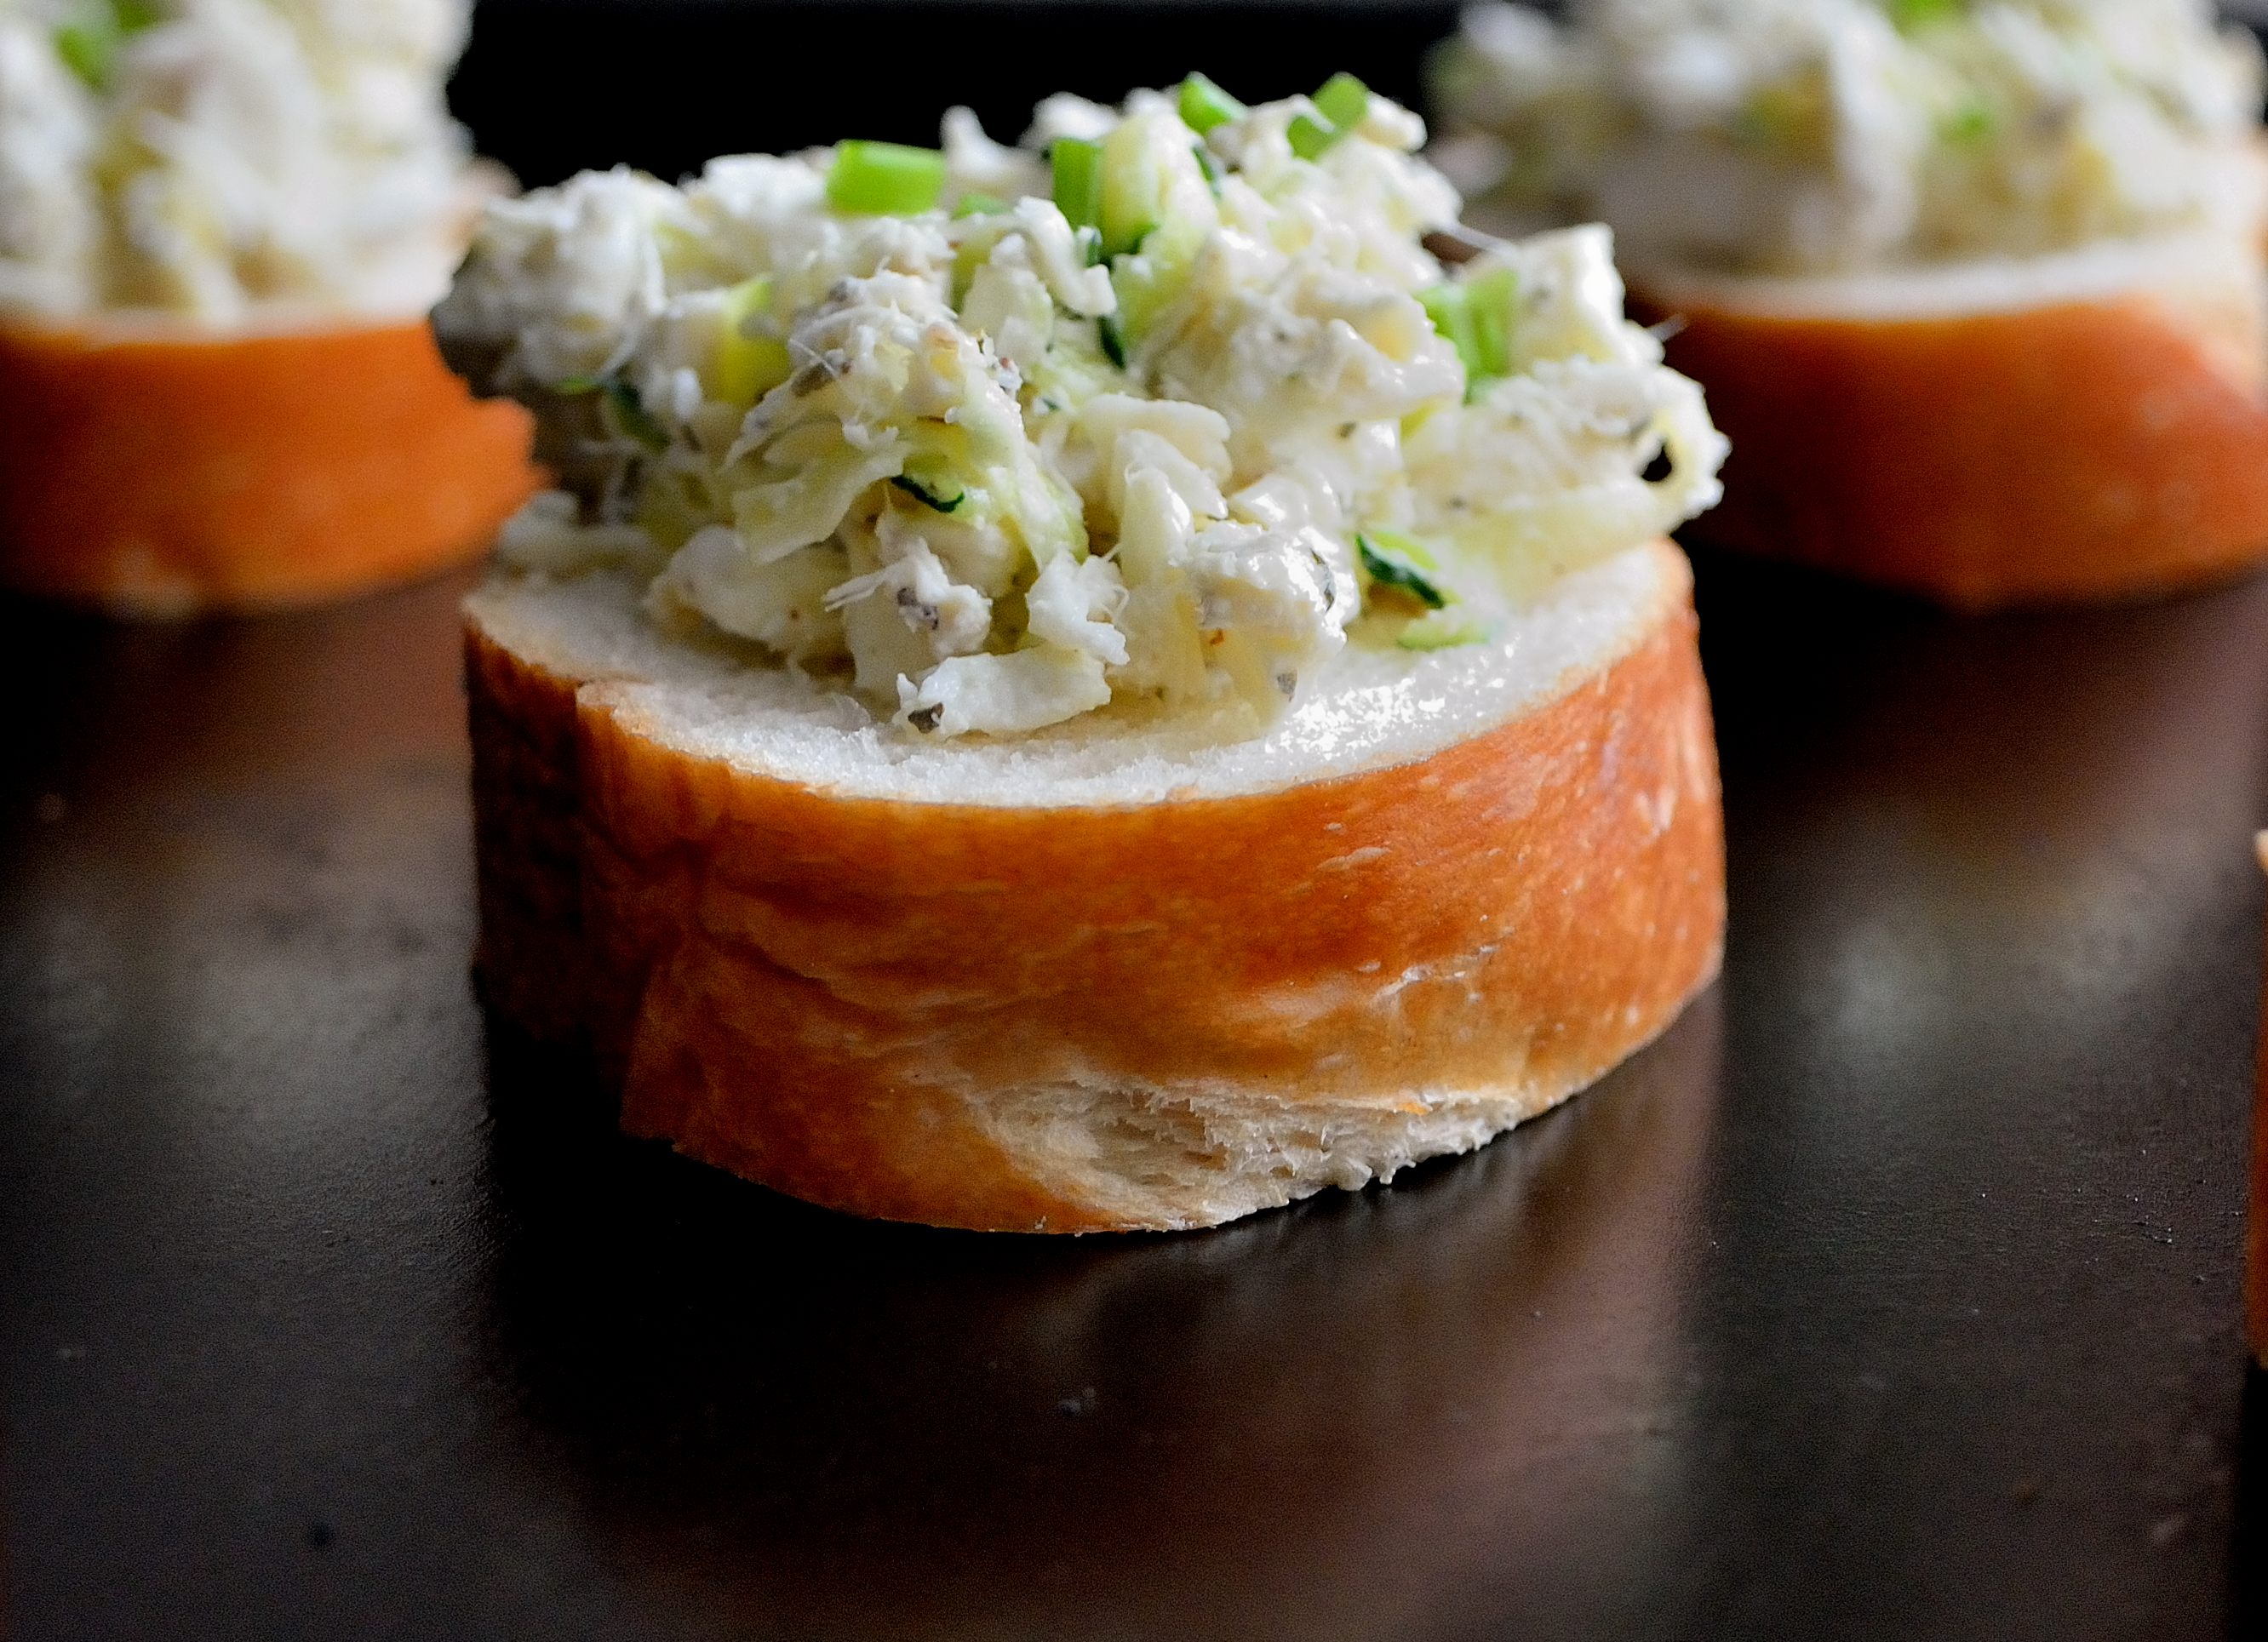
that wall of fish in my freezer?  Well, it has made me become very creative with cooking fish and I thought that I would share some of my creations with you wonderful people.

I don’t eat fish but my husband, Adam does.  I know that fish is a very popular, healthy protein and that many people eat fish.  The problem with fish is preparing it.  Some people have this perception that it is really difficult to cook and while it can be easy to overcook fish, it isn’t as hard as you might think.  Some people think the best way to make fish is to dunk it in batter and fry it up, right mom :)?  While this method is tasty, it isn’t the healthiest way to make fish.Simple Fish Salad | Life Healthfully Lived

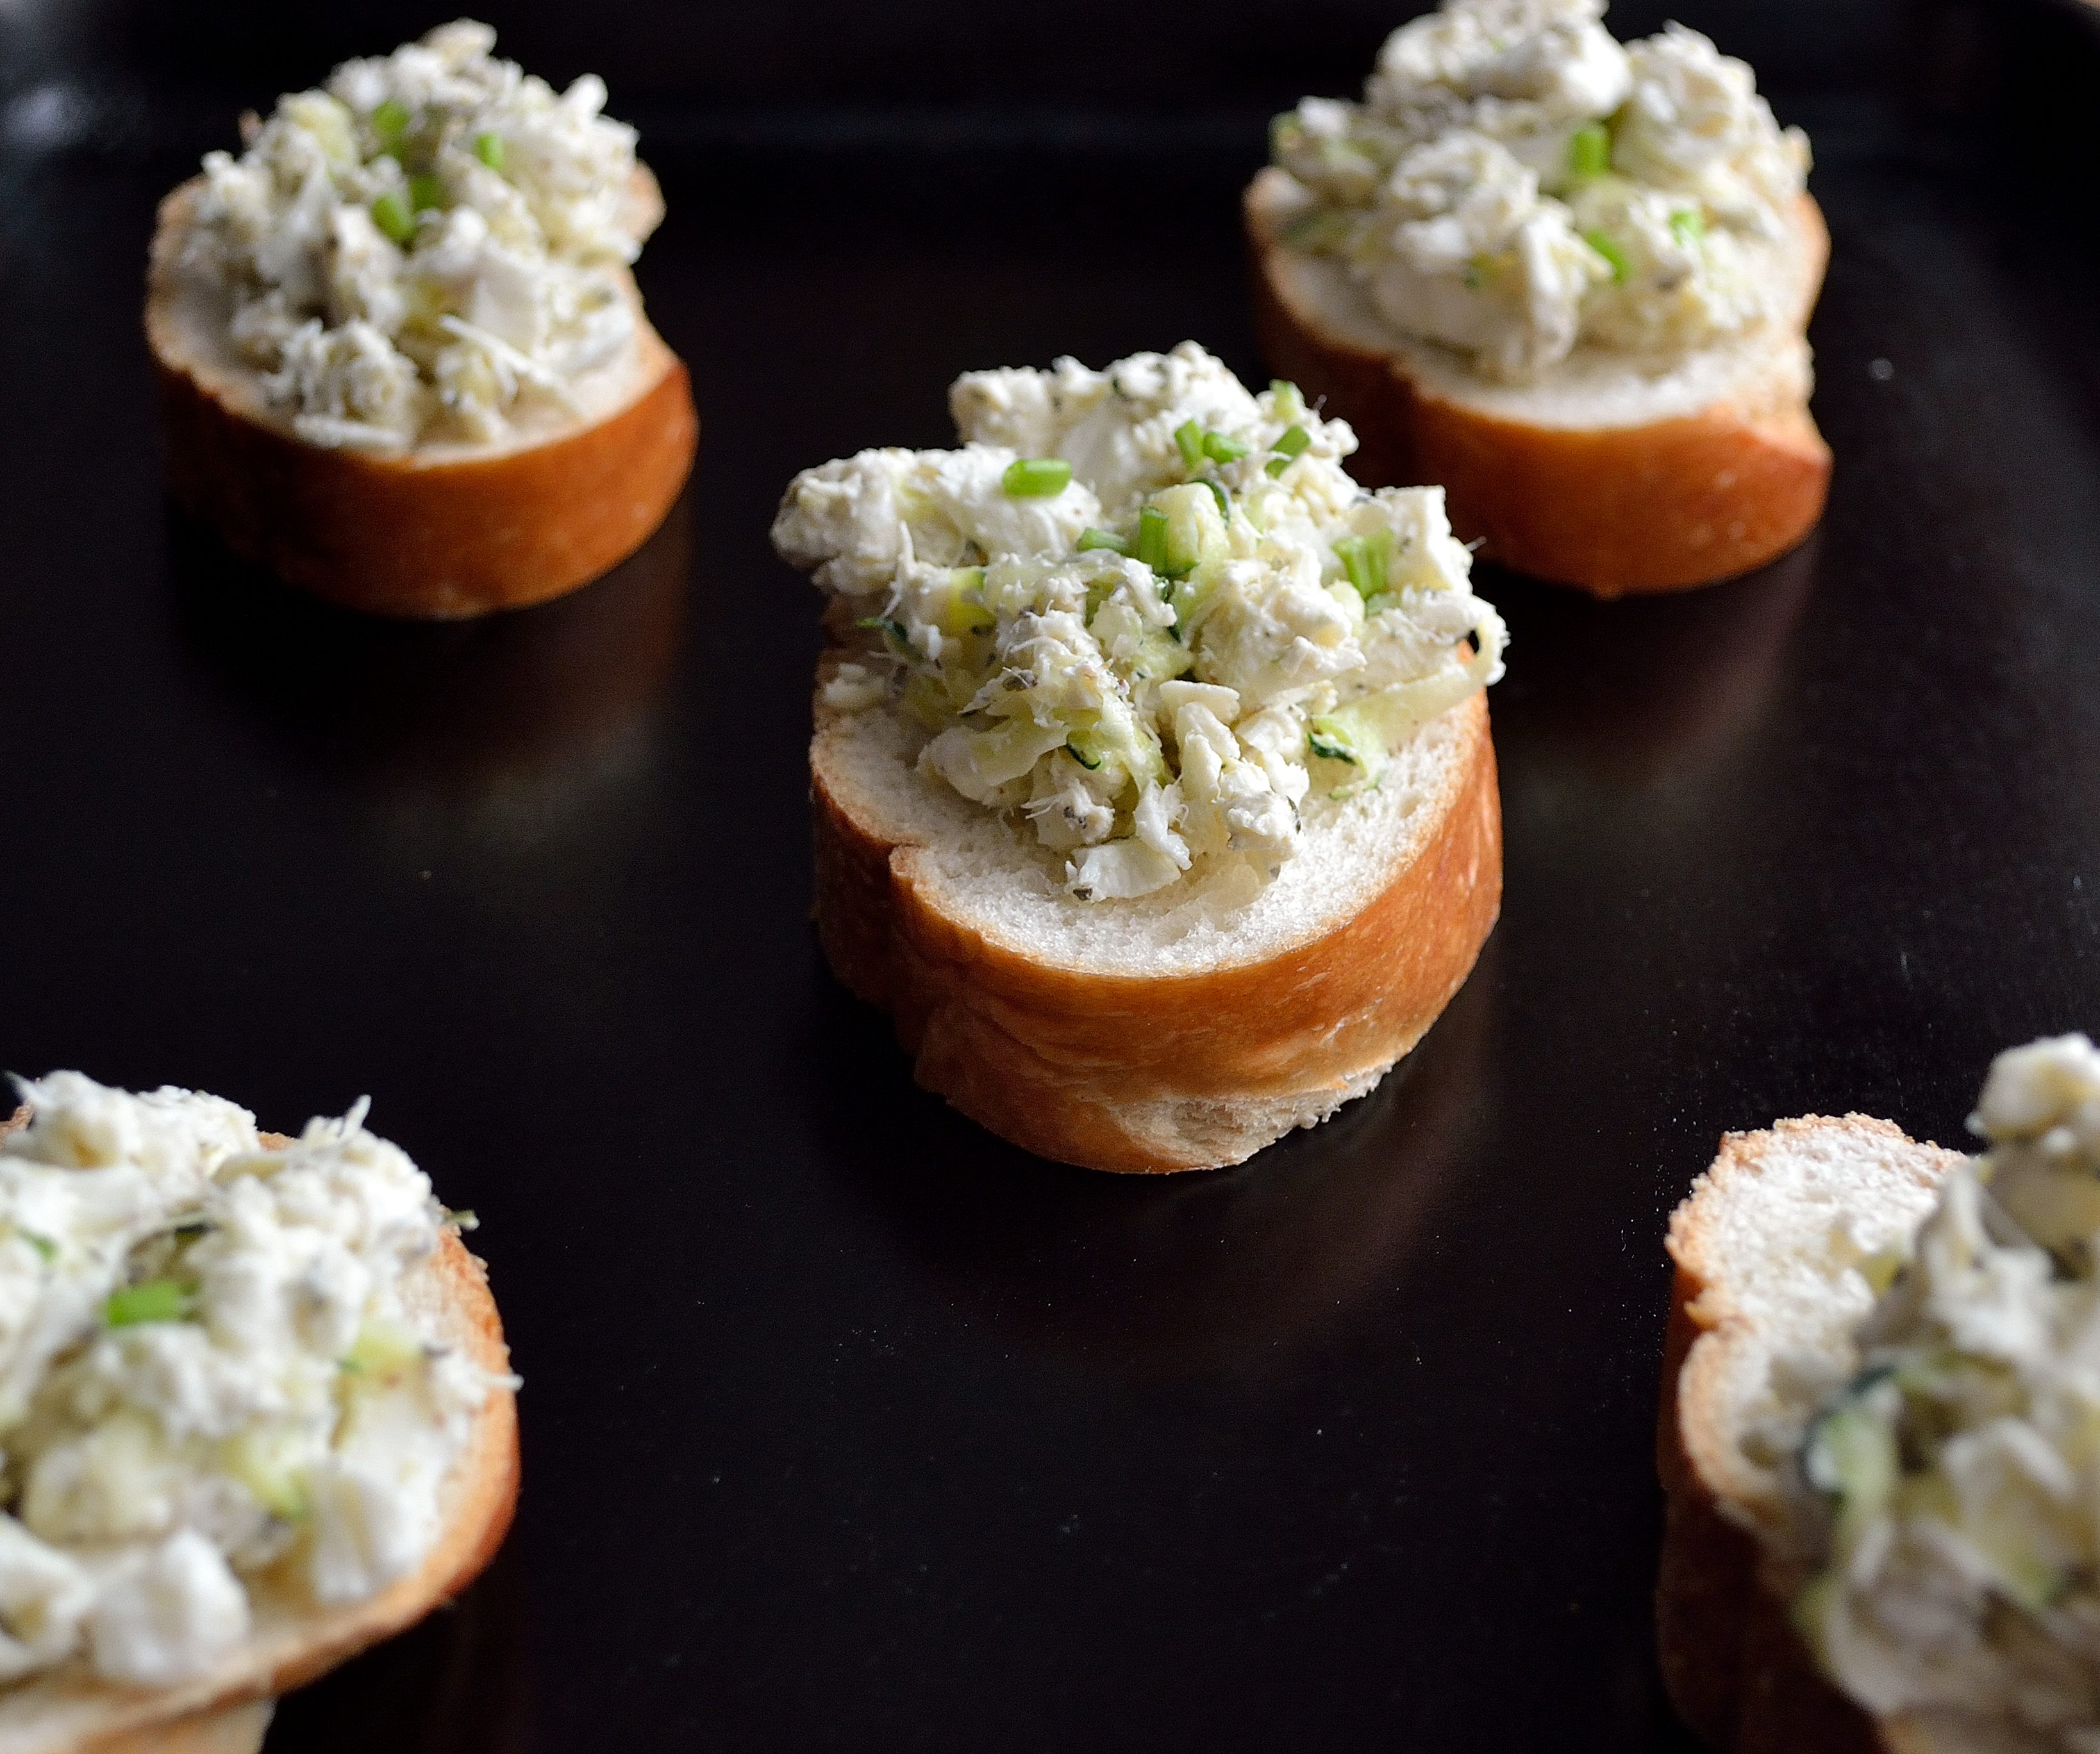
Here is a simple and healthy way to make fish that is a nice change from pan or deep frying.

Simple Fish SaladSimple Fish Salad | Life Healthfully Lived

  • 1 lb of white fish, I used rockfish but halibut, tilapia or cod would work well
  • 2 tsp lemon juice
  • 1 tsp fresh or dried dill
  • 1 tsp oregano
  • 1/2 tsp garlic powder
  • 1/2 tsp onion powder
  • 1/2 tsp salt
  • 1/2 tsp black pepper
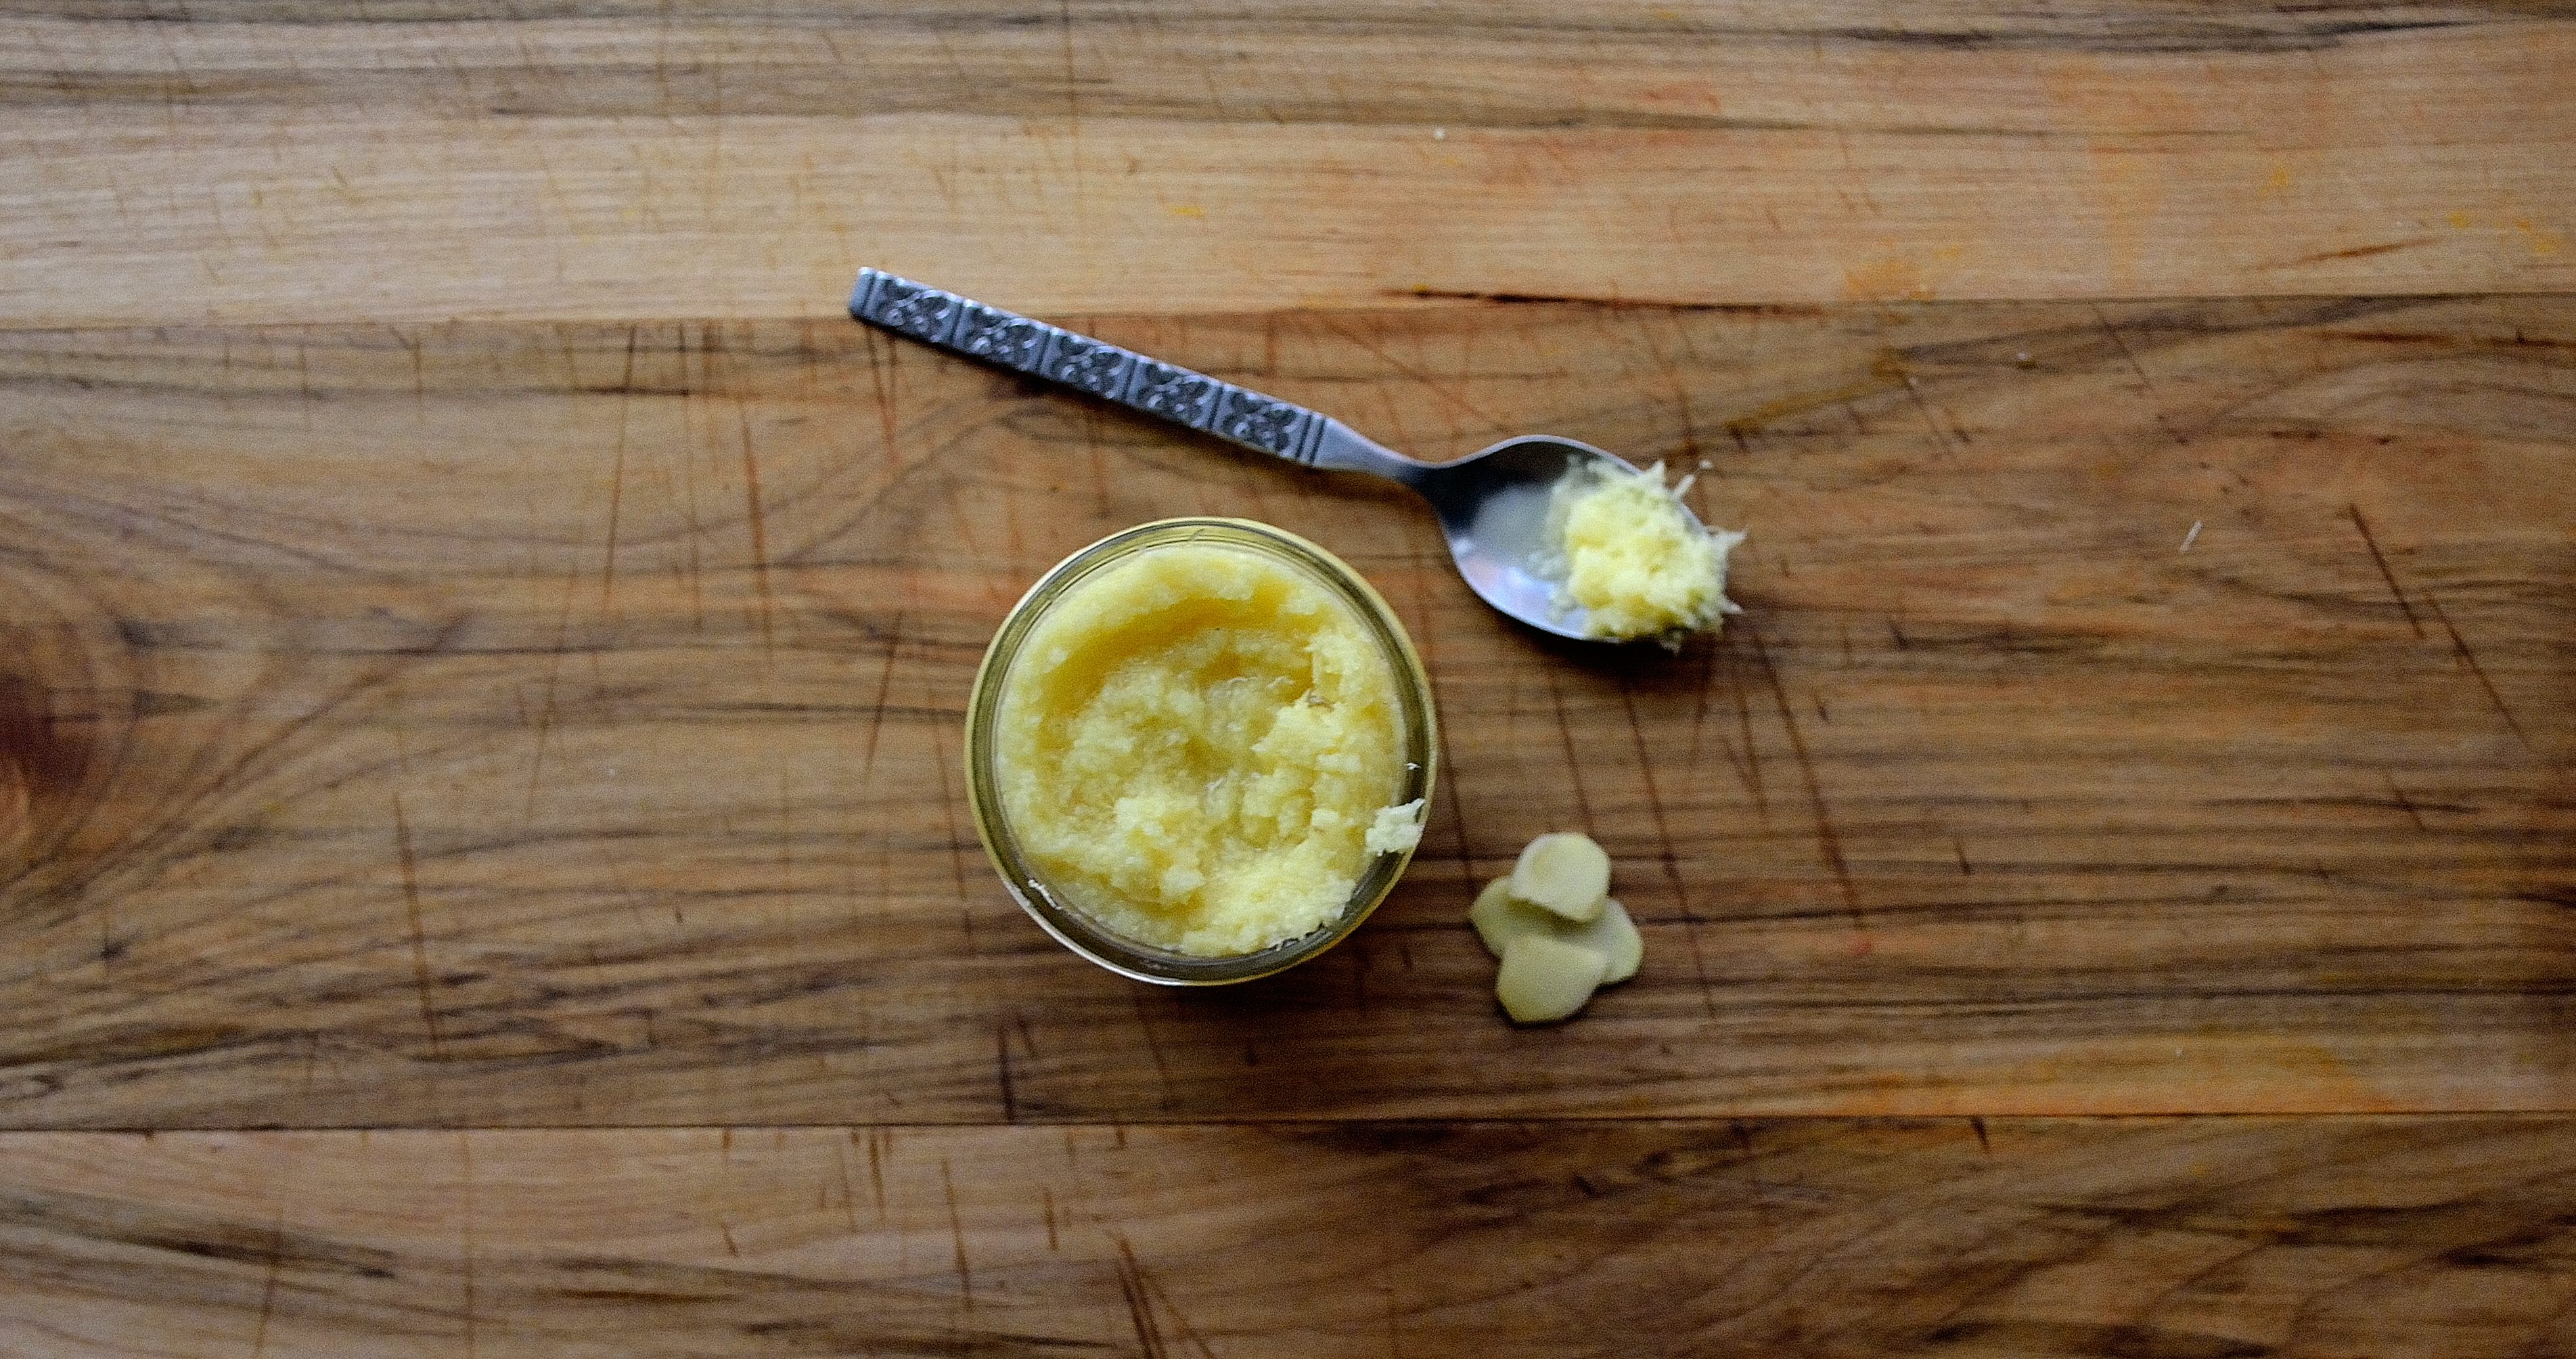
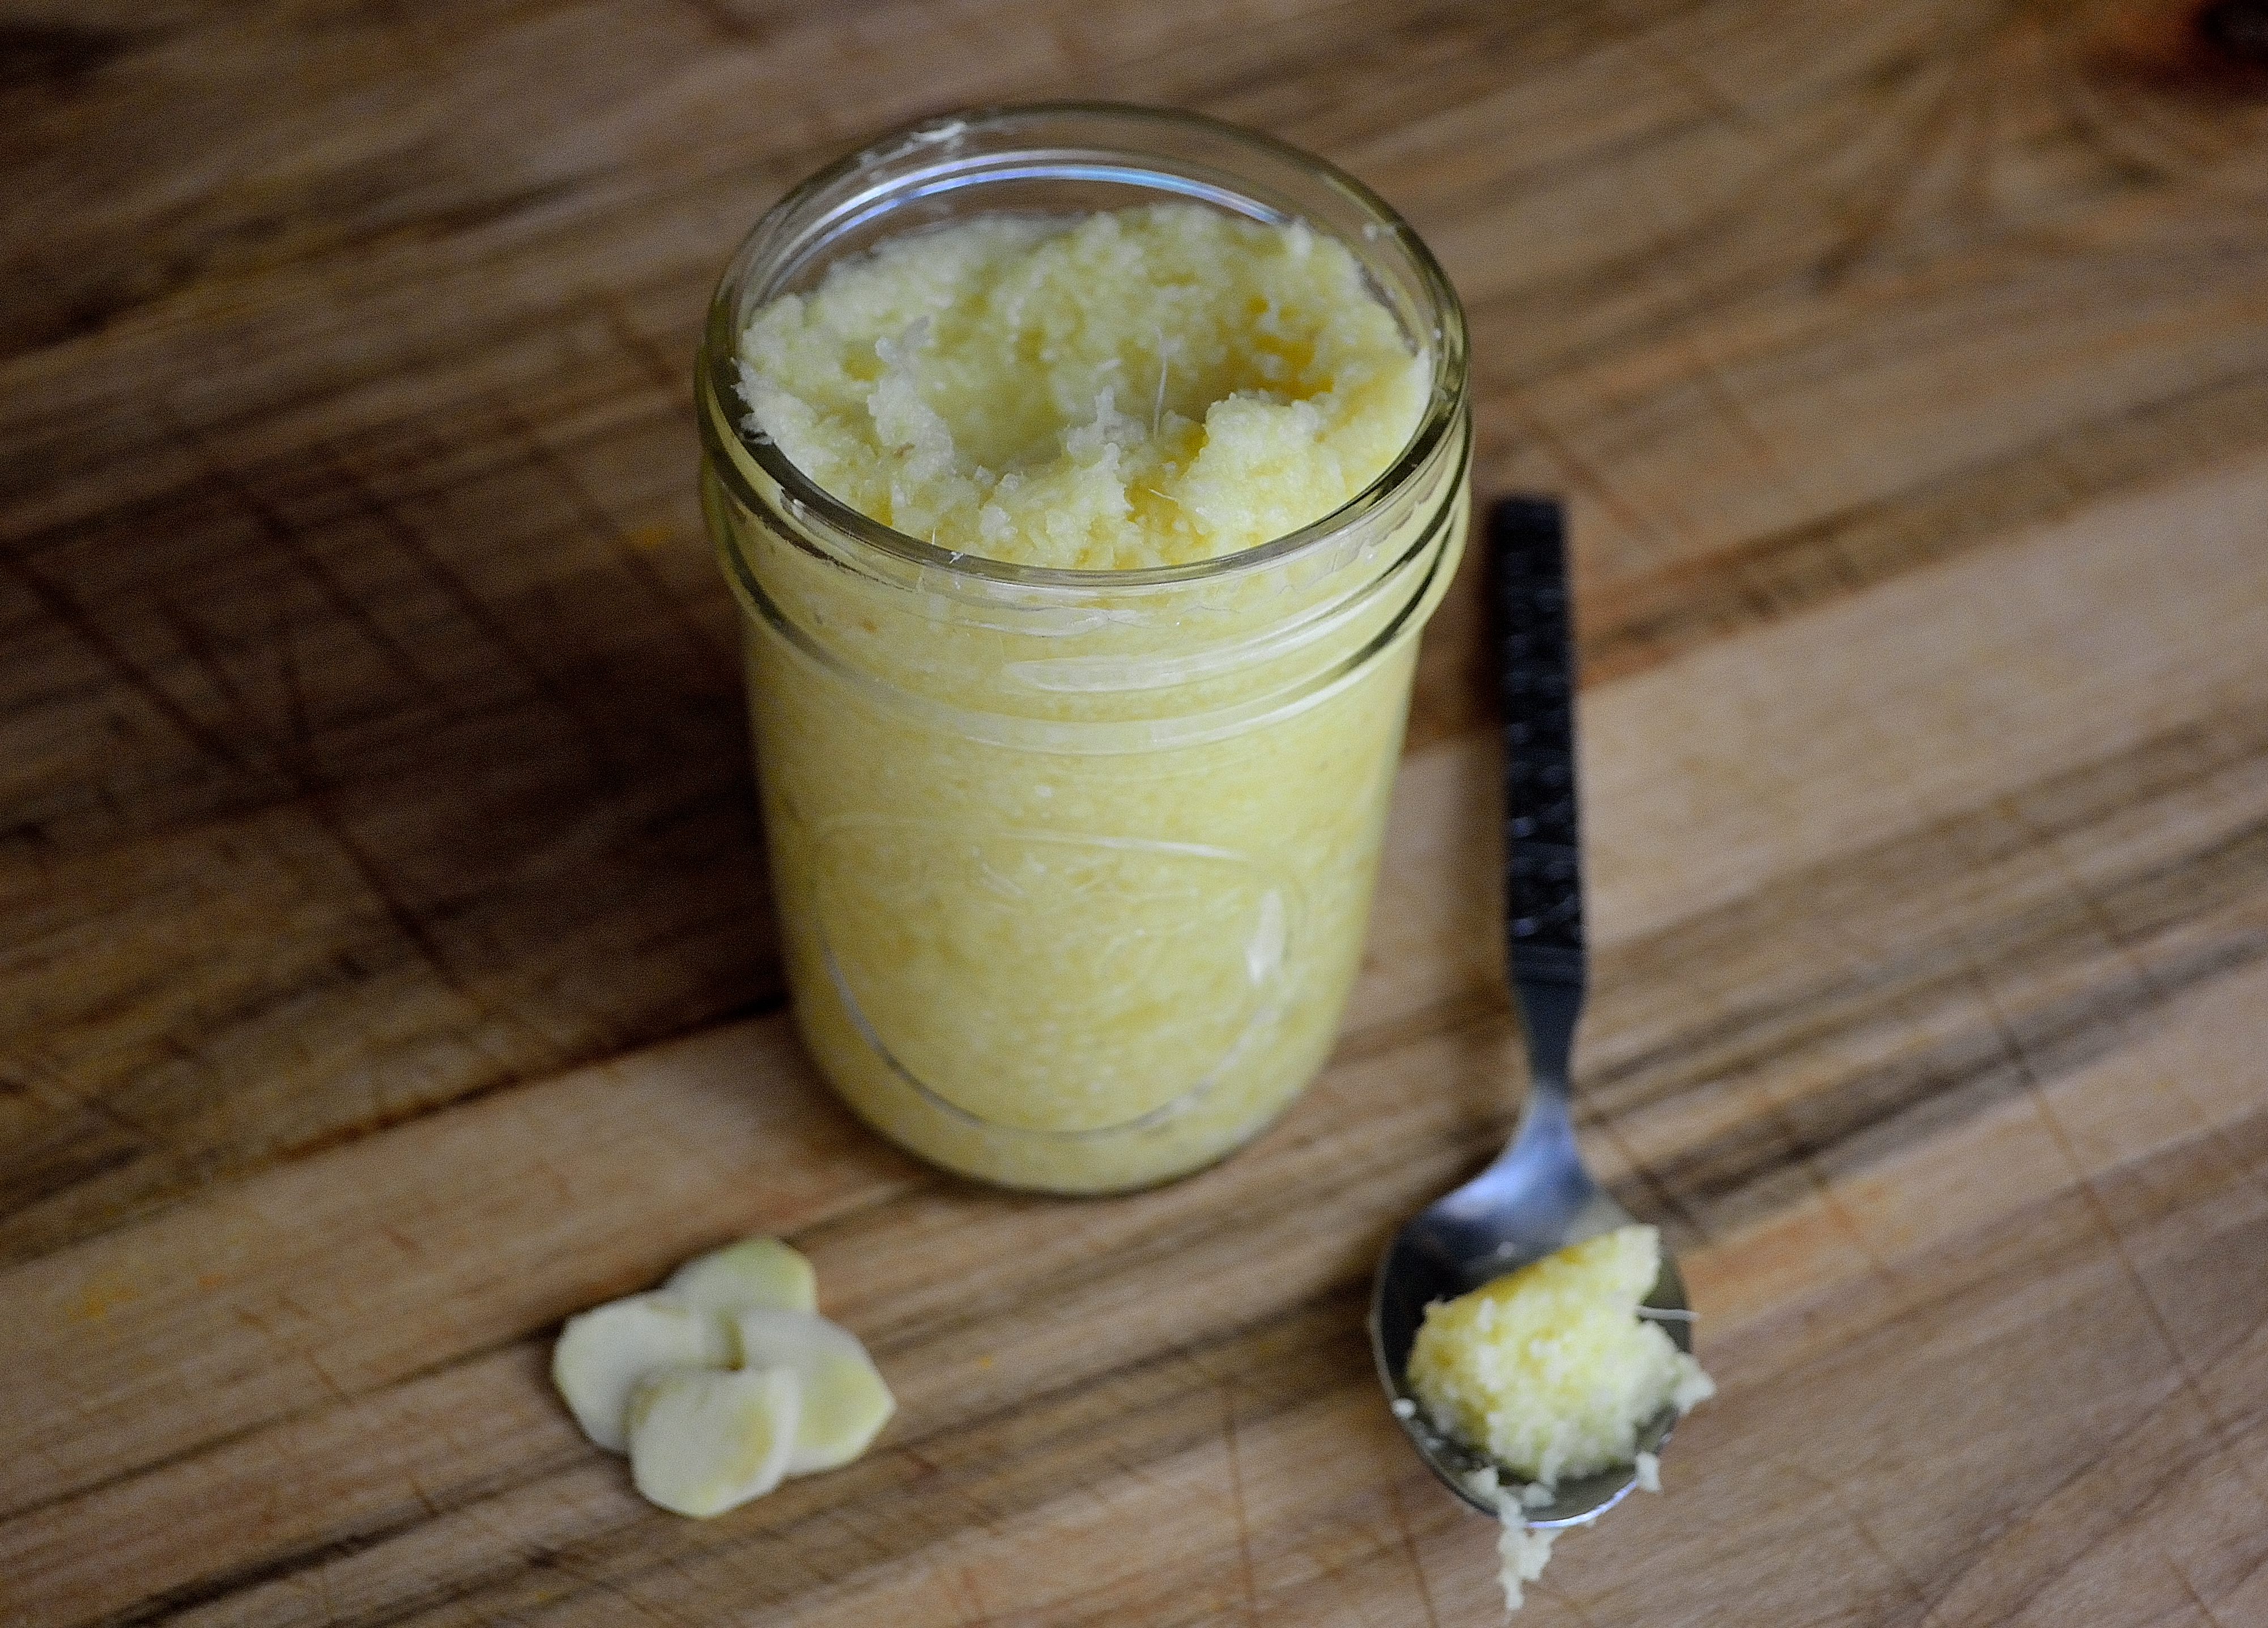
  • 2-3 tbsp homemade mayo (or use your favorite brand)
  • 1/2 a medium zucchini, shreddedSimple Fish Salad | Life Healthfully Lived
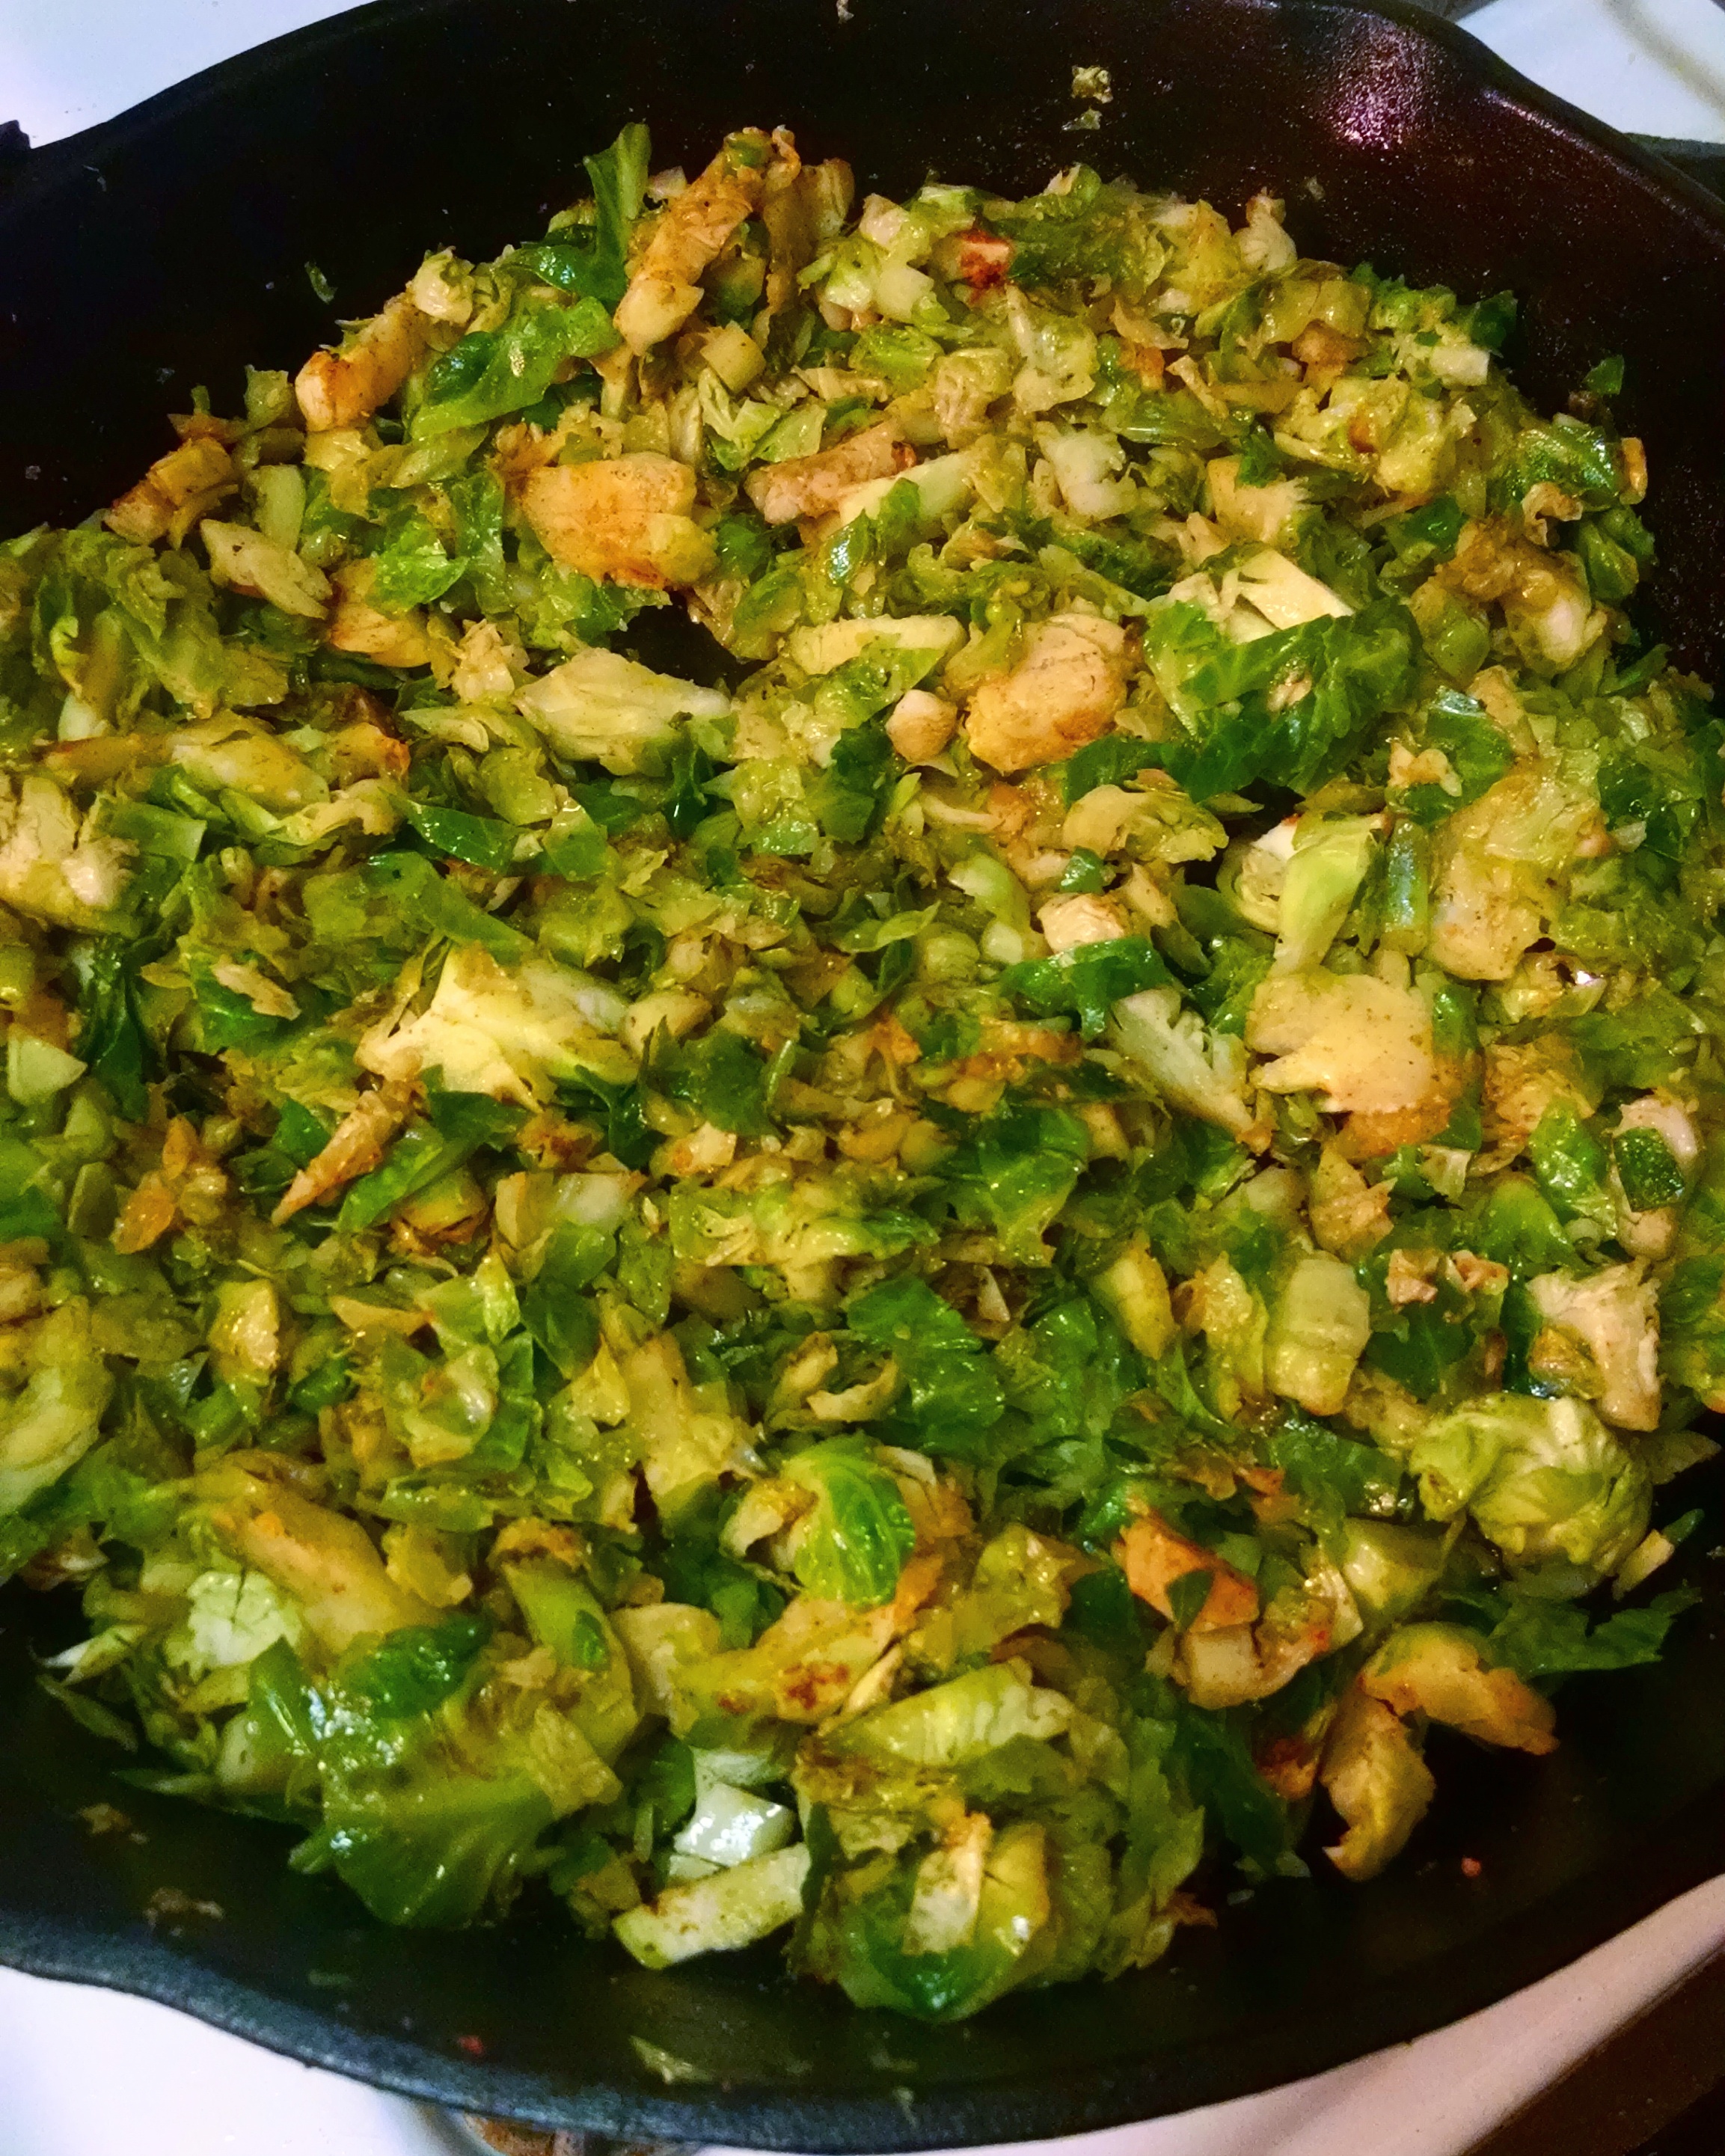
  1. Fill a medium saucepan with a little water and then place a steamer basket over the top.  Cover and bring to a boil.
  2. While water is coming to a boil, remove any skin from your fish and cut into 1 in. cubes.  Place the fish in a medium bowl.
  3. Sprinkle fish with lemon juice and all the seasonings.  Mix well to make sure all the fish is coated.  Place the fish into the steamer basket and cover.  Steam until the fish is cooked through about 5 to 8 minutes.
  4. Remove the fish and place it in a clean bowl.  Shred the fish with two forks and allow it to cool a little.  Once the fish is cool, mix in the mayo.  Use enough that the fish is covered by not drowning in the mayo.  Stir in the zucchini shreds.
  5. You can serve this right away or keep in the fridge and serve cold.

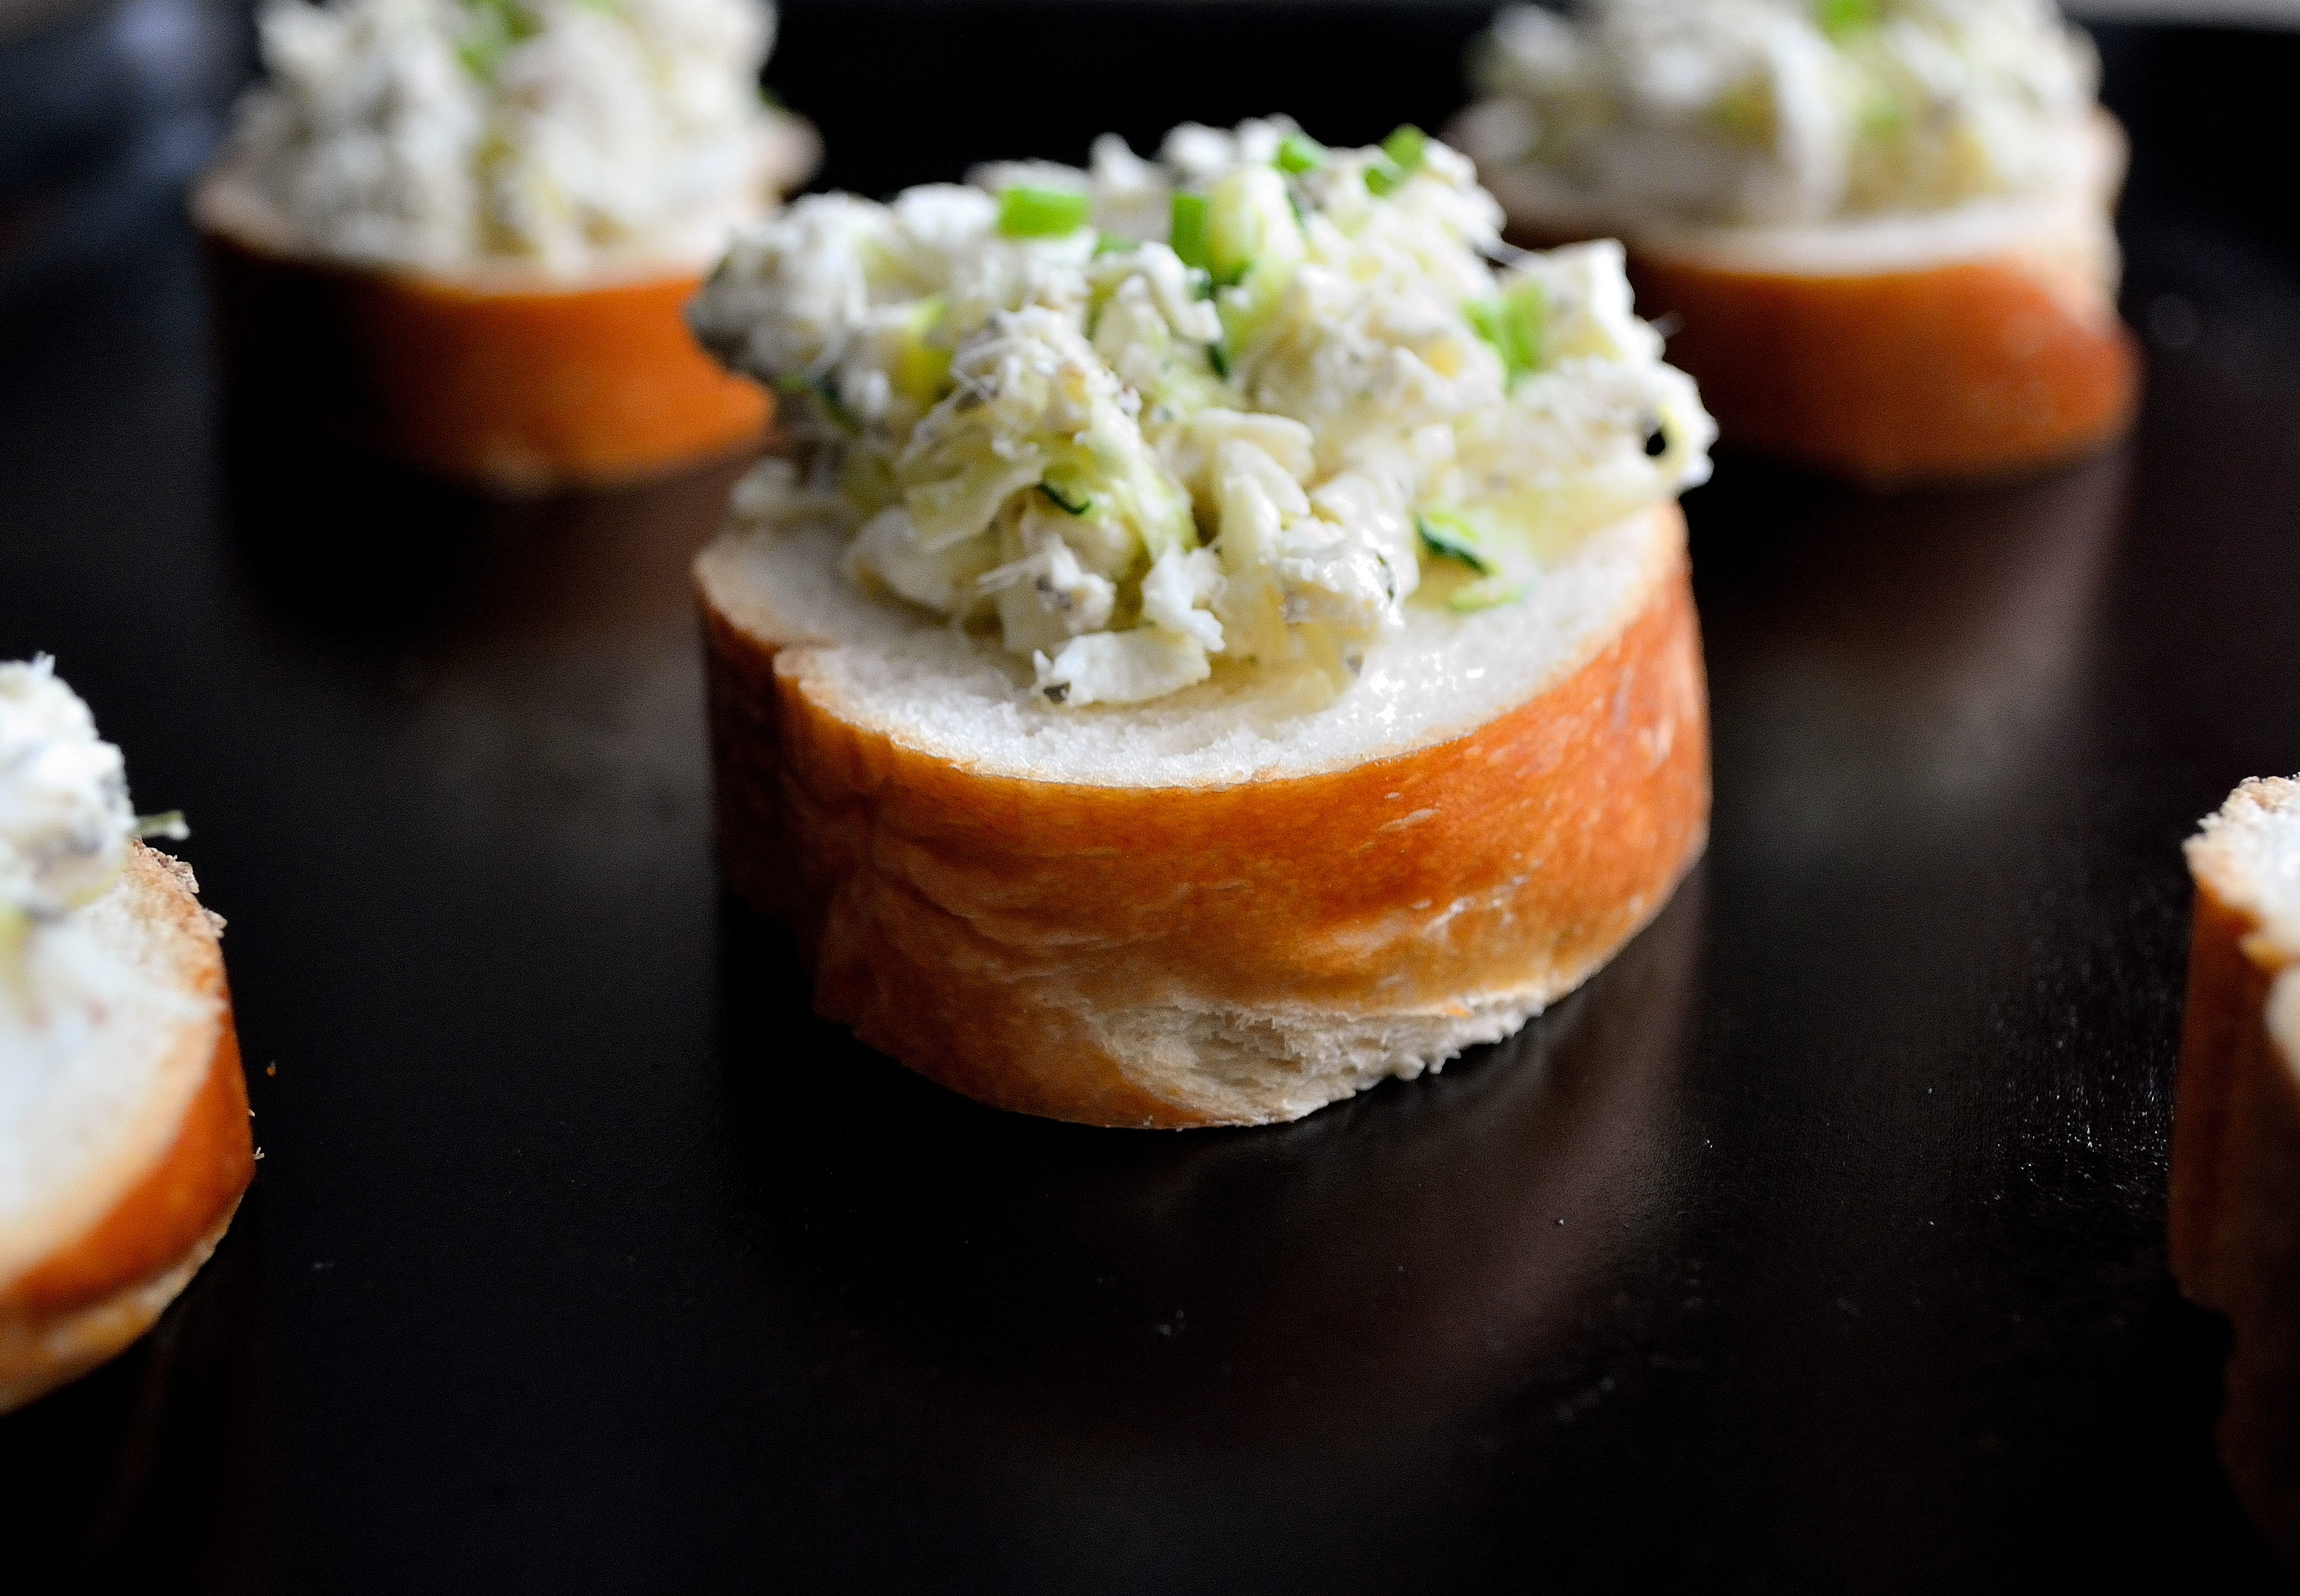
That’s it!  This is a meal that comes together fast and can be made ahead of time.  You can also serve it numerous ways.  You can spread it over toasted bread, in lettuce wraps, or you can scoop it up with celery or carrot sticks.  So many delicious options!  If you’re looking for a new way to eat your fish, give this fish salad a try!Simple Fish Salad | Life Healthfully Lived

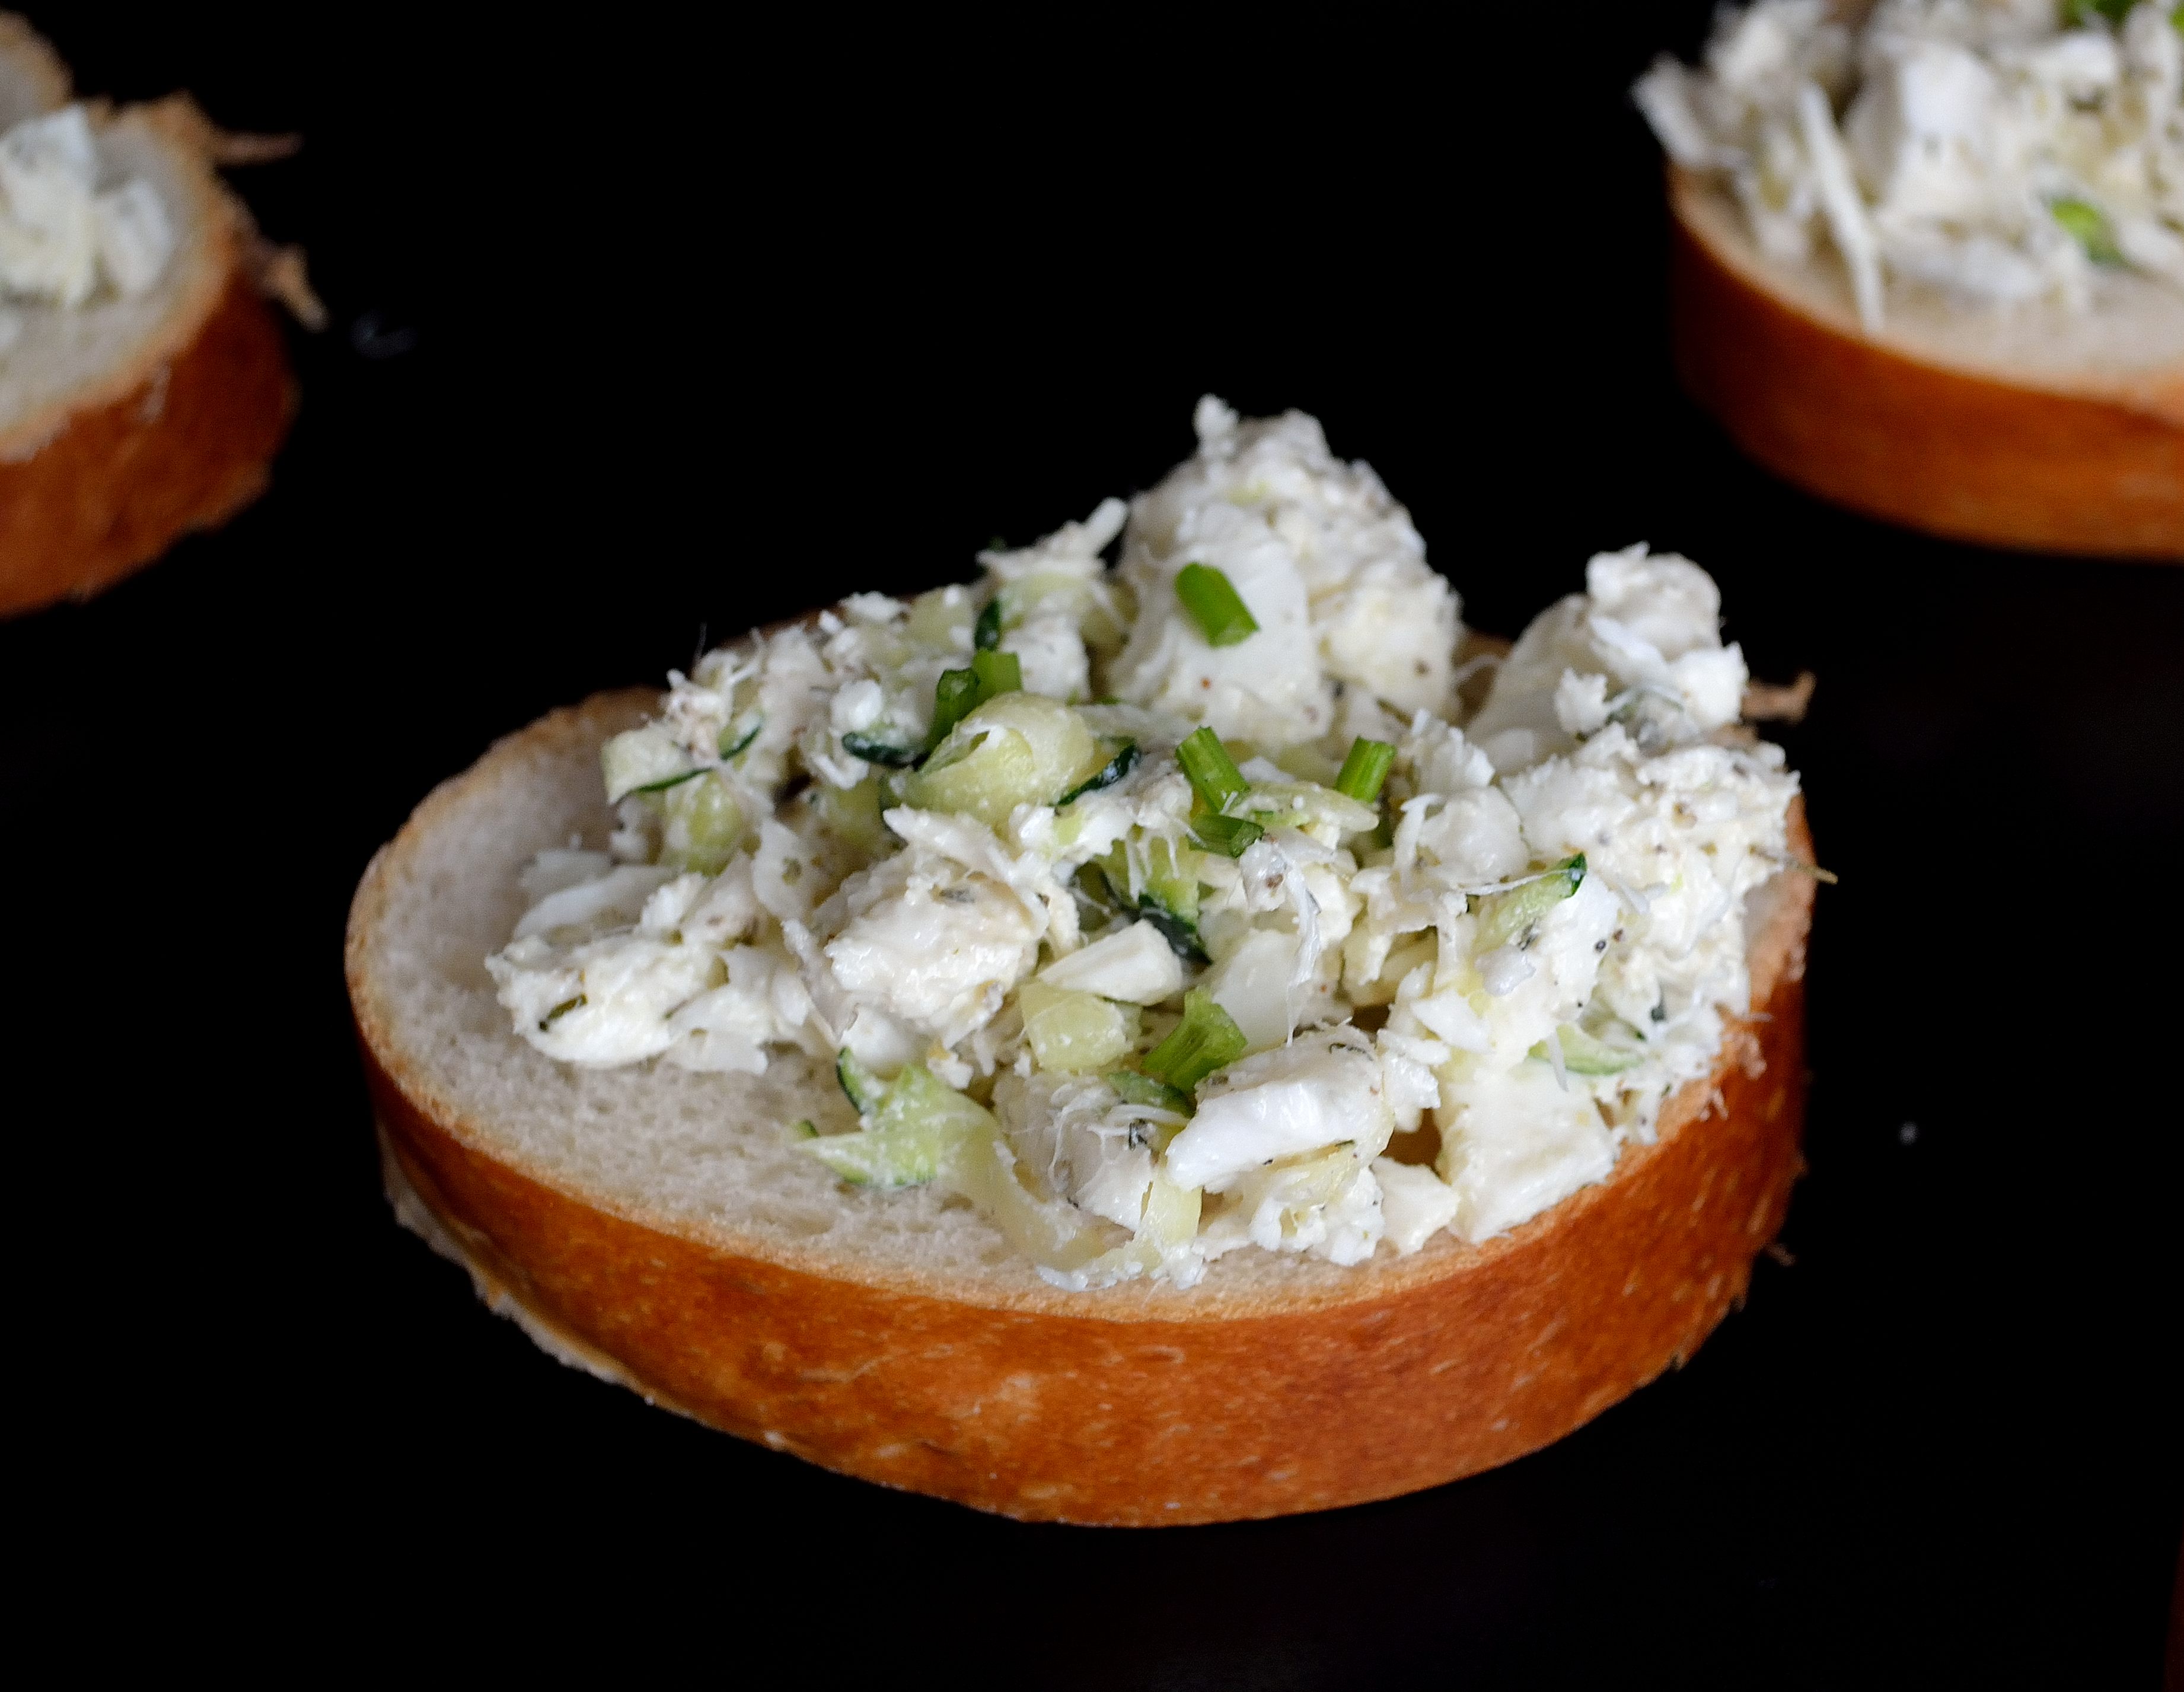
Have an excellent weekend everyone!

DIY Wednesday: Date Sugar

SugarDIY Wednesday: Date Sugar | Life Healthfully Lived has been getting a lot of attention lately.  Really, it’s always gotten some type of attention.  Is it good or bad?  Are there better or healthier sugars?  Are no calorie sweeteners ruining our health?  Will you die immediately if you have one of your grandma’s famous chocolate chip cookies?

There are so many opinions, studies, research, and questions swirling around sugar lately as more and more people are trying to adopt a healthier lifestyle.  I don’t have all the answers about sugar, but I can share my experience/relationship with sugar.

When I totally changed the way I ate a few years ago, I cut out refined sugar.  No more white sugar or brown sugar.  I relied mostly on honey as a sweetener, but for a long time I avoided anything sweet other than fruit.  That worked for a little while and eventually I didn’t crave sugar like I used to but every now and then I wanted something sweet.  At first I thought that was a weakness on my part, but I’ve learned that it’s ok to crave things and to address those cravings in the way that makes me feel best.  I still avoid refined sugar, but I use things like honey, molasses, and maple syrup as sweeteners when I’m baking and cooking.DIY Wednesday: Date Sugar | Life Healthfully Lived

Today’s DIY is all about another type of sweetener, date sugar.  I’ve seen it in stores like Whole Foods and usually it’s really expensive for a small amount.  When I saw that dates were the only ingredient, I figured I could make my own.  A quick search on Google confirmed that it is a thing and you can make your own date sugar.  I like this sweetener because it isn’t a liquid sweetener like honey or syrup.  It doesn’t dissolve in liquid like white sugar, but it does add a really nice caramel flavor.  You can use this in oatmeal in place of brown sugar, in baked goods, or even in coffee or tea if you don’t mind the grainy bits.  I also like this sweetener because it offers all the nutritional benefits of dates while adding a sweet flavor.

DIY Date SugarDIY Wednesday: Date Sugar | Life Healthfully Lived

  • 20 Medjool dates, pitted and sliced in half
  1. Preheat oven to 250 and line a large baking sheet with parchment paper or a Silpat.
  2. Arrange the sliced dates on the sheet and bake in the oven for 2-3 hours checking every so often to make sure the dates don’t burn.
  3. Turn off the oven and let the dates sit in the oven for another few hours or overnight until the are completely hard.
  4. Once the dates are cooled and hardened, put them into a blender or food processor and grind until you have a fairly fine powder.

Keep your date sugar in an airtight container and store it in the fridge or freezer if you aren’t going to be using it right away.DIY Wednesday: Date Sugar | Life Healthfully Lived

Told you this one was easy!  Now remember, the one thing about sugar I can tell you is that sugar is sugar.  Your body can’t tell the difference between high fructose corn syrup or date sugar.  It’s ok to have a sweet treat now and then but don’t make this the basis of everything you put in your mouth.  It’s all about balance people!

Hope you have a great Wednesday and tell me, what’s your favorite sweetener?DIY Wednesday: Date Sugar | Life Healthfully Lived

5 Things That Have Found Their Way Into My Kitchen

It might come as a shock to you, but sometimes I get stuck in food ruts.  I usually make the same thing for dinner during the week so that I can keep Adam and I on track with healthy meals and I can keep our food costs down.  But the other reason is that I can get lazy.  Sometimes the idea of coming up with something new and delicious just makes me tired.  So it’s easy to rely on the same old favorites in the kitchen and not venture into new territory.

While there is nothing wrong with preparing the same food that you know you like and you know is healthy and works for your body, it does get a little boring after awhile.  Boredom, as least for me, only leads to bad things in the area of food.  Soon I start eating more and more to feel satisfied because the meals I’m eating are the same old same old.  When that happens I know it’s time to switch things up and throw some new tricks into my old routine.

Here are some things that I have added to my kitchen and pantry in hopes of shaking things up and keeping my meals healthy and fun!

P.A.N- Pre-cooked White Corn Meal5 Things That Have Found Their Way Into My Kitchen | Life Healthfully Lived

If you follow me on Instagram (which you should, I’m fun), then you have heard me rave about this.  Actually you have heard me rave about arepas which are made from pre-cooked corn meal.  I have seen arepas on other bloggers feeds and seen them on shows like Diners, Drive-ins, and Dives.  Every time I see them being made, I’m like, “Those look amazing, I need to try them myself.”  So I finally got this flour to make my own arepas.  Yes, you have to use pre-cooked corn meal not regular corn meal.  This was the brand that was recommended everywhere I looked, and I found it on Amazon for like $2.  Expect an arepa recipe soon because not only is it delicious, it is way easier to make than you would think.

Figs

5 Things That Have Found Their Way Into My Kitchen | Life Healthfully Lived

This is another thing that I constantly see on social media and yet I have never tried them.  Well, I have never tried fresh figs.  I have had dried figs and fig newtons if you can count those as actual figs.  But the fresh version was never on my radar. They have a very short season and I just happened to see them on sale at my Jewel so I picked some up on a whim.  They are really good!  I think I might have to try making some fig jam with them so I can enjoy them just a little bit longer.

Canned Coconut Milk5 Things That Have Found Their Way Into My Kitchen | Life Healthfully Lived

Ok, this isn’t a new one for me, but I had forgotten about it for awhile.  I used to get a couple of cans of coconut milk a week and use them in soups and stews and oatmeal and baked goods.  It’s really nice and creamy, so it works great as a substitute for things like heavy cream or whole milk.  My favorite thing to do with it lately is make creamy herb dressings/sauces, which I used on my pasta salad recipe last week and which leads me to the next thing….

Fresh Herbs5 Things That Have Found Their Way Into My Kitchen | Life Healthfully Lived

Another one that isn’t new, but that I had put on the back burner.  I usually pick up a bunch of cilantro each week, but one stand at my farmer’s market sells every fresh herb known to man.  I have started getting fresh basil, dill, parsley, cilantro, and lemon grass and using them in all the things.  Seriously, go get some fresh herbs and put them in your meals.  They enhance the flavor and bring a wonderful freshness to boring old dishes.  Throw some basil into a frittata or blend in some parsley with meat/lentil loaf.  It will up your dinner game and everyone will think you’re a culinary whiz.  You can also freeze, turn them into oil, or sauces to have them on hand for the winter months.

Trader Joes5 Things That Have Found Their Way Into My Kitchen | Life Healthfully Lived

We have a Trader Joes in our neighborhood, but I always forget about it because it isn’t in my usual rotation of grocery stores.  That needs to change because I went there on Friday to find shaved brussels sprouts (another Instagram phenom) and remembered why I love Trader Joes.  They have good food for a decent price.  Plus I found these dark chocolate covered espresso beans for Adam that he has become obsessed with at work.  Brussels sprouts and chocolate.  Yup, good combo.5 Things That Have Found Their Way Into My Kitchen | Life Healthfully Lived

Long story short, don’t be afraid to branch out of your food comfort zone.  It can get so easy to make the same things over and over and over… but even just a little change can add some pizzazz and flavor back into your meals.  Plus there are plenty of healthy options out there to make dinnertime tasty and nutritious.

What are some things that have turned your kitchen game around?

DIY Wednesday: Homemade Mayo + An Egg Free Version

NotDIY Wednesday: Homemade Mayo | Life Healthfully Lived many people know how mayonnaise is made.  You just go to the store and buy a jar of it and go on with your day.  I have never really been a big fan of mayo.  It just had an odd taste to me and I preferred slathering my sandwiches in spicy mustard.  Then one day, I needed mayonnaise for a potato salad I was making.  I didn’t want to go and buy a whole jar just for one recipe so I started looking around to see what if there was anything I could substitute.  That’s when I stumbled on a recipe for homemade mayo.

I was surprised that I could make my own mayonnaise.  This was a few years ago, so I was still learning about how things were made and didn’t know that mayo was just an emulsion of eggs, oil, and seasonings.  I bet that you have all the ingredients right now to make your own mayo.  So I quickly whipped up a batch and to my surprise, I really liked the taste. DIY Wednesday: Homemade Mayo | Life Healthfully Lived

So today’s DIY is all about mayonnaise.  It’s quick and cheap to make your own and you don’t have to worry about additives and preservatives that store brands use to make their product shelf stable.    You can also play with your own seasonings and flavor your mayo with fresh herbs.

Don’t eat eggs?  There is a version here for you too!  Remember that aquafaba I was raving about a few months ago?  Turns out you can make mayonnaise with it too!  I tried it a few days ago and it turned out really well.  Now eggless people can enjoy mayo on their sandwiches and in their recipes too!

Homemade MayoDIY Wednesday: Homemade Mayo | Life Healthfully Lived

  • 1 large egg
  • 2/3  cup neutral tasting oil (I like avocado or safflower oil)
  • 1 tsp lemon juice
  • 1 tsp spicy mustard
  • 1/2 tsp garlic powder
  • 1/2 tsp herbs like dill, basil, oregano, or cilantro (optional)
  • salt and pepper to taste
  1. Place all the ingredients except the herbs into a tall glass.  Use an immersion blender to whip everything together.  Once the mixture starts to get thick, slowly pull up the immersion blender to make sure everything is incorporated.
  2. You could also do this in a blender.  Place everything in the blender except the oil and the herbs.  Start blending everything and slowly add in the oil until the mixture is nice and thick.
  3. Stir in the herbs and store in an airtight container in the fridge for up to 3 days.

Eggless Mayo

This is the recipe that I used to make the eggless may and it worked great.  I used less oil than the recipe calls for.  The biggest key is to SLOWLY add the oil so you don’t end up with an oily, soupy mess.  DIY Wednesday: Homemade Mayo | Life Healthfully Lived

That’s it.  Just a few pantry items and you have delicious homemade mayo.  Make sure that you choose a neutral oil so that you don’t have an odd tasting mayo.  You can use this on sandwiches, in salads, as a marinade, and pretty much anywhere that you would use storebought mayo.  Plus, it’s really cool to see the whole thing magically turn into mayo, kids would definitely love helping with this one.

DIY Wednesday: Ginger Paste

ThisDIY Wednesday: Ginger Paste | Life Healthfully Lived DIY post might be as simple as my homemade tortilla chips.  I’m the type of cook who likes to use things like actual cloves of garlic when I’m making stuff.  I know you can buy a jar of diced garlic at the store and it saves a lot of time and effort because you can just throw in the amount you need and move on.

I have nothing against jars of garlic, I just like peeling and chopping garlic myself.  The one thing I do not like peeling and chopping myself?

Ginger.

Peeling it is a hassle.  If you chop it the wrong way you get these weird hair looking things in it.  It’s just a chore for me.  I really love using fresh ginger though and I’m always tempted to buy those tubes of ginger paste at the store just to avoid the trouble.  The one thing that stops me though is the price.  Those tubes are like $3.00 and sometimes they have things other than just ginger in them.  So I skip the tube and begrudgingly prepare my ginger myself.

Not anymore!  Today I am going to show you how easy it is to make your own ginger paste and start adding it to everything you make.  The best part?  You only need two things and a blender.  Awesome right?!

Ginger Paste

DIY Wednesday: Ginger Paste | Life Healthfully Lived

  • 1 large knob of fresh ginger, about 2 cups roughly chopped
  • 1/3 cup water
  1. Peel the ginger.  I use a vegetable peeler to do this because it’s easier than a knife.  Try to get as much of the peel off as you can.  If you can’t reach some places peel it a little after you chop it.
  2. Chop the ginger into bite-size chunks and add to your blender.  Pour in the water.  Blend the ginger and water until it is in paste form and no big chunks remain.
  3. Store the paste in an airtight container in the fridge for up to two weeks.

That’s it!  It is so simple and now I don’t have to go through the peeling and chopping every time I want to use fresh ginger.  Just once and then I have a whole jar to use!  You can also make a huge batch and freeze some of it so it is always on hand.  Add this paste to marinades, sauces, stir fry, dips, or even add it to hot water for some ginger tea.  So many uses!DIY Wednesday: Ginger Paste | Life Healthfully Lived

Make sure that you are never without fresh ginger and have a jar of ginger paste always on hand.