DIY Wednesday: Ketchup

ADIY Wednesday: Ketchup | Life Healthfully Lived few weeks back I did a DIY mustard post, so I thought it was only fair that I did a ketchup one too.

Ketchup is probably one of the most used condiments.  Kids put it on everything, fries seem naked without it, and congress keeps trying to tell us that it counts as a vegetable.  While that last one might take some extra convincing, there is no doubt that we love our tomato based condiment.  And one of the big reasons why?

Sugar

Almost all store bought ketchup has some form of sugar, whether it’s high fructose corn syrup or organic sugar.  Sugar is sugar no matter what and store bought usually has a lot of it.  But the one good thing I did notice about ketchup is that it doesn’t have a lot of other ingredients which make it an excellent candidate for making it yourself.

DIY Wednesday: Ketchup | Life Healthfully Lived

I’m betting that you already have all the ingredients you need to make your own ketchup and once you see how easy, and cheap, it is to make it yourself I’m pretty sure that you will be whipping it up all the time.

The other good thing about making your own ketchup is that you can make it to your taste and jazz it up with different spices.  Get adventurous and make your own flavor combos for your ketchup!
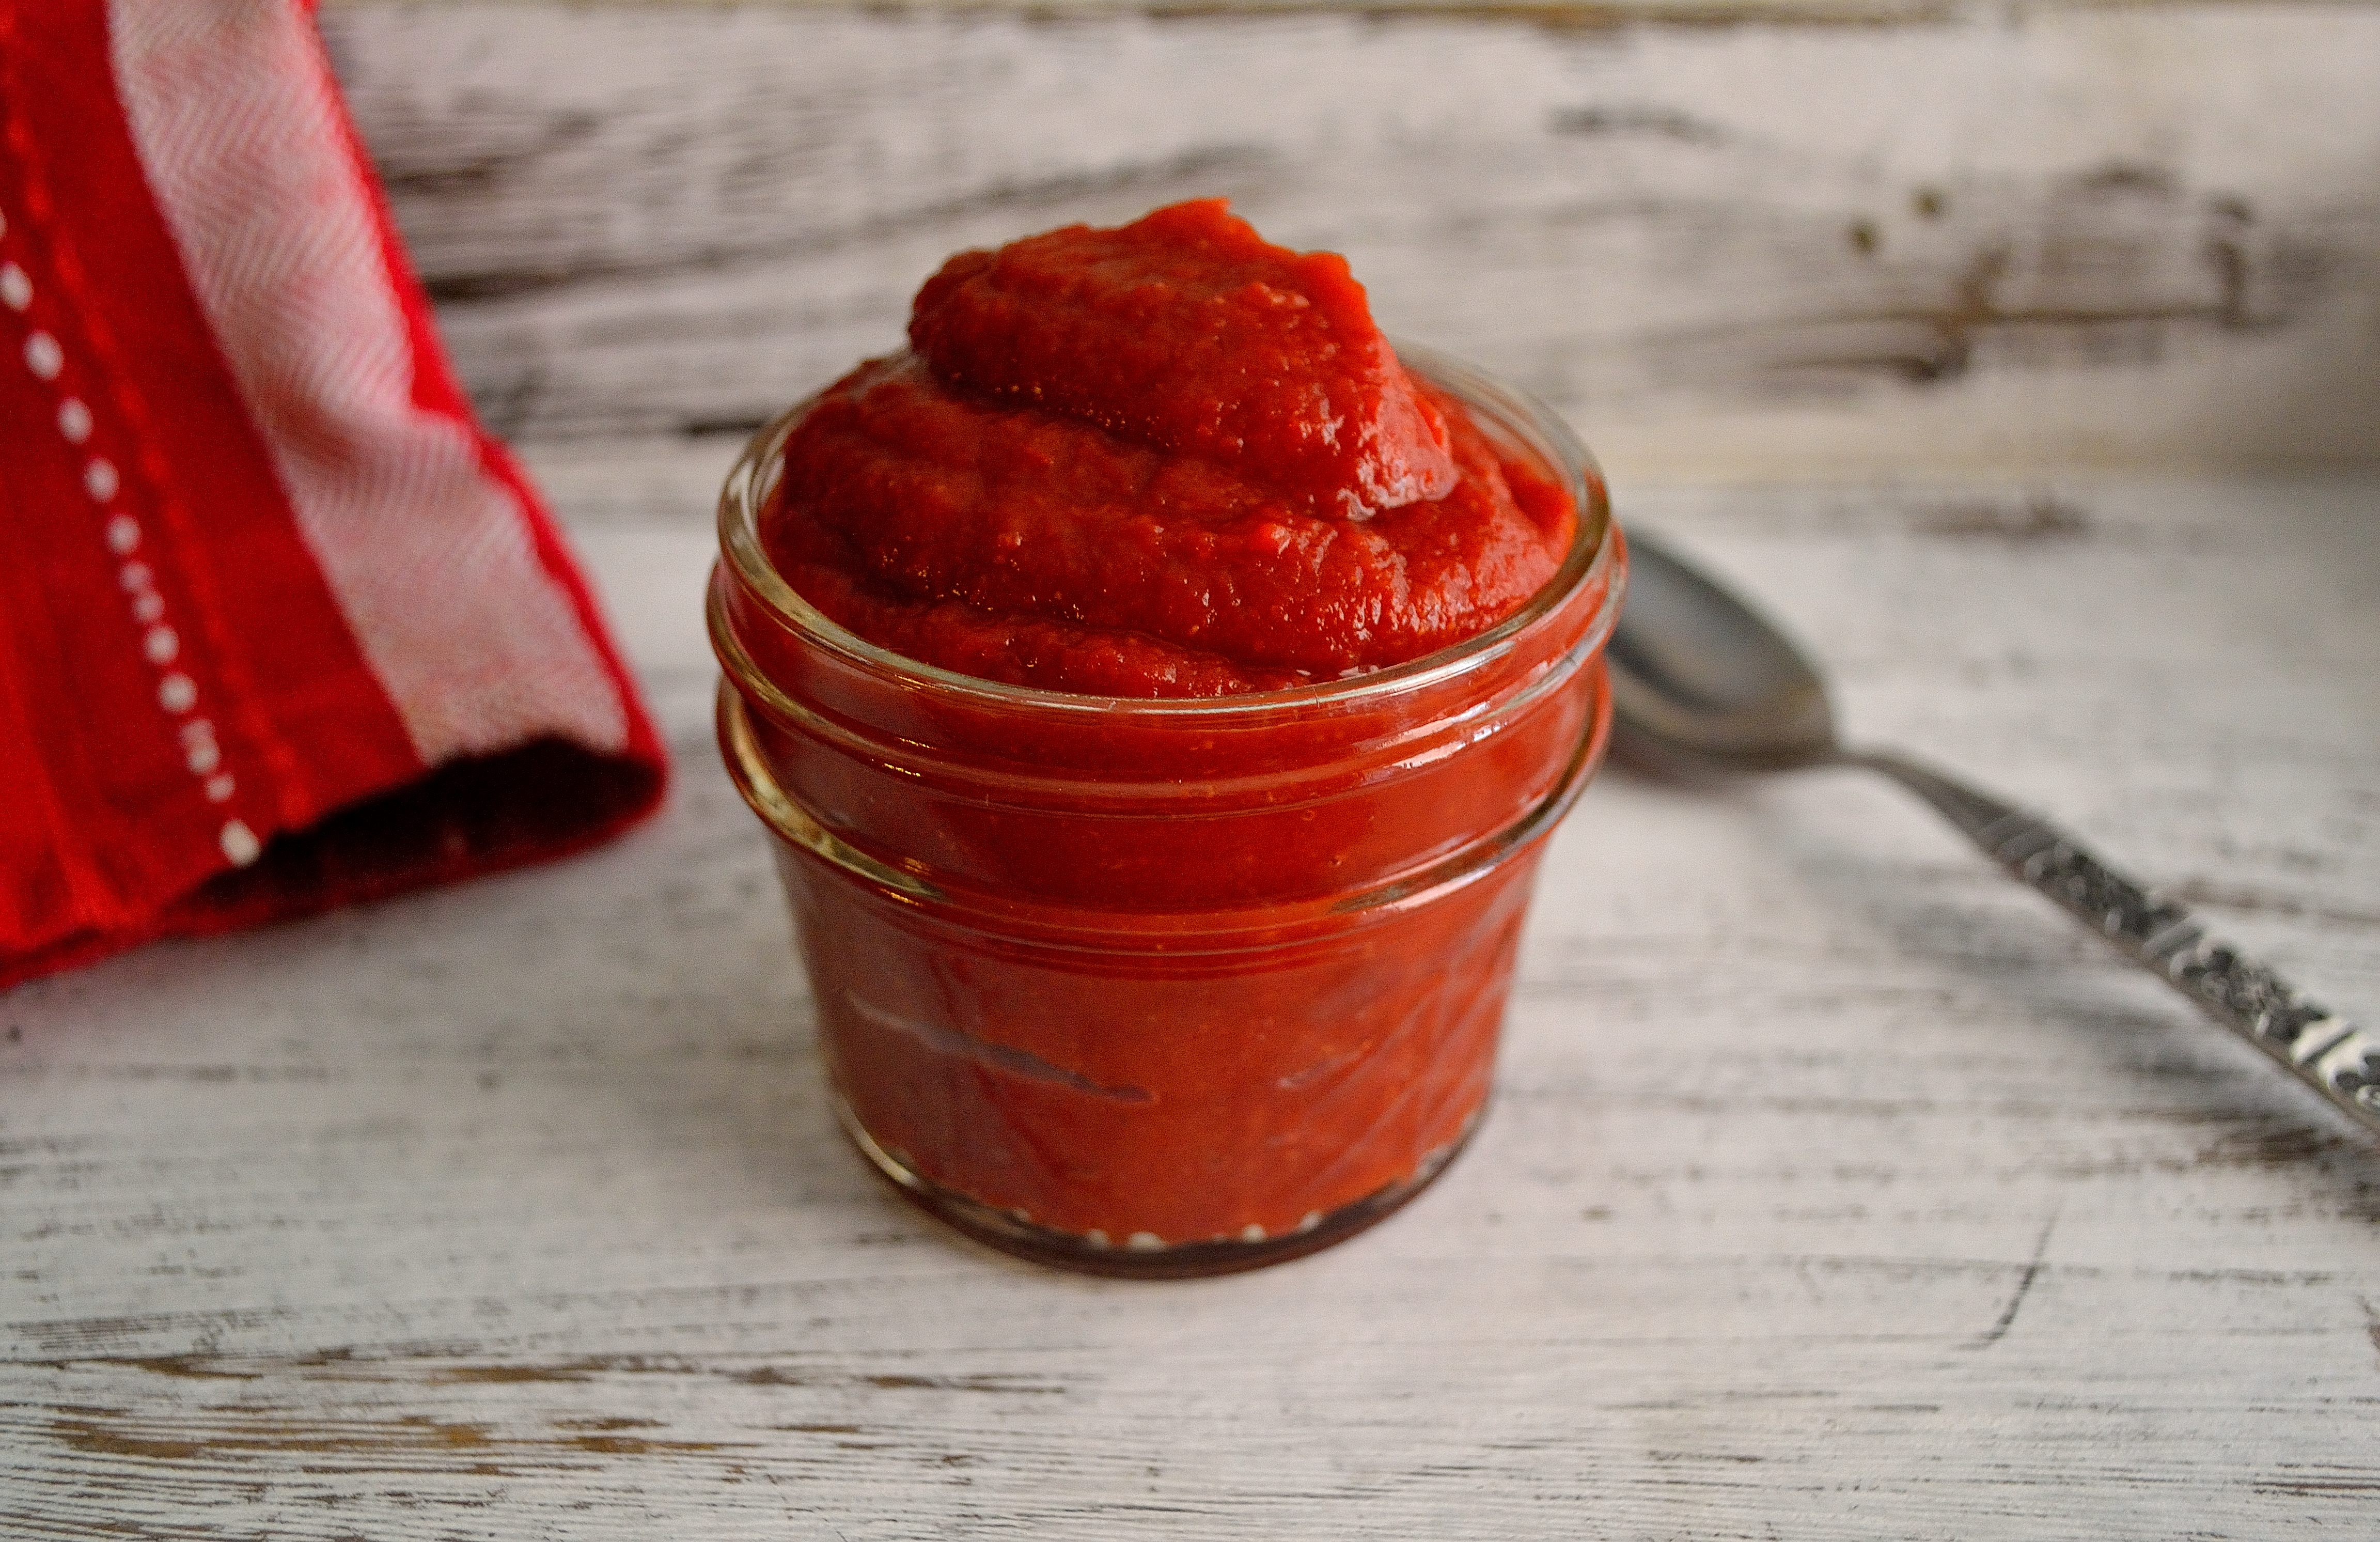
DIY Ketchup

DIY Wednesday: Ketchup | Life Healthfully Lived

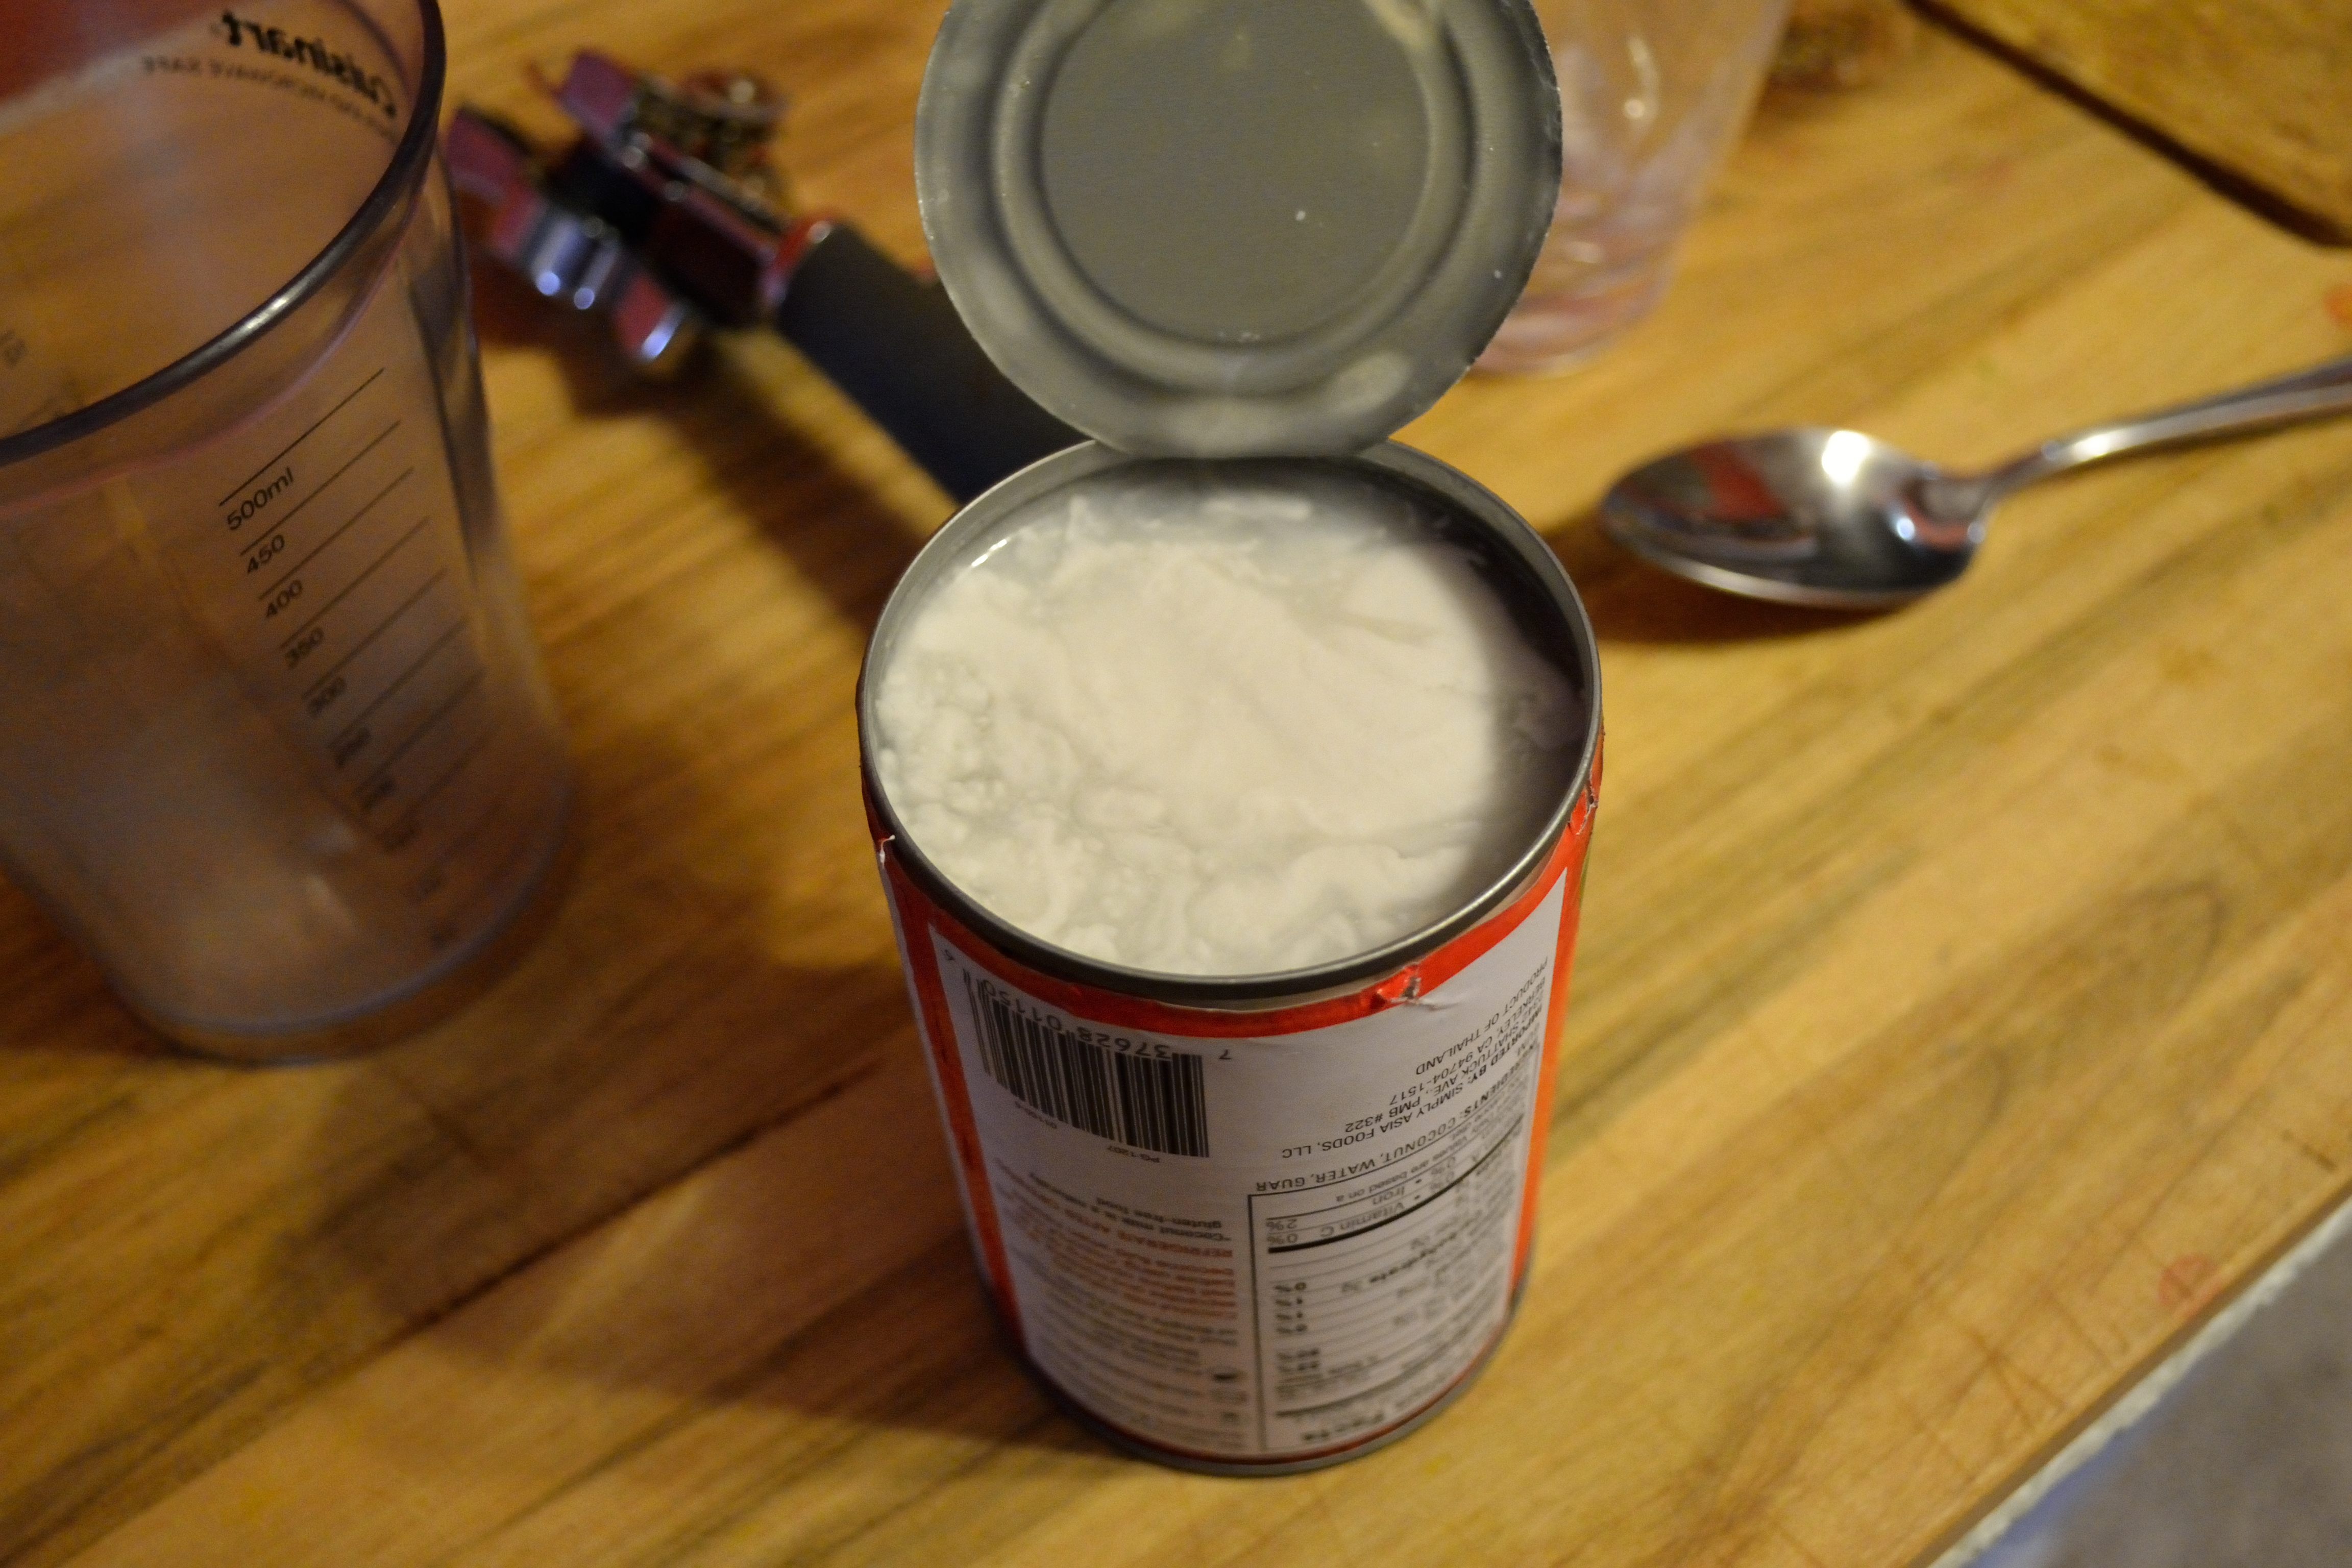
  • 1, 6 oz can of tomato paste (pick a brand that has nothing but tomatoes in it.  I used Contadina)
  • 1/2 cup white vinegar
  • 1/4 cup water (more if you want a thinner consistency)
  • 1 tbsp maple syrup or honey
  • 1 tsp molasses
  • 1 tsp onion powder
  • 1 tsp garlic powder
  • 1/2 to 1 tsp salt
  1. Combine all the ingredients into a medium saucepan and whisk until smooth.  Bring the sauce to a boil and then lower to a simmer.
  2. Cook at a simmer for about 20 minutes, stirring often
  3. Remove from heat and allow the ketchup to cool completely before storing in a jar or squeeze bottle in the fridge.

Variations:

Curry Ketchup: Add 1 teaspoon of curry powder

Spicy Ketchup: Add 1-2 teaspoons of red pepper flakes or cayenne pepper

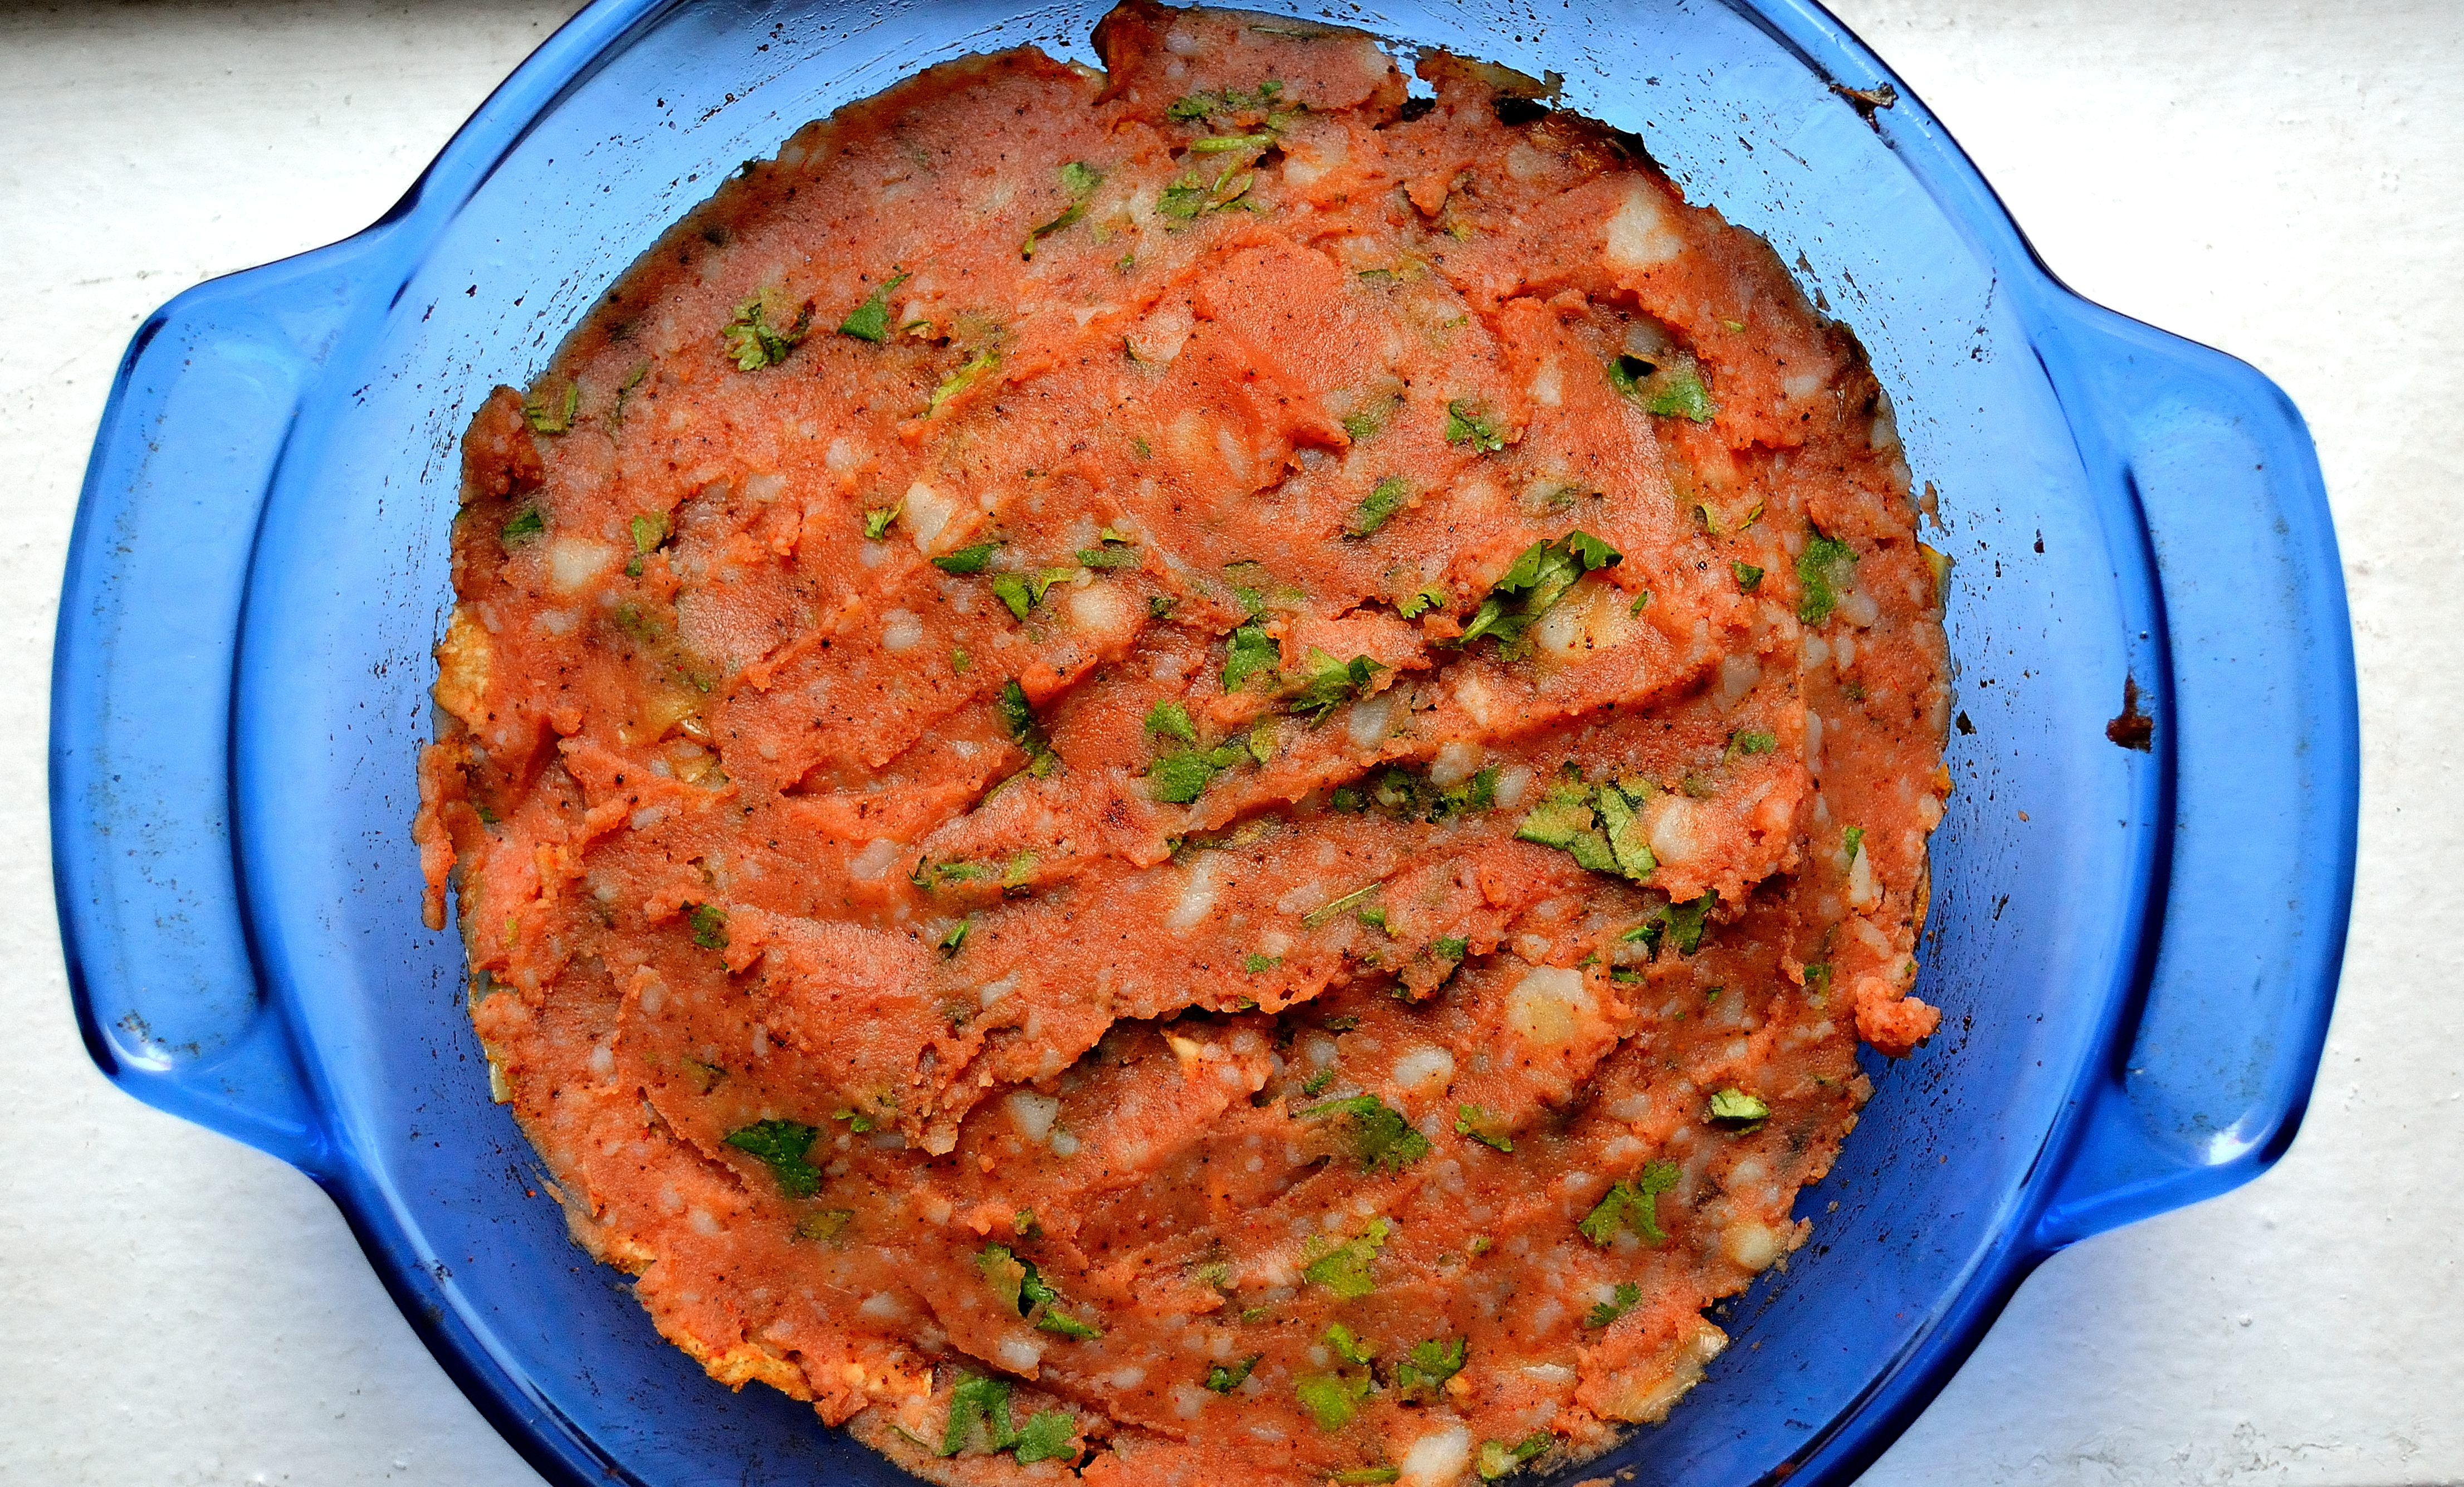
Fiesta Ketchup: Add in 1 tsp chili powder, 1 tsp cumin, and a squeeze of lime juice

DIY Wednesday: Ketchup | Life Healthfully Lived

Behind the scenes: Olaf is less than thrilled with my ketchup photo shoot!

DIY Wednesday: Ketchup | Life Healthfully Lived

Tomato Cucumber Salad and Old Favorites

Does anyone else watch TV shows that they have seen a million times?  I do.  All the time.  While I love watching new shows and finding new things to love, a part of me loves the comfort of an old favorite.  If you know anything about me, you can probably guess which show I always turn to.

Friends

Friends | Life Healthfully Lived

I own all of the episodes on DVD (even though they are now on Netflix, I still watch the DVD version because there are scenes that are cut out on the Netflix versions) and I will routinely watch them over and over.  I can pretty much quote whole episodes, recognize obscure lines, and know what each scene looks like.  If Marta Kaufmann and David Crane called me up and told me they needed someone to recreate every single episode on their own, I would be perfect for the job.

Friends | Life Healthfully Lived

Why do I continue to watch Friends over and over and over again?  It’s a security blanket.  When I’m feeling blue, I know one of Chandler’s jokes can cheer me up.  When I’m under the weather, there is no better medicine than Phoebe’s ditzy yet surprisingly poignant logic.  I see myself in some of Monica’s obsessive tendencies, Joey gives me encouragement that even if I’m not great at something if I keep at it I can achieve some kind of greatness, and who doesn’t love the on again off again relationship between Rachel and Ross?

Friends | Life Healthfully Lived

It also connects me to the people I love.  My mom, sister, and my friend Ashley are all just as big a fans as I am when it comes to Friends.  I can randomly text them lines from the show and they know exactly what episode I’m watching.  I often relate my life to certain scenarios and they know exactly what I mean.  So to make a long story short, Friends is awesome and I’ll never stop watching.

Friends | Life Healthfully Lived

This simple salad is almost as awesome as Friends.  It’s the perfect summer side dish because it takes 2 minutes to put together, doesn’t require a stove or oven, and uses in season vegetables.  You probably already have most of the ingredients, so whip up a big batch to eat all weekend long because the longer this salad marinates, the better it gets!

Tomato Cucumber Salad- based on this recipe from Rachel Ray

Tomato and Cucumber Salad | Life Healthfully Lived  

  • 2 large cucumbers, peeled and sliced
  • 16 oz cherry tomatoes, cut in half or quartered
  • 3/4 cup red onion, diced
  • 1/4 cup white wine vinegar
  • 1/4 cup olive oil
  • 2 tsp oregano
  • 2 tsp basil
  • salt and pepper to taste

Tomato and Cucumber Salad | Life Healthfully Lived

  1. Wash, peel, and cut the cucumbers and place into a large bowl.  Wash and cut the tomatoes and add those in along with the red onion.  Mix everything so it’s well combined
  2. Pour in the vinegar and olive oil and stir once again.  Finally, add in all the seasonings.  Mix everything really well.
  3. Cover and place in the fridge and if possible allow it to marinate overnight.  Once it has marinated, taste and adjust any seasonings.

Tomato and Cucumber Salad | Life Healthfully Lived

Also, if you’re looking for a delicious and healthy treat to cool off during this hot weekend you should check out my post on Girl.ish this week.  I made a PB & J milkshake that tastes like it should be so bad for you but it’s not! Go try it and let me know what you think!

Have a great weekend everyone!

DIY Wednesday: Coconut Whip Cream

FullDIY Wednesday: Coconut Whip Cream | Life Healthfully Lived Disclosure:  I do NOT like whip cream.  I know, I know, I’m not American, but it’s a texture thing for me.  For some reason, I don’t like the way whip cream feels in my mouth.  Yes, I’m a weirdo and I’m ok with that.

Second Full Disclosure: I did NOT come up with this recipe.  There are plenty of blogs/websites out there that have this recipe but I wanted to share it with you guys to show you how easy it is to make your own whip cream.

When you think about it, the method to this is right there in the name.  You are just whipping cream.  Fresh whipped cream can be a beautifully simple thing and it’s fun to watch cream turn into something light and fluffy.  Unfortunately, many people rely mostly on cans or tubs of whip cream and that’s where things get messy.

Fresh whip cream is meant to be eaten right away and not stored for a long period of time.  In order to make the whip cream sold in stores have a longer shelf life, chemicals and preservatives are added.  Things like stabilizers, gums, sugar are all used to make sure you can use your whipped cream for a long period of time.  Luckily, it’s really easy to make your own whipped cream and you don’t have to add any questionable ingredients.  This recipe is even better because those of you who have/choose to avoid dairy can still enjoy this dessert topping.

Add it to berries for a simple dessert, try it on top of your favorite cobbler or crisp, put some in your yogurt and create a parfait, or use it on your banana split.  You can use this whip cream just like store bought and feel better about the ingredients and the cost!

DIY Coconut Whip Cream

DIY Wednesday: Coconut Whip Cream | Life Healthfully Lived

  • 1 can full fat unsweetened coconut milk, chilled overnight in the fridge
  • 1 tbsp maple syrup
  •  1 tsp vanilla extract, optional
  1. Place your can of coconut milk in the fridge overnight so it can chill and create the cream.

    DIY Wednesday: Coconut Whip Cream | Life Healthfully Lived

    Pour off that liquid on the top…

  2. Open the can from the bottom and pour out the liquid into a cup or bowl and set aside.  Scoop out the cream and place into a large bowl or into the bowl of your mixer.  Add in the maple syrup and optional vanilla extract.

    DIY Wednesday: Coconut Whip Cream | Life Healthfully Lived

    …and scoop out the cream on the bottom.

  3. Using a hand mixer, immersion blender, or stand mixer, whip the coconut cream until it is light and fluffy.
  4. Use the whipped cream right away. It will last a few hours in the fridge but not much longer than that.DIY Wednesday: Coconut Whip Cream | Life Healthfully Lived

What is your favorite thing to top with whip cream?

DIY Wednesday: Fruit Chips

DoesDIY Fruit Chips anyone remember the Seneca brand of apple chips?  They came in all these super delicious flavors like granny smith and my absolute favorite, cinnamon.  When I was younger my sister and I only got to eat them once in a blue moon.  My mom considered them a treat and not an everyday snack.  She was smart to do that because those things were loaded with added sugar.

Well, today’s DIY was partly inspired by those chips.  I wanted to make a snack that tasted just as good but didn’t have all the added sugar.  Fruit is naturally sweet and when you dry it out you concentrate those sugars even more.  Fruit chips don’t need to have any added sugar and they can still be a sweet snack.

For those of you who have a dehydrator, fruit chips are simple to make.  You just slice the fruit, place it on the trays, and go about your day.  Hours later you get tasty fruit chips.  If you don’t have a dehydrator, you can still get fruit chips with a few simple steps.  I tried this with apples, bananas, and peaches.  You can use whatever fruit is your favorite.  Strawberries, mangoes, and pears would also be really good.

DIY Fruit Chips 

DIY Fruit Chips

  • 1-2 of your favorite fruit (apples, bananas, pears, strawberries)
  • 1 tsp lemon juice
  • 1 tsp cinnamon, optional
  1. Preheat your oven to its lowest setting, 170-200.  Wash your fruit and dry it thoroughly.  Slice the fruit VERY thin.  The thinner you slice the fruit the crispier your fruit chips will be.DIY Fruit Chips
  2. Line a baking sheet with parchment paper or a Silpat.  Place the fruit slices in a single layer on the baking sheet.  Make sure they don’t touch.DIY Fruit Chips
  3. Sprinkle the lemon juice and cinnamon over the fruit.  Bake the fruit slices in the oven for 2-4 hours, flipping every so often.  The baking time will vary based on the temperature of your oven.  The chips are done when they’re lightly brown, starting to curl, and no longer soft.DIY Fruit Chips
  4. Once the chips are done, let them cool on the sheet until completely cool.  Store in an airtight container for up to a week.

Mexican Shepherd’s Pie & TV Talk

Friday’s have always been for recipes.  I like coming up with new and creative ways to make food not only healthy but tasty too.  Healthy food doesn’t have to be boring and I have a whole page of recipes to prove it.  Friday’s are still going to be for recipes, but they are also going to be for something else.

TV and movies.

Yeah, that one probably came out of the blue.  Why would a health blog talk about TV or movies?  Because I love them and want to talk about them just like everyone else.  Plus it’s something fun to add in with a yummy recipe.  Even better.  Go make my food and then come back and talk about TV while you’re eating it!  Best of both worlds!

I work from home and usually have a show on in the background to pretend like I’m not alone with my cats for the majority of the day.  Don’t worry it isn’t as sad as it sounds. I tend to be a solitary person and my cats are awesome.  Netflix is amazing because I’ve been able to watch shows that I’ve always wanted to watch but never had the time.  And no commercials.  It’s a dream.

I’ve just started Orange Is The New Black.  I know I’m behind but I had other important things to watch, like every single episode of Doctor Who. Twice.  Don’t as questions.  I don’t know how I feel about the show yet.  I know everyone is crazy about it and I’m only 4 episodes in so I don’t have a strong opinion yet.  I always give a show a whole season to find their groove before I pass my judgment.  Even though I don’t have an opinion yet, I can already tell I’m gonna like Sophia. Girl is fierce.  And Dayonara Diaz.  Something about her I like.

Have you watched OITNB yet?  Do you have other show recommendations for me?  Are you only here for the food?

Mexican Shepherd's Pie

This meal is another one of my Sunday throw all the leftovers in a dish and hope something good comes out at the end dinners.  If you have leftover taco fixin’s then you are all set to make this Mexican Shepherd’s Pie. If not you can still easily throw this together and have dinner on the table fast.

Mexican Shepherd’s Pie 

Mexican Shepherd's Pie

  • 2 cups cooked black beans, about 1 can’s worth
  • 1 cup cooked brown rice
  • 3 corn tortillas, torn into bite-size pieces
  • 1 red pepper, sliced
  • 1 onion, chopped
  • 1 cup mashed potatoes (you can also use pumpkin or butternut squash puree)
  • 2 tbsp tomato paste
  • 3 tbsp cilantro, chopped
  • 2 tsp taco seasoning
  • 2 tsp chili powder
  • salt and pepper, to taste

Mexican Shepherd's Pie

  1. Preheat the oven to 425.  In a skillet, saute the sliced peppers and onions over medium-high heat until they are slightly softened.  About 7 minutes.
  2. While the onions and peppers are cooking, mix the beans, rice, tortillas, and 2 tablespoons of cilantro in a medium bowl.  Add the taco seasoning and salt and pepper and stir to combine.  Add the peppers and onions and stir.
  3. In a separate bowl, mix the mashed potatoes, tomato paste, the rest of cilantro, and chili powder together.  Taste and add salt as needed.
  4. Pour the bean and vegetable mix into a deep pie dish or casserole dish. Spread out evenly.  Spread the mashed potato mix on top and make sure all the bean mix is covered.
  5. Cook in the oven for 25 to 30 minutes, until the edges are just starting to brown.  Remove from the oven and let cool for 5 minutes before serving.

Mexican Shepherd's Pie

Like I said, if you have taco fixings you can just use those and add whatever else you would like.  Use ground beef or turkey, shredded pork or chicken, or add shredded cheese if you want.  This can be totally customized to your tastes.

Have a happy Friday and an awesome weekend!!

Mexican Shepherd's Pie