DIY Wednesday: Plantain Chips

SnackDIY Wednesday: Plantain Chips | Life Healthfully Lived 
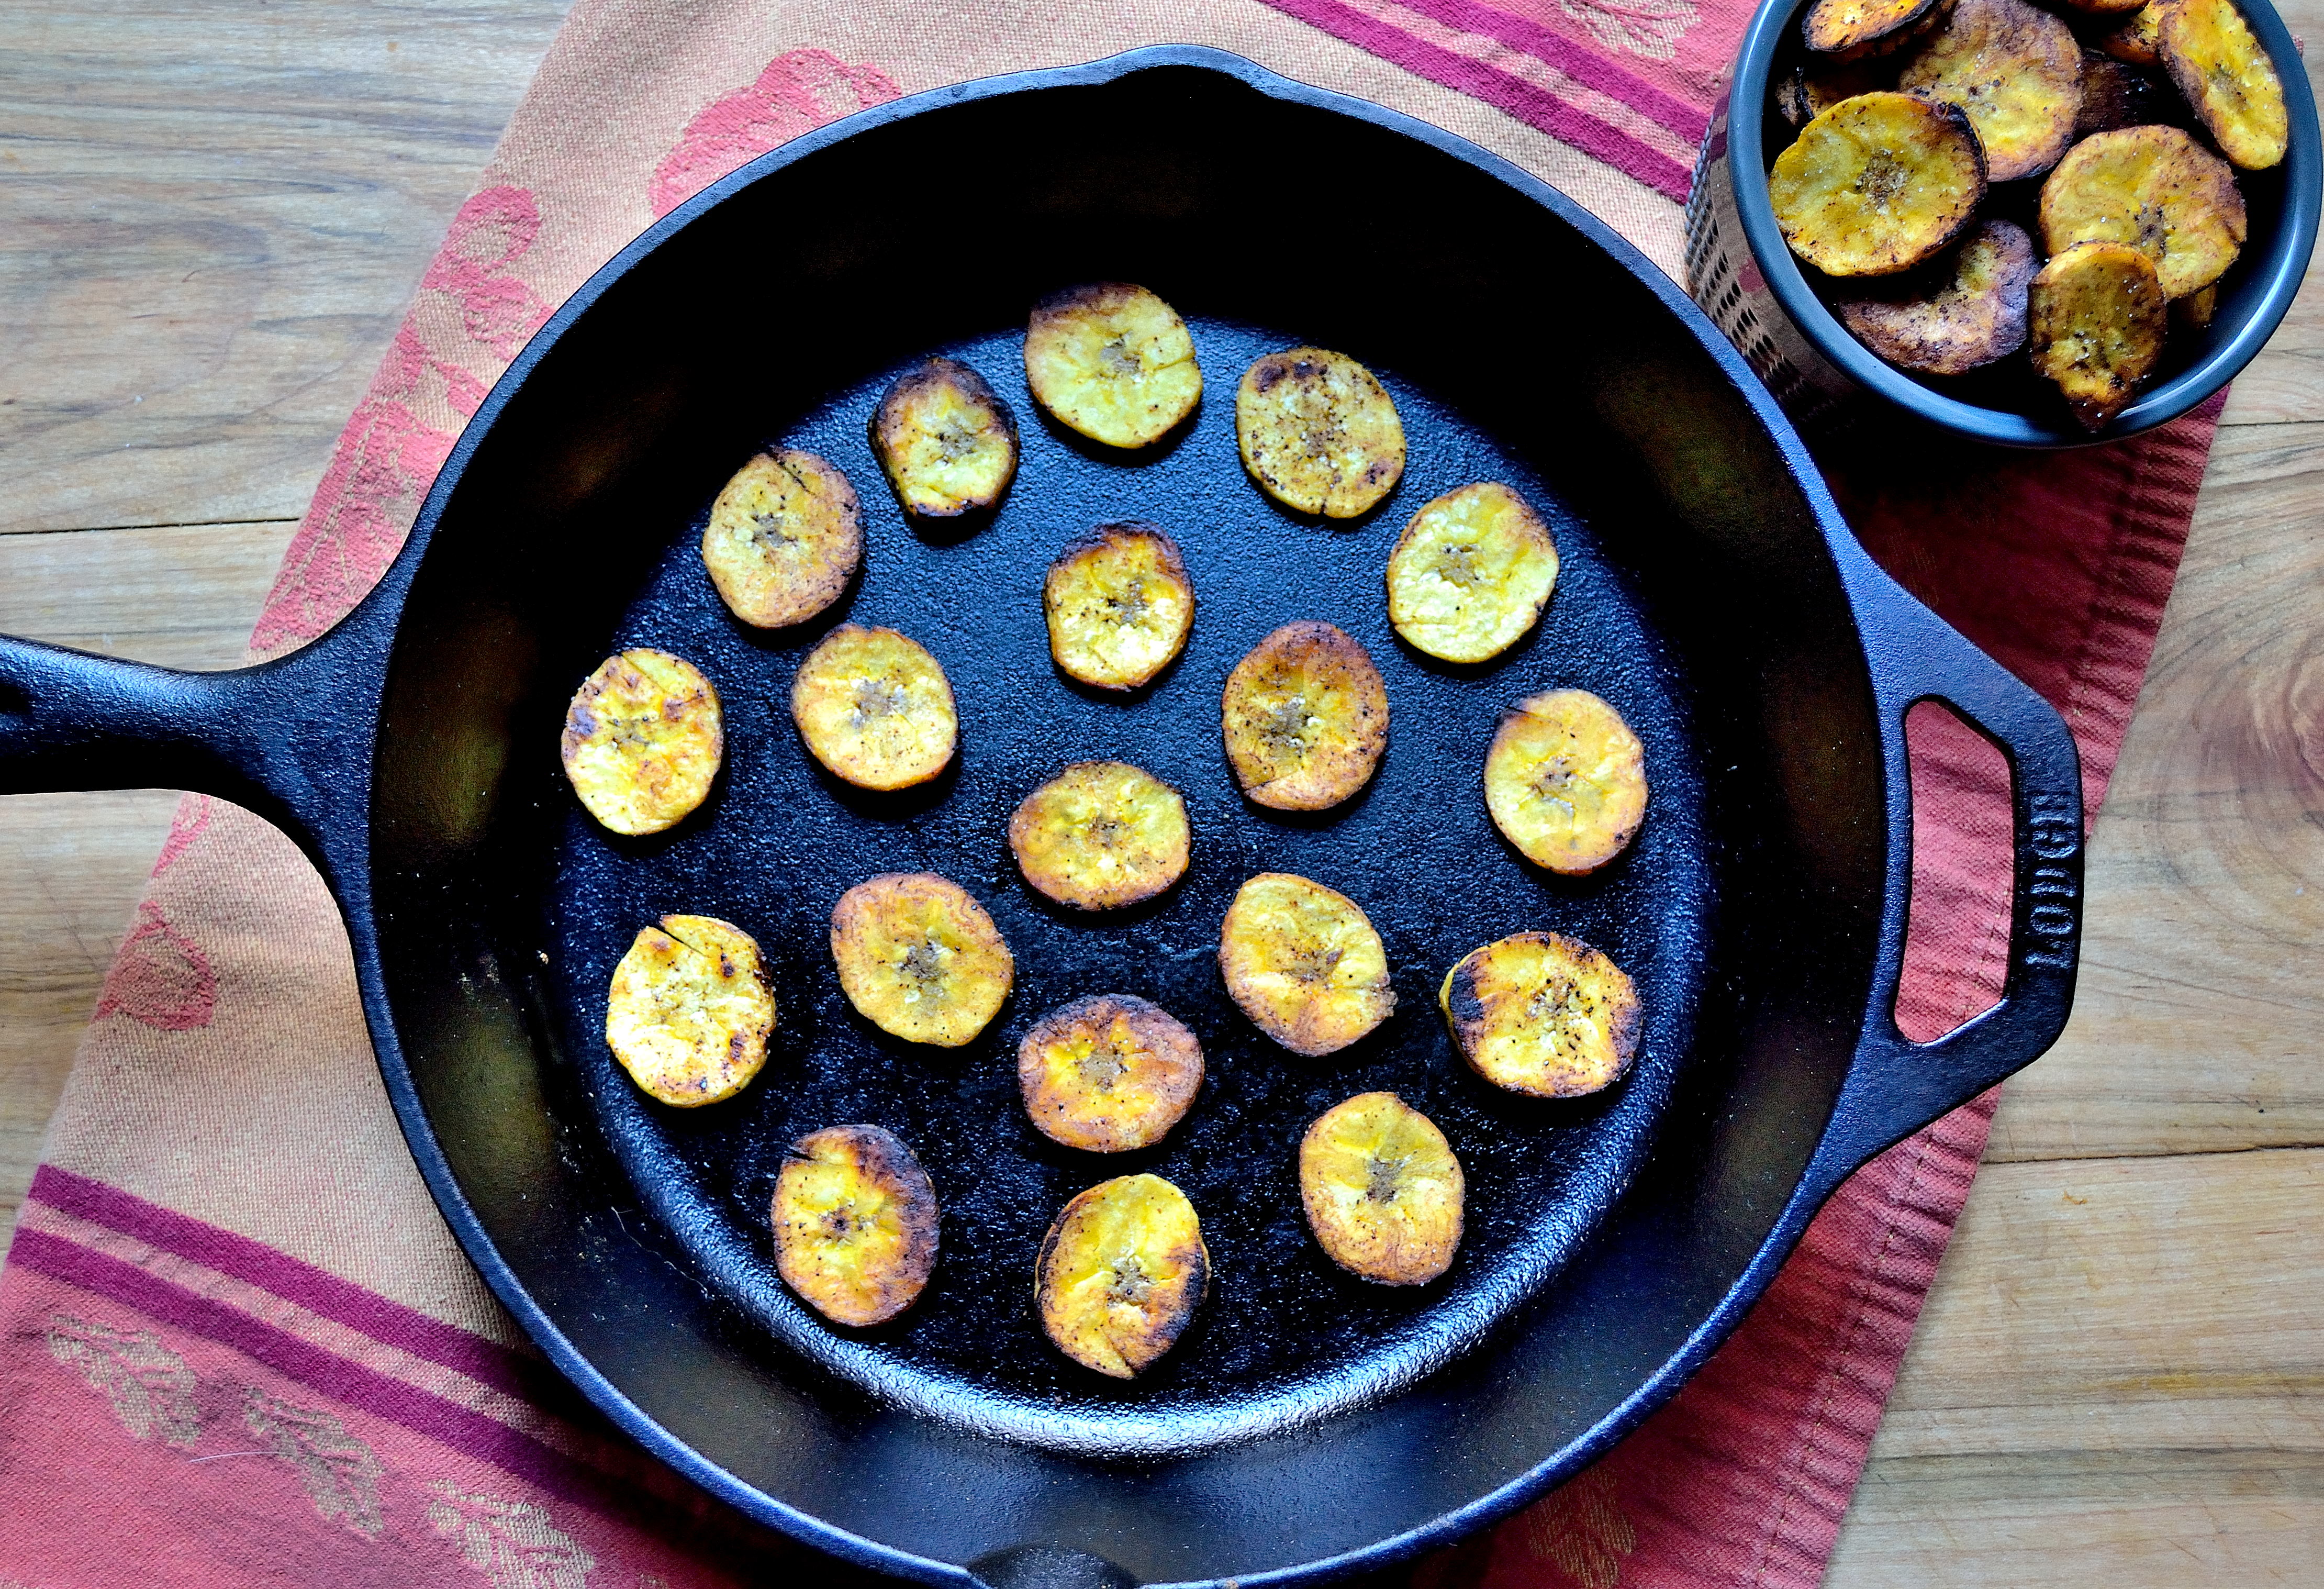
foods are one of the biggest things that people buy in the store rather than make themselves.  It is just so easy to buy those prepackaged and prepared foods to grab and go rather than create a snack for yourself.

I’m not going to completely knock bought snacks, there are a few healthy options out there.  But for the most part, they are full of sugar and other ingredients that have no need to be in food or your body.

That leaves us with making our own snacks and often people default to cut up fruit and vegetables, especially if they are trying to be healthier with their choices.  While fruit and vegetables are a great snack option, they can get a little boring after awhile.  Boredom with food can lead to unnecessary snacking or choosing something not quite as healthy.DIY Wednesday: Plantain Chips | Life Healthfully Lived

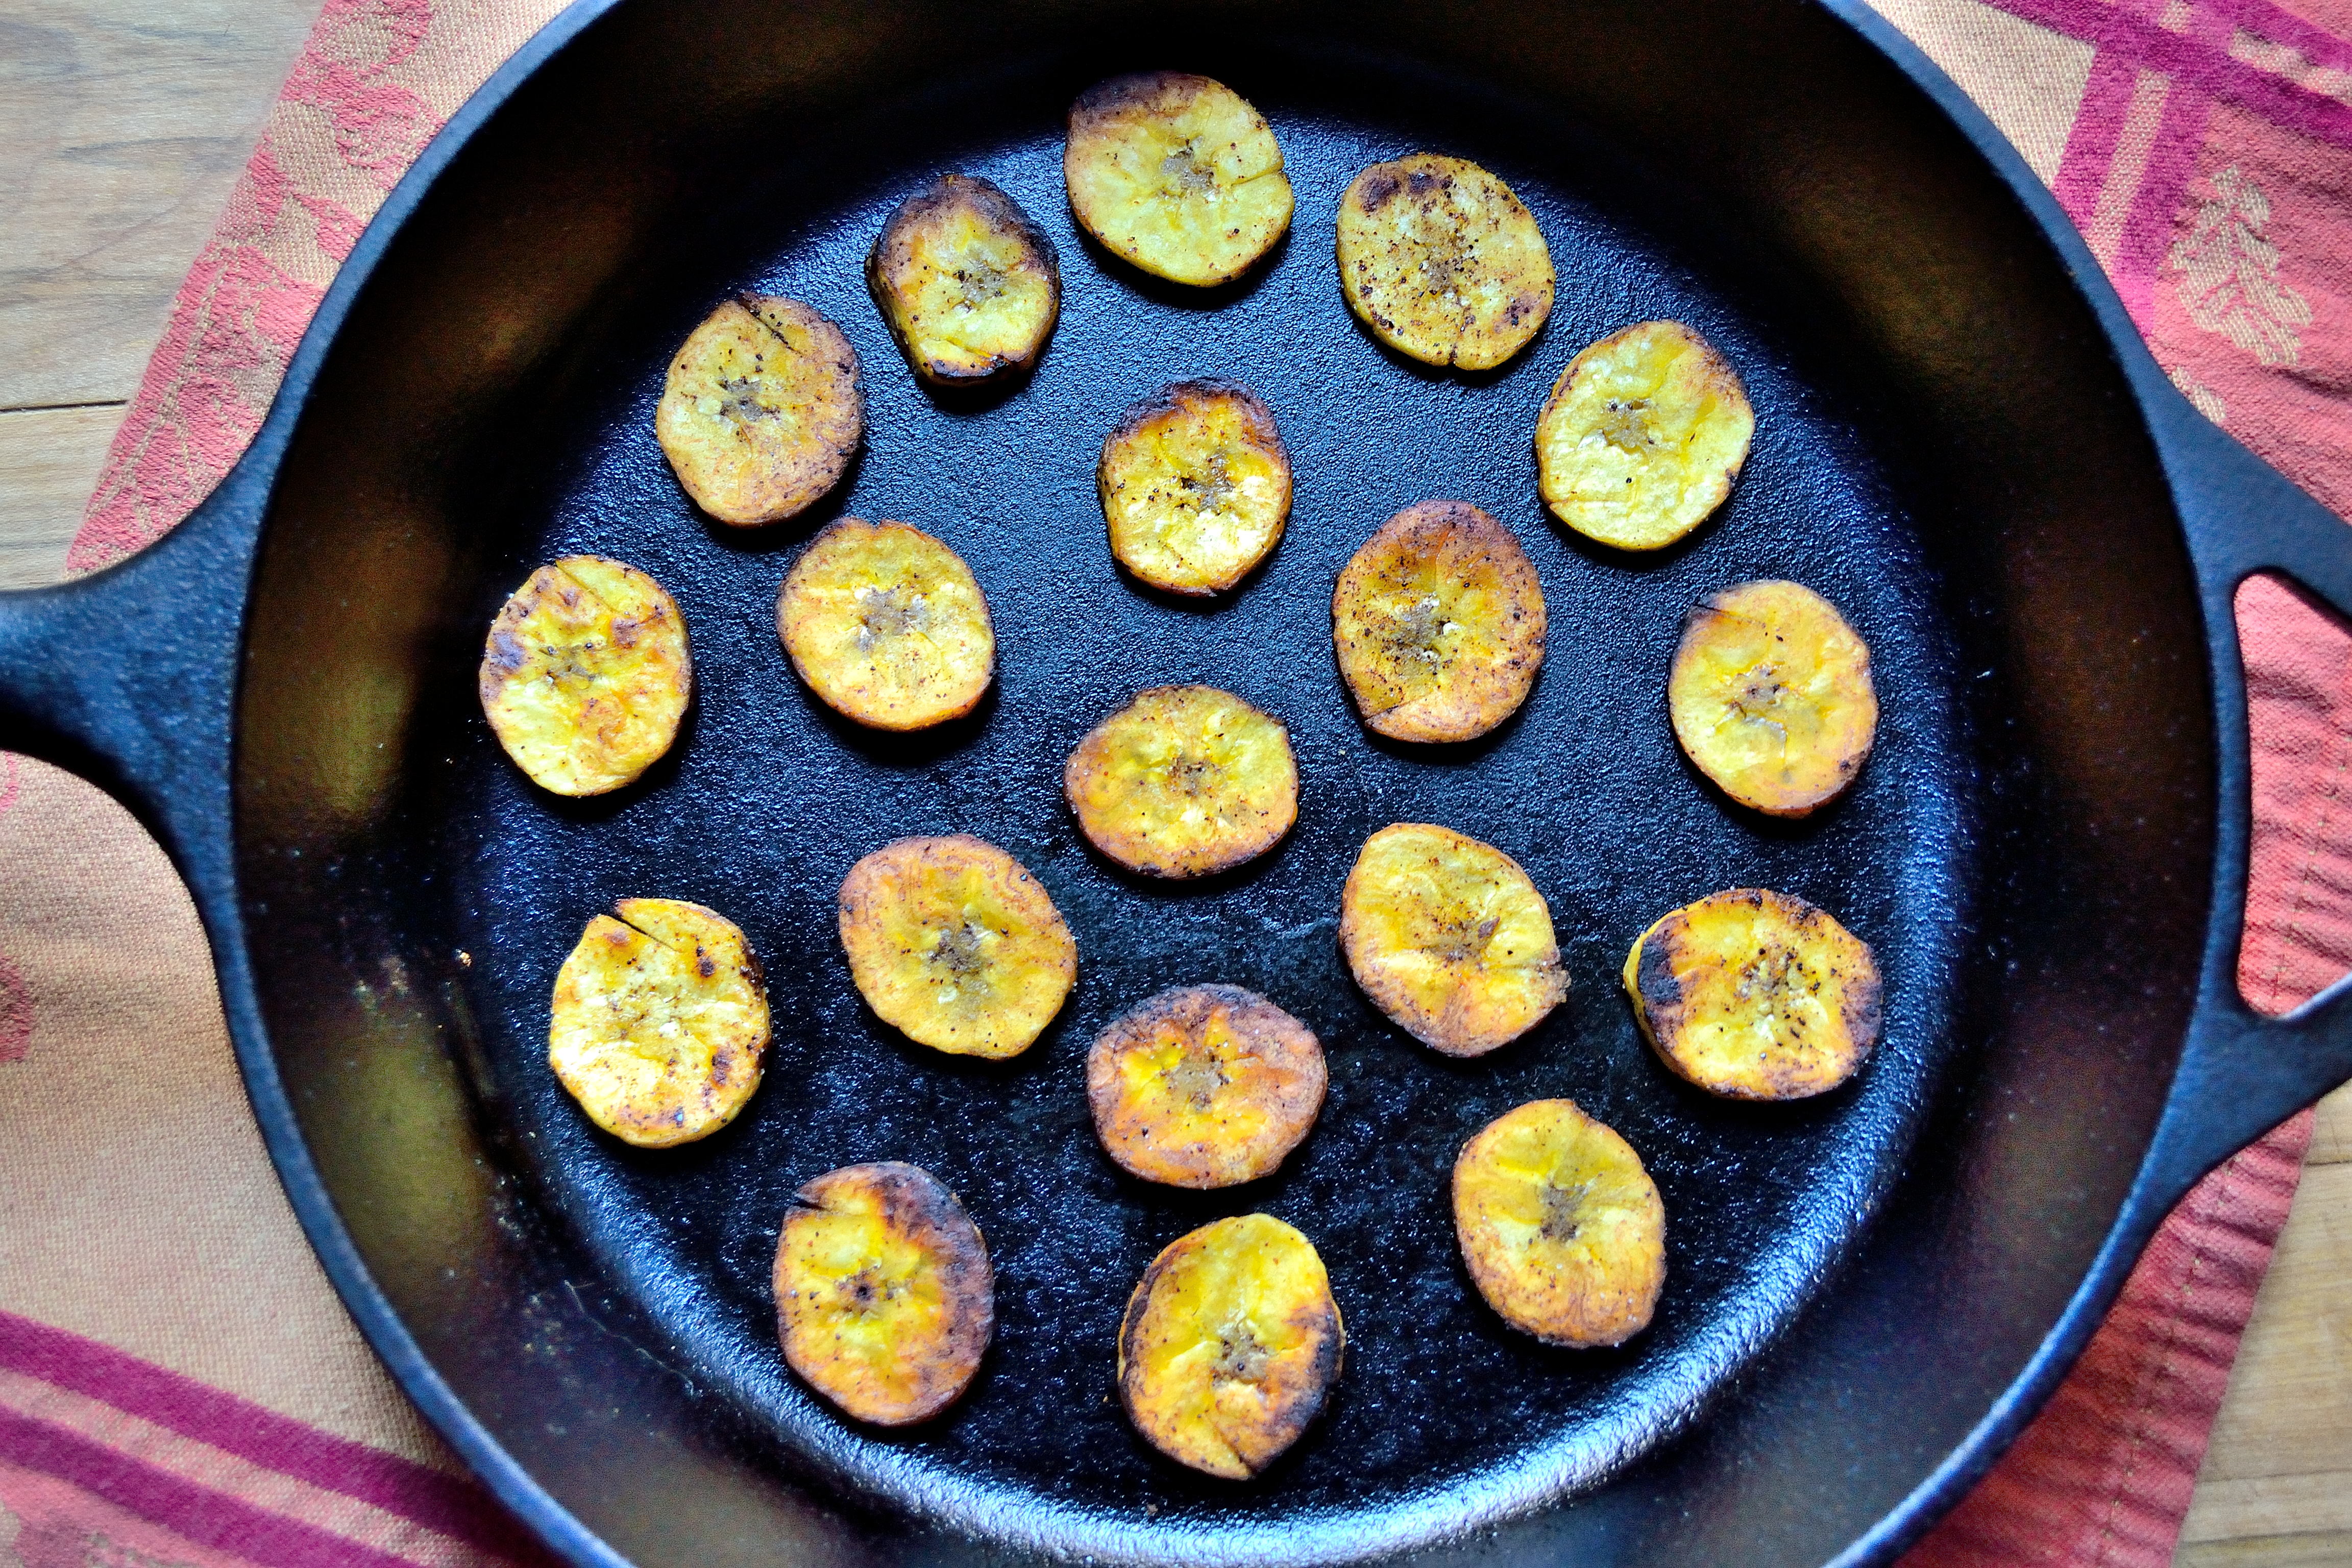
So what do you do?  You leave it to me!  Well, don’t leave it to me to actually make your snacks because there is no way I could get snacks to you personally every day even if I wanted to.  No, leave it to me to come up with some tasty snacks that you can make on your own and will fuel you through your day.

Plantains chips are kind of a trendy food/snack right now.  Plantains have been around for a very long time and are usually grown in warmer climates like South America.  They are part of the banana family and actually look like bananas, but they are much starchier.  Which makes them amazing for baking and making things like chips.

These plantain chips are really easy to make and you can make a big batch to snack on throughout the week.  You also probably have all the ingredients other than the plantain in your kitchen right now.  Just one big note:  Make sure you get a greener plantain rather than a yellow or yellow/brown plantain.  The yellow variety is sweeter and while tasty, it won’t make the nice crispy savory chip that the green variety will.

Plantain ChipsDIY Wednesday: Plantain Chips | Life Healthfully Lived

  • 1 to 2 large green plantains, peeled
  • half a lime
  • 1/2 tsp chili powder
  • 1 tsp salt, divided
  • olive oil
  1. Slice the plantains very thinly.  The thinner the slice, the crispier the chip!
  2. Place the plantain slices in a large bowl and squeeze the lime juice over them.  Sprinkle with the chili powder and 1/2 tsp of salt and then toss to coat them
  3. Place a paper towel onto a large plate and set aside.  Heat a little olive oil in a medium cast-iron or non-stick skillet and once the oil is hot layer the plantain chips in an even layer with plenty of room.  You may have to work in batches.
  4. Cook the chips until the bottom is golden brown and then flip over.  Watch carefully so you don’t burn the chips.  Once they are cooked move them to the plate.  Take another paper towel and blot the top of the chips and while they are still hot sprinkle with the rest of the salt.DIY Wednesday: Plantain Chips | Life Healthfully Lived

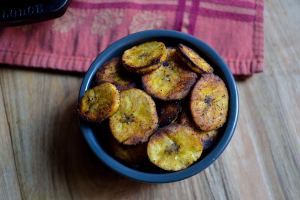
Simple and crispy chips that are a fun twist on regular chips but will still satisfy your snack craving!  You can keep these in an airtight container for 2 to 3 days, if they last that long!

Apple-Banana Muffins

IApple-Banana Muffins | Life Healthfully Lived like to eat, eat, eat, eeples and baneenees.

If you have no clue what I am talking about, you need to spend more time in pre-school.

Last week I went to the apple orchard with my dad and came home with a whole peck of apples.  I’ve already made a huge batch of my squash apple butter, eaten as many raw as I can, and a tart is in the works.

I also wanted to try making a bread with my apples and I had a few over-ripe bananas sitting on my counter so I thought an apple/banana combo was in order.  Two baked goods in a row on the blog… Lucky you!Apple-Banana Muffins | Life Healthfully Lived

While my baking is getting better, I still run into a few problems now and then.  When I made my first batch of my bread concoction, the flavor and texture were right but it did not hold together very well.  My second time around I tweaked a few things and decided to make them into muffins instead of one loaf.

Success!

I ended up with a yummy fall inspired muffin that also happens to be gluten free, dairy free, egg free, and refined sugar-free.  Pretty impressive if I do say so myself!

Apple-Banana MuffinApple-Banana Muffins | Life Healthfully Lived

  • 1 cup almond meal
  • 1/2 cup coconut flour
  • 2 tsp baking powder
  • 1/4 tsp baking soda
  • 1 tsp pumpkin pie spice
  • 3 tbsp date sugar or coconut sugar
  • 1/2 cup almond milk
  • 2 large ripe bananas (the riper they are the sweeter the muffin will be)
  • 1 tbsp molasses or maple syrup
  • 2 tbsp macadamia nut butter or almond butter
  • 1 tsp vanilla extract
  • 1 large apple, shredded (more subtle apple flavor) or small diced
  • 16-18 whole pecans, optional
  1. Preheat the oven to 350 and line a muffin tin with paper liners
  2. Combine all of the wet ingredients and mix well until you have a smooth batter.
  3. Combine all of the dry ingredients into a large bowl and whisk together.  Pour the wet ingredients into the dry and stir to combine.  The batter will be a little stiff, that is ok.
  4. Add in the shredded or diced apple and stir to mix everything together
  5. Spoon a little over a tablespoon of the batter into each muffin well and press down just a little.  Press one pecan onto the top of each muffin.
  6. Bake the muffins for 20 to 25 minutes, until the top is slightly brown and batter is set.
  7. Let the muffins cool in the muffin tin for 5 minutes and then move to a wire rack to cool completely.

These are kind of like fall in a muffin wrapper and that isn’t a bad thing. You could also try making this into two mini loaves if you really wanted bread.Apple-Banana Muffins | Life Healthfully Lived

Anyone have fun plans for this weekend?  Adam and I are planning on just hanging around our neighborhood and relaxing.  Oh and if you’re keeping count, only 8 more days until my birthday.  Delicious food presents welcome…

Happy weekend friends!

DIY Wednesday: Herbed Macadamia Butter

HaveDIY Wednesday: Herbed Macadamia Butter | Life Healthfully Lived you ever seen a log of herbed butter?  All cut into pretty round slices and full of delicious herbs like parsley, chives, basil, and oregano?

This is not like that.

Well, it’s sort of like it but not quite.  I had the idea to try and come up with an alternative to those fancy herbed butters that are so delicious.  I haven’t had dairy in years, and I wanted to see if I could make a dairy-free version.

Sure, there are tons of vegan specialty butters that you can buy.  But many times those butters are full of processed ingredients that aren’t any better for me than regular butter.

So I decided to go the route of making a savory nut butter.  First I had to decide which type of nut to use.  Almonds and peanut butter have their own distinct taste and I wanted to use something a bit milder so that you could really taste the herbs.

Cashews are pretty mild, but they can be a little grainy in texture unless you have a high-powered blender.  I settled on macadamia nuts.  They are mild and have a slightly buttery taste to them and come out nice and smooth when blended into butter.DIY Wednesday: Herbed Macadamia Butter | Life Healthfully Lived

I was surprised how quickly this came together and I was pleased with the taste and the spreadability.  The only thing that I couldn’t really change was the color.  Yeah, it’s kind of an icky brown, but sometimes the ugliest concoctions taste the best.  Just trust me on this one.

A few notes about the recipe.  You don’t have to roast the nuts, but it adds a nice depth of flavor to the savory butter.  Raw nuts will give you a lighter, more appealing color.  Don’t worry about the coconut oil giving this butter a coconut-y flavor, it’s just to help the butter set in the fridge and spread nicely on things like bread.

Herbed Macadamia ButterDIY Wednesday: Herbed Macadamia Butter | Life Healthfully Lived

  • 2 cups raw macadamia nuts
  • 2 tsp roasted garlic
  • 2 tsp coconut oil, melted
  • 1 tsp salt
  • 1 tsp dried oregano
  • 1 tsp dried basil
  • 1 tsp dried thyme
  1. Preheat oven to 350 and spread the macadamia nuts on a large baking sheet in an even layer.
  2. Roast the nuts for 10 minutes and then transfer to a blender or food processor immediately.
  3. Blend the nuts, scraping down the sides as needed, until you have a smooth and drippy butter.  It should be almost liquid like.
  4. Add in the teaspoons of coconut oil and the 1 tsp of salt and blend until combined.
  5. Add in the garlic and the rest of the seasonings and blend until completely combined.  Taste and adjust any seasonings as needed.

This will obviously not act the same way as real butter, as in it won’t melt.  But it does add a nice salty, herby, and fatty quality to whatever you use it on.  And really, who doesn’t like things that are salty, herby, and fatty?DIY Wednesday: Herbed Macadamia Butter | Life Healthfully Lived

Keep this in an airtight container in your fridge and let it warm up a few minutes before you use it so it spreads easily.  And there you have it!  Your own savory spread that you didn’t have to pay top dollar for! Enjoy!

Carrot Cake Breakfast Cookies

RememberCarrot Cake Breakfast Cookie | Life Healthfully Lived those cookies I made for my cream cheese frosting?  Well, you can stop wondering about them.

I know this is the time of year that pumpkin flavored everything is everywhere.  Coffee, cookies, bread, muffins, oatmeal, stew, candles, air fresheners…. You get the idea.  Don’t get me wrong, pumpkin is awesome.  I have a whole shelf in my closet dedicated to my stock of pumpkin.  But it isn’t the only fall produce that deserves some love.

Carrots are a really versatile vegetable.  Kind of like pumpkin, they do well in sweet and savory dishes.  While I do love a good carrot soup or stew, carrot cake is where it’s at for me. Carrot Cake Breakfast Cookie | Life Healthfully Lived

These carrot cake cookies are more of a breakfast type cookie because they aren’t super sweet.  You can make it a little more decadent by turning it into a cream cheese frosting and carrot cake cookie sandwich.  Believe me, it’s delicious.

Leave the frosting off and you have a healthy breakfast cookie that’s lightly sweetened with raisins and a little maple syrup.  A cookie for breakfast?  Now that’s the dream!

Carrot Cake Breakfast CookieCarrot Cake Breakfast Cookie | Life Healthfully Lived

  • 1 cup regular oats, not instant
  • 1/2 cup coconut flour
  • 1 tsp baking powder
  • 2 tsp cinnamon
  • 1 tbsp flax
  • 3 tbsp water
  • 1/4 cup raisins
  • 1/3 cup coconut oil
  • 2 tbsp maple syrup
  • 1 cup shredded carrots
  1. Preheat the oven to 350 and line a baking sheet with parchment paper or a Silpat.  Mix the flax seed and water together and set aside.
  2. Combine all the dry ingredients in a bowl and set aside.
  3. In a food processor or blender, combine the raisins and coconut oil until you have a smooth paste.  Add the shredded carrots and pulse a few more times.
  4. Add the dry ingredients to the carrot mixture and pulse until everything is mixed together.
  5. Scoop out about a tablespoon or so and slightly flatten them into discs and place on the baking sheet.
  6. Bake for 10 to 15 minutes until the cookies are slightly brown around the edges.  Let them cool on the sheet for 5 minutes and then transfer to a wire rack to cool completely.

That’s it!  Keep them in an airtight container and they should last about a week, longer if you put them in the fridge. Carrot Cake Breakfast Cookie | Life Healthfully Lived

Do you have any fun plans for this weekend?  Adam and I are headed to Brazil (Indiana, not the country) to spend some time with his folks at the covered bridge festival.  It will be nice to spend time with family and just relax!

DIY Wednesday: Hot Sauce

ThisDIY Wednesday: Hot Sauce | Life Healthfully Lived post is compliments of my dad.  On Monday, we spent the whole day together apple picking at Royal Oaks Farm.  I love apple picking, it’s the perfect fall time activity.  Plus you get to eat delicious apples while you pick them.  It’s the best!

While we were getting lunch, I told him I needed to come up with a DIY post for today.  He gave me some good ideas, but hot sauce was the one that won for today.

DIY Wednesday: Hot Sauce | Life Healthfully Lived

I’m surprised I didn’t think of this one sooner.  A lot of people buy hot sauce and there are a ton of varieties at the store.  When I took a look at the ingredients on most hot sauces, I saw that it was really a simple product.  There are  of course different variations and levels of heat, but the basic ingredient list is short and sweet.  Which makes it a perfect product to make at home.

While I love making things at home to save money and know exactly what is going into my food, I also like playing around with flavors and ingredients.  Putting my little twist on common staples is fun and is a great way to learn how different ingredients go together or don’t.

This hot sauce came together quickly and I love how fresh it tastes.  Just a little will go a long way in your recipes and it will last you a long time.  Just a few tips for you while making this:

  • If you have any cuts or scrapes on your hands, WEAR GLOVES!  Trust me you do not want to be getting hot pepper juice in your wounds.
  • Do NOT rub your eyes/nose/mouth while making this unless you enjoy feeling like your face is on fire.
  • If you choose not to wear gloves, wash your hands REALLY well after you’re done.  Again, avoid the eye/nose/mouth region with your hands.

Long story short, protect your skin from the hot peppers or else you will feel the burn.  And not in a good way.

Hot SauceDIY Wednesday: Hot Sauce | Life Healthfully Lived

  • 10-15 habanero peppers
  • 2-3 jalapeno peppers
  • 3 tsp roasted garlic or 3 cloves fresh garlic, roughly chopped
  • 2 large carrots, shredded
  • 2 cups water
  • juice of one lime
  • 2-3 tbsp white vinegar
  • salt to taste
  1. Take off the stems from the peppers and roughly chop.  If you like super spicy hot sauce, you can leave in the seeds.
  2. Heat a little oil in a medium saucepan over medium-high heat, if you’re using fresh garlic add that in and saute for a few minutes.  Then add the carrot shreds and saute for 2 to 3 more minutes.
  3. Add the two cups of water and bring everything to a boil.  Cover and lower to a simmer and cook for 5 minutes.
  4. Remove the lid and take the pot off of the heat.  Add the peppers to the mixture and then stir in the vinegar and lime juice.  Add a little salt and stir again.
  5. Pour the whole mixture into a blender and puree until smooth.  Taste and add more salt if needed.
  6. Let the sauce cool and then store in an airtight container in the fridge.  DIY Wednesday: Hot Sauce | Life Healthfully Lived

That’s it.  I can’t stress enough about protecting your hands and then not touching your face while making this.  Or any other sensitive areas…. OUCH!  But afterward you will get an awesome hot sauce that you made with your own, possibly slightly burned, hands!