Gluten-Free Apple Ring Pancakes

SundaysGluten-Free Apple Ring Pancakes | Life Healthfully Lived are meant for a slightly fancier breakfast.  You aren’t rushing off to work or school and you can take the time to put a little extra effort into your morning meal.  I usually make Adam a huge plate of hash browns, eggs, and then pancakes or waffles depending on what I have on hand.

Lately, I have been craving his pancakes.  I usually make his with whole wheat flour and that is a no go for me.  So I decided to combine a few ideas and came up with this pancake.

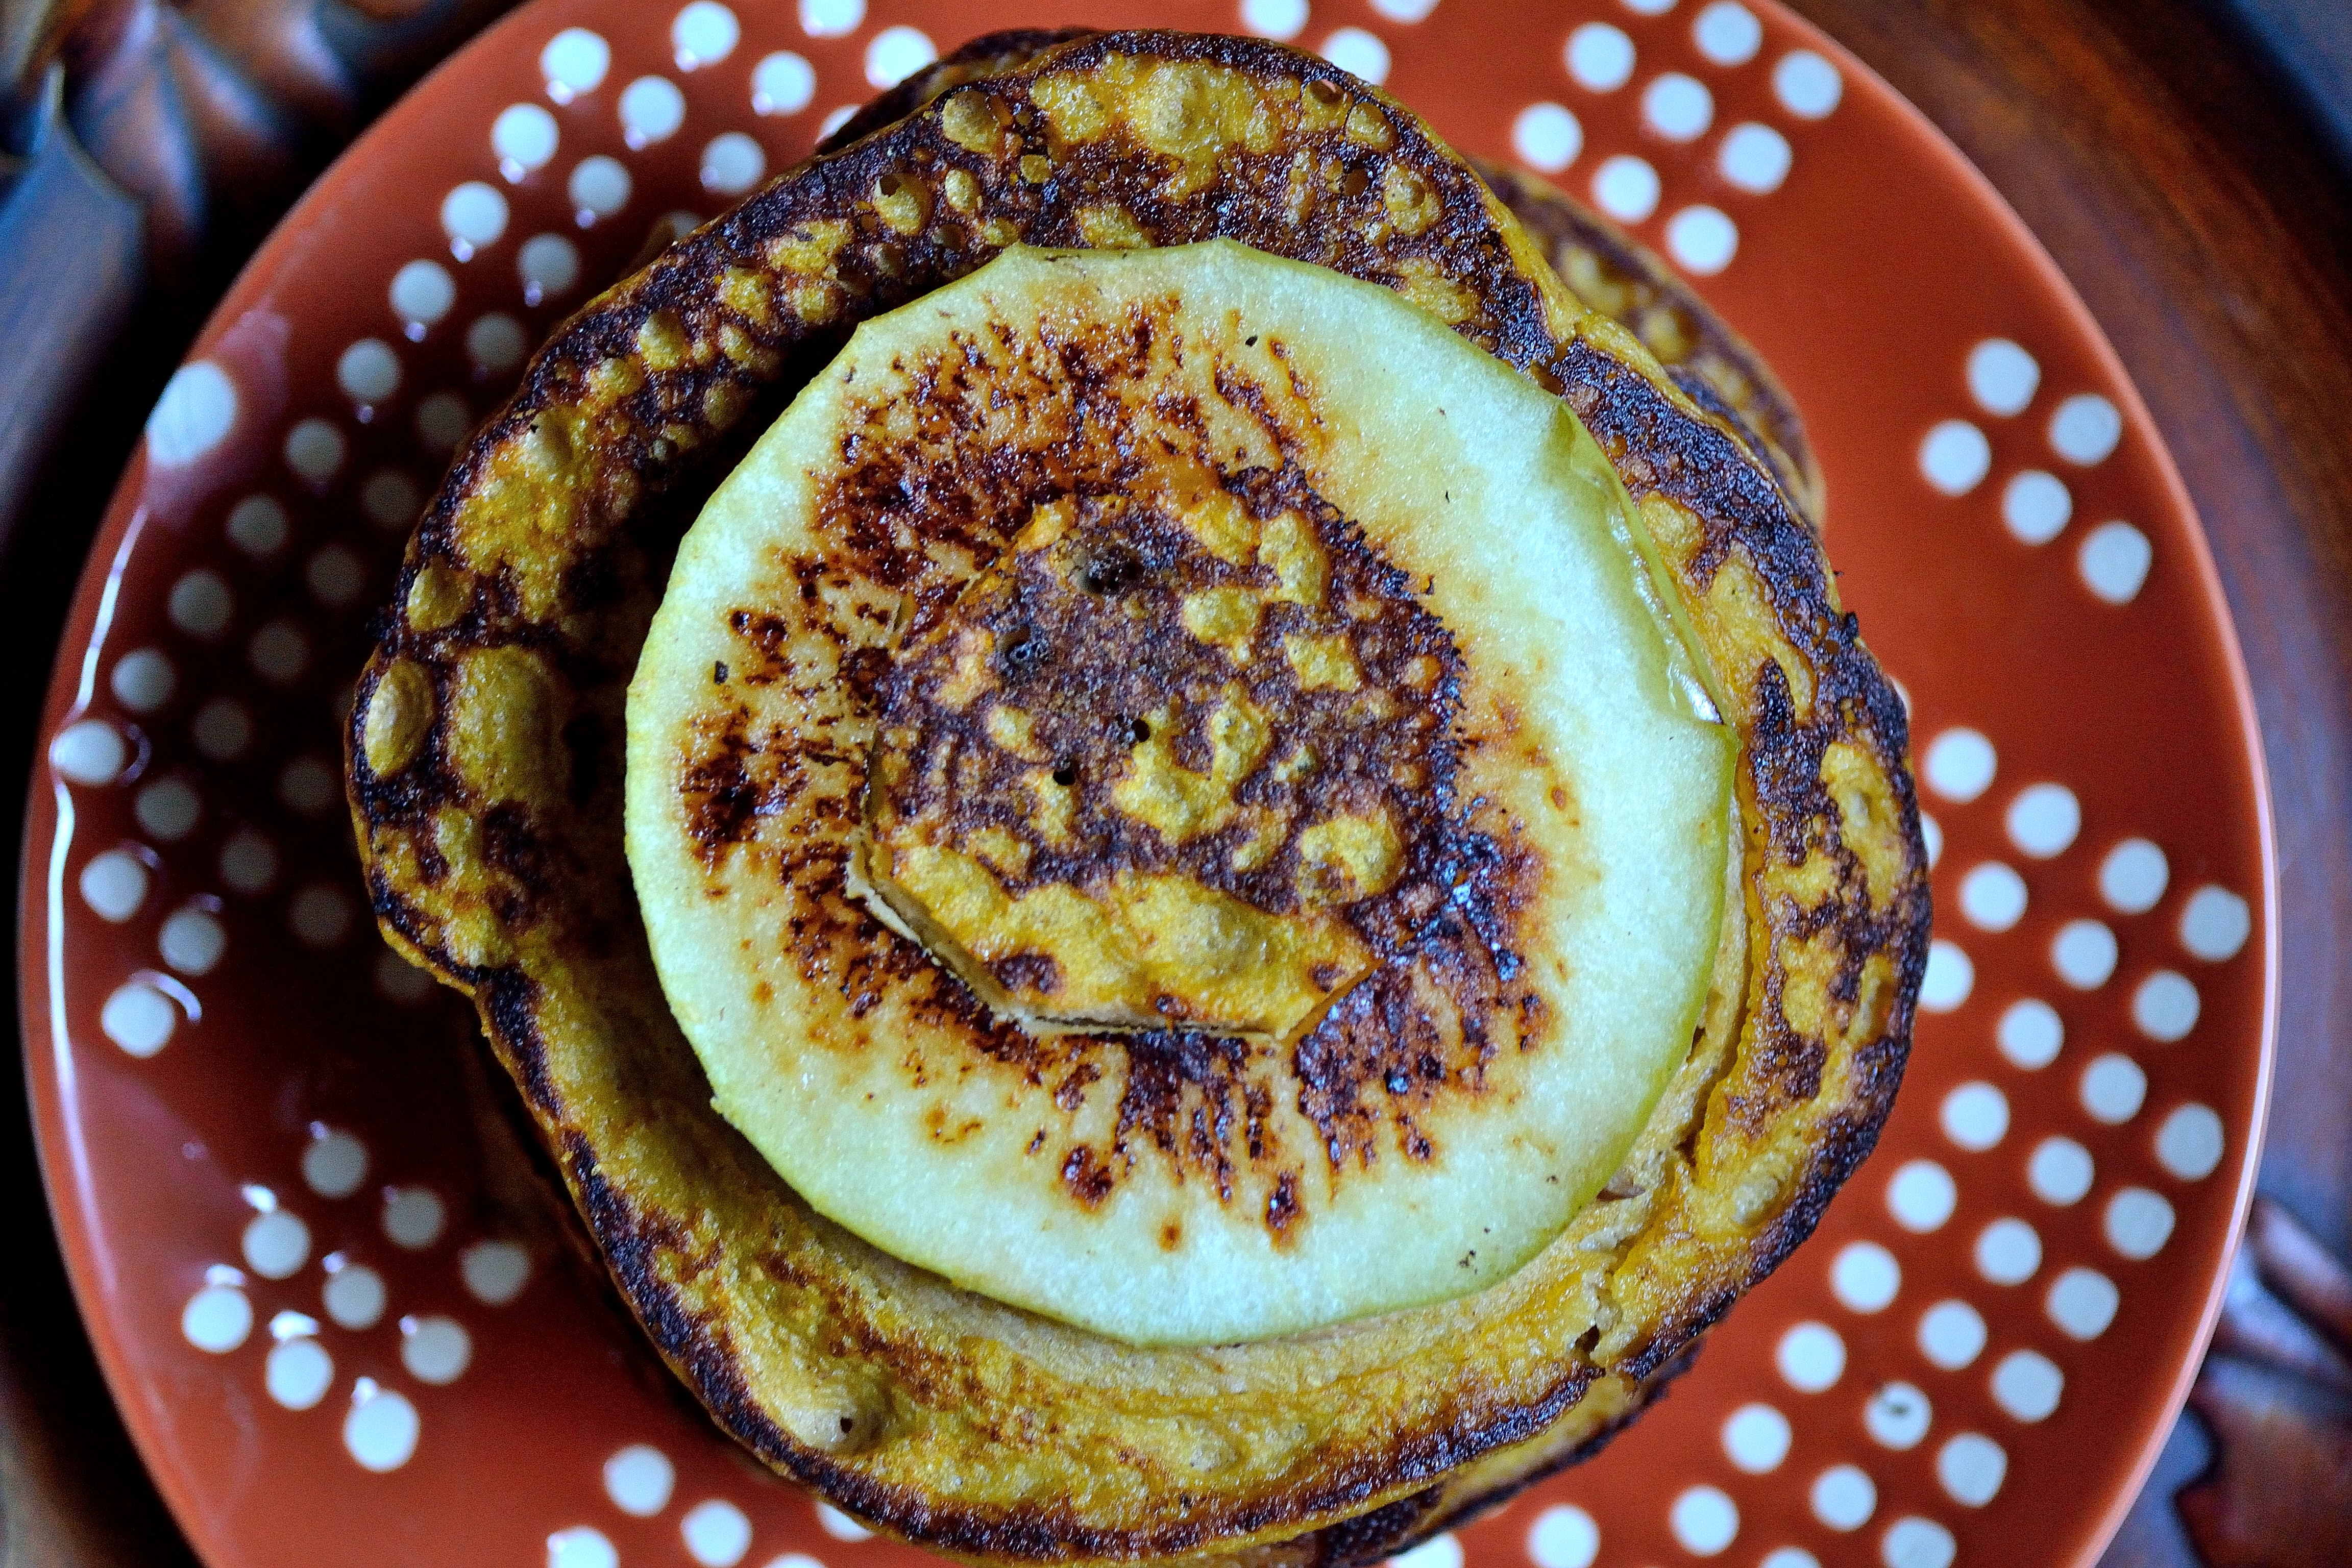
I had seen apple ring pancakes online and always thought they looked delicious, so I thought that these pancakes would be good with a little taste of apple in them.  The actual pancake part is gluten free and dairy free, plus they can be made vegan if you use a flax or chia egg instead of regular eggs.Gluten-Free Apple Ring Pancakes | Life Healthfully Lived

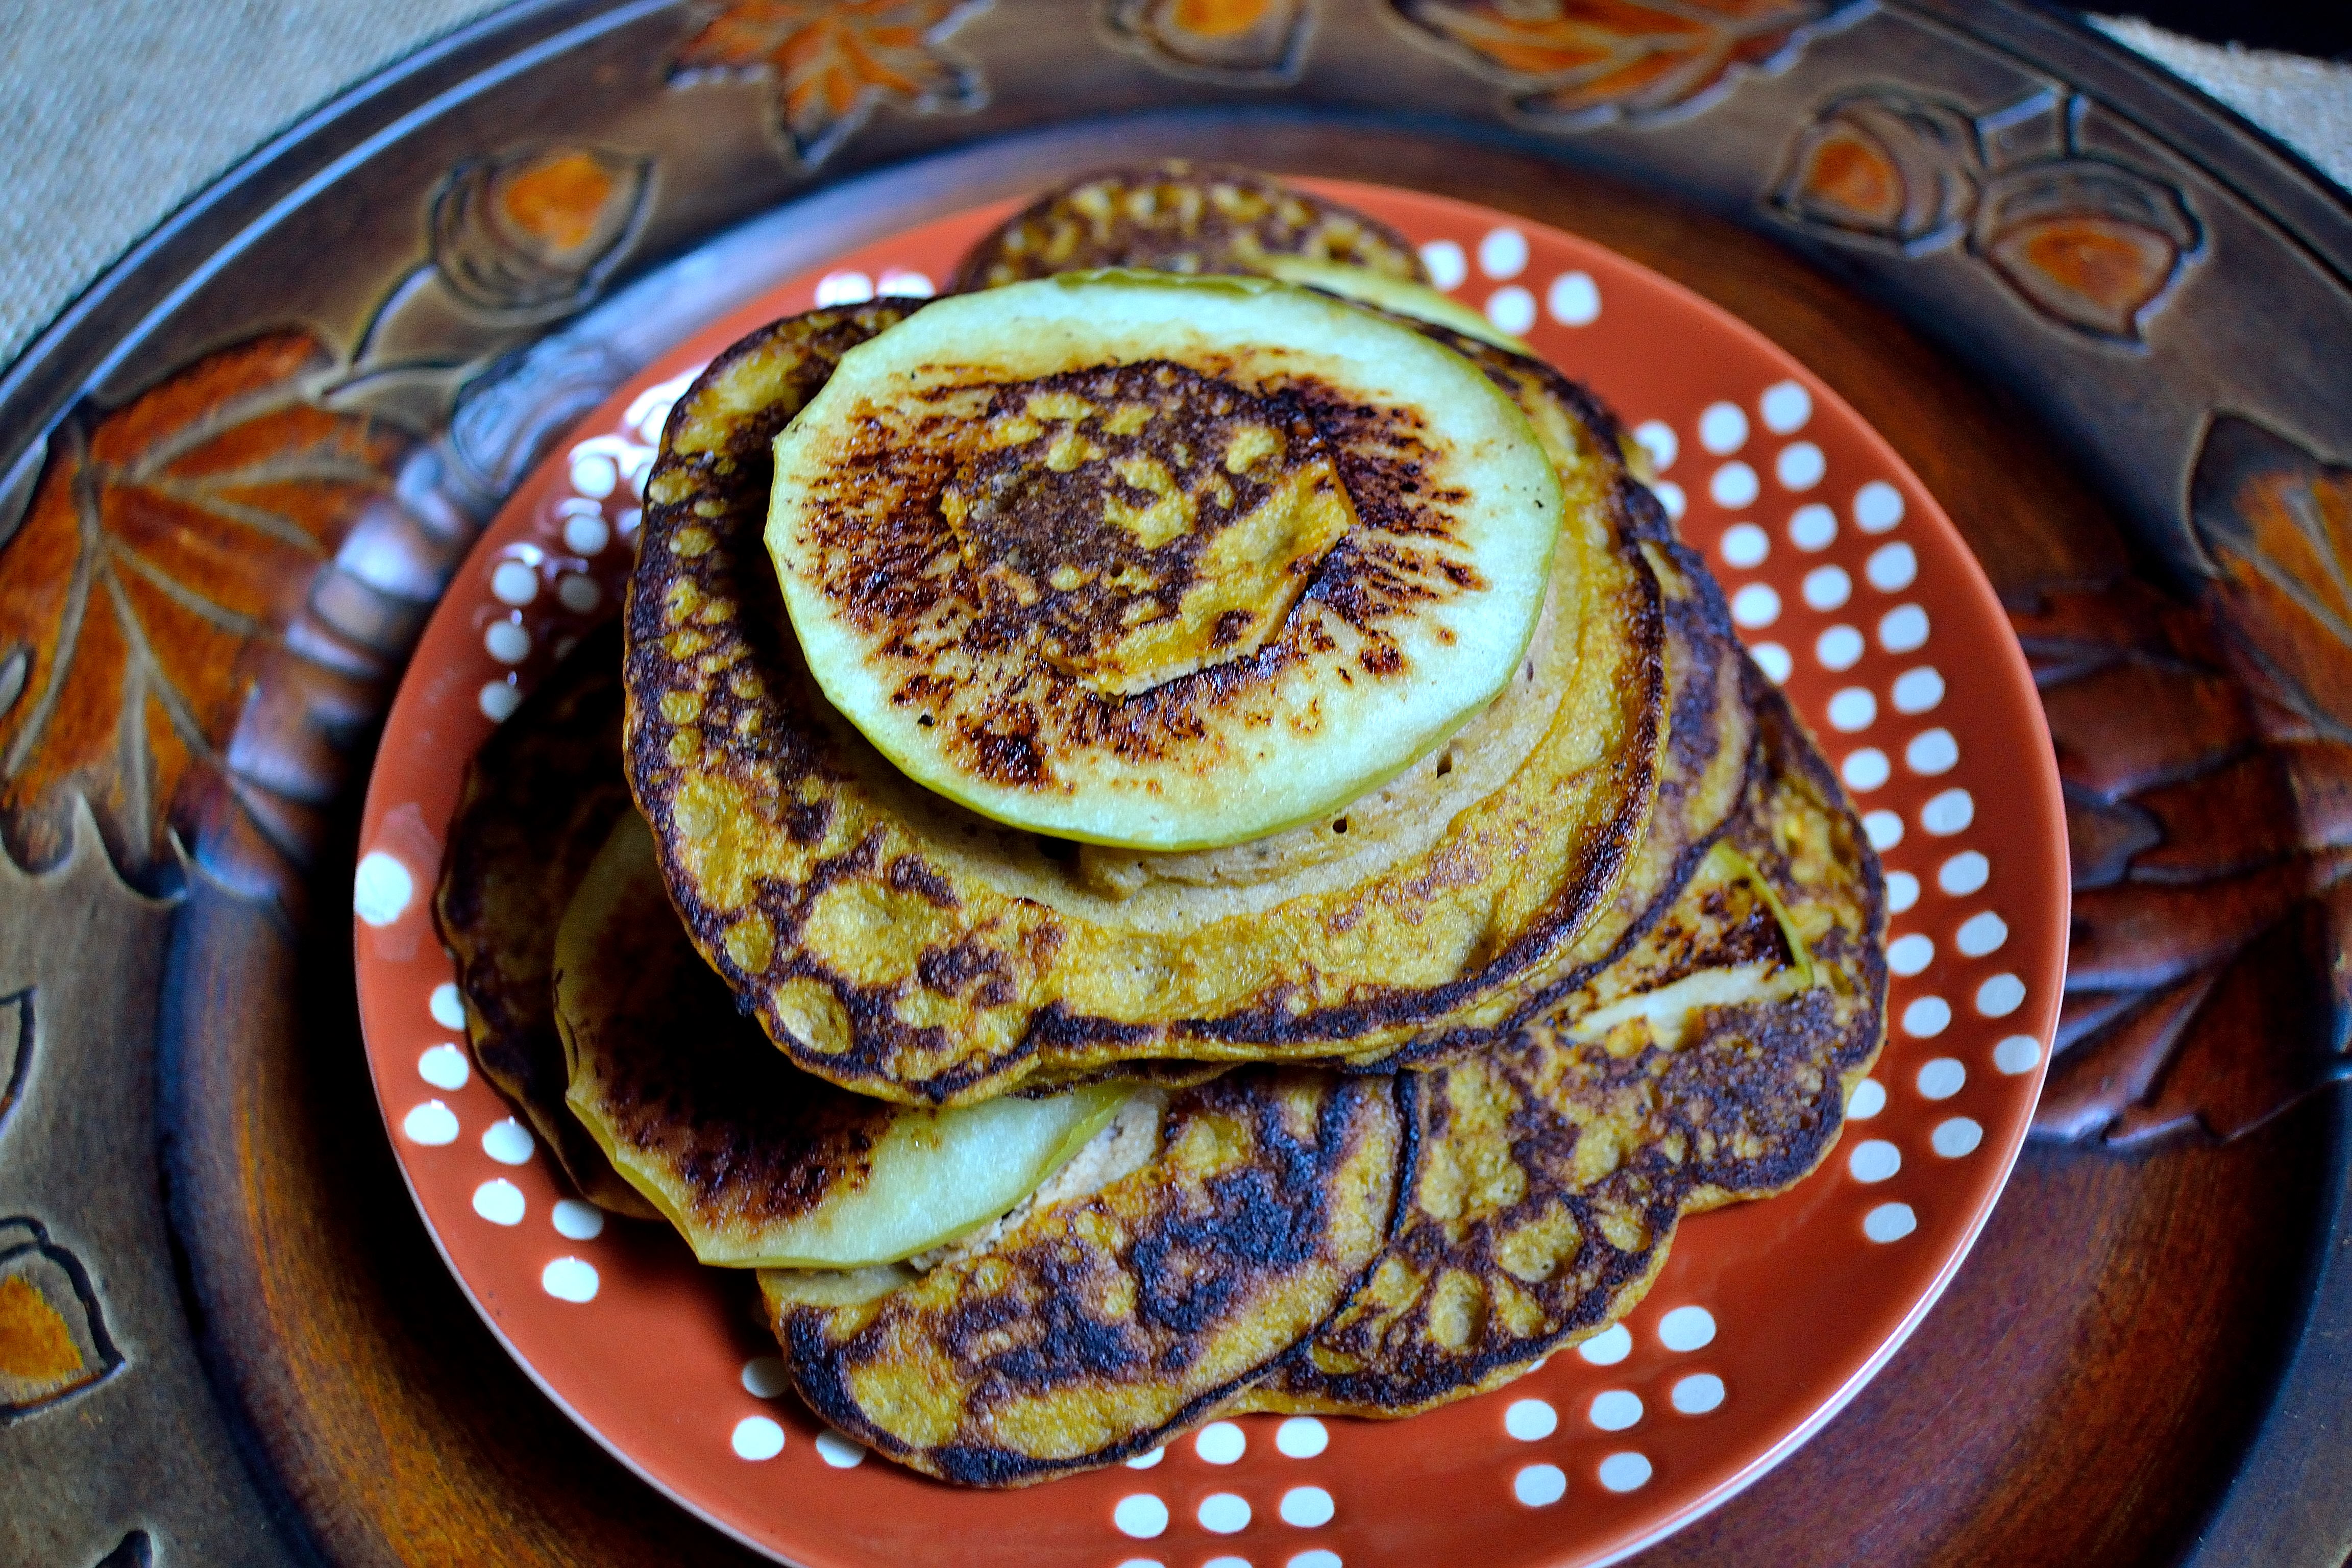
I also left the pancake a little less sweet than normal because the apple adds enough sweetness for me.  Other than that, these pancakes are a fun breakfast to make and serve, plus they look extra fancy without being that difficult to put together.  So if you want to serve up a tasty twist on pancakes, try these ones out!  Oh and if you need an idea of what to top it with, try my peanut-apple butter sauce.

Gluten-Free Apple Ring PancakesGluten-Free Apple Ring Pancakes | Life Healthfully Lived

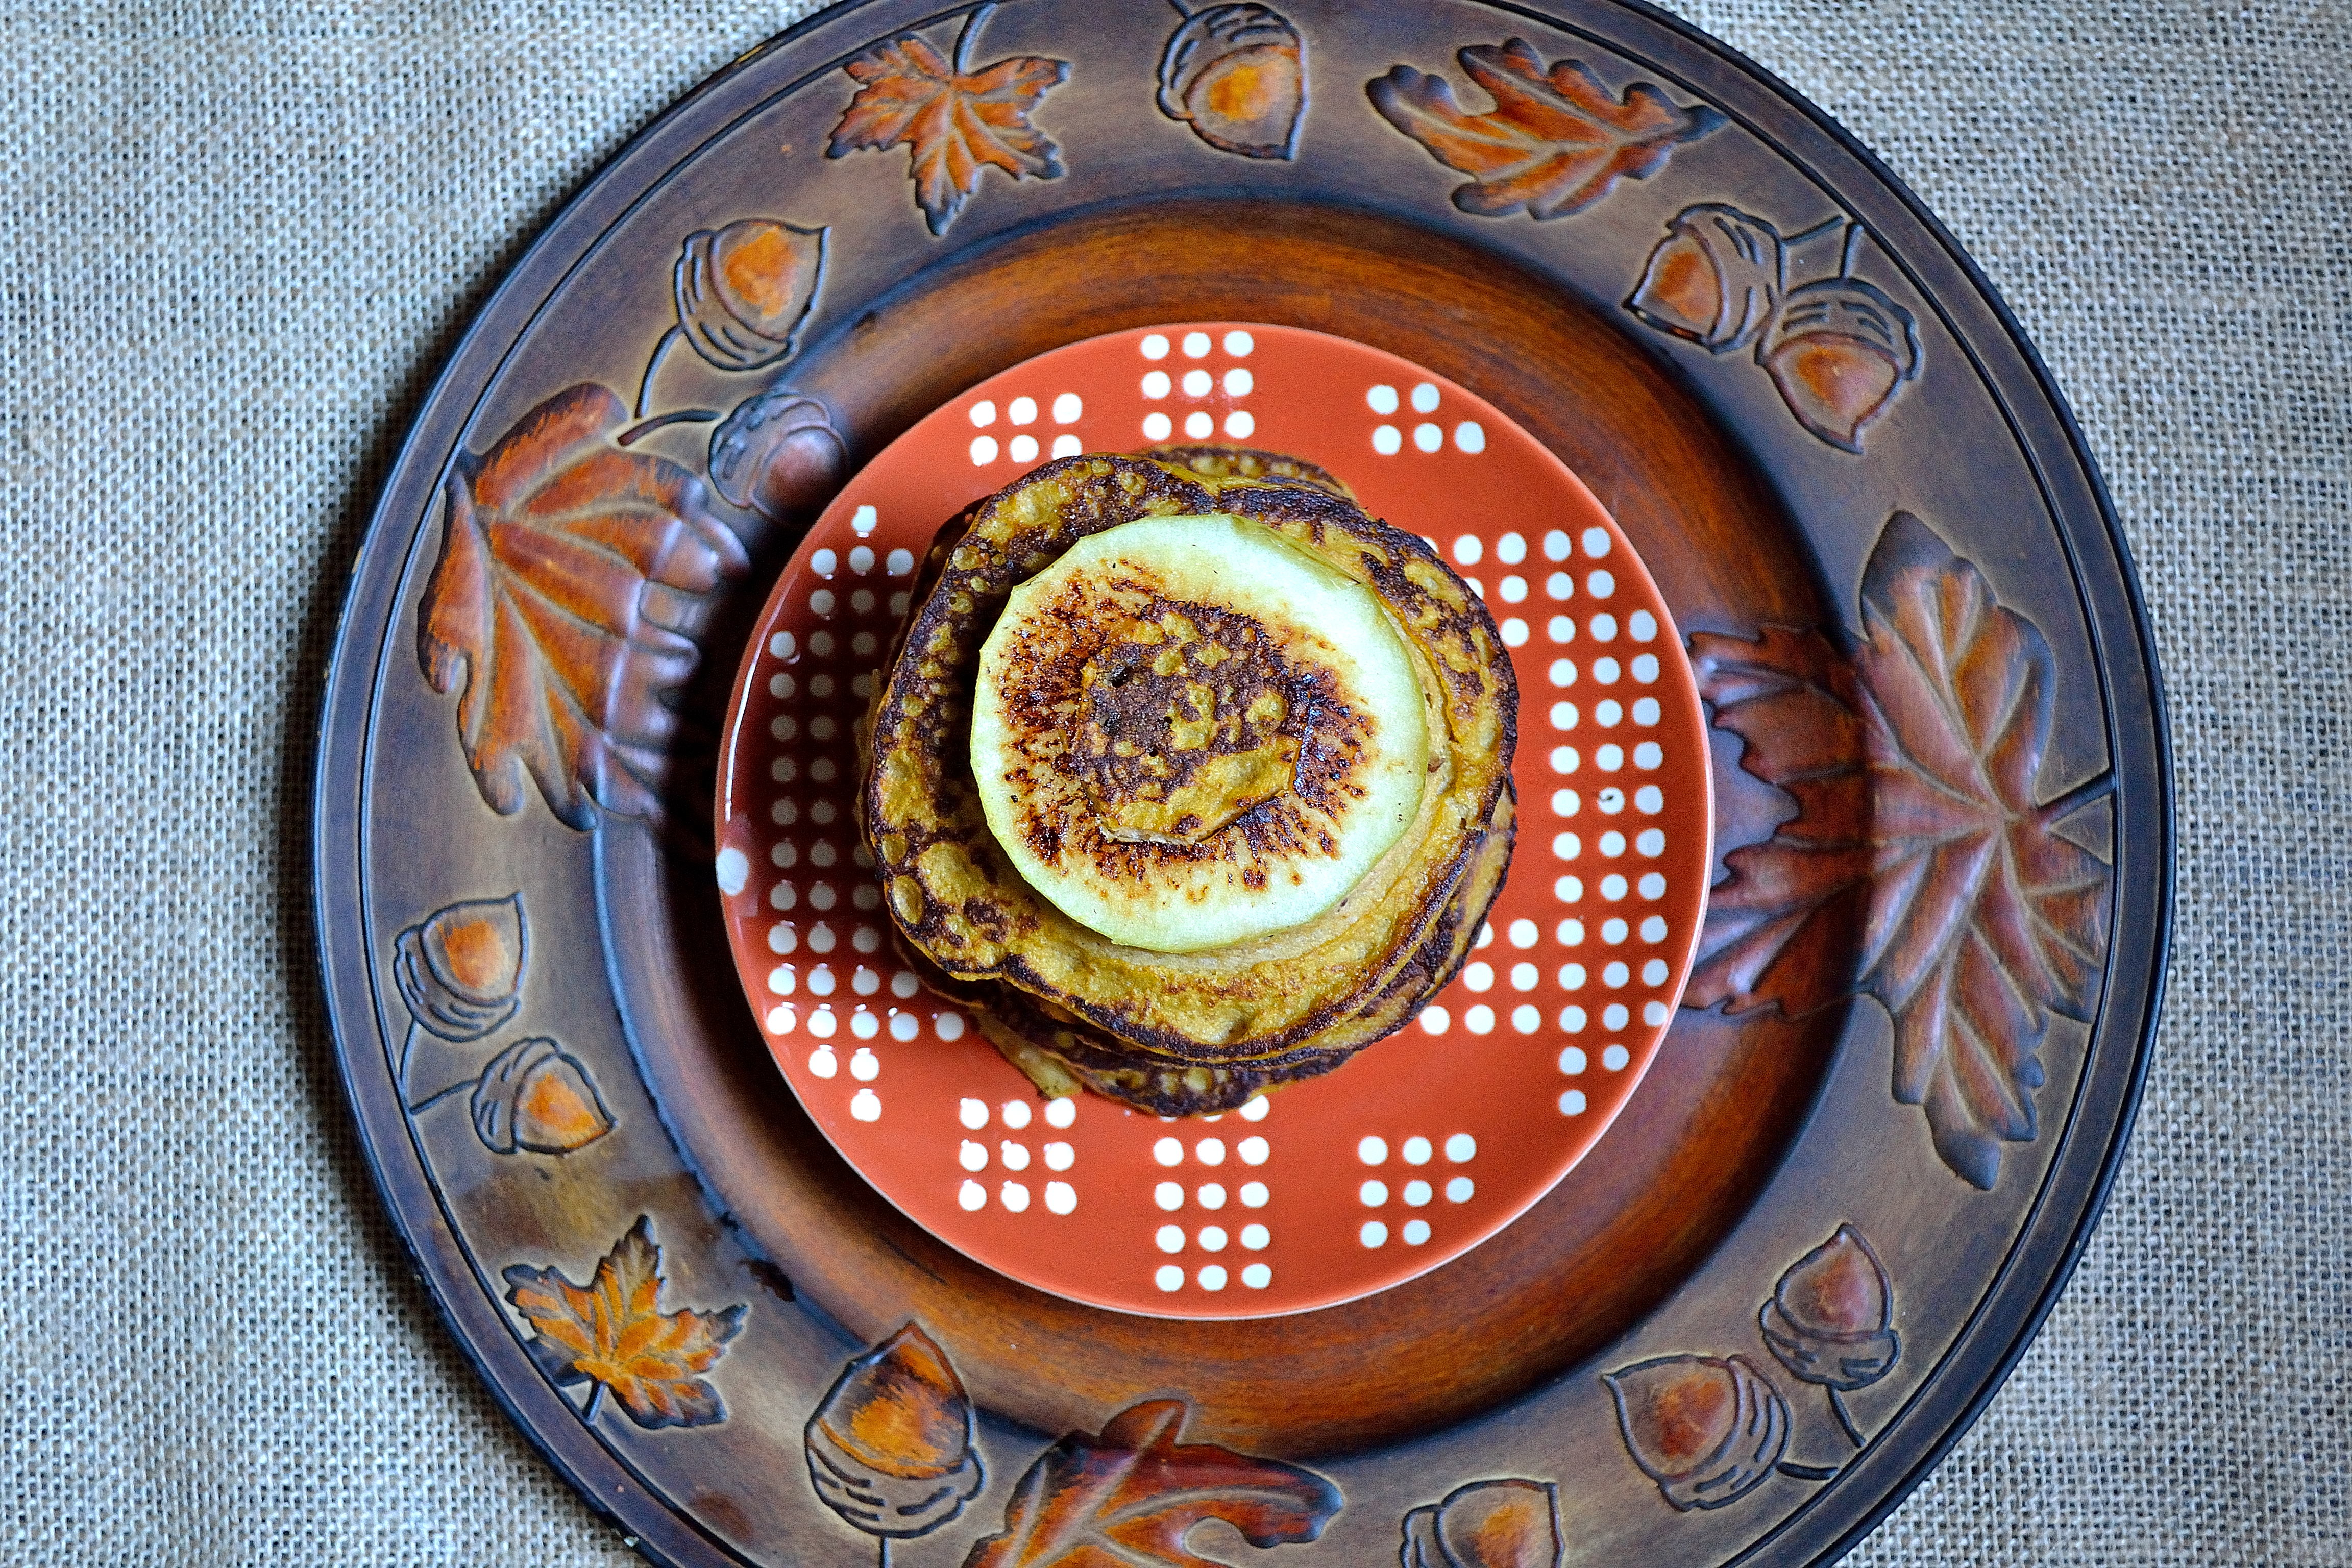
  • 1 large yellow plantain
  • 2 eggs or 2 tbsp ground flax seeds mixed with 6 tbsp water
  • 1/2 cup unsweetened almond milk
  • 2 tbsp pureed pumpkin
  • 2 tbsp maple syrup
  • 2 tbsp peanut or coconut flour
  • 1/4 tsp salt
  • 1/2 tsp cinnamon
  • 1 medium granny smith apple
  • chopped pecans, optional
  1. Wash and dry the apple.  Cut out the core and cut the apple into thin rings.  Make sure you keep them thin or the pancake won’t cook right.
  2. Place the plantain, eggs, almond milk, pumpkin, and maple syrup into a blender.  Blend until you have a smooth mixture.
  3. Add all the dry ingredients (not the pecans) into the blender and blend until combined.
  4. Heat a little coconut oil in a skillet over medium heat.  Once the oil is hot, place one apple ring into the skillet and then pour a little batter over the ring making sure it is completely covered.  If you’re using the pecans, sprinkle a little onto the pancake.
  5. Cook for about 3 minutes and then carefully flip the pancake.  It’s ok if the pancake breaks a little, it took me a few tries to get the pancake to flip perfectly.
  6. Keep cooking until all the apple rings and batter is gone, keeping the finished pancakes on a plate in a warm oven.
  7. Top with maple syrup, your favorite nut butter, or the peanut apple butter sauce below!

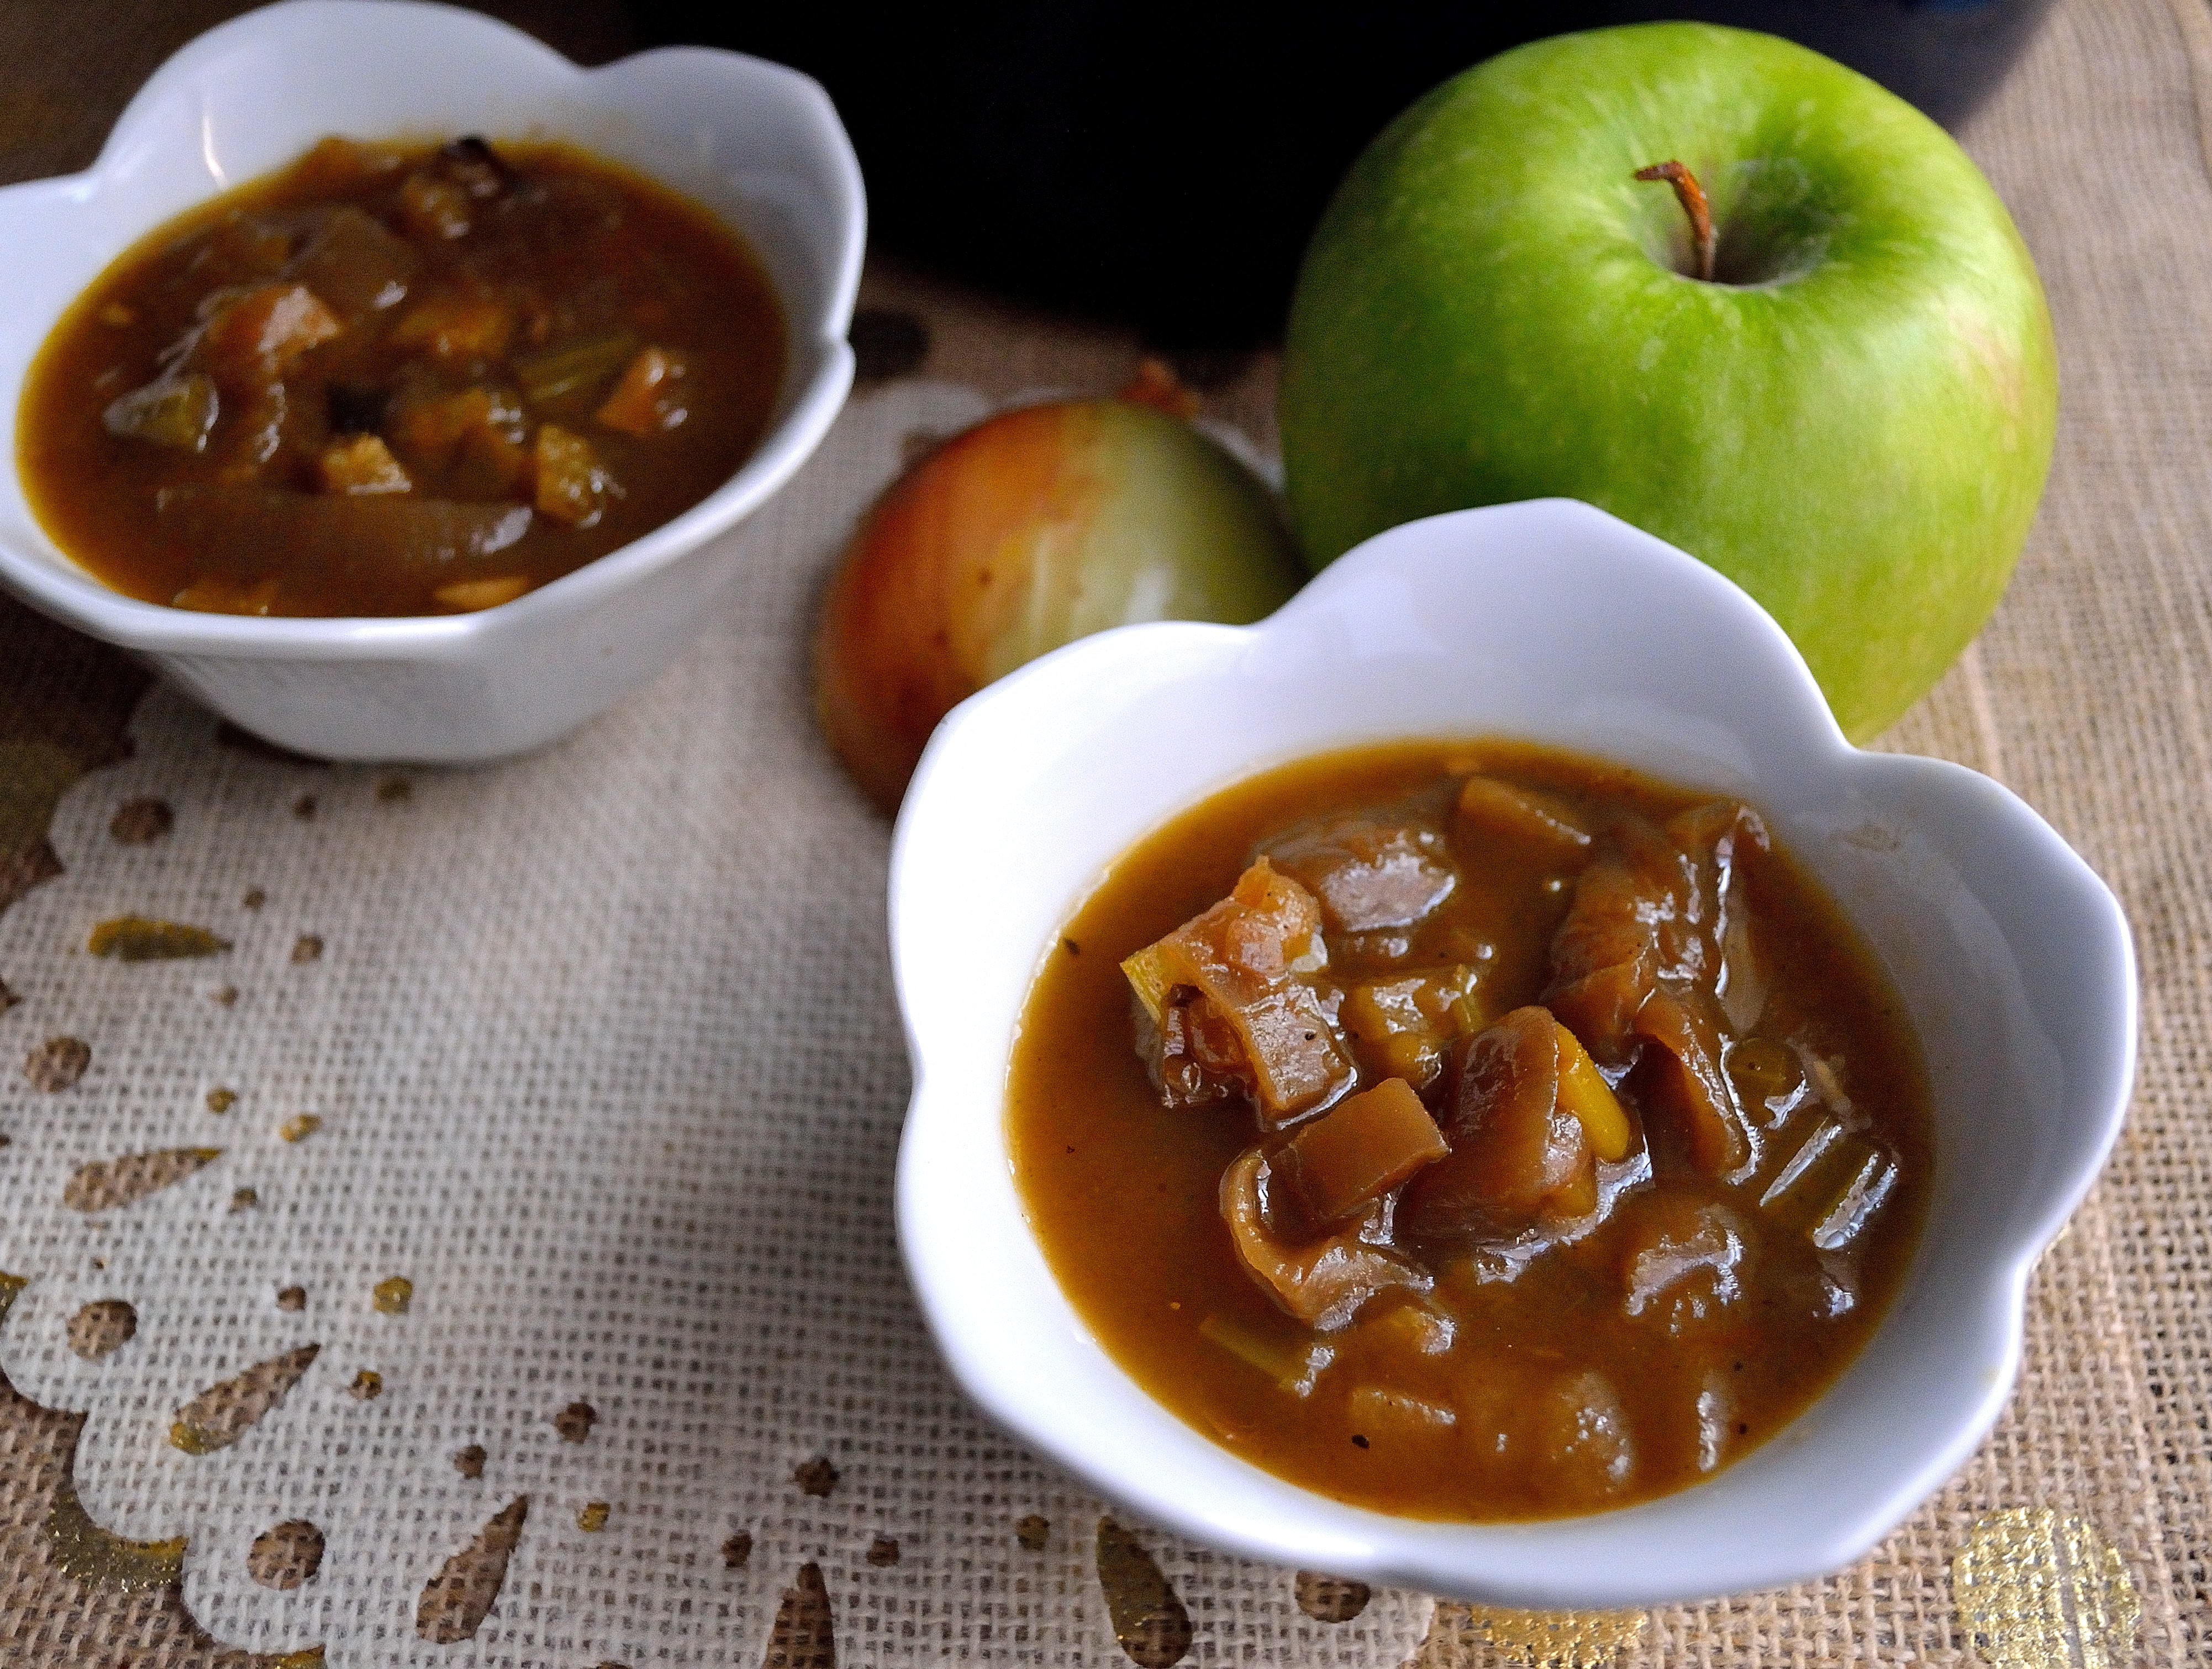
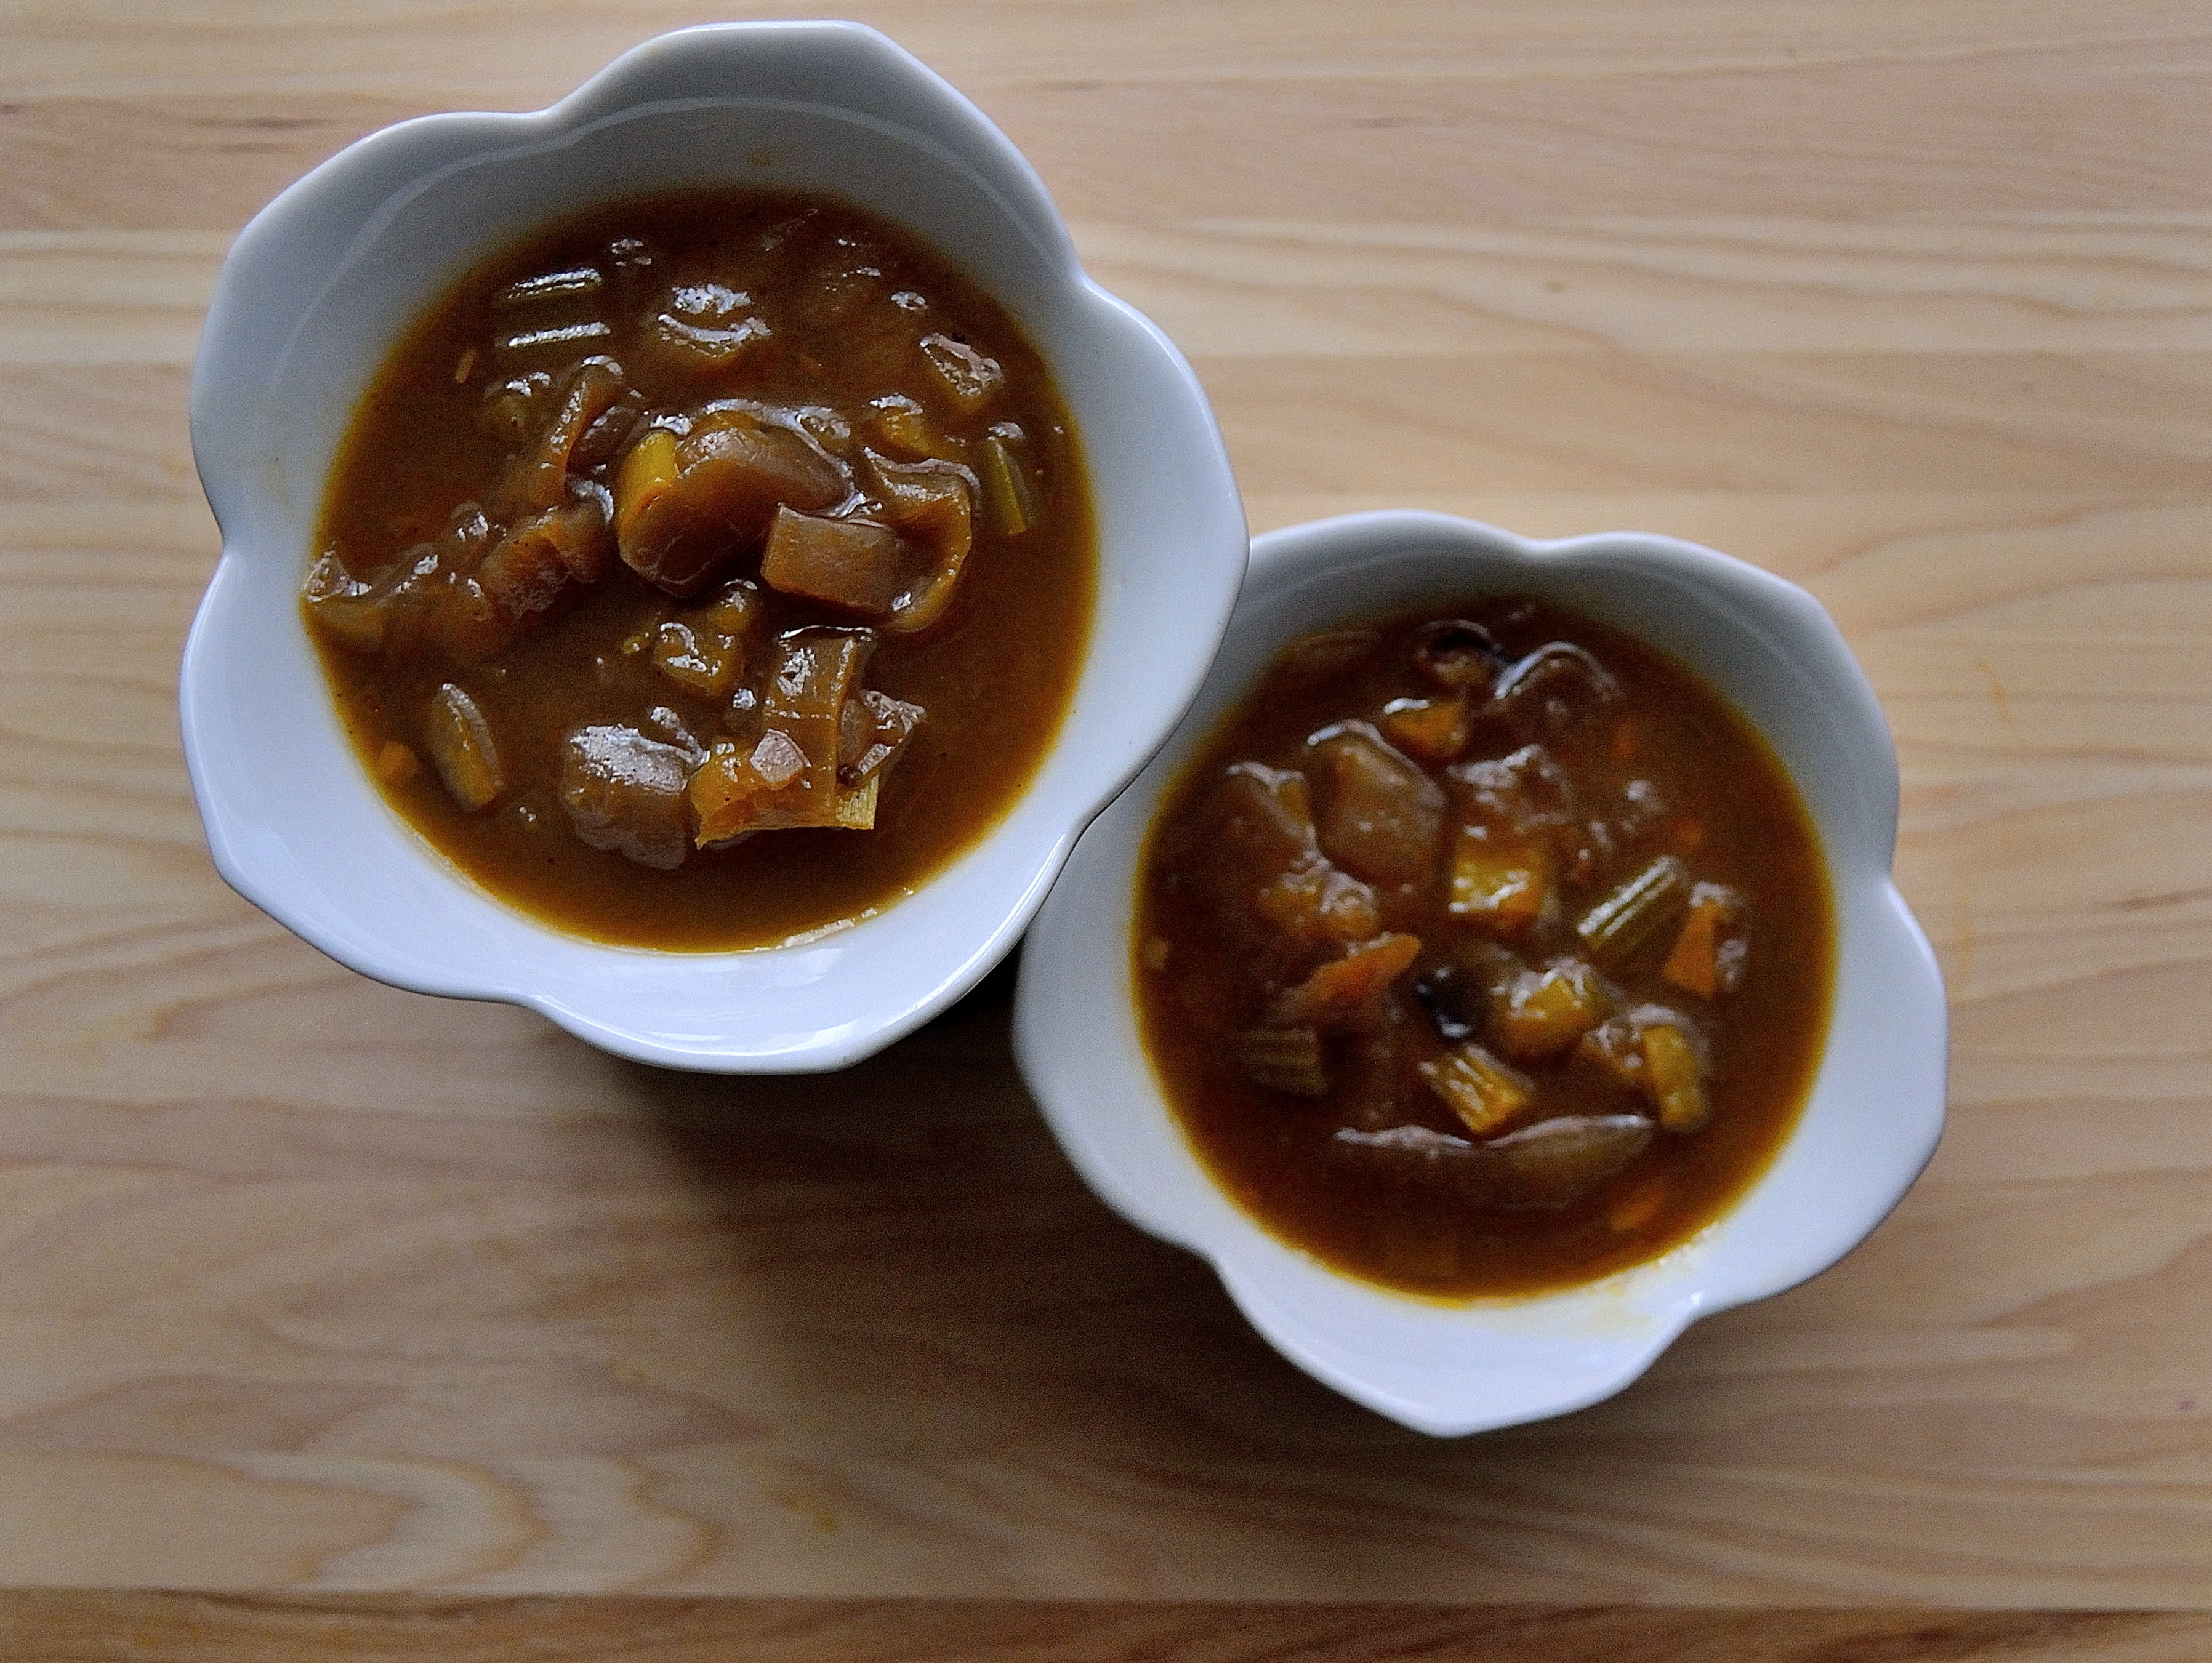
Peanut-Apple Butter Sauce

  • 2 tbsp apple butter or apple sauce
  • 1 tbsp peanut flour or peanut butter (could sub almond butter too)
  • 1 tsp maple syrup
  • 1/4 tsp salt
  1. Mix everything together until you have a smooth sauce and spread onto your pancakes! Gluten-Free Apple Ring Pancakes | Life Healthfully Lived

Other than making these pancakes, what other plans do you have for this weekend?  Adam and I are going to see Elf the musical to celebrate our anniversary and I’m very excited!  Elf is one of my absolute favorite movies and I can’t wait to see the musical version.

Happy weekend everyone!

DIY Wednesday: Coconut Chips

I’mDIY Wednesday: Coconut Chips | Life Healthfully Lived not a huge snacker, but every now and then the snacking bug will bite and I can’t seem to stop grazing.  Luckily I try to only keep healthy snacks around the house so I’m not binging on cookies and chips, but store bought healthy snacks can be full of unnecessary ingredients.

While some people might crave sweet snacks or salty snacks, I usually crave a combo.  I love the mix of sweet and salty.  Kettle corn is a weakness and Garrett’s Chicago Mix (it will never be anything else to me)?  Forget about it.

I have seen coconut chips in the stores and online for awhile now and they always sound really good.  A nice mix of sweet and salty, healthy fats from the coconut, and the satisfying crunch of the baked chips.  A snacker’s dream.  Not so dream like?  The cost.  A tiny bag of coconut chips at the store can cost almost $15.  Ain’t nobody got time for that.DIY Wednesday: Coconut Chips | Life Healthfully Lived

Good for you and me that it’s really easy to make your own at home!  A few things, don’t worry if you don’t like the flavor of coconut these do not have a very coconutty taste.  You will also want to make sure that you get the coconut flakes and not shreds otherwise you’ll end up with a pile of shriveled and burnt coconut shreds.

These come together fast and don’t require many ingredients, so if you feel a snack attack coming on you’re only a few minutes away from these sweet and savory coconut chips!

Coconut ChipsDIY Wednesday: Coconut Chips | Life Healthfully Lived

  • 2 cups unsweetened coconut flakes, not shreds
  • 2 tbsp coconut aminos, you can also use liquid aminos, soy sauce, or tamari
  • 1 tbsp maple syrup, honey could also work
  • 1/4 tsp sea salt
  • 1/4 tsp garlic powder
  • 1/4 tsp smoked paprika
  1. Preheat the oven to 350
  2. Dump the coconut shreds into a large bowl.  Add in the rest of the ingredients and stir to coat everything.
  3. Place some parchment paper or Silpat onto a large baking sheet and spread the chips in an even layer.
  4. Bake for 5 minutes and stir the chips.  Bake for another 2 minutes, watching carefully so the chips don’t burn.
  5. Remove from oven and let cool…. or dig right in if you can’t wait!

Make sure to keep an eye on the coconut chips in the last few minutes because these can go from golden and delicious to charred very quickly.  Store them in an airtight container for up to a week…. if they last that long! DIY Wednesday: Coconut Chips | Life Healthfully Lived

Caramelized Onion and Roasted Apple Soup

HaveCaramelized Onion and Roasted Apple Soup | Life Healthfully Lived you heard the term, “soup weather”?  Not to be confused with soup-y weather, soup weather is what happens when the temperatures start to cool down, maybe it gets a little rainy and windy, perhaps it’s gray and gloomy outside.  Soup weather is the kind of weather that makes you just want to sit inside, wrap yourself in a blanket, and eat some soup.

It’s awesome.Caramelized Onion and Roasted Apple Soup | Life Healthfully Lived

Soup weather is just another reason that I love fall.  Soup is one of my favorite things to make because it is so easy, but there are so many different flavors, combinations, and even techniques that can make soup feel gourmet or rustic.  I could make soup every night, and because there is such variety, I wouldn’t get bored.

While I have my favorite stand by’s (like this chickpea dumpling or slow cooker minestrone), I like to try a few new recipes each year.  One soup that I have never had is French Onion soup.  When I was younger, I didn’t like onions so anything with onion right in the title was out.  By the time that I started to really love onions, French Onion soup really wasn’t on my radar.  Then I discovered caramelized onions and I decided it was time to try my own spin on French Onion soup.Caramelized Onion and Roasted Apple Soup | Life Healthfully Lived

Traditionally French Onion soup has a thick layer of cheese on top that you break through and eat along with the onion soup.  This soup is not going to have any cheese, but that doesn’t make it any less delicious.  I decided to keep it fairly simple but added in roasted apples for a little sweet taste of fall.   Overall, I was thrilled with the flavor.  A little sweet and a little savory.

You can save a little time with this recipe by caramelizing the onions in your slow cooker the day before.  If you do that, this soup comes together really fast and that means you can spend more time snuggling in your blanket and enjoying soup weather!

Caramelized Onion and Roasted Apple SoupCaramelized Onion and Roasted Apple Soup | Life Healthfully Lived

  • 4 large onions, thinly sliced (make them in your crockpot beforehand to speed things up)
  • 1 large granny smith apple, cubed (you can also use any other tart apple)
  • 1 tsp coconut oil
  • 1/2 tsp celery salt
  • 1/4 tsp allspice
  • 1/2 tsp fennel seeds
  • 4 1/2 cups vegetable broth or water
  •  1 cup celery, sliced
  • salt and pepper
  1. If you haven’t caramelized your onions beforehand, heat a little olive oil in a large soup pot or dutch oven over medium-low heat.   Add in the thinly sliced onions and cook low and slow until they turn a deep brown.  Make sure you keep the heat LOW, you don’t want to burn or brown the onions.  This should take about 20 to 30 minutes.
  2. While you’re caramelizing the onions, you can roast your apples.  Preheat the oven to 375.  Place the cubed apples in a small bowl and add the teaspoon coconut oil.  Toss to coat.  Sprinkle the celery salt, fennel seeds, and allspice over the apples and toss again.  Spread the apples in an even layer on a parchment or Silpat-lined baking sheet.  Roast for 10 to 15 minutes or until lightly browned.  Remove from oven and set aside.
  3. In the same pot that you caramelized the onions, add the sliced celery to the onions and bring the heat up to medium-high.  Saute the celery for about 7 minutes until soft.   Add the roasted apples and stir to combine everything.
  4. Add the vegetable broth or water to the pot, season with salt and pepper,  and bring the whole thing to a boil.  Cover and lower to a simmer.  Cook the soup, stirring occasionally, for 20 minutes.  Taste and adjust the salt and pepper right before serving.

Simple ingredients turned into something that tastes fancy and awesome.  That’s my kind of meal!Caramelized Onion and Roasted Apple Soup | Life Healthfully Lived

DIY Wednesday: Cream Of Celery Soup

ThisDIY Wednesday: Cream Of Celery Soup | Life Healthfully Lived might not seem like a DIY post at first glance, but trust me it’s a good one.  Have you ever made a recipe that called for a can of whatever cream soup?  Mushroom, chicken, celery, broccoli… They are used frequently in casseroles and other baked dishes to add a creamy flavor.

They’re also full of preservatives, MSG, artificial colors, and other not so good for you things.  But they are SO convenient.  Open a can, dump in, and go about your business.  I get it, sometimes you need dinner to be fast and things like cans of cream of soup make the process smoother.

Which is why I made this DIY post.  You can have the same convenience of the canned stuff but the nutrition benefits of homemade.  Make a big batch of this cream of soup and freeze into batches.  That way when you need to use it, you can pull out one serving and move on with your life.  Simple right?DIY Wednesday: Cream Of Celery Soup | Life Healthfully Lived

I made cream of celery for this version, but this formula will also work for mushroom and chicken.  Just make sure if you do chicken, you cook the chicken before you add it to the soup.  You also might want to add a carrot or two to the chicken version.

This soup is really easy to make, so whenever you meal prep for the week just add this into the mix.  Another plus?  This homemade version tastes WAY better than that red and white can. 🙂

Cream Of Celery SoupDIY Wednesday: Cream Of Celery Soup | Life Healthfully Lived

  • 2 1/2 cups celery, diced
  •  1/2 cup onion, diced
  • 1/2 cup leeks, sliced
  • 3 cloves garlic, minced
  • 3 cups vegetable broth or water
  • 1 cup full-fat coconut milk
  • 1/2 tsp celery salt
  • and pepper, to taste
  1. Heat a little olive oil in a large pot over medium-high heat.  Saute the onions and leeks for about 10 minutes, until they’re soft.
  2. Add in the garlic and celery and stir to mix together.  Cover the pot and cook for another 10 minutes, stirring occasionally.
  3. Remove the lid and pour in the 3 cups of broth or water and season with celery salt.  Bring the pot to a boil and then lower to a simmer.  Cook until the liquid is reduced by about half, about 15 minutes.
  4. Remove the pot from the heat and puree the soup until smooth.  You can do this in batches in the blender or use an immersion blender.  Return the puree to the pot and add in the 1/2 cup coconut milk.  Stir to combine and heat over low heat, but don’t let the soup boil.  Taste and add salt and pepper as needed.DIY Wednesday: Cream Of Celery Soup | Life Healthfully Lived

You can use this soup right away, but it will thicken up even more once it cools.  Let the soup cool completely before you freeze it into batches.

Spinach Artichoke Lasagna

TodaySpinach Artichoke Lasagna | Life Healthfully Lived is my last day of being 27 years old.  27 has been good to me, but I’m excited to see what 28 has in store.  It’s weird to think that I only have two more years of being in my 20’s.  I can remember the day I turned 20 and thinking, “Finally! I’m not a teenager anymore.  I’m an adult and I’m important.”

While I’m important at any age, I was far from being an adult.  20 is barely not a teenager and I had so much I still needed to learn.  In all honesty, I still have a lot to learn and I think that is true for any age.  Except maybe 100.  Once you hit 100, you can pretty much do whatever you want and your excuse is I made it this long I think I’m gonna be just fine. Spinach Artichoke Lasagna | Life Healthfully Lived

I decided to make you a delicious dinner for my birthday, which now that I’m typing it out sounds backwards.  You should be making me a delicious dinner for my birthday.  Jeez, you’re lazy!  Making me do all the work on my birthday!

You know how delicious spinach artichoke dip is?  That was my inspiration for this lasagna.  Instead of cheese, I used bechamel sauce and artichokes along with a layer of spinach to create a creamy and delicious filling.  This meal can come together really fast if you use a jar of tomato sauce and a box of lasagna noodles.  But if you want to make everything from scratch like I did, I promise you won’t regret the time you put in. Spinach Artichoke Lasagna | Life Healthfully Lived

This is also one of those meals that is even better the next day and makes really great leftovers for lunches throughout the week.

See?  I’m feeding you even beyond dinner.  28 is making me a giver!

Spinach Artichoke LasagnaSpinach Artichoke Lasagna | Life Healthfully Lived

  • 1 batch of my tomato sauce or a jar of your favorite store brand
  • 1 box of gluten free lasagna noodles (I made these from Against All Grains)
  • 3-4 cups spinach leaves
  • 1 can artichoke hearts, drained and rinsed
  • 1 can full-fat coconut milk
  • 1/3 cup raw cashews
  • 1 tsp Italian seasonings
  • 1/2 tsp salt
  • 1/4 tsp celery salt
  • 4 tbsp nutritional yeast
  • salt and pepper to taste
  1. If you are making the tomato sauce and noodles get those ready and set aside.  If you’re using boxed noodles make sure they are cooked and ready to go.
  2. To make the bechamel sauce: In a blender or food processor, grind the cashews, Italian seasonings, 1/2 tsp salt, and 1/4 tsp celery salt into a fine powder.  Set aside.
  3. Heat a little olive oil in a medium saucepan over medium-high heat.  Add in 2 tablespoons of the cashew powder and stir to make a paste.  Cook until the cashew powder turns golden brown.
  4. Whisk in the can of coconut milk and keep whisking to combine the paste and milk.  Whisk in the nutritional yeast and salt and pepper.  Keep cooking and whisking the milk until it is thick enough to coat the back of a spoon.  Taste and adjust the salt and pepper to your preference.
  5. Pour the sauce into a blender and add in the drained artichoke hearts.  Pulse a few times to break up the artichokes, but don’t make it completely smooth.
  6. Now it’s time to build the lasagna.  Preheat the oven to 350 and get out a 9 x 13 casserole dish.  Put a thin layer of tomato sauce on the bottom, then a layer of noodles, a layer of artichoke sauce, a layer of spinach, and a layer of tomato sauce.  Keep going until you run out of noodles and make sure you end on tomato sauce.
  7. Cover with aluminum foil and bake for 25 minutes, until the sauce is bubbling.  Remove from oven and uncover.  Let the lasagna cool for 10 minutes before you slice and serve. Spinach Artichoke Lasagna | Life Healthfully Lived

You can make this lasagna ahead of time and then just pop it in the oven at dinner time.  I hope you have a Happy Halloween and a great weekend!