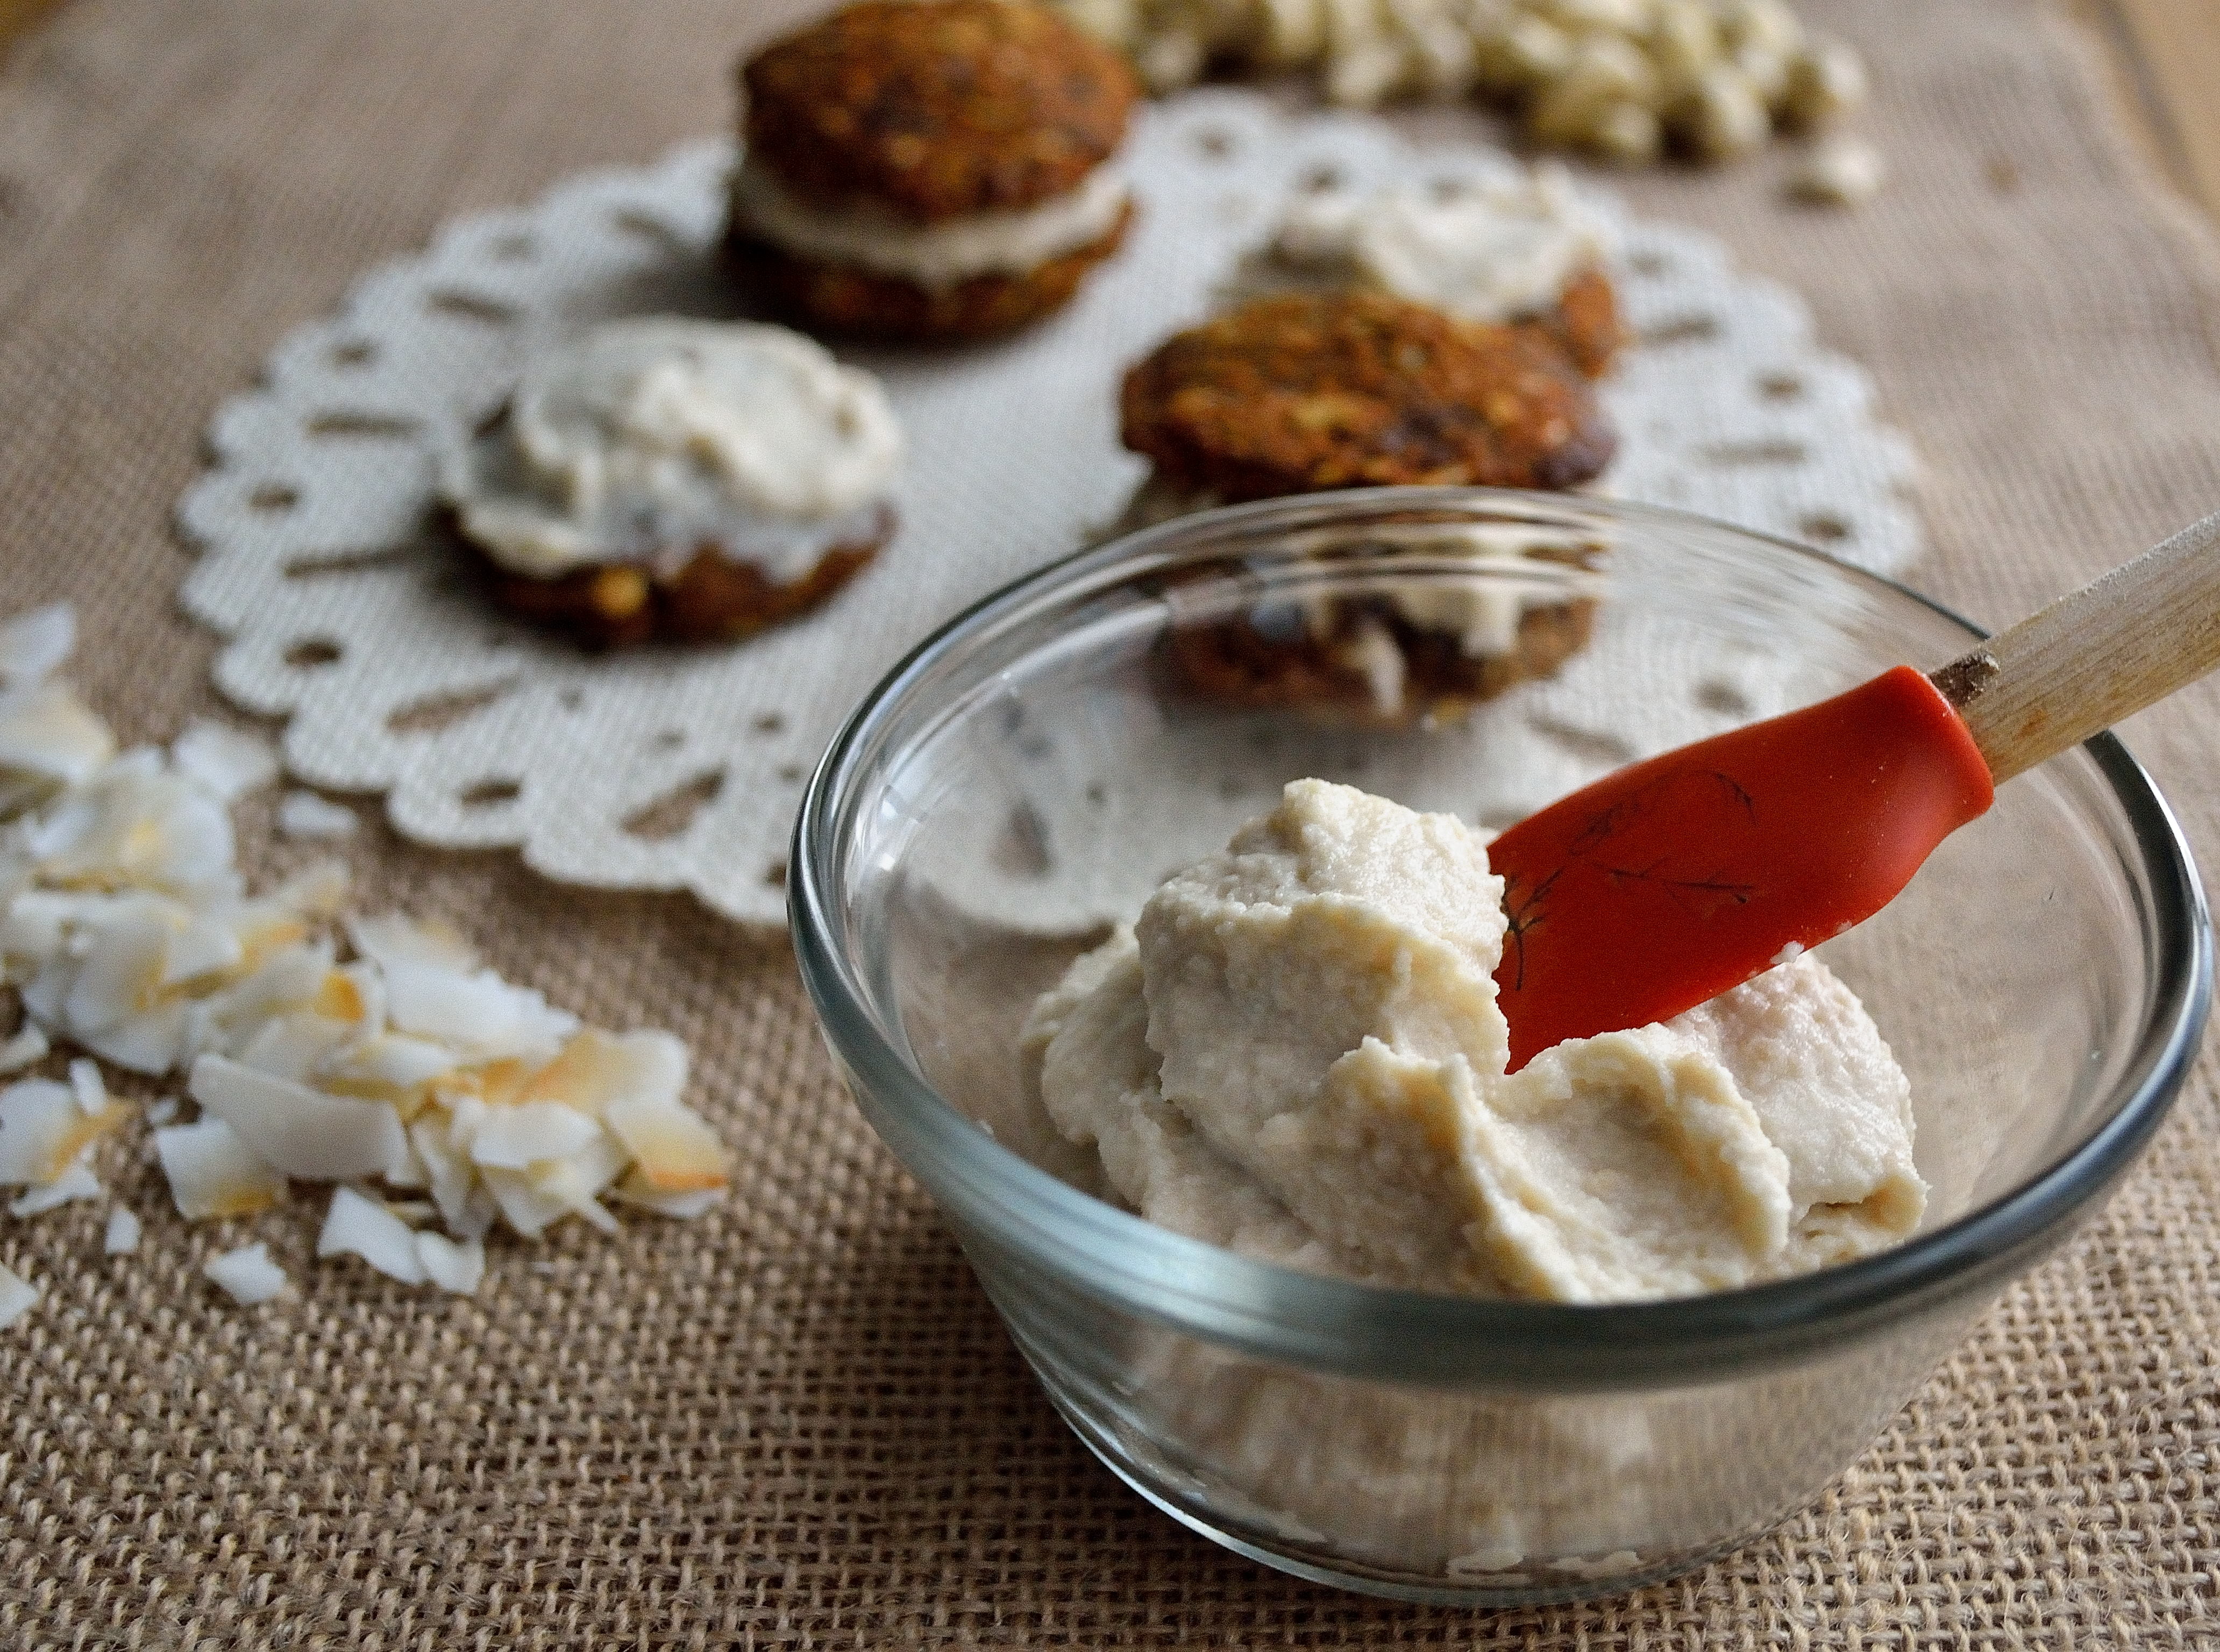
Carrot Cake Breakfast Cookies

RememberCarrot Cake Breakfast Cookie | Life Healthfully Lived those cookies I made for my cream cheese frosting?  Well, you can stop wondering about them.

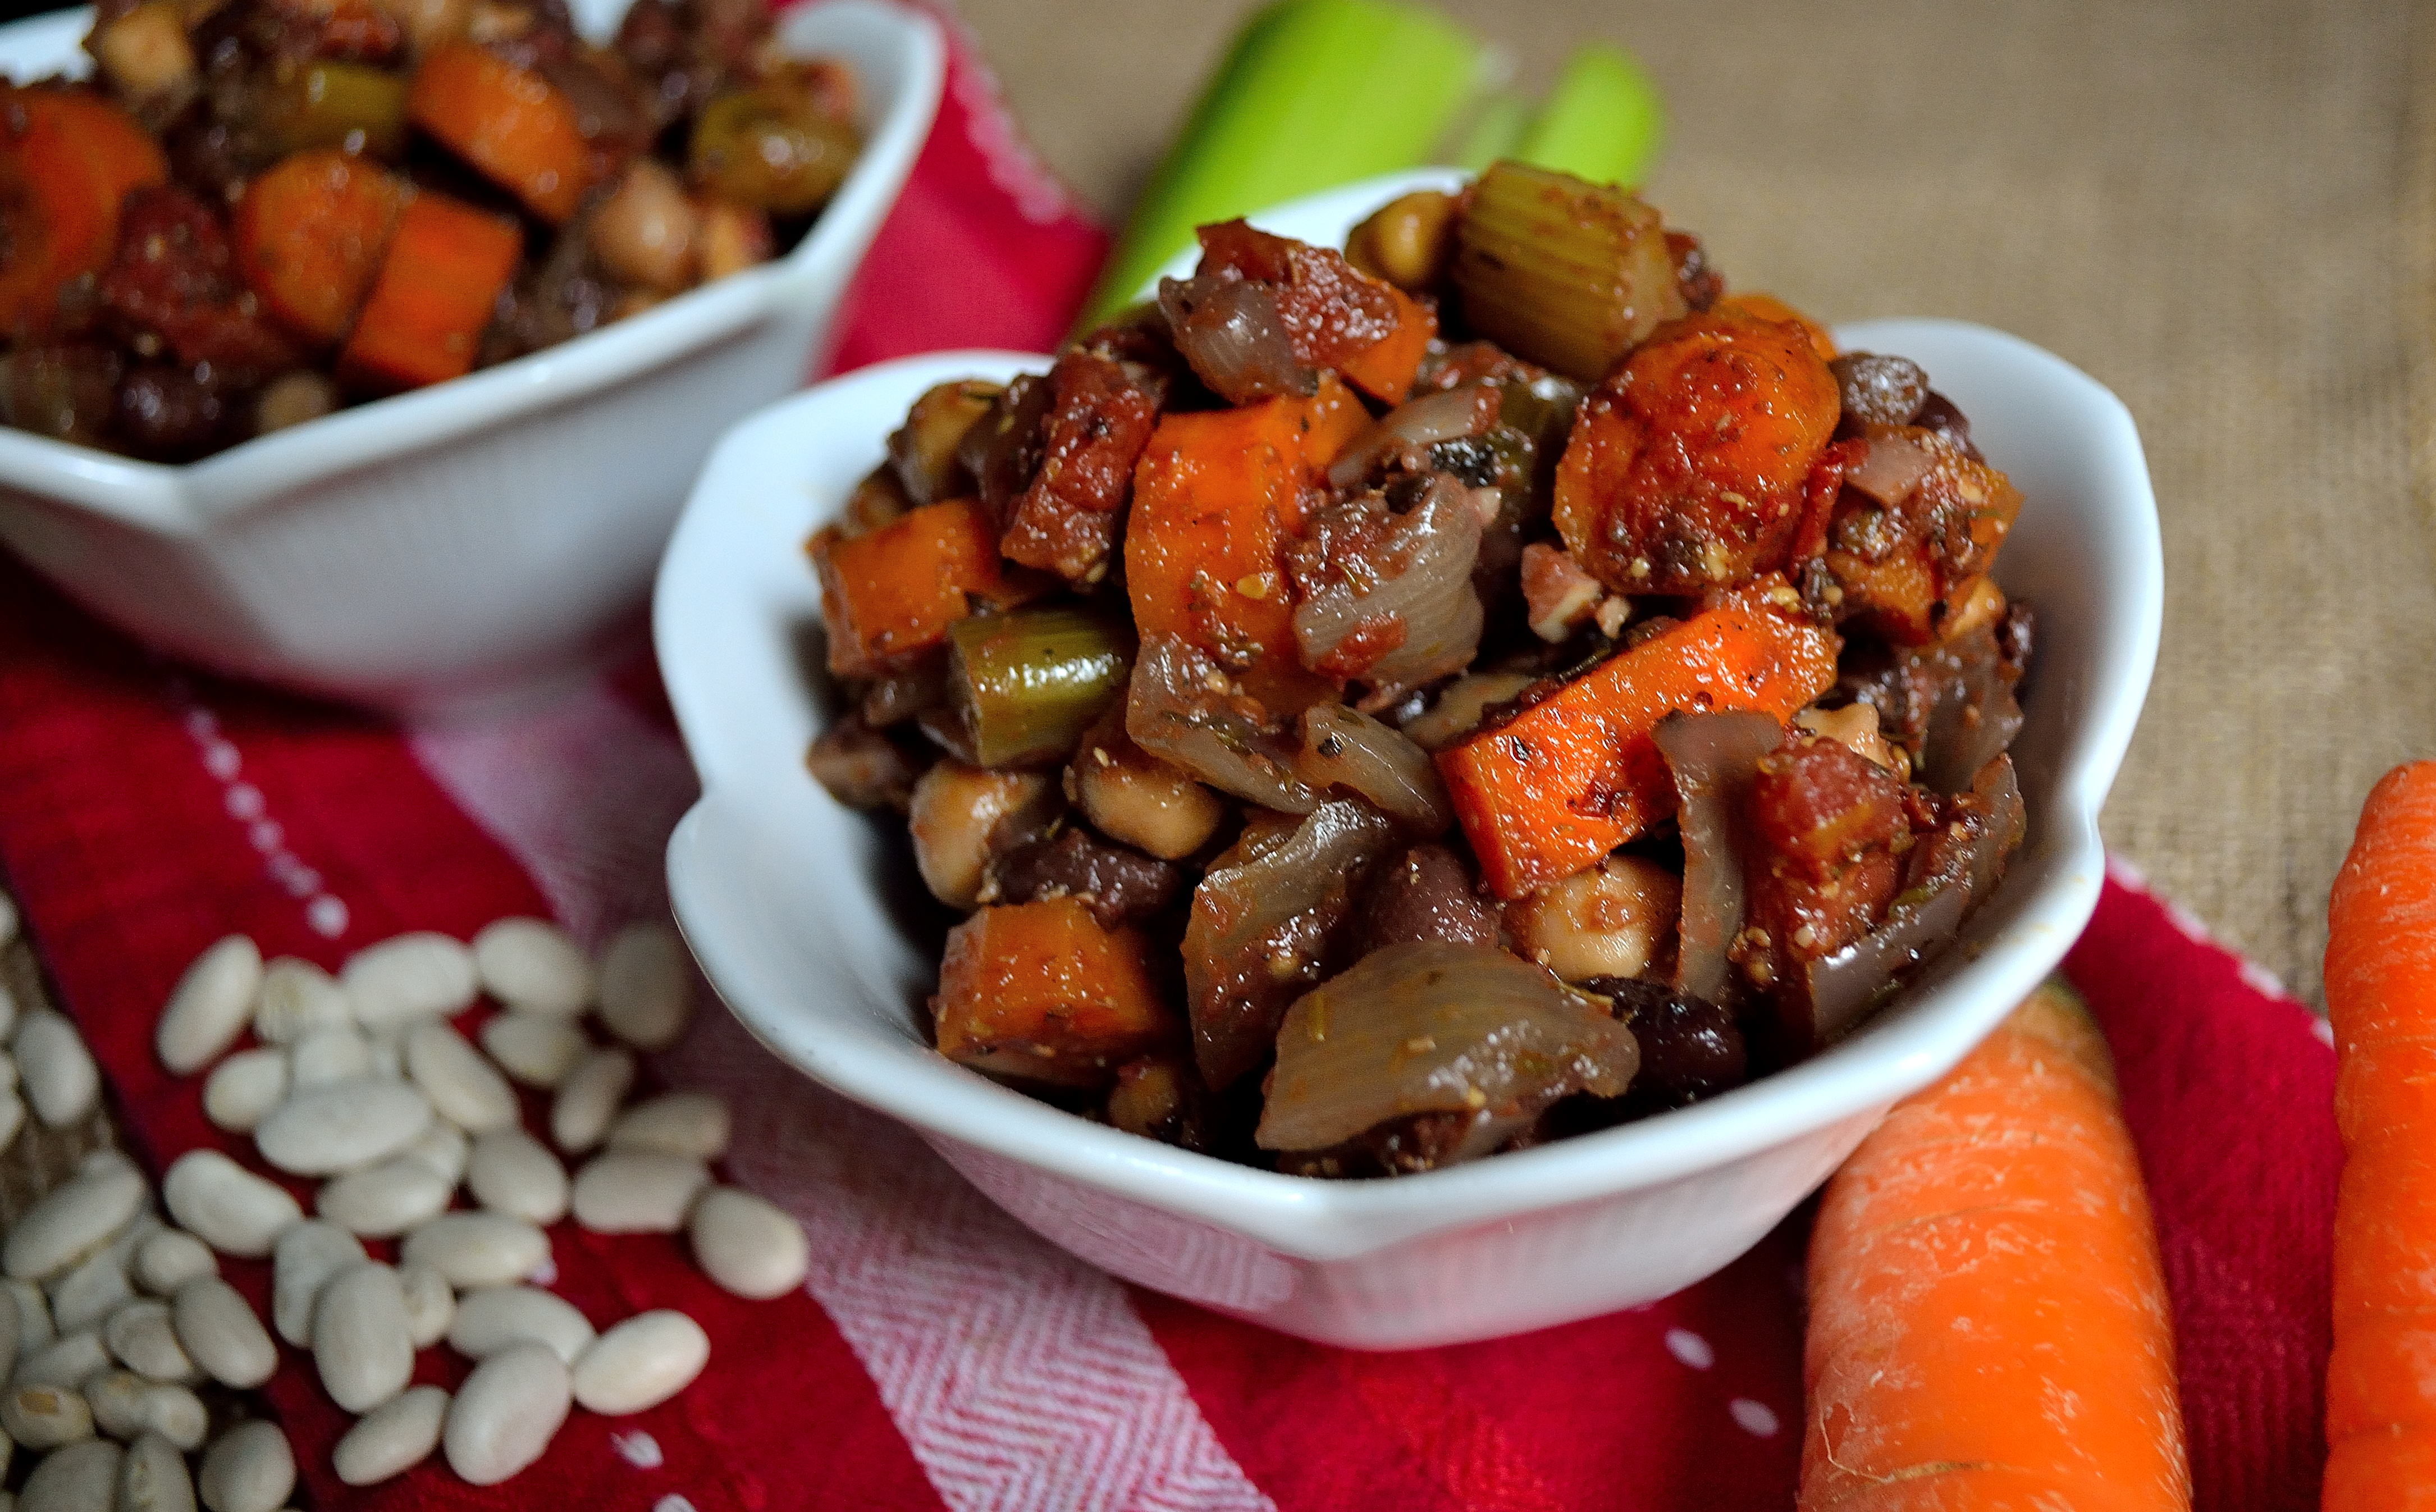
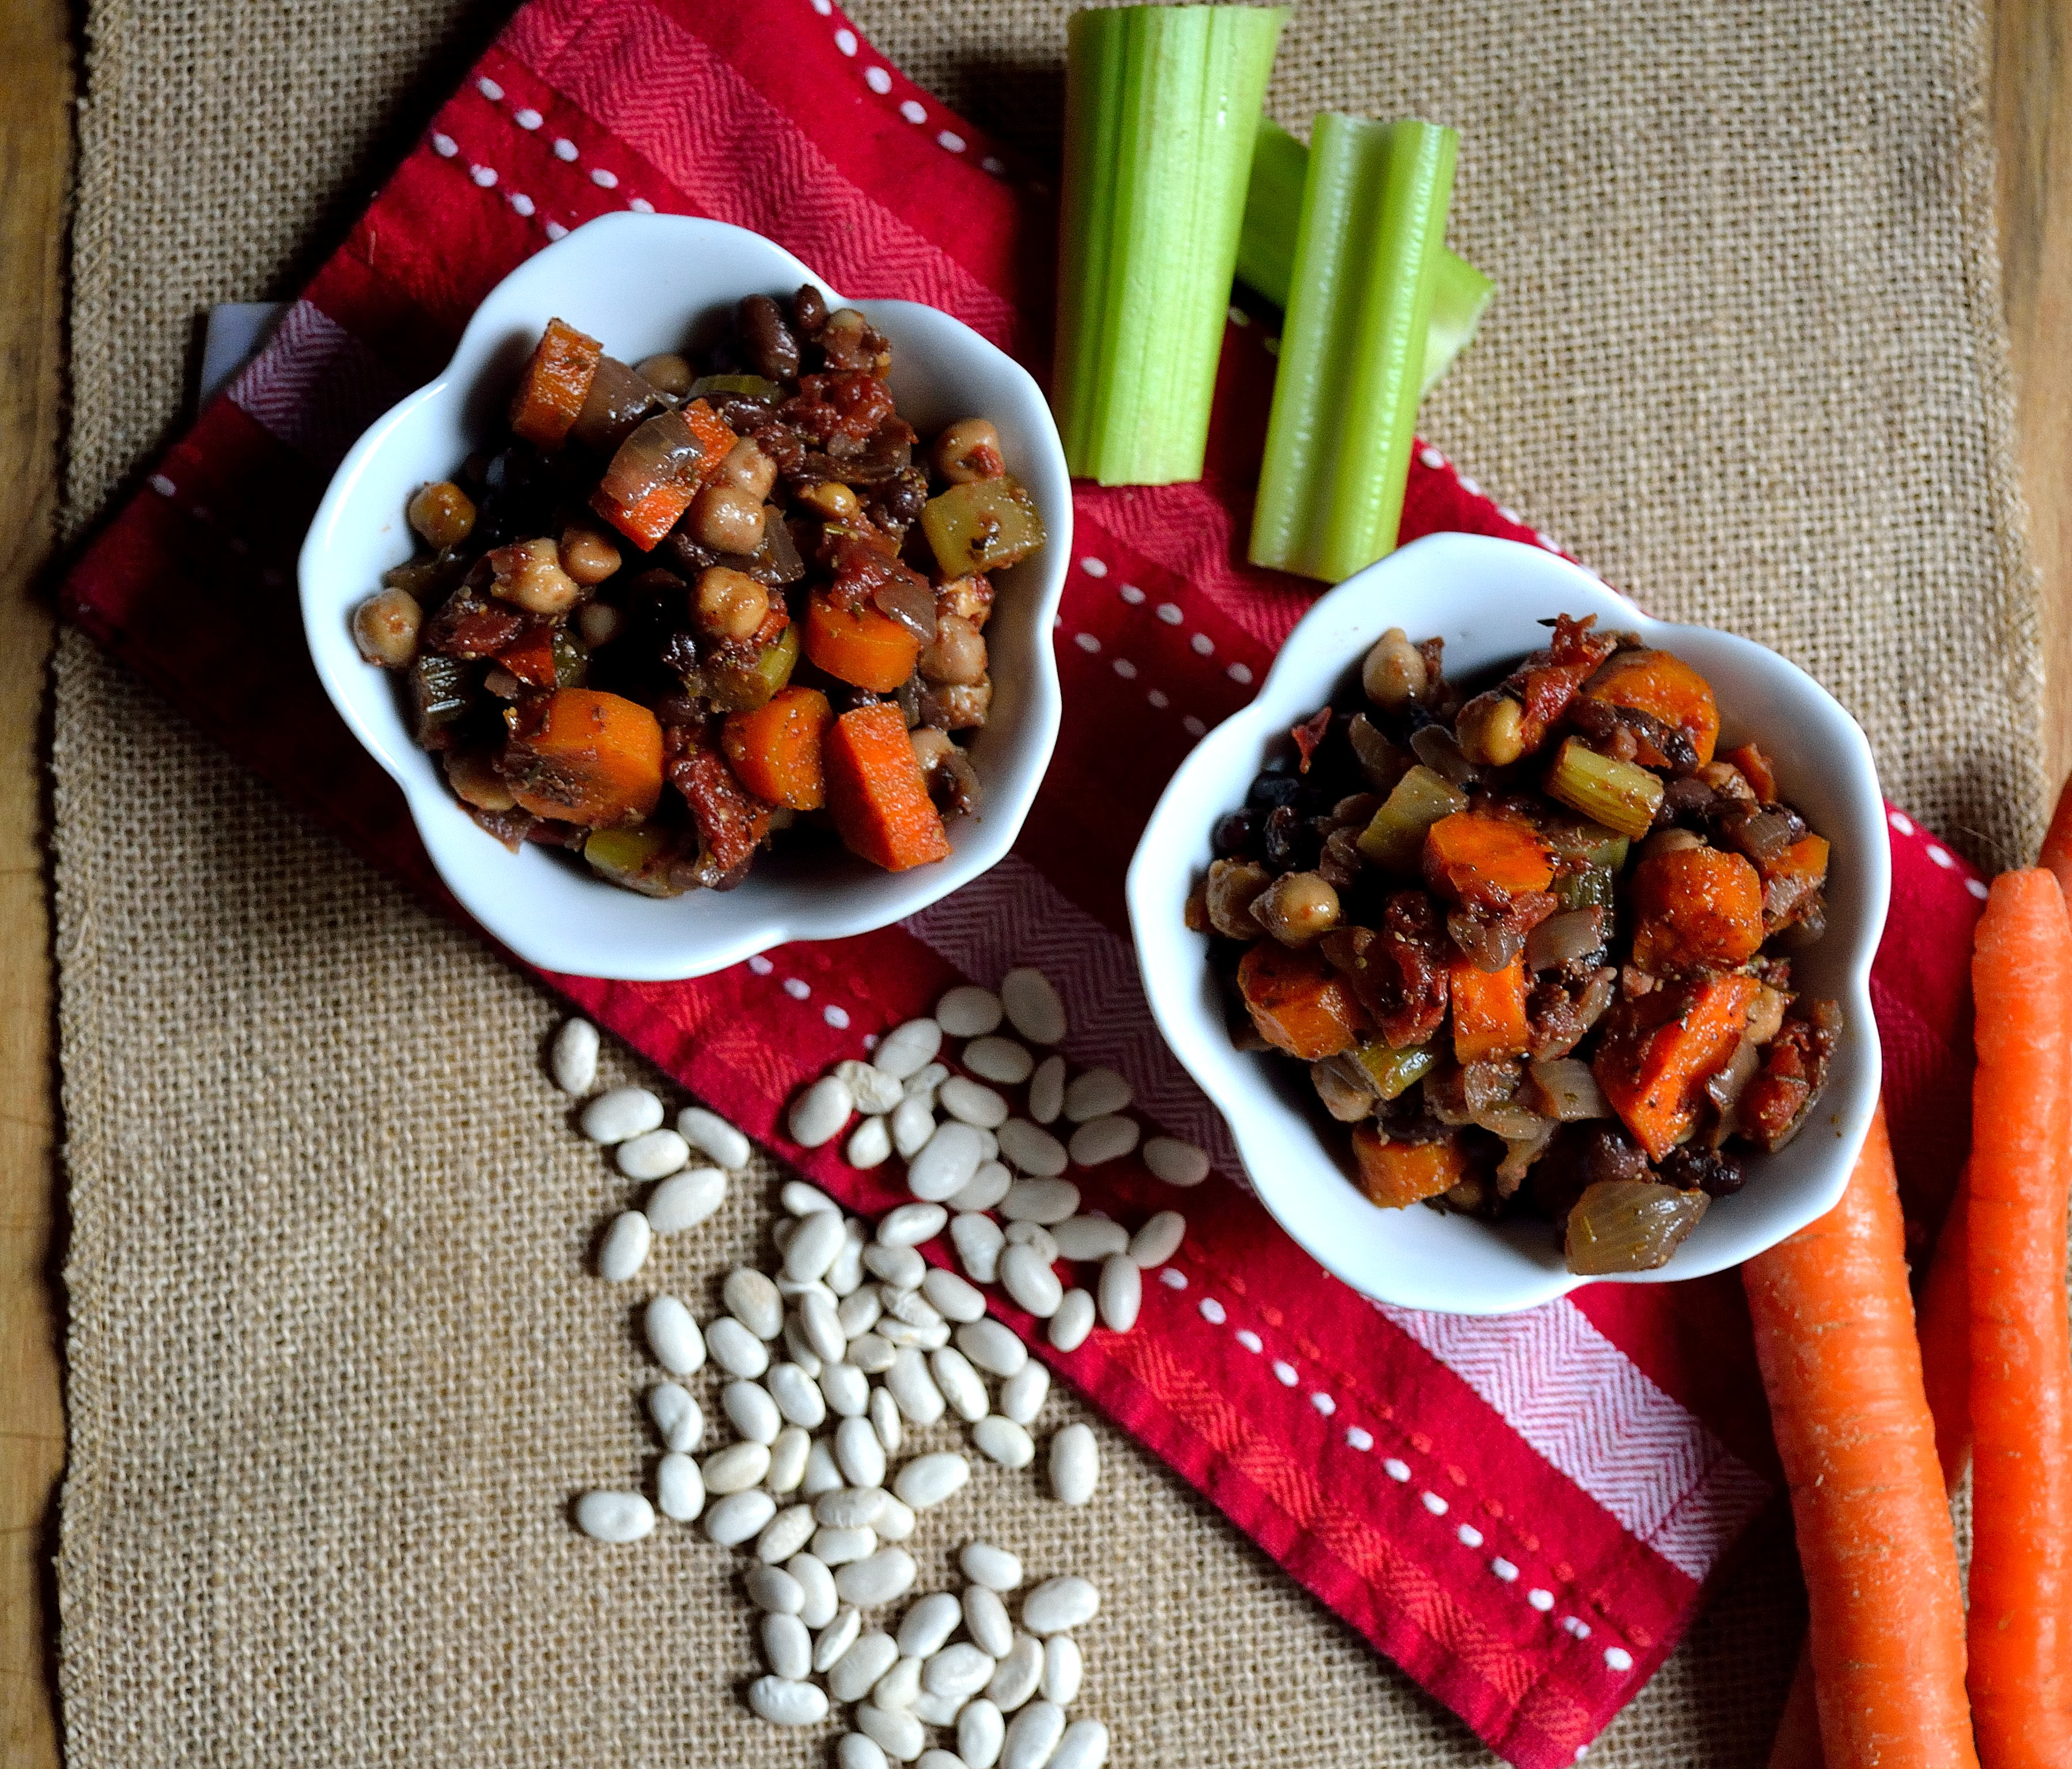
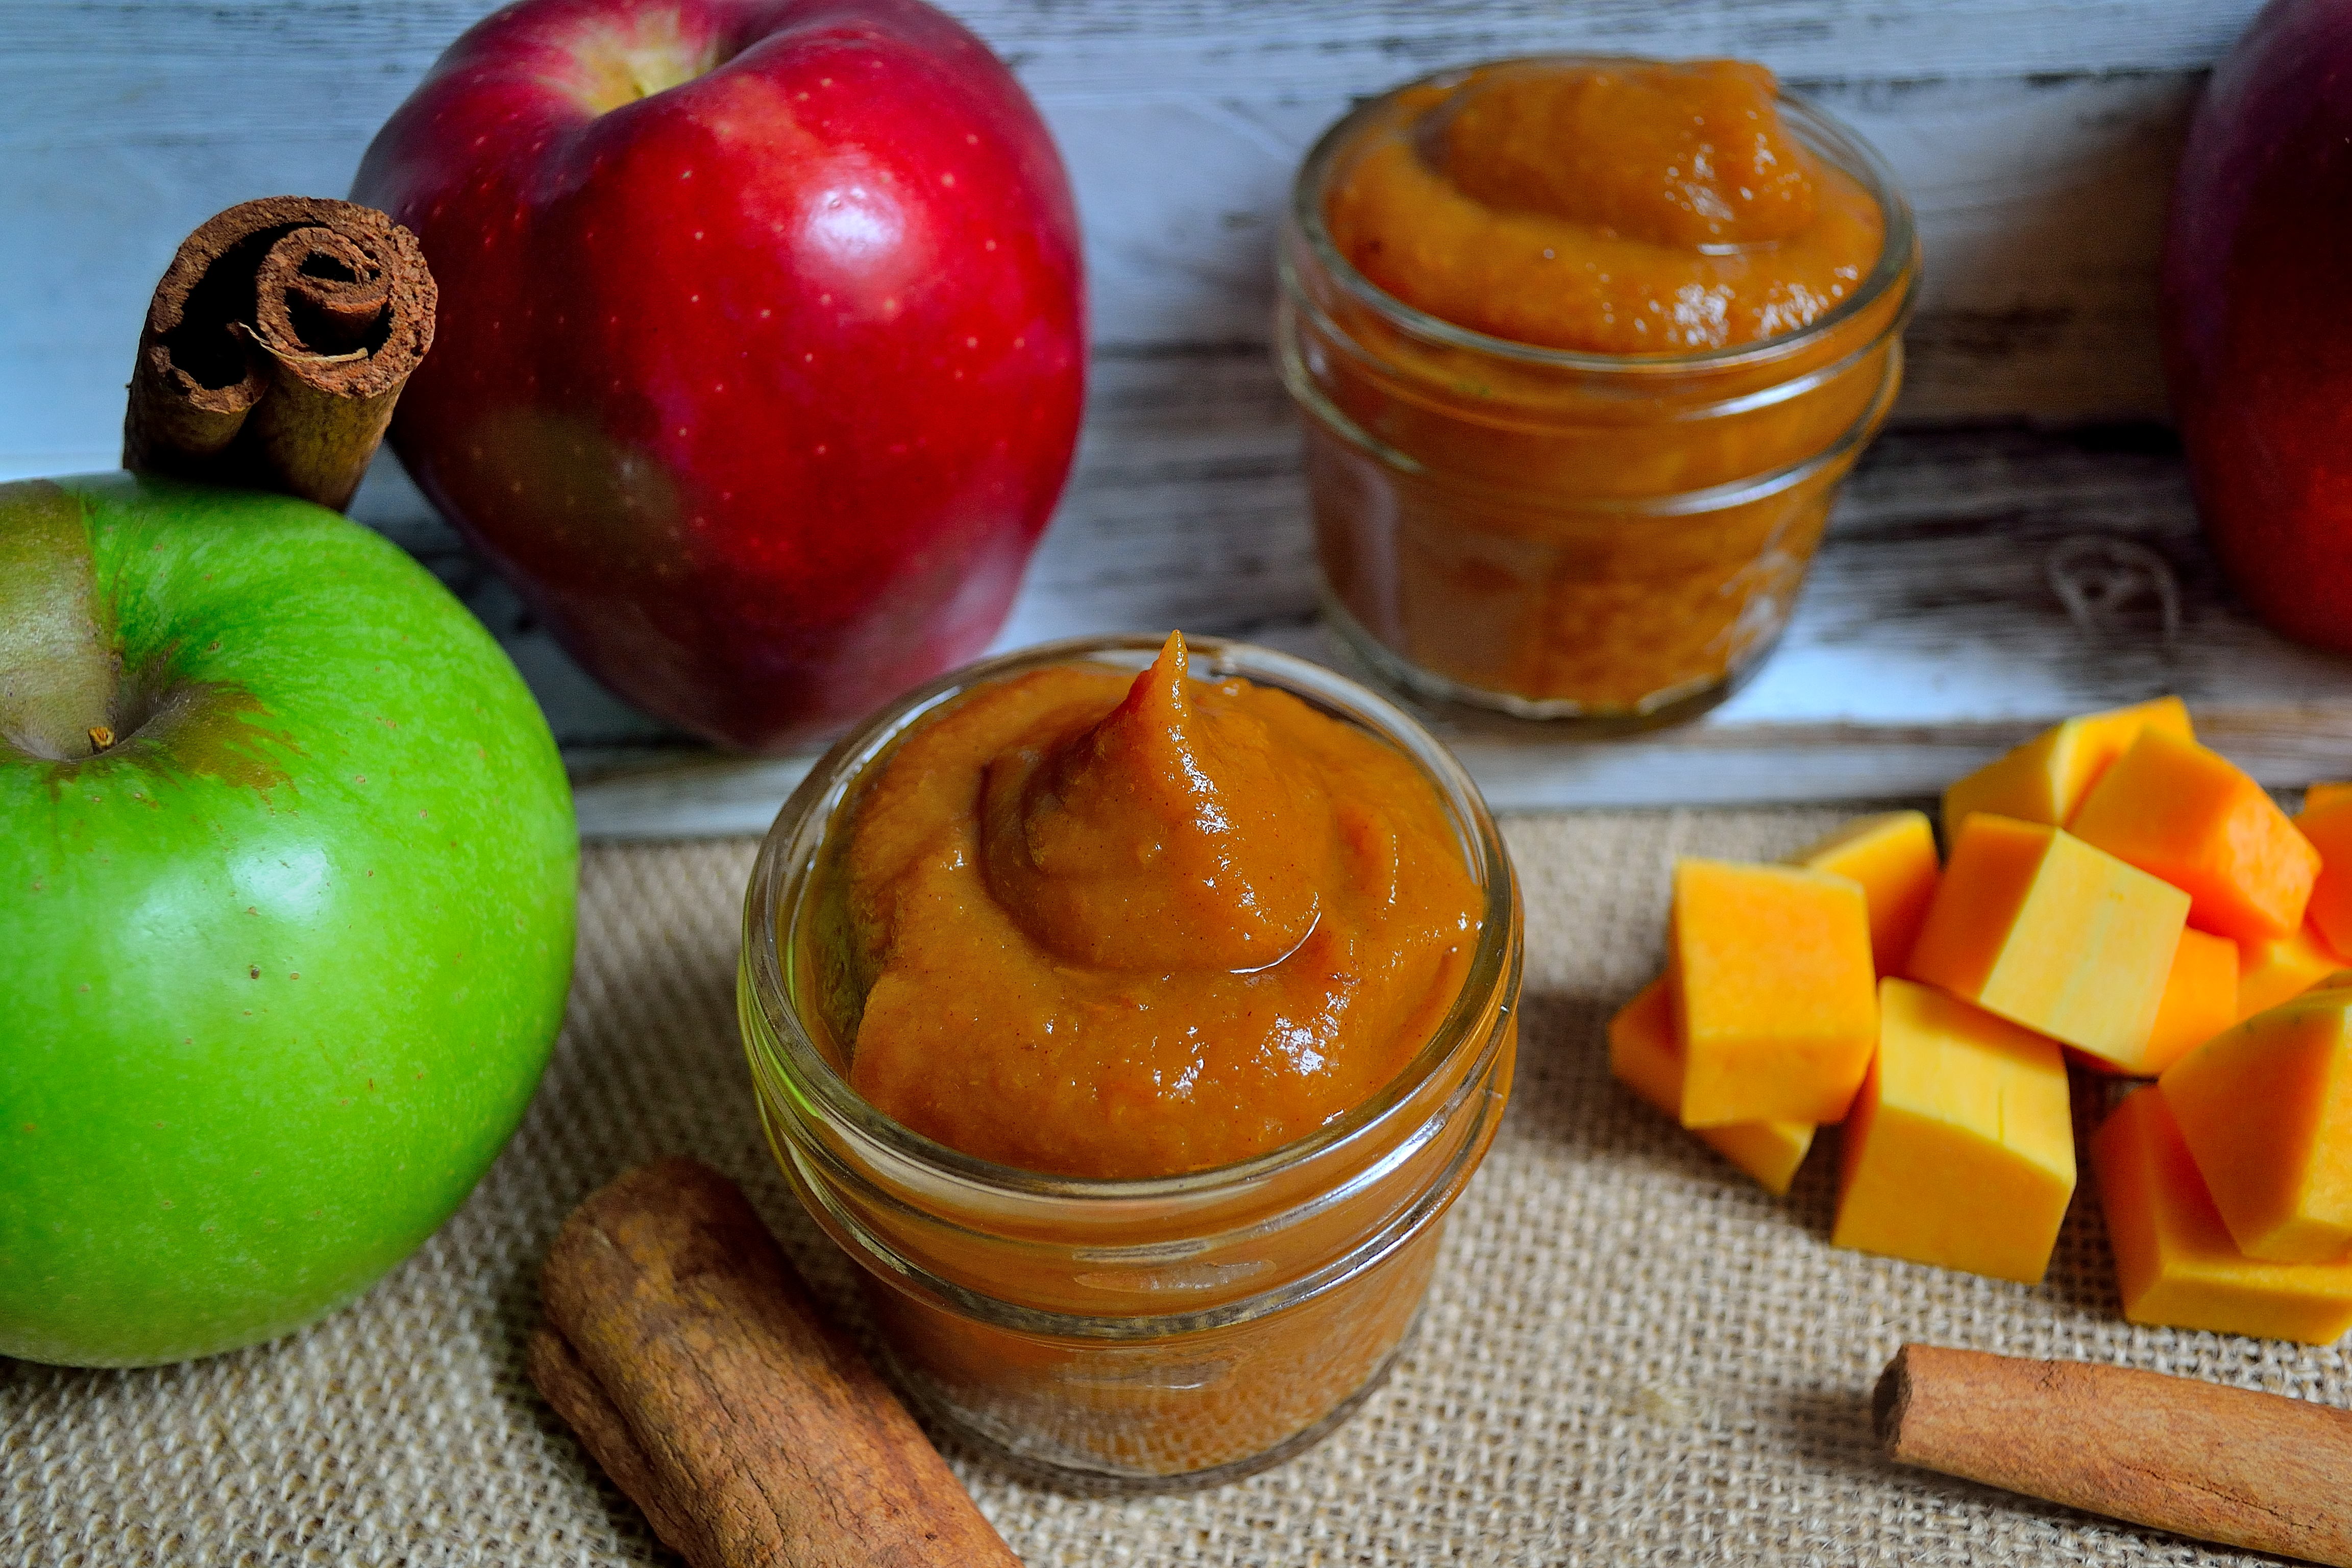
I know this is the time of year that pumpkin flavored everything is everywhere.  Coffee, cookies, bread, muffins, oatmeal, stew, candles, air fresheners…. You get the idea.  Don’t get me wrong, pumpkin is awesome.  I have a whole shelf in my closet dedicated to my stock of pumpkin.  But it isn’t the only fall produce that deserves some love.

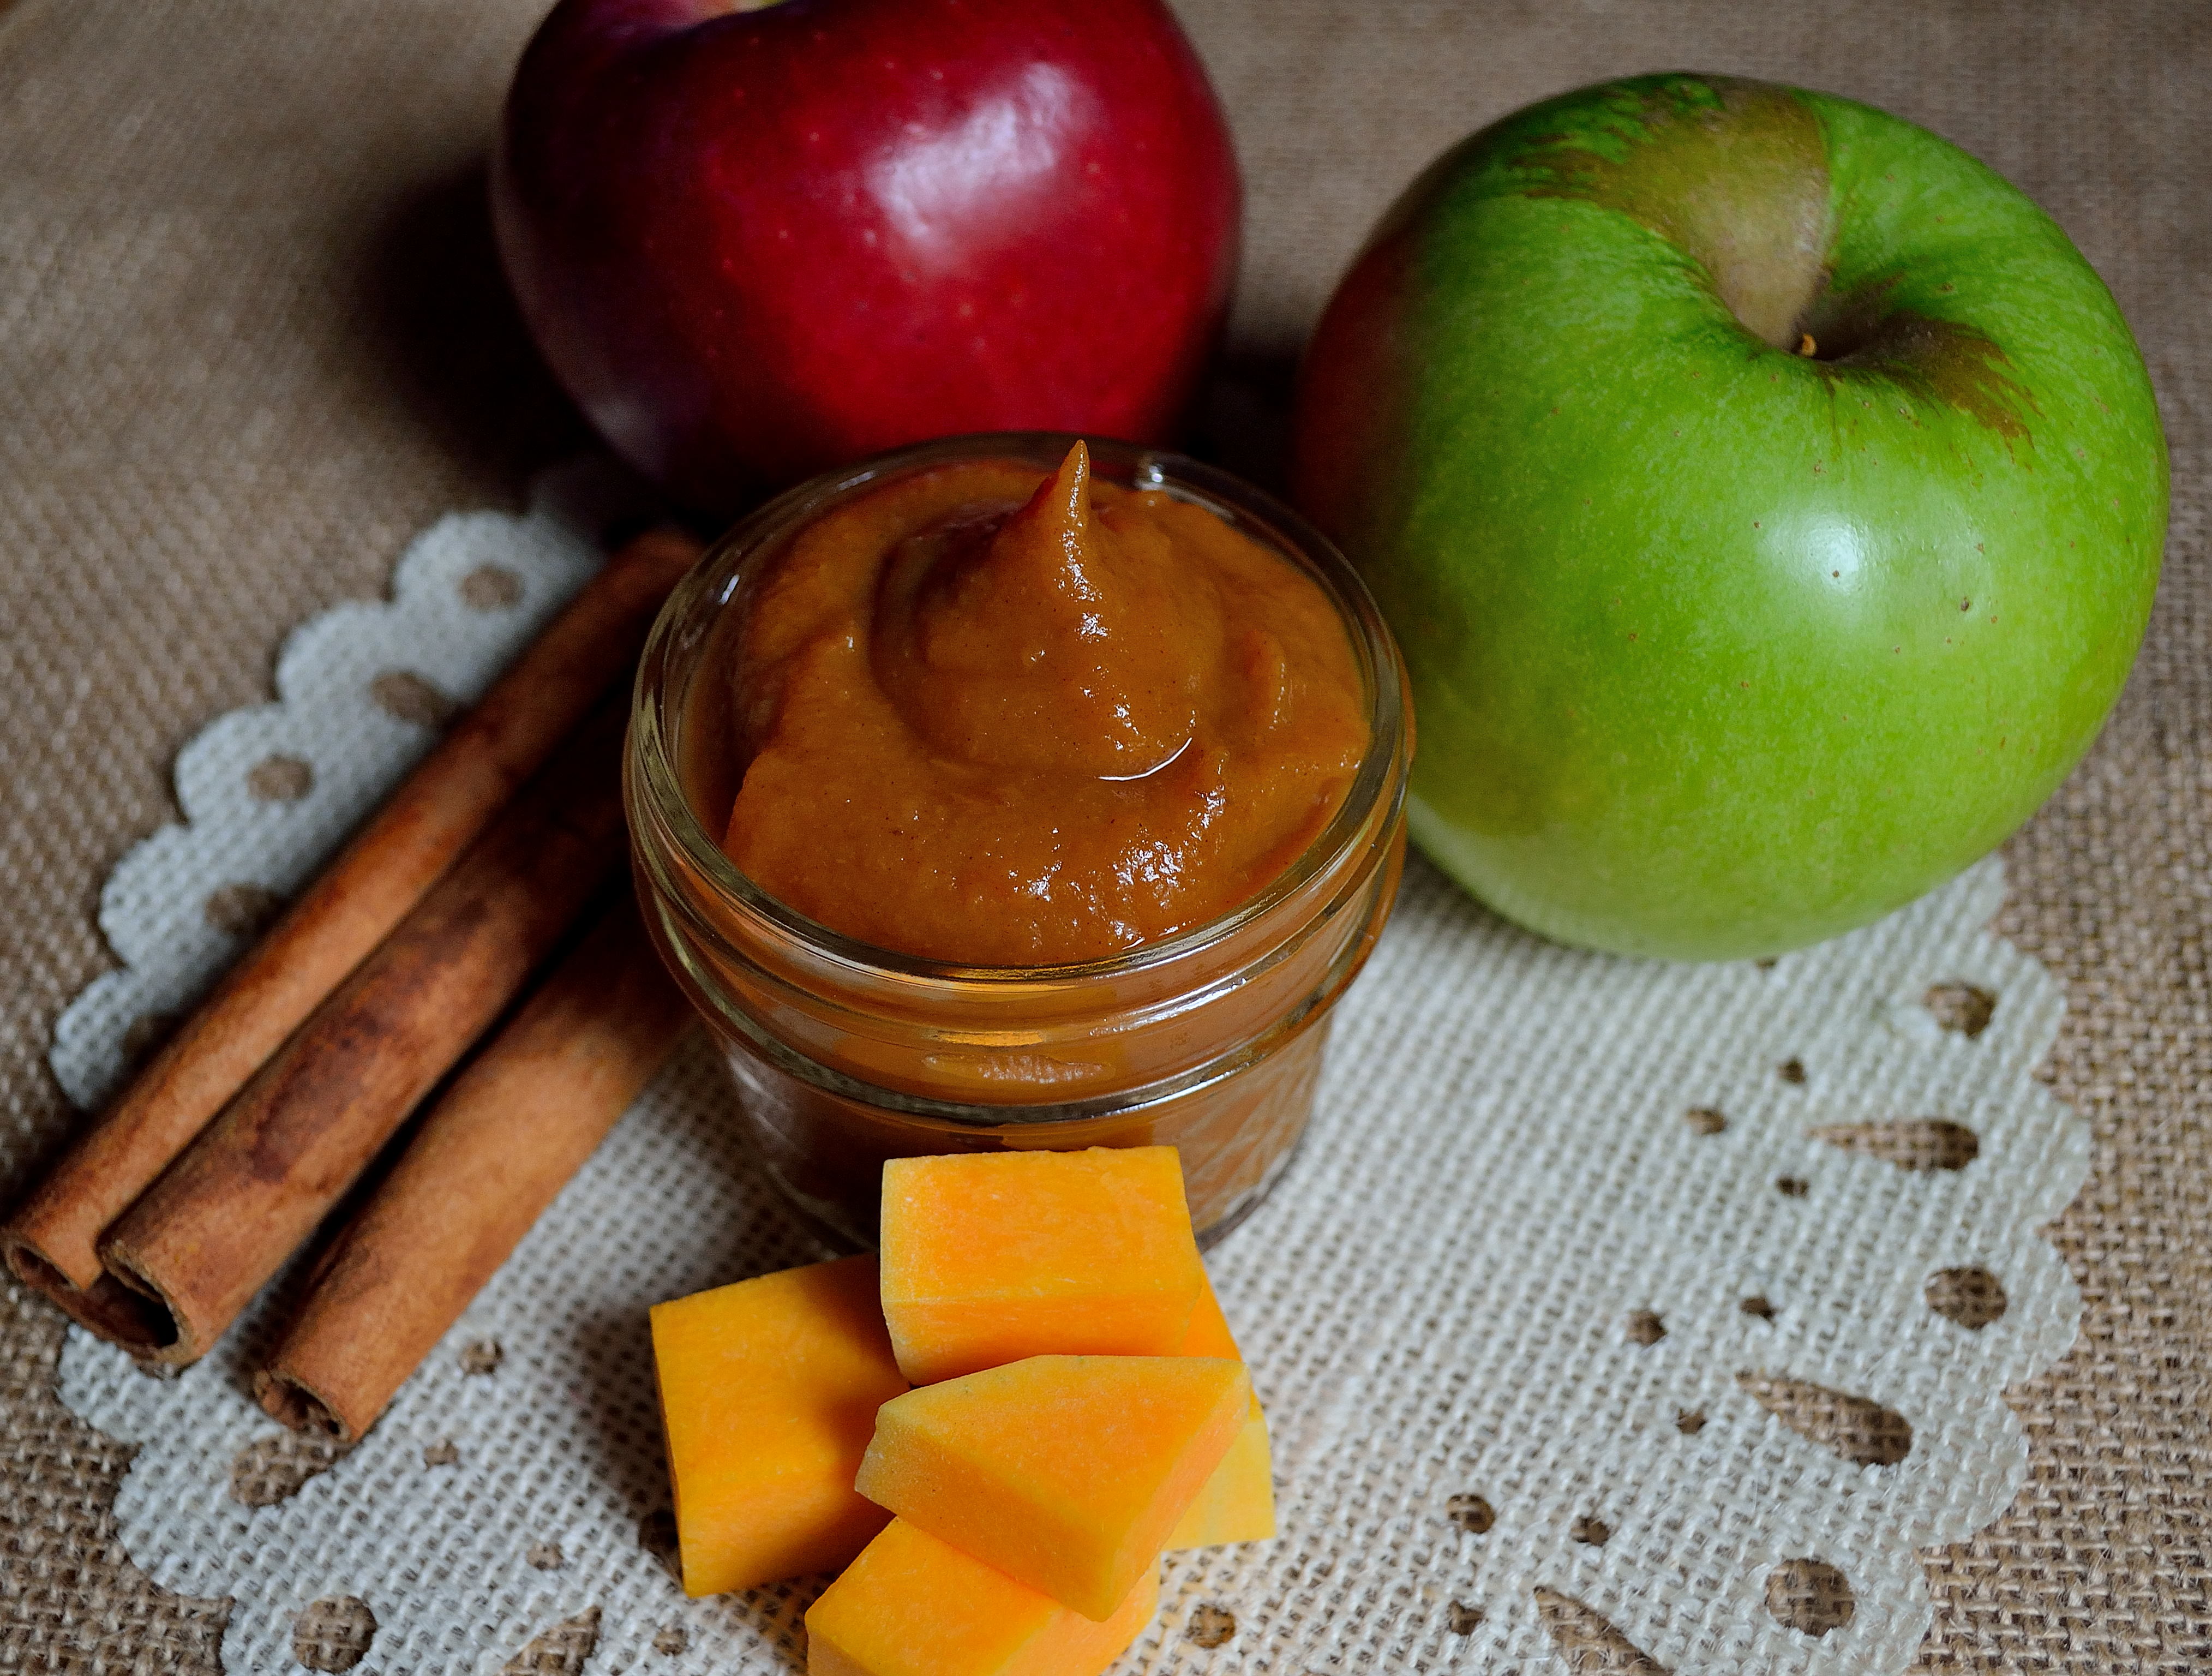
Carrots are a really versatile vegetable.  Kind of like pumpkin, they do well in sweet and savory dishes.  While I do love a good carrot soup or stew, carrot cake is where it’s at for me. Carrot Cake Breakfast Cookie | Life Healthfully Lived

These carrot cake cookies are more of a breakfast type cookie because they aren’t super sweet.  You can make it a little more decadent by turning it into a cream cheese frosting and carrot cake cookie sandwich.  Believe me, it’s delicious.

Leave the frosting off and you have a healthy breakfast cookie that’s lightly sweetened with raisins and a little maple syrup.  A cookie for breakfast?  Now that’s the dream!

Carrot Cake Breakfast CookieCarrot Cake Breakfast Cookie | Life Healthfully Lived

  • 1 cup regular oats, not instant
  • 1/2 cup coconut flour
  • 1 tsp baking powder
  • 2 tsp cinnamon
  • 1 tbsp flax
  • 3 tbsp water
  • 1/4 cup raisins
  • 1/3 cup coconut oil
  • 2 tbsp maple syrup
  • 1 cup shredded carrots
  1. Preheat the oven to 350 and line a baking sheet with parchment paper or a Silpat.  Mix the flax seed and water together and set aside.
  2. Combine all the dry ingredients in a bowl and set aside.
  3. In a food processor or blender, combine the raisins and coconut oil until you have a smooth paste.  Add the shredded carrots and pulse a few more times.
  4. Add the dry ingredients to the carrot mixture and pulse until everything is mixed together.
  5. Scoop out about a tablespoon or so and slightly flatten them into discs and place on the baking sheet.
  6. Bake for 10 to 15 minutes until the cookies are slightly brown around the edges.  Let them cool on the sheet for 5 minutes and then transfer to a wire rack to cool completely.

That’s it!  Keep them in an airtight container and they should last about a week, longer if you put them in the fridge. Carrot Cake Breakfast Cookie | Life Healthfully Lived

Do you have any fun plans for this weekend?  Adam and I are headed to Brazil (Indiana, not the country) to spend some time with his folks at the covered bridge festival.  It will be nice to spend time with family and just relax!

DIY Wednesday: Hot Sauce

ThisDIY Wednesday: Hot Sauce | Life Healthfully Lived post is compliments of my dad.  On Monday, we spent the whole day together apple picking at Royal Oaks Farm.  I love apple picking, it’s the perfect fall time activity.  Plus you get to eat delicious apples while you pick them.  It’s the best!

While we were getting lunch, I told him I needed to come up with a DIY post for today.  He gave me some good ideas, but hot sauce was the one that won for today.

DIY Wednesday: Hot Sauce | Life Healthfully Lived

I’m surprised I didn’t think of this one sooner.  A lot of people buy hot sauce and there are a ton of varieties at the store.  When I took a look at the ingredients on most hot sauces, I saw that it was really a simple product.  There are  of course different variations and levels of heat, but the basic ingredient list is short and sweet.  Which makes it a perfect product to make at home.

While I love making things at home to save money and know exactly what is going into my food, I also like playing around with flavors and ingredients.  Putting my little twist on common staples is fun and is a great way to learn how different ingredients go together or don’t.

This hot sauce came together quickly and I love how fresh it tastes.  Just a little will go a long way in your recipes and it will last you a long time.  Just a few tips for you while making this:

  • If you have any cuts or scrapes on your hands, WEAR GLOVES!  Trust me you do not want to be getting hot pepper juice in your wounds.
  • Do NOT rub your eyes/nose/mouth while making this unless you enjoy feeling like your face is on fire.
  • If you choose not to wear gloves, wash your hands REALLY well after you’re done.  Again, avoid the eye/nose/mouth region with your hands.

Long story short, protect your skin from the hot peppers or else you will feel the burn.  And not in a good way.

Hot SauceDIY Wednesday: Hot Sauce | Life Healthfully Lived

  • 10-15 habanero peppers
  • 2-3 jalapeno peppers
  • 3 tsp roasted garlic or 3 cloves fresh garlic, roughly chopped
  • 2 large carrots, shredded
  • 2 cups water
  • juice of one lime
  • 2-3 tbsp white vinegar
  • salt to taste
  1. Take off the stems from the peppers and roughly chop.  If you like super spicy hot sauce, you can leave in the seeds.
  2. Heat a little oil in a medium saucepan over medium-high heat, if you’re using fresh garlic add that in and saute for a few minutes.  Then add the carrot shreds and saute for 2 to 3 more minutes.
  3. Add the two cups of water and bring everything to a boil.  Cover and lower to a simmer and cook for 5 minutes.
  4. Remove the lid and take the pot off of the heat.  Add the peppers to the mixture and then stir in the vinegar and lime juice.  Add a little salt and stir again.
  5. Pour the whole mixture into a blender and puree until smooth.  Taste and add more salt if needed.
  6. Let the sauce cool and then store in an airtight container in the fridge.  DIY Wednesday: Hot Sauce | Life Healthfully Lived

That’s it.  I can’t stress enough about protecting your hands and then not touching your face while making this.  Or any other sensitive areas…. OUCH!  But afterward you will get an awesome hot sauce that you made with your own, possibly slightly burned, hands!

Hearty Vegetable Cassoulet

CassouletHearty Vegetable Stew | Life Healthfully Lived .  It just sounds fancy doesn’t it?  But then again, most French words sound fancy.  In fact, this dish is probably as far from fancy as you can get.  A cassoulet is a slow-cooked casserole that started out as a peasant meal.  Basically, all the scraps of meat, bones, and vegetables were placed into a clay baking dish and cooked over low heat for a long time to make a delicious cross between a casserole and a hearty stew.

Over the years, chefs and restaurants got a hold of it and “elevated” it to make it good enough to be put on expensive menus.  The truth was that not much needed to be changed to make a delicious dish because sometimes the simplest things are the tastiest.Hearty Vegetable Stew | Life Healthfully Lived

I made this cassoulet a little different than the traditional dish because I didn’t include any meat.  It is still a very rich dish that is great for the cooler nights we’ve been having.  You can also add meat if you wanted or mushrooms if you wanted to keep it vegetarian but add a “meaty” component.

This dish can be made ahead of time and then just popped in the oven when it’s time for dinner.  It tastes like you have spent all day cooking it, but we can just keep that our little secret!  So impress your friends and family with a tasty and fancy cassoulet that is as simple as could be.

Hearty Vegetable CassouletHearty Vegetable Stew | Life Healthfully Lived

  • 1 tsp olive oil
  • 6 cloves of garlic, minced
  • 1 1/2 cup onion, diced
  • 1/2 tsp dried thyme
  • 1/2 tsp marjoram
  • 1 tsp rosemary
  • 1/2 cup dry red wine (I used a malbec, but you can use whatever you have on hand)
  • 1 cup carrots, peeled and diced into rounds
  • 3/4 cup celery, sliced
  • 1 can diced tomatoes (I used fire-roasted)
  • 1 tbsp molasses (you could use maple syrup too)
  • 1 tbsp spicy brown mustard
  • 1 can garbanzo beans, drained and rinsed
  • 1 can white beans, drained and rinsed
  • salt and pepper to taste
  1. Preheat oven to 350 and heat olive oil in a large saucepan over medium heat.  Add in the onions, garlic, thyme, marjoram, and rosemary.  Saute for 2 to 3 minutes
  2. Add the 1/2 cup wine and bring to a slow simmer.  Cover the dish and simmer for 5 minutes.  Remove cover and stir in the vegetables and simmer for another 10 minutes.  Add in the rest of the ingredients and return to a simmer.
  3. Taste and adjust the salt and pepper to your taste.  Transfer the whole things to a 9 x 13 casserole dish and cover with aluminum foil.  Cook in the oven for 45 minutes.

See? It really is a simple meal.  After cooking in the oven for 45 minutes, you’re left with a meal that is stick to your ribs good and is loaded with good for you vegetables and legumes.  If you want to do this meal with meat, I would use chunks of beef because they will handle the long cook time well.  Just make sure to brown them before adding them into the dish.Hearty Vegetable Stew | Life Healthfully Lived

Oh, and Adam wants me to make sure to tell you to serve this with bread.  But then again he wants me to serve bread with every meal…

Have a great Friday everyone and I will see you on Monday!

DIY Wednesday: Cream Cheese Frosting

MyDIY Wednesday: Cream Cheese Frosting | Life Healthfully Lived birthday is on Halloween.  I think because I was born right in the middle of fall, the love of all things fall is sort of woven into my genes.  Usually for my birthday, my mom would make spice cake or carrot cake and one year I think she made a hummingbird cake…. but I could be wrong about that one.  Anyway, the cakes that she made would beg for cream cheese frosting and that was just fine with me.

I love cream cheese frosting.  Most other frostings are WAY too sweet and I can only take a few bites before I start to get nauseated.  But cream cheese frosting? Skip the cake and get me a spoon.  It’s a little sweet, a little tangy, and all delicious. DIY Wednesday: Cream Cheese Frosting | Life Healthfully Lived

I haven’t had cream cheese frosting in years because it’s basically cream cheese, butter, and sugar.  Since I don’t do dairy or refined sugar anymore, cream cheese frosting isn’t really at the top of my list of things to eat.  With fall baking underway, I thought it would be a good time to try recreating this frosting without any dairy or refined sugar.  Lucky for me, it wasn’t that hard to do!  Just a few ingredients, a little planning ahead, and you have a delicious cream cheese frosting that is ready to top carrot cake or any other fall favorite.DIY Wednesday: Cream Cheese Frosting | Life Healthfully Lived

Oh, and if you think it’s easier to just grab a tub of cream cheese frosting at the store?  Think again.  Not only is it full of chemicals, sugar, and preservatives, but it doesn’t actually contain any cream cheese…. Explain that one to me!  Do yourself a favor and make this simple, dairy-free frosting without the high price and chemicals.

Cream Cheese FrostingDIY Wednesday: Cream Cheese Frosting | Life Healthfully Lived

  • 1 cup raw cashews, soaked overnight
  • 2 tbsp lemon juice, 1 more if you like a tangier frosting
  • 1 tbsp maple syrup
  • 2 tsp vanilla extract
  • 1/4 cup water
  • 3 tbsp coconut butter NOT coconut oil
  1. Drain and rinse the soaked cashews and place in a blender or food processor.  Add the lemon juice, maple syrup, and vanilla extract.  Pulse a few times until the cashews are broken up into little pieces.
  2. Add the water and blend the cashews until you have a smooth cream.  Add the coconut butter and blend to combine everything.  Taste and see if you need to add more sweet or more tang.
  3. You can use the frosting right away or store in an airtight container in the fridge for up to a week.  If you do store it in the fridge, take it out 20 minutes before you want to use it to let it warm up a bit.

To test out the frosting, I made some carrot cake cookies.  Because if you have frosting you have to have cookies right?  I just threw some things together and the cookies actually turned out pretty good.  I’m going to tweak them a bit and then put them on the blog so you can enjoy your homemade frosting! DIY Wednesday: Cream Cheese Frosting | Life Healthfully Lived

I’ll have a new recipe for you on Friday and then Monday I hope to do a recap of the awesome wedding weekend!  It was a great time and I am so happy for the new Mr. and Mrs. Meyers!

DIY Wednesday: Squash Apple Butter

IDIY Wednesday: Squash Apple Butter | Life Healthfully Lived certainly did not invent apple butter, although that would be pretty awesome if I did.  I’m also certainly not the first to put a recipe for apple butter on their blog.  But I’m putting a little spin on the typical apple butter today for your DIY post of the week.

I actually had never really tried apple butter until I met Adam.  His grandma sent us home from a visit once with some apple butter and it was delicious.  It was smoother and creamier than applesauce and that was what I loved about it.  It’s funny that Adam was technically the one to introduce me to apple butter since the man doesn’t like cooked apples!  I know, he’s weird.DIY Wednesday: Squash Apple Butter | Life Healthfully Lived

Anyway, most apple butter is made with a TON of sugar.   Besides adding sweetness, it helps preserve the apple butter.  That’s fine for some, but since I don’t do refined or much added sugar, I wanted to try an apple butter that didn’t use sugar.  To me, cooked apples are already fairly sweet.  Plus if you add in spices like cinnamon it ups the sweet factor.  I also wanted to do something to make my apple butter even smoother.  Pureed squash is really smooth and creamy plus it tends to lean toward the sweet side.  And squash is just awesome in general so I thought why not add it into my apple butter.

Luckily it worked out and I ended up with a fall hybrid butter that is perfect on toast, in oatmeal, on pancakes, or on a peanut butter sandwich.  It is so easy to make your own apple butter and it will cost a lot less than buying it from the apple orchard or specialty shops.  So if you have a plethora of apples hanging around and want to try something a little different than your typical apple butter, give this squash apple butter a try!

Squash Apple ButterDIY Wednesday: Squash Apple Butter | Life Healthfully Lived

  • 5 to 6 large apples of different varieties, I used a mix of sweet and tart like granny smith and gala.
  • 2 cups diced butternut squash, you could also try pumpkin or delicata
  • 2 tsp lemon juice
  • 2 to 3 cinnamon sticks, optional
  • 2 tsp freshly grated nutmeg, optional
  • 1 tsp ground cloves, optional
  • 1 tsp ground cinnamon, optional
  1. Place sliced apples, cubed squash, and cinnamon sticks if you are using them into a slow cooker.  You want to make sure you fill the cooker almost to the top leaving just a little space.
  2. Cook on high for 4 hours.  If your apples and squash start sticking, you can use a little water.  Don’t use too much because you don’t want a watery butter.
  3. After 4 hours, the apples and squash should be fairly soft.  Remove the cinnamon sticks and smash everything else with a potato masher or fork and transfer the whole thing to a blender.  You could also use an immersion blender.  Puree the apples and squash until super smooth.  This is important to make sure you have a smooth and creamy butter.
  4. Return the puree to the slow cooker and cook on high for another hour.  At the end stir in the lemon juice and any spices you want.
  5. Allow the whole mixture to cool before you transfer to jars or other airtight containers.  Store in the fridge.DIY Wednesday: Squash Apple Butter | Life Healthfully Lived

I have really liked swirling this into my oatmeal in the morning.  The whole thing just reminds me of fall and that makes me happy!

In other news, my little sister is getting married this weekend ( 😀 😀 😀 😀 ) and I am just a tad busy helping her with that!  While I have plenty of new recipes to share with you, my Friday post will be a round-up of my favorite fall recipes around the blog world.  I hope you have a great Wednesday and see you soon!