Simple Soy Marinade/Glaze

When Adam and I first started dating he was the primary cook for himself and his roommate.  He is actually a fairly decent cook, but I would have to say he had two main specialties.  One was his mostaccioli and the other was his stir fry.  While I liked that mostaccioli (pretty sure he fed my roommates a few times with that dish), I loved his stir fry.  More specifically, I loved his stir fry sauce.  It was like restaurant quality sauce.  Growing up we had stir fry, but we usually used those little packets of stir fry seasoning that you add to water and then pour over the meat and vegetables.  So I was amazed when he suggested stir fry and then started making his own stir fry sauce.  It’s the little things for me…. Anyway, one of the main ingredients in his sauce was hoisin sauce.  I don’t know if you have ever seen or used hoisin, but it isn’t the healthiest thing to be eating.  I made it my mission to make my own healthy stir fry sauce without the use of hoisin.  After many tries, I think I finally got it down in taste and texture.  While it might not taste exactly like restaurant quality stir fry sauce, it comes pretty close and you won’t have to worry about any of the ingredients!

Simple Soy Marinade/Glaze

DSC_0156

  • 1/4 cup liquid aminos, tamari sauce or soy sauce (coconut aminos would work too)
  • 1 tbsp sesame oil
  • 1 tbsp honey
  • 1 tbsp rice vinegar
  • 1/2 tsp chinese five spice
  • 1 tsp garlic, minced
  • 1 tsp ginger, minced
  • 1 tsp tapioca starch


Mix everything except the tapioca starch together.  Add in the tapioca starch and whisk until fully incorporated and there are no clumps.


You can use this as a marinade for fish, chicken, or pork.  You can use it as a sir fry sauce, just cook your meat and vegetables and then add this sauce in at the end and cook until it has thickened up.  You could also use it as a glaze.  Just heat the sauce up in a small sauce pan over medium high heat until it thickens and then pour it over whatever you would like.  You can make this ahead of time just store it in an airtight container in the fridge.


Also, if you guys have any requests for recipes that you would like to see on the blog, let me know in the comment section!  I want to make sure that you are getting what you need/want from this blog, so please tell me.  Have a great weekend!

How To Dress A Salad

oil and vinegar

No, I’m not talking about putting little shirts and pants on your lettuce leaves.  I’m not that weird.  Ok, yes I am but that is beside the point.  Salads are a great way to get in a ton of vegetables and there are endless varieties of salads.  Even with so many different combinations, people still find salads boring.  Their solution to fix boring salads is to top them off with dressings.  Don’t get me wrong, I love dressing and probably have consumed a mind boggling amount of ranch dressing.  Store bought dressings though are LOADED with chemicals and preservatives and a ton of other not good for you ingredients.  Go ahead and get that bottle of dressing out of the fridge and read the ingredient list.  I’m going to bet there are some things in there that you can’t pronounce.  That’s no good.  Fear not! You do not have to give your dressings, you just need to go about them in a different way.  Homemade dressing is super simple to make and so much better for you than store bought.  In fact, you probably have all the ingredients on hand to make your own simple dressing.  I’m going to show you how to make a simple dressing and give you a few variations so that you can make your own delicious salad dressing!

The basic components of a salad dressing are simple.  Oil and some kind of vinegar.  Your ratio of oil to vinegar can be made to your preference, but I tend to like a little bit more vinegar than oil in my dressing.  Now there are a variety of different oils that you can use to make your dressing beyond the obvious olive oil.  I also like avocado oil, flaxseed oil, and I have even tried walnut oil which was pretty tasty.  You want to stick with lighter tasting oils since you won’t be cooking the oil.  Oils like peanut, coconut, or palm oil will have a little bit stronger taste and could overpower the other flavors of the dressing.  Once you pick the type of oil you want to use you can pick a vinegar to go with it.  The three that I use the most are apple cider vinegar, balsamic vinegar, and white wine vinegar.  I’ve also made some dressings with rice vinegar.  There are many types of vinegars out there, so pick ones that you like the most.  Once you’ve chosen an oil and a vinegar, it’s time to add some seasonings.  The sky is the limit here so use your favorites or whatever you have on hand.

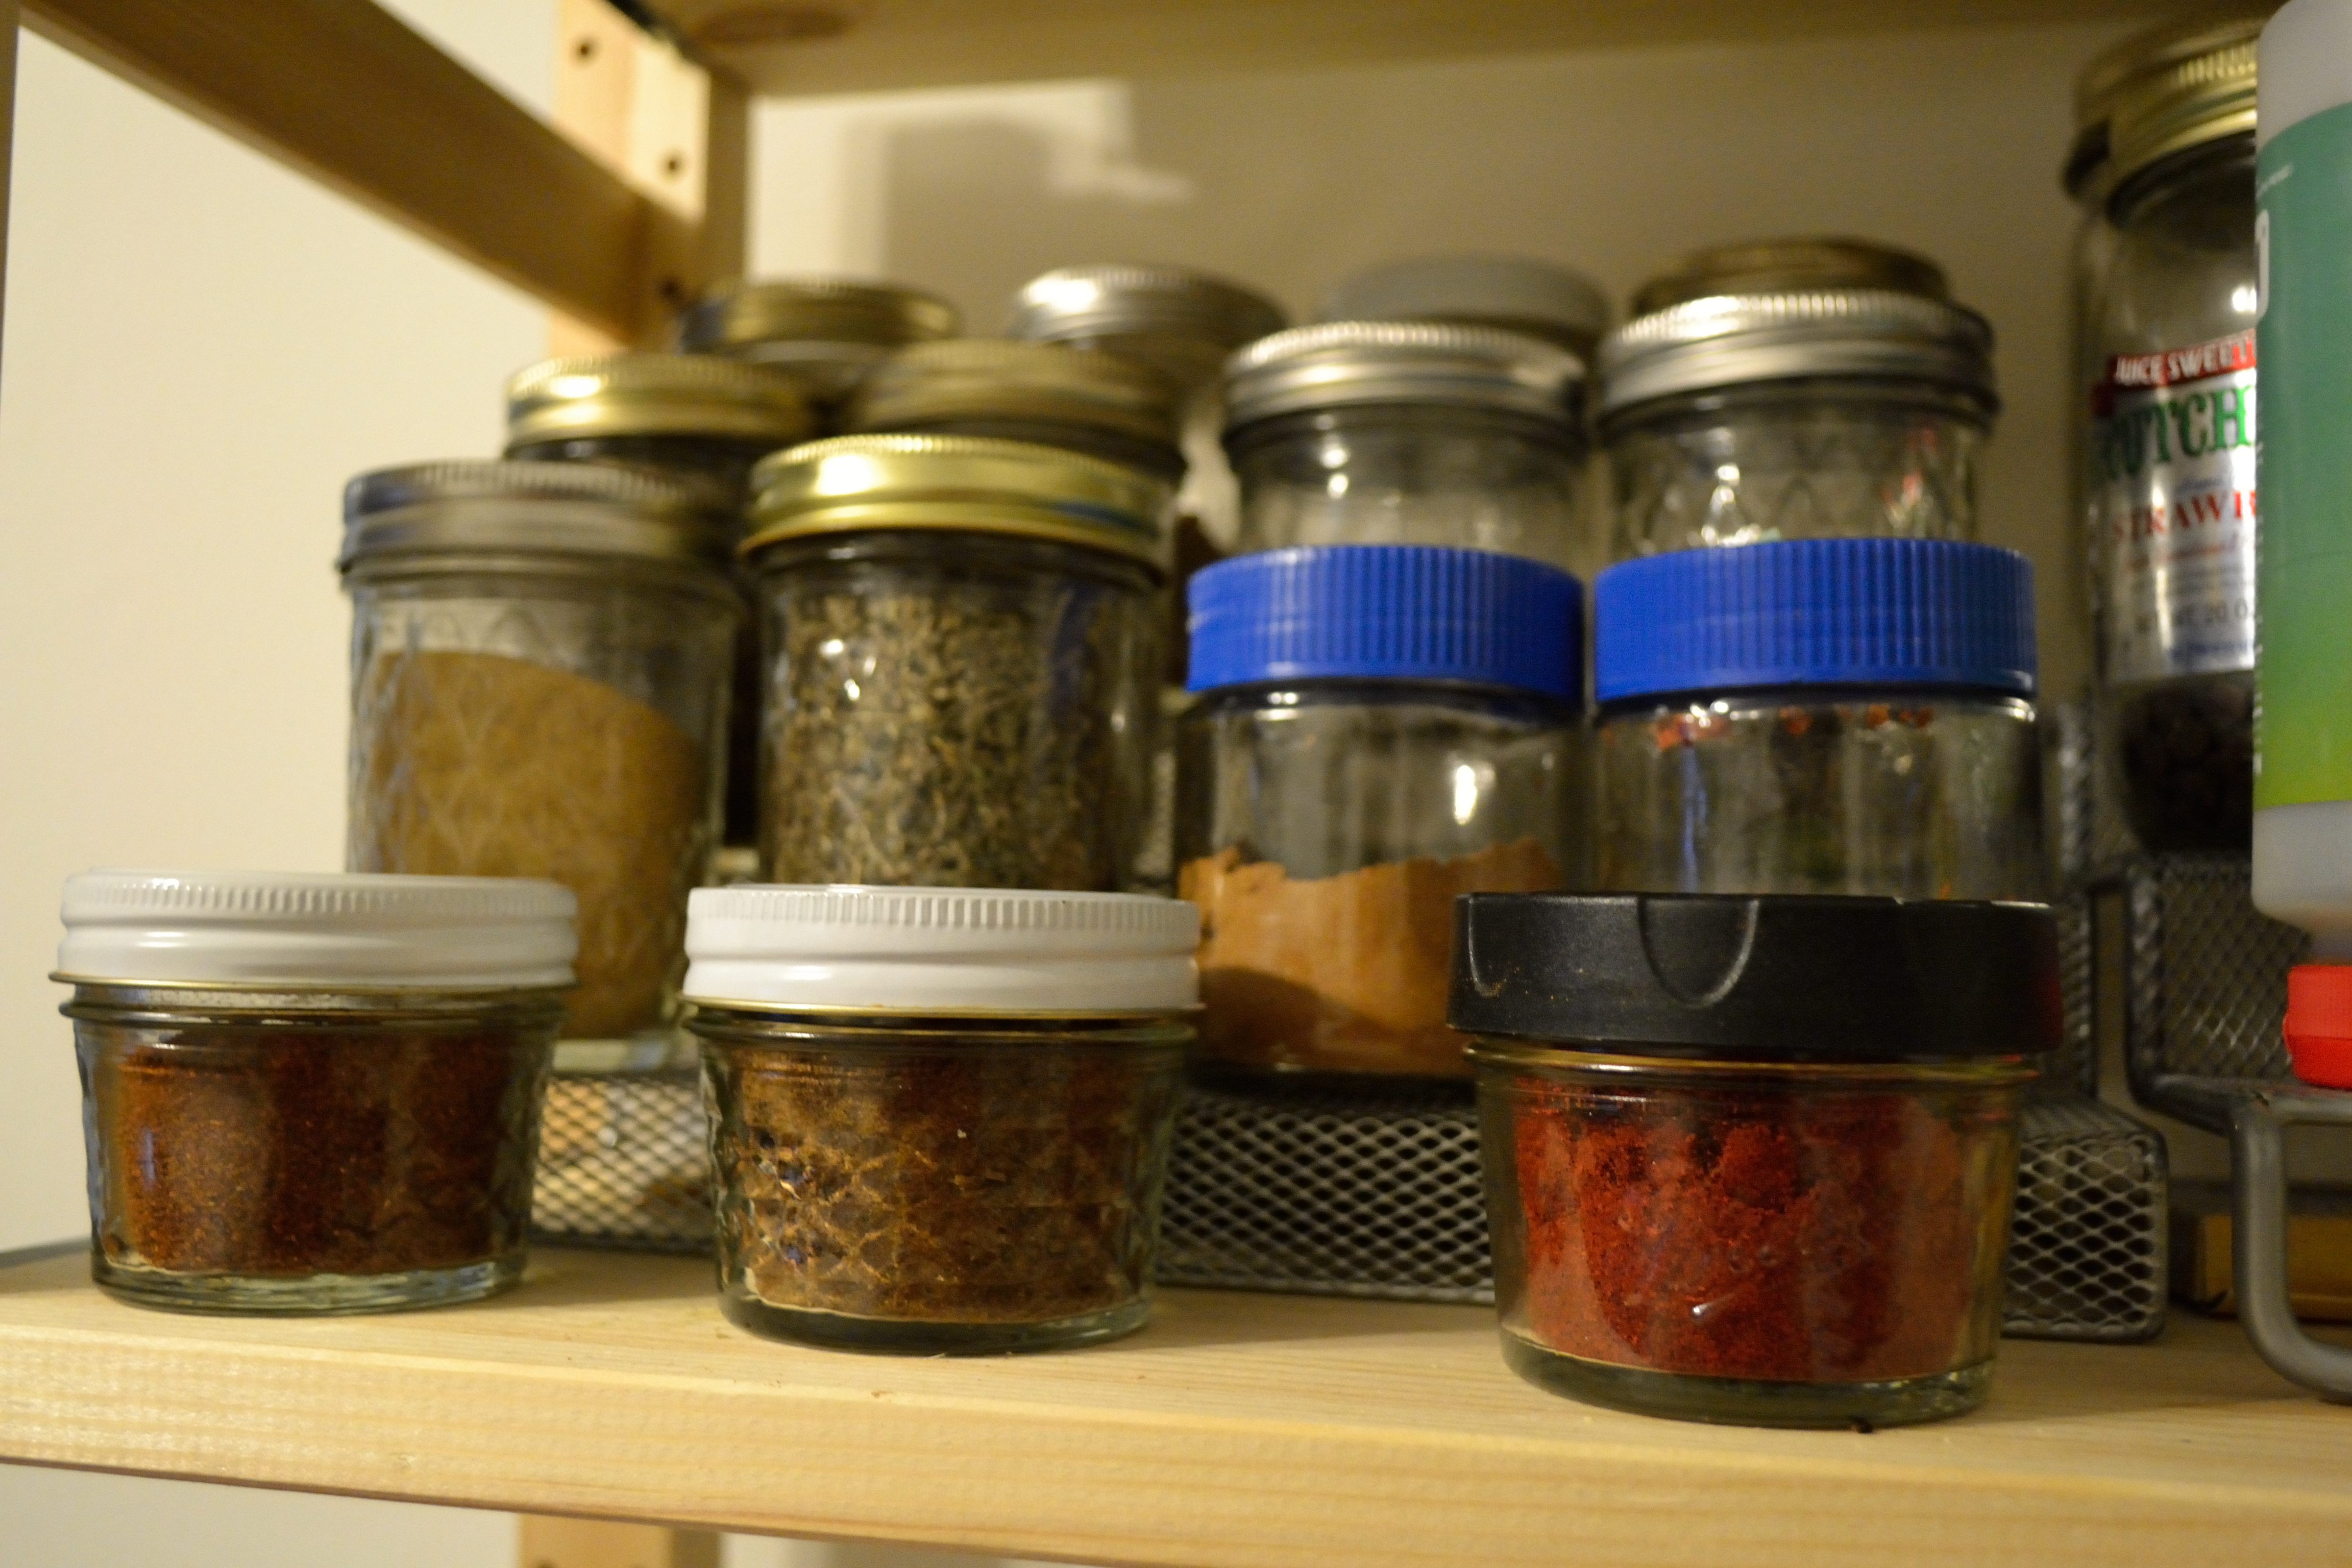
Ok, that is the bare bones of a homemade salad dressing.  Tasty for sure, but a little boring.  Good thing it is easy to come up with a variety of different dressings to top your salad.  The easiest way to make most of these dressings is to place all the ingredients in a jar and shake them up.  That way they are easy to store and you can add to them whenever you need to.  Some of the dressings I’m going to share need a blender or food processor, but I’ll make a note if they do.  Here are a few dressings that I have made myself:

  • 1/4 cup olive oil – 1/2 cup apple cider vinegar – 1 tsp oregano – 1 tsp basil – pepper to taste
  • 1/4 cup avocado oil – 1/3 cup rice vinegar – 2 tbsp lime juice – 1 tsp cilantro – 1/2 tsp garlic powder
  • 1/4 cup flaxseed oil – 1/3 cup white wine vinegar – 2 tsp italian seasonings – pepper to taste

These are quick and easy to make and will keep in your fridge for a few weeks.  Now, perhaps you are more a fan of creamy dressings (ranch lovers unite!) and these oil and vinegar combos are not doing it for you.  Not to worry, there are plenty of options when it comes to homemade creamy dressings.  These dressings will need to be made in a blender or food processor to get the right consistency.

  • 1/2 avocado, diced – 1/4 cup tahini – 3-4 tbsp lime juice – 1 tsp cilantro – 1 tsp chili powder – salt and pepper to taste
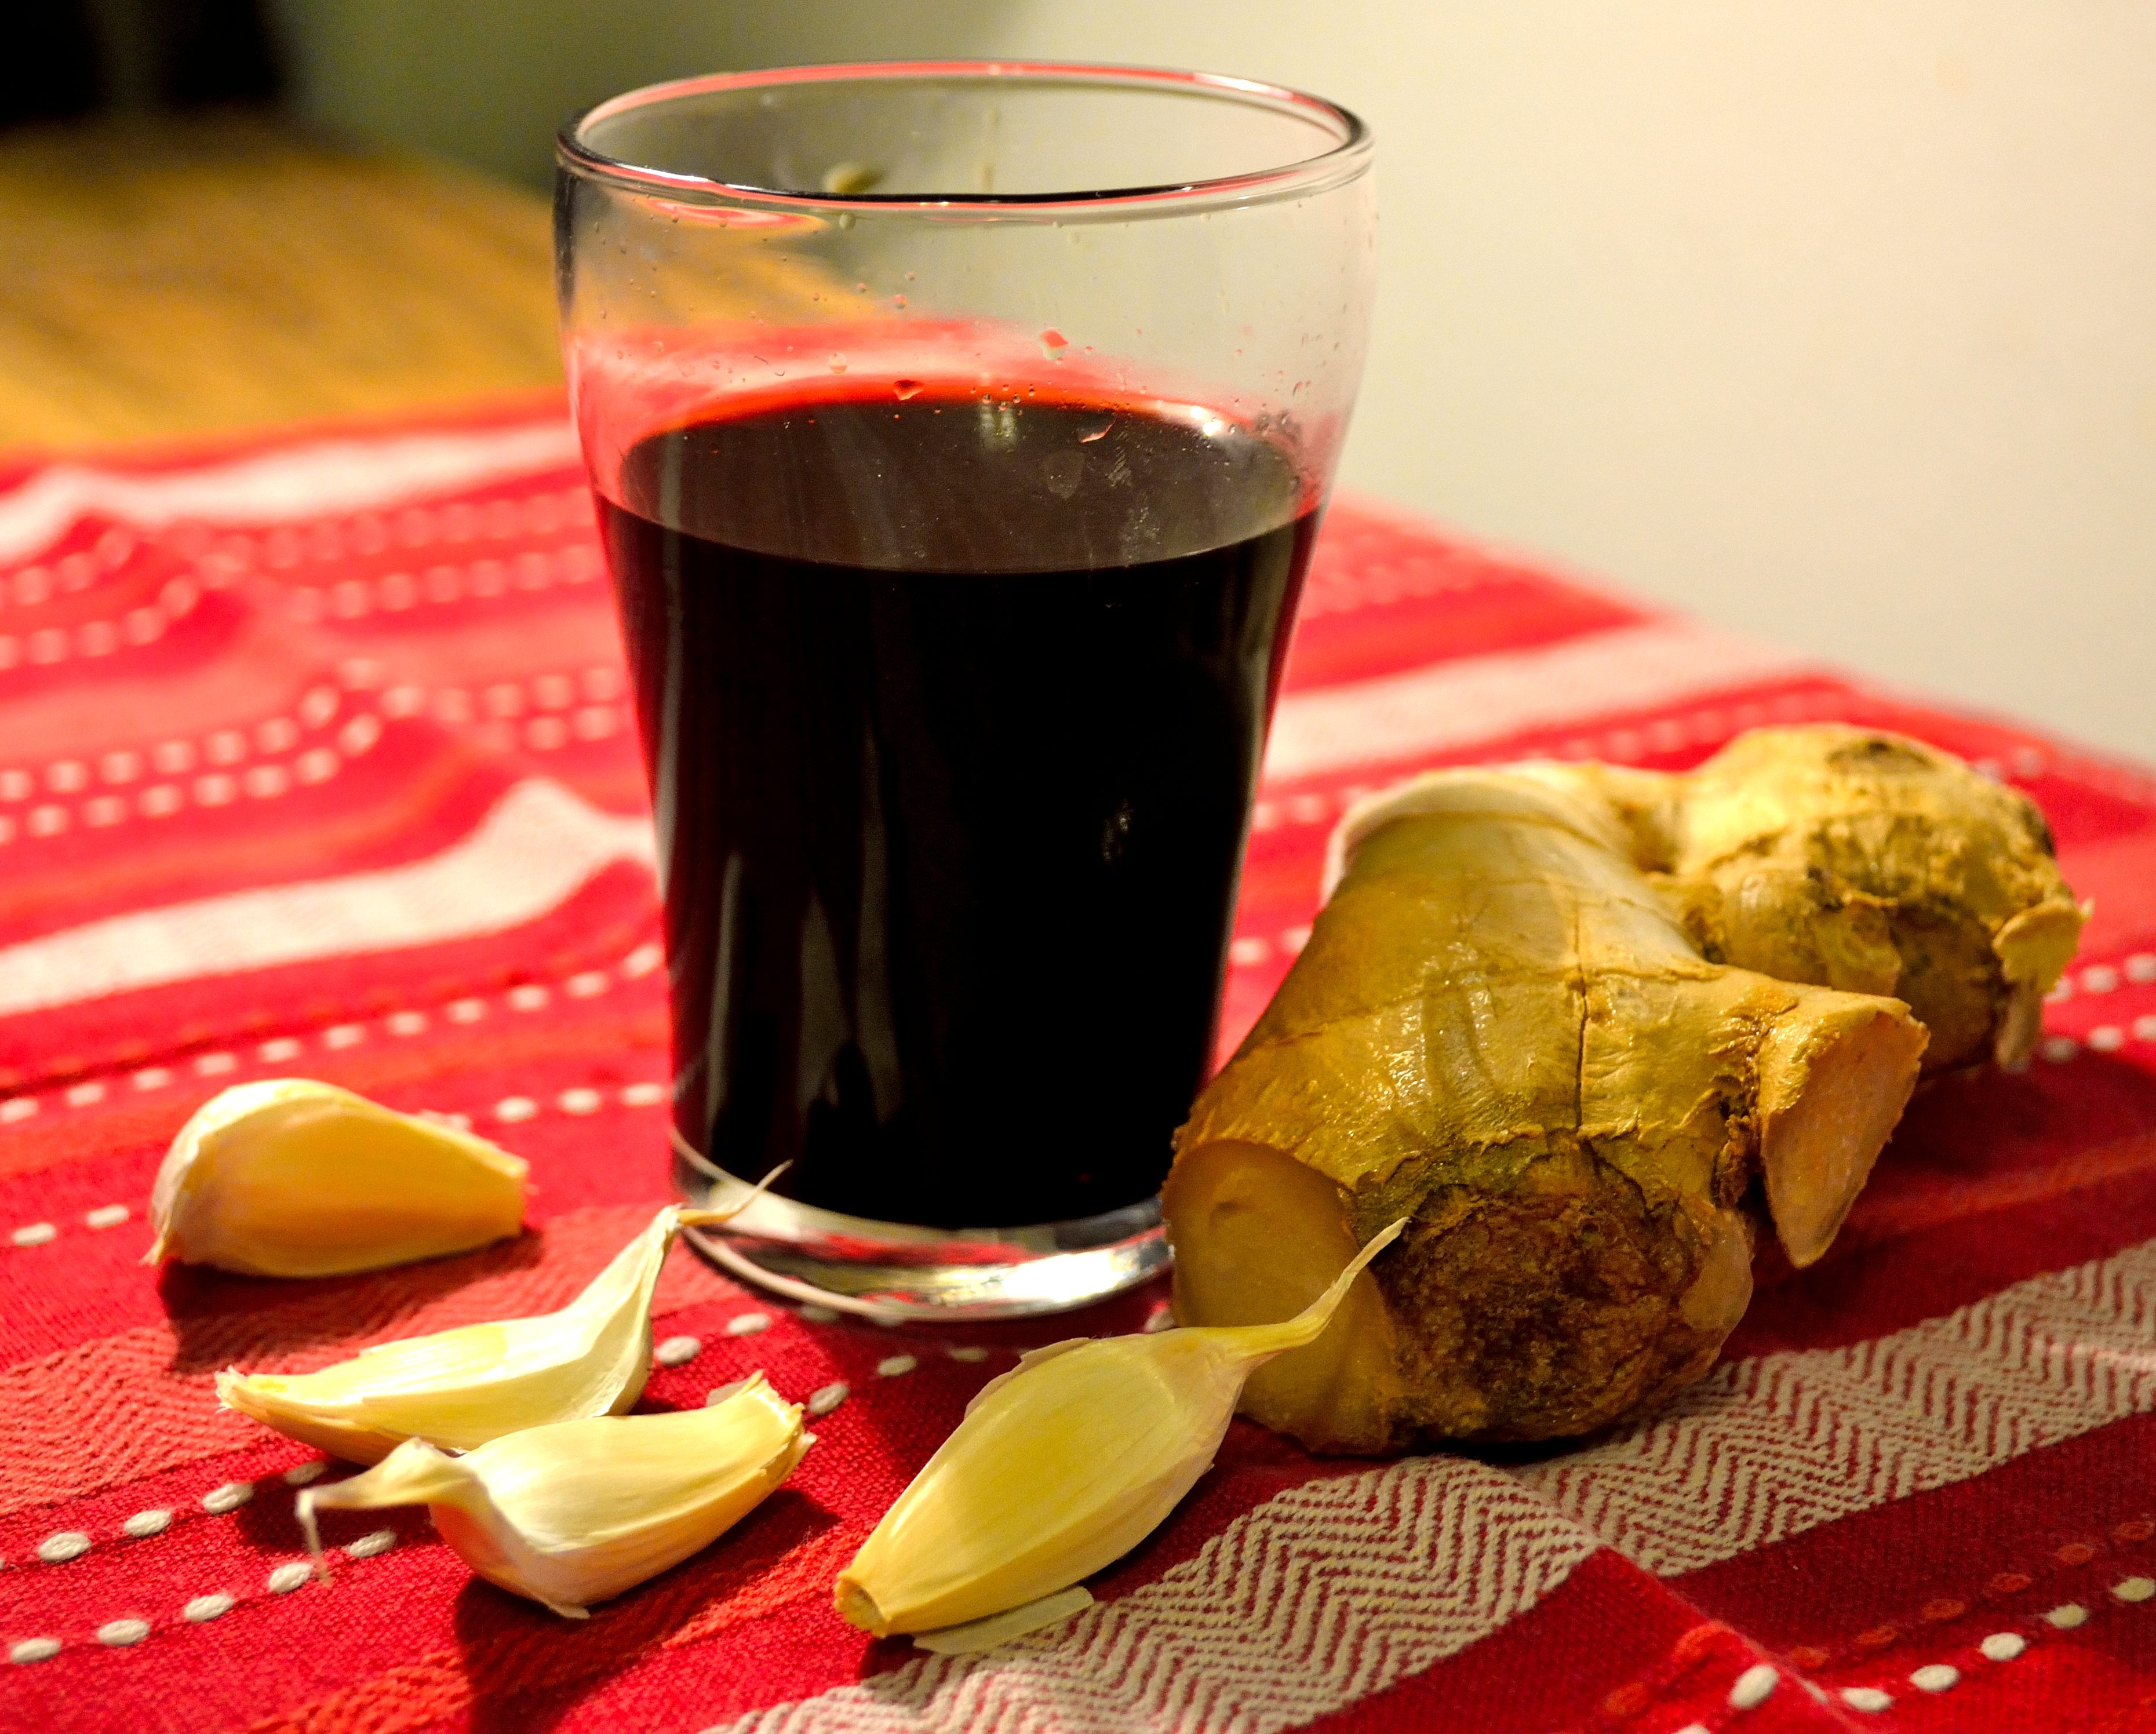
  • 1/2 cup smooth almond butter – 1/4 cup soy sauce or liquid aminos – 2 cloves garlic, minced – 1 tsp chinese five spice
  • 1/2 cup cashew cream – 1/4 cup smooth peanut butter – 2 cloves garlic – 1-2 tsp smoked paprika – salt and pepper to taste

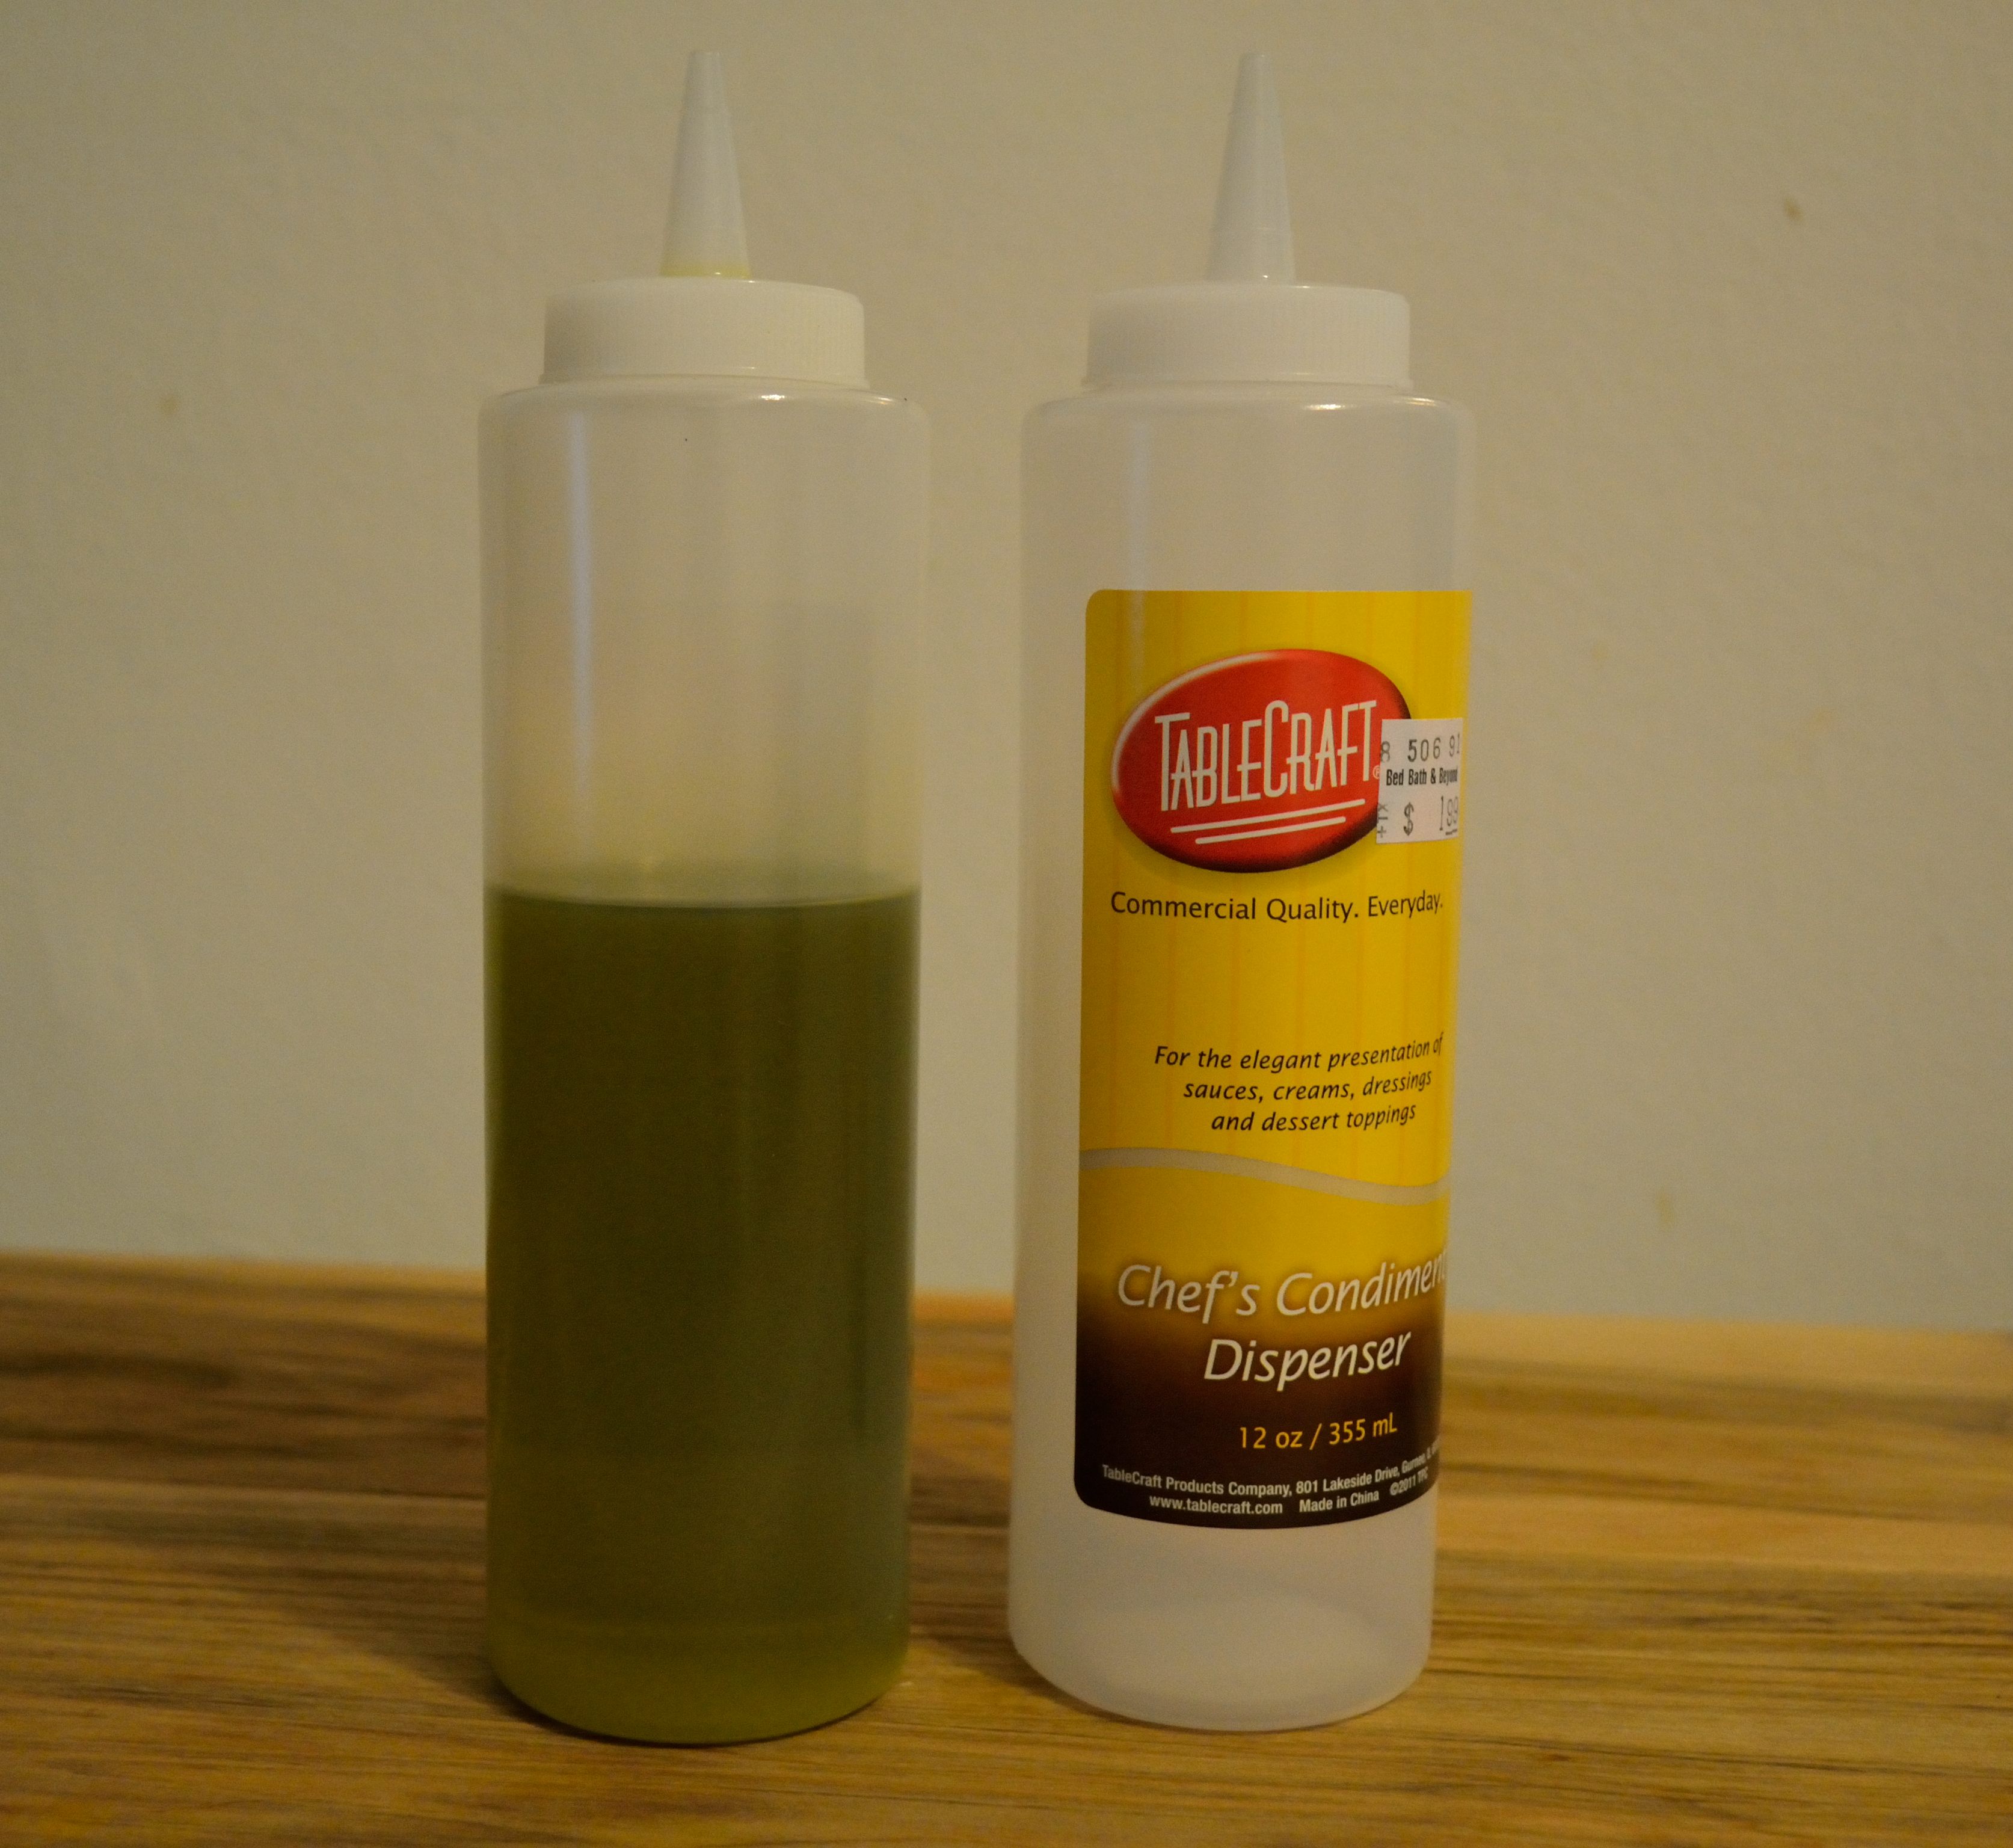
You can also do a very simple herb and oil dressing.  Using 1/4 to 1/2 cup oil of your choice, blend in a few handfuls of your favorite herbs, and a few tbsp of mustard (I like spicy brown) until you have a pourable consistency.

There are so many options when it comes to homemade salad dressings.  Get creative and try making some of your own concoctions.  Use pureed beans to get a creamy, hummus like dressing or go super simple with just a little oil and vinegar.  Find flavors that you enjoy and will have you devouring salads by the plateful!  Remember, healthy doesn’t have to be hard or complicated.  More often than not, it’s better to just keep it simple!

Avocado and Corn Gazpacho

I’m going to be honest with you, I haven’t been the biggest fan of gazpacho in the past.  The idea of cold soup isn’t super appealing to me but this gazpacho has made me rethink my tastes.  The avocado adds a really nice creaminess and this dish is super refreshing on a hot summer night.  If you don’t like gazpacho, try this one out before you swear them off forever.


Avocado and Corn Gazpacho

DSC_0091


  • 1 ripe avocado
  • 2 tbsp lemon juice
  • 1 tbsp olive oil
  • 1/2 cup corn kernels (if using frozen let them thaw first)
  • 2 cups diced tomatoes
  • 2 cloves garlic, minced
  • 1 bunch scallions chopped
  • 1 3/4 vegetable broth or water
  • 2/3 cup almond milk
  • salt and pepper


1.  Peel and mash avocado with the lime juice, set aside

2.  Saute the corn, garlic, and half the chopped scallions for about 5 minutes.  The corn should have a little bit of char on it.

3.  Place the corn saute, and avocado into a blender and blend until smooth.  Add in the broth or water and almond milk and blend together.  Top with rest of scallions and salsa if desired.

You can serve this at room temperature or let it chill in the fridge for a few hours before serving.  The gazpacho improves with time so the next day it will taste even better!  Just a word of warning though, this soup will only last about a week before the avocado starts to turn brown.  So eat it as fast as possible, which shouldn’t be a problem!

Healthy and Helpful Kitchen Tips

I am a huge advocate for getting into the kitchen and preparing the majority of your meals yourself.  I think that one of the reasons so many people today are struggling with their health is that they have no clue how to make or prepare their own food so they rely on others (mainly restaurants and packaged food products) to do it for them.  Maybe you weren’t taught how to cook and the kitchen intimidates you or you do know how to cook you just think it’s boring and tedious.  Whatever the case may be, I have a few kitchen tips for you today that can help you in journey to be healthy.  Some of these were taught, some I’ve figured out along the way, and some I’ve picked up from places like the Food Network (thanks Alton Brown!).  Hopefully these tips will help you get over your fear of the kitchen or cut down the time that you spend prepping food so that you can get on with your day!


Kitchen Gear

  • Ever heard of a Silpat?  I hadn’t either until I was watching Iron Chef on Food Network.  It’s basically a thin silicon mat that you can use instead of aluminum foil or parchment paper.  The nice thing about the Silpat is that it’s non-stick and can handle fairly high heat, which makes it ideal for baking and roasting vegetables.  With the Silpat you can use less oil because you don’t have to worry about your food sticking to the pan, plus it’s reusable so you don’t have to keep replacing it.  I use mine almost every day.  It’s a great time and money saver!
My (slightly dirty) Silpat. Told you I use it every day!

My (slightly dirty) Silpat. Told you I use it every day!


  • Invest in a variety of sizes of glass storage containers.  I have a few different sizes of the pyrex brand and I use them all the time.  These are really helpful in terms of food prep as well as leftovers.  If you buy a bunch of fruit and vegetables at the store (which I highly encourage), you can come home and wash and cut them right away, then store them in your containers.  I like the glass kind because they last longer and are much sturdier than the plastic containers.  Also, storing your food in see through containers helps remind you of all the healthy prepared food you have in the fridge!


  • While we’re on the subject of glass containers, try storing your spices and grains in mason jars or other recycled glass jars.  If you buy this stuff in bulk it’s much easier (and prettier) store them in jars instead of the bags you use at the grocery store.  Plus once again, if you store your food in see through containers you’ll be much more likely to use them more often!

DSC_0115

My numerous glass jars. Great for storing grains and spices!

My numerous glass jars. Great for storing grains and spices!

  • Silicone spatulas are a great thing to have in the kitchen.  They are good for making scrambled eggs, scooping batter out of the bowl, and scraping up the last of the cookie dough.  I have a variety of shapes and sizes that I use all the time.  They are great because they are non stick, won’t scratch your pots or pans, and can function in a variety of situations.  Plus they’re fairly cheap, so stock up on a few.


  • Have a few different cutting boards instead of just one.  Once you start having a food prep day, you’ll be cutting, chopping, and dicing a variety of foods.  It’s nice to have a few cutting boards that you can rotate instead of having to wash the same one over and over again.  This makes food prep go faster and makes your cutting boards last longer.  I’m a fan of wooden cutting boards, but plastic or even silicone ones work just as well.


Cooking 

  • One of my favorite ways to prepare vegetables is to roast them in the oven.  Upside: this makes the vegetables taste amazing.  Downside: the vegetables have a tendency to stick to the pan (even using a Silpat).  At least mine did until I started preheating the roasting pan in the oven.  Think about it, whenever you cook something on the stovetop you heat the pan/oil up BEFORE you put the food in the pan.  Why not do the same thing with your roasting pan in the oven? A few minutes before you plan to put your vegetables or whatever else your roasting in the oven, place the pan in the preheated oven.  Then prep your food with whatever oil/spices you’re using.  Pull out the preheated pan and carefully spread your food out onto the pan.  You should hear that satisfying sizzle as the food hits the warm pan, just like on the stovetop!  This little trick (plus my Silpat) has helped cut down the amount of stuck vegetables on my pans!


  • I love dark leafy greens like collard greens or kale, but sometimes they can have a very bitter taste to them.  I can’t remember where I learned this but by soaking leafy greens in ice water for about an hour before cooking/eating them can cut down on the bitter taste.  Wash and cut your greens like normal then place them in a large bowl, cover with water, and add a few ice cubes.  Store this bowl in the fridge for an hour.  After the hour is up drain the greens and dry in a salad spinner or with some paper towels.  Prepare your greens however you like, sans the bitter taste!


  • For the longest time, I was afraid to use too much salt in my cooking.  The thing I was most worried about was consuming too much sodium like most of the U.S.  This resulted in under salting all my dishes, leaving them with a bland taste.  The problem with salt is that we’re consuming too much added sodium, mostly from packaged foods.  Once I got over my salt phobia and started adding the right amount to my dishes, everything started to taste a lot better.  Now I’m not saying go salt crazy and add heaps of it to every single piece of food, but salt naturally enhances the flavors of most dishes.  Using it properly can actually help you feel more satisfied.


Other Kitchen Tips

  • If one of the problems you have is overeating, try using smaller bowls or plates when you eat.  You can trick your brain into thinking that it is eating more food when in fact you are eating less.  When you have a big plate, the tendency is to fill that plate to the brim.  This means that portions are generally much bigger than they need to be.  Try eating off a smaller plate and you can cut down your portion sizes without feeling like you are depriving yourself.


Too big of a plate = too big portions. Try a smaller plate!

Too big of a plate = too big portions. Try a smaller plate!

  • I just learned about this tip and it’s awesome.  Try using a condiment dispenser for your olive oil instead of just pouring it right out of the bottle.  This will cut down on the amount of oil that you use because you have better control of how much oil comes out.  Plus it will keep the bottle and your hands from getting oily because there won’t be any oil dripping down the side of the bottle!  You can find the condiment dispensers at Bed, Bath, and Beyond for $2.


Best discovery ever! Plus it's fun to squirt the oil into fun designs!

Best discovery ever! Plus it’s fun to squirt the oil into fun designs!

  • When using your cutting board on a slippery surface, like a granite counter, place a dish towel underneath it.  This will help keep the cutting board in place as you cut your food so you have less risk of cutting your finger off in the process.  Now that’s a good what I call a win-win!


These are a few tips that make my time in the kitchen a little easier and healthier.  What are some kitchen tips that you have learned along the way?  Have a great day and I’ll see you Friday with another recipe!


Chipotle Chili Mac N “Cheese”

Happy 4th of July!  I hope you are enjoying the day off and participating in all the fun festivities!  I am spending the day with family, but I still wanted to leave you with a recipe today!  I know it’s not very “4th of July-y” but it is delicious whenever you make it.  This is kind of a grown up mac n cheese because the chipotle adds a little bit of a kick.  Also, if you have an Aldi near you and are gluten free, you need to go and stock up on their gluten free pasta.  They have two types of corn flour pasta, penne and fusilli, and brown rice spaghetti.  They all cost less than $2 for over a pound of pasta and the only ingredients are corn flour and water or brown rice.  Considering most gluten free pasta costs well over $4 and sometimes has more ingredients than I can count, this is a fantastic deal.  Aldi is really doing a great job of adding better quality products to their store, including a line of organic food called simply organic.  I have been able to find honey, almond milk, and even almond butter at one, all for reasonable prices.  Ok, public service announcement over, on to the recipe!


Chipotle Chili Mac N “Cheese” 


  • 1 package of whole wheat or gluten free pasta (I used penne but obviously macaroni would work too)
  • 1 small onion, diced
  • 4 cloves garlic, minced
  • 1 cup raw cashews, soaked in water overnight
  • 3 chipotle chili’s soaked in warm water for at least 30 minutes (save the water!)
  • 1 cup vegetable broth or water
  • 1/2 cup reserved chili water
  • 1 tbsp tapioca starch (corn starch could work too, but I haven’t tried it)
  • 1 tsp ground cumin
  • 3/4 tsp chili powder
  • 4 tbsp nutritional yeast
  • 1 tsp salt
  • smoked paprika, as a garnish (optional but really tasty!)


1.  Cook the pasta according to the package instructions and then drain and set aside

2.  While the pasta is cooking, remove the chili’s from their soaking water (but remember to keep it!) and chop into bite size pieces.  Saute the onion over medium high heat until soft, about 5 to 7 minutes.  Add in the garlic and saute for another 1 to 2 minutes.

3.  Place the onion and garlic into a blender along with the rest of the ingredients, except the smoked paprika.  Blend everything until you have a smooth and creamy sauce.  The sauce will be thin and liquid-y at this point, don’t worry that’s ok!

4.  Pour the cheese sauce into the pot that you cooked the pasta in and heat over medium heat until the sauce starts to thicken up.  Add the pasta back into the pot and stir to combine with the sauce.  Sprinkle the smoked paprika over the pasta after it has been served if desired.

This is a fairly quick meal to throw together as long as you remember to soak your cashews before hand.  If you forget though, have no fear.  You can do a quick soak by boiling some water and then pouring that over the cashews and letting them soak for at least 30 minutes.  You can also double this and serve to a hungry crowd, so if you’re looking for a healthy and tasty dish to bring to your 4th of July BBQ, this might fit the bill!  Enjoy!