My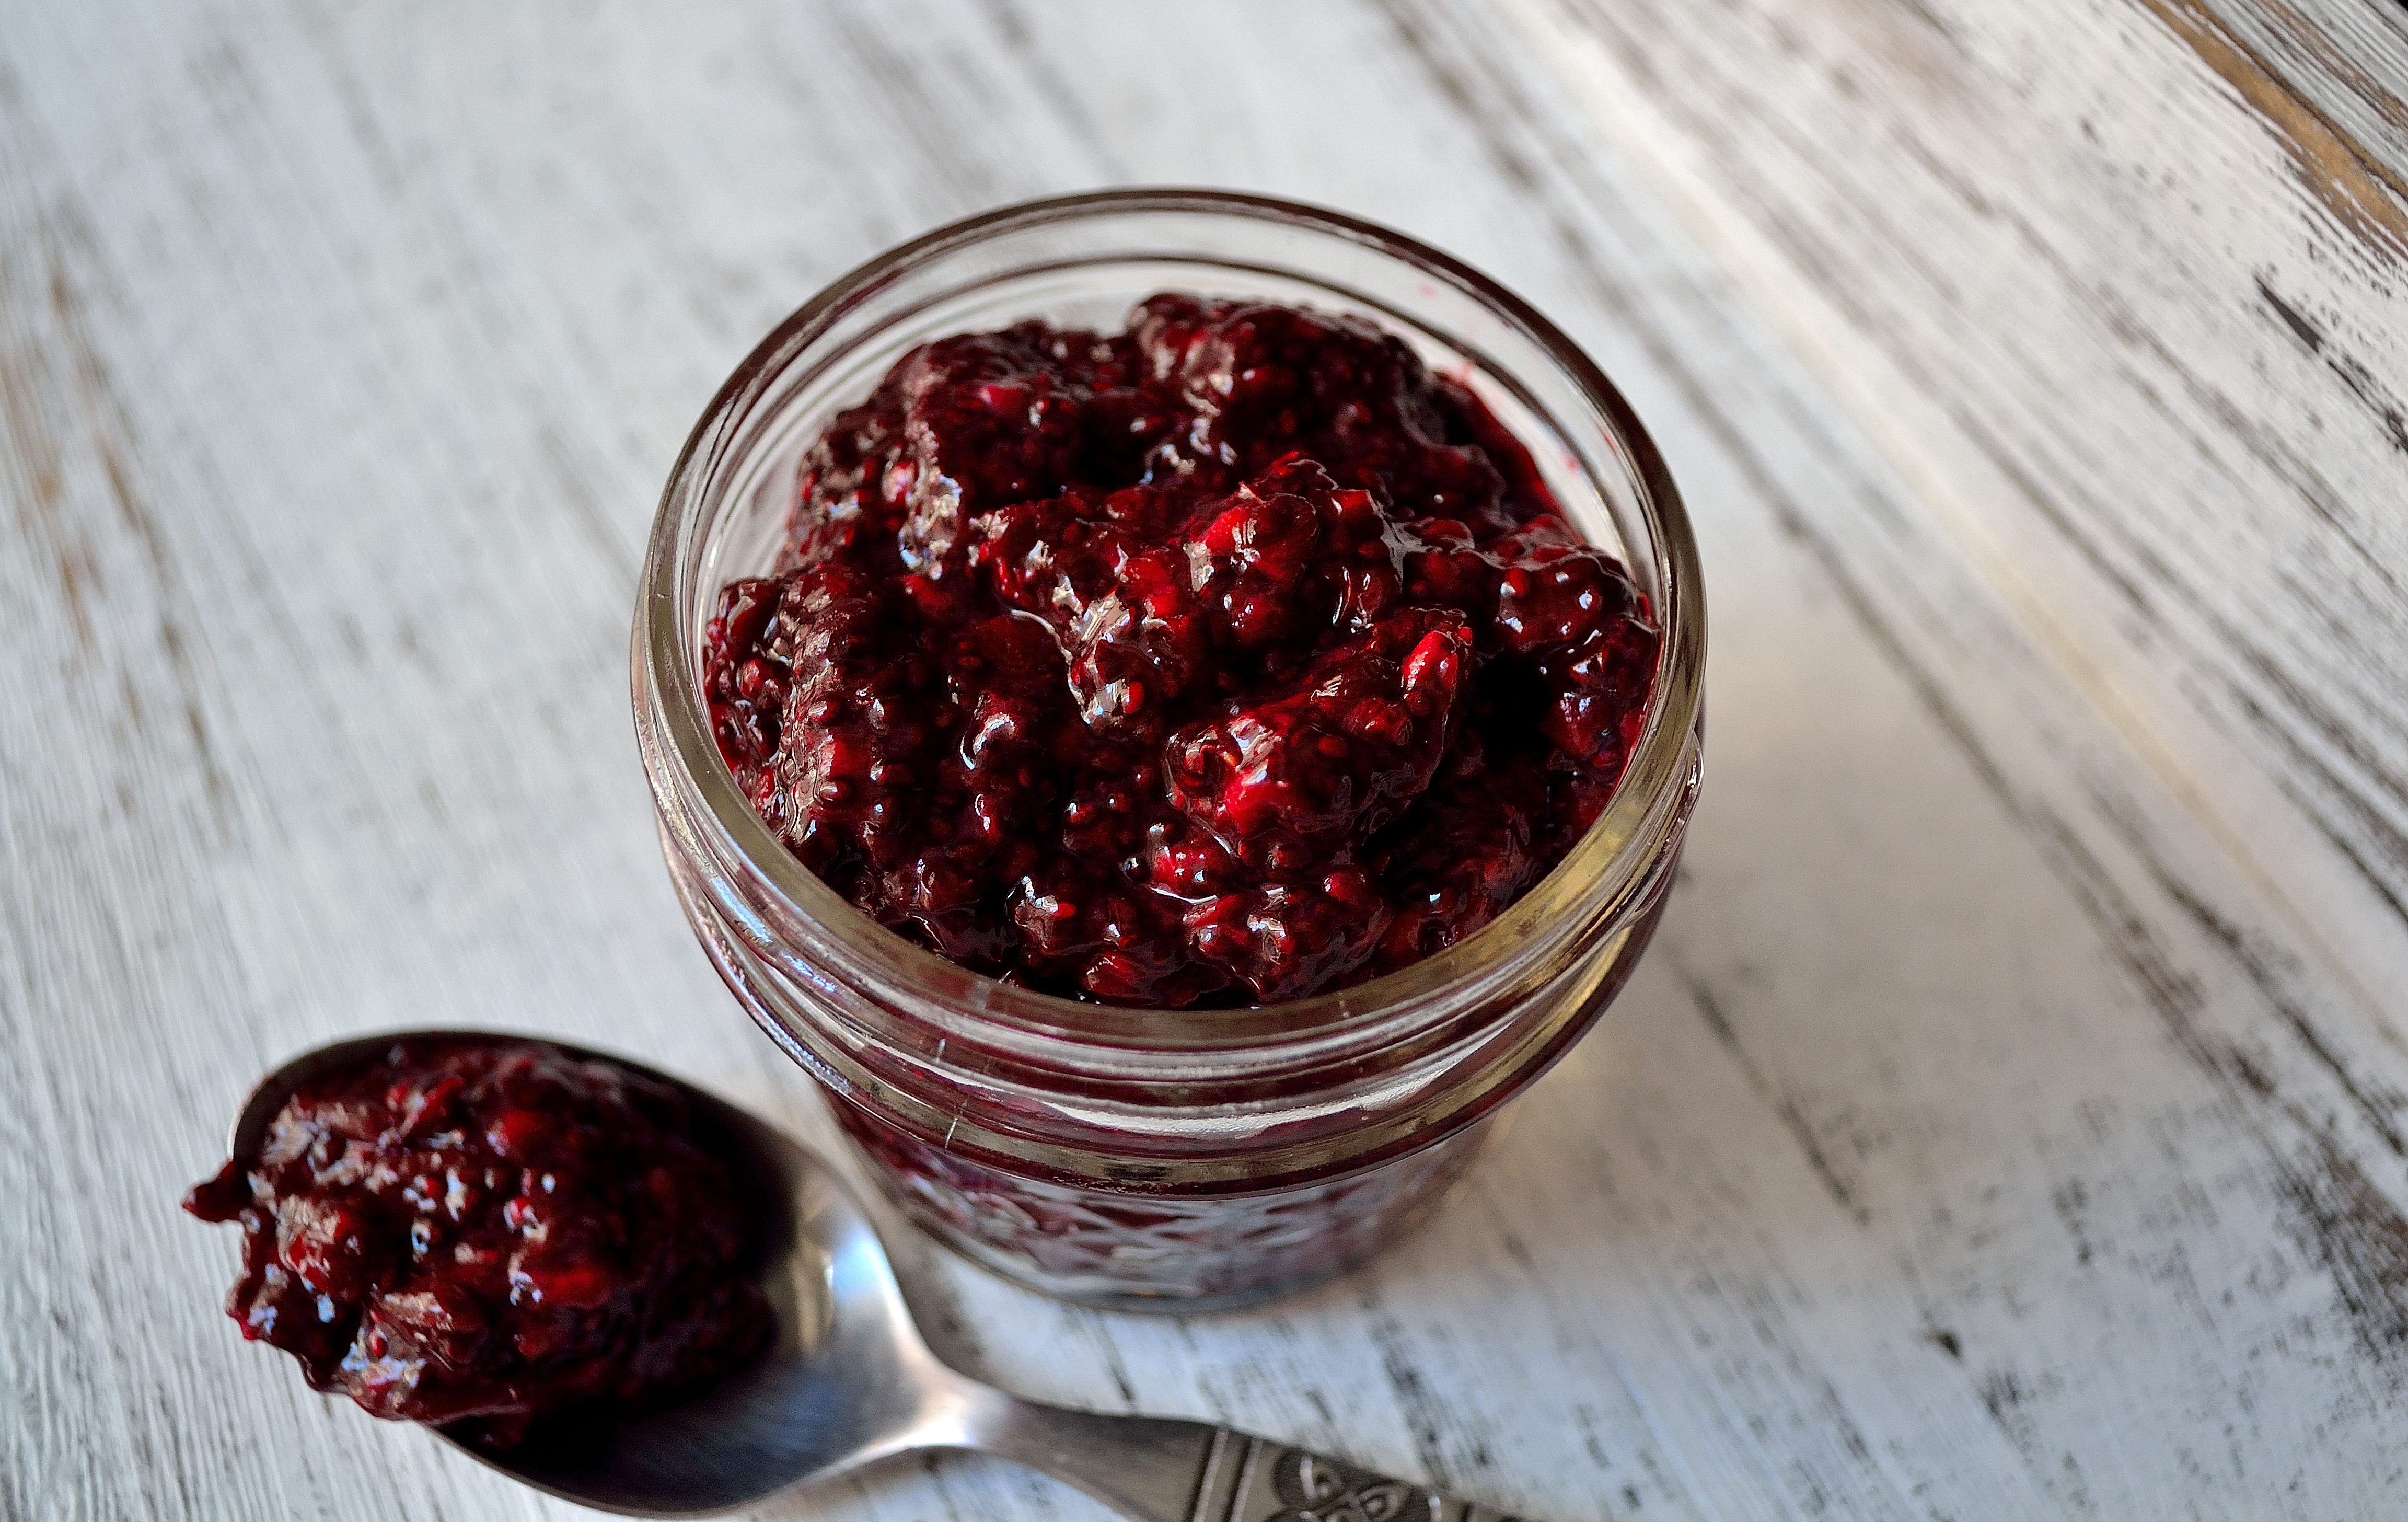 mother-in-law is a jam making rockstar. She has her own raspberry and blackberry bushes and when those are ready to go she makes huge batches of jam. Before I met my husband, I had heard about canning but I didn’t really know much about it because we had always gotten our jam at the store. I remember being in awe of the whole process when I saw it for the first time. It isn’t overly complicated but it can be a bit labor intensive, especially if you make as much as my mother-in-law does.
While we’re lucky enough to have a fairly steady supply of jam in our house, I wanted to have a quick standby for the times when we ran out. I don’t know if you’ve read the labels for store bought jam lately but there are a lot of things in there that don’t need to be in there.
Enter chia jam.

I had seen a few of these kind of recipes floating around online and decided to try my hand at it. This could not be a simpler process. There are minimal ingredients, minimal effort, and you get a great jam in the end. Quit buying chemical and sugar-laden jams and jellies from the store and start making chia jam. With farmers market season in full swing, stock up on all the delicious berries out there. I have only tried strawberry and blackberry chia jam but you can use whatever fruit you would like. I think peaches or plums would be really tasty!
Quick Chia Jam
- 1 carton of fruit like strawberries, blackberries, raspberries (If you want to try peaches or plums I would start with 3-4)
- 1 tbsp lemon juice
- 2 tbsp chia seeds
- 1 tsp cinnamon, optional
- 1 tbsp maple syrup or honey, optional (if you want a sweeter jam, I think it’s sweet enough without it)
- Wash and slice the fruit, removing stems or pits as necessary.
- Place fruit, lemon juice, cinnamon, and sweetener (if you’re using it) into medium saucepan over medium high heat. Keep stirring until the berries burst or the fruit starts to break down, about 5-10 minutes depending on how much fruit you have.
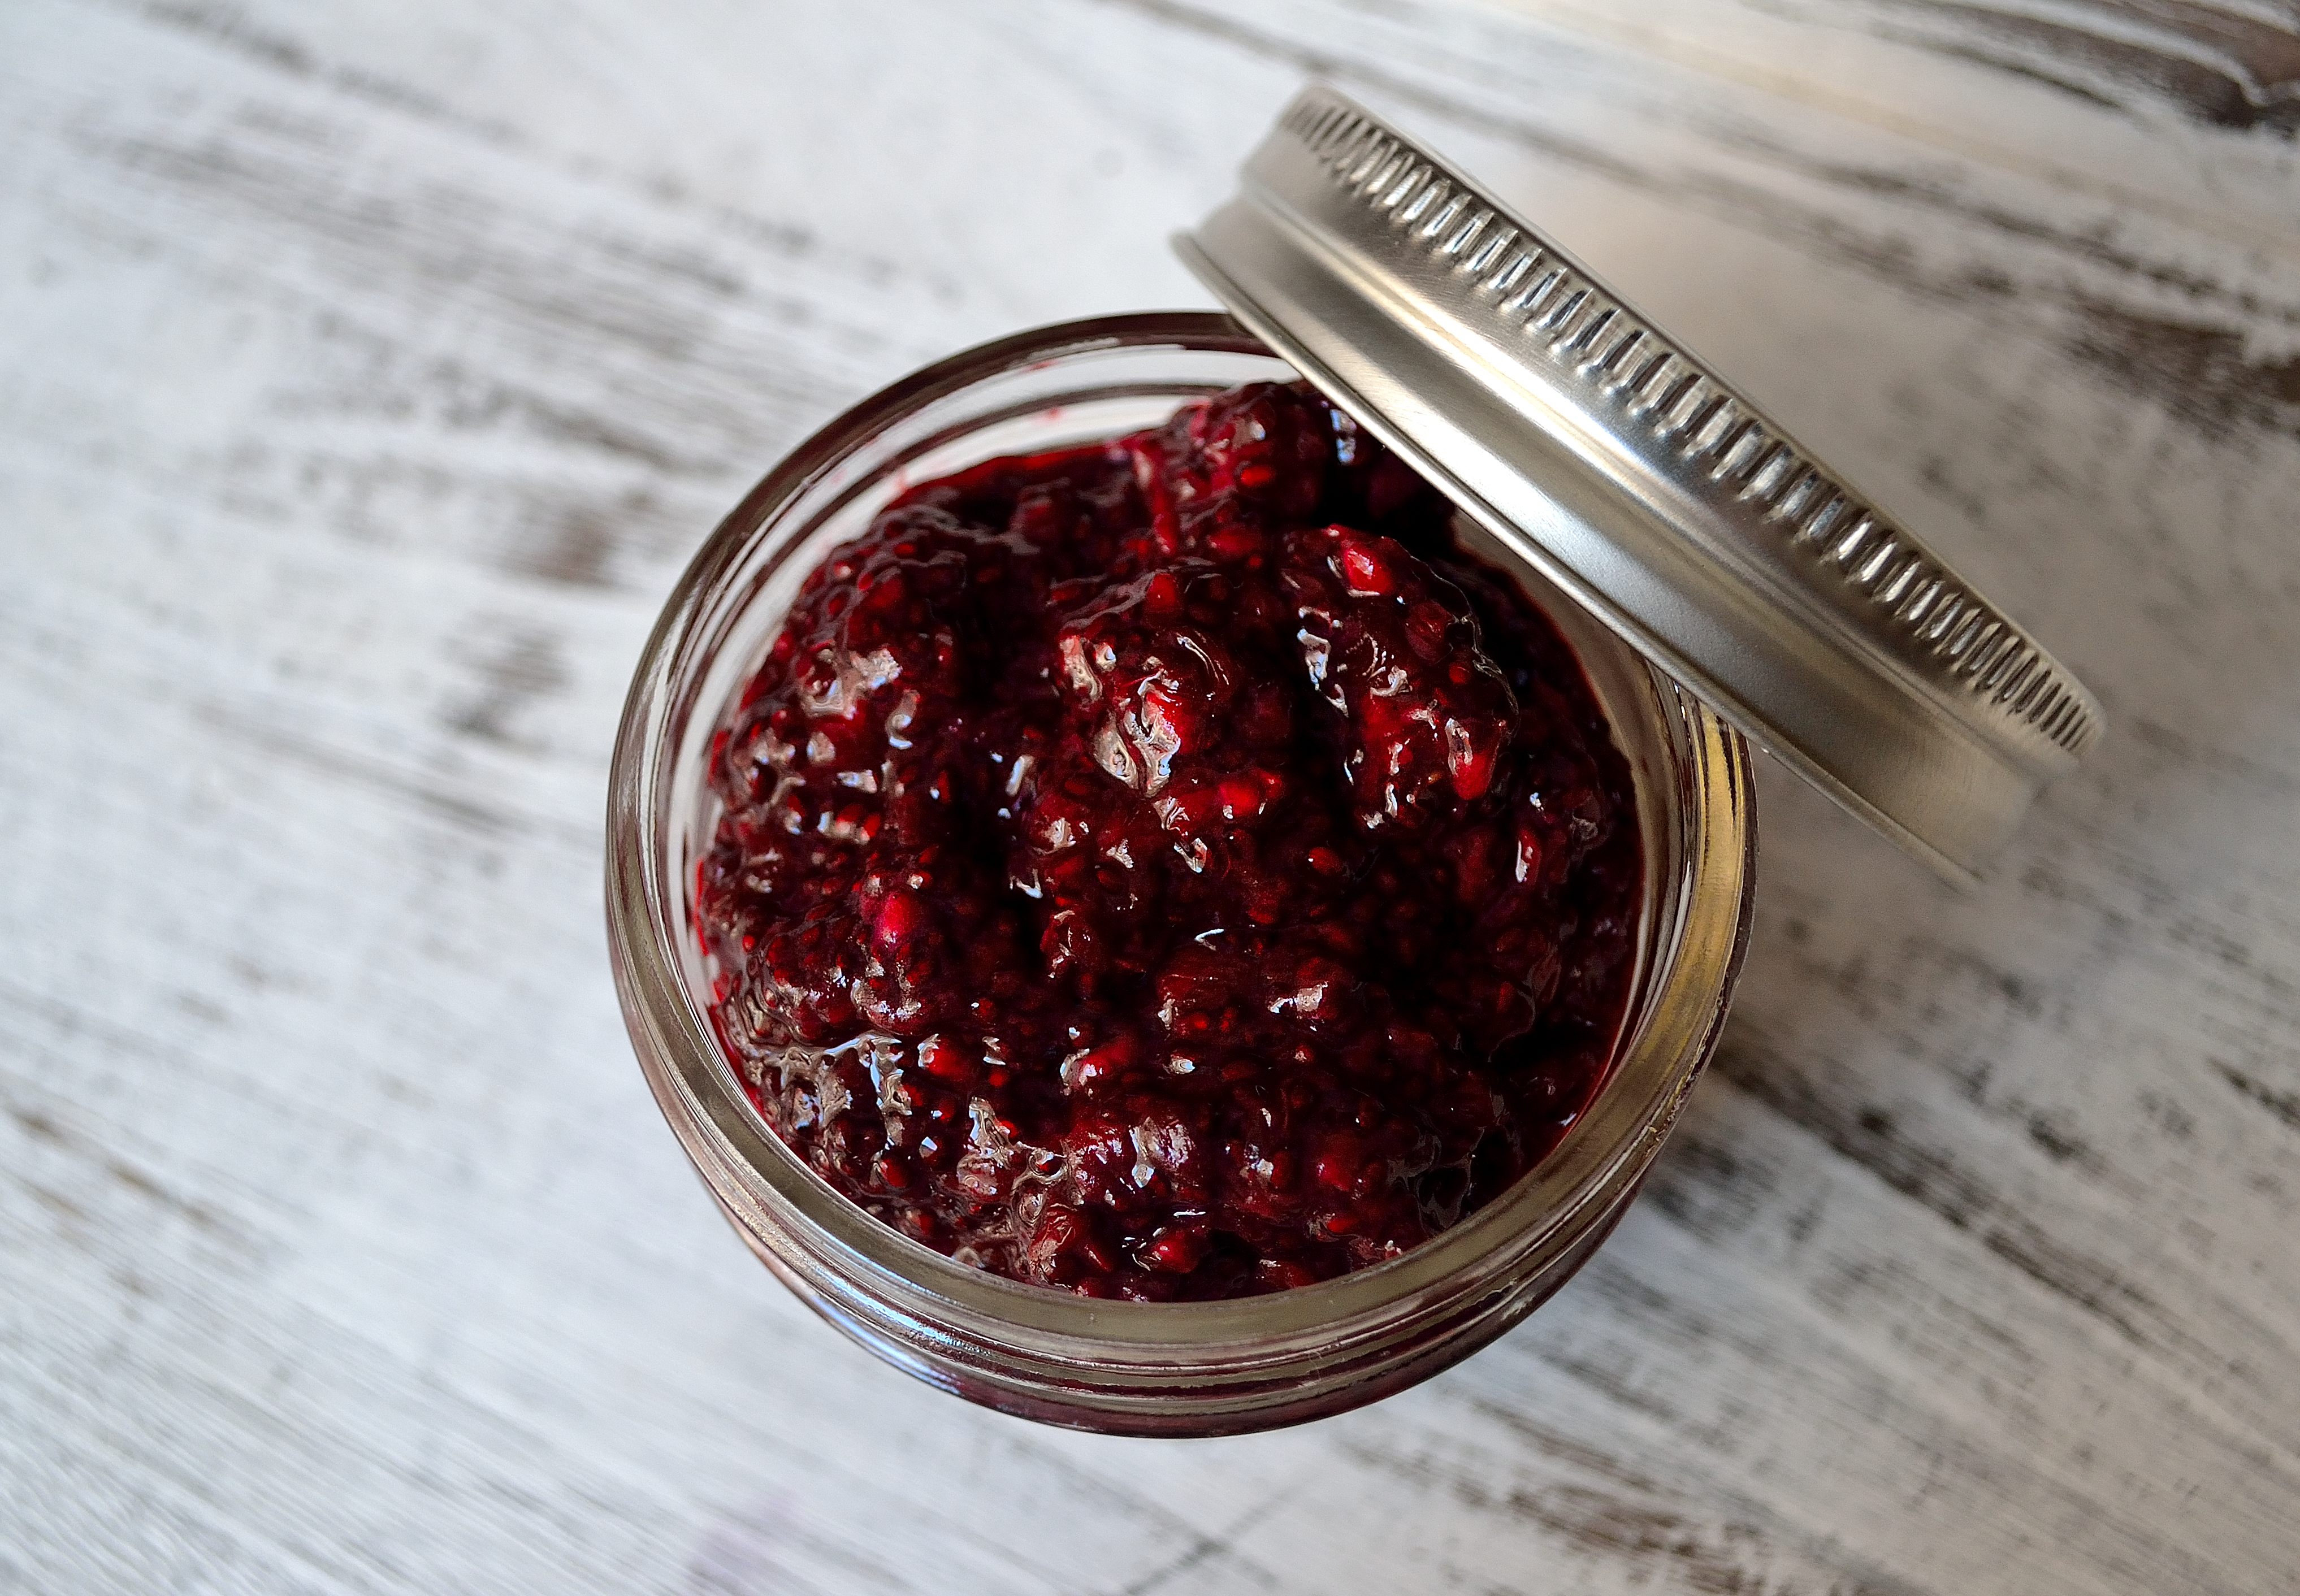
- Remove from heat. Now if you want a smoother jam you can puree the fruit in a blender or food processor. If not you can mash the fruit with a fork to leave it a little chunkier. Add in the chia seeds and stir to combine. Move the jam to a clean jar and let it cool and then store in the fridge.
That’s it! The chia seeds will expand over time and absorb the liquid in the fruit and you will have a spreadable jam. You can spread it on toast, crackers, use it in Pb & J, or swirl it into your morning oatmeal like I have been for the past few weeks. Not only is this an easy DIY, it’s healthy too. Along with all the nutrients from the fruit you get all the benefits from the chia seeds which include fiber, omega-3, phosphorus, and manganese. So instead of grabbing a jar at the store next time you need jam, go make your own chia jam!


Pingback: DIY Wednesday: Tortilla Chips | Life Healthfully Lived