What’s Fun and What’s Not Fun

This weekend can pretty much be broken down into what was fun and what was not fun.  Luckily the fun stuff outweighed the not fun stuff and I enjoyed one of my very few free weekends this summer.

What was not fun:

  • Taking two cats on a 30-minute bus ride to the vet.  It was time for Olaf to get his one-year wellness check-up and update his vaccinations and since Dot hadn’t been to the vet since before we moved to Chicago we decided to take her too.  Bad choices all around.  Since we don’t have our car we had to ride the bus to the vet.  Neither cat was pleased with the loud bus and Olaf yowled as loud as possible for the first 15 or so minutes.  Cue me freaking out that we’re bothering all the passengers and would get thrown off the bus.  When we finally did get to the vet it was time for Dot to freak out.  She would not sit on the table, would NOT let the vet tech take her temperature, hid under the chair in the room, and growled/hissed/scratched at everyone that came near her.  The vet did manage to give her the vaccinations and Adam has a nice big scratch to prove show for it.  Olaf was just fine and barely even noticed that he was getting an exam.  As an extra special bonus, the bus ride back home was packed to the brim with Cubs fans because of course we chose a game day to go to the vet.  One bright spot of this whole ordeal was that the bus driver on the way back was super nice to us and made sure that our cats were comfortable and safe.  Overall, I never want to do that again and I’m pretty sure Dot is still angry at us for subjecting her to all of that.
Olaf Lovin'

Olaf has forgiven all and wants to be held. Now

Dot recovers

Poor girl is pooped from her trauma

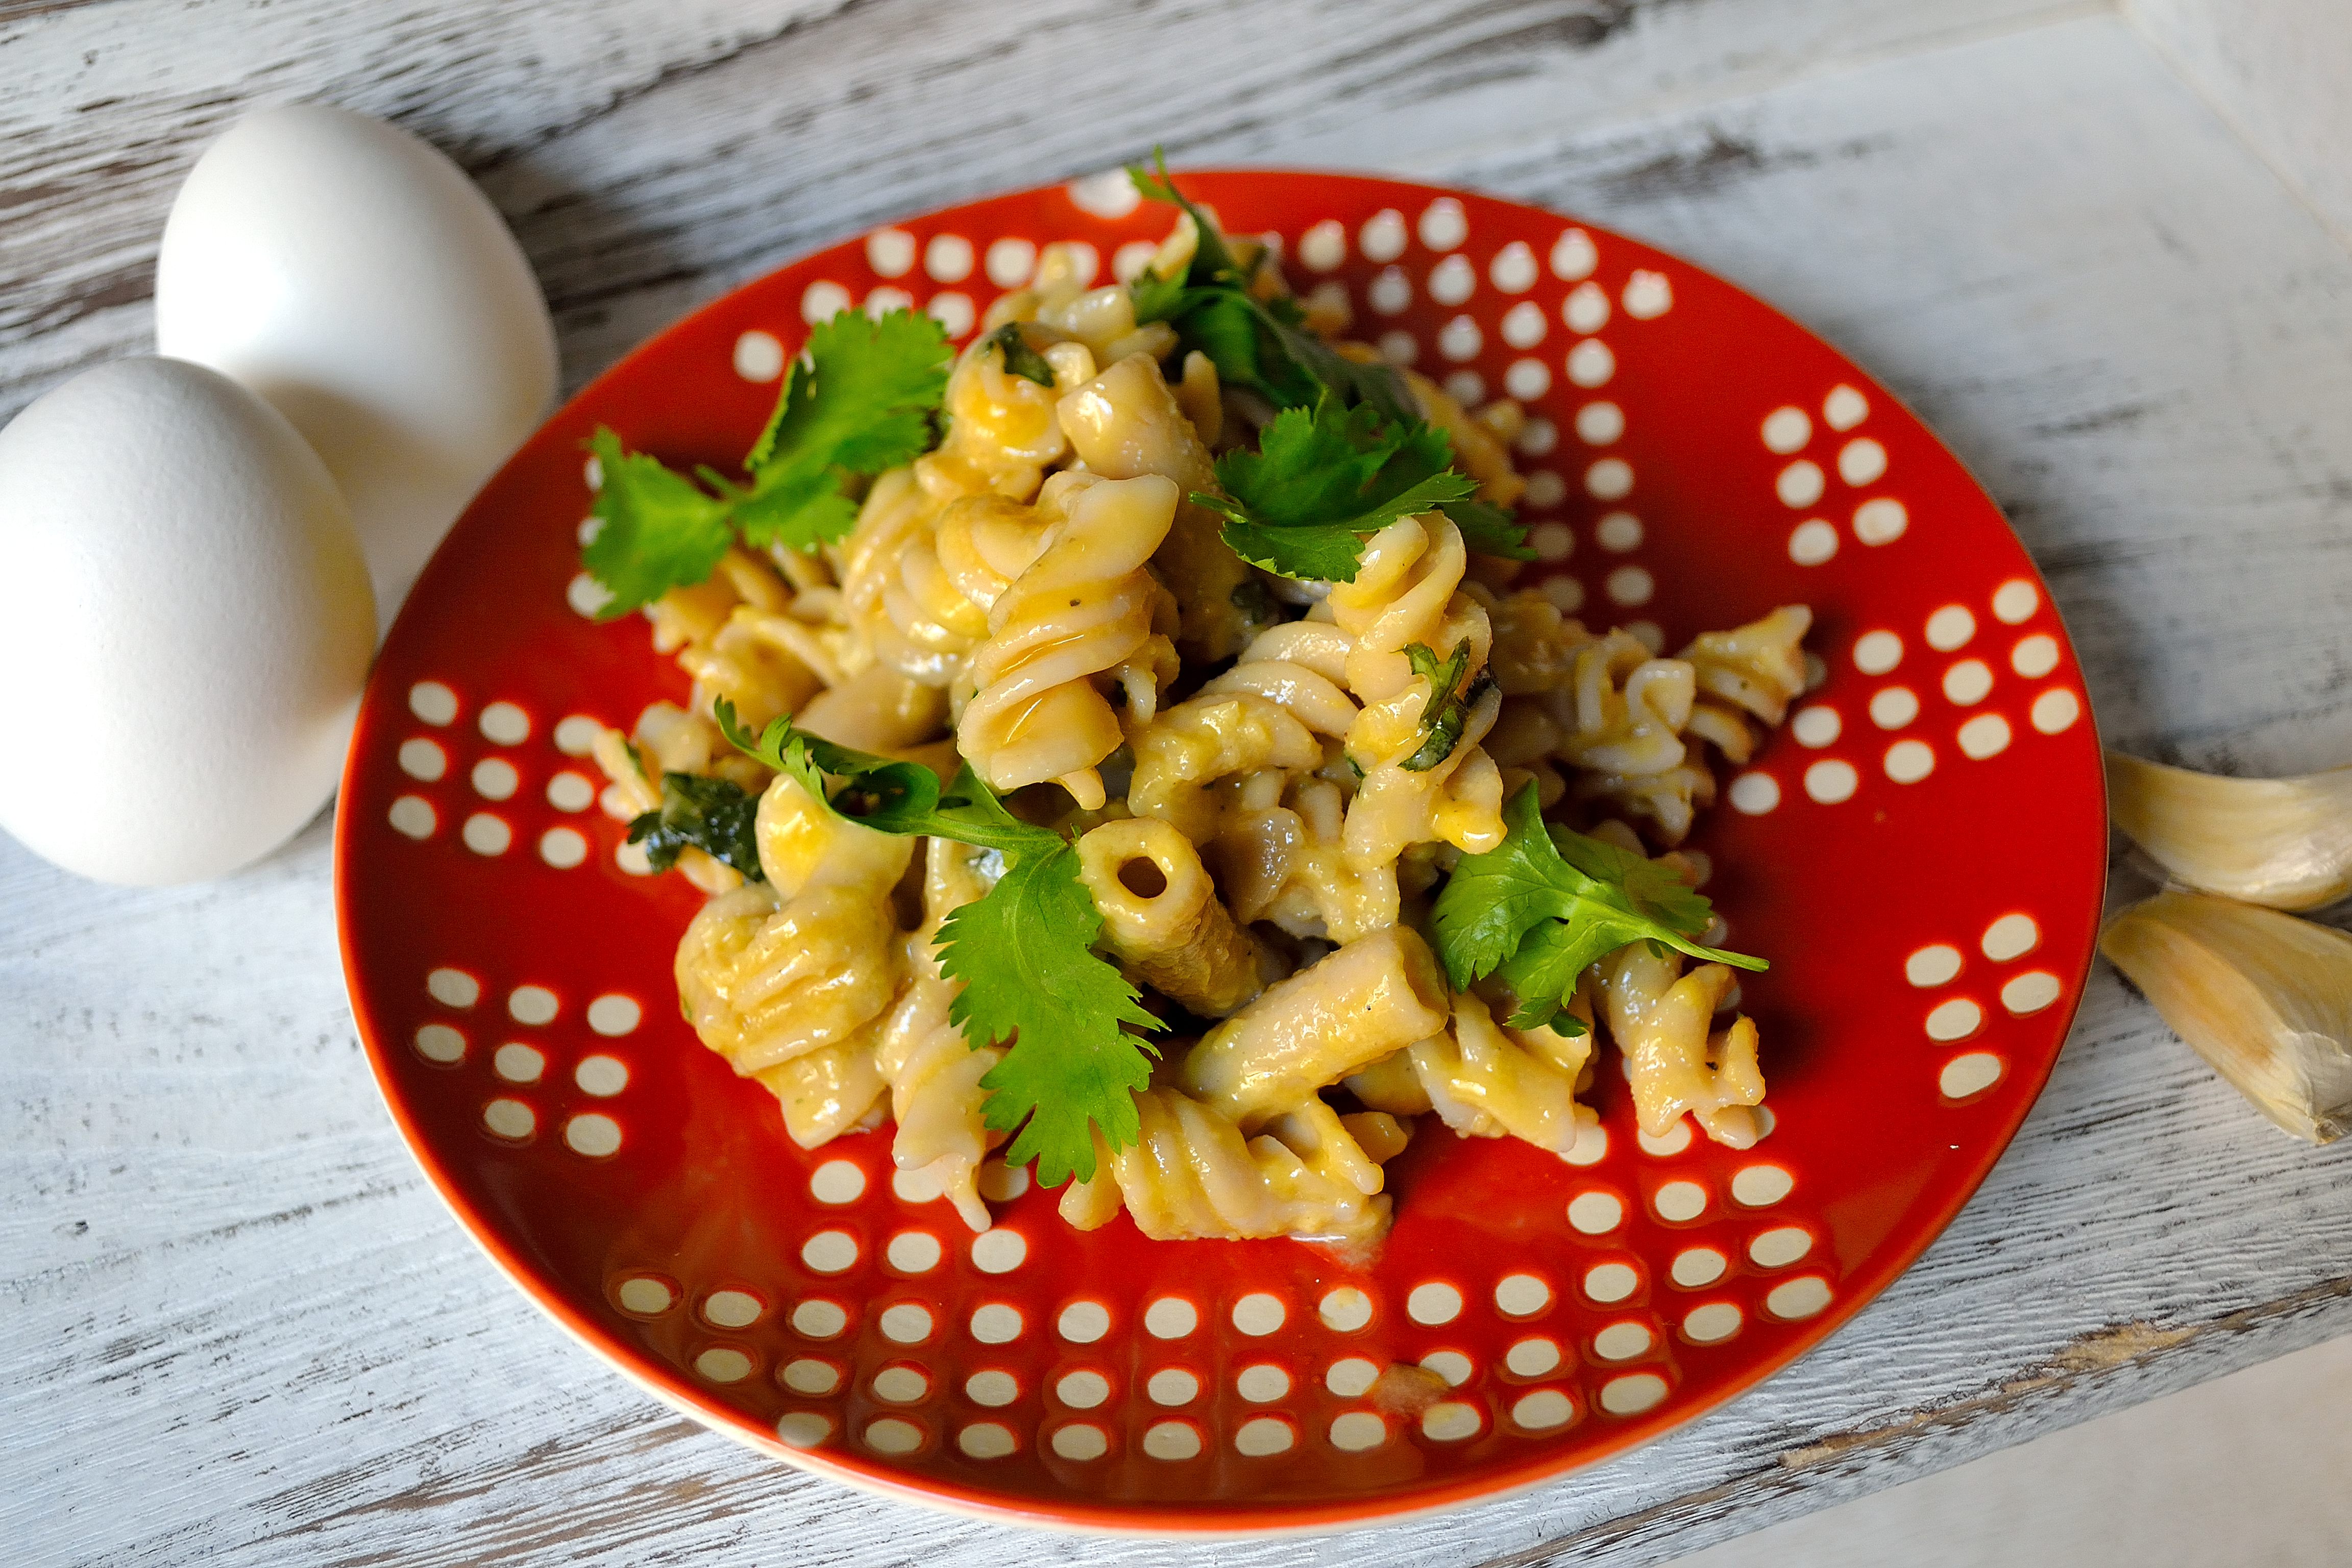
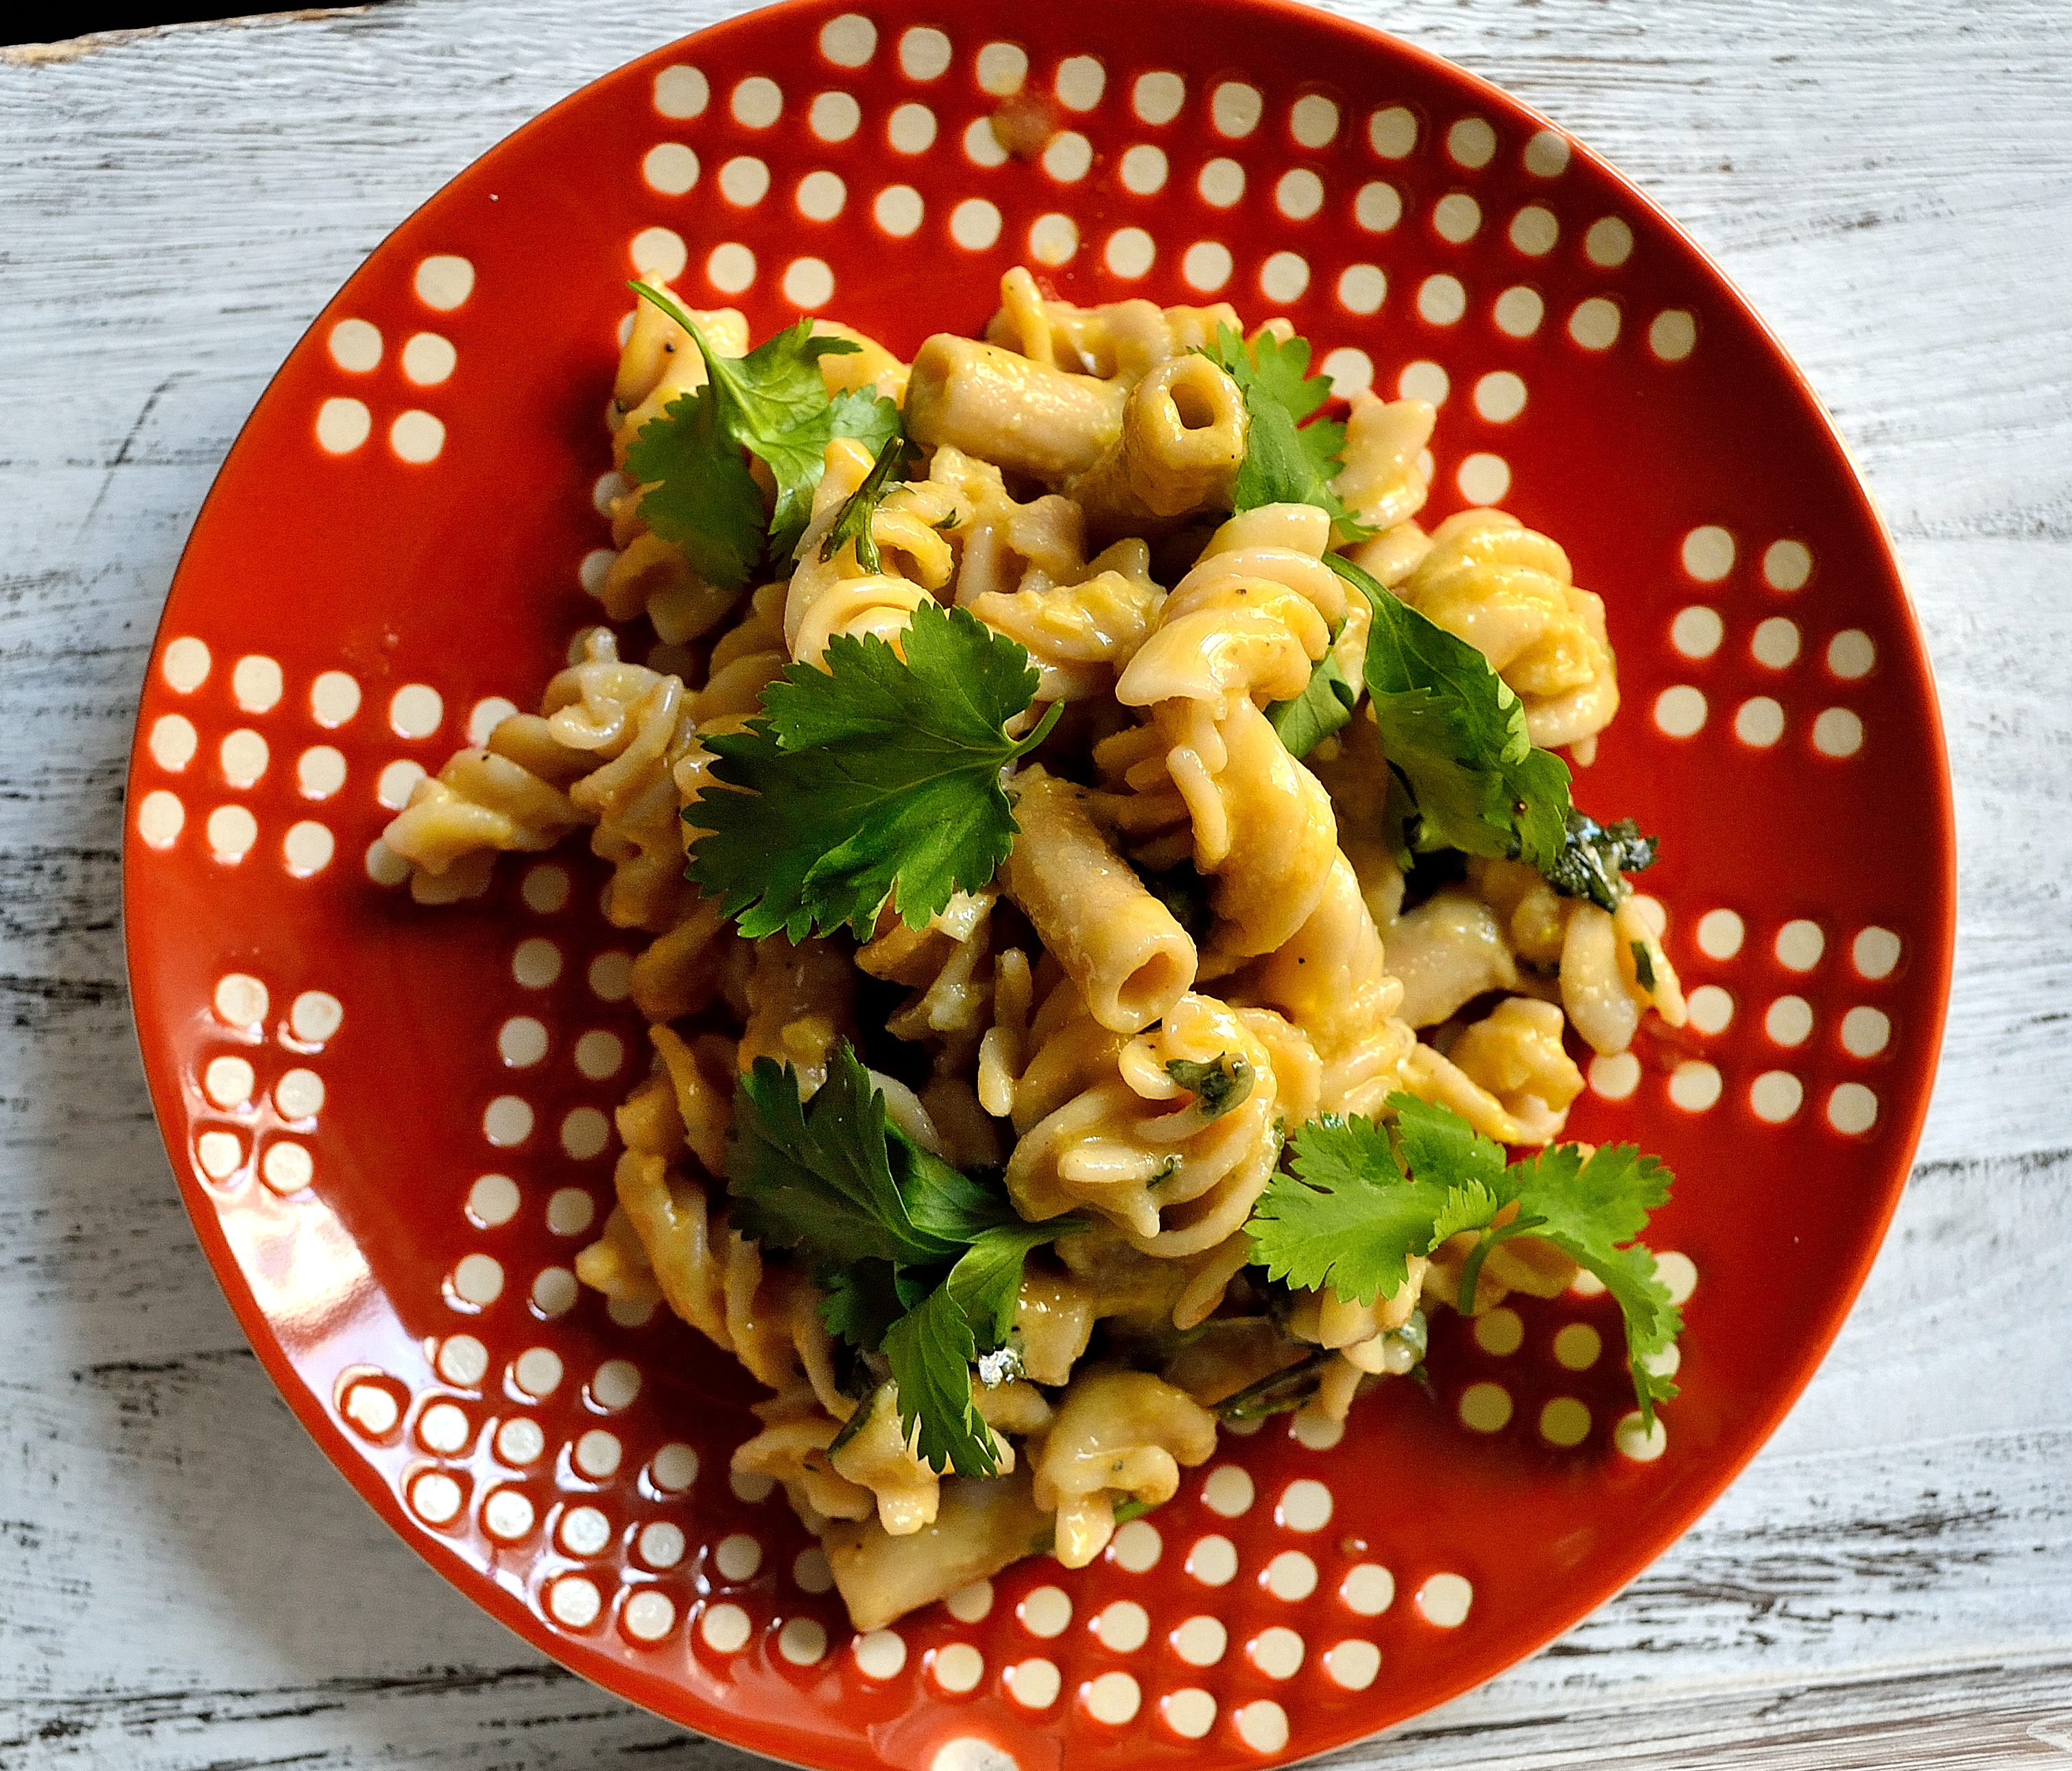
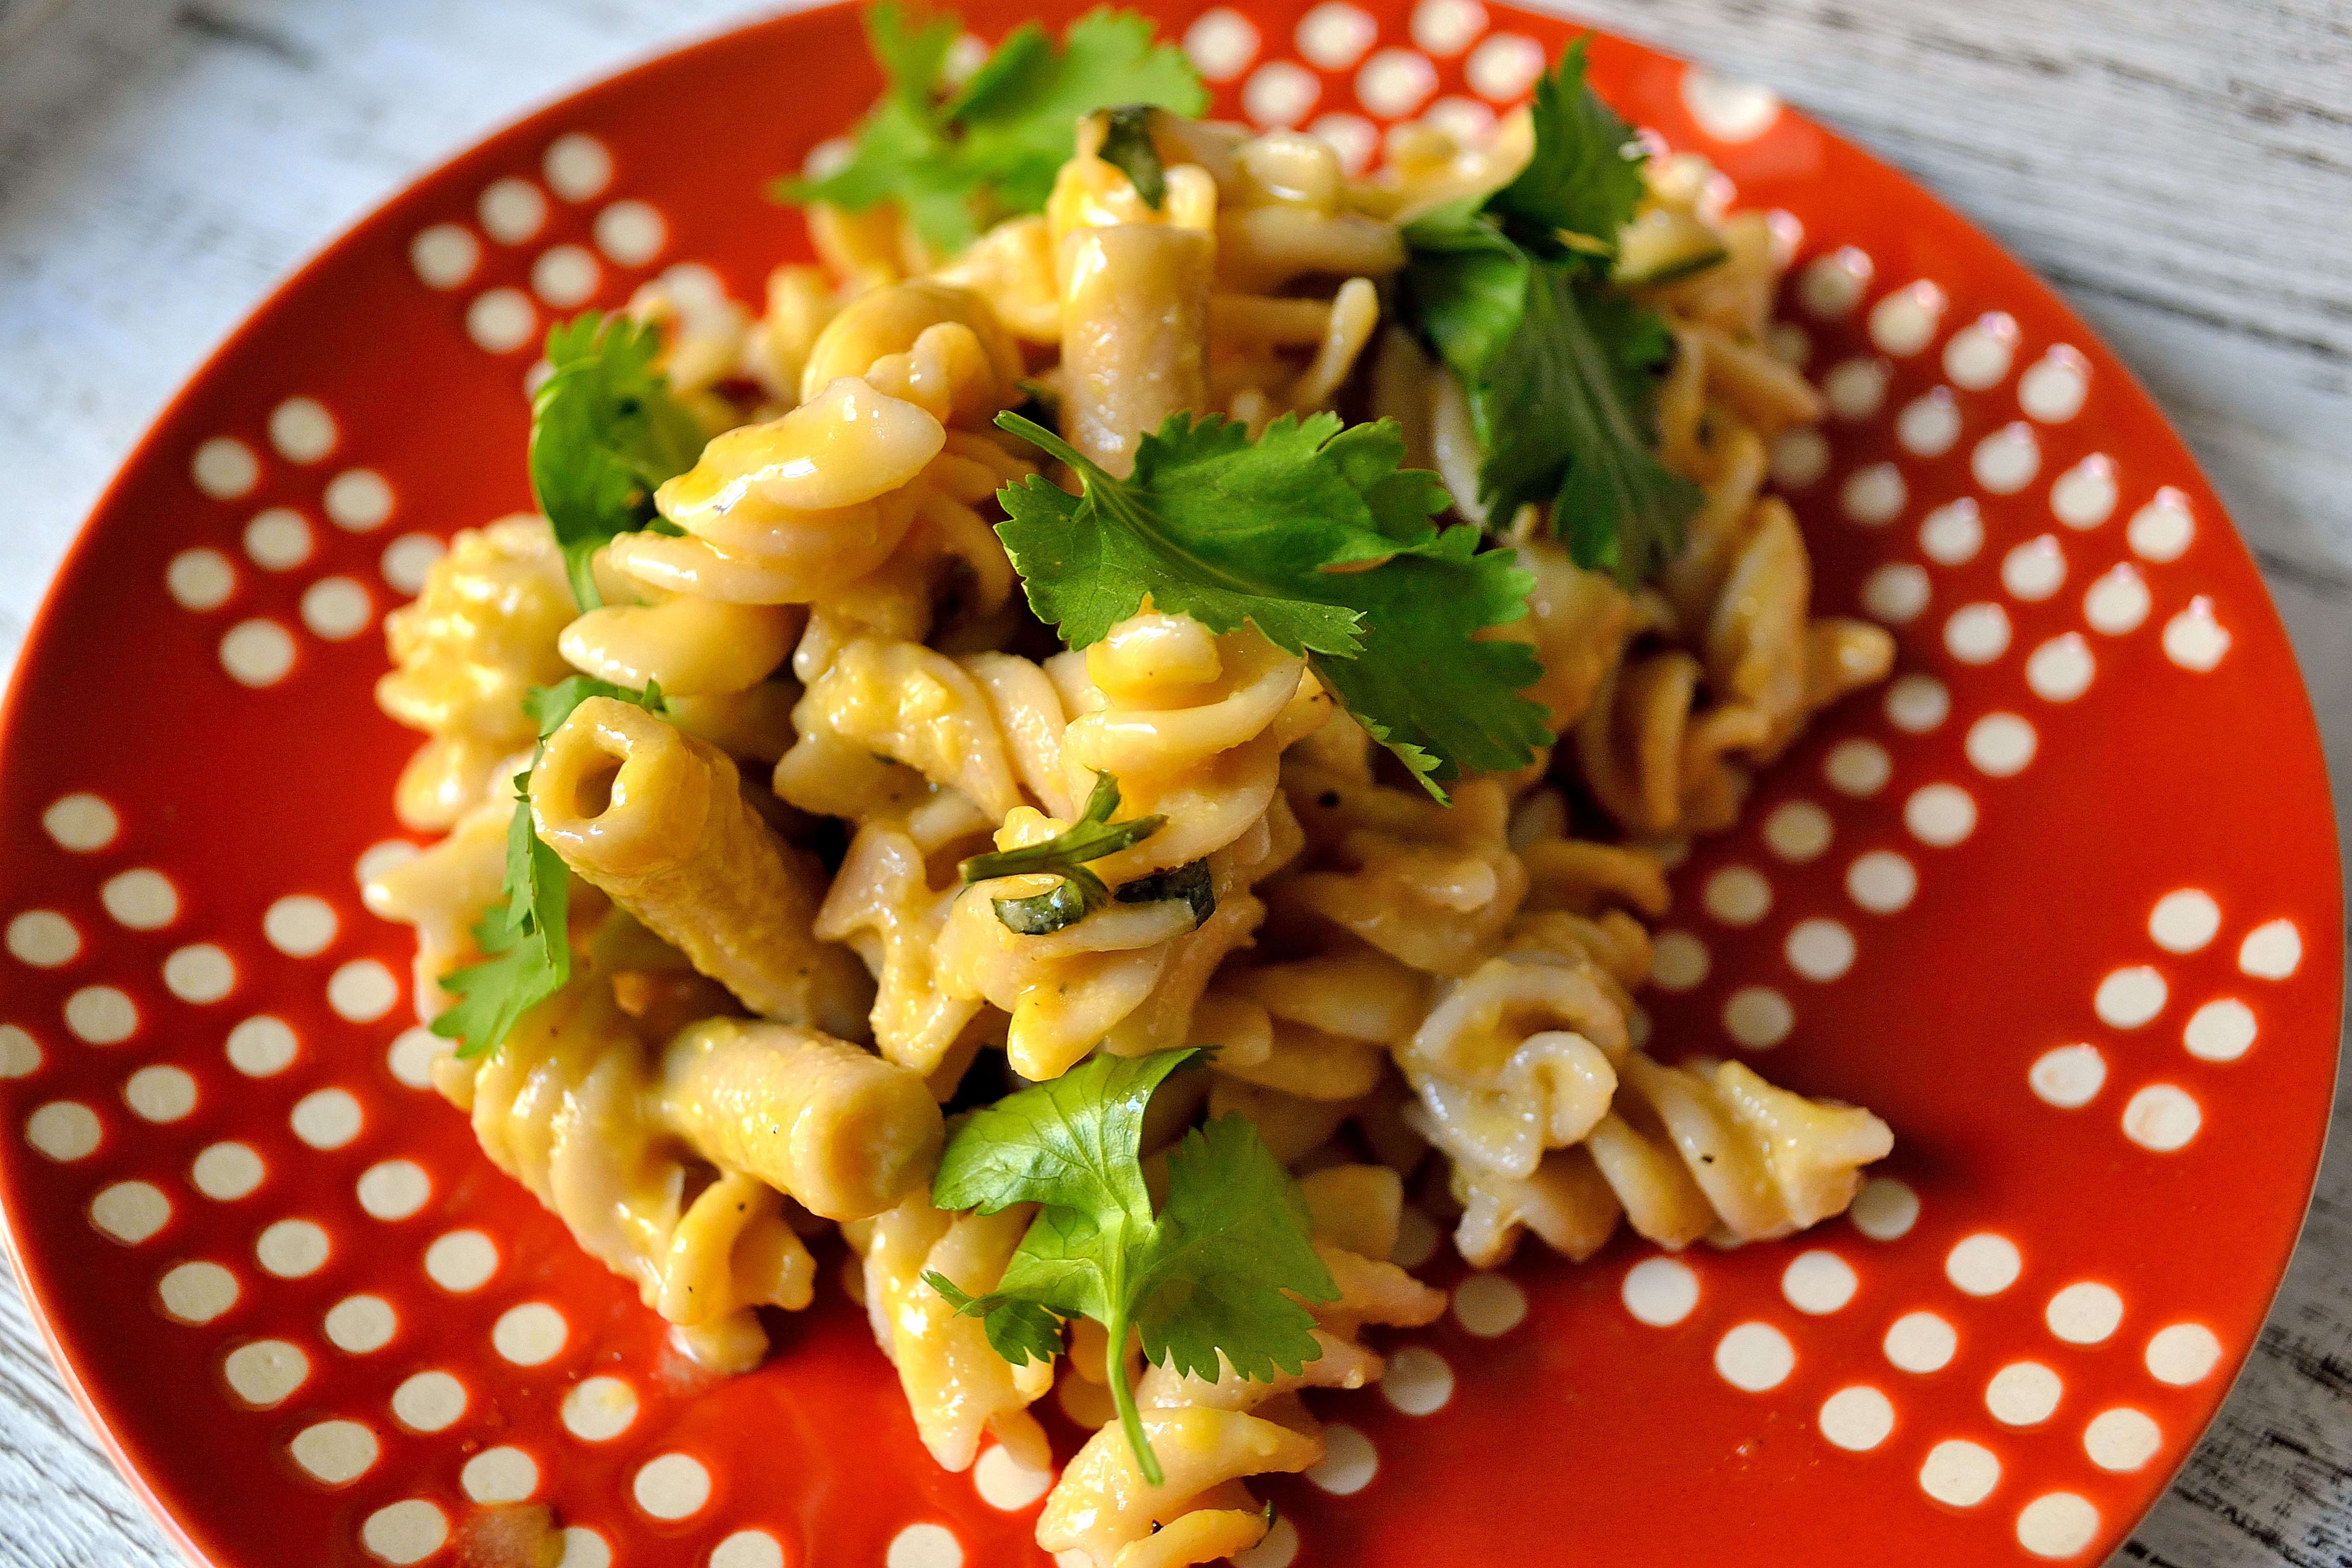
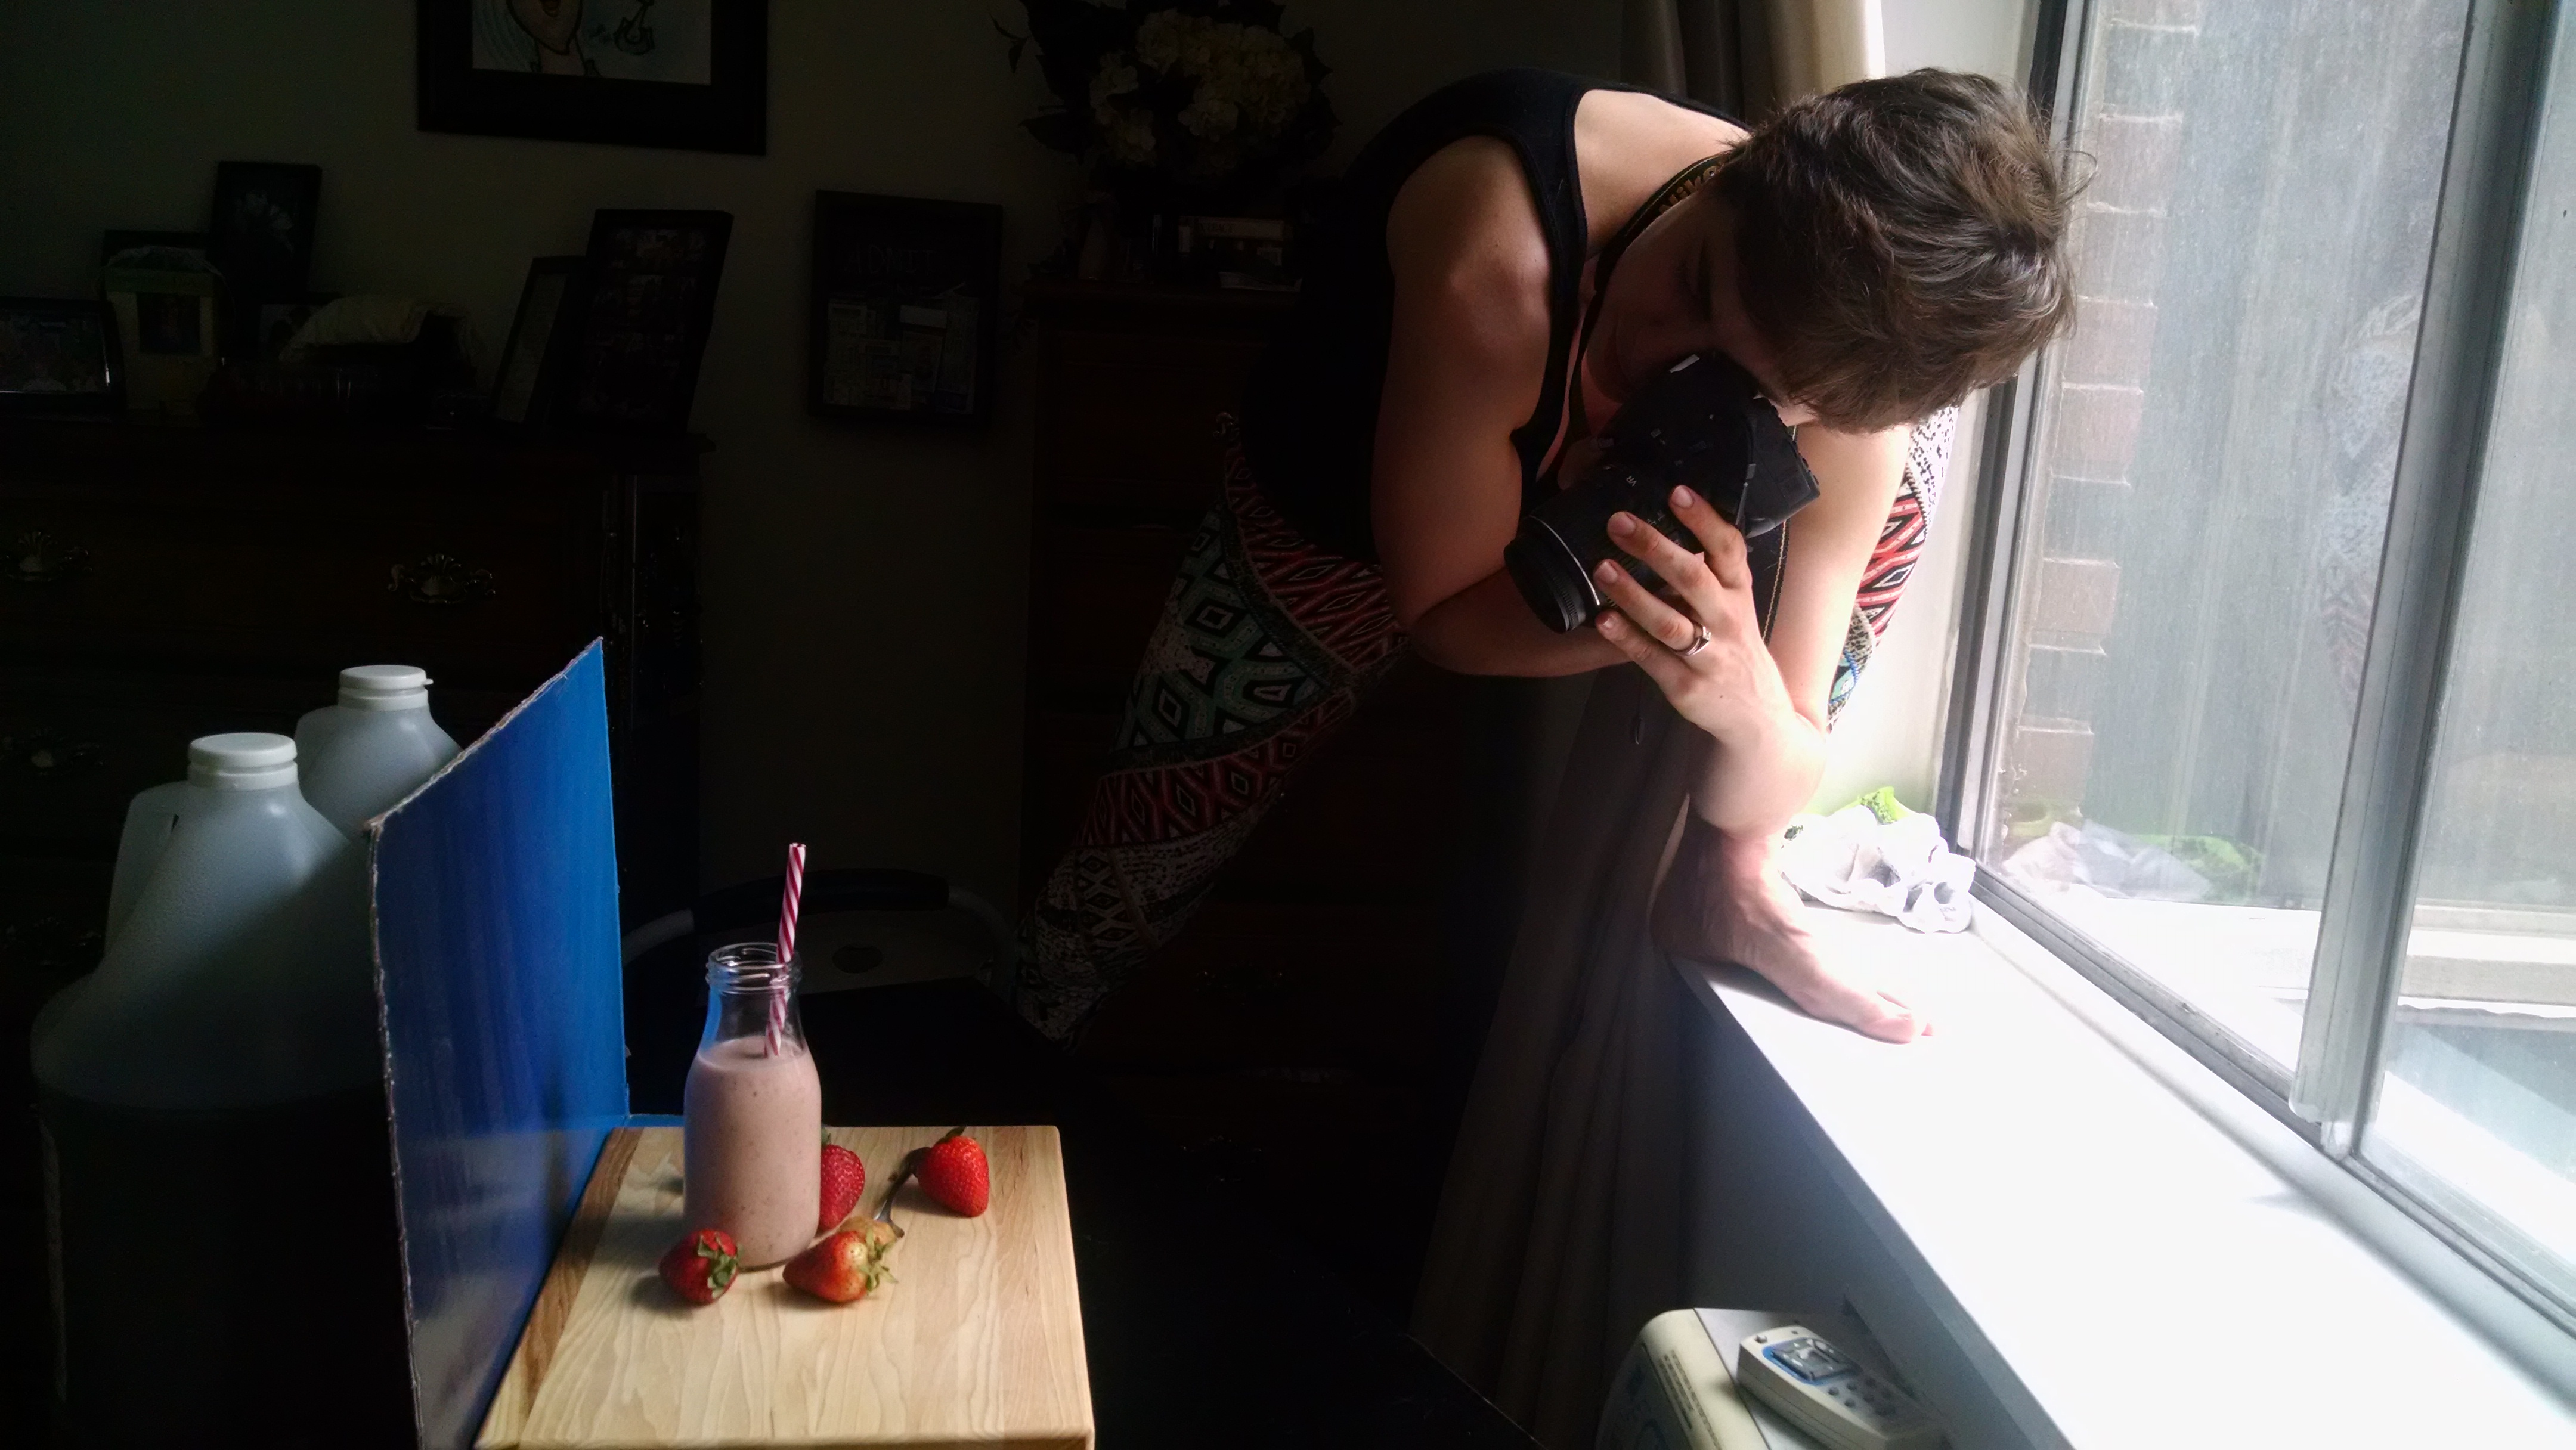
  • Trying to get good food pictures with minimal space and light.  We have two windows in our apartment and because of the way our apartment is situated, we get very little natural light.  This makes taking pictures for my blog slightly difficult.  At first I thought it was impossible but I’ve gotten creative and learned how to make what I do have work for me.  It does lead to some interesting positions though.  Good thing I do yoga!

Food Photography

What was fun:

  • Going to the farmers market.  We finally got to go to our favorite farmers market.  Because we have been busy pretty much every weekend since the Green City Market opened up, we haven’t gotten a chance to go.  This weekend though we finally made it and it was of course awesome.  All the fresh fruit and vegetables make me happy and I could wander around the market all morning if I could.  Adam was happy to get his first Donut Vault donut of the season and even more excited that they had his favorite, lemon poppyseed.  It’s the only way I can get him to come with me!
Lemon Poppyseed Donut from Donut Vault

He’s trying not to stuff the whole thing in his mouth

  • Purple asparagus.  I’ve seen green asparagus and I’ve seen white asparagus, but I had never seen purple asparagus.  While we were at the market we saw these and of course I had to get them because they were purple.  Best. Decision. Ever.  They were so delicious and simple to prepare.  All I did was drizzle them with a little olive oil, sprinkle them with salt, pepper, and garlic powder, squeeze a little lemon juice over it all and roast at 400 for 15 minutes.  They were a little sweeter than green asparagus and I could have eaten like 5 more bunches.  Too bad I discovered them at the end of asapargus season.
Purple Asparagus

I’ll try any purple fruit/vegetable

  • Fruit crisp.  The farmers market pretty much just led to all sorts of good things this weekend.  This fruit crisp is proof that you should go to the market more often!  I made Adam a strawberry rhubarb crisp with fruit we got from the market.  He deemed it delicious and probably would have eaten the whole thing in one sitting.  Which is quite the compliment.

Strawberry Rhubarb Crisp

Overall, it was a great weekend and I really loved having the free time to do some fun things and spend time with Adam.  Here’s to another great week!

What did you do this weekend?

Cilantro-Garlic Pasta with Egg Sauce

SometimesCilantro-Garlic Pasta with Egg Sauce when I am coming up with recipes I let things get a little out of hand.  I blame The Flavor Bible and The Vegetarian Flavor Bible.  These are my go-to cookbooks when I am creating recipes and they are awesome.  You look up whatever ingredient you have and find flavors and other ingredients that go well with them.  I get a little ingredient happy as I’m looking through the lists and soon I end up with a recipe that has 500 ingredients, not all of which are easy to find.

I have to remind myself to keep it simple.  We often think simple recipes that have fewer ingredients can’t be as good as the fancy elaborate recipes.  Fancy recipes have their place, but it’s the simple recipes that are the backbone of the food world.

I took it simple with this pasta dish.  I was looking for a meal that was light and refreshing but also felt like comfort food.  I also didn’t have much food on hand so I had to work with what I had.  I remembered seeing a recipe for spaghetti carbonara and wanted to try and make a pasta using the same kind of a sauce.  This in no way is spaghetti carbonara, but the egg sauce is made in the same way.  With only four ingredients and less than 20 minutes to put together, this makes for a really easy weeknight meal that everyone will love.

Cilantro-Garlic Pasta with Egg Sauce 

Cilantro-Garlic Pasta with Egg Sauce

  • 1 package of pasta like penne or rotini (I used Trader Joes brown rice pasta)
  • 4 large cloves garlic, minced
  • 1/3 cup cilantro, chopped
  • 4 large eggs
  • salt and pepper to taste
  1. Cook pasta according to package drain and set aside.  While pasta is cooking, mince the garlic and chop the cilantro and whisk the eggs.
  2. Once the pasta is cooked and drained, in a medium saucepan, heat a little olive oil over medium high heat.  Add the minced garlic and saute for 1 minute.  Add the pasta into the pan and mix to coat with olive oil and garlic.
  3. Remove the pan from the heat.  Pour in the eggs while constantly stirring the pasta.  Make sure you keep stirring the pasta or else you will end up with scrambled eggs over pasta instead of a creamy sauce.
  4. Once all the eggs have been whisked in, stir in chopped cilantro and season with salt and pepper.

Cilantro-Garlic Pasta with Egg Sauce

That’s it!  The egg sauce makes this dish feel super comforting and indulgent, but the cilantro helps brighten it up and make it not feel too heavy of a meal.  This is also great poor college student food because there are no specialty ingredients and each serving is less than $3.00.

Cilantro-Garlic Pasta with Egg Sauce

What is your favorite simple meal?

Happy Friday and have a great weekend everyone!

DIY Wednesday: Almond Milk

ThereDIY Almond Milk is no shortage of nut milk tutorials out there.  There are so many that I almost thought about skipping it as part of my DIY series.  I didn’t think that I could really add much to what you can already find.  Then I remembered the first time that I made my own almond milk and I realized that I did have something to add.

I was really excited to make my own almond milk since I always buy it.  I thought this would be perfect because I could save money and control all the things that went into my milk.  I followed the recipe and all the instructions exactly and poured out a glass and eagerly took a big sip.

And promptly spit it back out.

Instead of the creamy delicious drink I was expecting it tasted like dirty water.  Not the most appetizing thing.  I tried to figure out what I did wrong.  Maybe I used bad almonds? Did it matter that I used an old food processor instead of a fancy Vitamix? Did I not use good water?

I tried again, this time with brand new almonds, a fancy Vitamix, and cold filtered water.  I still got dirty water almond milk.  I tried tweaking every part of making the almond milk, using less water and more almonds, blending for a long time, anything I could think of to try and make the almond milk work.  Then by accident I ran out of the cheesecloth I was using to strain the almond milk and had to use a regular mesh strainer.  I thought I would have another bad batch, but I ended up with the creamy and delicious milk I had been looking for.

I tried it this way again and got the same result.  By not completely straining out all the blended almond pieces, I was able to recreate the same taste and texture as store bought almond milk.  Give this a try and start making your own milk instead of buying. Oh and P.S. you don’t need the fancy Vitamix…but it doesn’t hurt!

Here is my DIY almond milk with a slight tweak in technique.

DIY Almond Milk 

DIY Almond Milk

You will need a food processor/blender and a regular mesh strainer. You can use a nut milk bag or cheesecloth, but you might end up with the dirty almond water.

  • 1 cup raw almonds
  • 3 cups filtered water
  •  optional: 1 tsp vanilla, 3-4 pitted dates to make it sweeter (I like it plain)
  1. Place soaked almonds into a blender or food processor and pulse a few times to break up the almonds a little.
  2. Add in the 3 cups of water.  Blend for a few minutes until the almonds are completely broken down.  If you have a high powered blender this will only take a minute.  Other blenders and food processors will need a little more time.
  3. Place the mesh strainer over a large bowl and pour the milk over the strainer.  You might need to help push the water through the strainer with a spatula.  It’s ok if some of the almond pulp makes it through the strainer, in fact, that’s what you want!
  4. Transfer the strained milk into a container and keep in the fridge for up to 4 days.  Keep the pulp and dry it out to use for other baking needs.

DIY Almond Milk

6 Months Later…

Can you believe that it has already been 6 months since the beginning of the year?  We are already done with half of 2015!  That’s crazy!

Raise your hand if you are still working on any of the goals you made in January.  Don’t worry if you didn’t raise your hand, I’ve had a few struggles of my own with my 2015 goals.  The beginning of the year is always so new and fresh.  You just got to spend time with your family over the holidays, maybe you’ve rested a little, and you feel like you can take on anything.  This year is going to be your year.

Then life comes along and laughs at your goals and pretty much says, “Nope!”

Life Happens

We can’t always avoid all the problems that come our way.  We can’t plan everything out and know for sure that it’s going to happen that way.  Things come up, events happen, and many times we find ourselves far away from where we wanted to be when we started the year.

When I looked back at the goals I had made for the year, it seemed like I was barely doing anything that I had set out to do.  Then I stepped back and really looked at where life had taken me the first part of this year and I realized I’ve done more than I thought.

New Day

I’ve been doing better with balancing the things on my plate and not letting one little crinkle in the routine throw me for a loop.  I’ve even started to come to terms with not having such a set routine and letting the day lead me where it needs to go.  It’s been a little bit of a struggle to adjust to things, but I haven’t completely lost it and I have to say I like having a little wiggle room.  It’s nice to not know every single detail sometimes.

I’ve also expanded my blog, maybe not in the way I thought I would but it’s slowly growing.  I’ve been consistent with my posts and improving the quality of my pictures.  I’ve tried to have a bigger presence on Instagram and grow my following there and I finally started a Facebook page and found another way to reach out to my readers.  I might not have thousands of readers like other blogs, but I do have loyal followers and that is all I could ask for.

As for my other goals, I’ve made different progress in those areas.  I thought I would accomplish those in a different way than I am now, but that isn’t a bad thing!  I’m actually learning a lot about myself and I like what I’m finding out.

Success

I can say one thing with absolute certainty though and that is I have pursued everything with passion.  That was my word for the year, the word that I chose to help focus all of my goals.  It I start something or think about starting something and I find that I have no passion to put behind it, then I know that isn’t what I should be doing.  I don’t want to half-ass anything anymore.  I don’t want or need to waste my time.  I want passion to be a part of everything I do because then I can really enjoy the outcome.

How about you guys?  Have your goals been met, changed, or forgotten?  Are you still using your word for the year to help guide you?  What could you work on?

June is a great time to re-focus and get a fresh burst of motivation.  You aren’t a failure if you haven’t made any progress yet!  Time to get back up and start working towards what you want.

Today is a new beginning

Today is the perfect day to do just that!

Recipe: Popcorn Clusters

Friday.Recipe: Popcorn Clusters  I can hear the collective sigh of all you hardworking people!  I know that this week has been crazy busy for me and I am really glad that the weekend is almost here.

Adam and I are actually going to his aunt’s wedding today in Waukegan so our weekend is going to start a little early.  But I did want to make sure I gave you guys something yummy to make over the weekend.  I’m always thinking of you like that!

This is just a quick snack I threw together because I randomly had leftover popcorn.  I know, weird right?  Who has leftover popcorn?  Anyway, I was going for a healthy popcorn ball but that did not happen at all.  Luckily what did happen is a fairly tasty treat/snack.  It’s always great when your mistakes turn into delicious things.  Don’t you wish that would happen in real life?  Like don’t worry about messing up that interview, it’s now a plate of cookies!  That would be awesome.  Oh well, maybe someday…. Ok enough babbling onto the snack!

Popcorn Clusters

Recipes: Popcorn Clusters

  • 1 1/2 cup popped popcorn
  • 2/3 cup assorted nuts and seeds (I used pecans, almonds, and pumpkin seeds)
  • 1/2 cup dark chocolate pieces
  • 1/4 cup coconut oil, melted
  • 1/4 cup maple syrup
  • 3 tbsp tahini or almond butter
  • 1 tsp cinnamon
  • 1/4 tsp salt
  1. In a medium bowl mix together the nuts, seeds, and chocolate.  Set aside and line a muffin tin with liners.  Place about 2 tbsp popcorn in each liner.  Sprinkle a little of the nut/seed/chocolate mix over this.
  2. Place the oil and maple syrup in a medium saucepan and place over medium high heat.  Heat until the mixture is just bubbling and then add in the tahini or almond butter.  Stir to combine and heat for 2-3 minutes.
  3. Turn of the heat and stir in the cinnamon and salt and then moving quickly pour about a tablespoon over each muffin liner.
  4. Once all the tahini mixture is used up, move the popcorn clusters to the freezer and freeze for at least 30 minutes or until the clusters have hardened.

Recipe: Popcorn Clusters

Once the clusters have cooled you can pop them out of the tin and store them in an airtight container.  Make sure to keep them in the freezer or fridge so they don’t melt!  Now you have a delicious snack whenever you get hungry!

OH!  You guys should also go check out the blog Girl-ish.  They are an awesome blog that writes about fashion, entertainment, life, and health and I am one of their newest contributors!  I’m really excited to be working with these ladies and can’t wait to bring you more tasty and healthy food over there.

Have a super weekend and see you guys on Monday!