Fun fact: I’ve never had taquitos. Ok, that isn’t really a fun fact but it is a fact. I’ve never had fresh taquitos, I’ve never had them from the frozen food section, and I’ve never thought, “Man, I could really go for a nice taquito right now.” Then as I was roaming around the internet I saw a few recipes for taquitos and they looked really good and simple to make.
And they are good and simple to make. Really good. Like so good I seriously thought about eating leftover taquitos for breakfast the next day. And if the taquitos were delicious, the dip I used was heaven. I could have stuck a straw in it and had that alone. Not even exaggerating.
You busy people out there are going to like these too because you can make a big batch and then freeze them. Now you have a quick dinner ready to go on a busy night. Just take them out of the freezer and heat them up in the oven. Boom! Healthy dinner.
If you have time, you can make the filling beforehand and then when you’re ready to make the taquitos all you have to do is fill, roll, and bake. That sounds like a new dance craze that all the younguns will be into next week. Just remember, I started it here first.
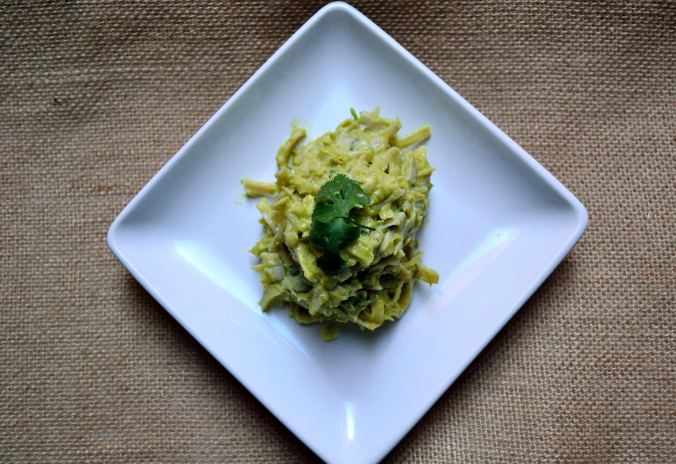
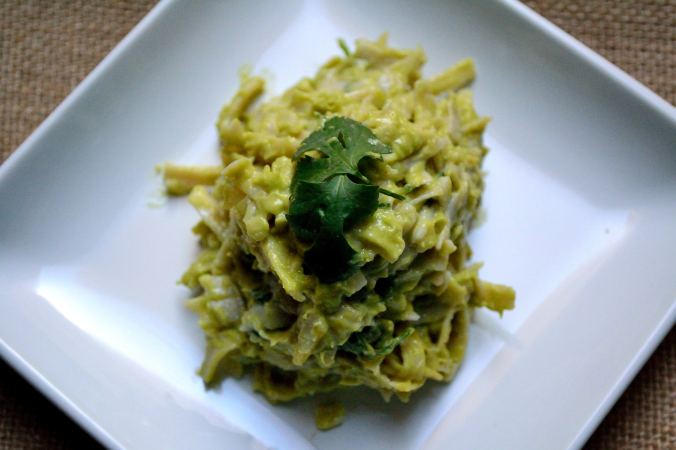
Buffalo Cauliflower Taquitos
- 1 large head of cauliflower
- 1/4 cup of my buffalo sauce or your favorite brand
- 1 cup butternut squash puree, you can also use sweet potato or canned pumpkin
- 1 package of small tortillas, I used corn but you can use flour shells or a paleo version
- 1 batch of my dairy-free ranch with a few changes, recipe below
- optional: guacamole, salsa, regular ranch or bleu cheese dressing
- Preheat the oven to 325. Remove the leaves from the cauliflower and cut into florets removing as much of the stem from each floret as possible.
- Place the cut cauliflower into a food processor or blender and pulse a few times until the cauliflower looks like rice. Scoop it out and place it into a bowl
- Add the butternut squash to the cauliflower rice and stir so everything is coated. Heat a little (like about 1 tsp) olive oil in a large skillet over medium-high heat.
- Put the cauliflower into the skillet and saute for about 10 minutes. Add the 1/4 cup of buffalo sauce and stir to combine everything. You can add a little more buffalo sauce if the cauliflower doesn’t look like it’s coated enough.
- Cook this for another five minutes and then turn the heat to low and cover the skillet. Let this sit for 5 minutes and then move to a large bowl.
- Put a little skillet (about the size of your tortilla shells) over low heat. Don’t add any oil, you’re just using this to heat up the tortilla shells so the roll easily.
- Heat the shells about 15 to 20 seconds on each side then add a large spoonful of filling and roll the tortilla up. Place it seam side down on a large baking sheet. Do this until you’ve used up all the filling.
- Bake for 20 minutes, checking towards the end to make sure the tortilla edges aren’t burning. Remove from the oven and let cool then serve with fancy ranch (that’s what I’m calling it), salsa, and guacamole!
Fancy Ranch
- 1/2 cup full-fat coconut milk
- 1/4 cup cashews, soaked overnight or in boiling water for 15 minutes
- 1 tbsp apple cider vinegar
- 1 tsp roasted garlic
- 2 tsp ranch seasoning
- 2 tsp smoked paprika
- 1 tsp cumin
- Blend everything together and taste to see if you need to add salt or pepper. This will thicken up even more in the fridge so don’t worry if it’s a little soupy.

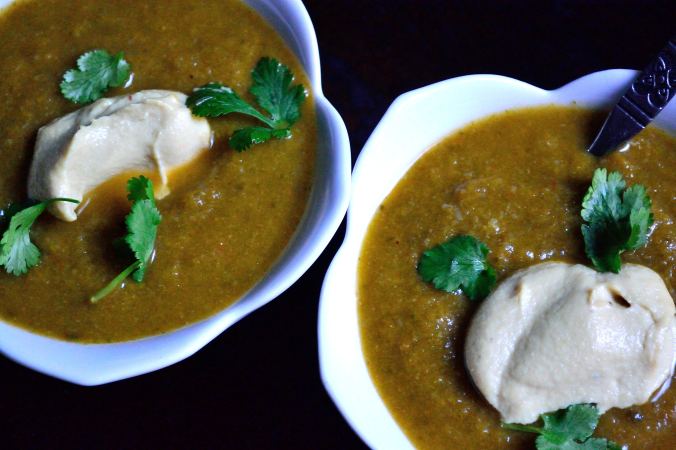
 I have been living off of this soup for the past few weeks, it’s that good. It’s hearty enough to make a good meal but not so heavy that you feel like taking a nap after you’re done. I feel like that’s a good judge of a meal. Do you feel like laying in bed for six hours when you’re done? Nope? Then you should eat this meal again or try harder next time.

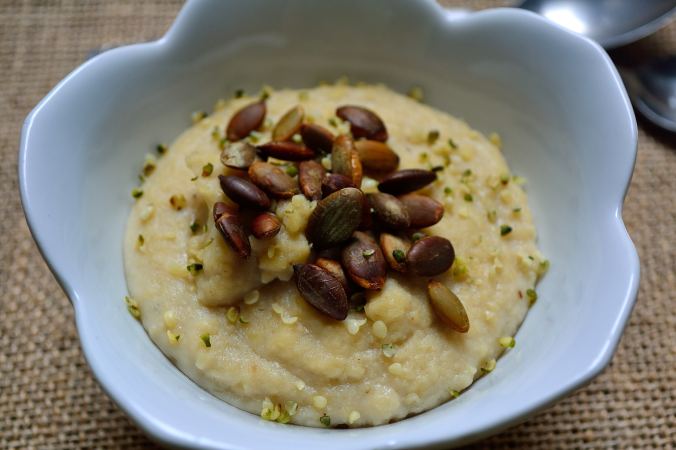
 Doesn’t the word porridge always conjure up old-timey meals like in Oliver Twist? Or at the very least make you think of Goldilocks and the only three bears on the planet that prefer a hot breakfast over raw carcass?