Necessity is the mother of invention right? Well that’s how this simple recipe came to be. I decided that I wanted a snack of celery and hummus and I was absolutely positive that I had some homemade hummus sitting in my fridge. Sadly, I was mistaken and there was no delicious hummus for me to eat my celery. So was left with two choices. I could eat my celery plain, but what kind of crazy person eats plain celery? Or I could find some substitute for my non-existent hummus. I didn’t have all the ingredients on hand to make a new batch of hummus but I did have a few things that I was able to throw together in less than 5 minutes and make a tasty dip. I bet that you probably have most of these things on hand now, so if you have some plain celery you have a hankering for go make this super easy dip!
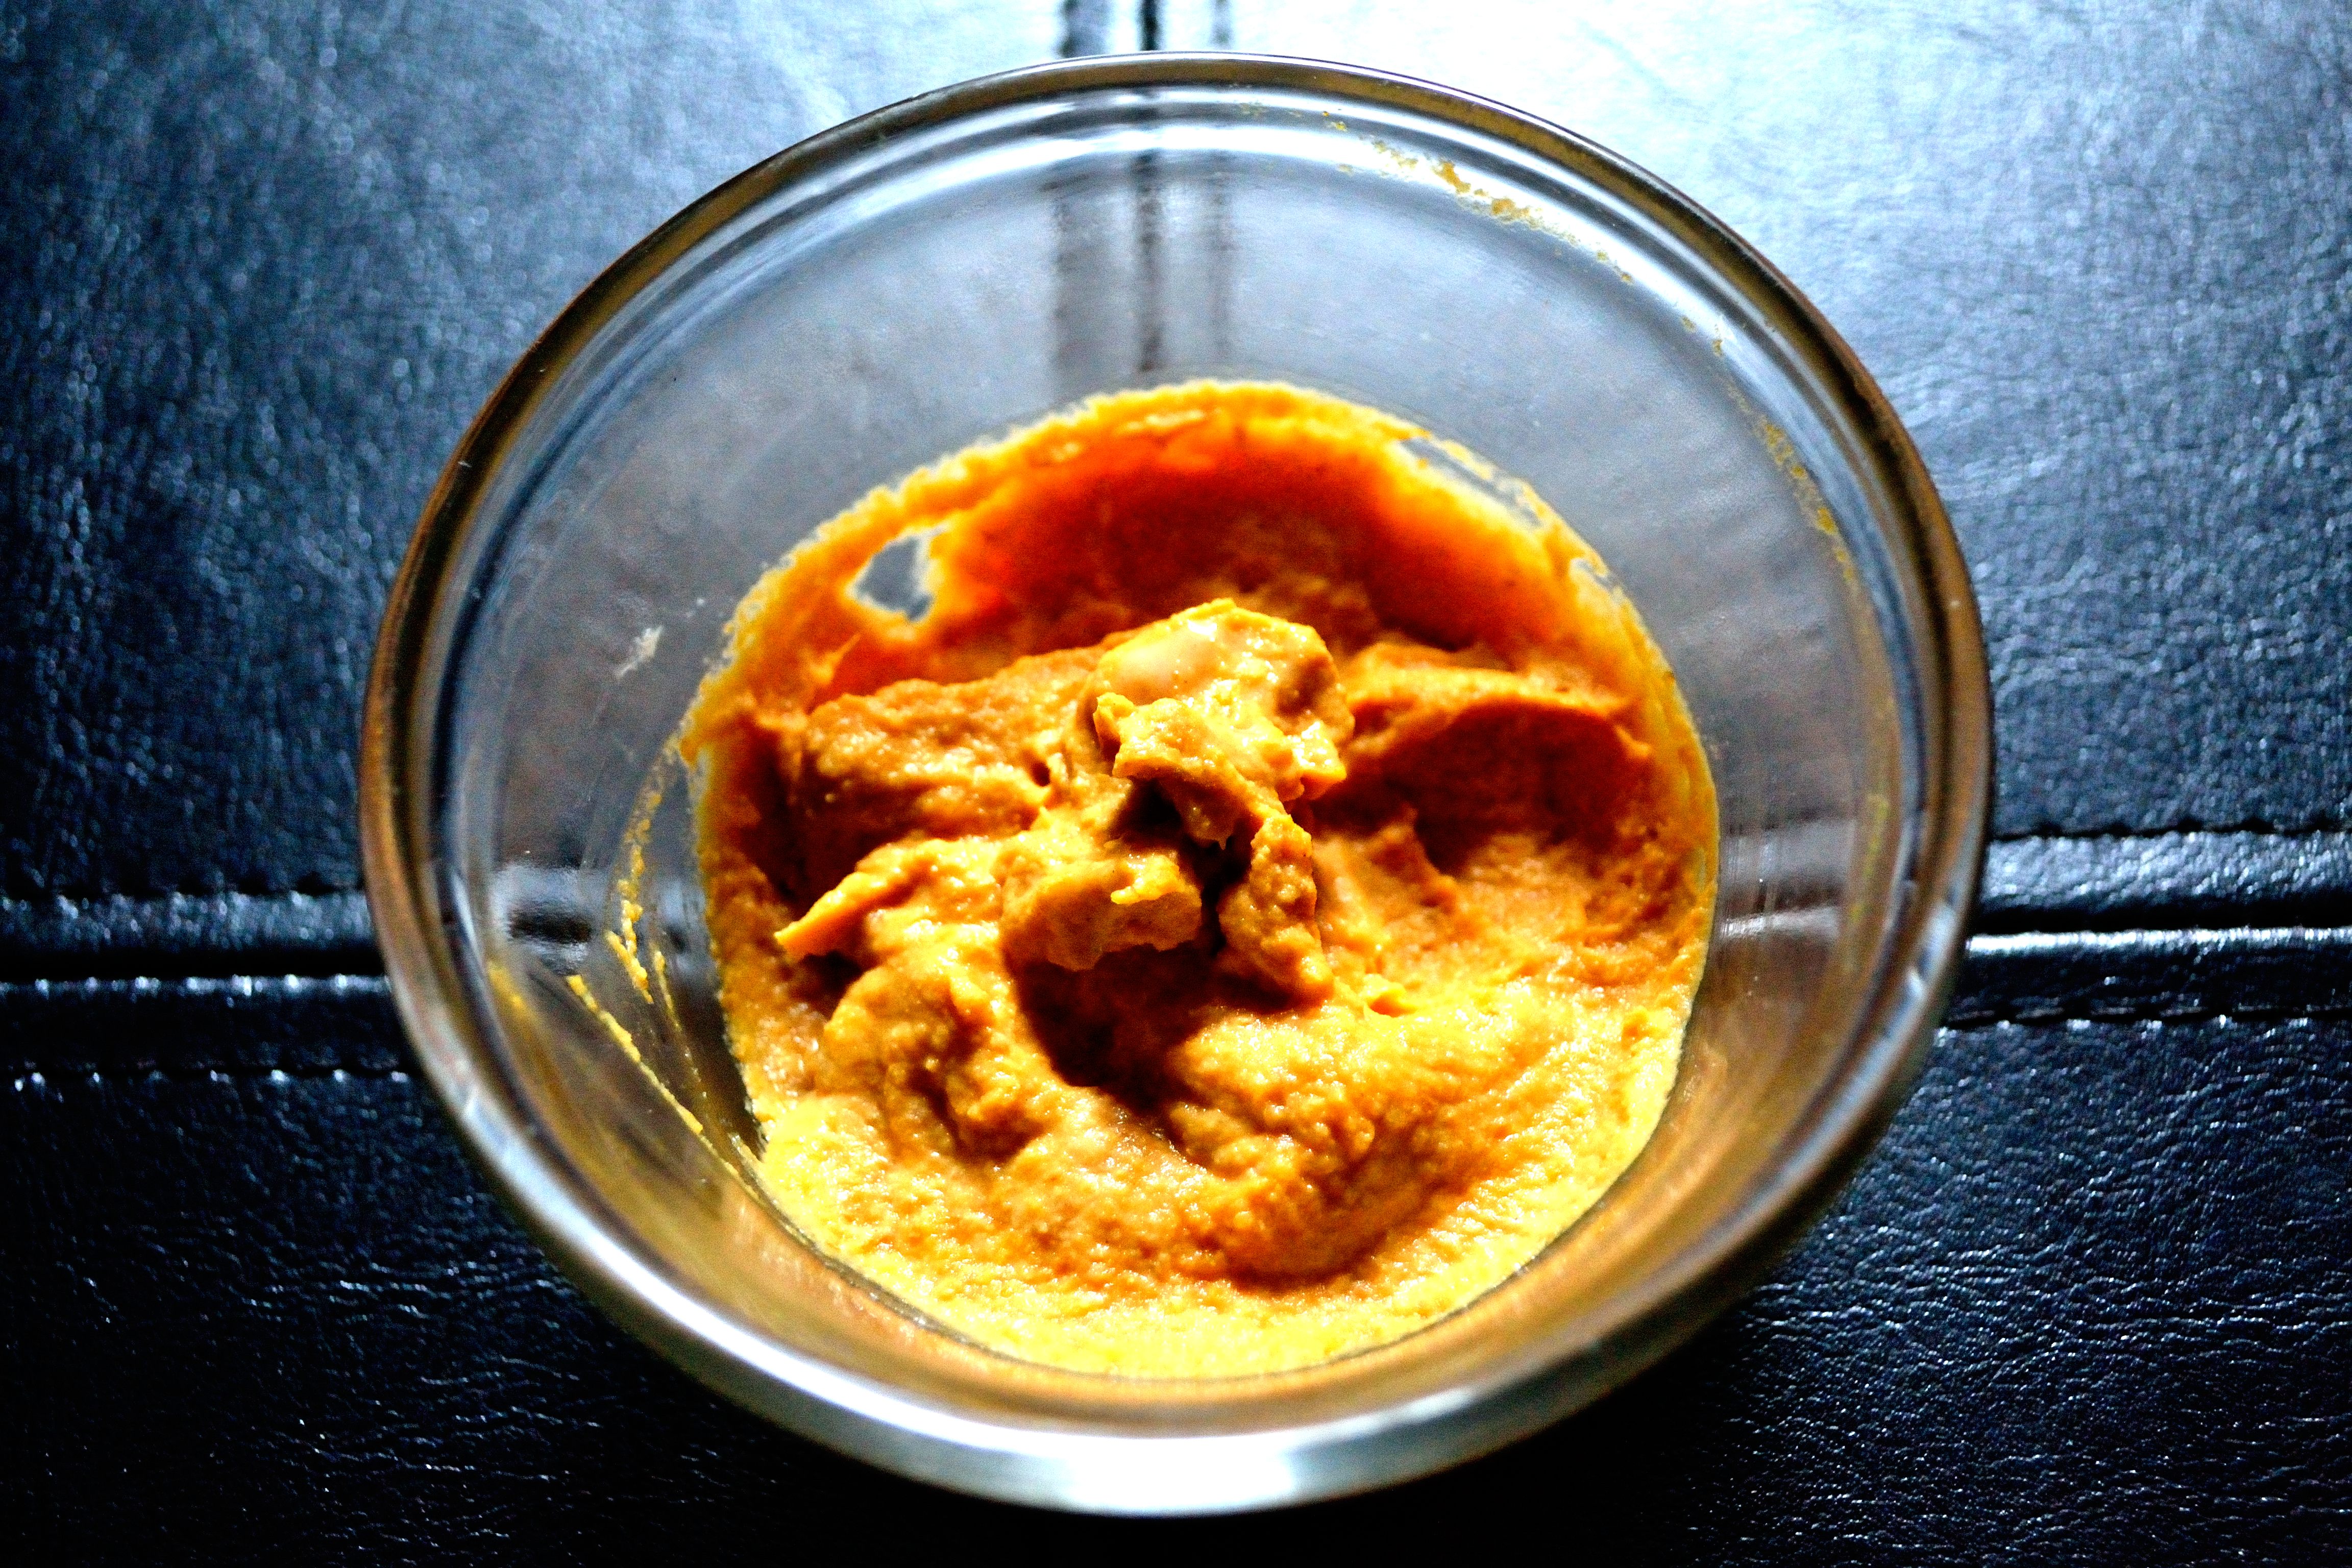
3 Ingredient Pumpkin Dip

- 1/2 cup canned pumpkin
- 2 tbsp tahini
- 1-2 tsp mustard (I used hot mustard, but you can use whatever you have on hand)
1. Ready? Mix this all together in a bowl and eat. That’s it!
You can adjust the amounts to your taste and the amount of dip that you need to make. This was a single snack size serving for me. This would be a really great dip for a crudite plate for a holiday gathering. I also used it as a topping for my lentil loaf last night and it added a really great flavor. So whip this up and enjoy!