Basil Hummus Dressing

Yes, I know I didn’t put DIY Wednesday in the title of this post.  I’m not losing it.  Or if you didn’t notice, I’m not a crazy person just prattling on about post titles.  Ok, maybe just a little…

Anyways, I’m starting a new “series” if you will but it isn’t really a series at all, just more helpful recipes for the middle of your week.  Wednesday is when most of us feel done with the week.  We are exactly the same amount of days away from Friday as we are from Monday and for some reason, it feels like the weekend will never get here.  We’re tired of work and we come home and realize we have nothing to make for dinner.  That’s where many of us throw in the towel and order pizza.

Or maybe you’re like me and prep a few things on the weekend so you don’t have to figure out your dinners but you are getting bored of the exact same meal and want to throw a little variety into your food.  That’s where these Wednesday recipes are going to come in handy.  They are all things that are made with simple ingredients that you probably already have in your kitchen and can be thrown together fairly quickly. Basil Hummus Dressing | Life Healthfully Lived

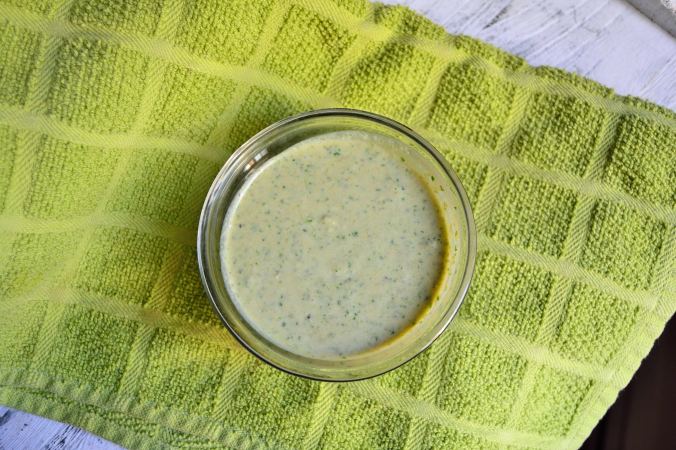
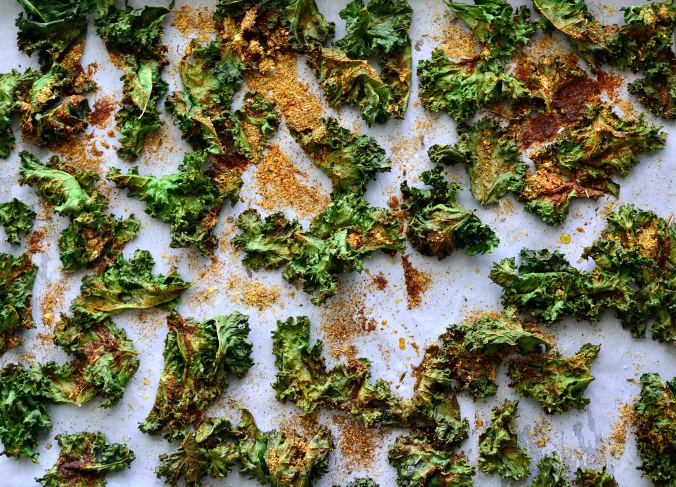
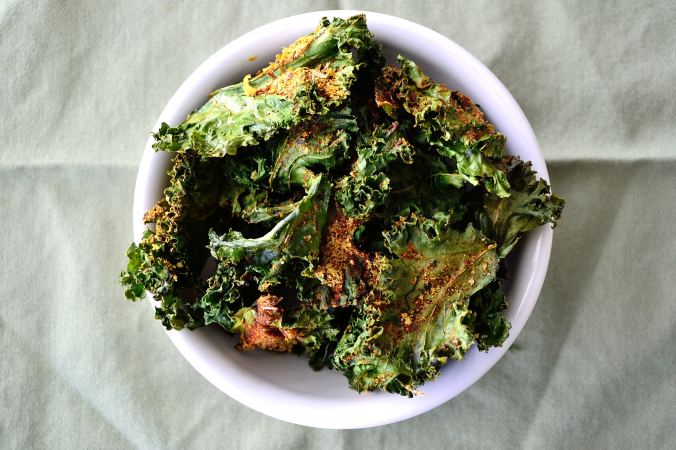
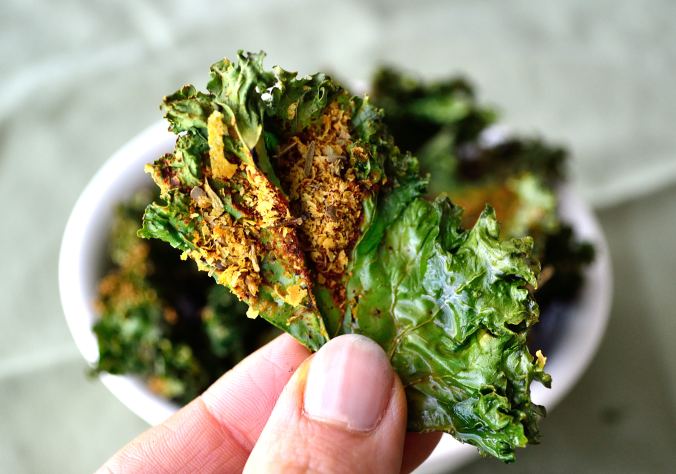
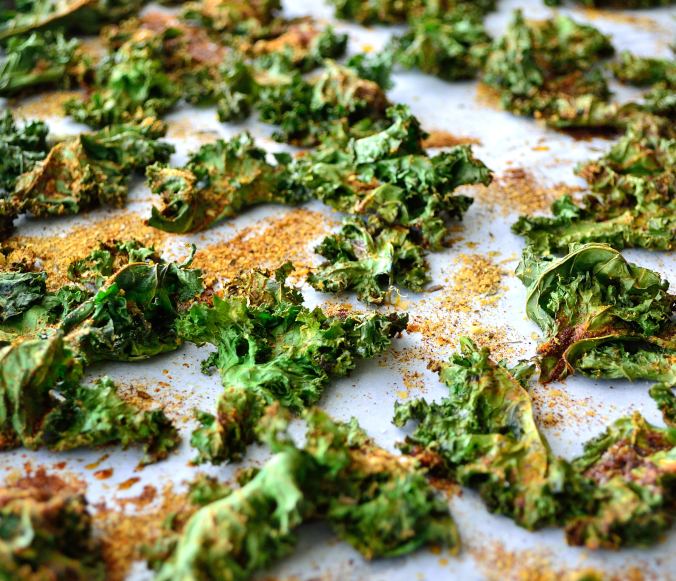
I don’t have a catchy name for these recipes yet.  I know DIY Wednesday was creative genius so I will have to top that one.  But I do know this basil hummus dressing is amazing and goes well on anything.  It’s like summer in dressing form.  Just a few ingredients and a quick whir in the blender and you can use this for salad, coleslaw, chicken, fish, zoodles, or as a dip for vegetables.  Plus, if you want to keep it bean-free you can just use a few tablespoons of raw cashews that have been soaked in hot water for 15 minutes to thicken your dressing.  Basil Hummus Dressing | Life Healthfully Lived

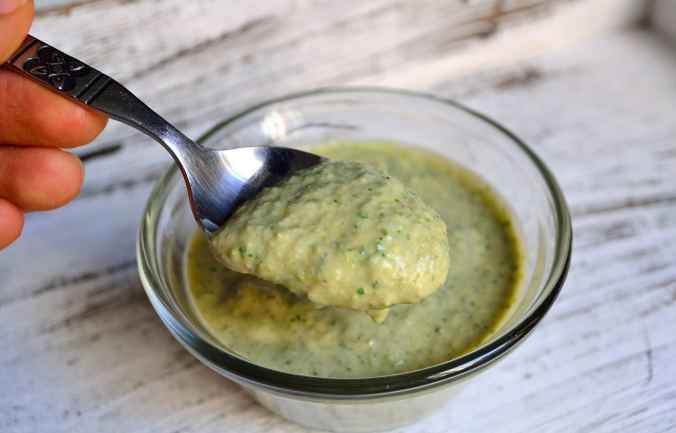
See?  I’m always thinking of solutions for you!

Basil Hummus Dressing Basil Hummus Dressing | Life Healthfully Lived

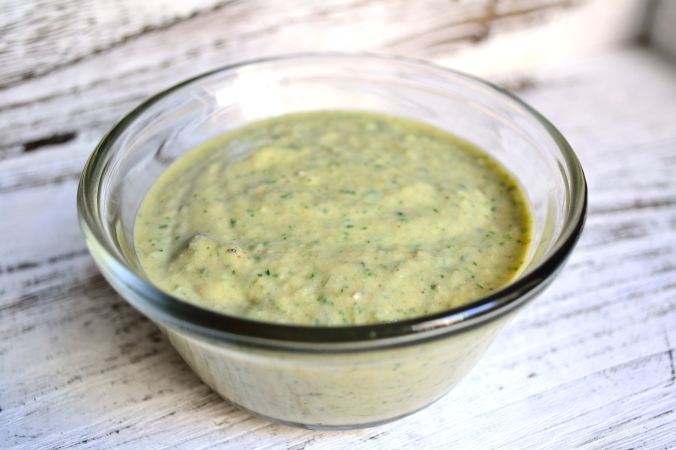
  • 1 cup packed basil leaves
  • 2 tbsp hummus OR 2-3 tbsp raw cashews soaked in hot water for 15 minutes
  • 1 tbsp shallots, diced
  • 2 cloves, garlic
  • 1/2 tsp salt
  • 1/4 tsp fresh black pepper
  • 1/2 cup full-fat coconut milk
  1. Put all of the ingredients into the blender and blend until you have a smooth and creamy dressing.  Taste and adjust any seasonings, especially if you used cashews instead of hummus.

You can use any type of hummus you would like whether it’s your favorite store brand or your own homemade.  I just happened to have a little of my favorite hummus leftover so that’s what I used.  Enjoy!

My Favorite DIY Posts

Since I’m still on vacation, I thought that instead of a new DIY post I would share some of my favorites so you can get in on the DIY action.  These are a few of the things that I constantly make so that I always have them on hand.  They’re quick, easy, and most of all save  me money since I don’t have to buy them at the store!

Coconut MilkMy Favorite DIY Posts | Life Healthfully Lived

Seriously, I can’t stop making this and why should I?  It’s cheap, the easiest non-dairy milk to make, and doesn’t have the additives that most store bought coconut milk contains. You also don’t need a high-speed blender and can even use an immersion blender to get awesome results.  My coconut milk has been making its way into curries, my coffee, and my morning smoothie bowl.  Speaking of which….

Smoothie Bowls

Now that it’s starting to get warm, smoothie bowls are hitting the spot.  You can make them with your favorite ingredients and get your daily fruit and vegetables.  Here’s a simple guide to building a smoothie bowl.

Lemon-Ginger TeaMy Favorite DIY Posts | Life Healthfully Lived

I have this every morning and I love it.  Since I’m not a huge fan of plain water, this is a great way to get some water first thing in the morning without choking down a glass of plain water.  Plus it’s good for your digestion and your skin!

Dairy-Free Ranch and Basil Dressing

Summer means more salads and fresh vegetables and what better way to eat them than with delicious dressing?! As much as I love my vegetables, I love my dressing even more.  Don’t buy dressing at the store because not only is it more expensive but it can quickly turn your healthy salad into a calorie and chemical bomb.  Whip up one of these dressings yourself and thank me later!


Caramelized OnionsMy Favorite DIY Posts | Life Healthfully Lived

This is the definition of an easy recipe.  Your slow cooker does most all of the work and you end up with delicious caramelized onions that you can put in everything.  I freeze the onions in ice cube trays and then just pull out what I need when I’m making dinner.

Coconut ChipsMy Favorite DIY Posts | Life Healthfully Lived

These are the best snack ever.  A little sweet, a little savory, and all delicious.  I actually made a huge batch of these before we left for Michigan because they make a great road trip snacks.  I may have even shared a few with Adam… Maybe.

I have a ton more DIY recipes over on my recipe page so if you’re feeling the DIY vibe check it out!

DIY Wednesday: Homemade Gluten-Free Flours

For those of you that bake and cook with gluten-free flours often, you know that it can be a pricey endeavor.  You can get five pounds of all-purpose flour for like a nickel but 2 ounces of any type of gluten-free flour costs all the gold in China as well as your firstborn child.

Ok, maybe it’s not that dramatic, but you get the idea.

For awhile, I had relegated myself to shelling out the extra dough when it came to gluten-free flour but then I started to think about it.  Most of the flours I bought weren’t blends, they were just straight up one-ingredient flours.  Almond, brown rice, quinoa, oat, buckwheat, corn, coconut… all flours made with just one thing.

I can make things with just one ingredient in my own kitchen.

I have a blender/food processor.

Why am I paying an arm and a leg for these things again?

So I started saving money and making my own flour at home.  If you have a decent blender or food processor you can do the same thing.  Heck, if you have a pretty crappy blender or food processor you can get by making a few of these on your own.  I did until I got a new food processor.

Here are four of my favorite flours to make at home and a few ideas on how to use them!

Oat FlourDIY Wednesday: Gluten-Free Flours | Life Healthfully Lived

This is probably the easiest and cheapest flour to make.  All you need are regular rolled oats and you can make your own oat flour.

  • 1 cup regular rolled oats = a little less than one cup of flour.
  1. Pulse oats in a food processor or blender until you have a fine flour like texture.

Uses: Great for cookies and quick breads. I like to use it as a binder in lentil meatloaf or meatballs too.

Buckwheat FlourDIY Wednesday: Gluten-Free Flours | Life Healthfully Lived

Even though it has the word heat in the name it’s still gluten-free.  You will want to find plain buckwheat groats, not roasted.

  • 1 cup buckwheat groats = about 1 cup of flour
  1. Toast the plain groats in a dry pan over medium-high heat until nutty and fragrant, about 5 minutes.
  2. Pulse the groats and then blend into a fine powder.

Uses:  I like using it to make pancakes, bread, and crackers.  It also makes a nice crispy crust for pork or chicken if you mix it with a few spices, salt, and pepper.

Quinoa FlourDIY Wednesday: Gluten-Free Flours | Life Healthfully Lived

You might need a little bit more powerful blender or food processor to grind up the tiny quinoa seeds.  A smaller bowl or pitcher work better if you have one of those.  You can use any color quinoa you like but I like to use white quinoa because it has a more neutral flavor.

  • 1 cup quinoa = less than 1 cup of flour
  1. Toast the quinoa in a dry pan over medium-high heat until fragrant and golden, about 2 to 3 minutes
  2. Blend in a food processor or blender until you have a flour consistency.  This might take a bit longer than other DIY flours.

Uses:  I have been using this a lot in rolls and breads because it gives a nice nutty flavor, you can also use it for my cauliflower pizza crust!

Coconut FlourDIY Wednesday: Gluten-Free Flours | Life Healthfully Lived

Perhaps the best smelling flour in the bunch, I like this because it lets me use up the leftover coconut from my coconut milk!

  • 1 cup coconut shreds = less than 1 cup of flour
  • If you are using leftover shreds from making milk let them dry out on a pan completely before continuing.
  1. Preheat your oven to the lowest setting (mine is 200 and it worked just fine) and toast the dried coconut shreds until golden.  About 20 to 30 minutes
  2. Let the shreds cool then pulse them in the blender or food processor until you have a flour-like texture.

Uses:  I use coconut flour a lot around here for things like pancakes, avocado fries, and desserts like these chocolate PB bars.


So there you go!  You can make your own gluten-free flour for a fraction of the cost at the store.  Just make sure to store all these flours in an airtight container to maintain freshness.

DIY Wednesday: Pizza Kale Chips

Ok, before you go running from this post because kale was mentioned, calm yourself.  Yes, kale is a leafy green vegetable.  Yes, it might not be the most appetizing thing IF it isn’t prepared properly.  Yes, kale is a trendy superfood and in everything including lotion and maybe you have tried kale chips before and weren’t impressed.  Hopefully, I can fix all of these things today, I’m just asking that you give it a shot.DIY Wednesday: Pizza Kale Chips | Life Healthfully Lived

You can find kale chips pretty much everywhere these days and while there are plenty of brands that do a good job and use minimal ingredients in their products, they’re expensive.  Like, way expensive for such a little amount of food.  I like to eat and I want my money to get me as much food as possible without having to take out a small loan.  Which is why when I can, I make my own versions of store-bought stuff.  Including these kale chips.

My sister was actually the first one to give me a homemade kale chip and while I thought it was going to be dry and crumbly and generally taste like ash, it had a nice crunch and taste to it.  I made my own a few times and recently decided to play with the seasoning and see what I could come up with.  I wasn’t going for pizza-flavored when I tried this, but that’s what it tasted like so I ran with it.  DIY Wednesday: Pizza Kale Chips | Life Healthfully Lived

Now, I will tell you one of the keys to getting a good chip and not a soggy mess is making sure that you dry the leaves SUPER well.  I used a salad spinner and then set them out on a towel for a few minutes to really let them dry off.  Whatever you do, make sure you dry the leaves as much as possible.  Other than that, make a really big batch because if you’re like me, you’ll eat the entire thing in one sitting.  Good thing these are vegetables and good for me….

Pizza Kale ChipsDIY Wednesday: Pizza Kale Chips | Life Healthfully Lived

  • 1 bunch of kale leaves
  • 2-3 tablespoons olive oil
  • 1 tsp smoked paprika
  • 1 tsp oregano
  • 1/2 tsp basil
  • 1/2 tsp sea salt
  • 2-3 tablespoons nutritional yeast (more if you want extra cheesy flavor)
  1. Remove the thick stem from the kale leaves and tear the leaves into bite-size, or chip-size, pieces.  Rinse them really well under cool water and then dry them.  You can use a salad spinner (works best) or paper towels but make sure they are really dry.
  2. Preheat oven to 350 degrees and line a large baking sheet with parchment paper or a Silpat.  Don’t use aluminum foil or you’ll end up with a mess.  Once your kale chips are dry put them in a large bowl and drizzle with olive oil.  Not too much but enough to coat the chips.  Massage the leaves a little to make sure they are really coated but don’t mash them up too much.
  3. Spread them in an even layer on the baking sheet making sure there aren’t any spots that are too crowded. Mix all the seasonings together and sprinkle them over the chips.  You can coat them really well to have super flavorful chips.
  4. Bake the kale chips for about 10 minutes and pull them out to check on them.  If the are getting brown on the edges and feel crisp they’re done.  If not cook for another 2 to 5 minutes.
  5. Remove them from the oven and let them cool.  Keep them in an airtight container for 2 to 3 days. DIY Wednesday: Pizza Kale Chips | Life Healthfully Lived

DIY Wednesday: Chili Cheese Popcorn

DIY Wednesday: Chili Cheese Popcorn | Life Healthfully LivedPopcorn is one of my favorite snacks because it’s easy to make and you can eat a huge bowl of it without feeling gross.  I’m a huge fan of volume eating because I like food.  Unfortunately, a lot of popcorn that you can buy in the store is NOT so good for you.  Flavored popcorn tends to be full of artificial ingredients, preservatives, oils, and way too much sodium.  That can be a real bummer when you figure that out after you’ve already inhaled a whole bag by yourself.DIY Wednesday: Chili Cheese Popcorn | Life Healthfully Lived

But don’t you worry because I’ve got you covered!  You can make your own flavored popcorn at home with half the bad junk and all the tastiness.  I was surprised by how good these turned out and even Adam who tends to like plain things said these were addictive.  Husband approval means you know it’s good!

You probably have most of these ingredients already and if so you’re only a few minutes away from a healthy snack!

Chili Cheese PopcornDIY Wednesday: Chili Cheese Popcorn | Life Healthfully Lived

  • 3 cups air-popped popcorn (or you can use this method if you don’t have an air-popper)
  • 2 tbsp nutritional yeast flakes
  • 1 tbsp chili powder
  • 1 tsp ground cumin
  • 1 tsp garlic powder
  • 1 tsp dried minced onion
  • 1 tsp sea salt
  • 1/2 tsp smoked paprika
  • 1 1/2 tbsp coconut oil
  1. Mix all the seasonings together and measure out one tablespoon into a small bowl.  Add the melted coconut oil and mix everything together.  You want it to be pourable.  Set this aside.
  2. Pop your popcorn and put it into a large bowl.  Make sure you do this after you get the seasoning mix together.  You want the popcorn to be hot when you mix everything together.
  3. Once the popcorn is popped, pour the spice mix over the popcorn and toss to coat.  It might take a few minutes, but keep tossing and the seasoning will get on all the popcorn.DIY Wednesday: Chili Cheese Popcorn | Life Healthfully Lived


Happy snacking friends and see you on Friday!