Sometimes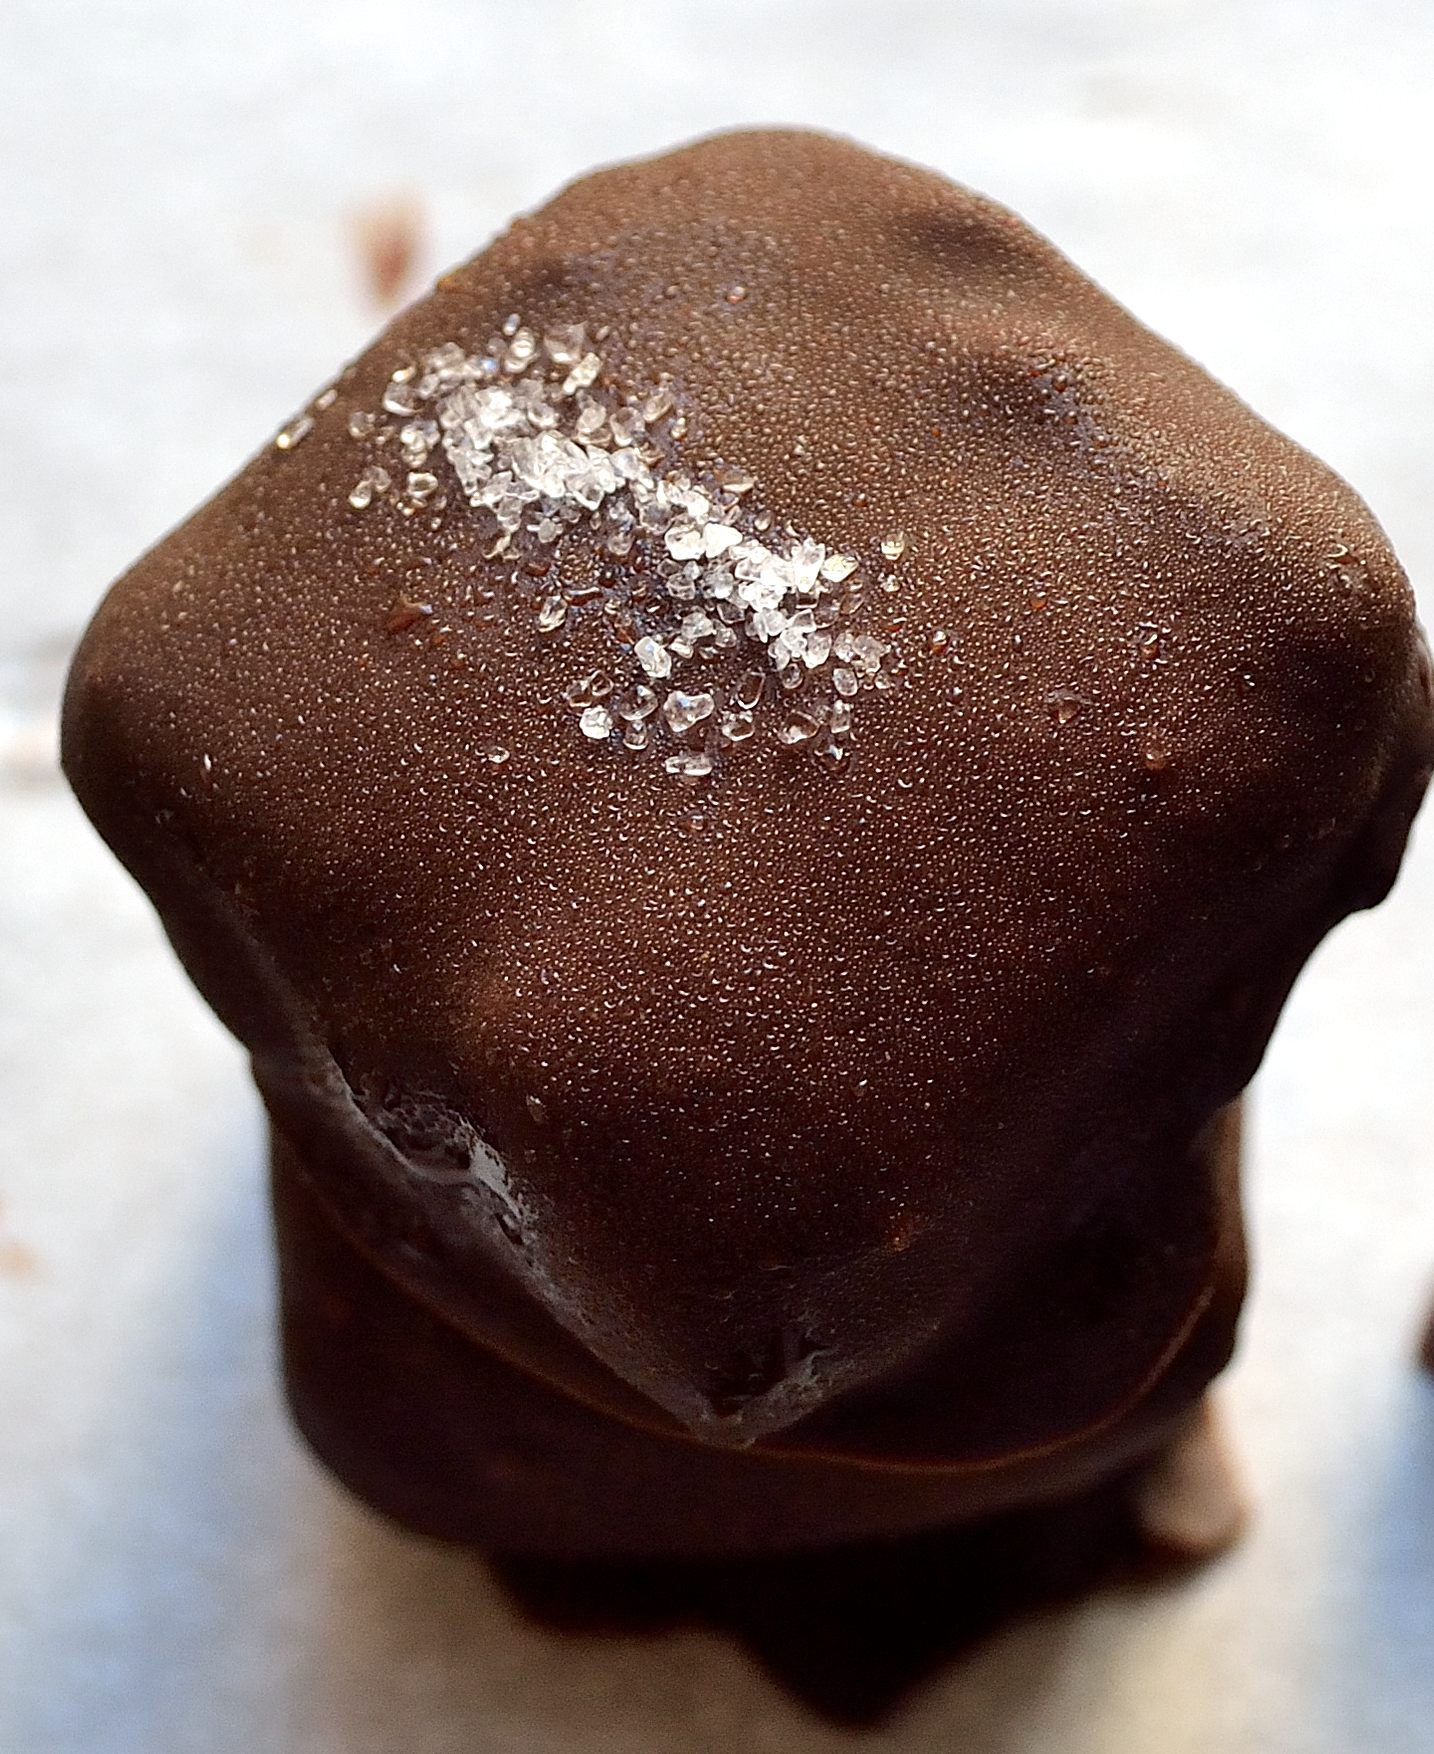 you just need something sweet, preferably covered in chocolate. There are days that a piece of fruit is just not going to satisfy your sweet tooth. I used to think that I had to fight that sweet craving because it was a sign of my weakness. I would ignore it and tell myself that I was making my willpower stronger. I was really just making myself miserable.
Having a craving for sweet stuff doesn’t mean that you are weak, it means that you are human. Indulging in a sweet treat every once in a while is totally fine and better for your sanity in the long run. You just have to do it the right way. If you find yourself reaching for a candy bar multiple times throughout the day, then maybe you need a little sugar detox. But if you’re looking for a little bite every now and then, this DIY is just for you.
Homemade food is always going to trump store bought because you are in control of the ingredients. That is especially true for this candy. It’s only two simple ingredients, but will still satisfy that craving for a little something decadent. You can even add nuts or seeds for a little crunch and texture. Make a batch and keep them on hand for whenever you need a little bite of chocolatey caramel-y goodness!
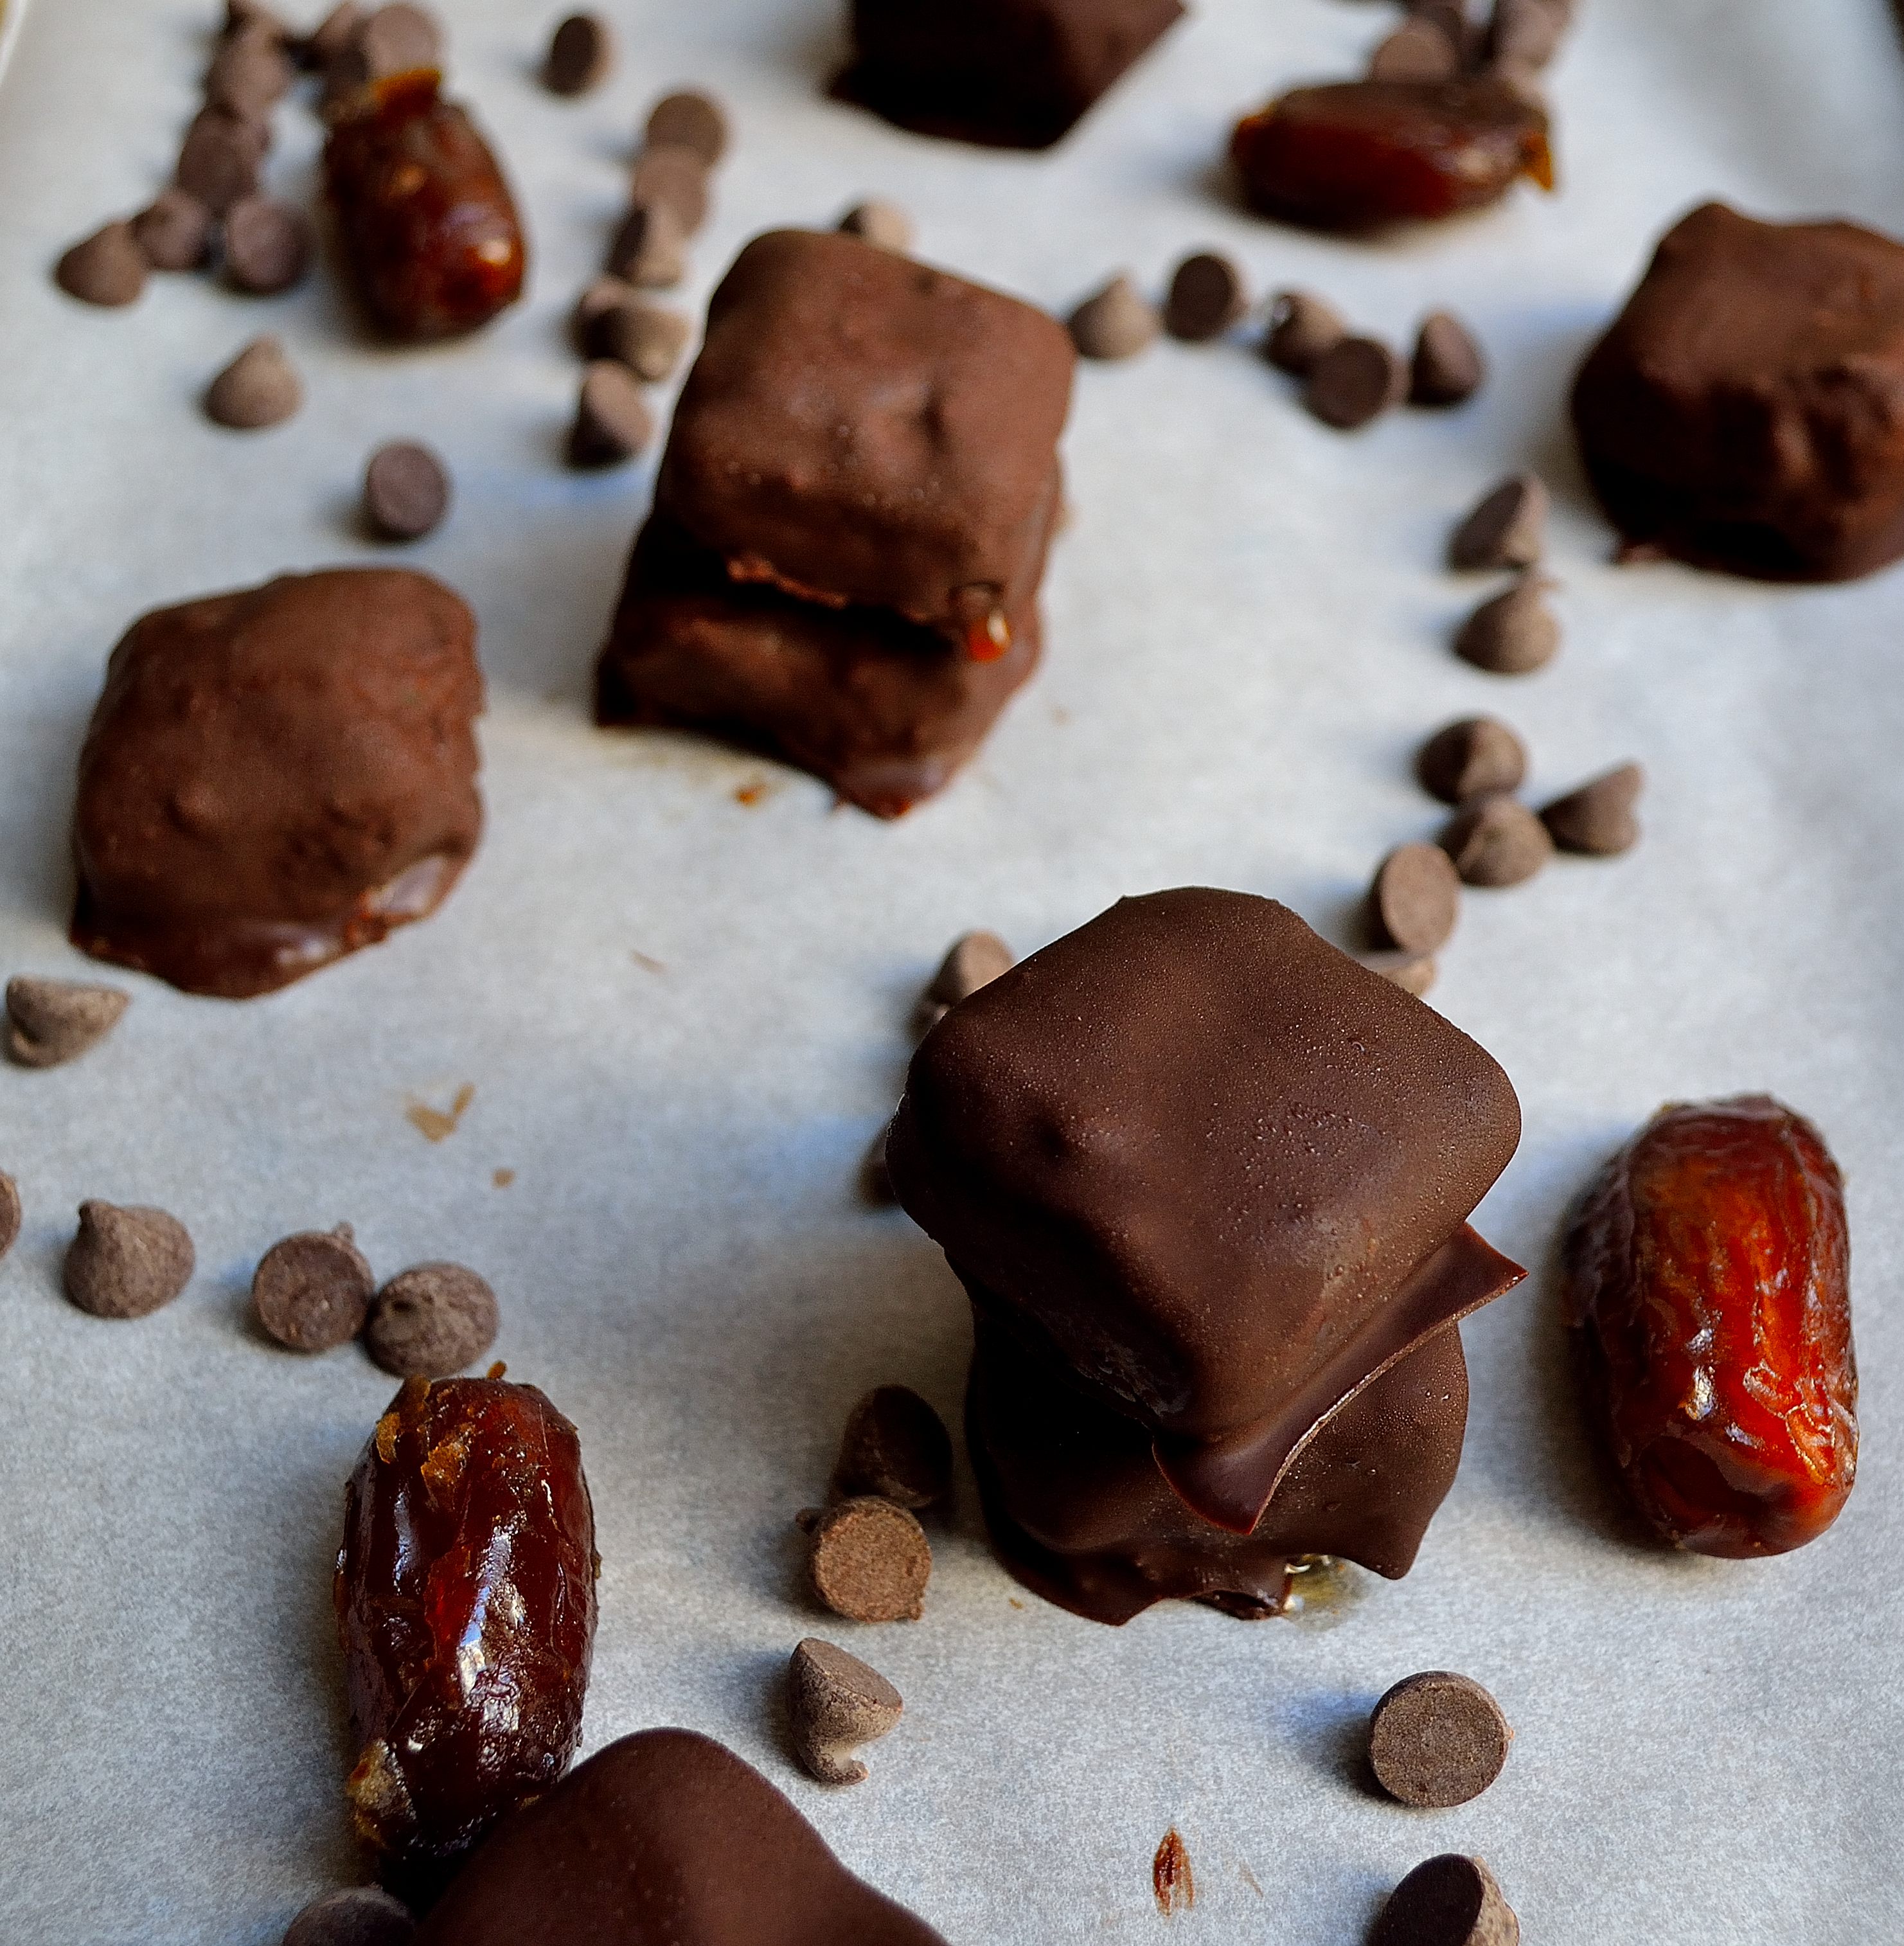
Chocolate Caramel Candy

- 10 Medjool dates, pitted and sliced in half (you could also use prunes)
- 1 cup dark chocolate chips (read notes for another substitution)
- 1 tbsp coconut oil
- pinch of sea salt
- peanuts, cashews, hazelnuts, almonds (optional)
- Place pitted and sliced dates into a bowl and cover with hot water. Let dates soak for 10 to 15 minutes until very soft
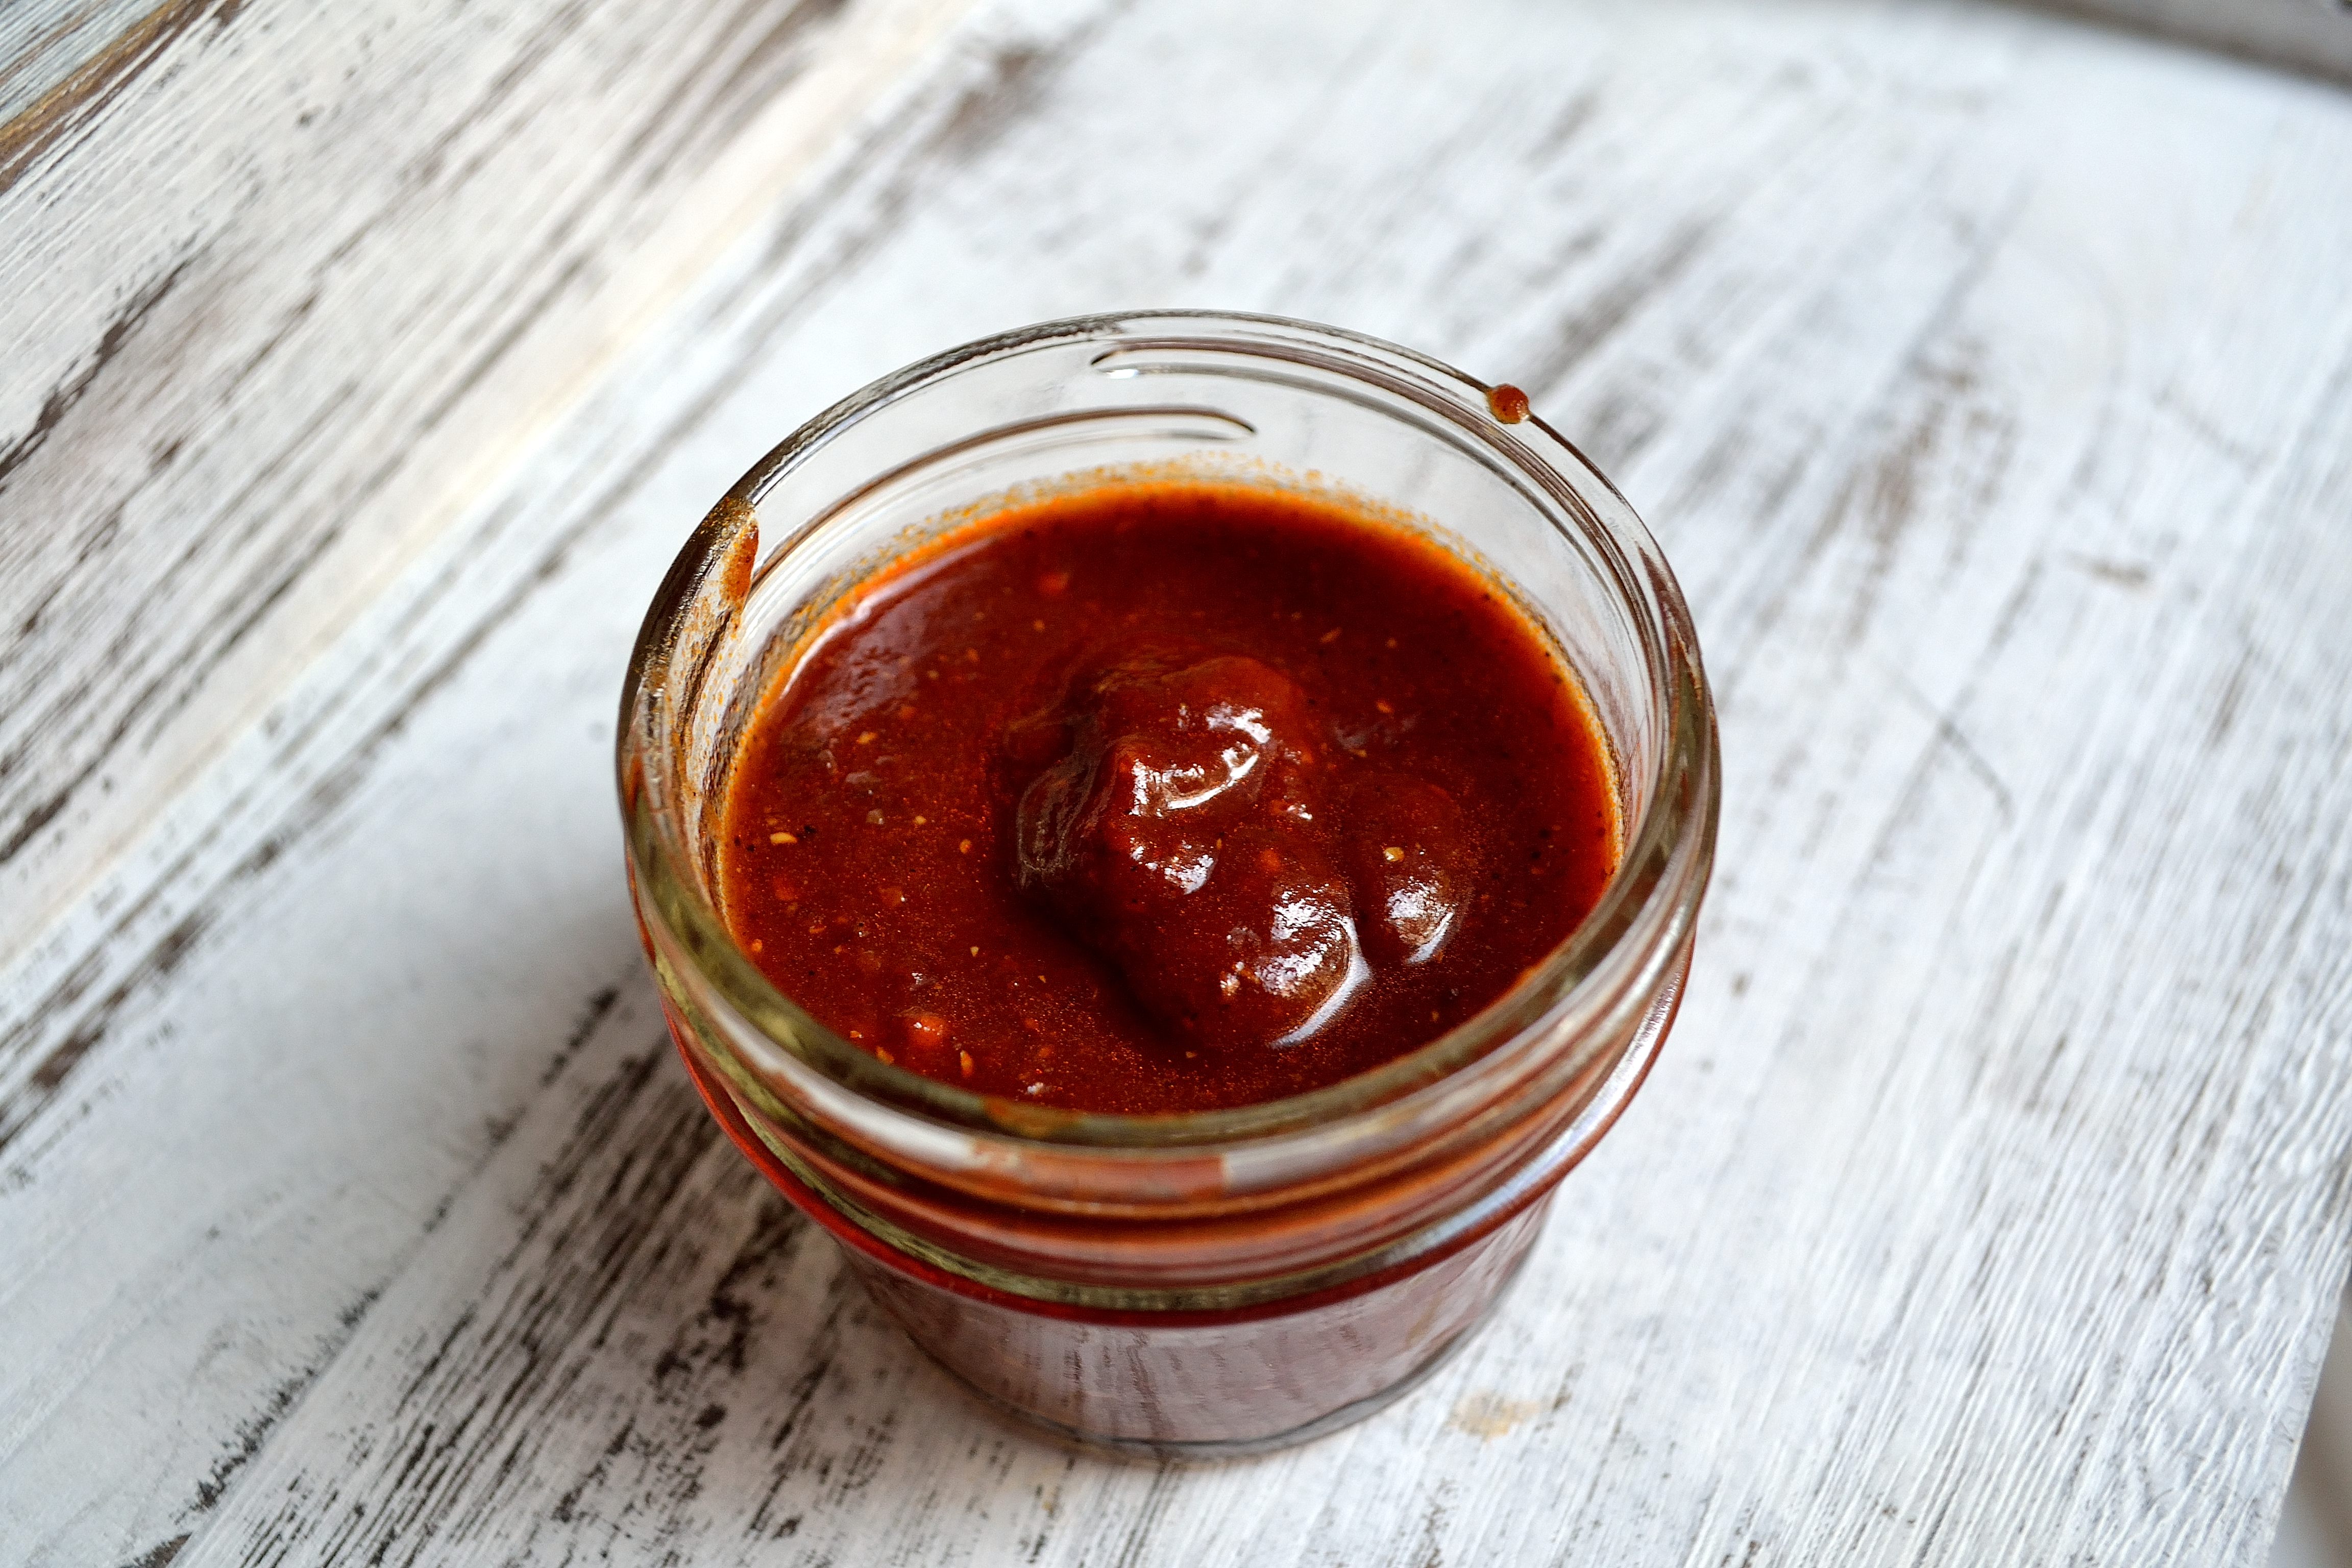
- Drain the dates and place them into a blender with the pinch of salt. Blend until everything is completely smooth.
- Spoon about a teaspoon or so of the date caramel mix into a silicone mold. You could also put them on a parchment lined cookie tray. If you’re using nuts, press one into each caramel now. Freeze for 30 to 45 minutes.
- Melt the 1/2 cup of dark chocolate chips and 1 tbsp coconut oil. You can do this in the microwave in 20-second intervals stirring until all the chips are melted and it’s smooth. Or you could melt the chips in a double broiler.
- Line a cookie sheet with parchment paper. Remove the frozen date caramel and pop them out of the molds. Using a fork, dip the caramel into the chocolate and place onto the cookie sheet, working quickly. Place the sheet into the freezer once they’re all covered
- Freeze for 15 minutes then enjoy! Keep the candy in a container in the freezer so they don’t melt.
*Note* You can also use baking chocolate for the coating. Use 100% cacao and melt in a double broiler with 1 tablespoon coconut oil and 1 tablespoon of maple syrup or honey. Stir constantly until completely smooth.