Be prepared for all the lemon/poppyseed recipes this week. More specifically, be ready for Meyer lemon and poppyseed recipes. I found a whole bag of Meyer lemons at Aldi for $1.99 and since I had never tried them I picked them up and found a few delicious ways to use them.
Dressing was one of the first things I did with them, I also made muffins, marinades, smoothies, drizzled over fish and chicken for the husband, and even tried them in eggs. Yeah, that last one was not good. But gotta experiment right? 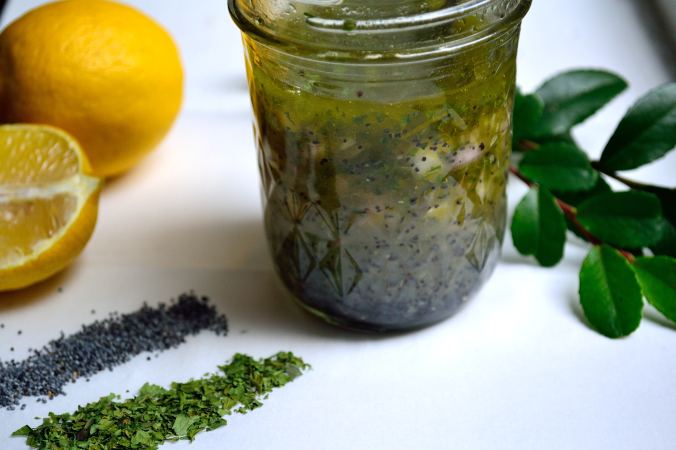
If you aren’t familiar with Meyer lemons, they’re kind of like if an orange and a lemon had a baby. It’s a little sweet and a little sour and a lot yummy. It works really well in a lot of recipes because it doesn’t have the puckering effect of lemon but doesn’t end up overly sweet. Sadly, Meyer lemon season is short but that makes it even more special. So if you have seen these lemons in your grocery store but have never known what to do with them, stick around and try my vinaigrette today and some muffins on Friday!
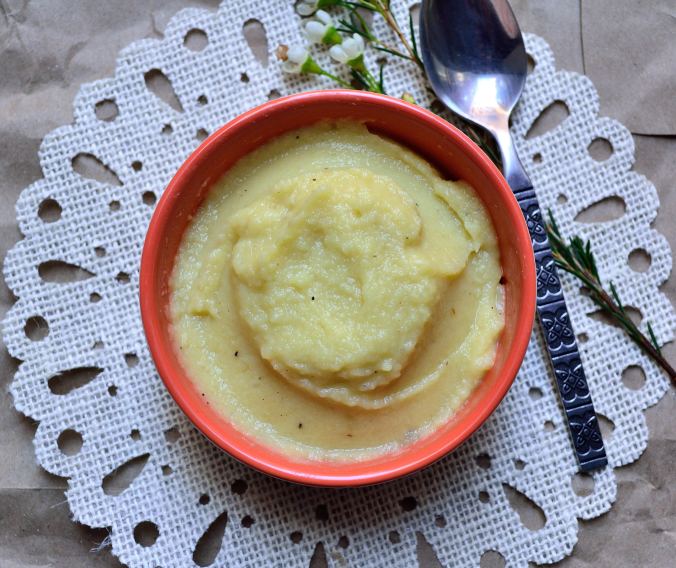
Lemon Poppyseed Vinaigrette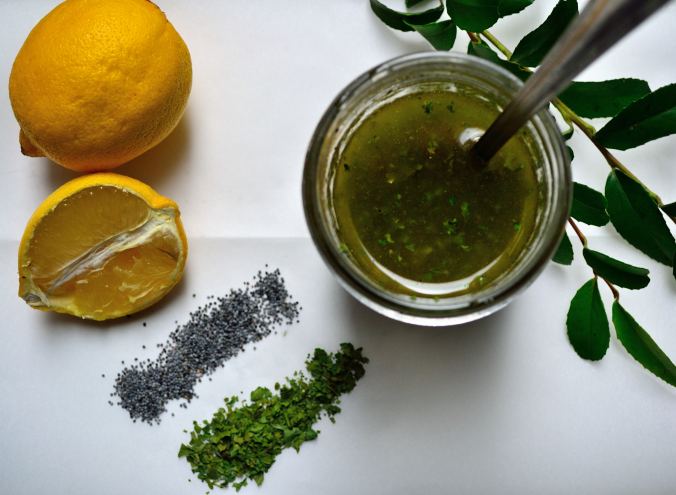
- 1/3 cup freshly squeezed Meyer lemon juice (please use fresh juice, it tastes so much better)
- 1 tbsp lemon zest (from those lemons you just squeezed)
- 1/3 cup extra virgin olive oil
- 1 shallot, minced very small
- 1 small clove garlic, minced very small (more if you REALLY like garlic)
- 2 tsp poppyseeds
- 1 tsp maple syrup or honey
- 1/4 tsp salt (more if needed)
- Place a fine mesh sieve or strainer over a large bowl or sturdy measuring cup. Squeeze your lemon juice over this so you can catch seeds and any pulp. Keep going until you have 1/3 cup.
- Put the rest of the ingredients into a mason jar or other container with a secure lid. Shake everything together and use over your next salad or as a marinade for fish, chicken, or pork.
Make sure you store this in the fridge and use it within the next few days. Now, just so you know as this sits, the ingredients will separate into different layers. That’s fine, all you have to do is shake it up right before you use it. The olive oil also might solidify a bit in the fridge but that doesn’t mean it’s gone bad or anything, just let it sit out until it’s back to room temperature.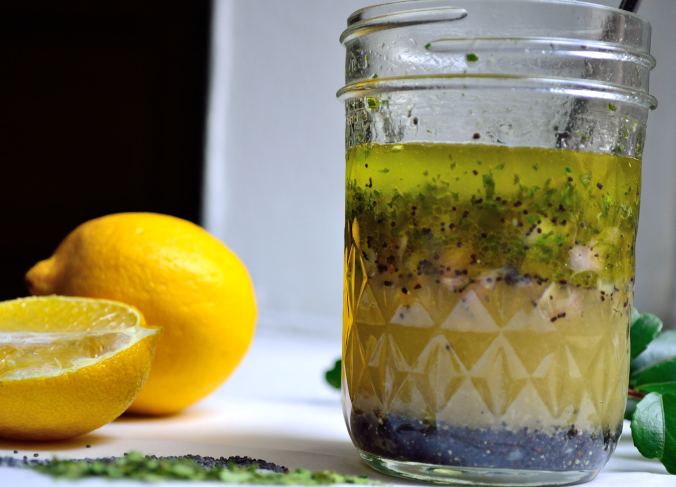
Other than that, enjoy this refreshing and healthy vinaigrette!


 I’m going to tell you a story about pancakes. Don’t worry it will make sense in the end.


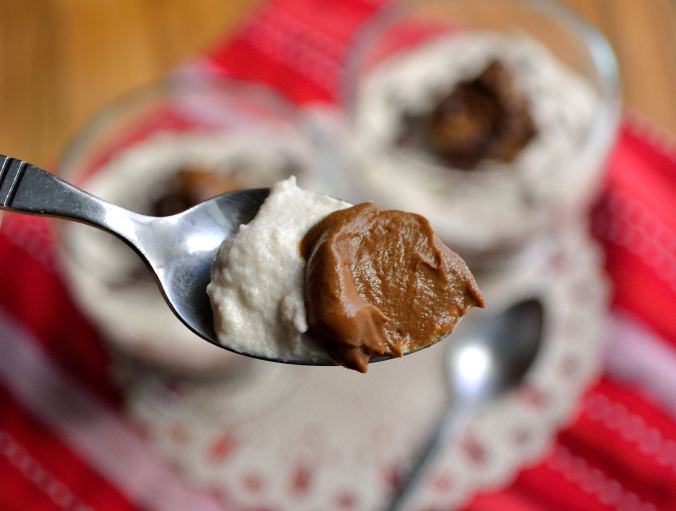
 Valentine’s Day needs chocolate. It’s just a fact of life. I mean every day needs chocolate, but Valentine’s Day needs the fancy chocolate. Enter this dessert.