I don’t know if you remember, but a few weeks back I mentioned that I was going to start writing a health column for a magazine. Well my first article was published in the Nov/Dec issue that came out at the beginning of the month. It’s pretty exciting to see my name in the byline and see my recipes in a magazine. One of my recipes was even made the cover shot, so that was pretty awesome! The other recipe that I put out was this one. I wanted to make a dish that would be easy to make and bring to holiday gatherings. This is dairy, soy, meat, and gluten-free so it is a good dish to serve if you have guests over who have and food issues. It’s also a great dish to make ahead and then just warm up in the oven before you serve. I brought it to Thanksgiving in Indiana yesterday and I’ll be bringing it to my second Thanksgiving on Saturday. I hope that you all had a great day and if you are just getting back from black Friday shopping, I hope you get a nice big nap!
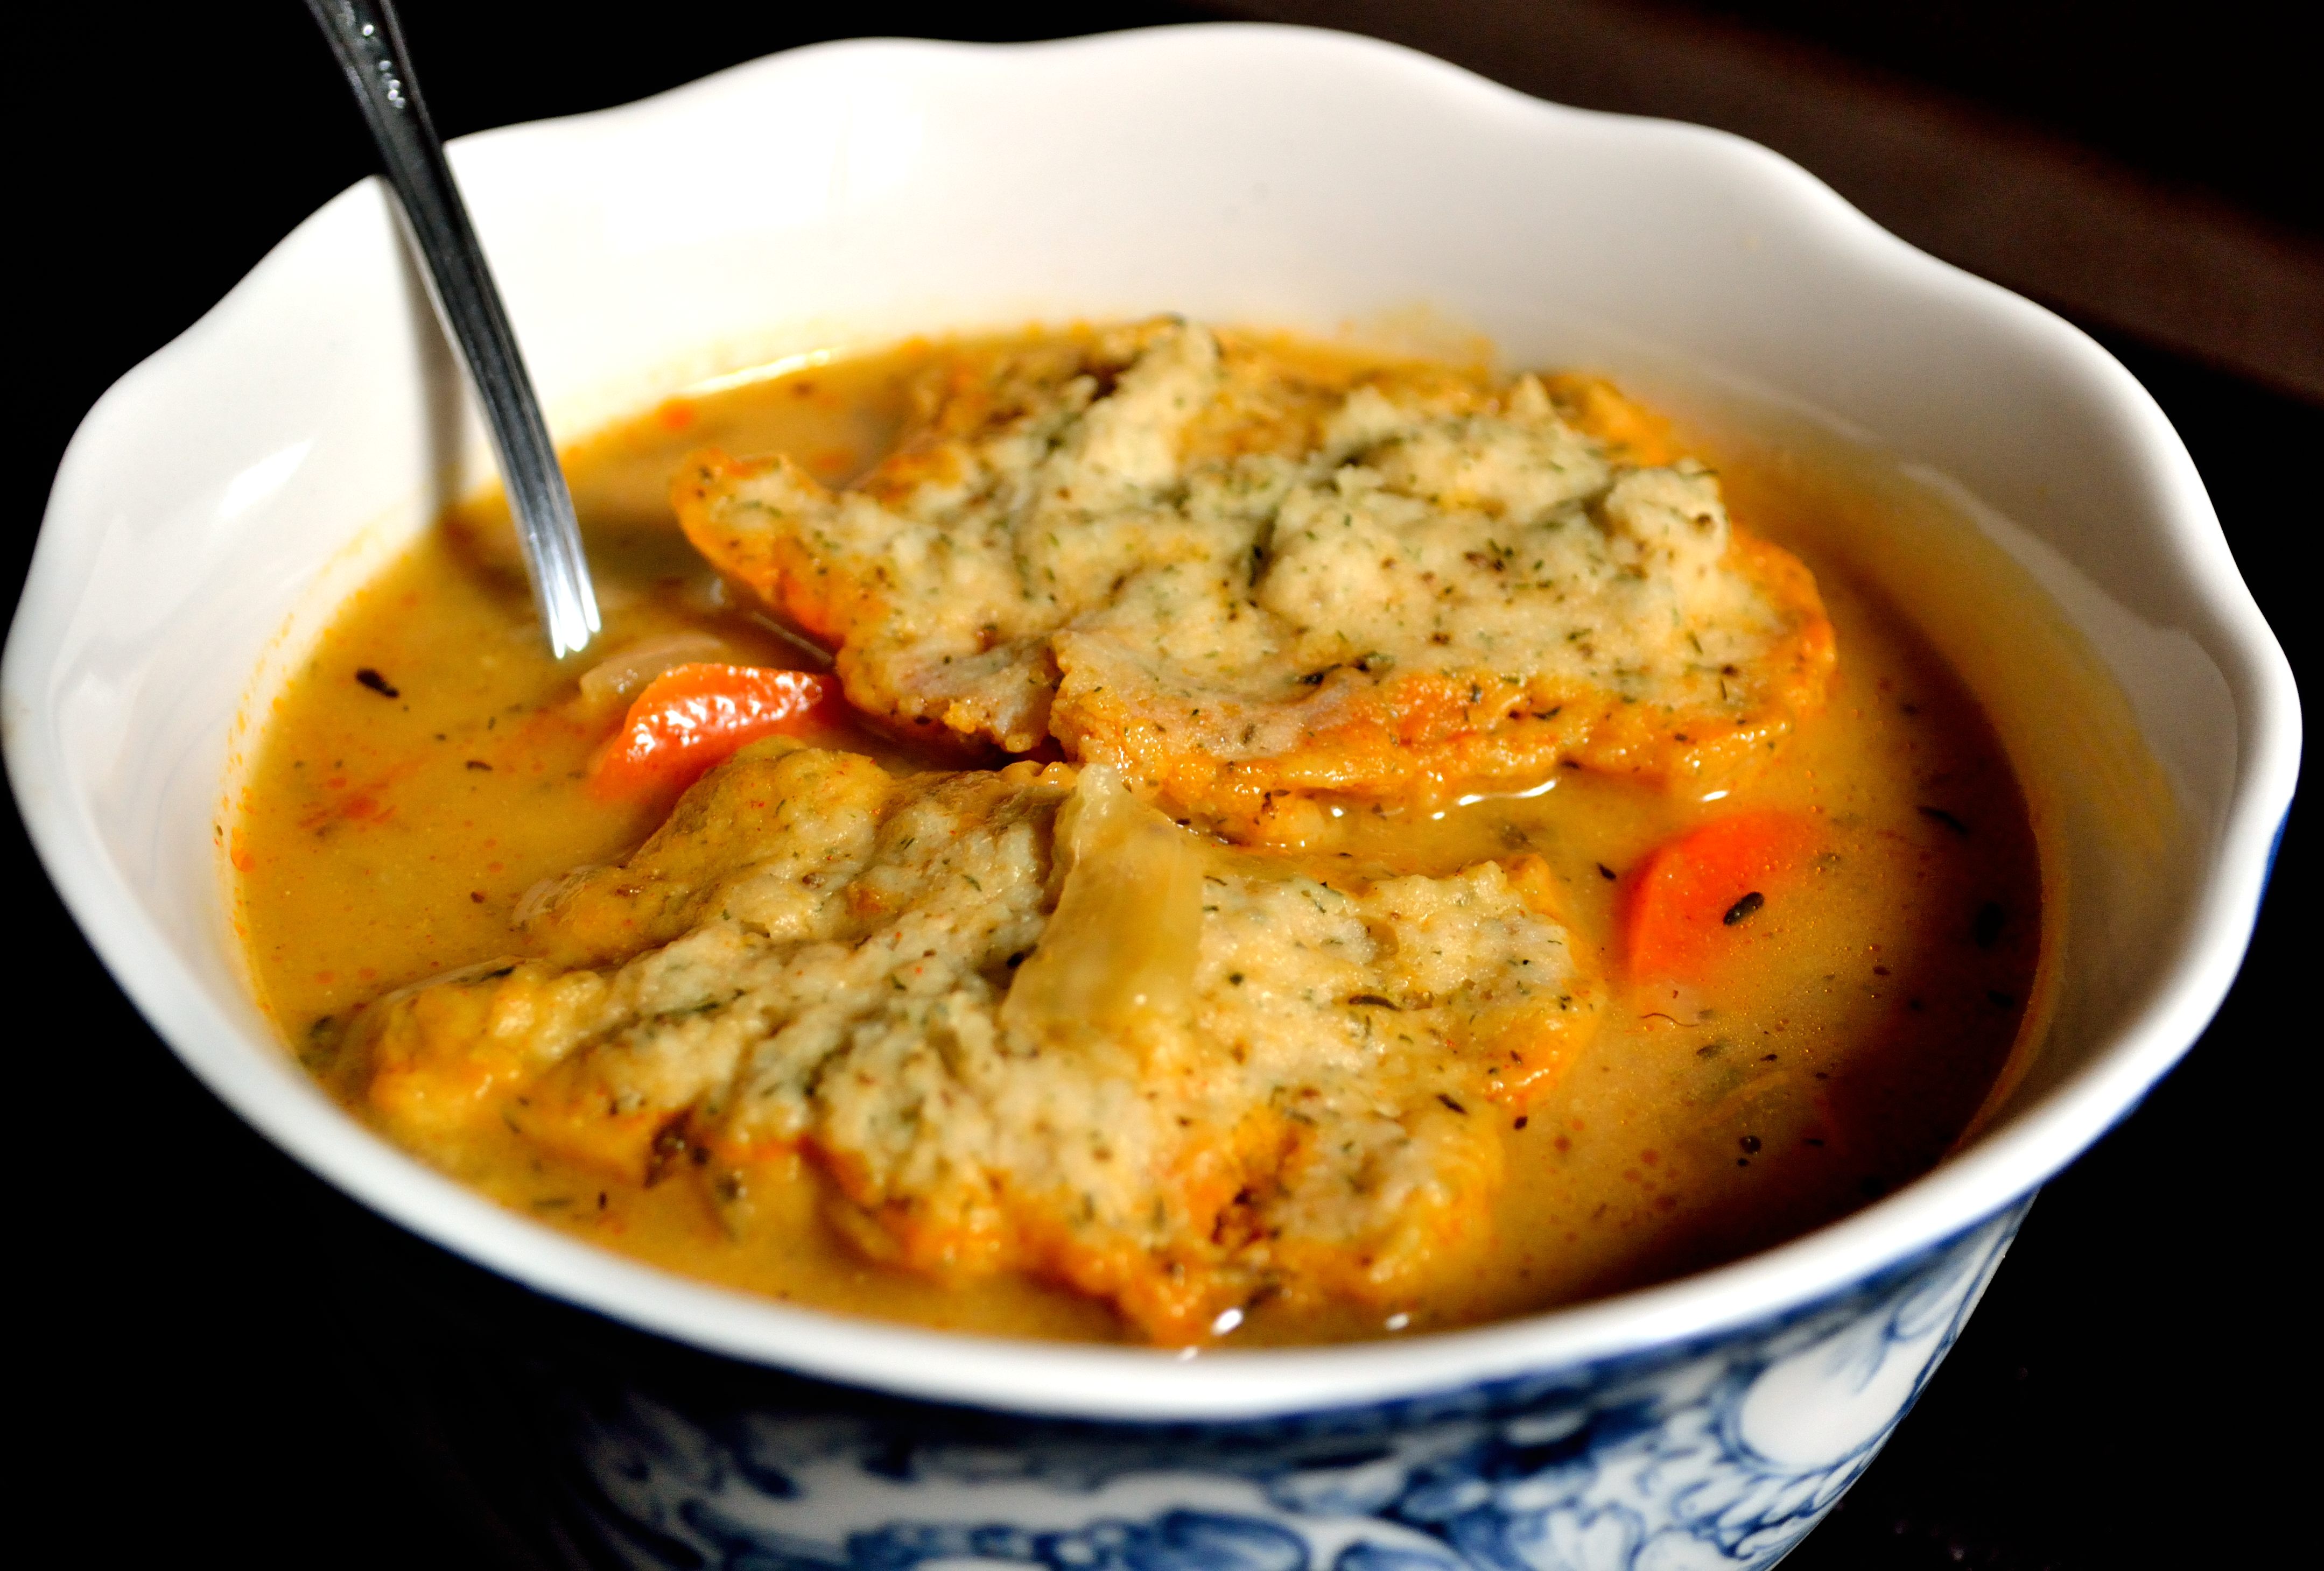
Stuffing Casserole

Polenta Layer
- 1 cup cornmeal
- 3 cups water
- 1-2 tsp salt
- 3 tsp Italian seasoning
Cashew Cream Layer
- 1 cup cashews, soaked for at least 30 minutes
- 1/2 cup water
- 2 tsp lemon juice
- 1 tsp apple cider vinegar
- 1/2 tsp salt
Stuffing Layer
- 1 cup walnuts (can also use cashews or pecans but walnuts work best)
- 8 oz package of mushrooms
- 1 onion, diced
- 3 cloves garlic, minced
- 2 celery stalks, sliced
- 2 tsp parsley
- salt and pepper to taste.
1. Start with your polenta. Bring 3 cups of water and salt to a boil. Whisk in the 1 cup of cornmeal and cook on low until the polenta is nice and thick and starting to pull away from the sides of the pot. Stir in the Italian seasonings and pour into an oiled casserole dish. Place in the fridge while you make the rest of your layers
2. Place your soaked and rinsed cashews into a blender or food processor with the rest of the ingredients and blend until smooth. Set aside.
3. Place walnuts and mushrooms into a food processor and pulse until mixture is crumbly. Heat a medium skillet over medium high heat and saute onions, celery, and garlic for 5 to 7 minutes until soft. Add in the mushroom walnut mixture and seasonings and cook for about 10 minutes until the mixture starts to brown a little.
4. Get your casserole dish out of the fridge and make sure the polenta is set. Spread a thick layer of the cashew cream over the polenta, making sure it’s covered. Then spread the mushroom.walnut mixture over the cream. If you’re going to eat it right away, cover with foil and bake at 350 for 20 minutes. Otherwise when you’re ready to eat, place in oven at 350 for 25 minutes uncovered. Slice and enjoy!
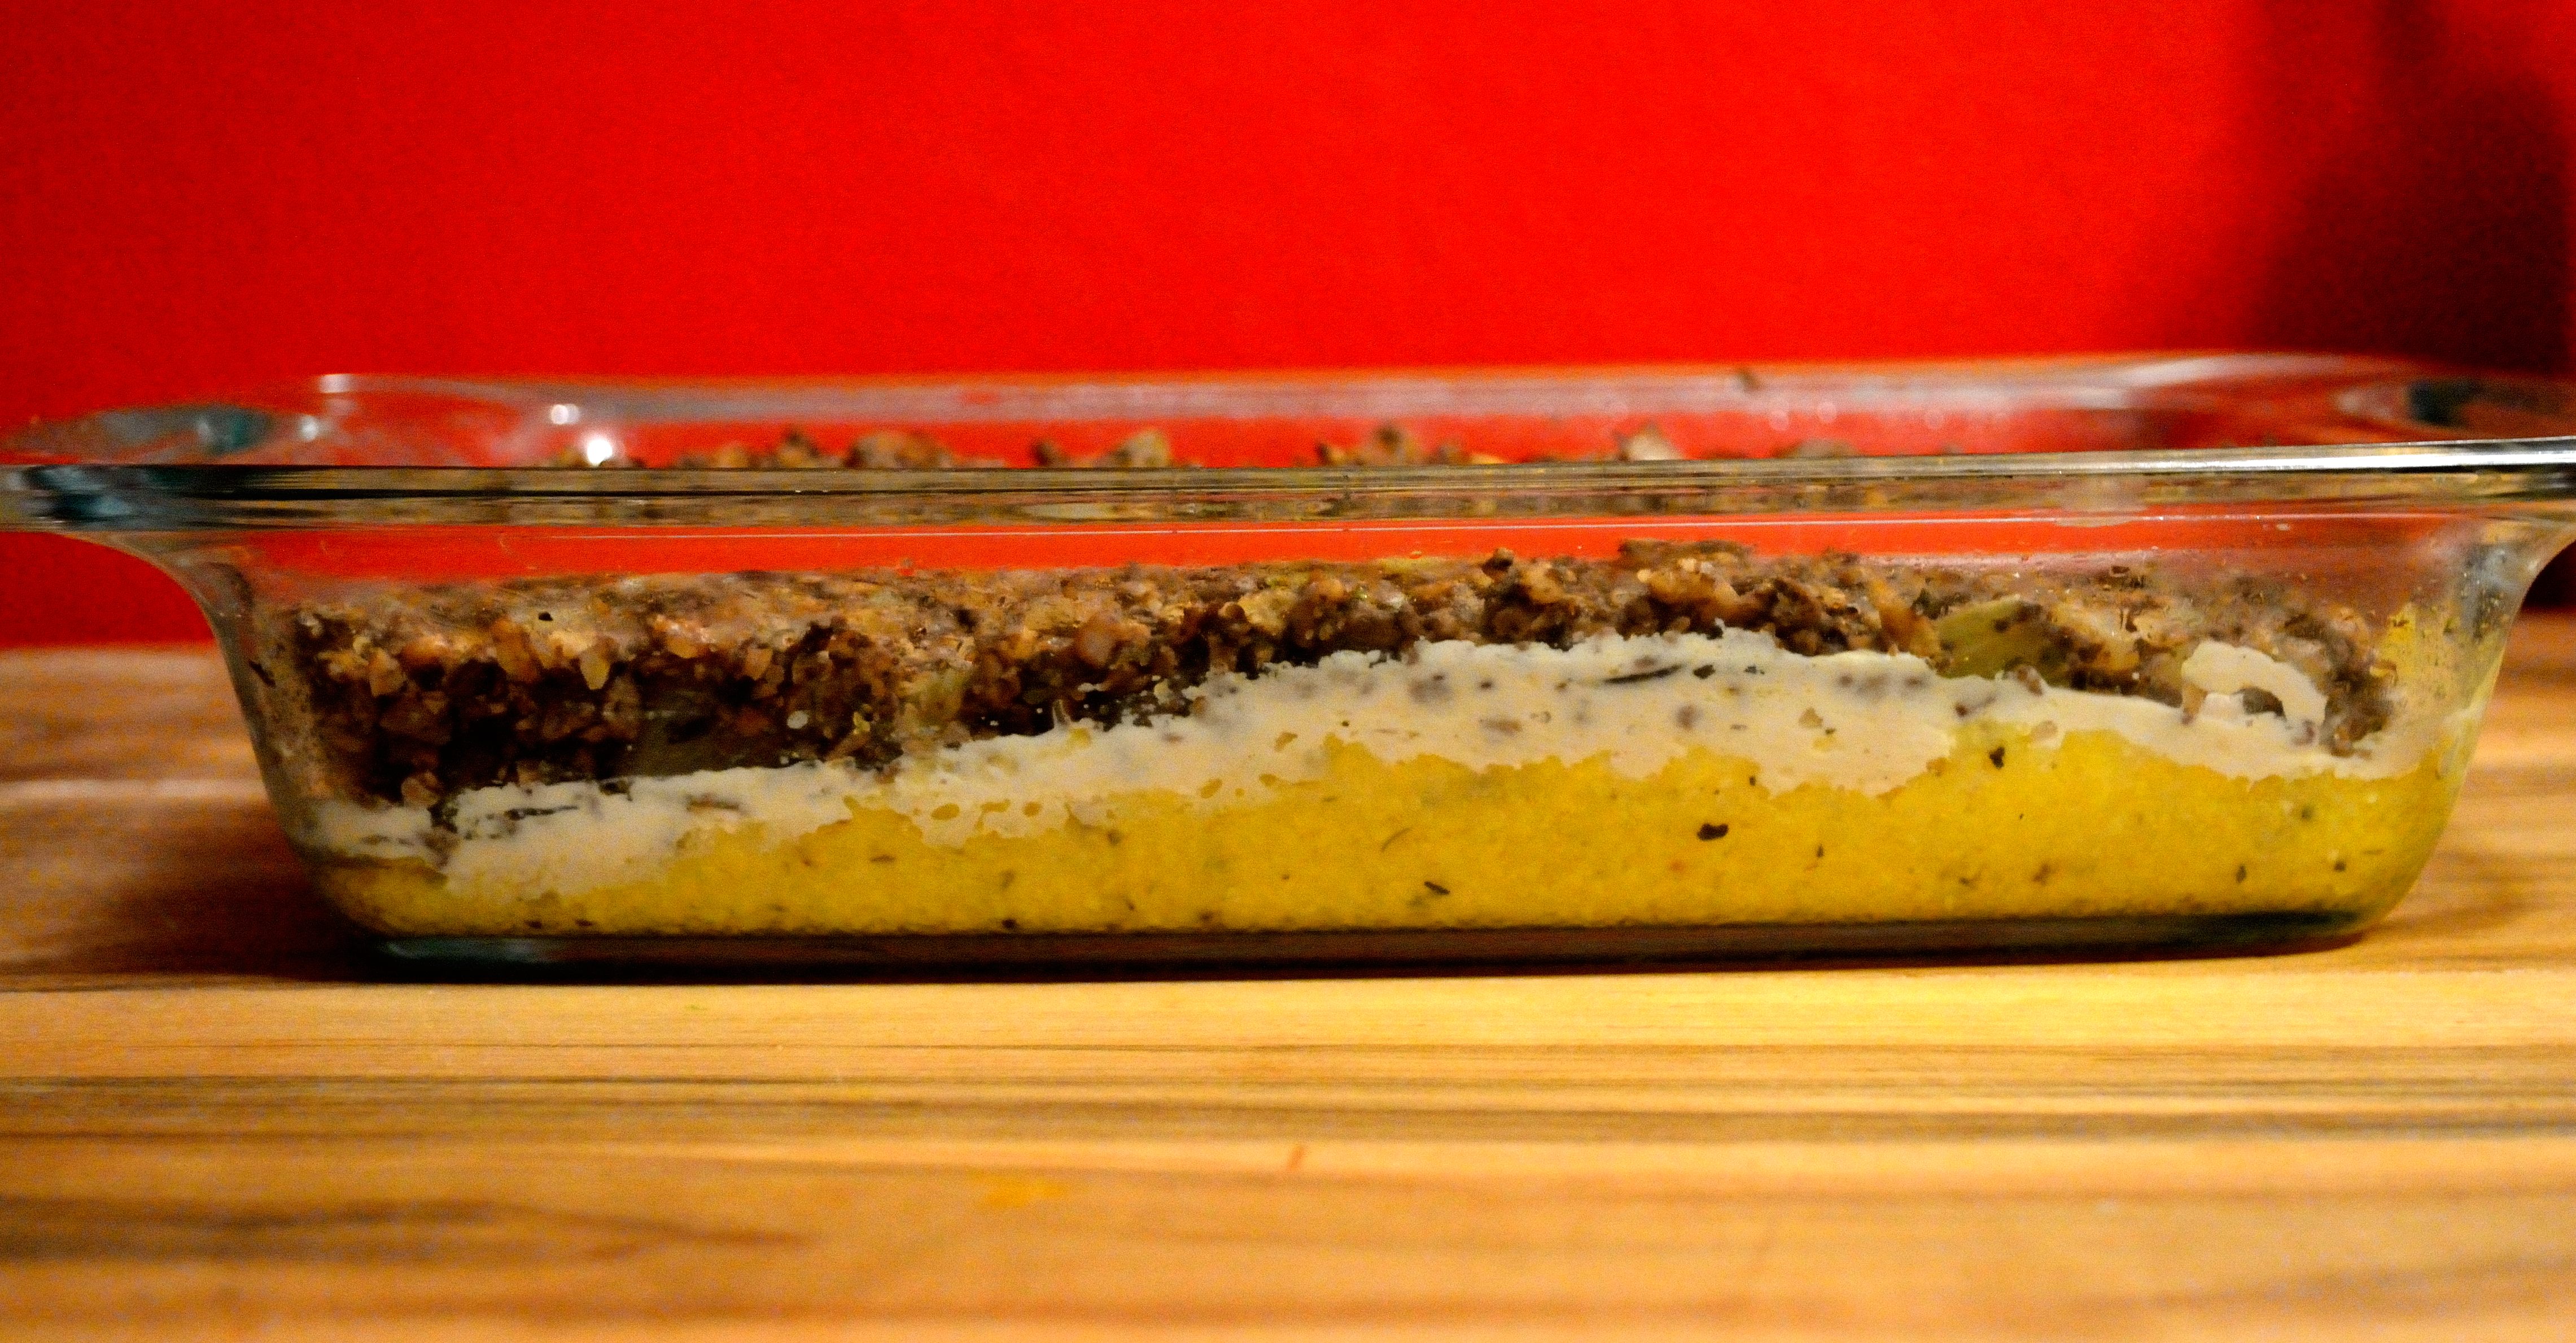
Look at those yummy layers!
This also makes a really good breakfast dish if you have to feed a crowd. Whenever you eat it, it’s sure to please! I hope you enjoy the rest of your holiday weekend and see you on Monday!