DIY Wednesday: Roasted Salsa Verde

After 2 years of Spanish in Jr. High, three years in high school, and two semesters in college I can say this with certainty: verde means green.  Therefore, that means salsa verde is green salsa.  Mind-blowing things revealed on my blog today, I know. DIY Wednesday: Roasted Salsa Verde | Life Healthfully Lived

In my brain I understood that salsa verde had to be made with some kind of green vegetable but I never really thought about it.  I just ate my regular salsa and left my green dip needs to guacamole.  Then I saw a sale on tomatillos at my grocery store, bought a few on a whim, and then headed home to figure out what to do with them.  After a little research AKA Google search, I realized tomatillos are what make salsa verde, well, verde.

I also found out that roasting them was common and helped bring out their flavor.  Since I am the Queen of roasting any and everything, I roasted them up, blended them up, and then ate them up.

That’s how simple this recipe is.  If you’ve never worked with or had tomatillos before, don’t be intimidated.  They come in a papery husk and kind of look like a giant green berry.  Like this:DIY Wednesday: Salsa Verde | Life Healthfully Lived

All you have to do is peel away the husk, like this: DIY Wednesday: Roasted Salsa Verde | Life Healthfully Lived

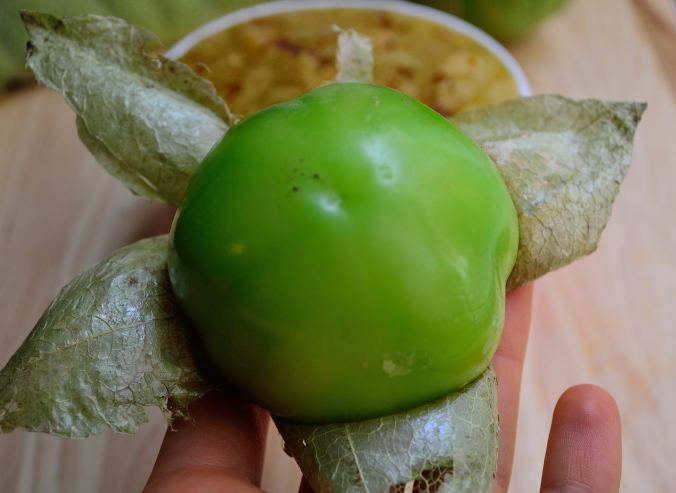
Rinse it off and you’re good to go!  I kept this really simple but you could add other things like jalapeno peppers if you want a kick, roasted apples if you want a little bit of sweet, or stir a little salsa verde into your guac for a delicious twist.

Roasted Salsa Verde: DIY Wednesday: Roasted Salsa Verde | Life Healthfully Lived

  • 3 to 4 medium-sized tomatillos
  • 1 small onion, about 1/2 a cup cut into quarters
  • 3 to 4 whole cloves of garlic
  • 1/2 tsp chili powder
  • 1/4 to 1/2 tsp salt
  1. Preheat oven to 350 and line a baking sheet with parchment paper
  2. Peel the husk off the tomatillos and rinse with cool water.  Dry completely.
  3. Place the tomatillos, quartered onion, and garlic cloves into a large bowl.  Drizzle a little olive oil and toss until everything is coated.  Sprinkle with salt and pour everything out onto the baking sheet.
  4. Roast everything for about 15 to 20 minutes until the tomatillos are a little brown around the edges and soft.  It’s ok if they explode a little while roasting.
  5. Remove from the oven and let everything cool for about 10 minutes.  Then, pour the whole pan into a blender, add the chili powder and blend.  Taste and adjust the seasoning.

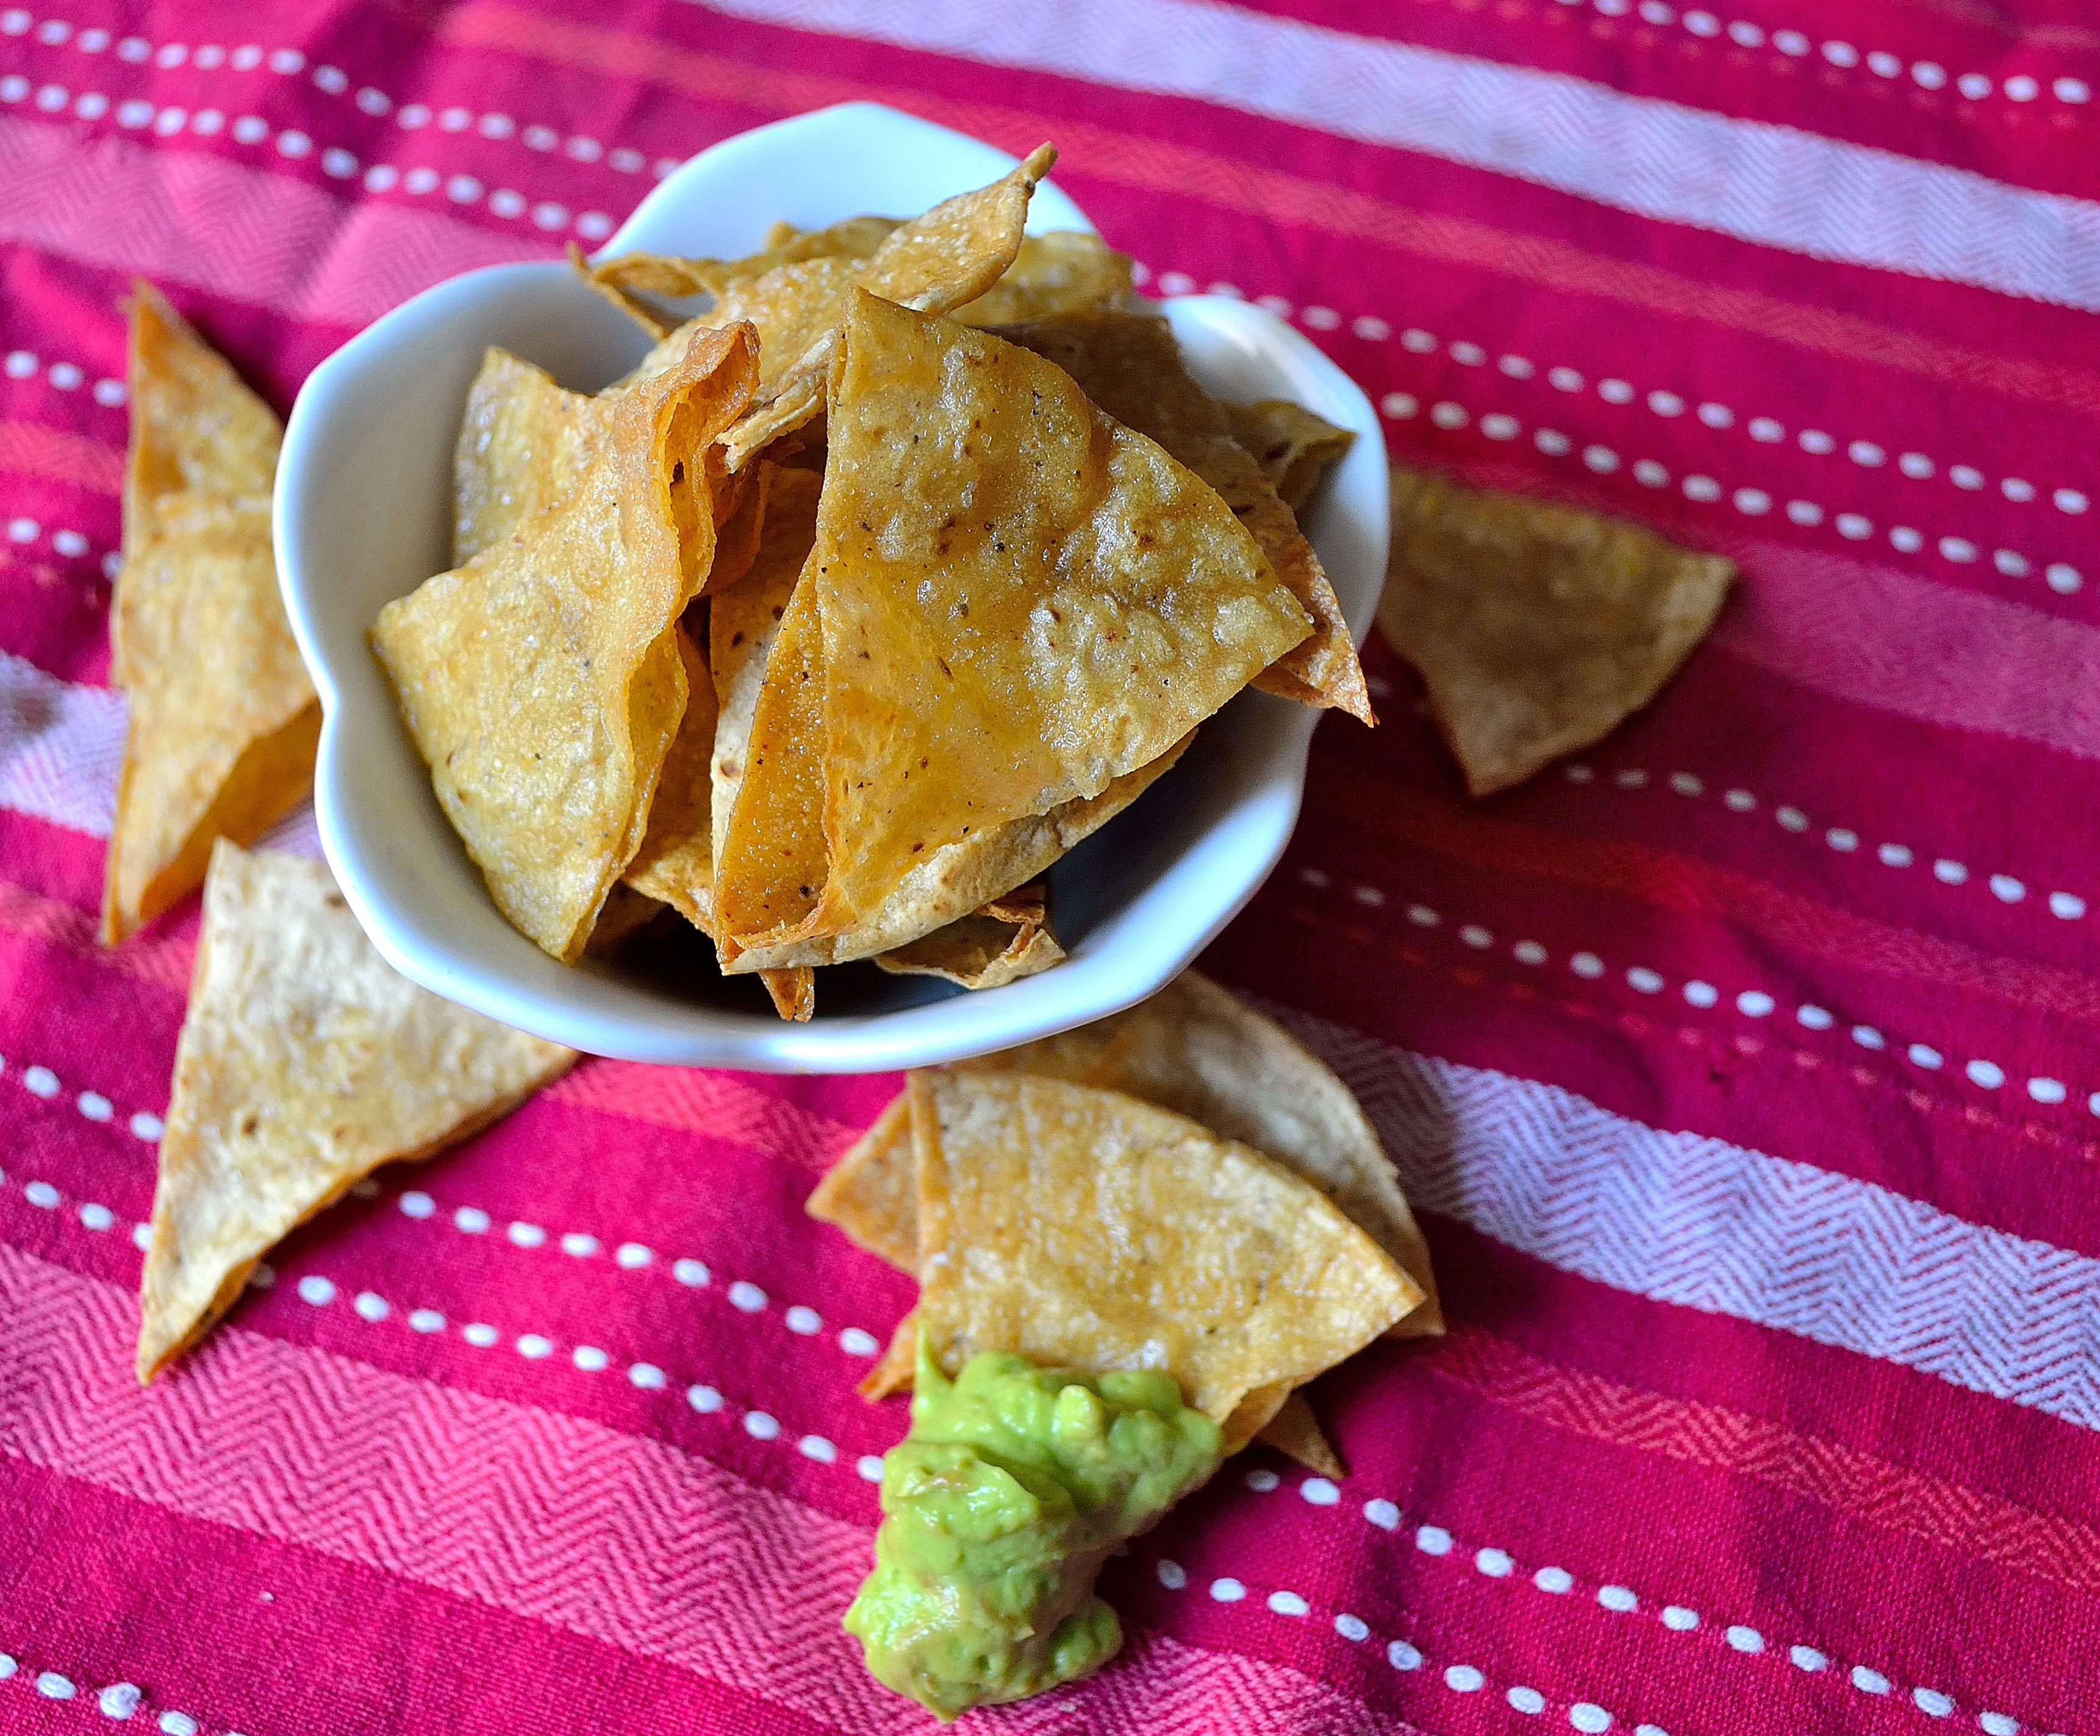
This salsa is awesome on tacos, with homemade tortilla chips, and even as a dip for plantain chipsDIY Wednesday: Roasted Salsa Verde | Life Healthfully Lived


DIY Wednesday: Simple Salsa

OkDIY Wednesday: Simple Salsa | Life Healthfully Lived , so Monday and Tuesday this week I was wracking my brain trying to think of a DIY post for you guys.  I could not come up with one single thing.  I was starting to worry that I was out of ideas and trying to scramble for something to post today.  I even went as far as to ask Adam for some help.

Luckily, he pulled through like a champ.  Actually his friend, Eric, came through like a champ but Adam was the middle man so we’ll give him a little credit.  I asked Adam and he asked Eric if there was something that he usually bought at the store that he wanted to make at home to save money or make healthier.  He came back with salsa.

Salsa!  So simple yet I had completely overlooked it!  I even thought I already had a recipe up on my blog but quickly found out I didn’t.  So thank you ET for saving the day!DIY Wednesday: Simple Salsa | Life Healthfully Lived

I haven’t bought salsa in a very long time because it is so easy to whip up your own.  Plus my mother in law makes a mean salsa and always makes sure we have a jar or two.  This is the very simple salsa I make whenever we have a Mexican feast, which is like every other weekend.  What can I say?  I like tacos!

This salsa isn’t fancy or have any exotic ingredients, it is something you can make quickly when you are in a pinch for salsa.  It tastes awesome and because it is so simple you can always have some on hand.  If you want to make it fancy you can add extra things like corn or black beans.  You can control how spicy or mild it is as well as the consistency.  Pretty much this salsa can be everything you want and nothing you don’t.  Let’s make some salsa!

Simple Salsa

DIY Wednesday: Simple Salsa | Life Healthfully Lived

  • one 28 oz can of whole peeled tomatoes or 3-4 fresh tomatoes
  • 2/3 cup diced onions
  • 3 cloves garlic
  • 1 to 2 jalapeno peppers, roughly chopped and seeds removed (you can leave the seeds in for a spicier salsa. You can also omit completely)
  • juice and zest of one lime
  • 2 tsp chili powder
  • 1 tsp cumin powder
  • 1 to 2 tsp salt
  • small handful of cilantro (more if you really like cilantro like me)
  1. Roughly chop tomatoes and onion and add everything but the cilantro into a blender.
  2. Blend until you reach your desired consistency.  I like it fairly chopped but blend less for a more chunky salsa.
  3. Taste and adjust any seasonings.  Add in the cilantro and pulse a few times to mix it in.
  4. Serve with homemade tortilla chips and enjoy!DIY Wednesday: Simple Salsa | Life Healthfully Lived

DIY Wednesday: Tortilla Chips

ThisDIY: Tortilla Chips week is flying by because it’s already DIY Wednesday!  So far we’ve come up with our own spice blends and made some quick but healthy jam.  Feeling crafty yet?

I hope you enjoy these posts as much as I do.  I really like being able to make my own things at home because it saves money and ends up being a lot healthier.  So many people shy away from making their own stuff because they don’t think they have the time or skill.  Believe me I am not a pioneer woman who can spin yarn, preserve vegetables, and make my own clothes.  But you don’t have to be Laura Ingalls Wilder to make some food staples for you and your family.

Today will be the easiest and cheapest DIY yet.  You’re going to make tortilla chips in less than 20 minutes and it will only cost you about $.40.  Yes you heard me right, $.40.  You will never buy tortilla chips again after this post. Ok you might, but you don’t have to with this trick up your sleeve!

I use El Milagro corn tortilla shells for this because the ingredient list is extremely short (corn, salt, lime) and they are only $.33 at Aldi.  You can use any corn tortilla that you would like, just make sure to read the ingredients.  I also use a pizza cutter to cut the tortillas because it’s faster, but a sharp knife will work too.

Tortilla Chips

DIY: Tortilla Chips

  • 1 package of El Milagro corn tortillas
  • 1 lime
  • salt
  • olive oil
  1. Preheat the oven to 375.  Using a pizza cutter cut the tortillas into chip size pieces.  On a parchment or Silpat lined baking sheet arrange the chips into a single layer.
  2. Squeeze the lime juice on to the chips and then drizzle the chips with a little olive oil.  You don’t need to drench them, just a little bit will work.  Then sprinkle with a pinch or so of salt.
  3. Bake the chips for 8-12 minutes checking often to make sure they don’t burn.  Remove from oven and let cool before devouring.

It’s that easy to have a pile of tortilla chips ready to scoop up delicious guacamole or salsa.  Enjoy and Happy Wednesday!

DIY: Tortilla Chips

What’s your favorite chip topping?

Taco Casserole

This recipe is a winner. Ask my husband, he is crazy about this one.  I have to admit it is one of my new favorites too, it is creamy and a little spicy and fulfils that need for Mexican food without making you feel gross afterwards.  Now, because I don’t eat dairy or buy processed products, I made my own nacho “cheese” sauce.  It looks and sounds like it will taste really gross, but I promise you it tastes phenomenal.  If you don’t want to use the sauce I used you can use store bought nacho cheese sauce, but I don’t recommend it.  Also, give yourself some time to make this recipe, this is a really good weekend meal.  Ok enough talking, let’s get to it!

Taco Casserole

photo (36)

For the Nacho “Cheese” Sauce

  • 1/4 cup cashews
  • 2 cups warm water
  • 1 tsp salt
  • 1 cup nutritional yeast (do NOT use baking yeast, you will be very unhappy with the results)
  • 1 tsp chipotle chili spice (more if you want a spicer cheese sauce)
  •  2 tbsp tapioca starch (cornstarch or arrowroot powder would also work)
  • 1 tbsp lemon juice
  • 1 tsp garlic powder
  • 1 tsp onion powder


For the filling

  • 8 oz cremini mushrooms, sliced
  • 3 cloves garlic, diced
  • salt and pepper to taste
  • 1 can black beans drained and rinsed
  • 1 cup corn kernels
  • 1 jar salsa (I make my own, but there are plenty of good store bought brands that work)
  • 6-8 tortillas (I use corn, but flour works too)

1. About an hour or so before you want to eat, dissolve the salt for the cheese sauce in 2 cups warm water.  Add in the cashews and let them soak for an hour.  After an hour, place cashews and water into a blender or food processor.  Add in the rest of the cheese sauce ingredients and blend until smooth.  You want to get the consistency really smooth with no cashew chunks in it.

2. Transfer the cheese sauce to a medium saucepan and heat on medium-high until the sauce is nice and thick.  This will take about 10 minutes.  Remove from heat and add in the black beans and corn kernels.

3. While cheese sauce is heating, turn oven to 400 and heat some olive oil in a medium skillet over medium heat.  Add in the mushrooms, garlic, and salt and pepper.  Cook the mushrooms until they are a nice golden brown and have released their moisture.  This takes about 7 minutes.  Add the mushrooms into the cheese sauce with the beans and corn.

4. Now it’s time to assemble everything.  In a large casserole dish, spread a thin layer of salsa on the bottom.  Layer a few tortillas on top of this.  My casserole dish usually fits 3, but if yours is bigger or smaller use however many.  On top of the tortillas add a layer of the cheese sauce, then another layer of salsa, then more tortillas.  Keep layering until all your stuff is gone.  Cover the dish with tinfoil and bake for 30 minutes.  When it’s done let it sit uncovered for 5 minutes before you cut it up

Like I said, this meal takes a little more time to put together which is why it’s a good meal to make for the weekend.  You can also sub in ground beef or turkey for the mushrooms, just make sure to brown the meat first.  I also really like to top this with guacamole or my avocado cream sauce.  This dish gets even better the next day and makes for really good lunch leftovers.  Again, ask my husband 😉 Enjoy!