Vegan Fish Nuggets and Dipping Sauce

Before you turn up your nose or totally dismiss this recipe because there is no way you’re eating some vegan meal, give this a try!  I promise it isn’t as bad as you’re imagining.

If you’re tapped into the vegan blog world or are a vegan yourself, you’ve probably heard of crab cakes/fish sticks made with hearts of palm.  And if you’re like me, you were probably skeptical that a vegetable could transform into a fish dish.  Unlike me you probably went about your day and that was the end of it.  I on the other hand had to try it out myself and see if it actually worked.

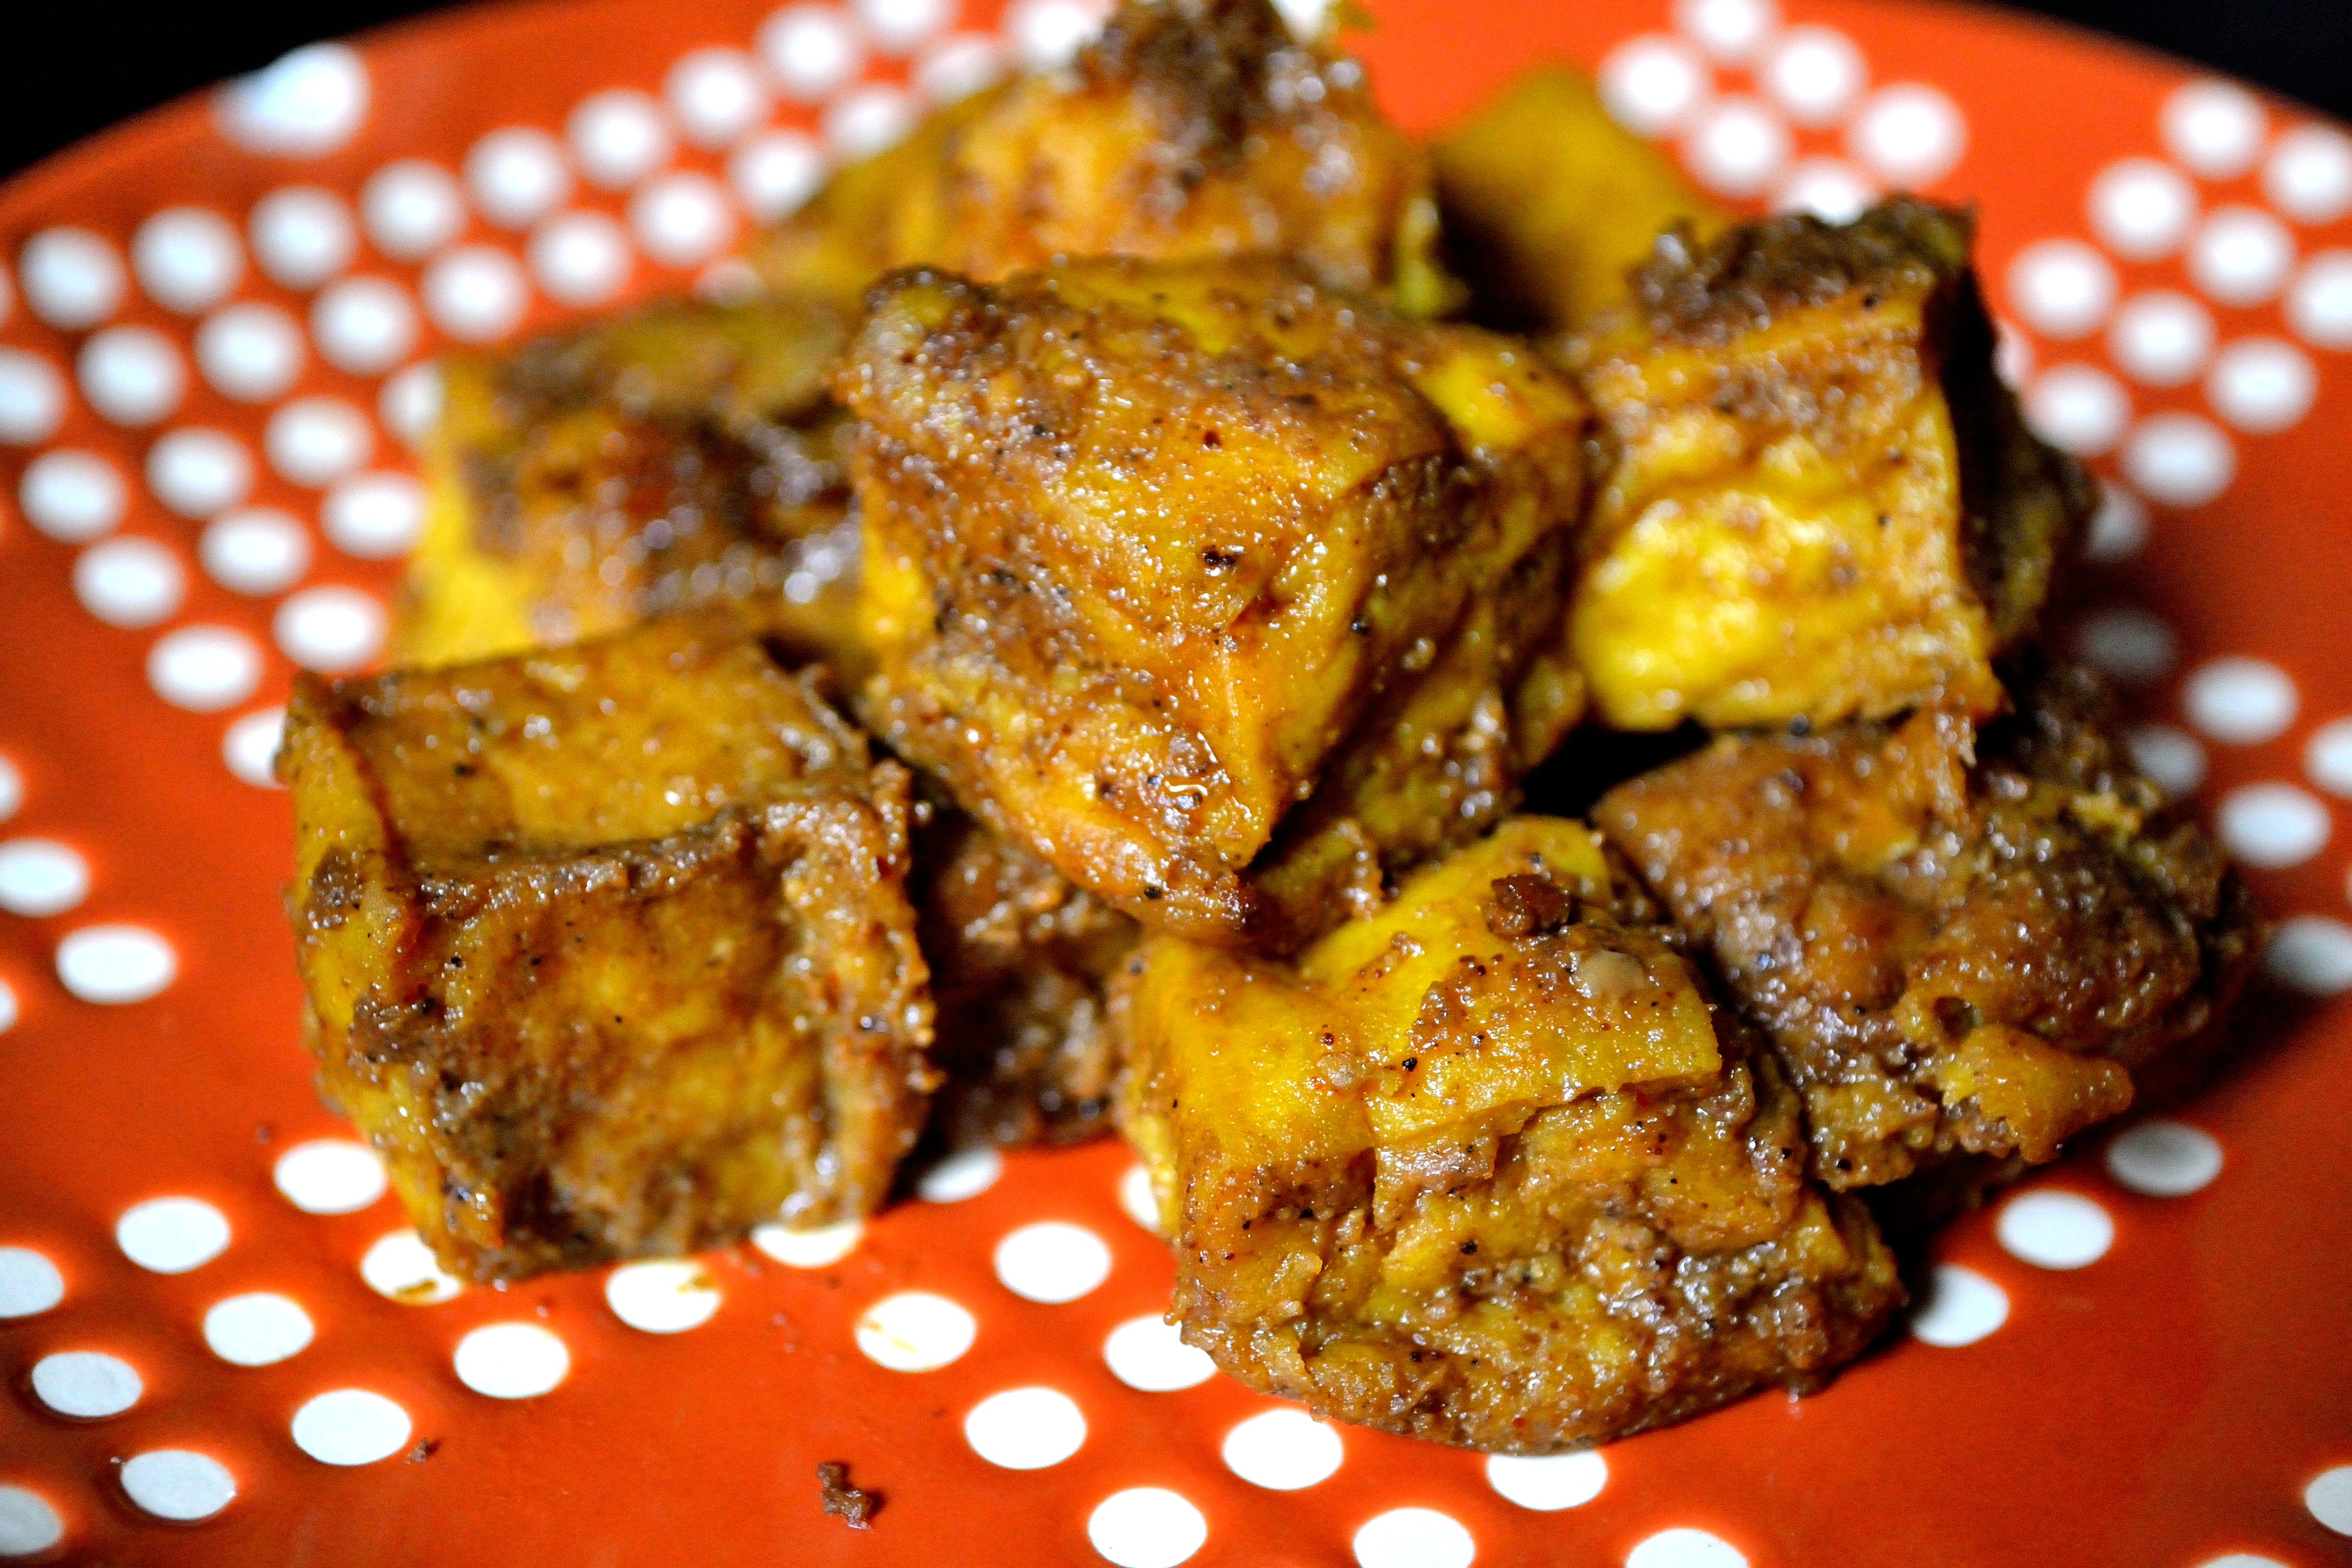
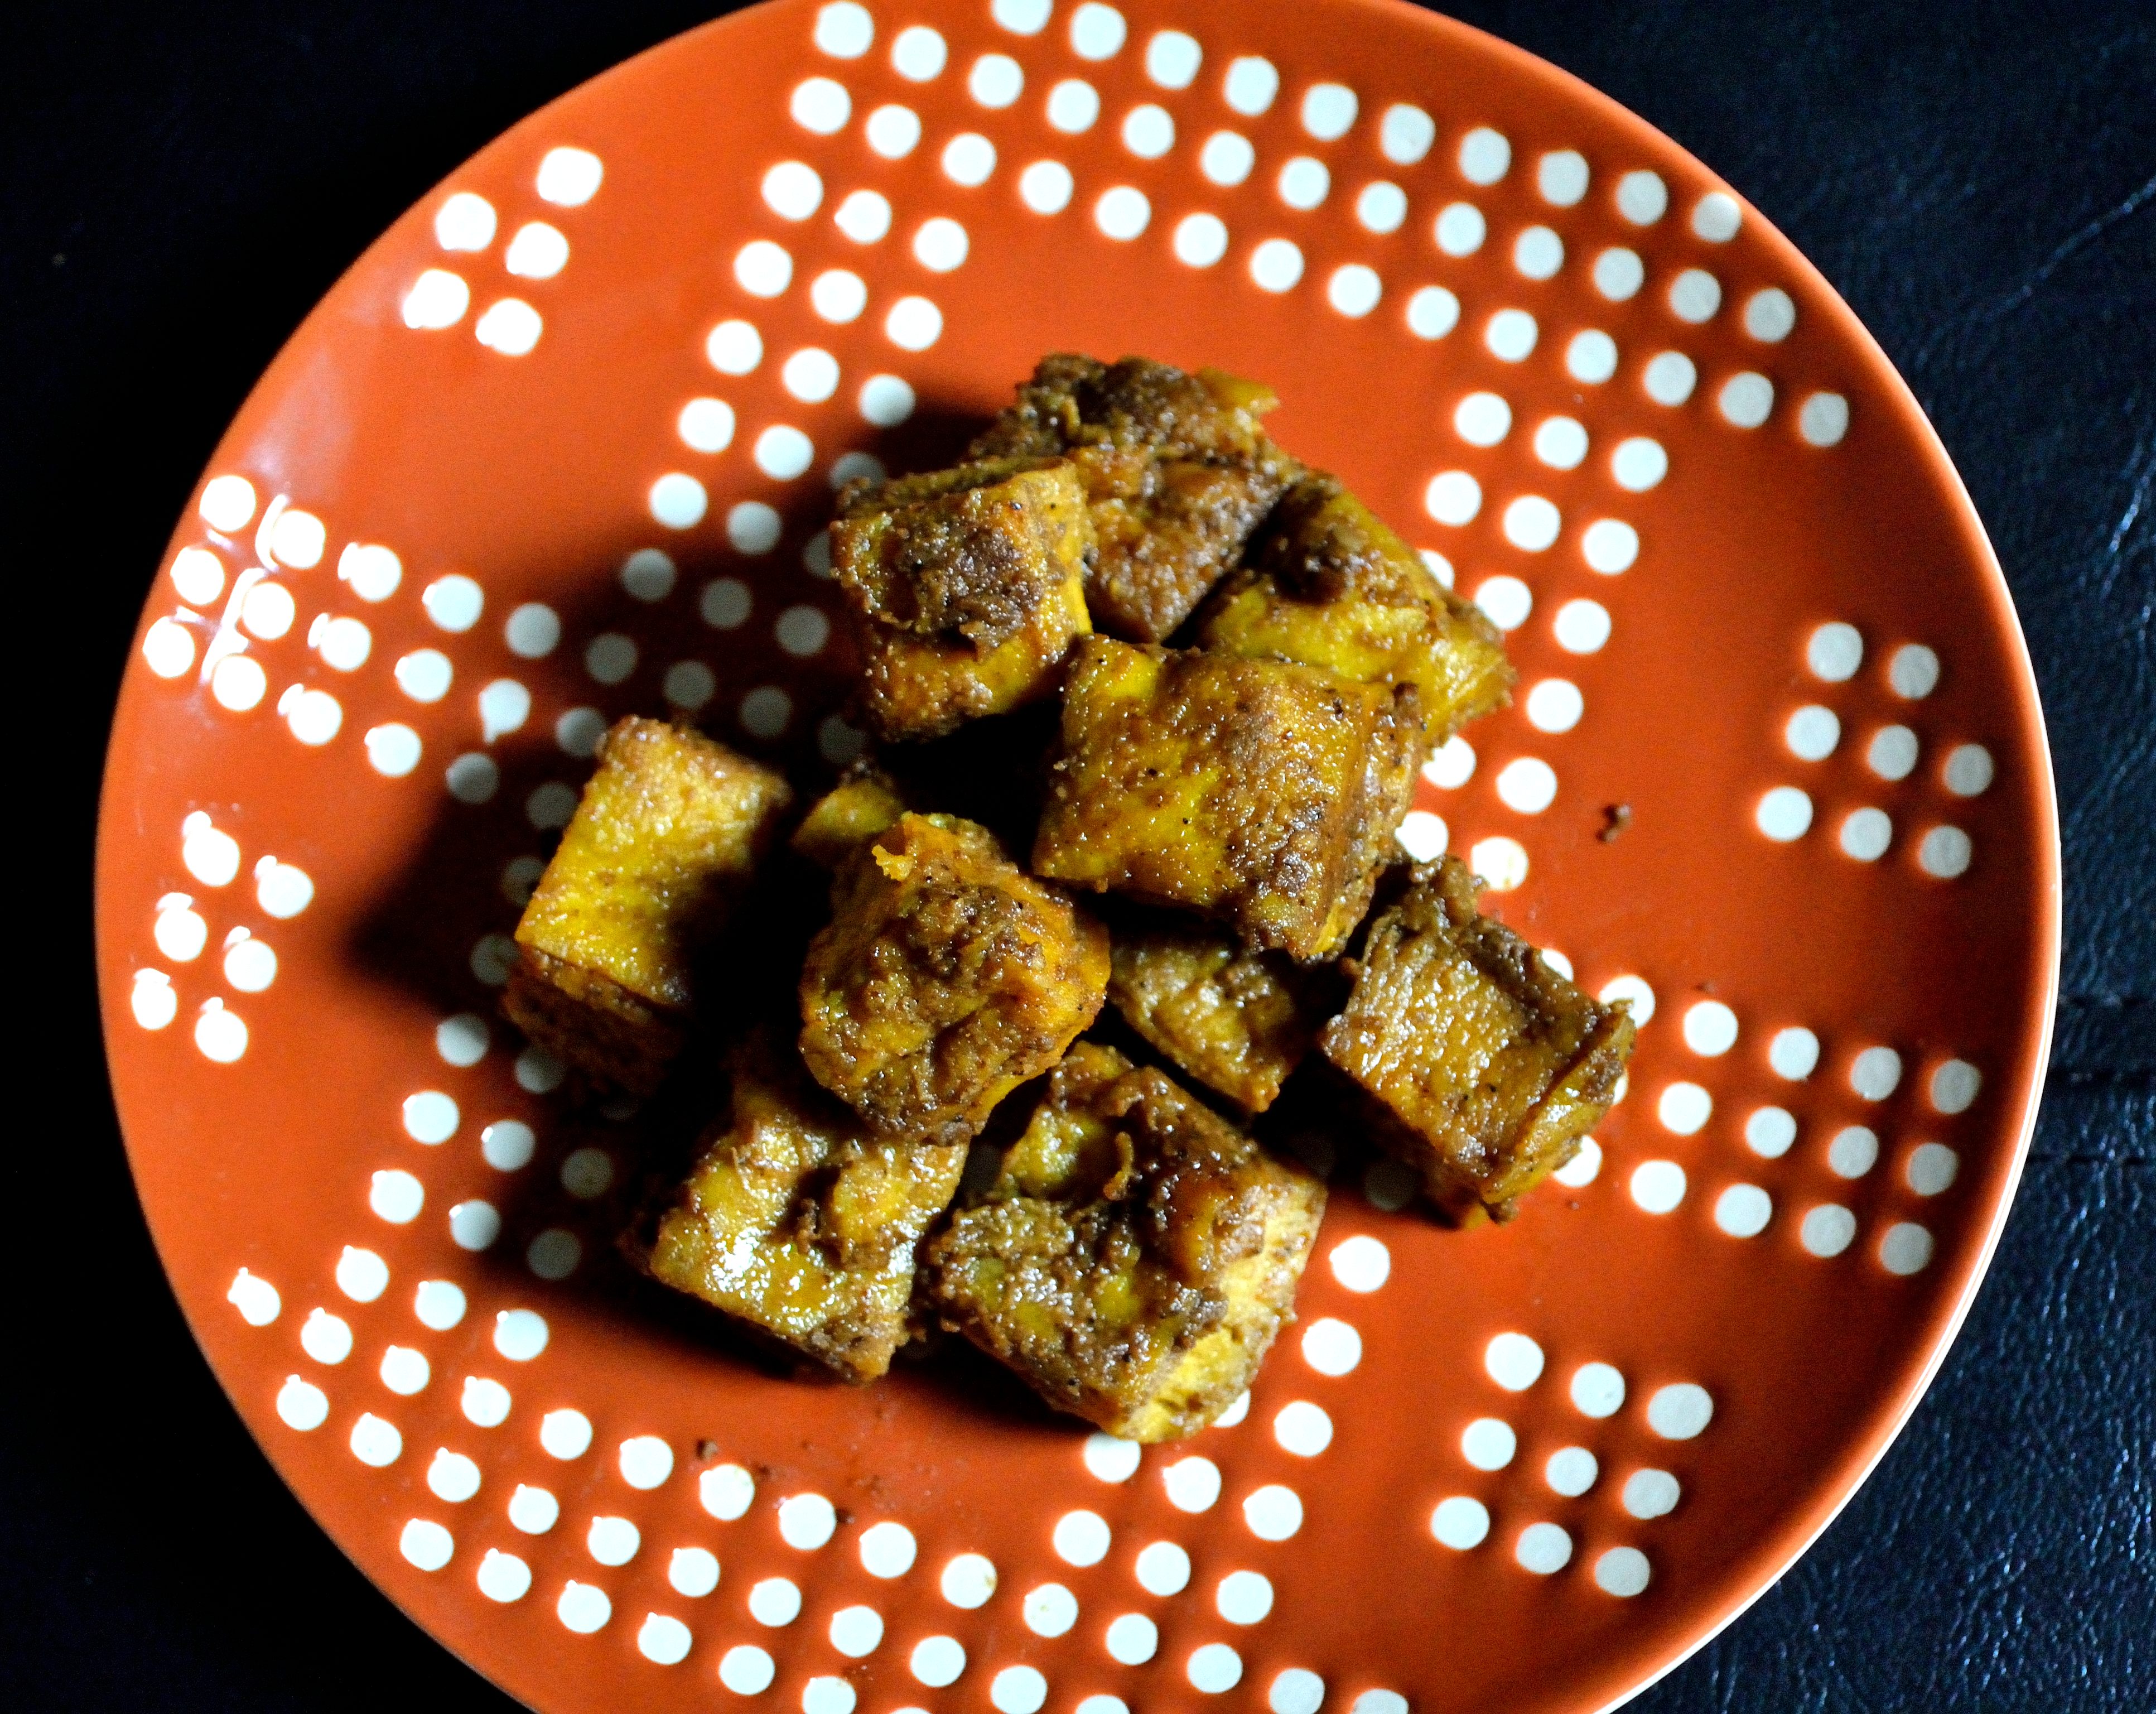
Much to my surprise, it did work.  I won’t say that it is exactly like fish and will fool fish eaters, but it does mimic the taste and texture of fish sticks.  It was nice and flaky on the inside and crispy, crunchy on the outside.  I like being able to make my own substitutes to regular food instead of buying the processed versions and this was really simple to put together.

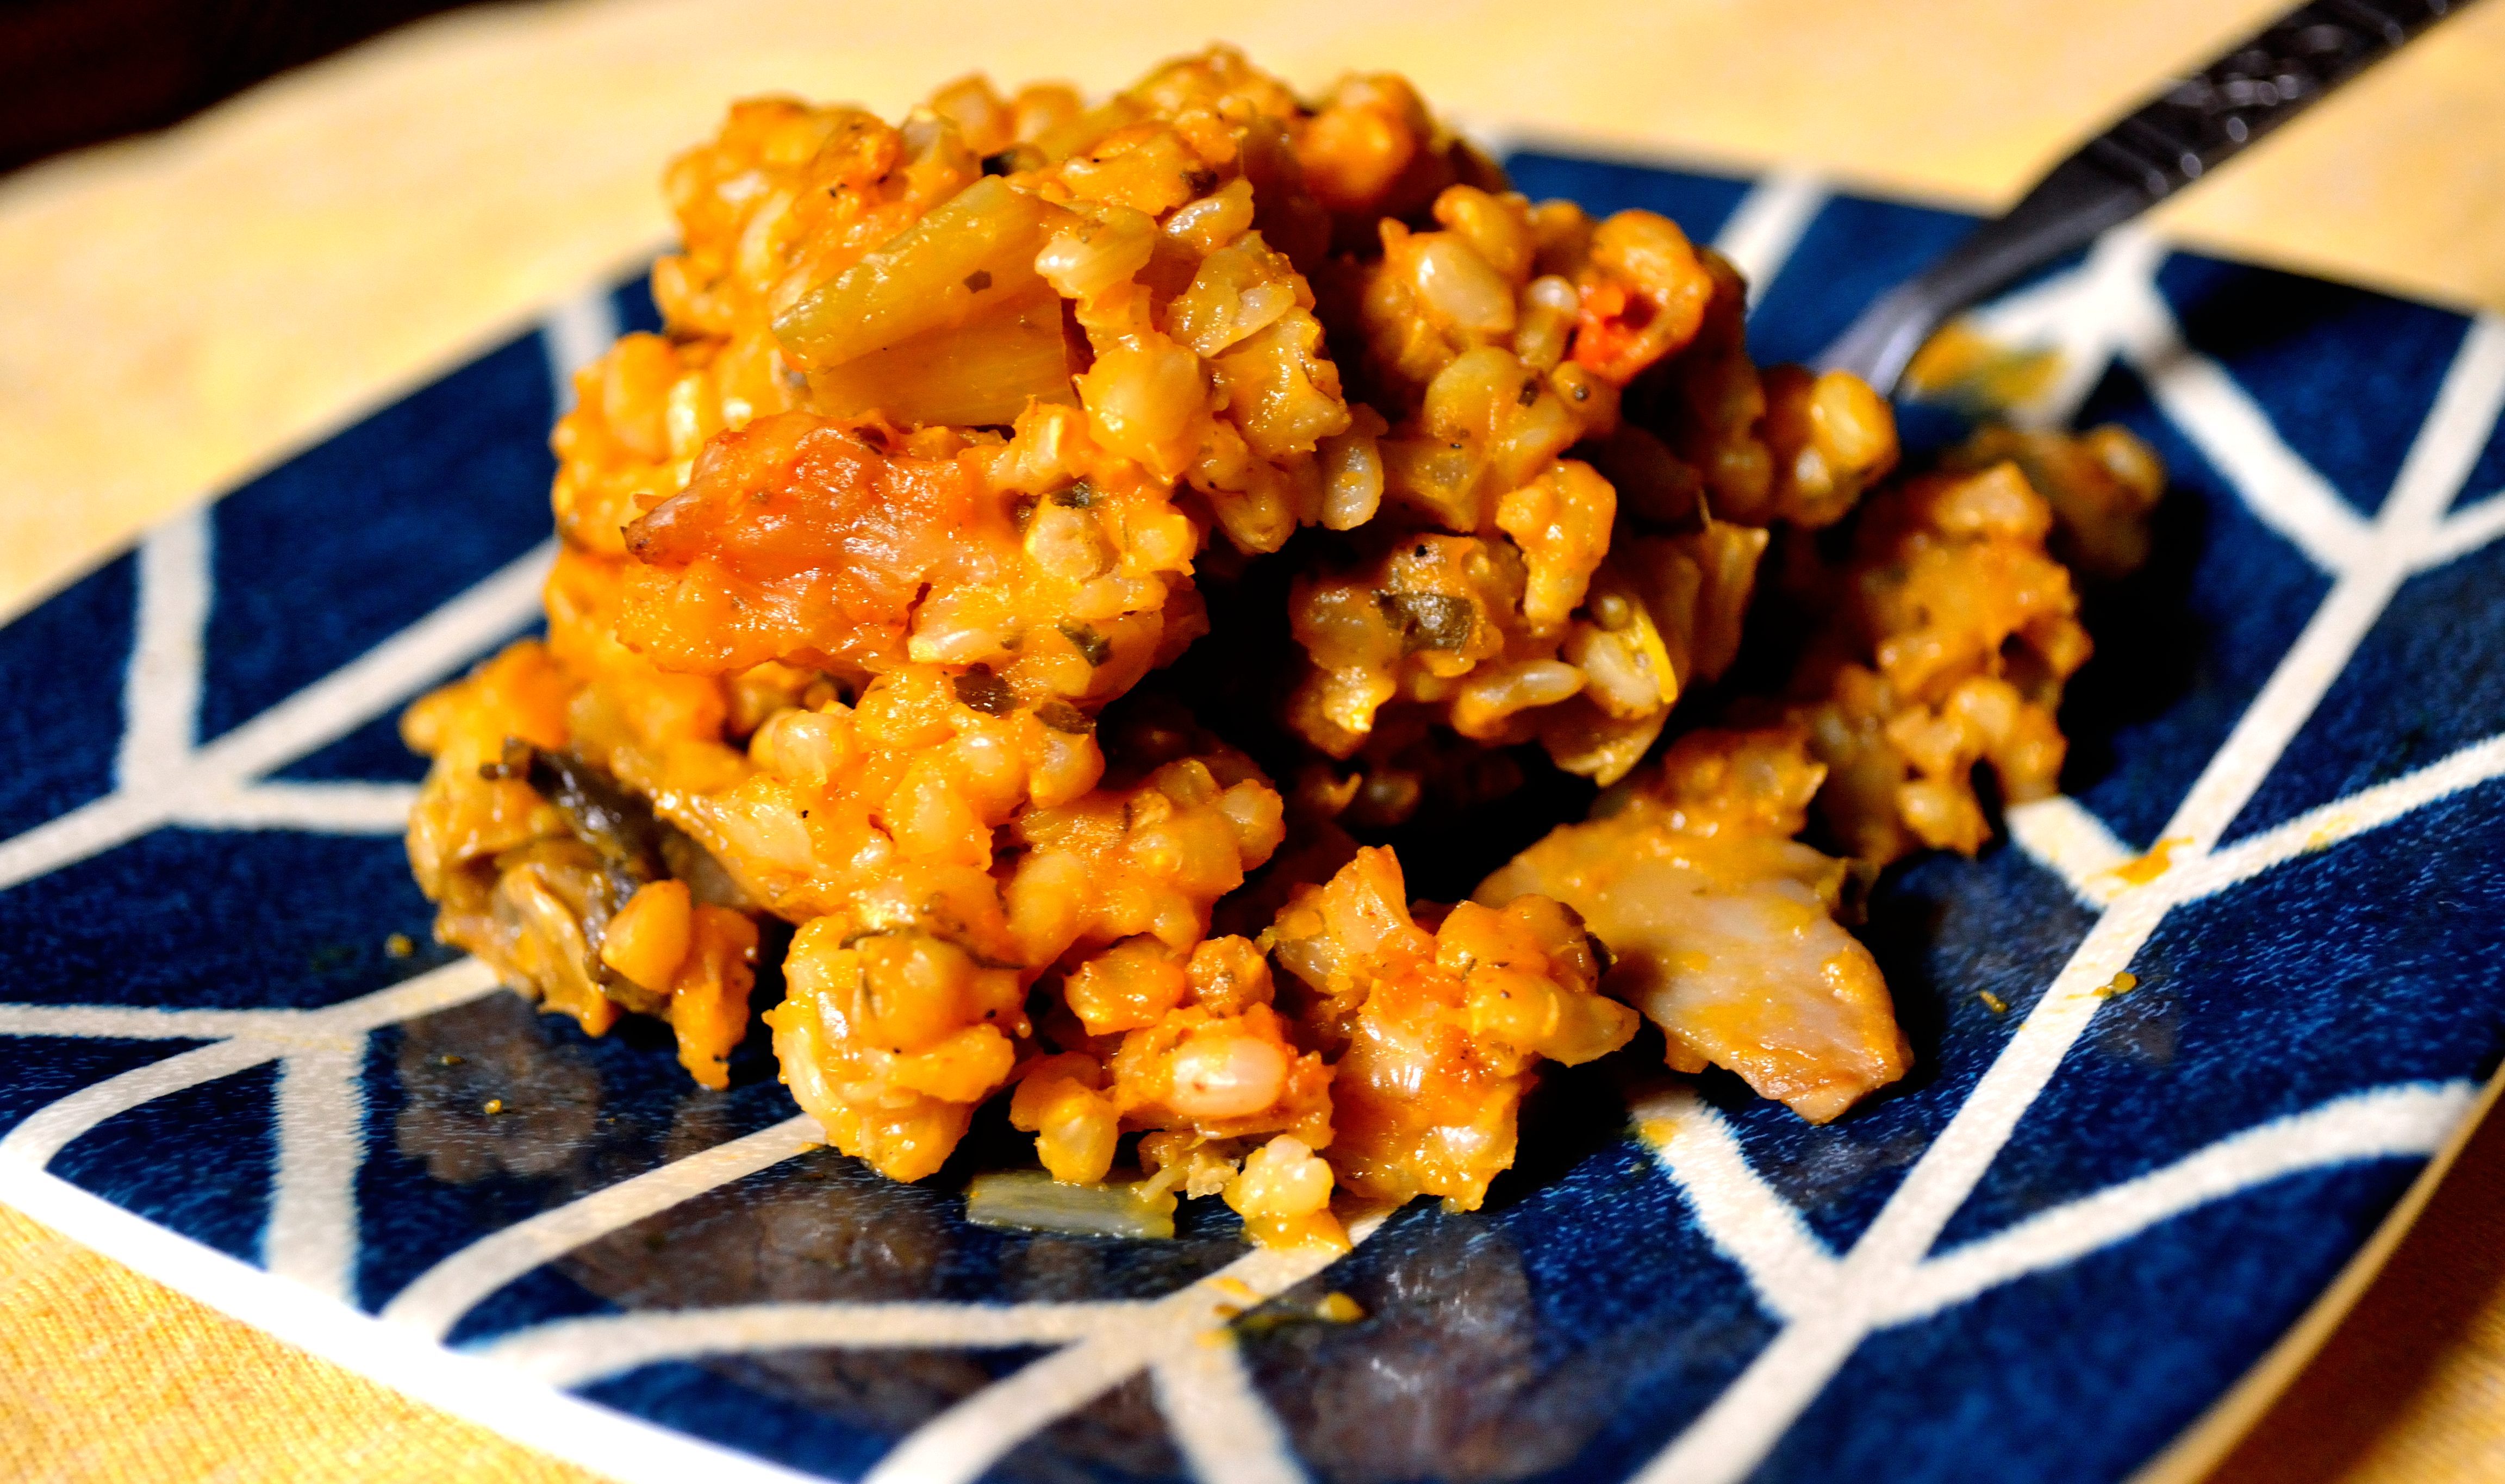
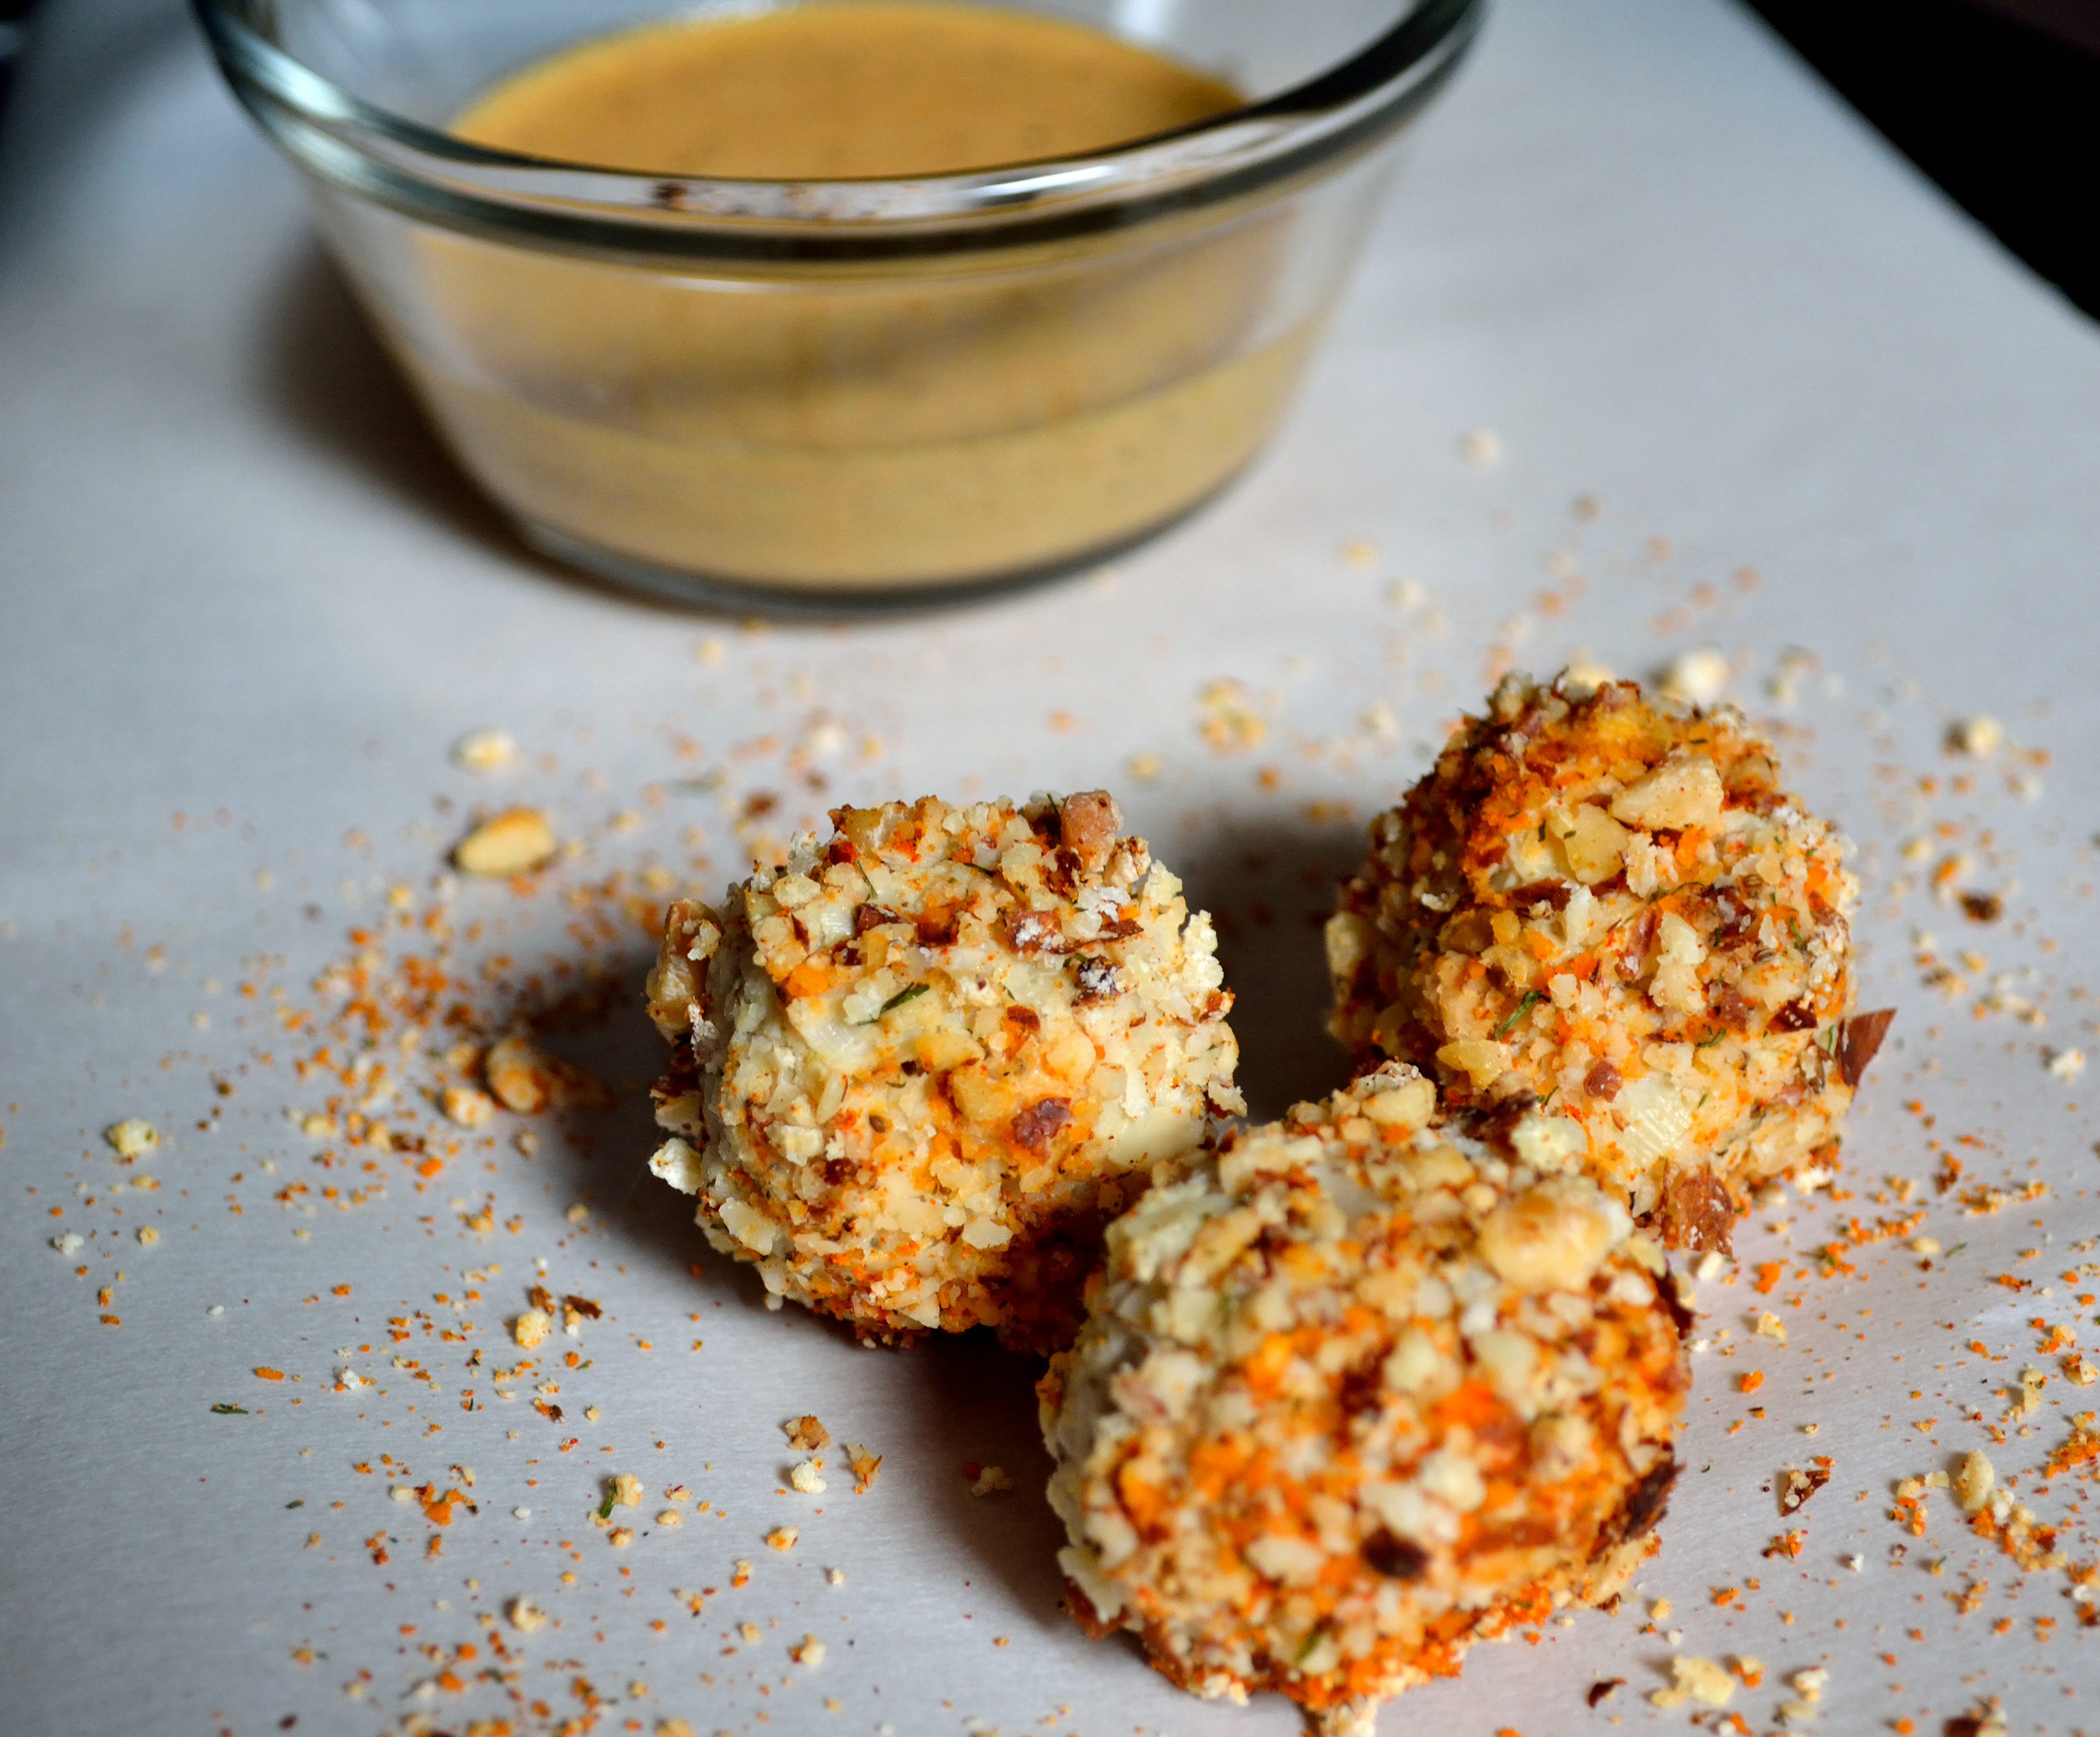
But what really makes this recipe is the dipping sauce.  I could (and sort of did) drink this stuff it’s so good.  I used it in scrambled eggs, on top of my lentil loaf, mixed into stir fry, and dipped everything in my fridge into it.  I promise I’m only slightly obsessed.

Vegan Fish Nuggets and Dipping Sauce

DSC_0610

Nugget ingredients

  • 1 14 oz can hearts of palm (read ingredients to make sure you’re getting just hearts of palm in water)
  • 1/4 cup almond flour
  • 1 tsp soy sauce/liquid or coconut aminos
  • 1/2 tsp celery seed
  • 1/2 tsp dill weed
  • 1/4 tsp salt
  • 1/2 cup coarsely ground almonds
  • 1 tsp old bay seasoning
  • 1/2 tsp smoked paprika
  • 1/4 tsp salt

1. Drain and rinse hearts of palm and place in blender.  Pulse a few times until it’s shredded.  Make sure there aren’t any big chunks but don’t totally pulverize it.  Place into a medium bowl.

2.  Add in almond flour, soy sauce, celery seed, dill weed and 1/4 tsp salt.  Stir with a spatula until combined.  In a separate bowl mix the rest of the ingredients until well combined.

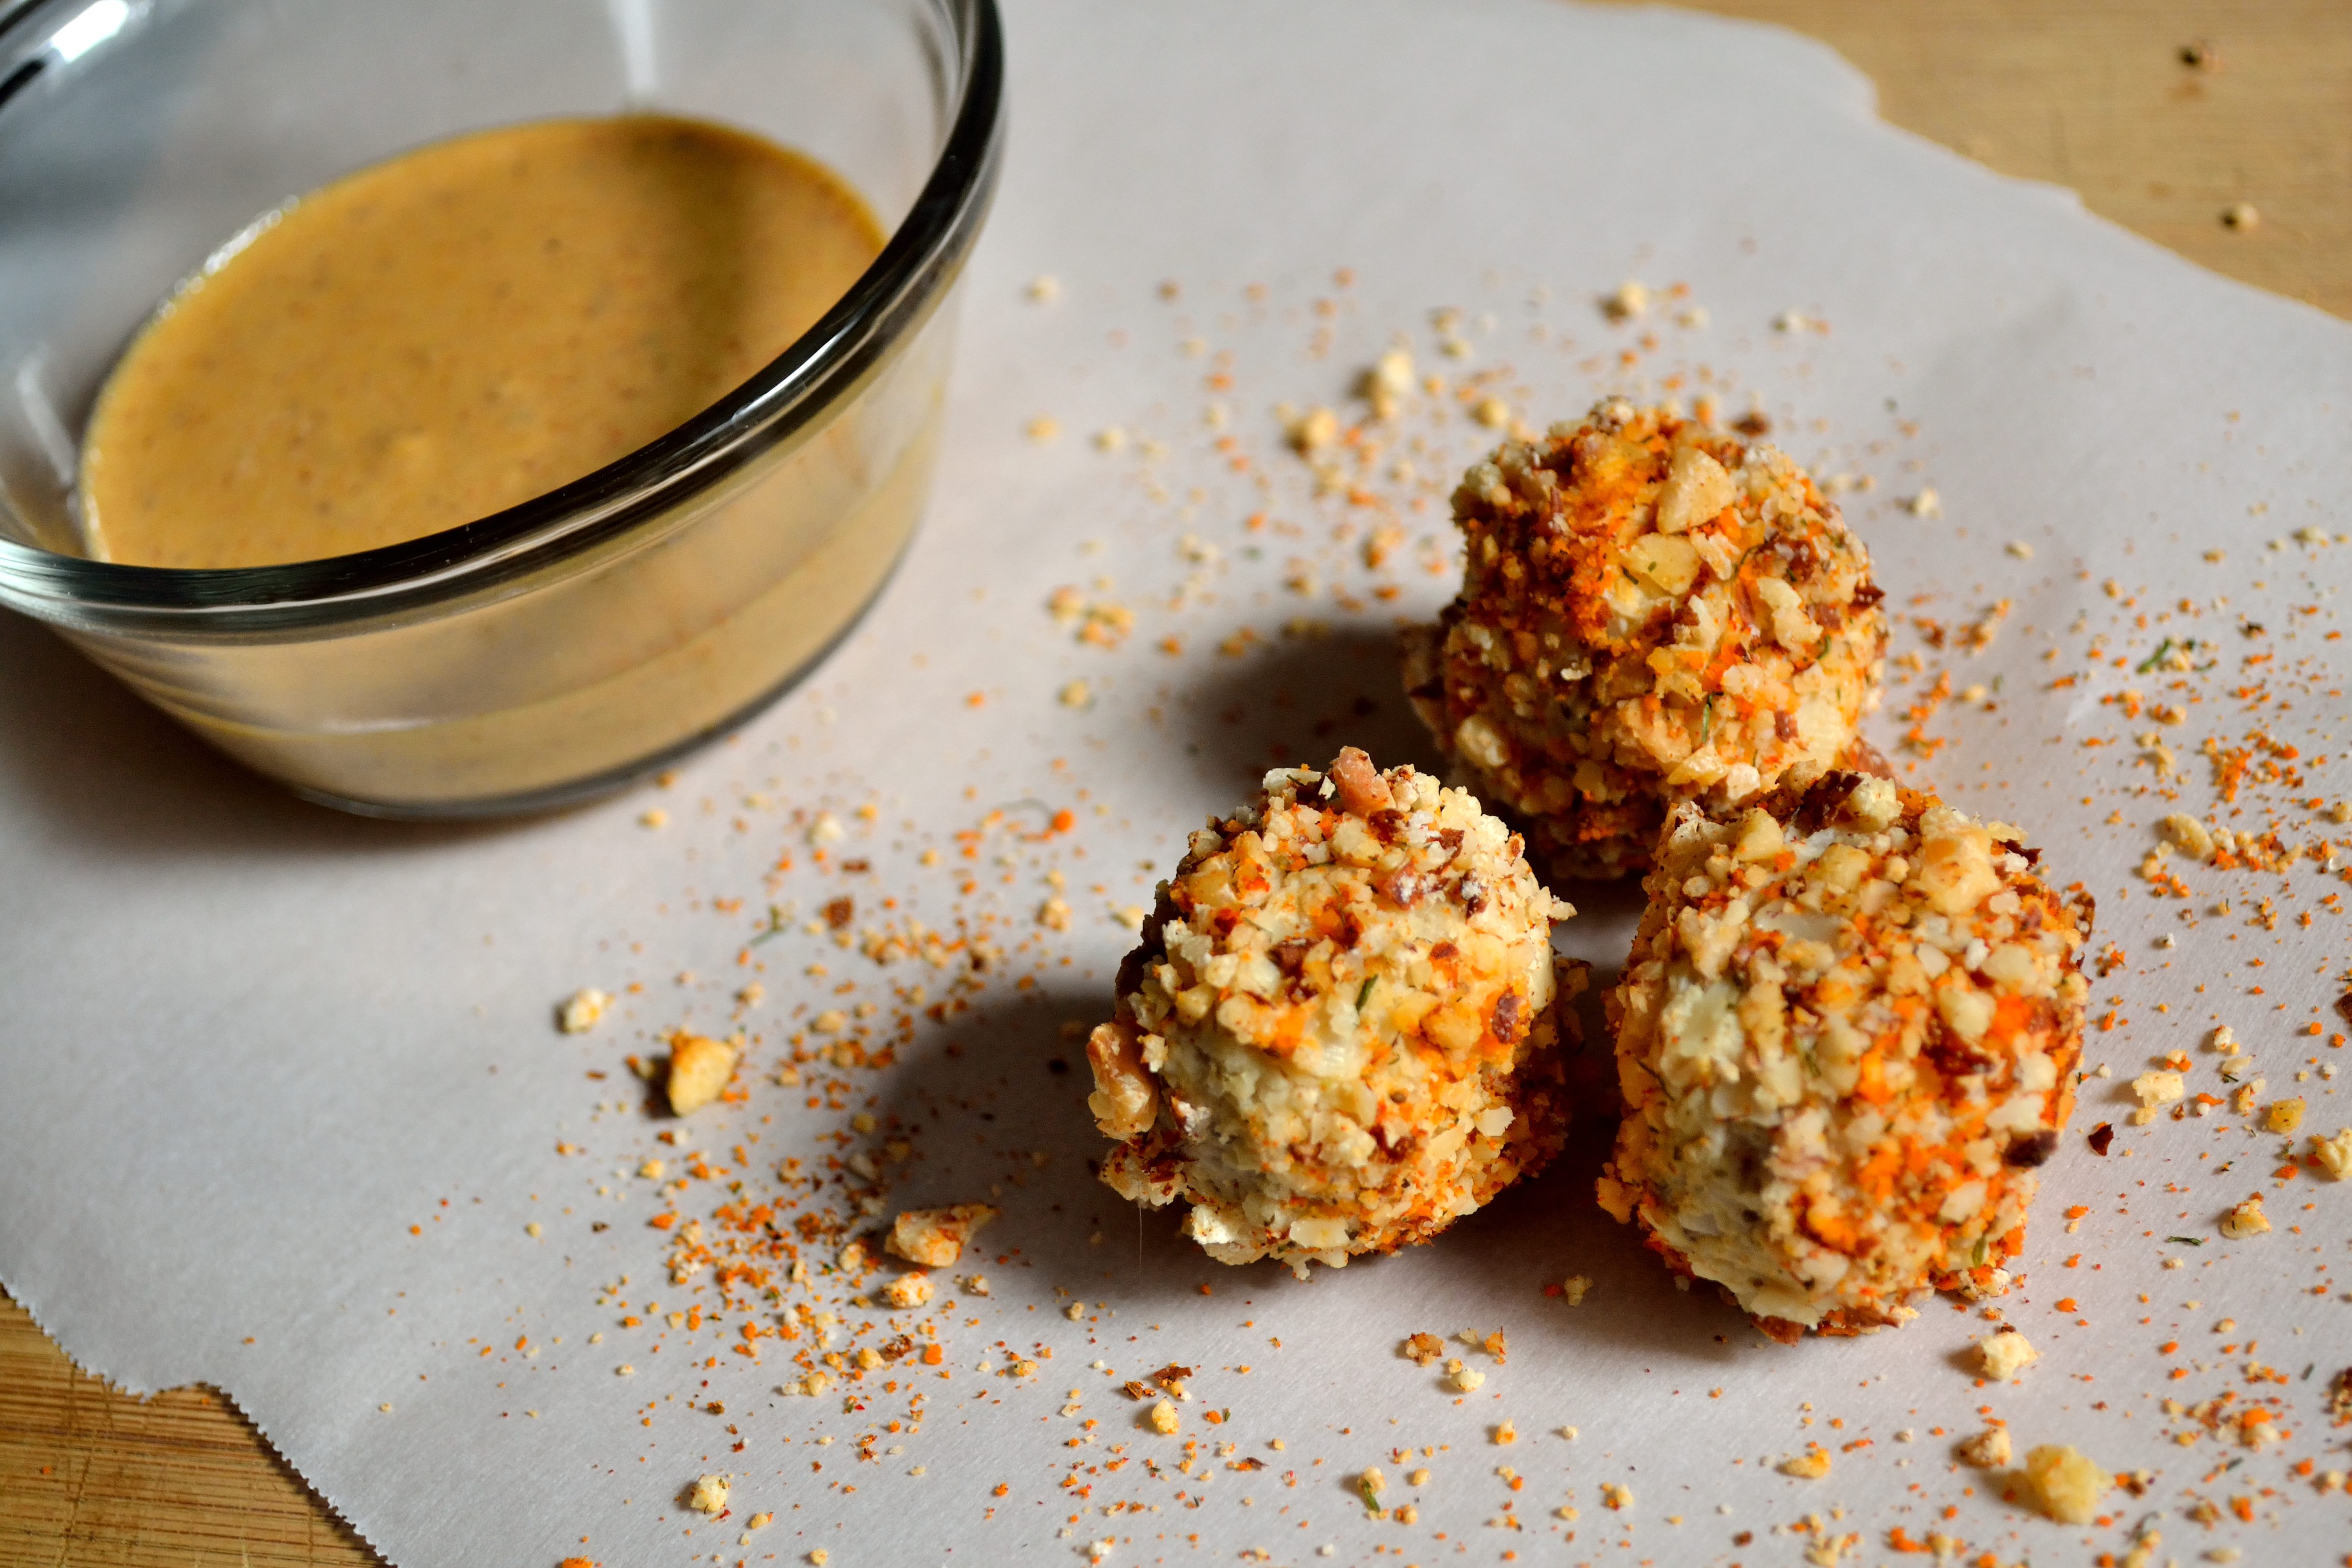
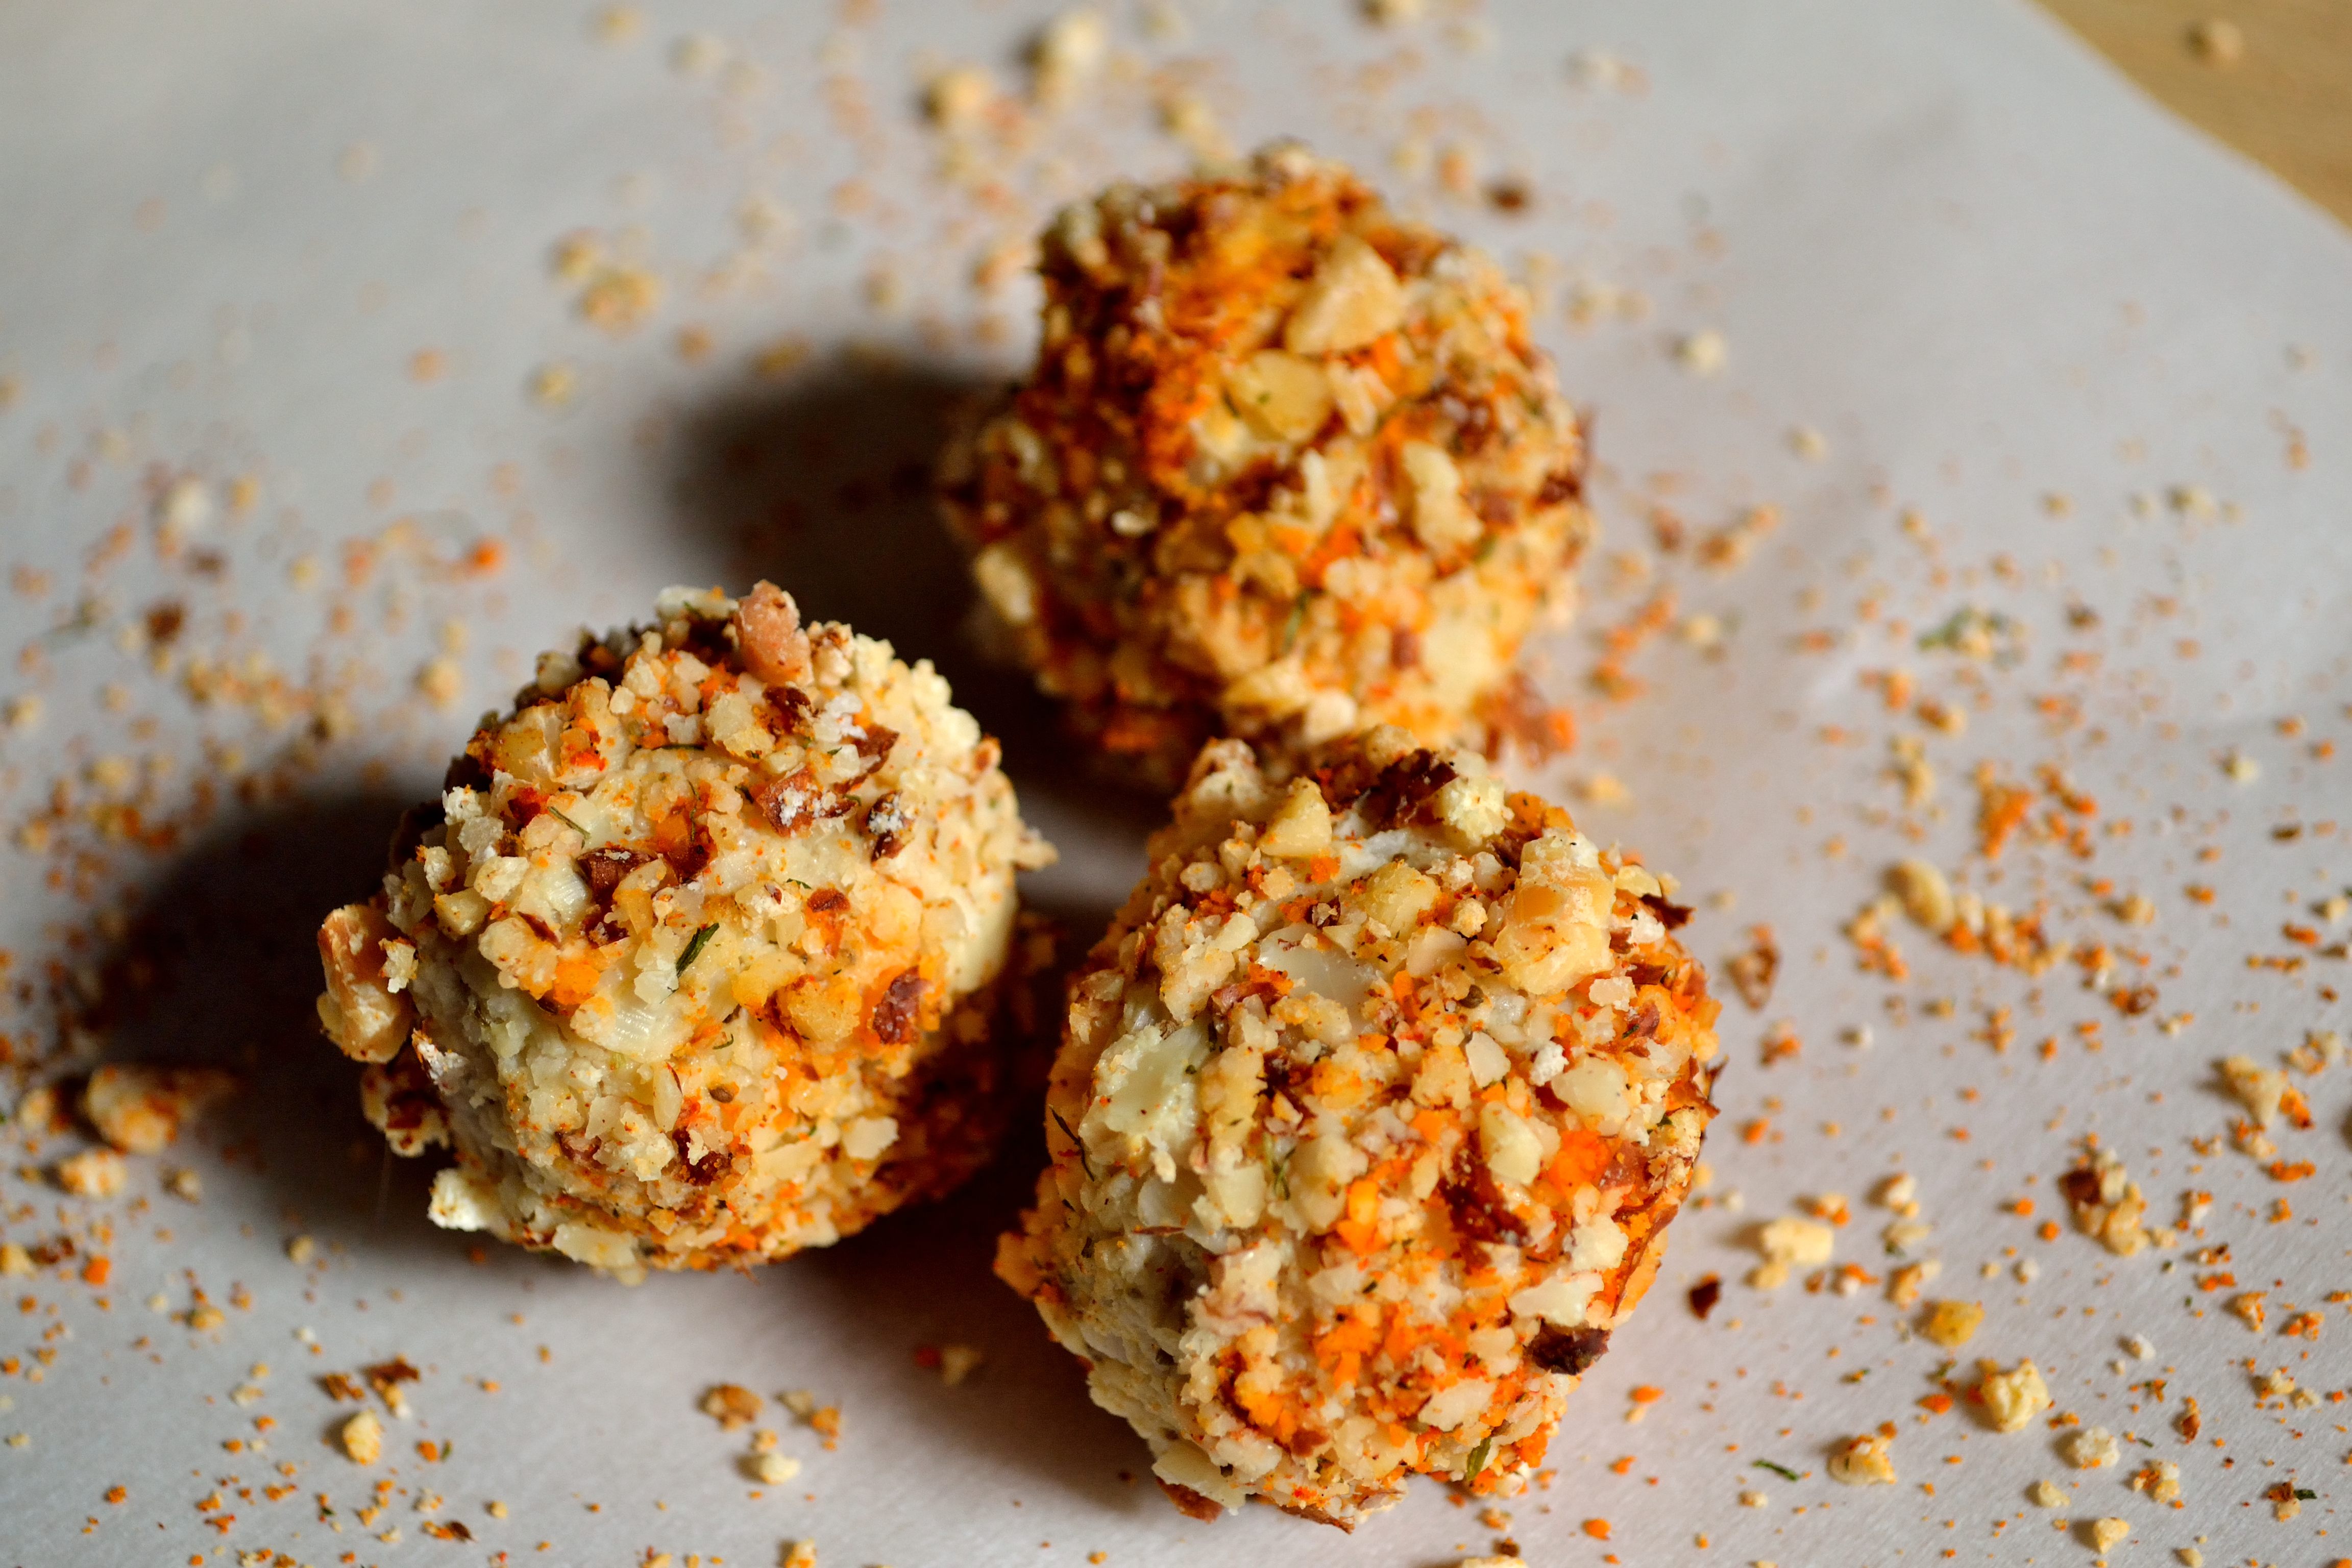
3. Preheat oven to 375.  Take about a 1 tbsp of the wet mix and roll into a ball.  Roll this in the dry mix until coated and place on a baking sheet lined with a Silpat or parchment paper. Continue until all the wet mix is gone.

4.  Spray the nuggets with a little olive oil and place into the oven.  Bake for 15 minutes, remove and turn the nuggets, and bake for another 5 minutes.  While the nuggets are cooking, make your sauce.

DSC_0612

Dipping sauce– slightly adapted from this recipe

  • 1/2 cup cashews, soaked for at least 4 hours
  • 1/2-2/3 cup water
  • 2 tbsp olive or coconut oil
  • 1/4 cup lemon juice
  • 3 tbsp nutritional yeast (NOT bakers yeast)
  • 1 tbsp roasted garlic
  • 2 tsp soy sauce/liquid or coconut aminos
  • 1/2 tsp cumin
  • 1/2 tsp chili powder
  • 1/4 tsp smoked paprika
  • 1/4 tsp salt

1. Drain and rinse nuts and place all the ingredients into a blender.  Blend until you have a smooth sauce.  Place it into the fridge to help it thicken just a little.

DSC_0611

I know that many of you will shy away from a vegan recipe, but I think this is a good one to try because it doesn’t really use any weird ingredients.  Hearts of Palm are a lot like canned artichokes (that’s where you’ll find them in the store) and they are really tasty.  It’s always good to try new things and broaden your eating horizons.  And if that still doesn’t convince you try this, at least make the sauce because I promise you will want to put it on everything!

Have a great weekend everyone!

Keep It Simple Series: One Skillet Meal

keep_it_simple_wallpaper_by_tomsoncze-d77oh5vEveryone is looking for a quick and easy meal.  Rachael Ray got her start with 30 minute meals and googling quick meals will give you thousands of recipes.  Today’s video is my favorite quick and healthy meal and it uses just one pan.  I make this at least once a week and it is always a big hit, plus it never gets boring because you can always change things up just a little bit to keep it interesting.  So let’s get to it!

Hopefully this video will give you some ideas on how to make your own one skillet meal, just make sure that you are using cooked grains/legumes and meat.  Other than that go crazy with your version of this delicious and healthy meal!

Chili & PB Marinated Chickpea Tofu

At first glance all those flavors don’t seem to go together, but trust me on this one.  A few weeks ago I gave you a recipe for Chickpea Tofu and since then I have been working on other ways to prepare it.  After just baking it and covering it with a sauce, I decided I wanted to try it marinated and sauteed.  All it took was a few attempts to perfect the marinade and I had a really yummy and simple weeknight meal!

Make sure that you do plan ahead just a little bit so you have enough time for your tofu to set before you start cooking.  Otherwise this is a really easy meal to throw together fairly quickly!

Chili & PB Marinated Chickpea Tofu

DSC_0628

  • 1 batch of chickpea tofu
  • 1/3 cup water
  • 1 tbsp sesame oil (can use olive oil too but I like the flavor of sesame in this marinade)
  • 1 tbsp molasses
  • 2 tbsp liquid aminos/coconut aminos/soy sauce
  • 2 tsp roasted garlic or 2-3 cloves minced
  • 2 tbsp creamy peanut butter
  • 1/2 tsp chili powder (more if want it a little spicier)

1. Make your chickpea tofu and while it’s setting preheat your oven to 400 and mix together all the marinade ingredients.

2.  Once your tofu is ready, cut into bite size pieces and place into a large bowl.  Drizzle a little olive oil and toss to coat.  Line a baking sheet with parchment paper or a Silpat and bake the tofu for 20 minutes.

3.  Remove tofu from the oven and place back into the large bowl.  Pour the marinade in and stir to make sure everything is coated.  Let it sit for about 10 minutes.

4.  Heat a large pan over medium high heat and add in all the tofu and sauce.  Saute for a few minutes until the sauce has started to crisp up.  Serve the tofu on it’s own or over rice or vegetables.

DSC_0622

I am really liking how chickpea tofu acts a lot like regular tofu in most recipes.  I am still working on other ways to prepare it so that you can have a variety of ways to use this tasty ingredient!

Have a great weekend and I’ll see you on Monday!

Butternut Mushroom Risotto

The first time that I made risotto did not go well.  I found a recipe online and did everything that it said.  What I was left with was watery and still slightly crunchy.  This was not the “creamy” risotto I had heard so much about.  I pushed the recipe to the bottom of my stack and went on my merry risotto-less way.

Flash forward a few years and I decided to try it again.  This time went much better and I ended up with a tasty and comforting dish.  The only problem was that it took quite some time to get the risotto ready.  Now I don’t mind recipes that take a lot of time, usually on the weekends I specifically choose meals that will take a few hours because I like cooking.  What I don’t like are recipes that take a long time and are kind of boring.  If you’ve ever made risotto you know that it takes a lot of stirring.  A LOT of stirring.  While I liked the taste and texture of risotto I did not like the process of making it.

Join me in the present and I have found a way to make risotto that isn’t totally boring.  The slow cooker.  How I didn’t think of this idea before I have no idea because I am in love with my slow cooker!  This recipe has all the deliciousness of risotto with about half of the stirring.  That is a wonderful thing!

Butternut Mushroom Risotto

DSC_0569

  • 1 tbsp roasted garlic or 3 to 4 cloves minced
  • 2 leeks, dark green parts trimmed off and white parts sliced thin (save the stalks to make homemade broth!)
  • 1 medium onion, chopped
  • 8 oz package of mushrooms, sliced (you can use any variety like button or cremini)
  • 3/4 cup white wine or vegetable broth
  • 2 cups short grain brown rice
  • 1 tsp salt
  • 5 cups vegetable broths
  • 2 tsp marjoram
  • 1 tsp parsley
  • 1 cup pureed butternut squash


1.  In a large pan heat a little olive oil and saute the leeks, onions, garlic, and mushrooms.  You want the mushrooms to reduce in size and the leeks and onions to have a little brown around the edges.  Place all the vegetables into your slow cooker.

2.  Using the same pan, add in the 3/4 cup of white wine or broth and scrape up any brown bits on the bottom.

3.  Add the 2 cups of brown rice to the pan and cook over medium high heat until all the liquid is absorbed.  Constantly stir the rice.  This should take about 10 to 15 minutes.

4.  Add the rice, 5 cups of broth, marjoram, parsley, and salt to the slow cooker with the vegetables and stir to combine.  Cook on high for 2 to 3 hours.

5.  The risotto is done once all the liquid has been absorbed.  At the end of the cook time stir in the pureed butternut squash.  Cook for an additional 5 minutes.

DSC_0558

I made this last weekend and it was awesome.  It’s a really comforting meal and with the ridiculously cold weather coming this weekend this is the perfect dish to warm up with.  It also takes minimal effort and yields a creamy rich risotto.  This is also a good recipe to make a big batch of so you have leftovers for lunch for the work week.

Have a great weekend and make sure that you stay warm!

Keep It Simple Series: Oatmeal

keep_it_simple_wallpaper_by_tomsoncze-d77oh5v

I have another video for you today and it’s all about oatmeal!  This is one of my favorite grains and I have started adding it as a part of  my breakfast every morning.  It is such a versatile grain that you can prepare in so many different ways.  I give you two different ways to make oatmeal in the video, so go check it out!

Here are the nutrition profiles of each oatmeal that I talked about in the video:


NOTE: In the video I say you need 2 cups of broth/water for the savory oatmeal when you need 3.  Also make sure you lower the heat to low once you cover it.  Sorry if there were any oatmeal mishaps because of that!