Breakfast is awesome. Sometimes as I am going to sleep at night I get a little excited to wake up because I get to eat breakfast. Brunch is a thing of beauty and a breakfast buffet? Heaven on earth my friends. I am definitely in camp eat breakfast every morning no matter what, even if it’s something small and on the go.
I thought I would share the breakfast I have been enjoying for a while now and maybe give you some breakfast inspiration. I tend to get stuck on one breakfast for like 6 months and then decide to change things up. What can I say? I really am a creature of habit. This breakfast is in month 3, so sometime mid-summer expect something new.

Oat grains are made up of three different parts, the bran, the germ, and the endosperm. Usually the outer husk or bran is removed and most people enjoy the steel cut or rolled form of oatmeal. Oat bran is mostly used for baking and adding to breads and muffins to boost the fiber content. I have been using oat bran to make my morning oatmeal. I like that it cooks super fast (less than five minutes), it has a nice creamy texture, and it is a great base for the most important part of oatmeal. The toppings.
Oat bran also boasts a pretty decent nutrition profile. 1 ounce or about 28 grams has 69 calories, 4 grams of dietary fiber, and 5 grams of protein. It’s also high in calcium, magnesium, and potassium. All good things. You can check out some more of its benefits here and here.

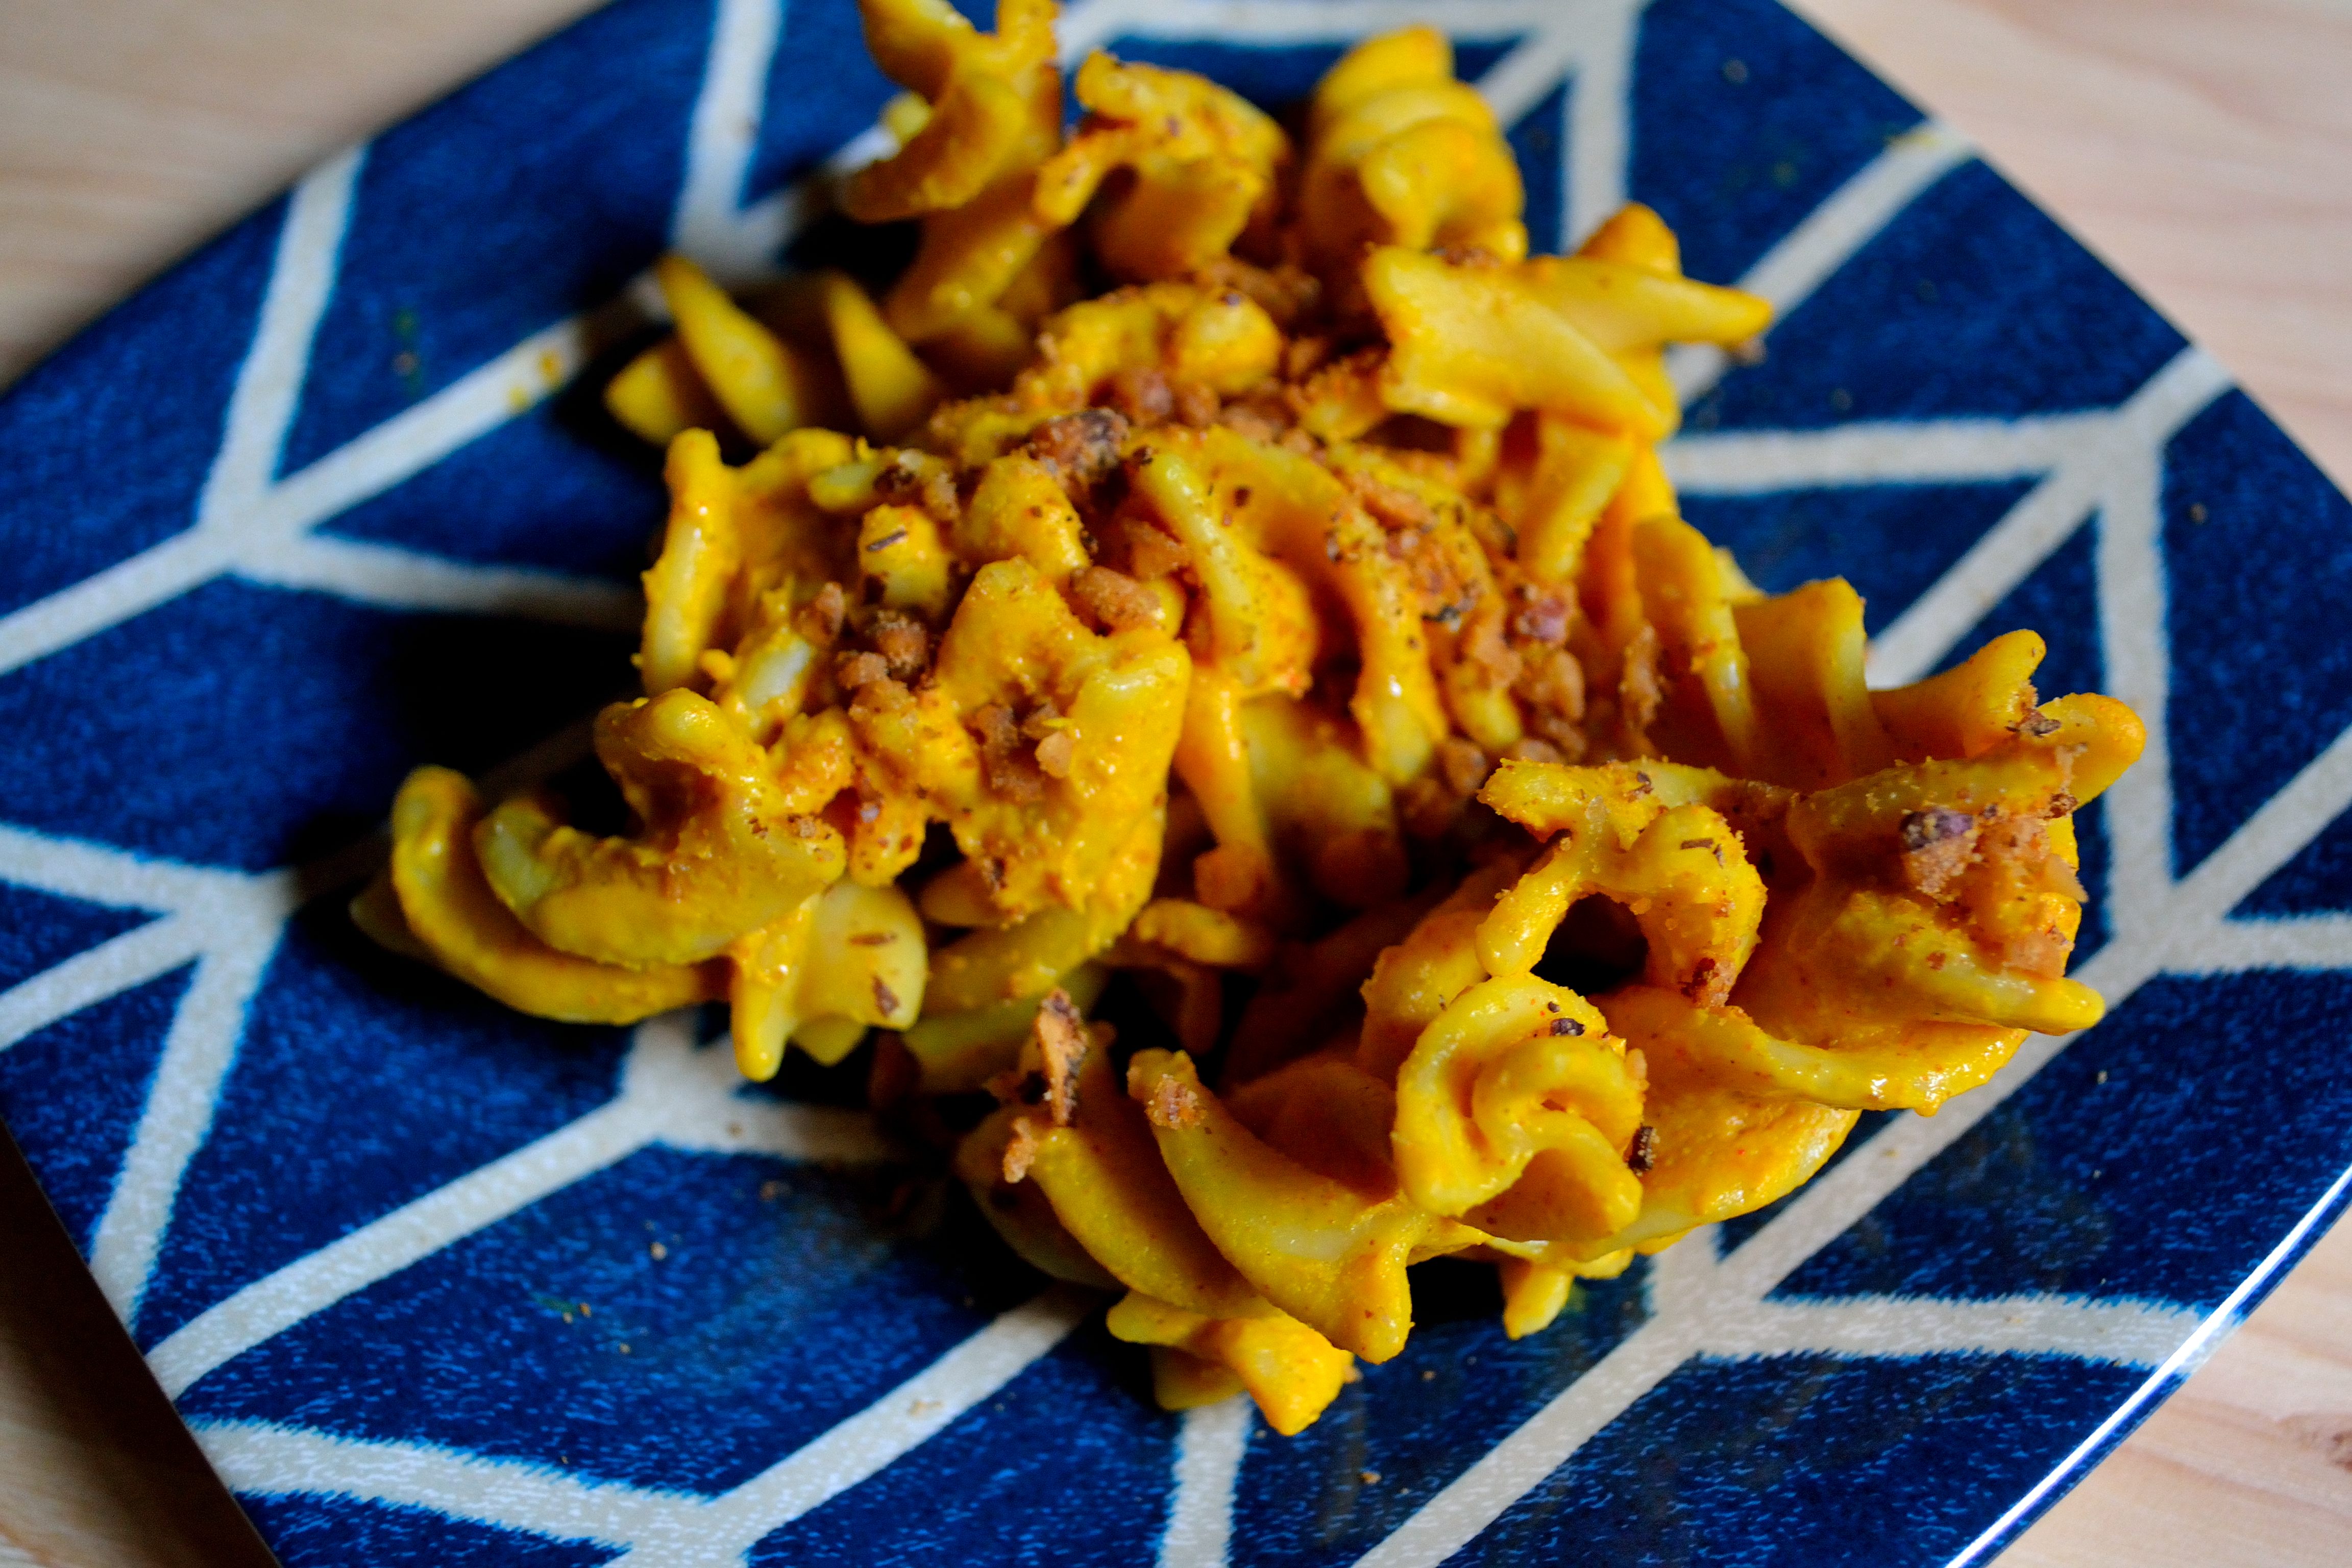
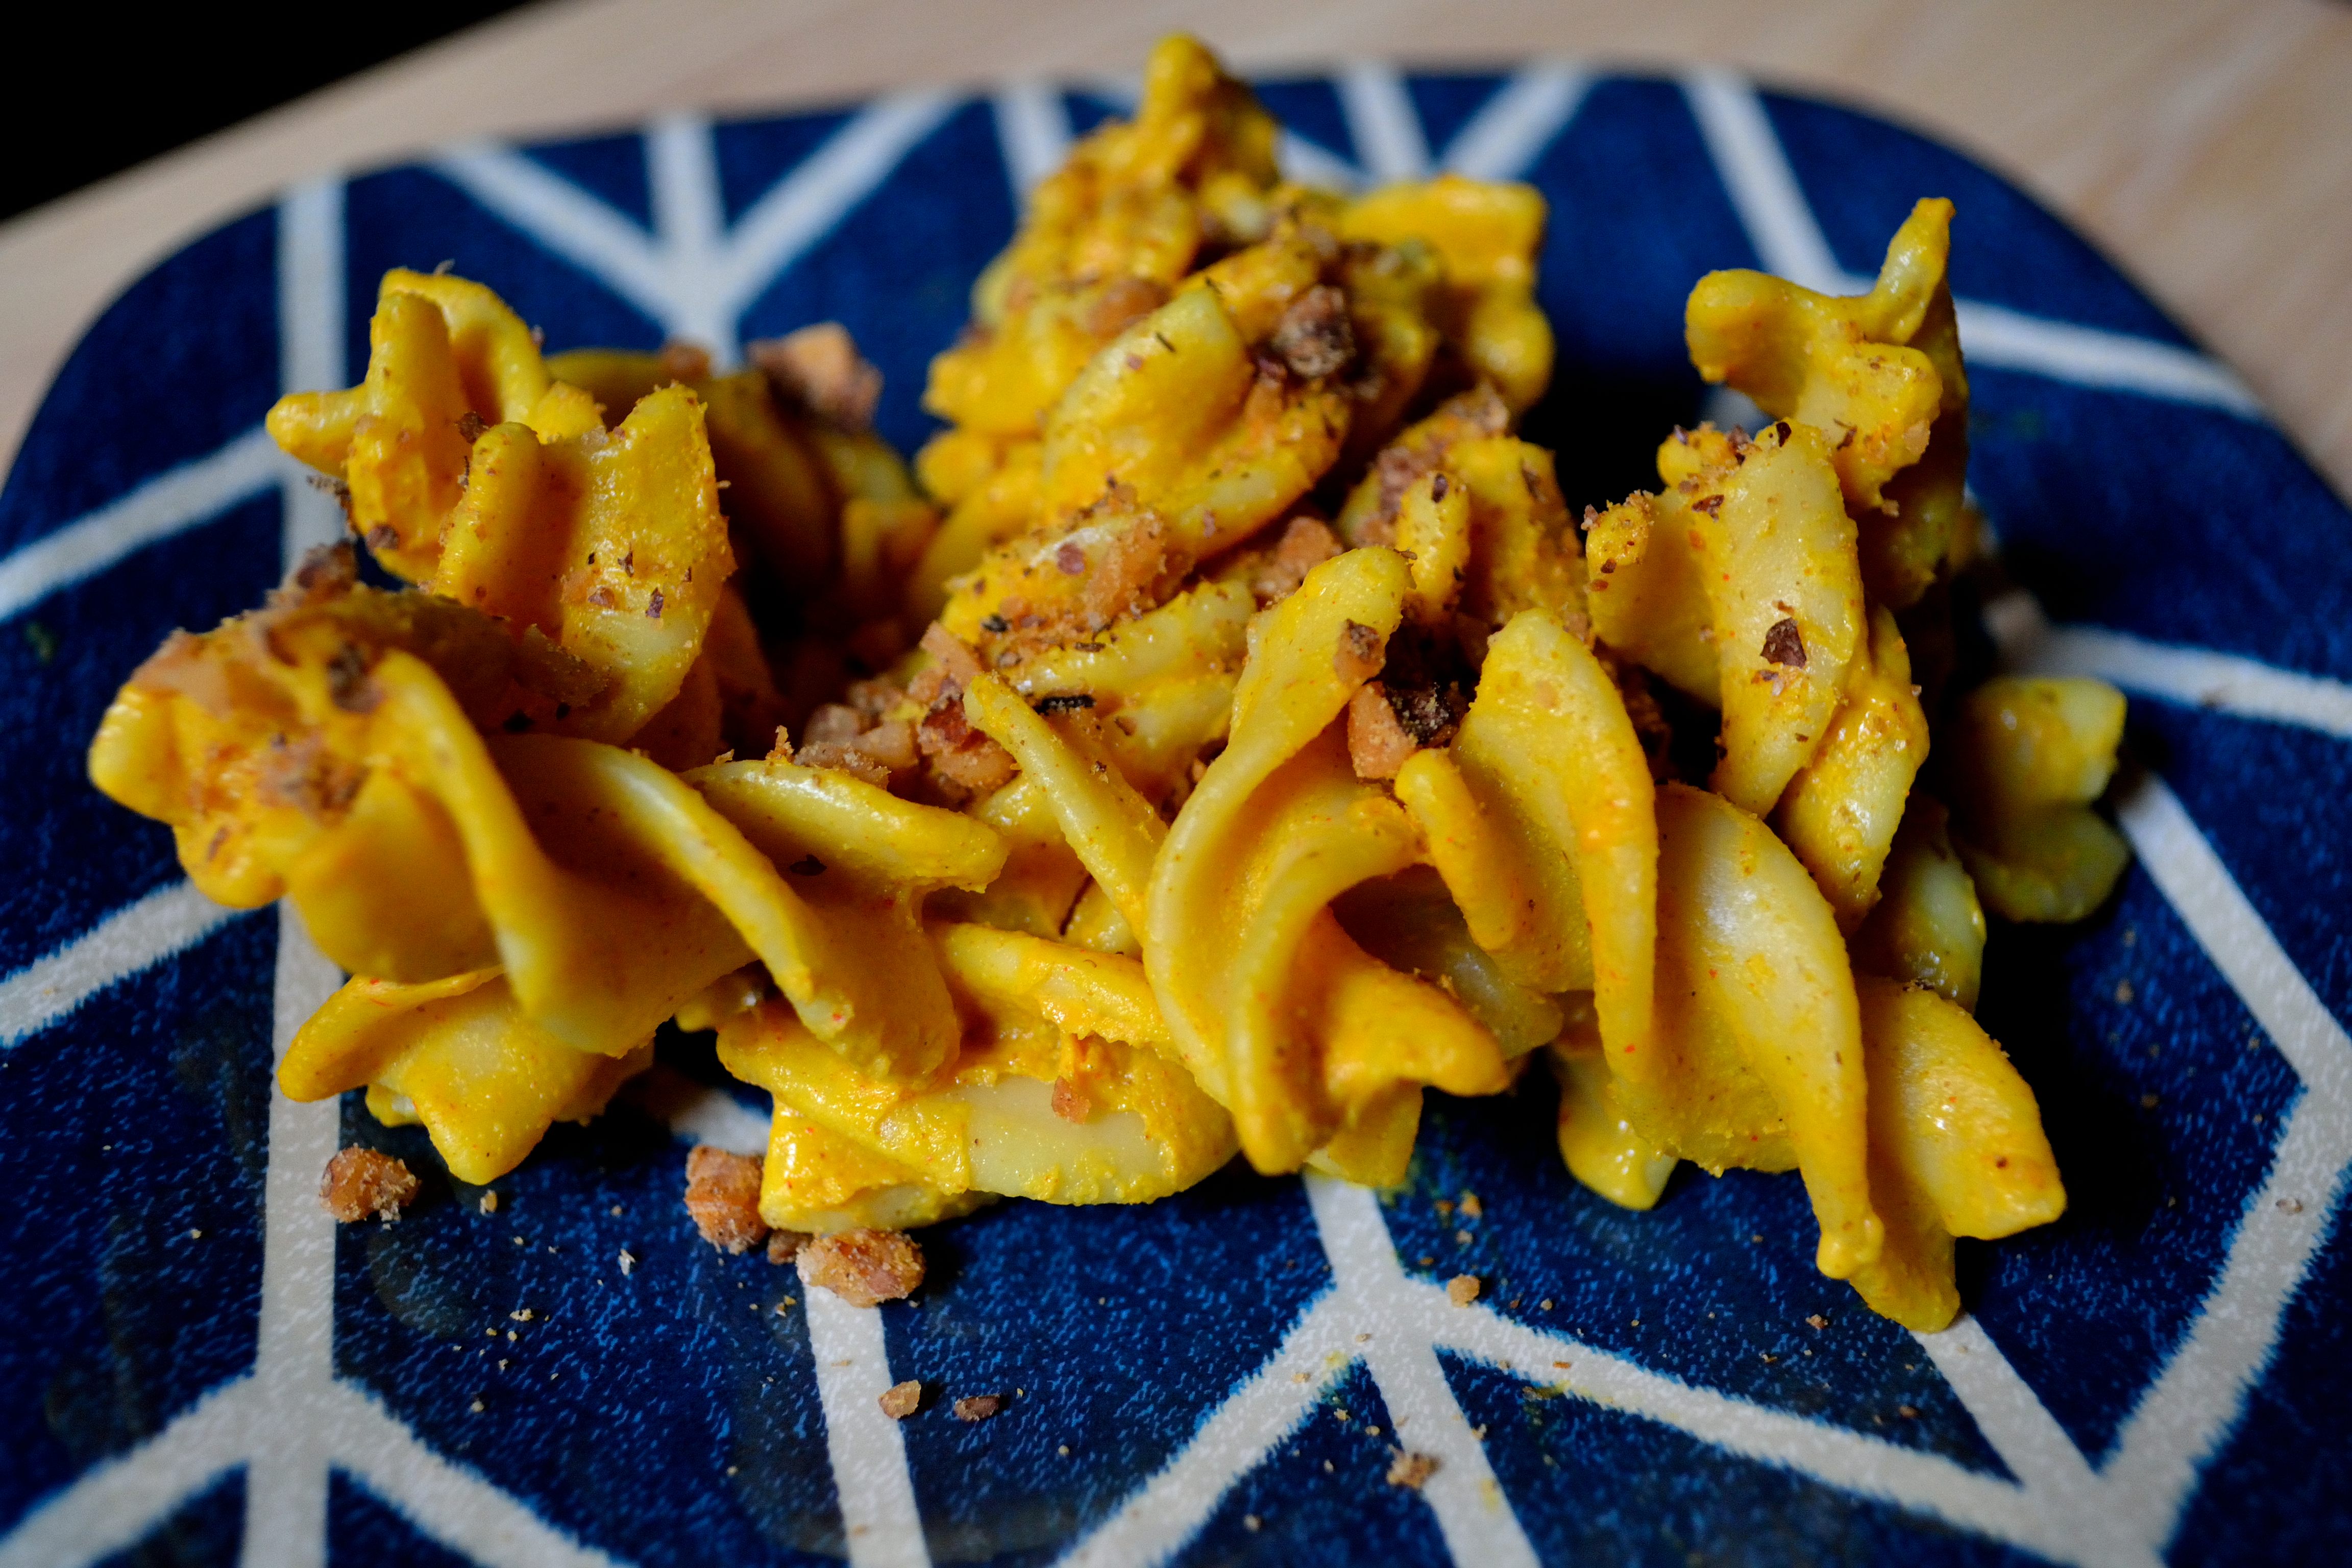
My oatmeal never looks this fancy. This is just for you!
But let’s get to those toppings! This is one of the big reasons I love oatmeal in any form. You can mix in any thing and customize it to your tastes. I have been cooking my oat bran in about a cup of coconut milk for an extra creamy texture and then my toppings of choice lately have been:
- dried prunes
- goji berries
- chopped hazelnuts
- flax meal
- chia seeds
- pureed pumpkin
- toasted buckwheat groats
- hemp seeds
- cinnamon
- peanut butter
As you can see I like to shove in as many toppings as possible. The sky is really the limit to what you can put into your oatmeal bowl. Try things like:
- any nut (almonds/walnuts/pecans)
- any seed (sunflower/pumpkin)
- cocoa powder
- homemade granola
- any dried fruit, no sugar added (cranberries/raisins/figs/apricots)
- fresh fruit, especially berries
- maple syrup
- nut or seed butter
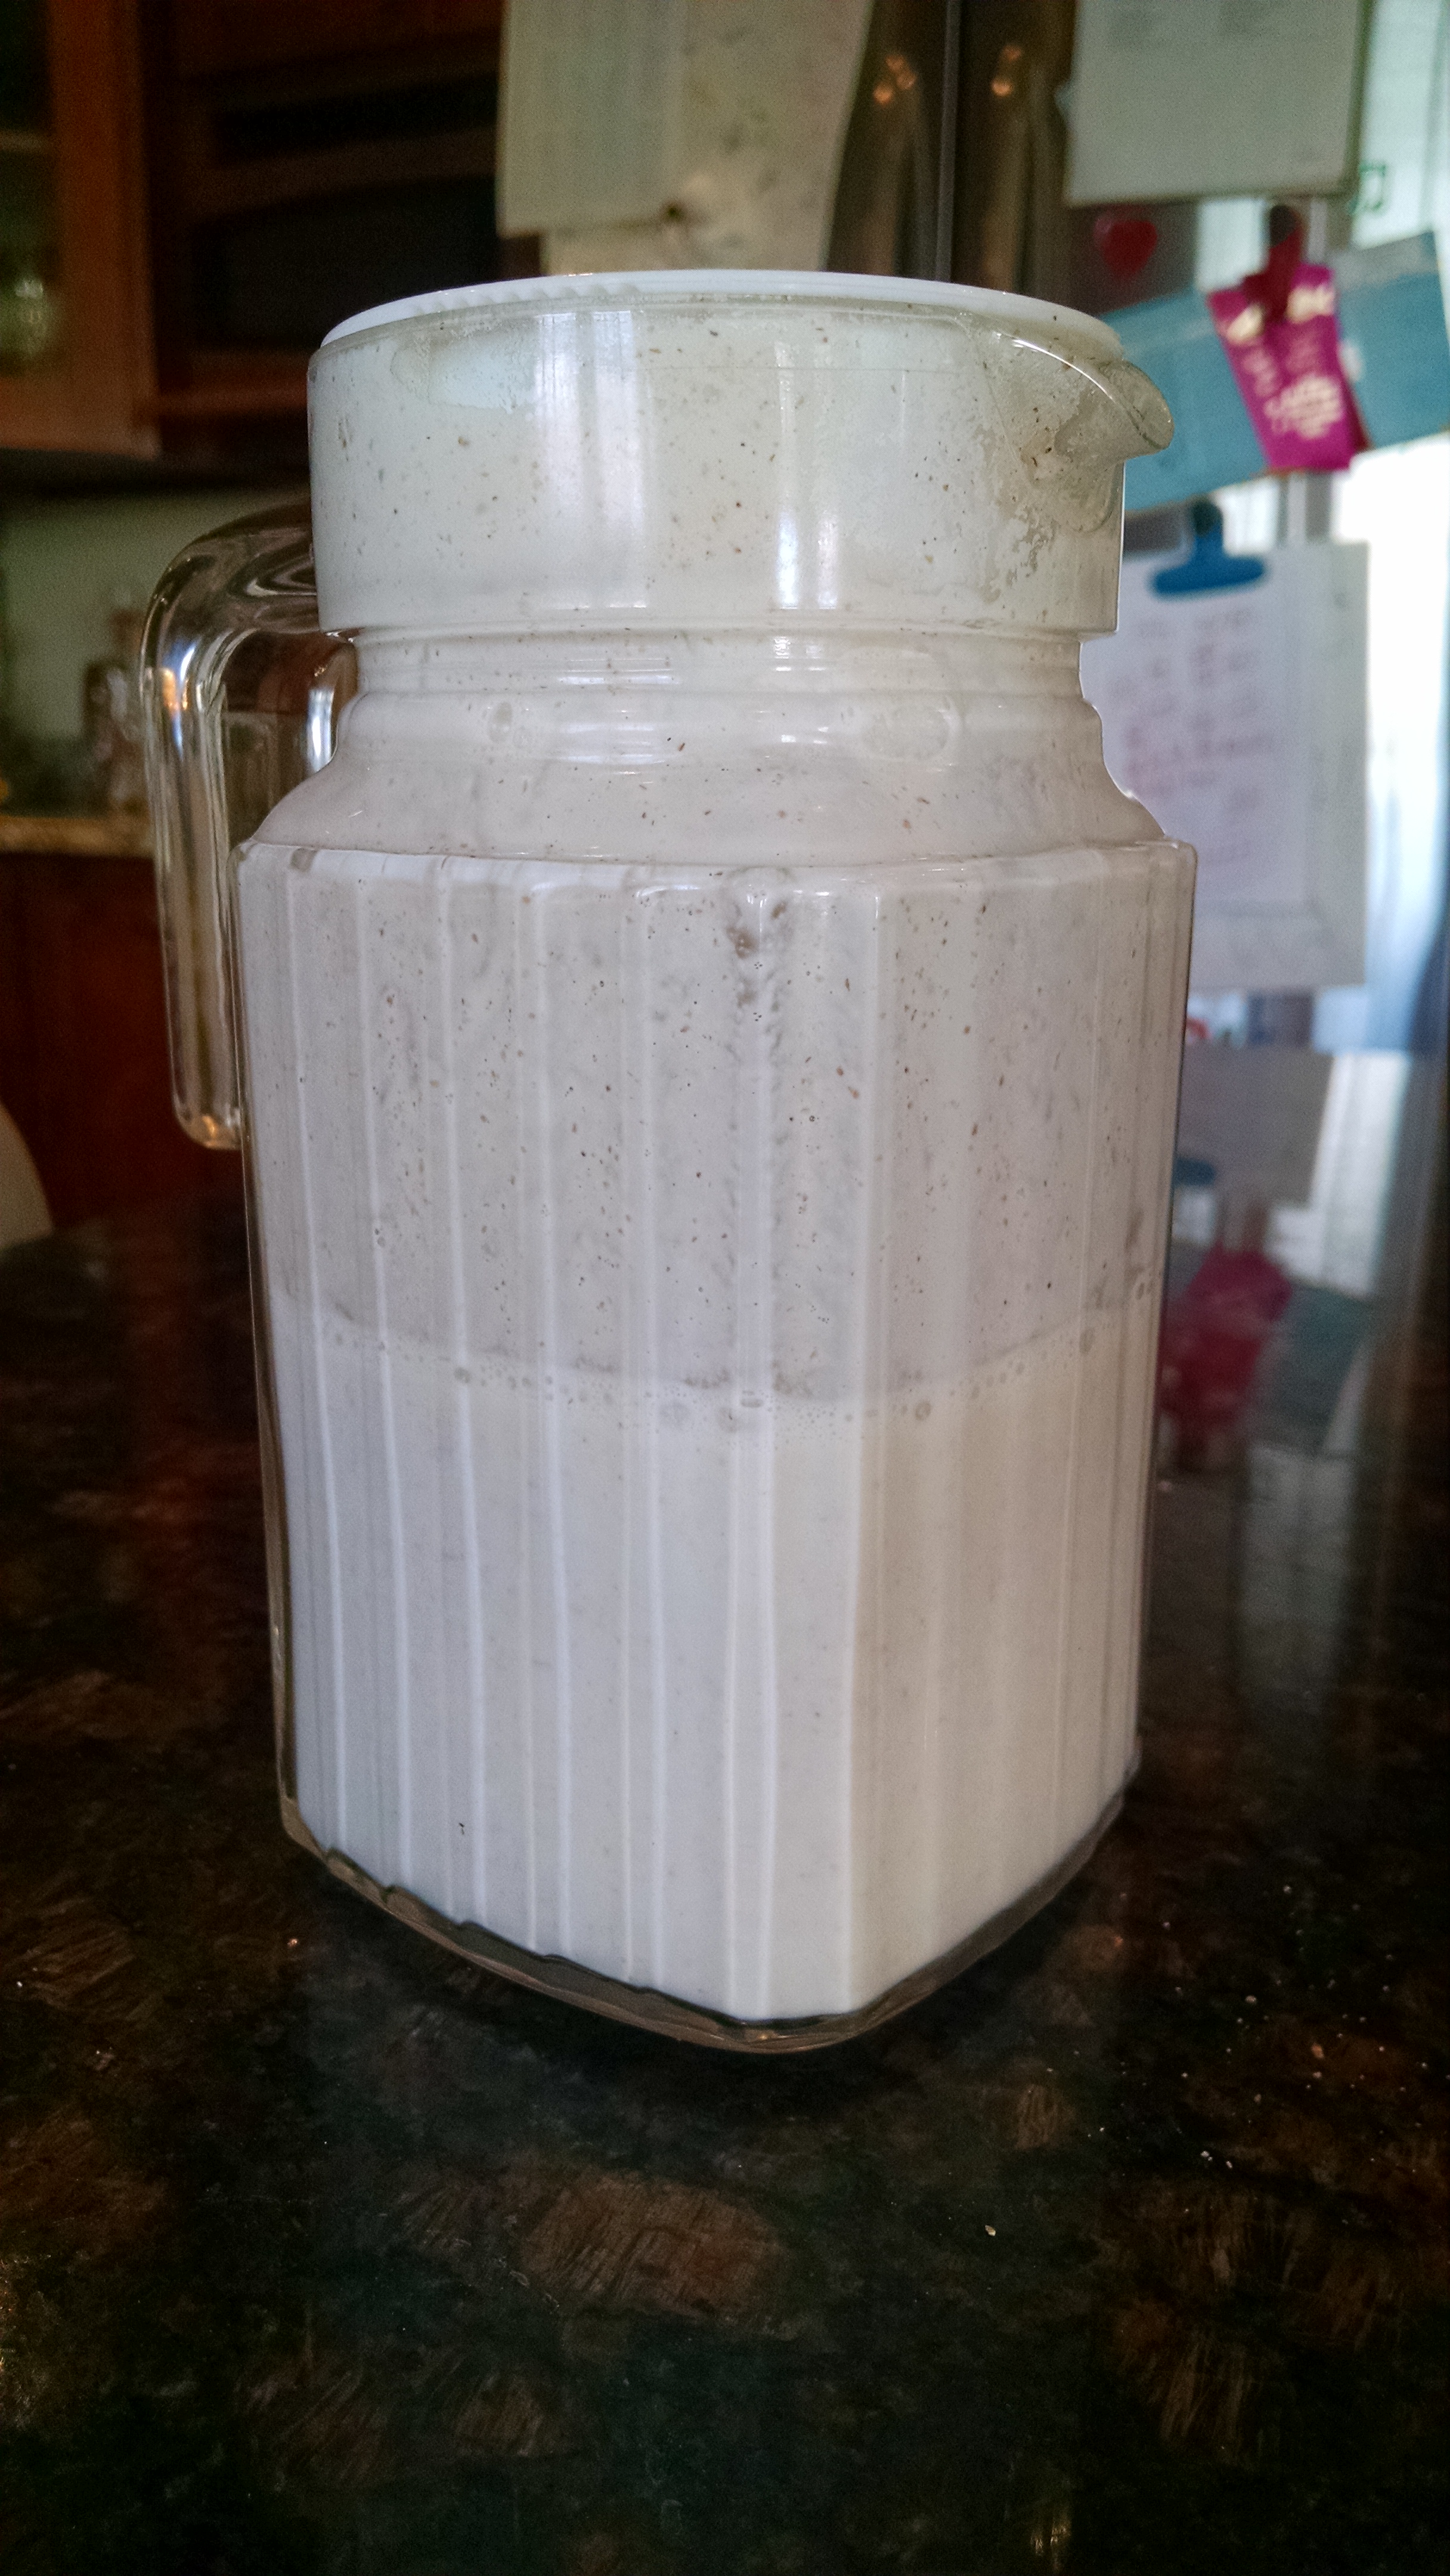
Homemade almond milk. Easy to make and delicious to add to oats!
These are just a few toppings. If it fits in your bowl and you enjoy it, go for it! Oatmeal and breakfast in general doesn’t have to be boring or tasteless just to be healthy. Go make a custom and delicious bowl of your own and see just how awesome a healthy breakfast can be!
How to make Oat Bran
- 1/4 cup oat bran
- 1 cup water or non-dairy milk like almond or coconut
- Add oat bran and water or milk to a small saucepan. Bring oats to a boil and then lower the heat to low and cover.
- Cook for 2-3 minutes. Remove lid and pour into a bowl and add all the toppings!