I’m starting a new Wednesday series, a DIY series. Every Wednesday I’m going to show you how to make your own version of usually store-bought staples. Companies want you to think you can’t live without their products, but you totally can. It’s easier than you think, not to mention healthier and cheaper.
Today I’m going to show you how to make your own spice blends. I used to buy these blends at the grocery store and thought nothing of it. Then I started to read labels and noticed there were some funky ingredients in there. Things like MSG and anti-caking agents. Things that I did not want to be sprinkling over my food and ingesting. So I started to make my own and haven’t looked back. Make these when you have some free time and you will have all the seasonings you could ever want ready to go when you cook.
These are four of my favorite and most used blends.
Ranch Seasoning Blend
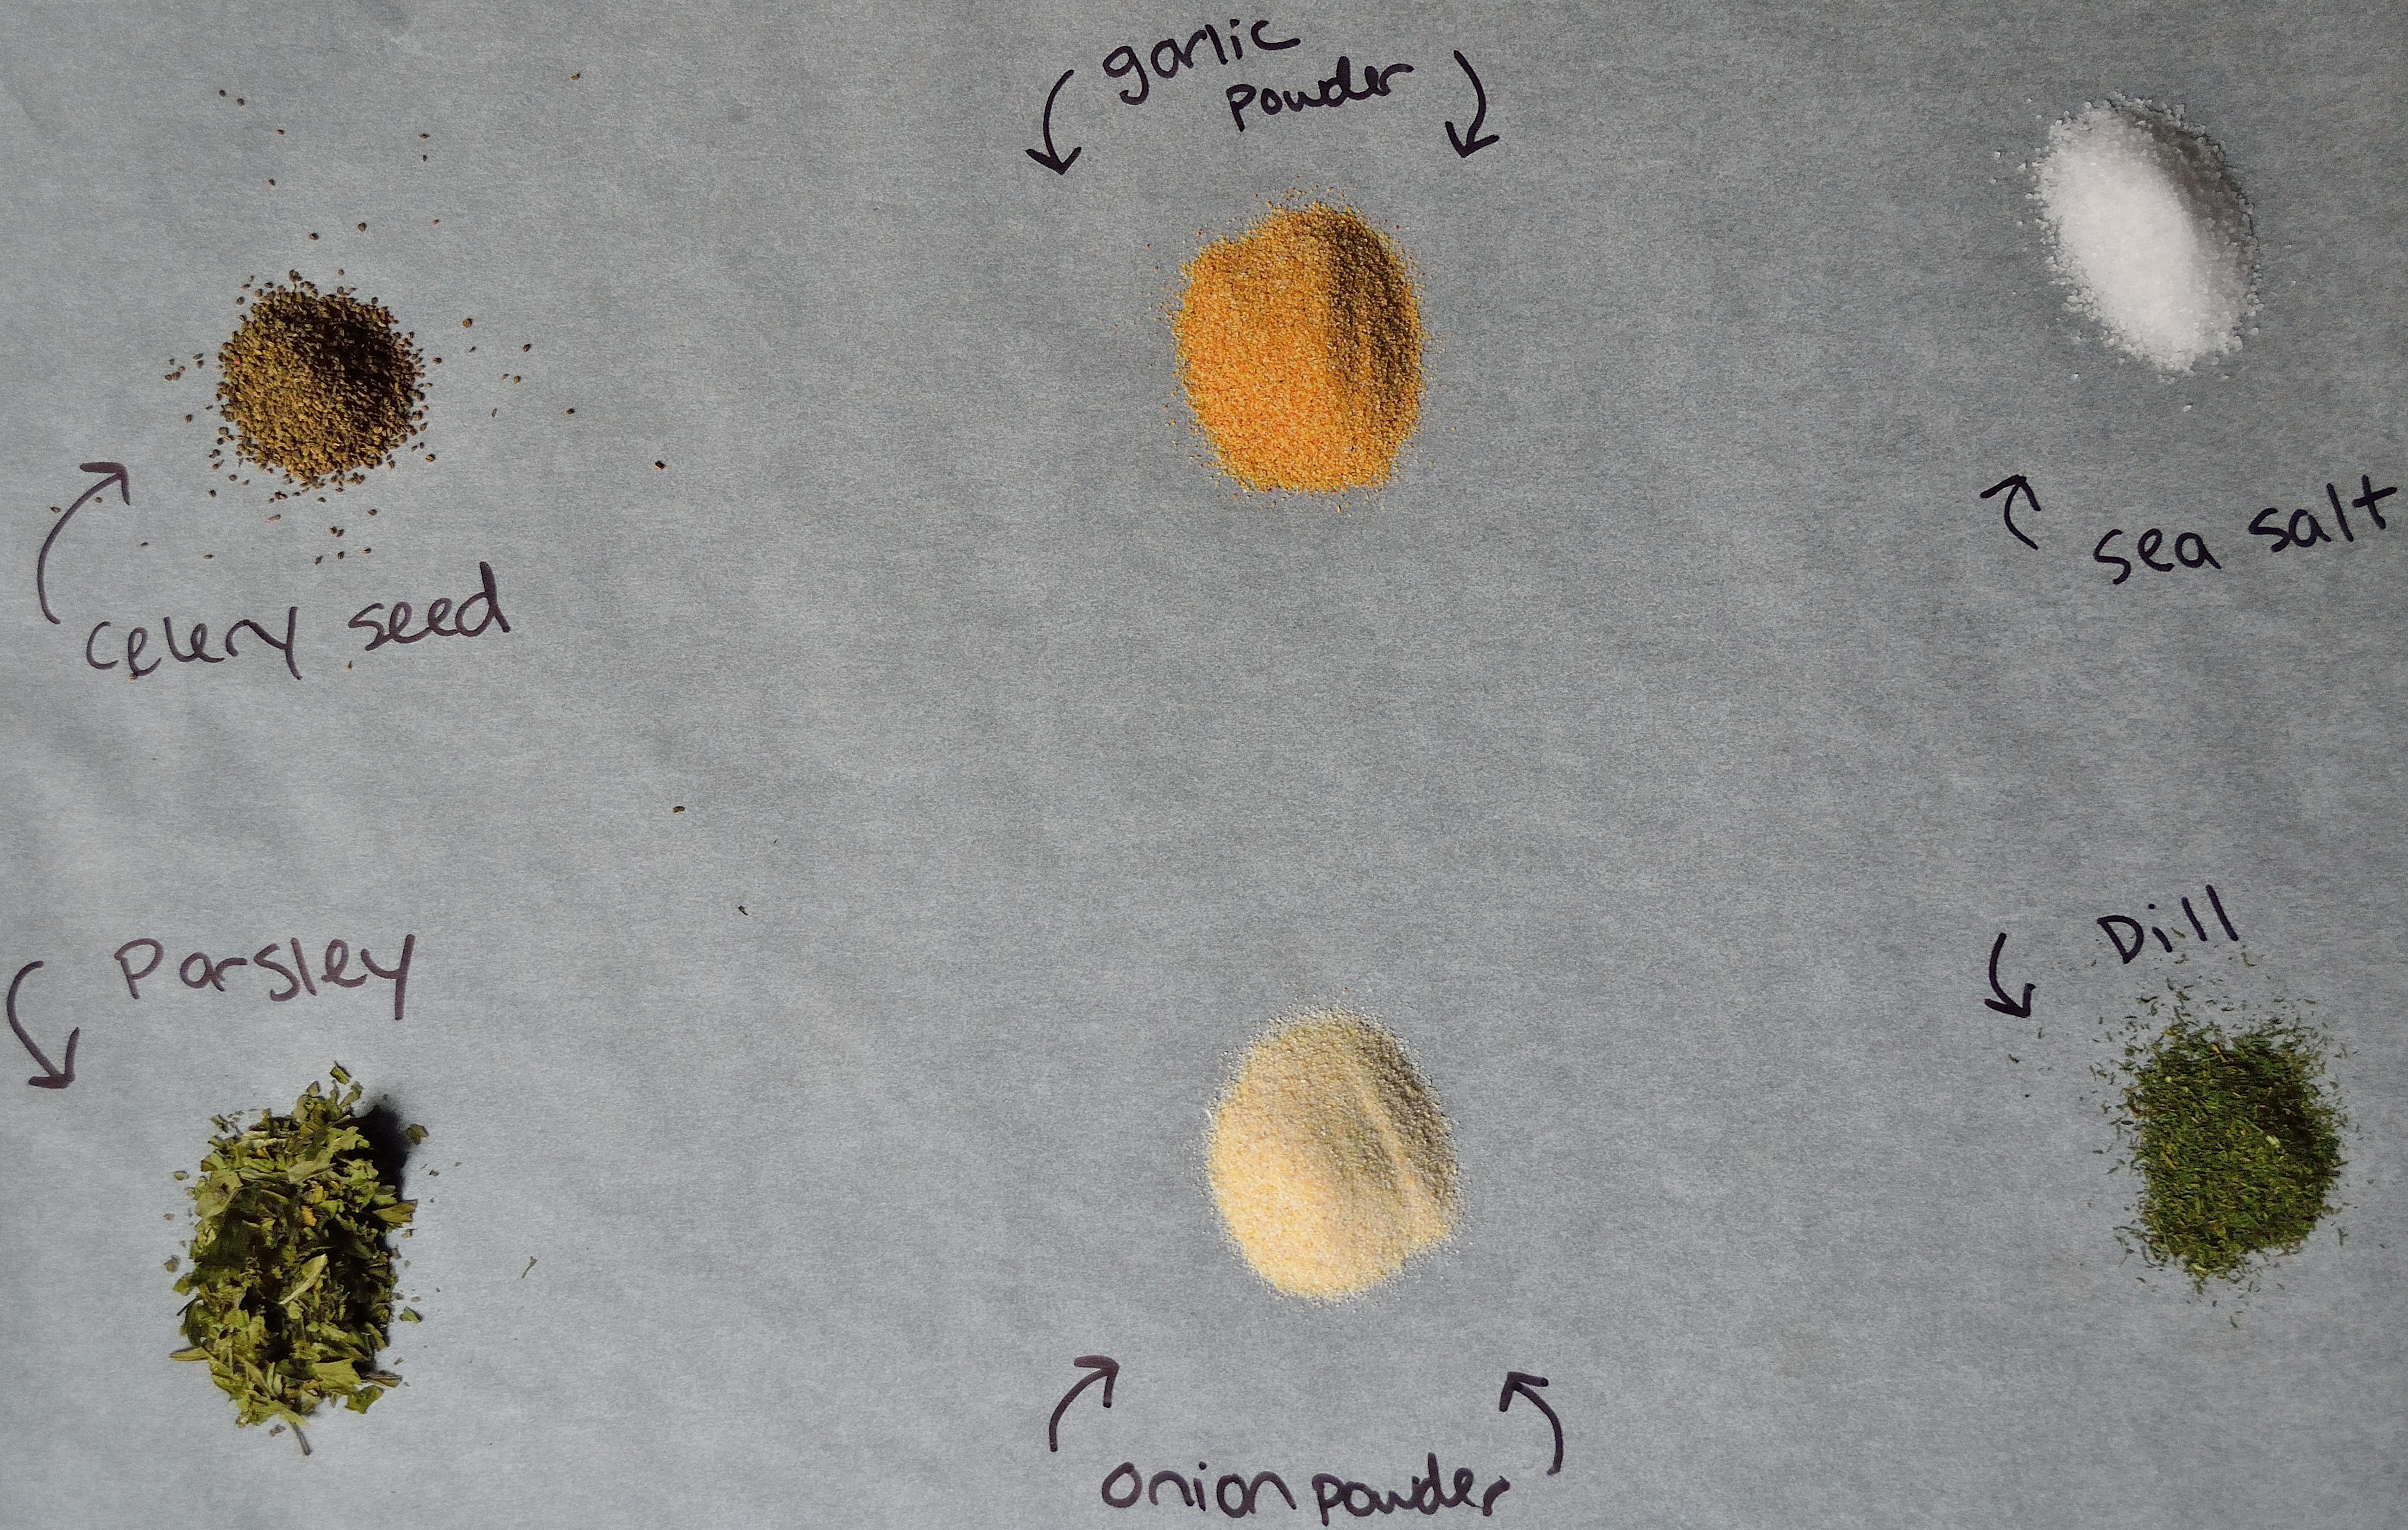
1 tbsp onion powder
1 tbsp garlic powder
2 tsp dill
2 tsp parsley
1 tsp salt
1/2 tsp celery seed
Onion Soup Blend
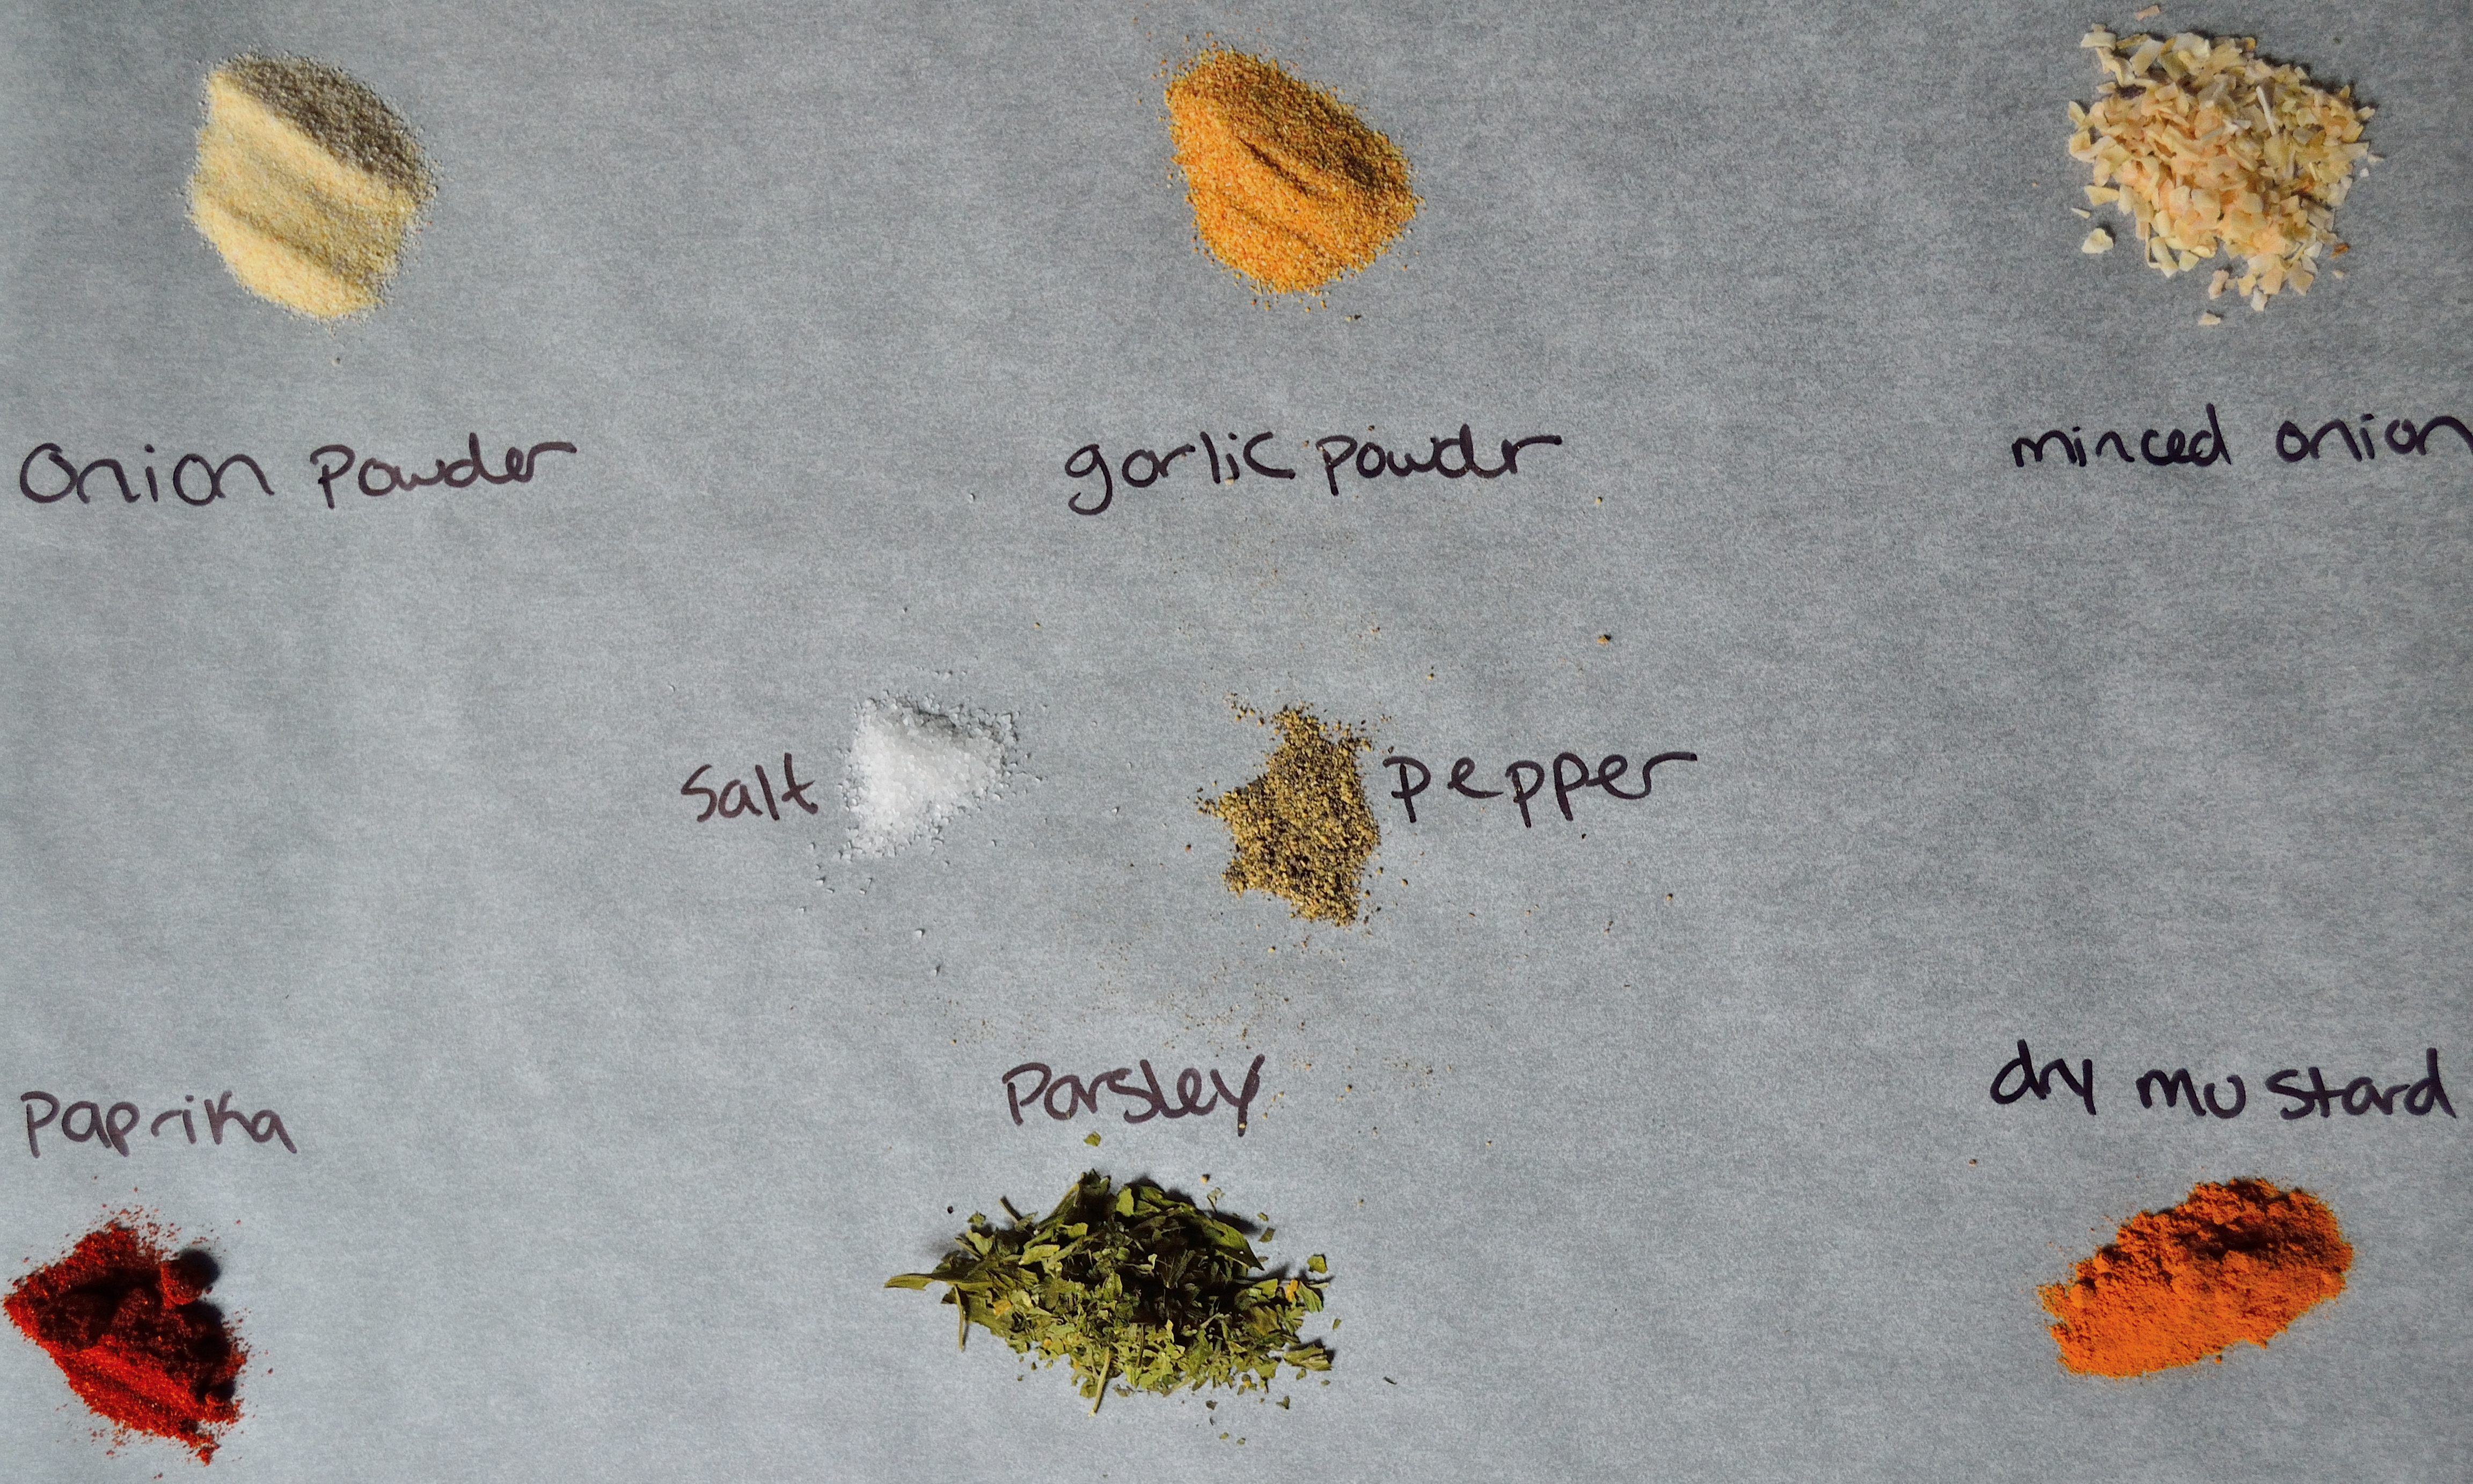
1 tbsp dried onion, minced
2 tsp onion powder
2 tsp garlic powder
1 tsp dried mustard
1 tsp parsley
1/2 tsp paprika
1/2 tsp salt
1/4 tsp black pepper
Pumpkin Pie Blend

1 tbsp ground cinnamon
1 tsp allspice
1 tsp ground ginger
1/2 tsp nutmeg
1/2 tsp ground cloves
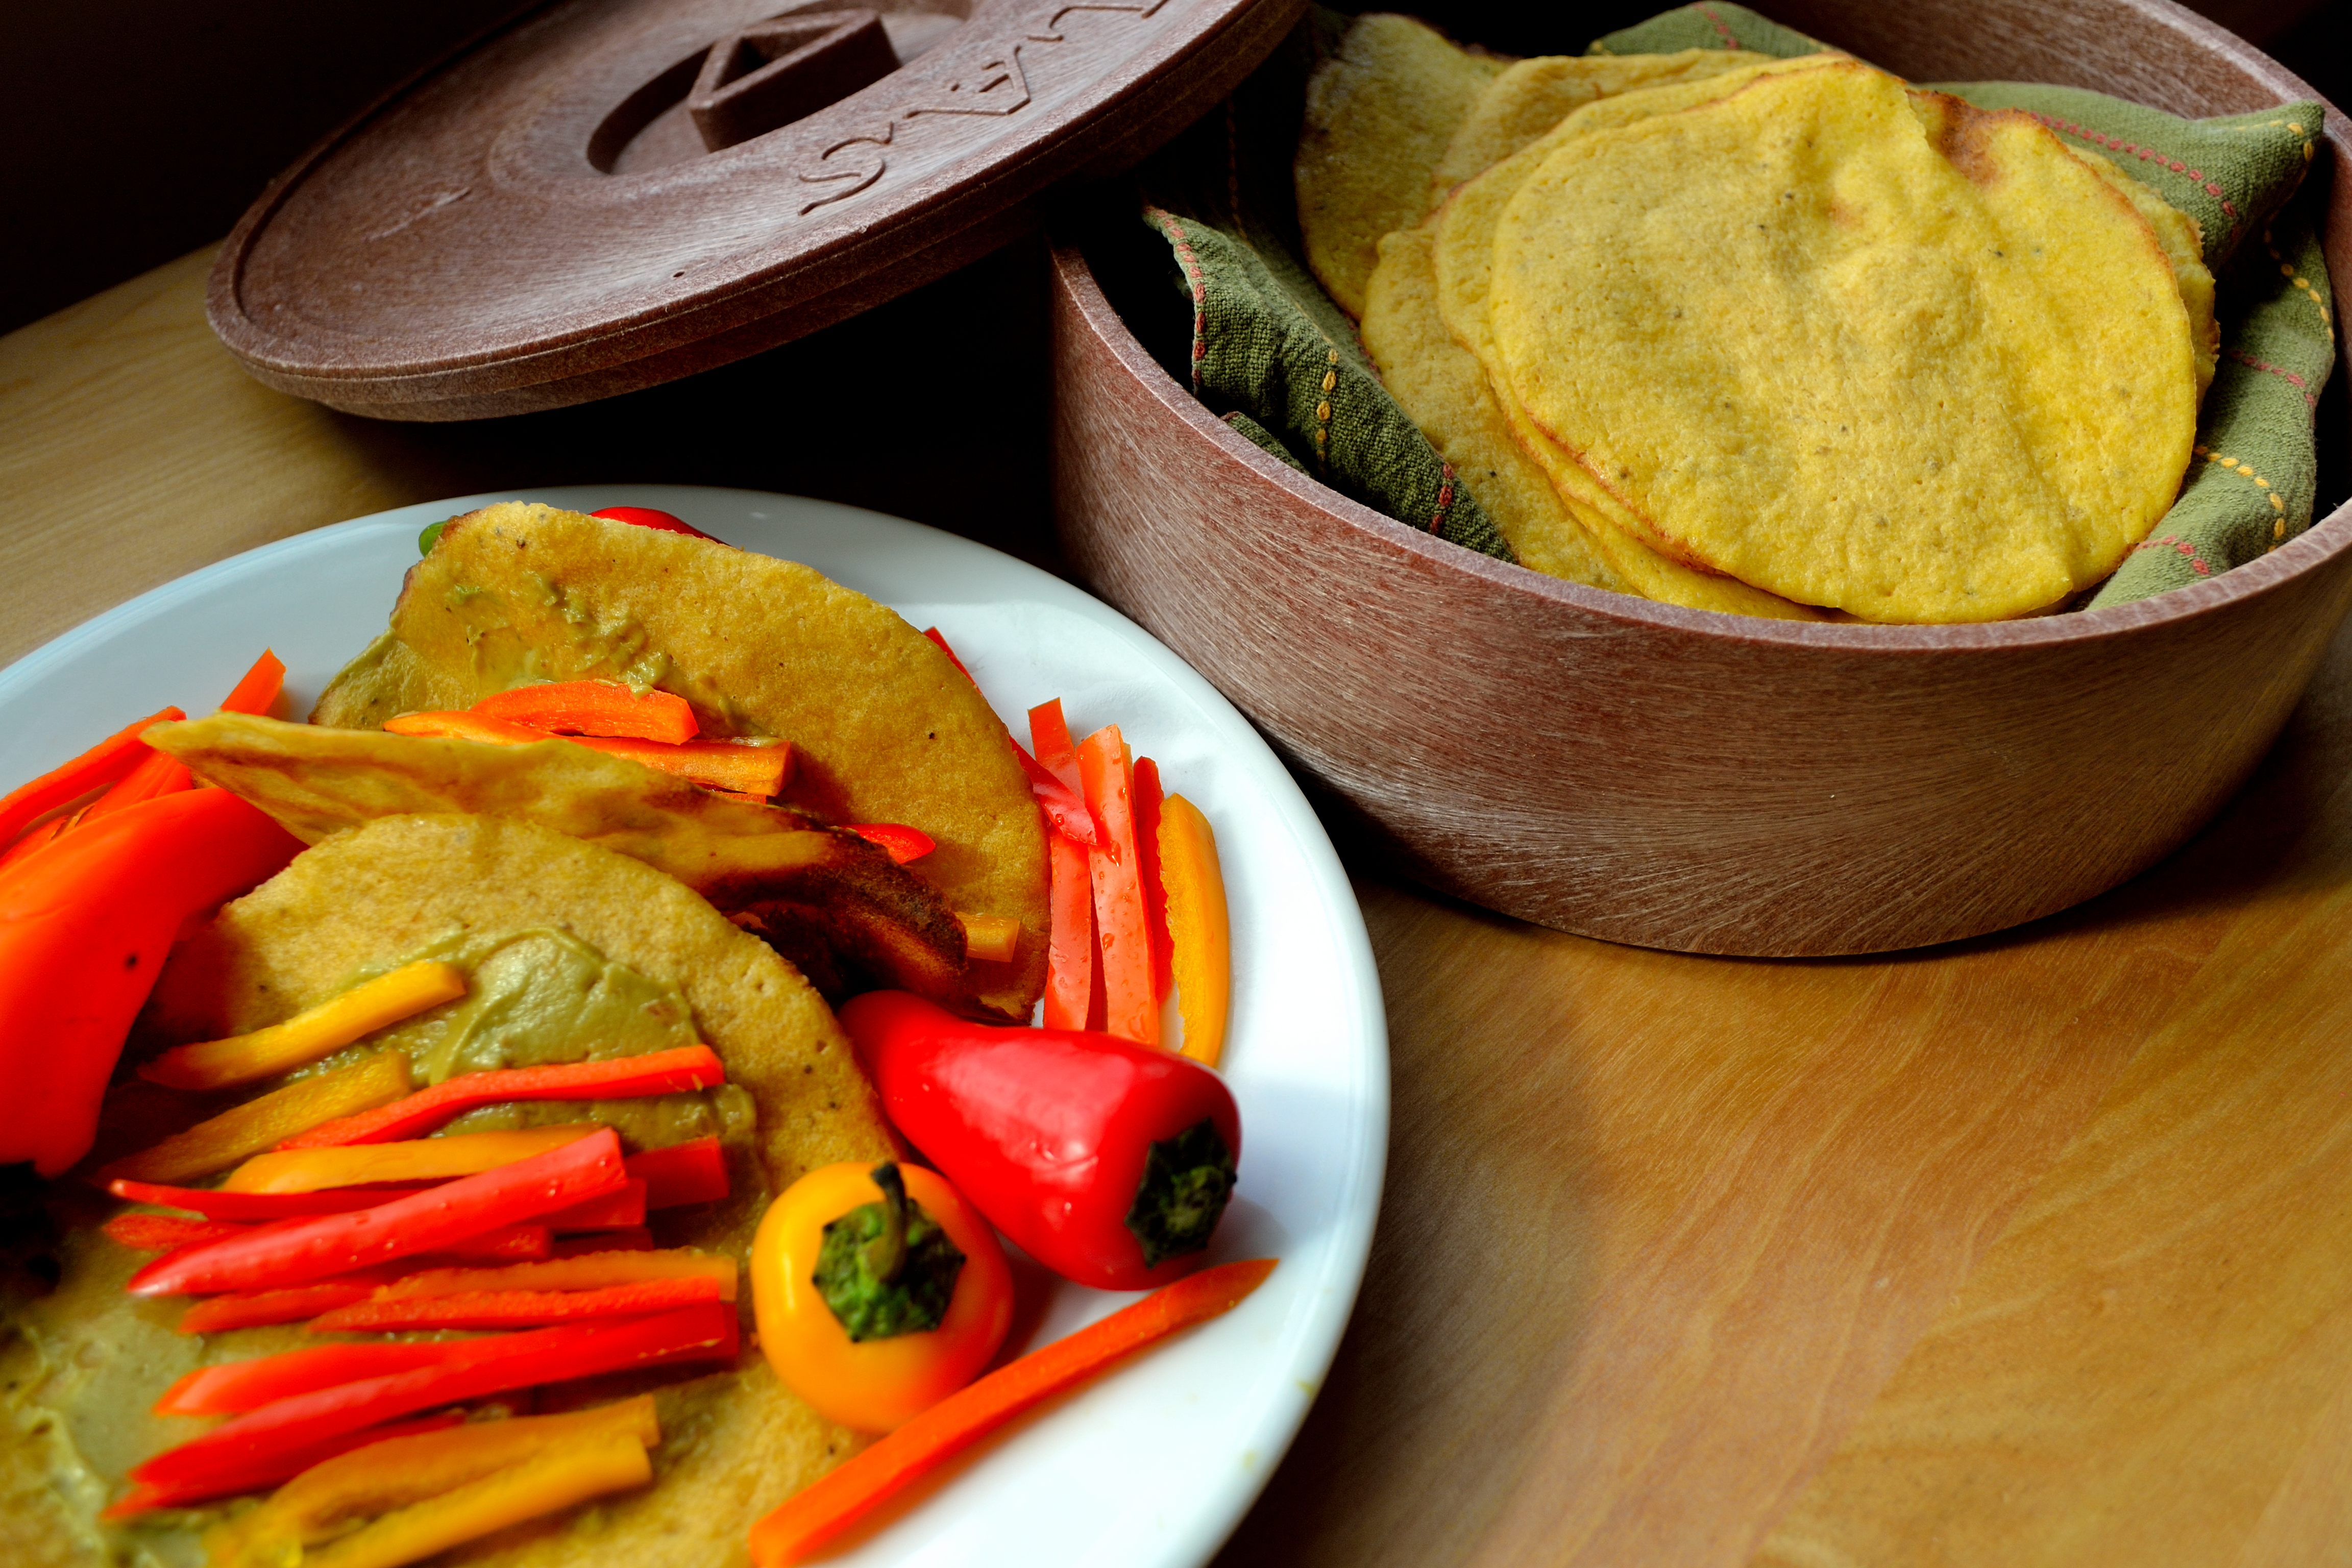
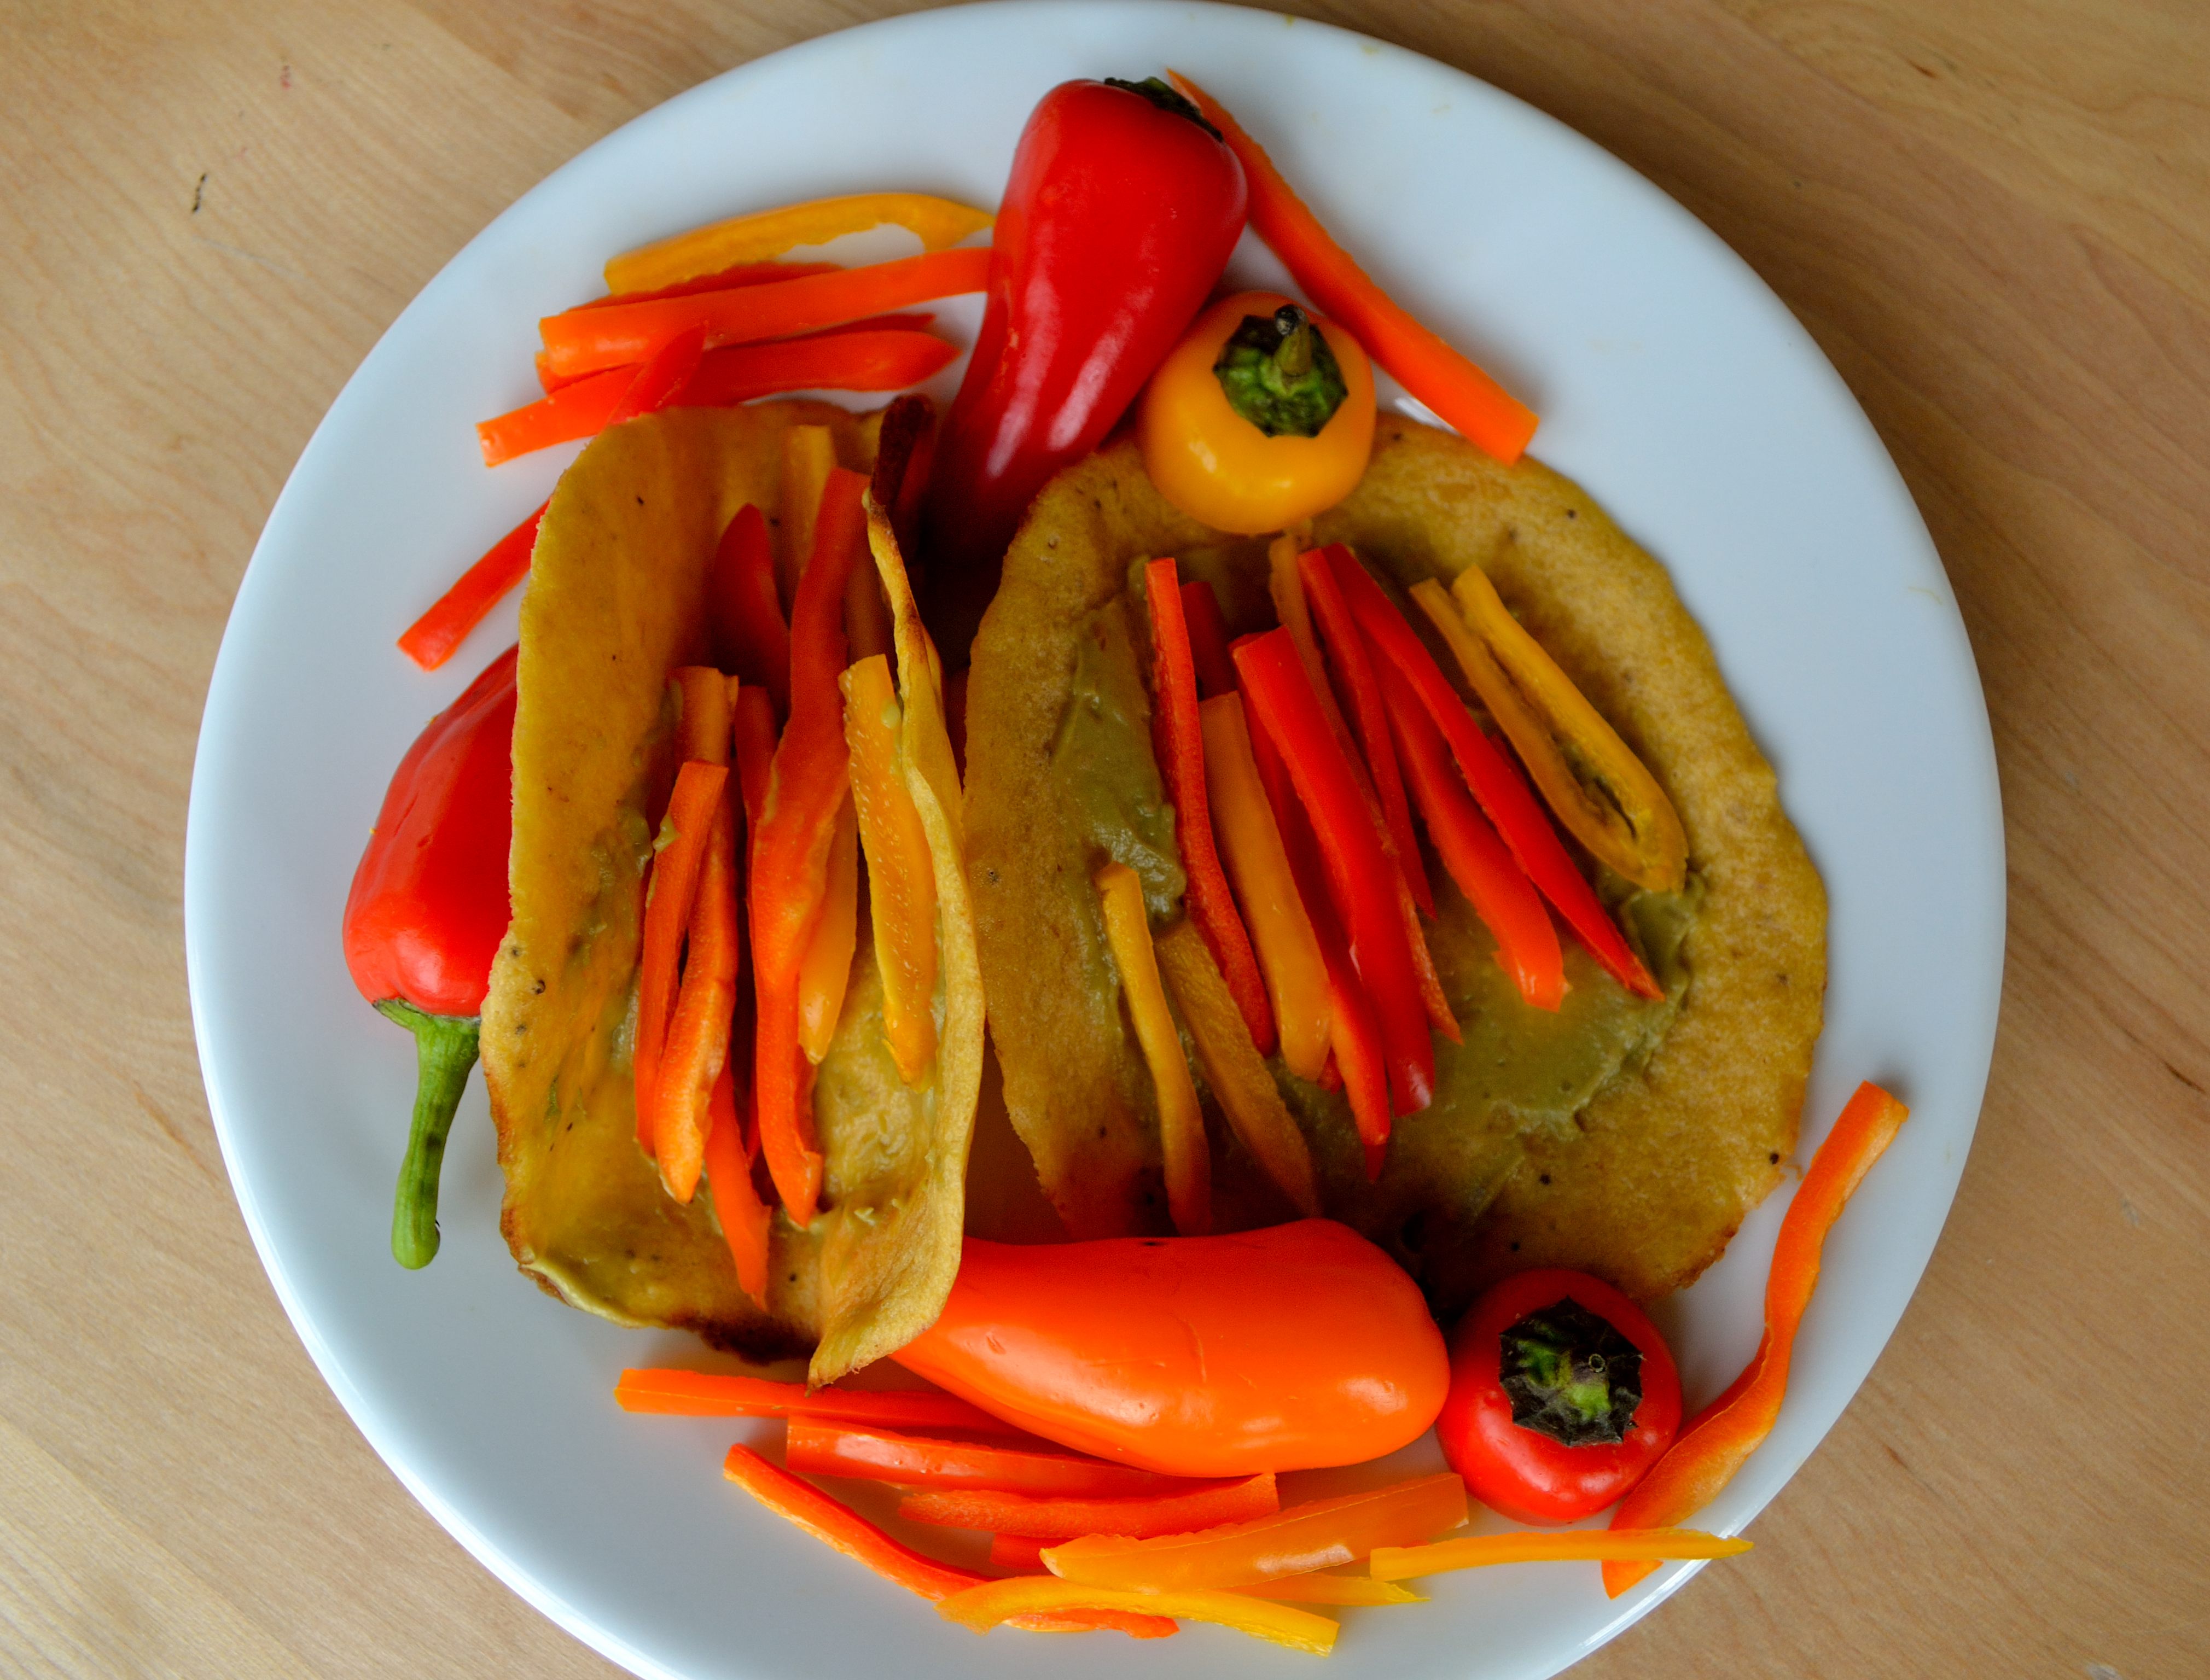
Taco Seasoning Blend

1 tbsp chili powder
1 tbsp ground cumin
3 tsp garlic powder
2 tsp onion powder
1 tsp smoked paprika
1/2 tsp salt
1/4 tsp cayenne pepper, optional (if you want a spicier mix)
Measure out all the seasonings, mix together, and then store in an airtight container like a mason or bell jar. You can adjust the seasonings to your taste or remove the salt to make each blend salt free.
Use the ranch or onion mix for dips by adding to plain greek yogurt, sour cream, or plain cashew ricotta.
Use the taco blend in place of store bought packets and add either tapioca starch or cornstarch to help thicken the sauce you pour over your taco filling.
Sprinkle the pumpkin pie spice over oatmeal or cereal for a little taste of fall.
Of course you can use these blends anywhere, on your vegetables, in your marinades and dressings, in desserts or snacks. It really just takes a few minutes to put these mixes together and the flavor and price can’t be beat. So use your DIY skills and get to blending!