Because I mostly eat a plant based diet, I don’t make many marinades. For some reason, I always forget about marinading vegetables and this makes me sad because I love the flavor a good marinade can impart. Plus marinades don’t have to be super complicated and can be made with the things you already have on hand.
Mushrooms were on sale at Jewel the past week so I decided it was time to make a good vegetable marinade. This one would also be really good with eggplant or maybe some jicama. Oooo, jicama would be tasty…. Anyway, this marinade pulls double duty in this recipe because it turns into the sauce at the end of the process. Good for you because it means less work for a super tasty dinner.
Make sure you leave enough time to marinate the mushrooms for at least 12 hours, preferably a full 24. That gives the dish the most intense flavor.
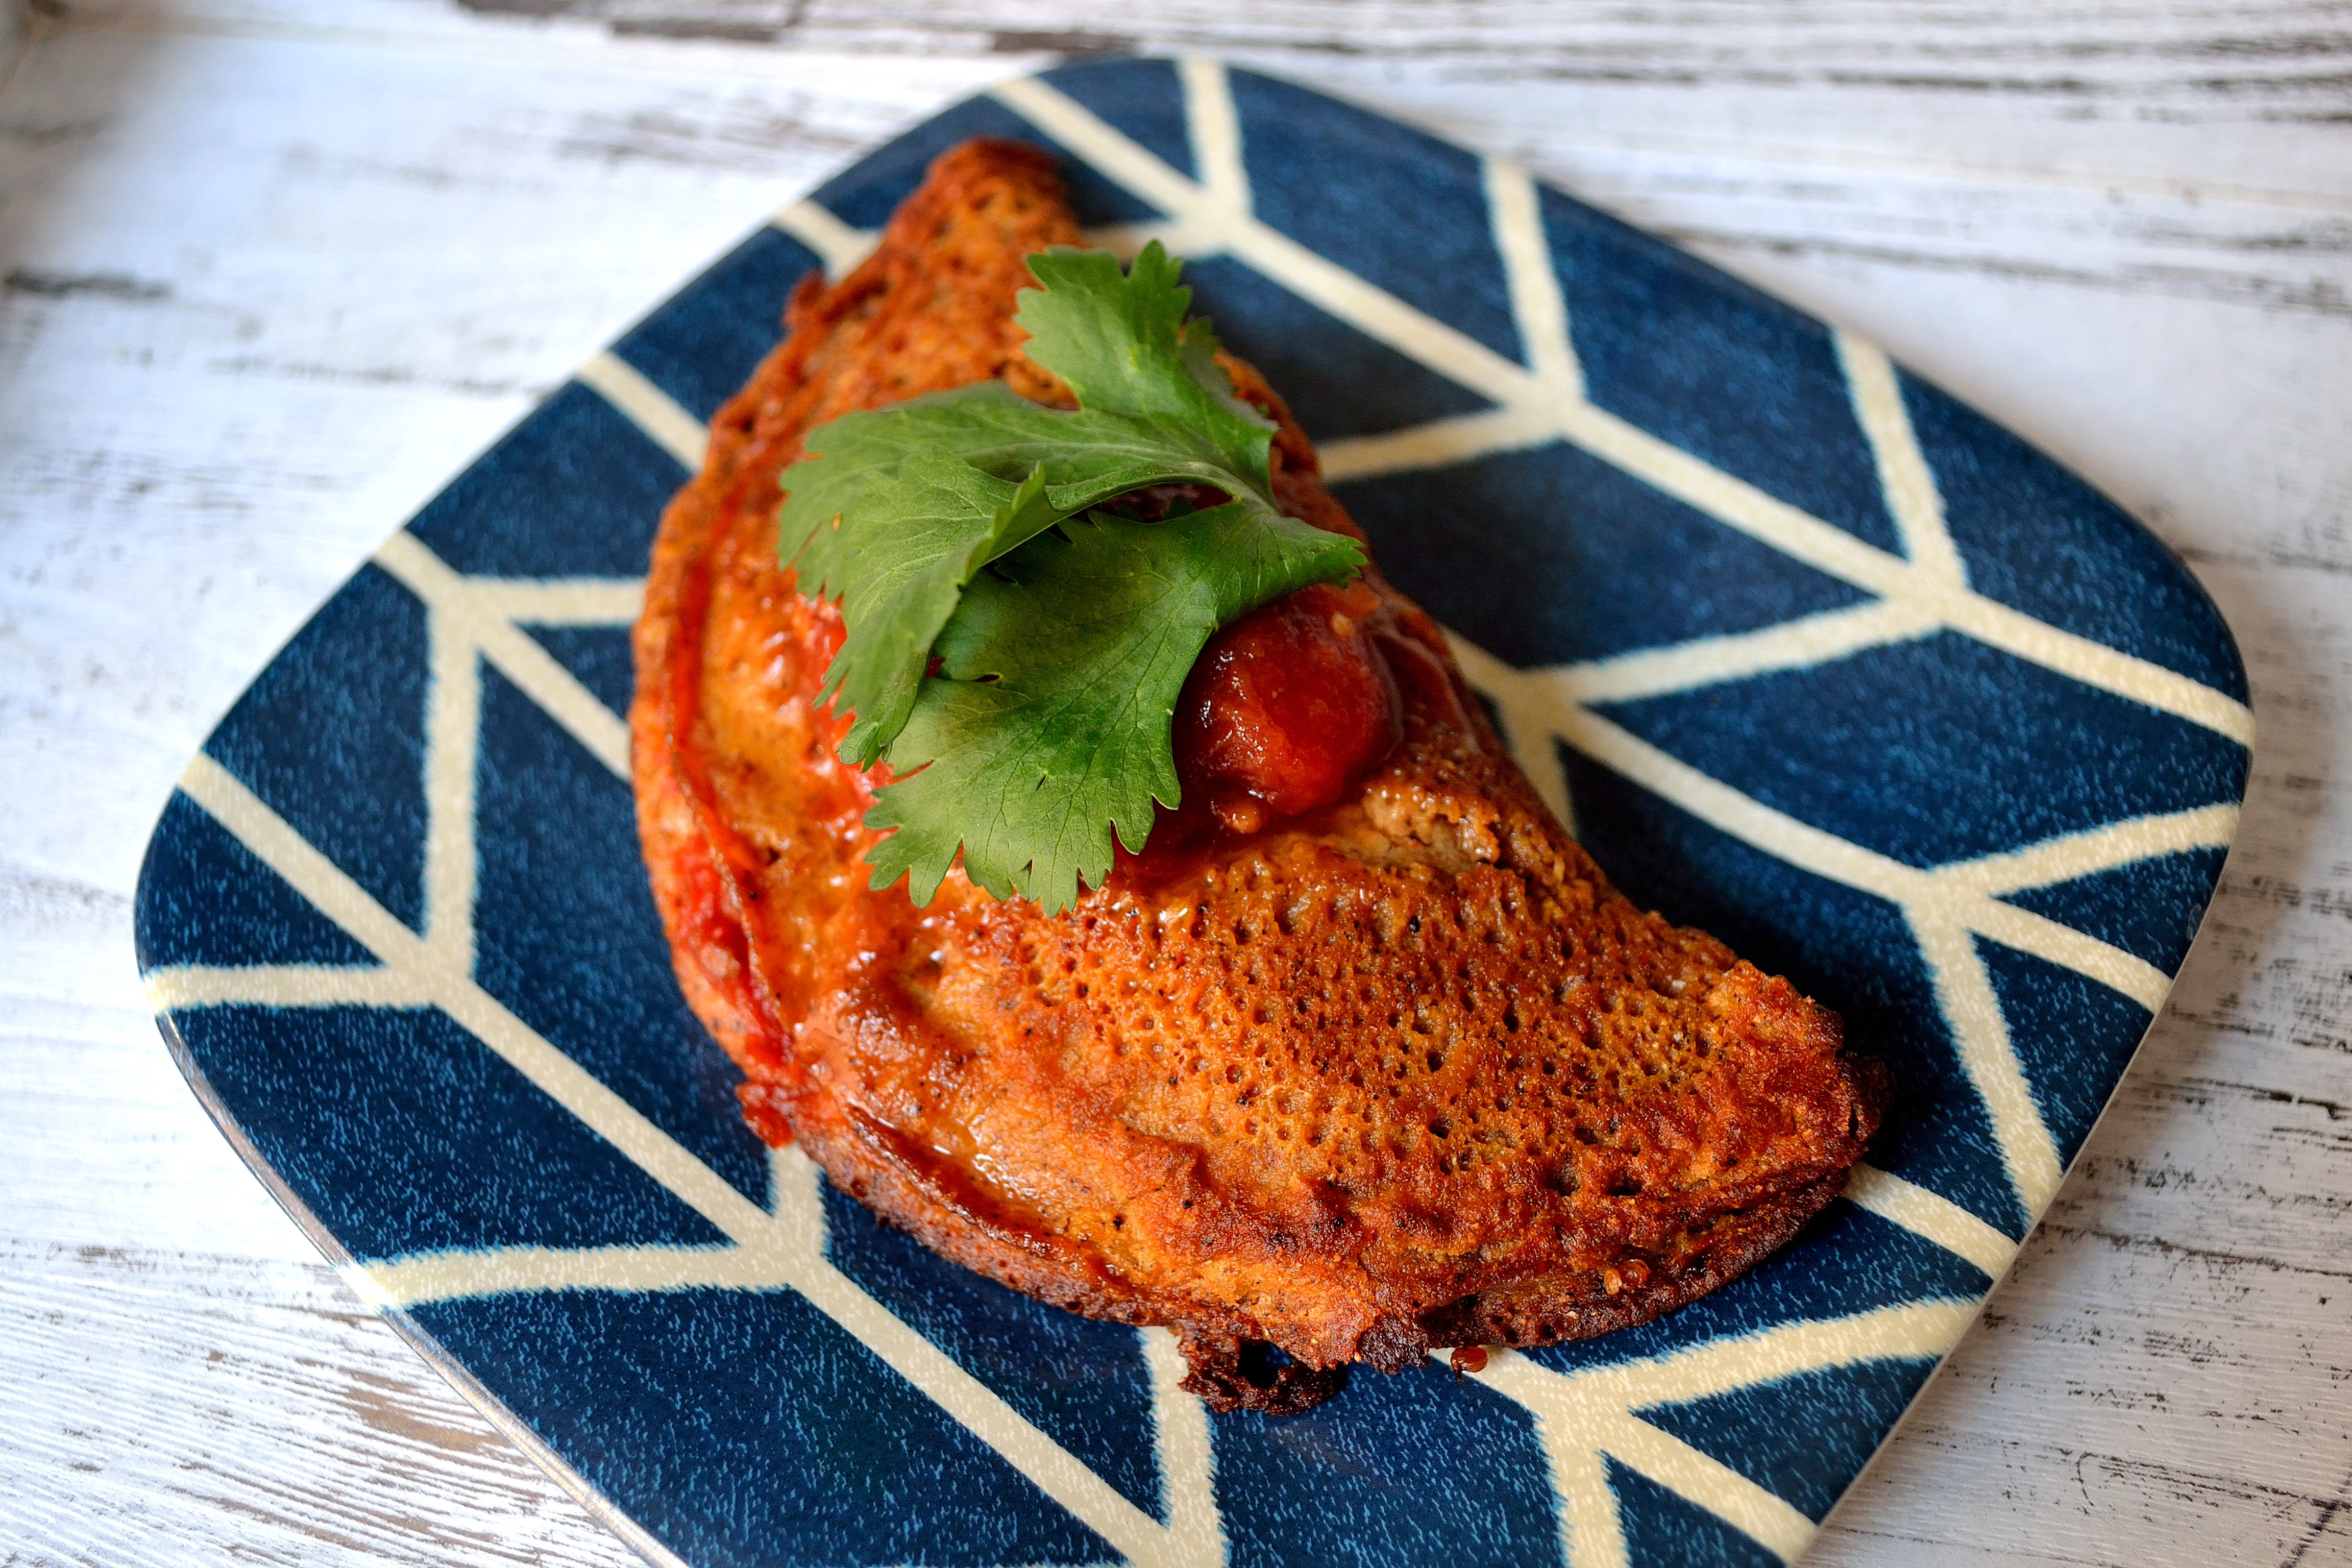
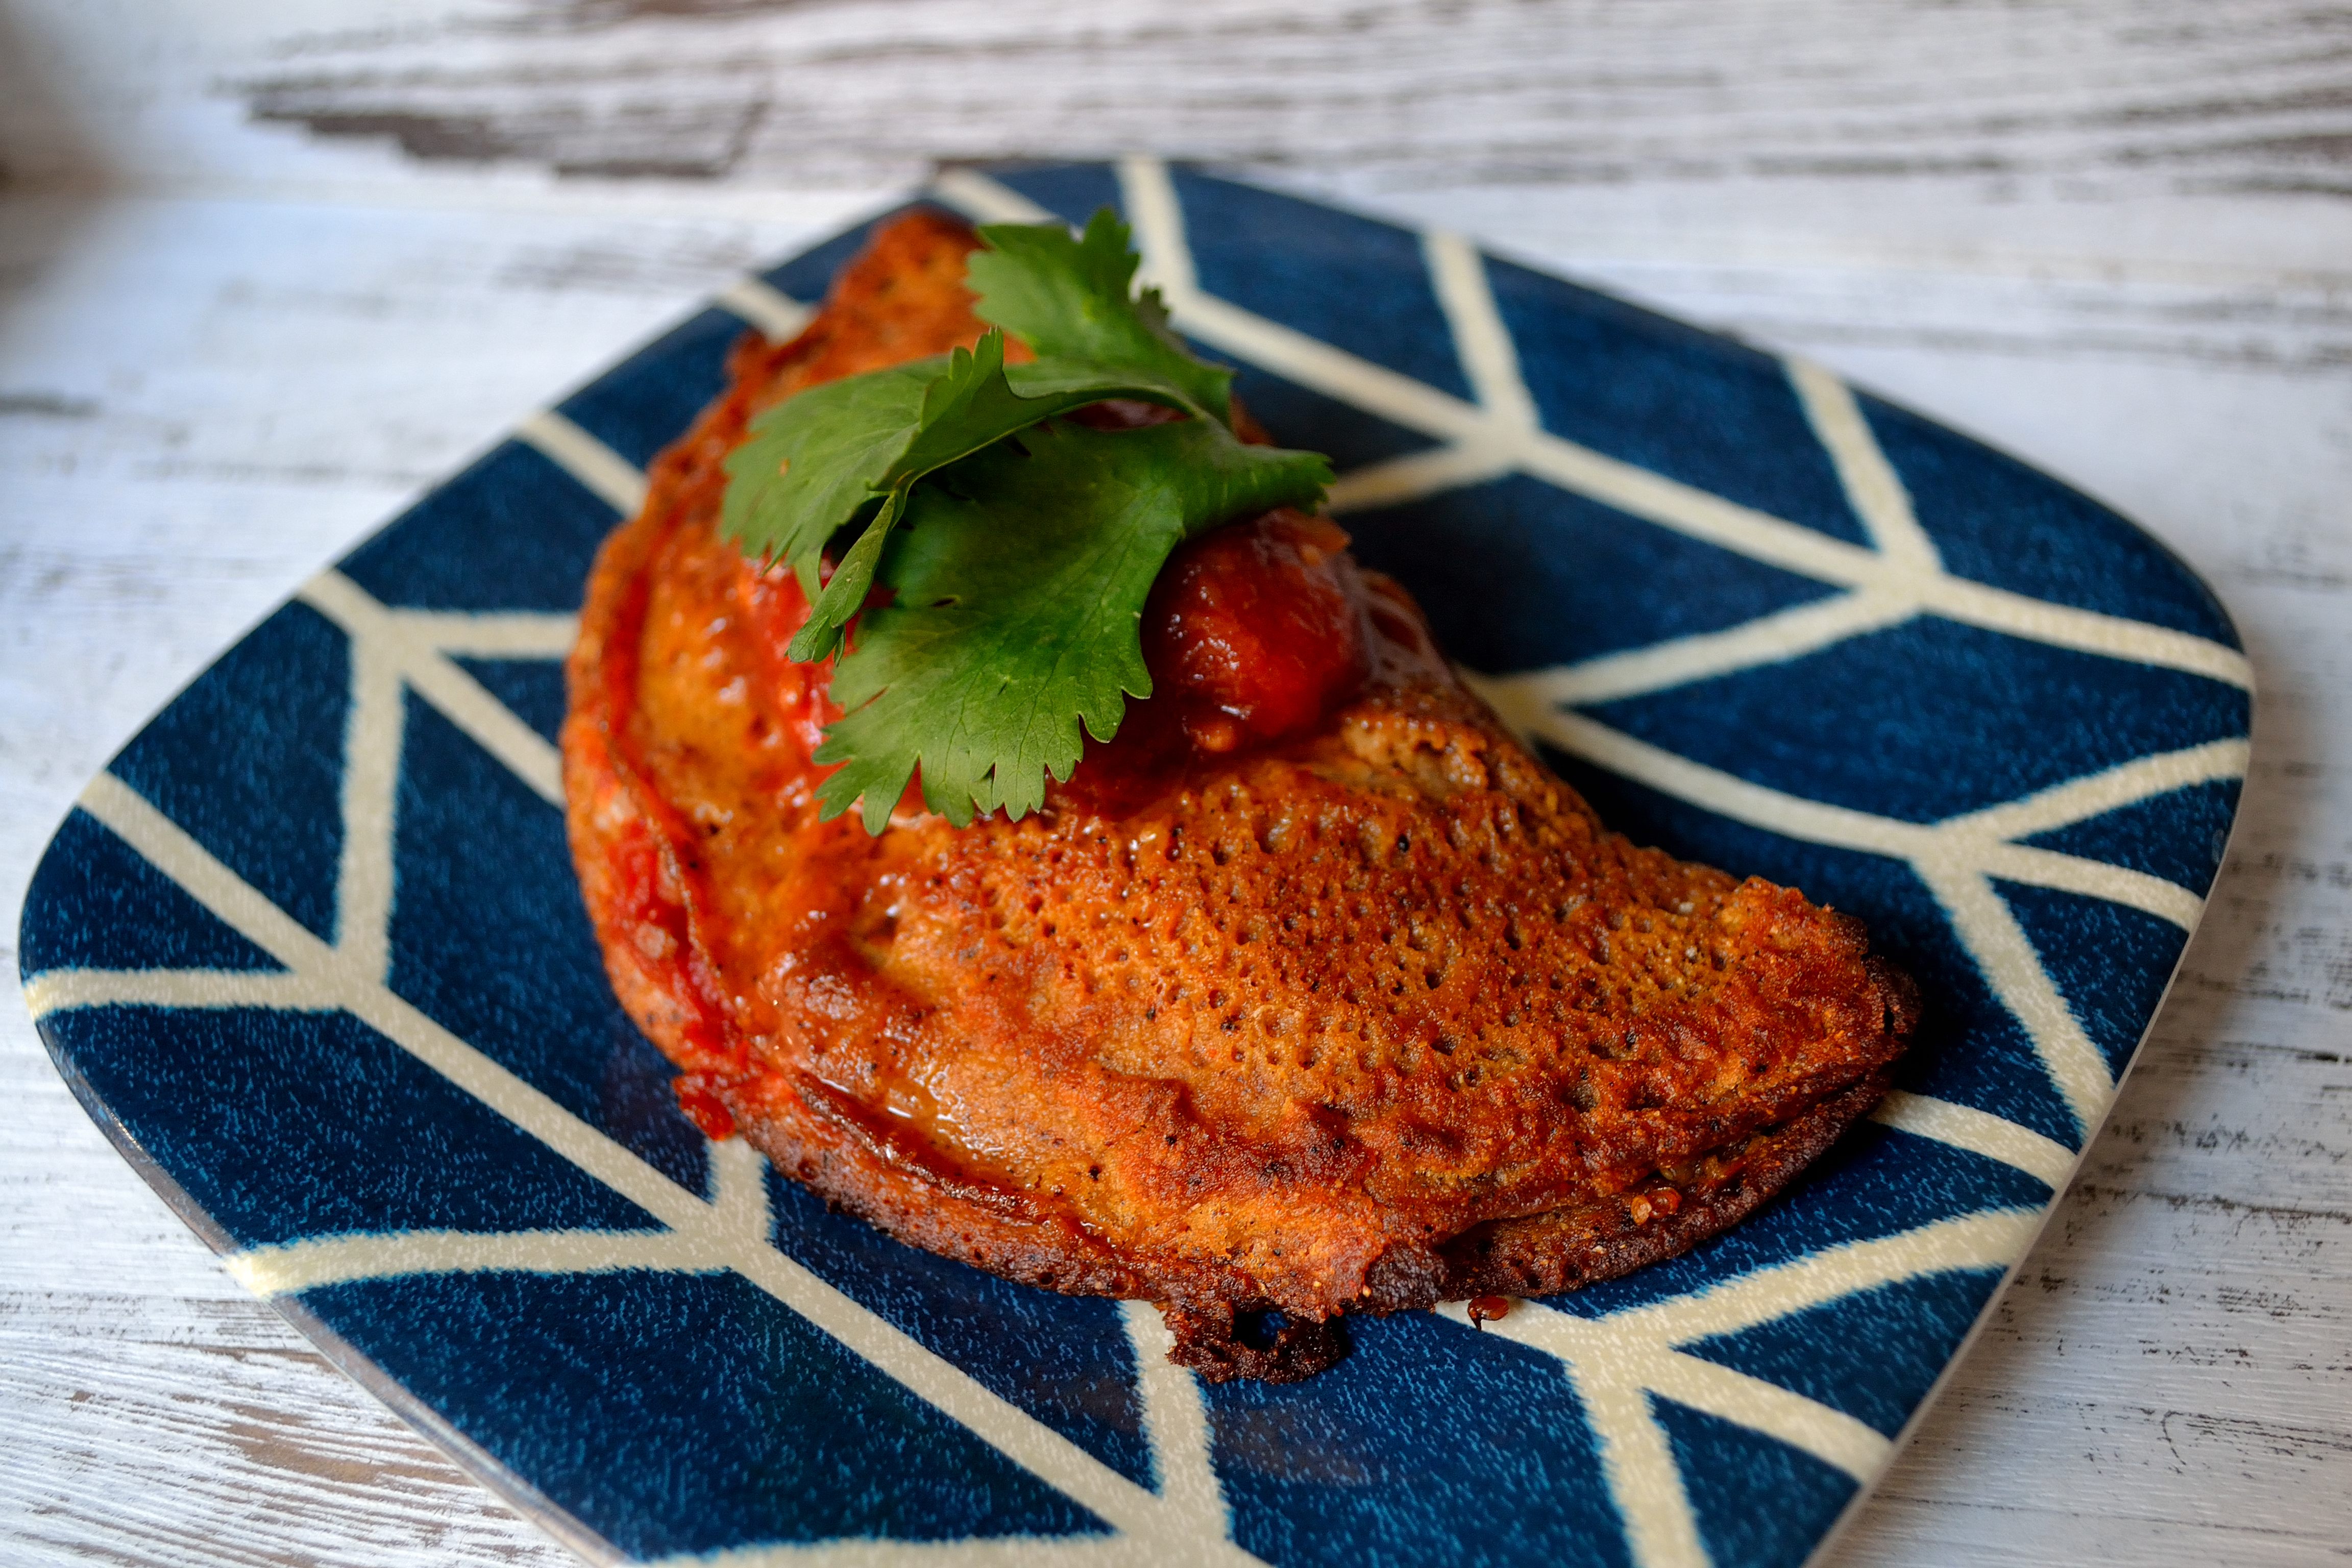
Marinated Mushrooms and Roasted Rutabaga with Smoked Paprika Sauce

For the marinade:
- 4-5 cups sliced mushrooms, I used cremini but use what you like
- 1 cup onion, chopped
- 5 cloves garlic, minced
- 4 tbsp cilantro, chopped
- 3 tbsp olive oil
- 2 tbsp smoked paprika
- 2 tsp oregano
- 1 tsp cumin
- salt and pepper to taste
- Place all ingredients into a large container or zip lock bag and mix to combine. Put in the fridge to marinade for at least 12 hours, 24 hours if you can.
For the roasted rutabaga:
- 3 cups rutabaga, cubed (I used a medium-sized rutabaga)
- olive oil
- Italian seasonings
- salt and pepper to taste
- 1-quart vegetable broth or water
- 2 tsp smoked paprika
- Preheat oven to 400. Place cubed rutabaga onto a large baking sheet lined with a Silpat or parchment paper. Drizzle with a little olive oil and sprinkle with herbs and spices. Toss to coat and roast for 30 minutes rotating halfway through.
- Once the rutabaga has finished roasting, heat a teaspoon of olive oil in a large pot or dutch oven over medium-high heat. Add in the mushrooms and all the marinade and saute for 5-7 minutes.
- Add in the rutabaga and mix to make sure they are covered with the marinade too. Cook for another minute. Pour in the vegetable broth or water and season with extra smoked paprika and salt and pepper.
- Stir everything together and bring the broth to a boil. Once it’s boiling lower to a simmer and cook for 20 minutes, stirring occasionally. Once the sauce has thickened it’s ready.
At first glance, it looks like there are a lot of steps and a lot of ingredients, but half of them are for the marinaded mushrooms and that is the easiest part. This meal is good enough on its own but if you want an even heartier meal you can serve it over rice or pasta. You can also use this marinade on chicken or pork and use those instead of the mushrooms. Or use all of the meat and vegetables, it’s all fair game!