Sometimes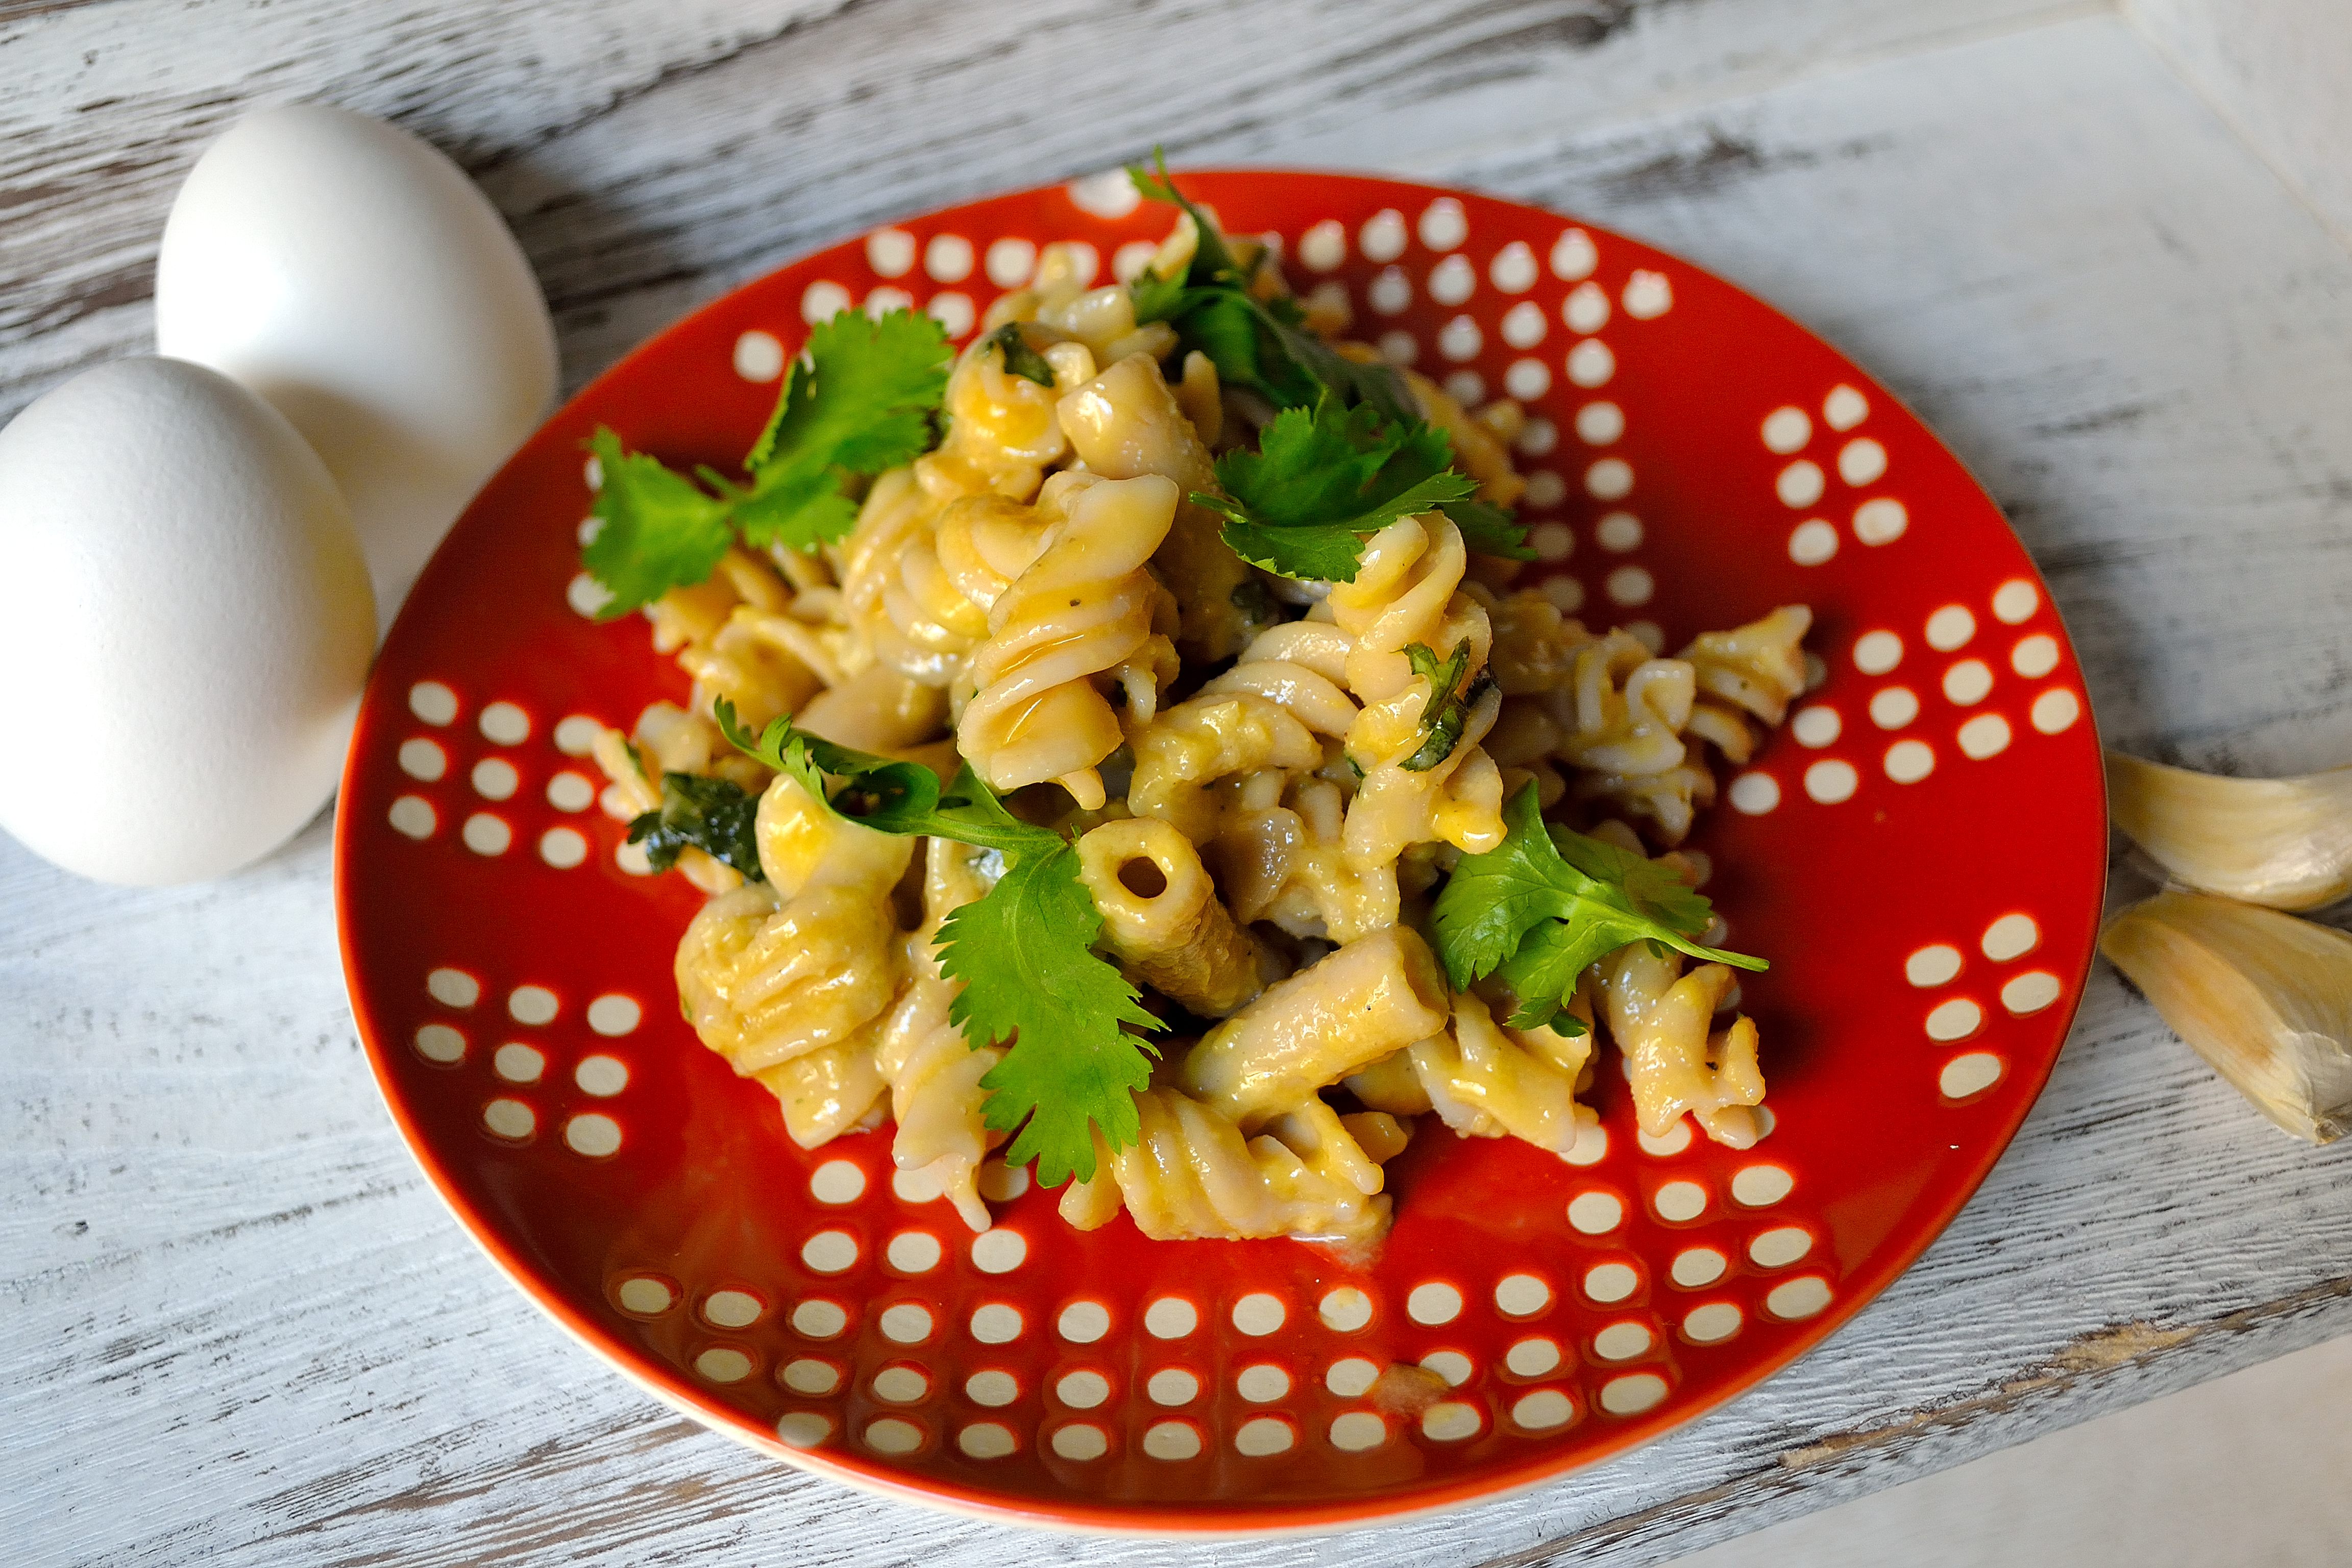 when I am coming up with recipes I let things get a little out of hand. I blame The Flavor Bible and The Vegetarian Flavor Bible. These are my go-to cookbooks when I am creating recipes and they are awesome. You look up whatever ingredient you have and find flavors and other ingredients that go well with them. I get a little ingredient happy as I’m looking through the lists and soon I end up with a recipe that has 500 ingredients, not all of which are easy to find.
I have to remind myself to keep it simple. We often think simple recipes that have fewer ingredients can’t be as good as the fancy elaborate recipes. Fancy recipes have their place, but it’s the simple recipes that are the backbone of the food world.
I took it simple with this pasta dish. I was looking for a meal that was light and refreshing but also felt like comfort food. I also didn’t have much food on hand so I had to work with what I had. I remembered seeing a recipe for spaghetti carbonara and wanted to try and make a pasta using the same kind of a sauce. This in no way is spaghetti carbonara, but the egg sauce is made in the same way. With only four ingredients and less than 20 minutes to put together, this makes for a really easy weeknight meal that everyone will love.
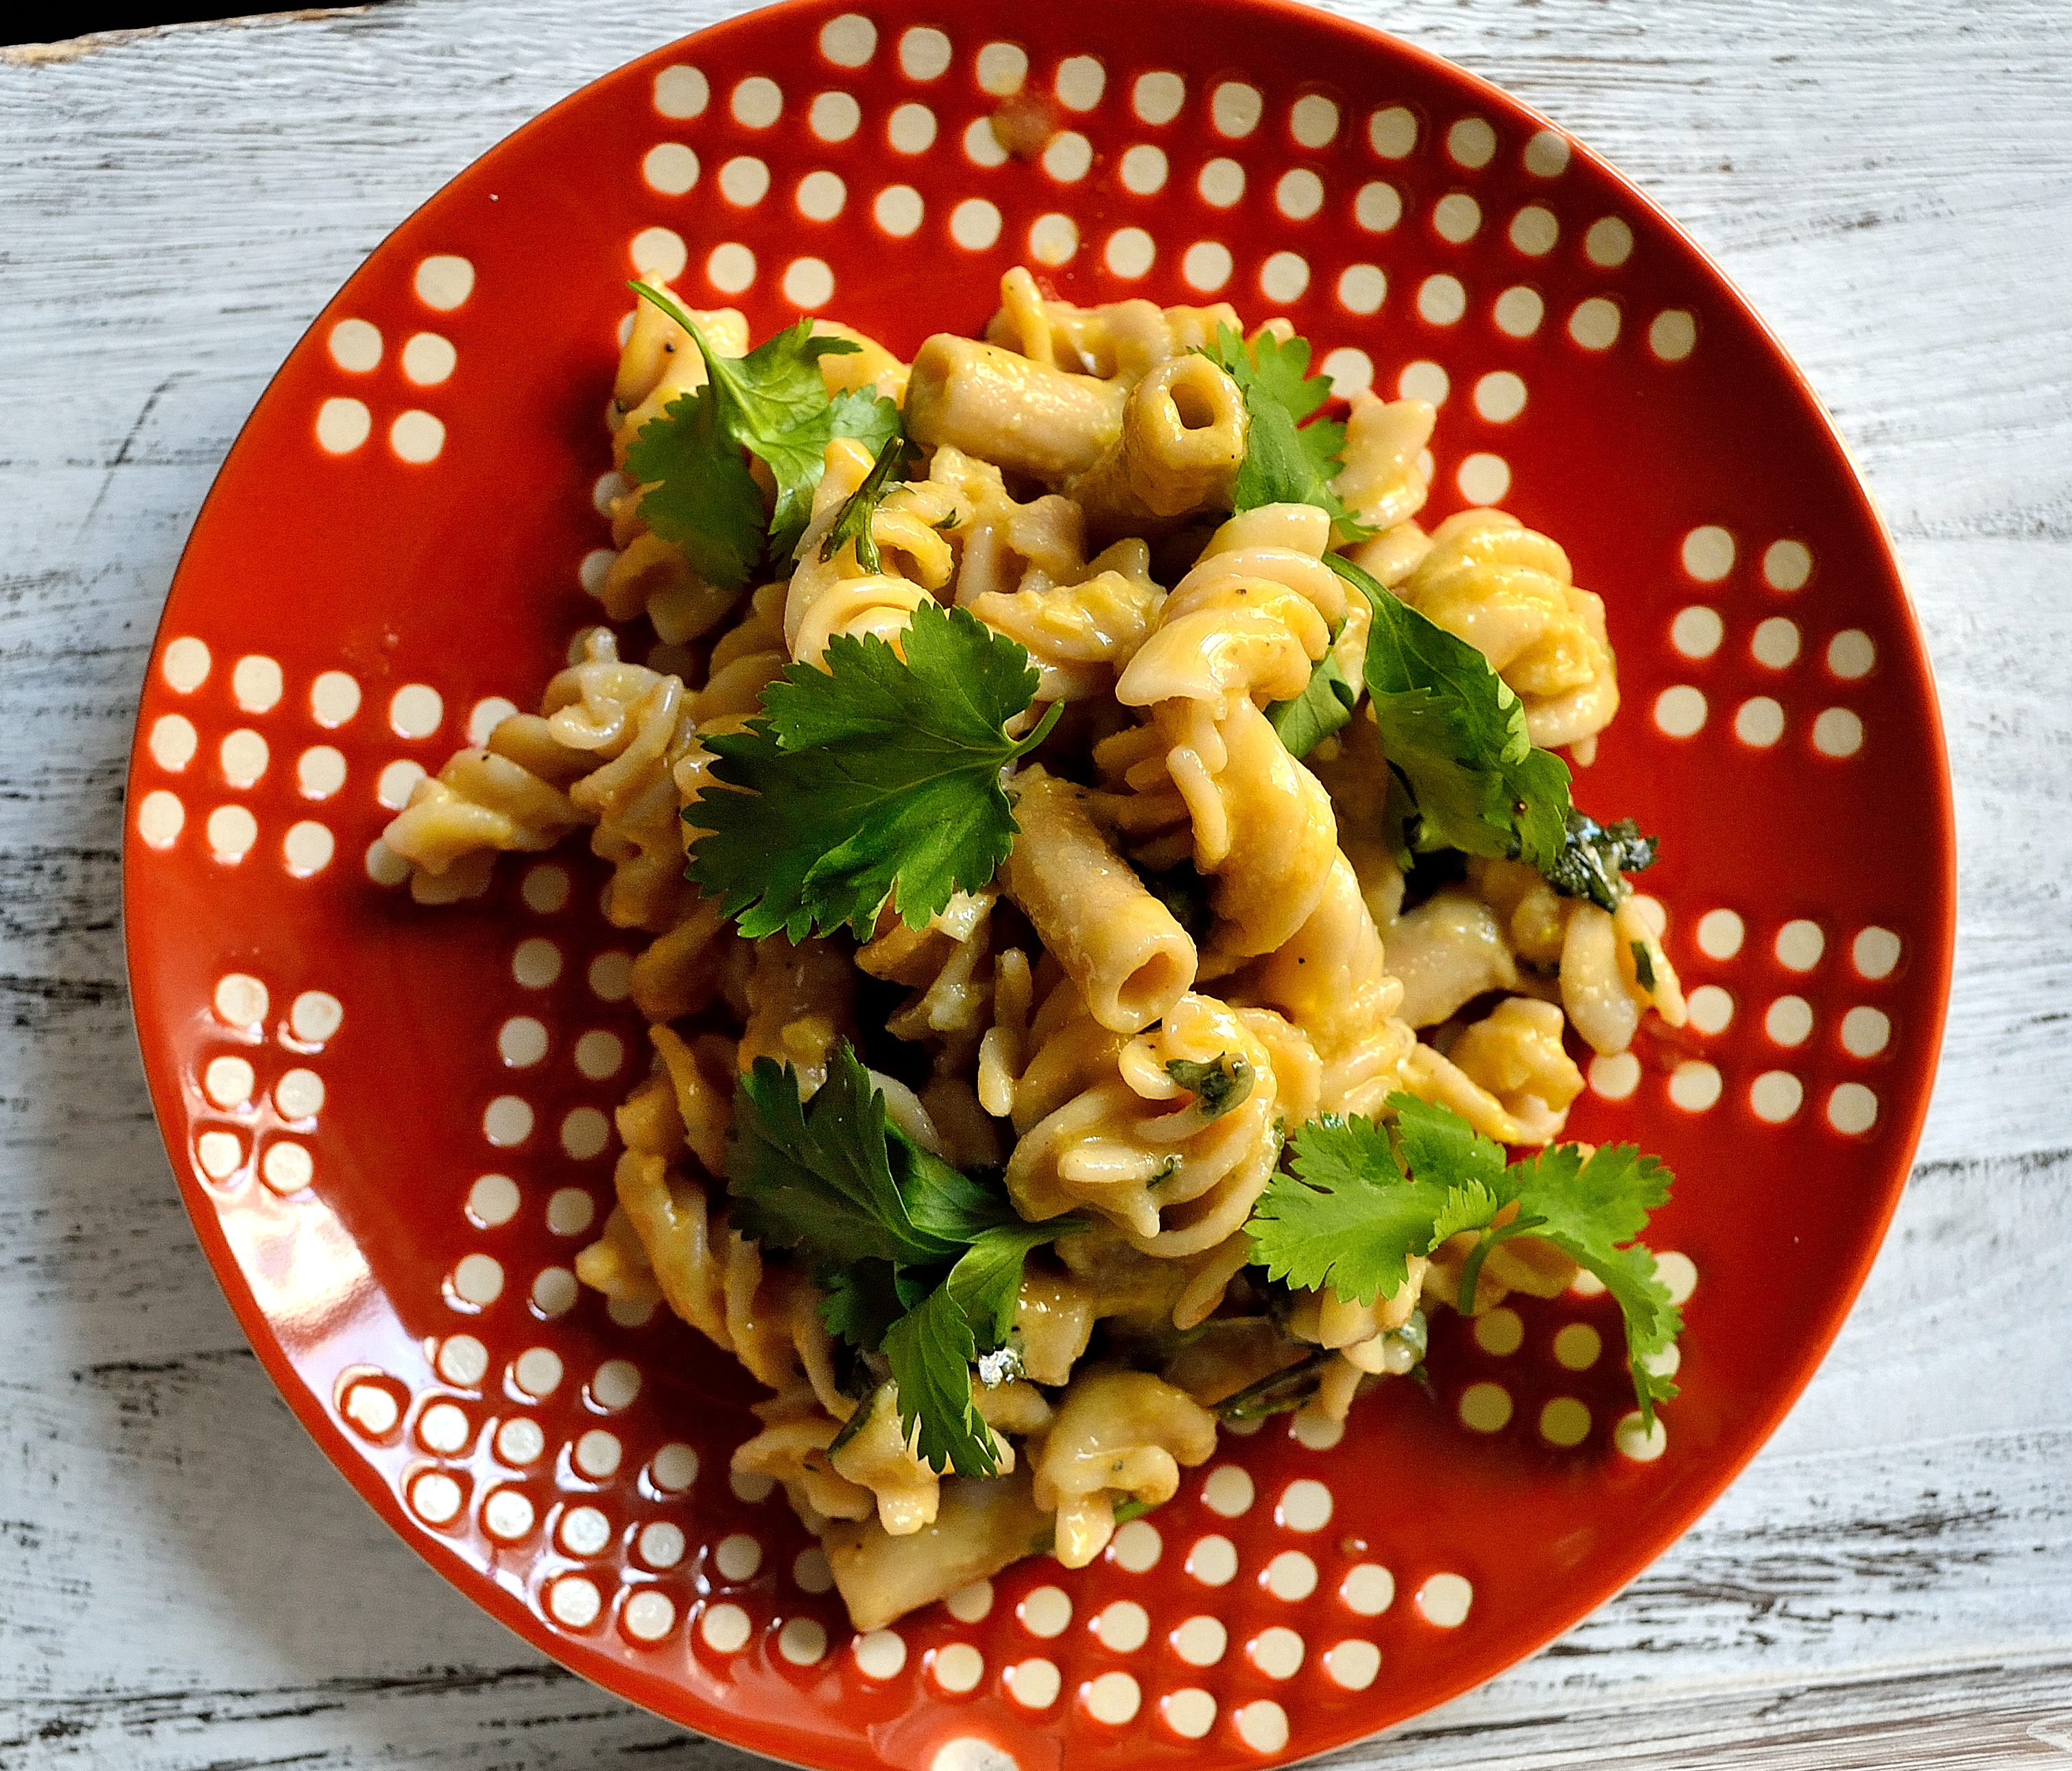
Cilantro-Garlic Pasta with Egg Sauce
- 1 package of pasta like penne or rotini (I used Trader Joes brown rice pasta)
- 4 large cloves garlic, minced
- 1/3 cup cilantro, chopped
- 4 large eggs
- salt and pepper to taste
- Cook pasta according to package drain and set aside. While pasta is cooking, mince the garlic and chop the cilantro and whisk the eggs.
- Once the pasta is cooked and drained, in a medium saucepan, heat a little olive oil over medium high heat. Add the minced garlic and saute for 1 minute. Add the pasta into the pan and mix to coat with olive oil and garlic.
- Remove the pan from the heat. Pour in the eggs while constantly stirring the pasta. Make sure you keep stirring the pasta or else you will end up with scrambled eggs over pasta instead of a creamy sauce.
- Once all the eggs have been whisked in, stir in chopped cilantro and season with salt and pepper.
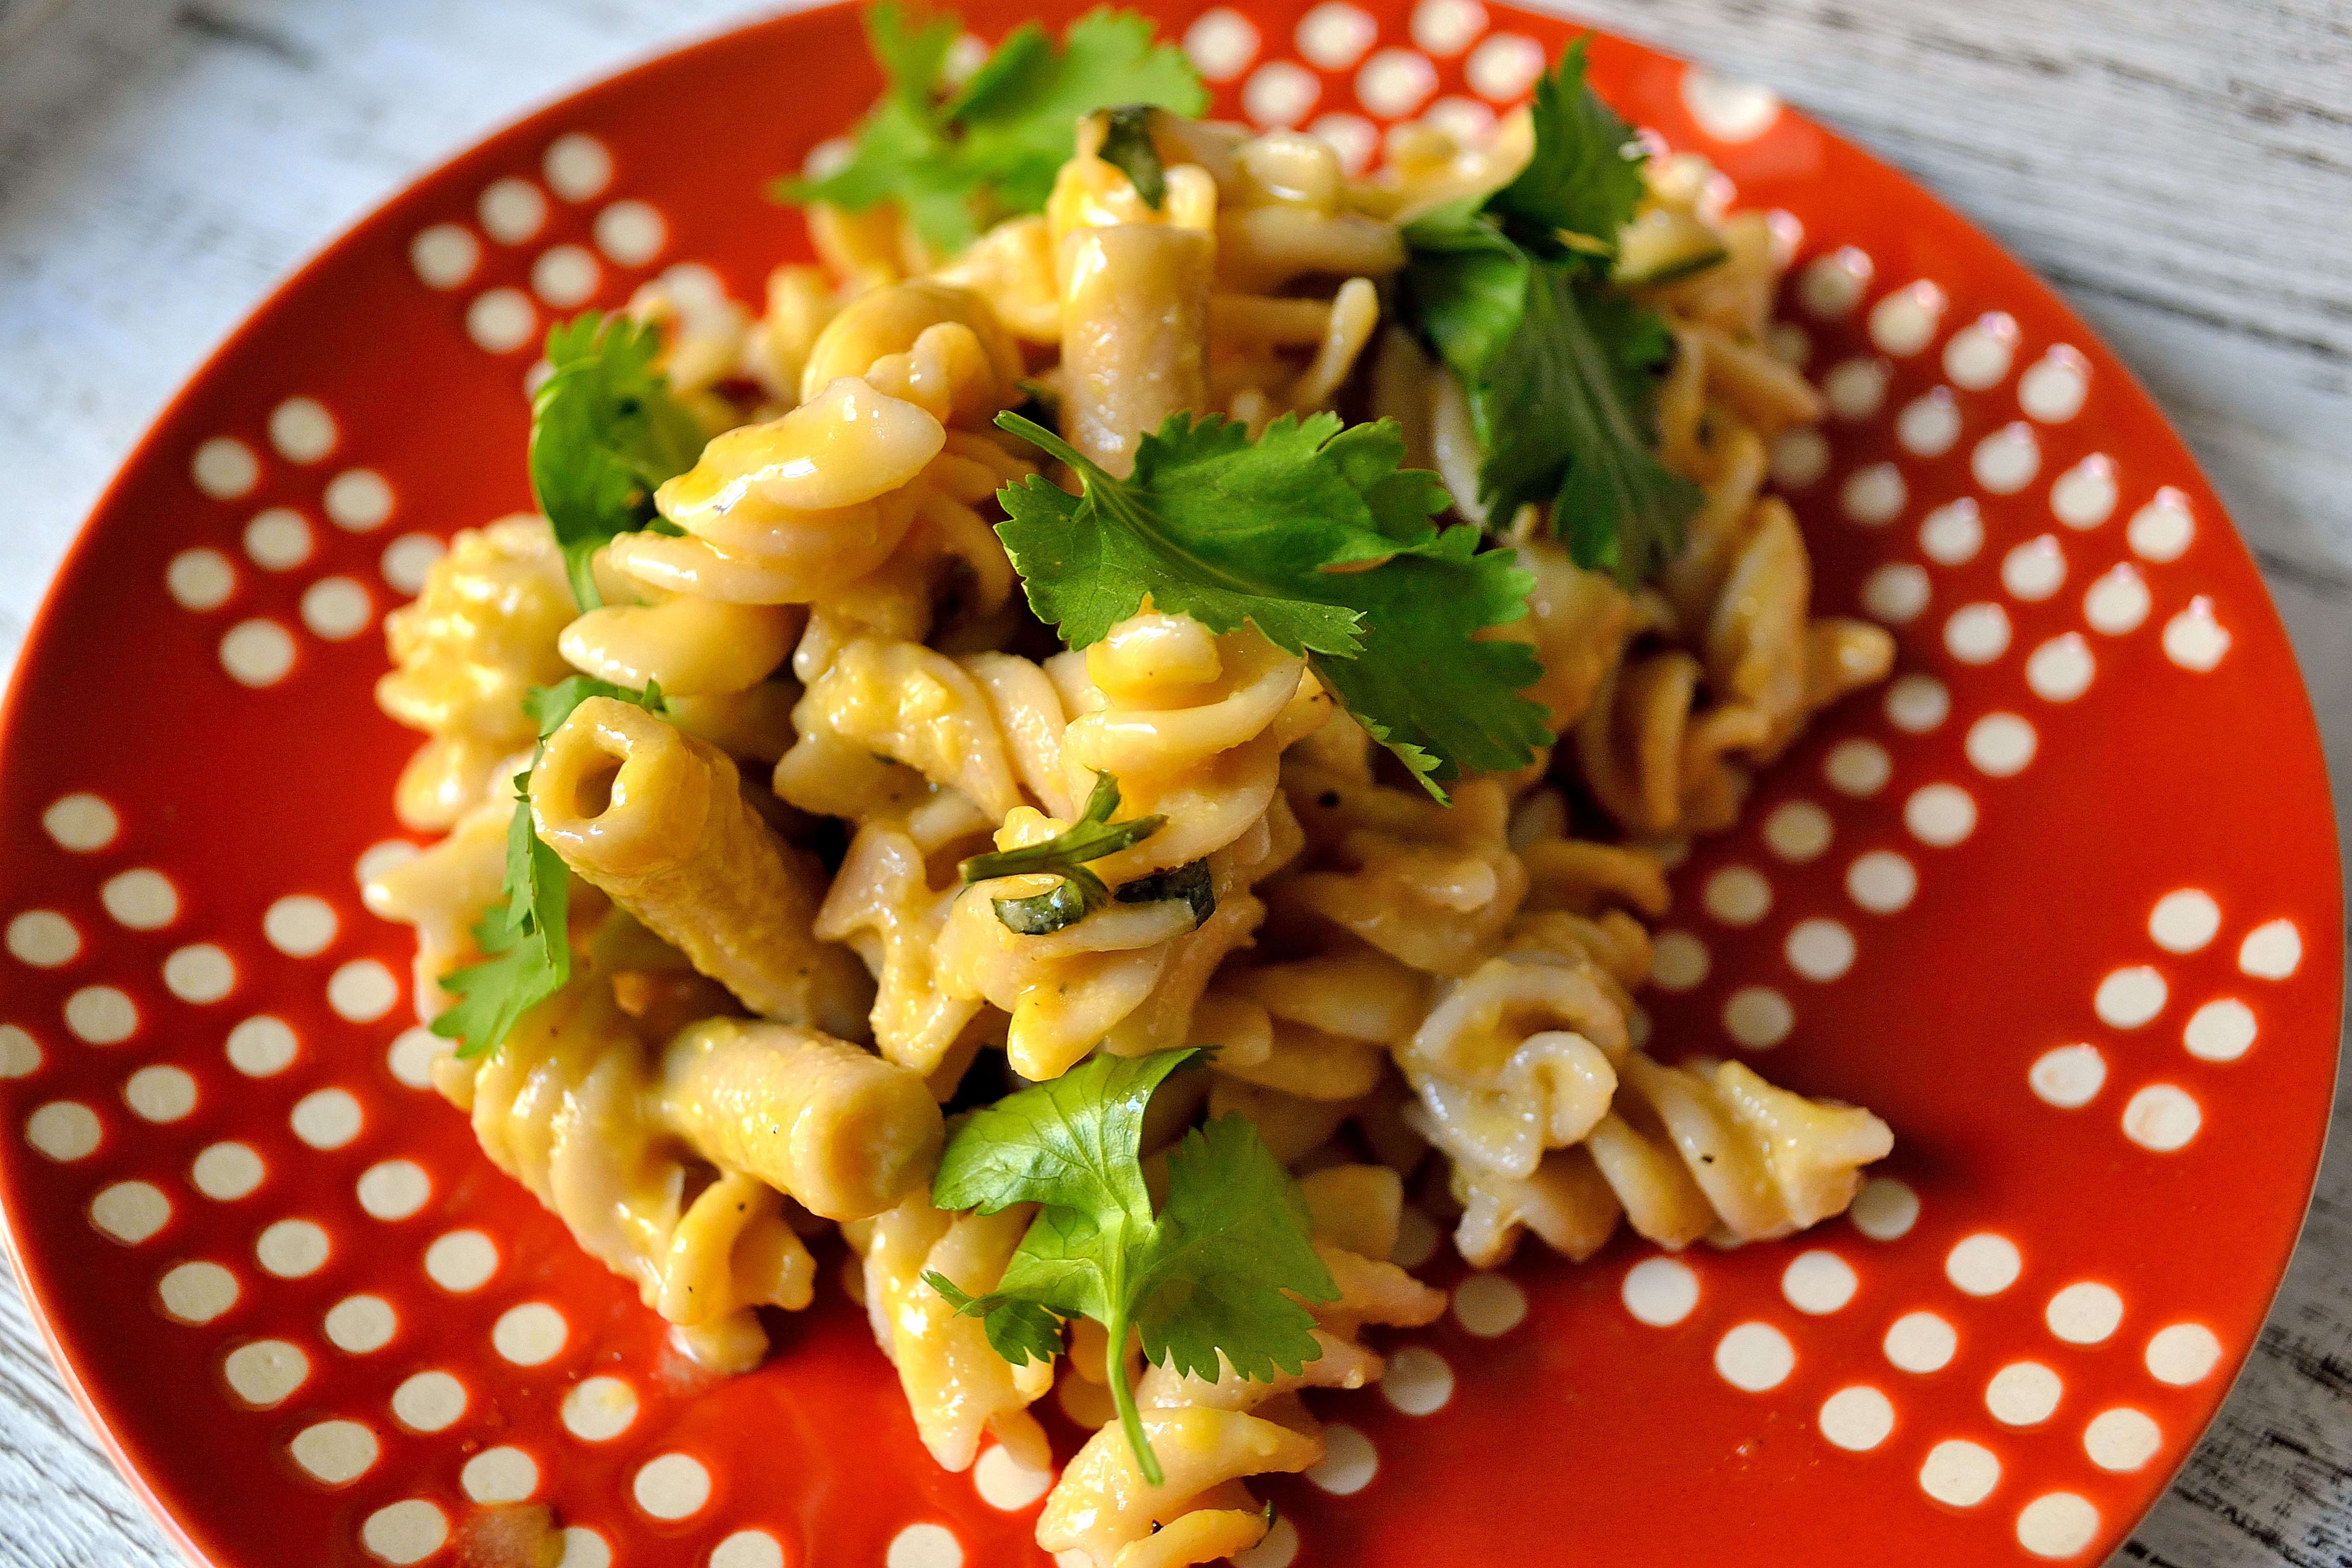
That’s it! The egg sauce makes this dish feel super comforting and indulgent, but the cilantro helps brighten it up and make it not feel too heavy of a meal. This is also great poor college student food because there are no specialty ingredients and each serving is less than $3.00.

What is your favorite simple meal?
Happy Friday and have a great weekend everyone!