Lentil Taco Filled Empanadas

TheseLentil Taco Filled Empanadas empanadas have been a labor of love.  The first time that I made them I was basing them off another recipe and they turned out really well.  I made them a few times to make sure they worked and was happy with the outcome.  But I couldn’t just leave them alone.

The first version I made used eggs, which is fine because I love eggs and use them daily.  I wanted to try and make a version that didn’t use eggs.  That’s when the labor part of “labor of love” started.  I won’t say I failed, I just found 452 ways to NOT make empanadas without eggs.  Finally I had a breakthrough and came up with an eggless empanada.  I might have done a little dance in my kitchen….

I included both versions of the empanada here so you can choose which version you want to make.  The ingredients will be different but the process will be the same.  I’m also including my recipe for taco lentils as a filling for the empanada, but you can use any filling you would like.  Try shredded chicken or pork or ground turkey or beef.  Whatever your little heart desires.  Dream big my friends, dream big.

Lentil Taco Filled Empanada

Empanada with Eggs- based on this recipe from Barefoot Provisions 

  • 1/2 cup brown rice flour
  • 4 eggs
  • 3/4 cup water
  • 1/2 tsp salt
  • 1/2 tsp chili powder

Empanada without Eggs

  • 1/2 cup chickpea flour
  • 1/2 cup aquafaba
  • 1/2 tsp salt
  • 1/2 tsp chili powder

1.  Whatever version you make, combine all the dry ingredients and mix together.  Then add in the wet and stir to combine.  For the version with eggs the batter will seem very runny but that is fine.  The eggless version should be a little thicker like pancake batter.

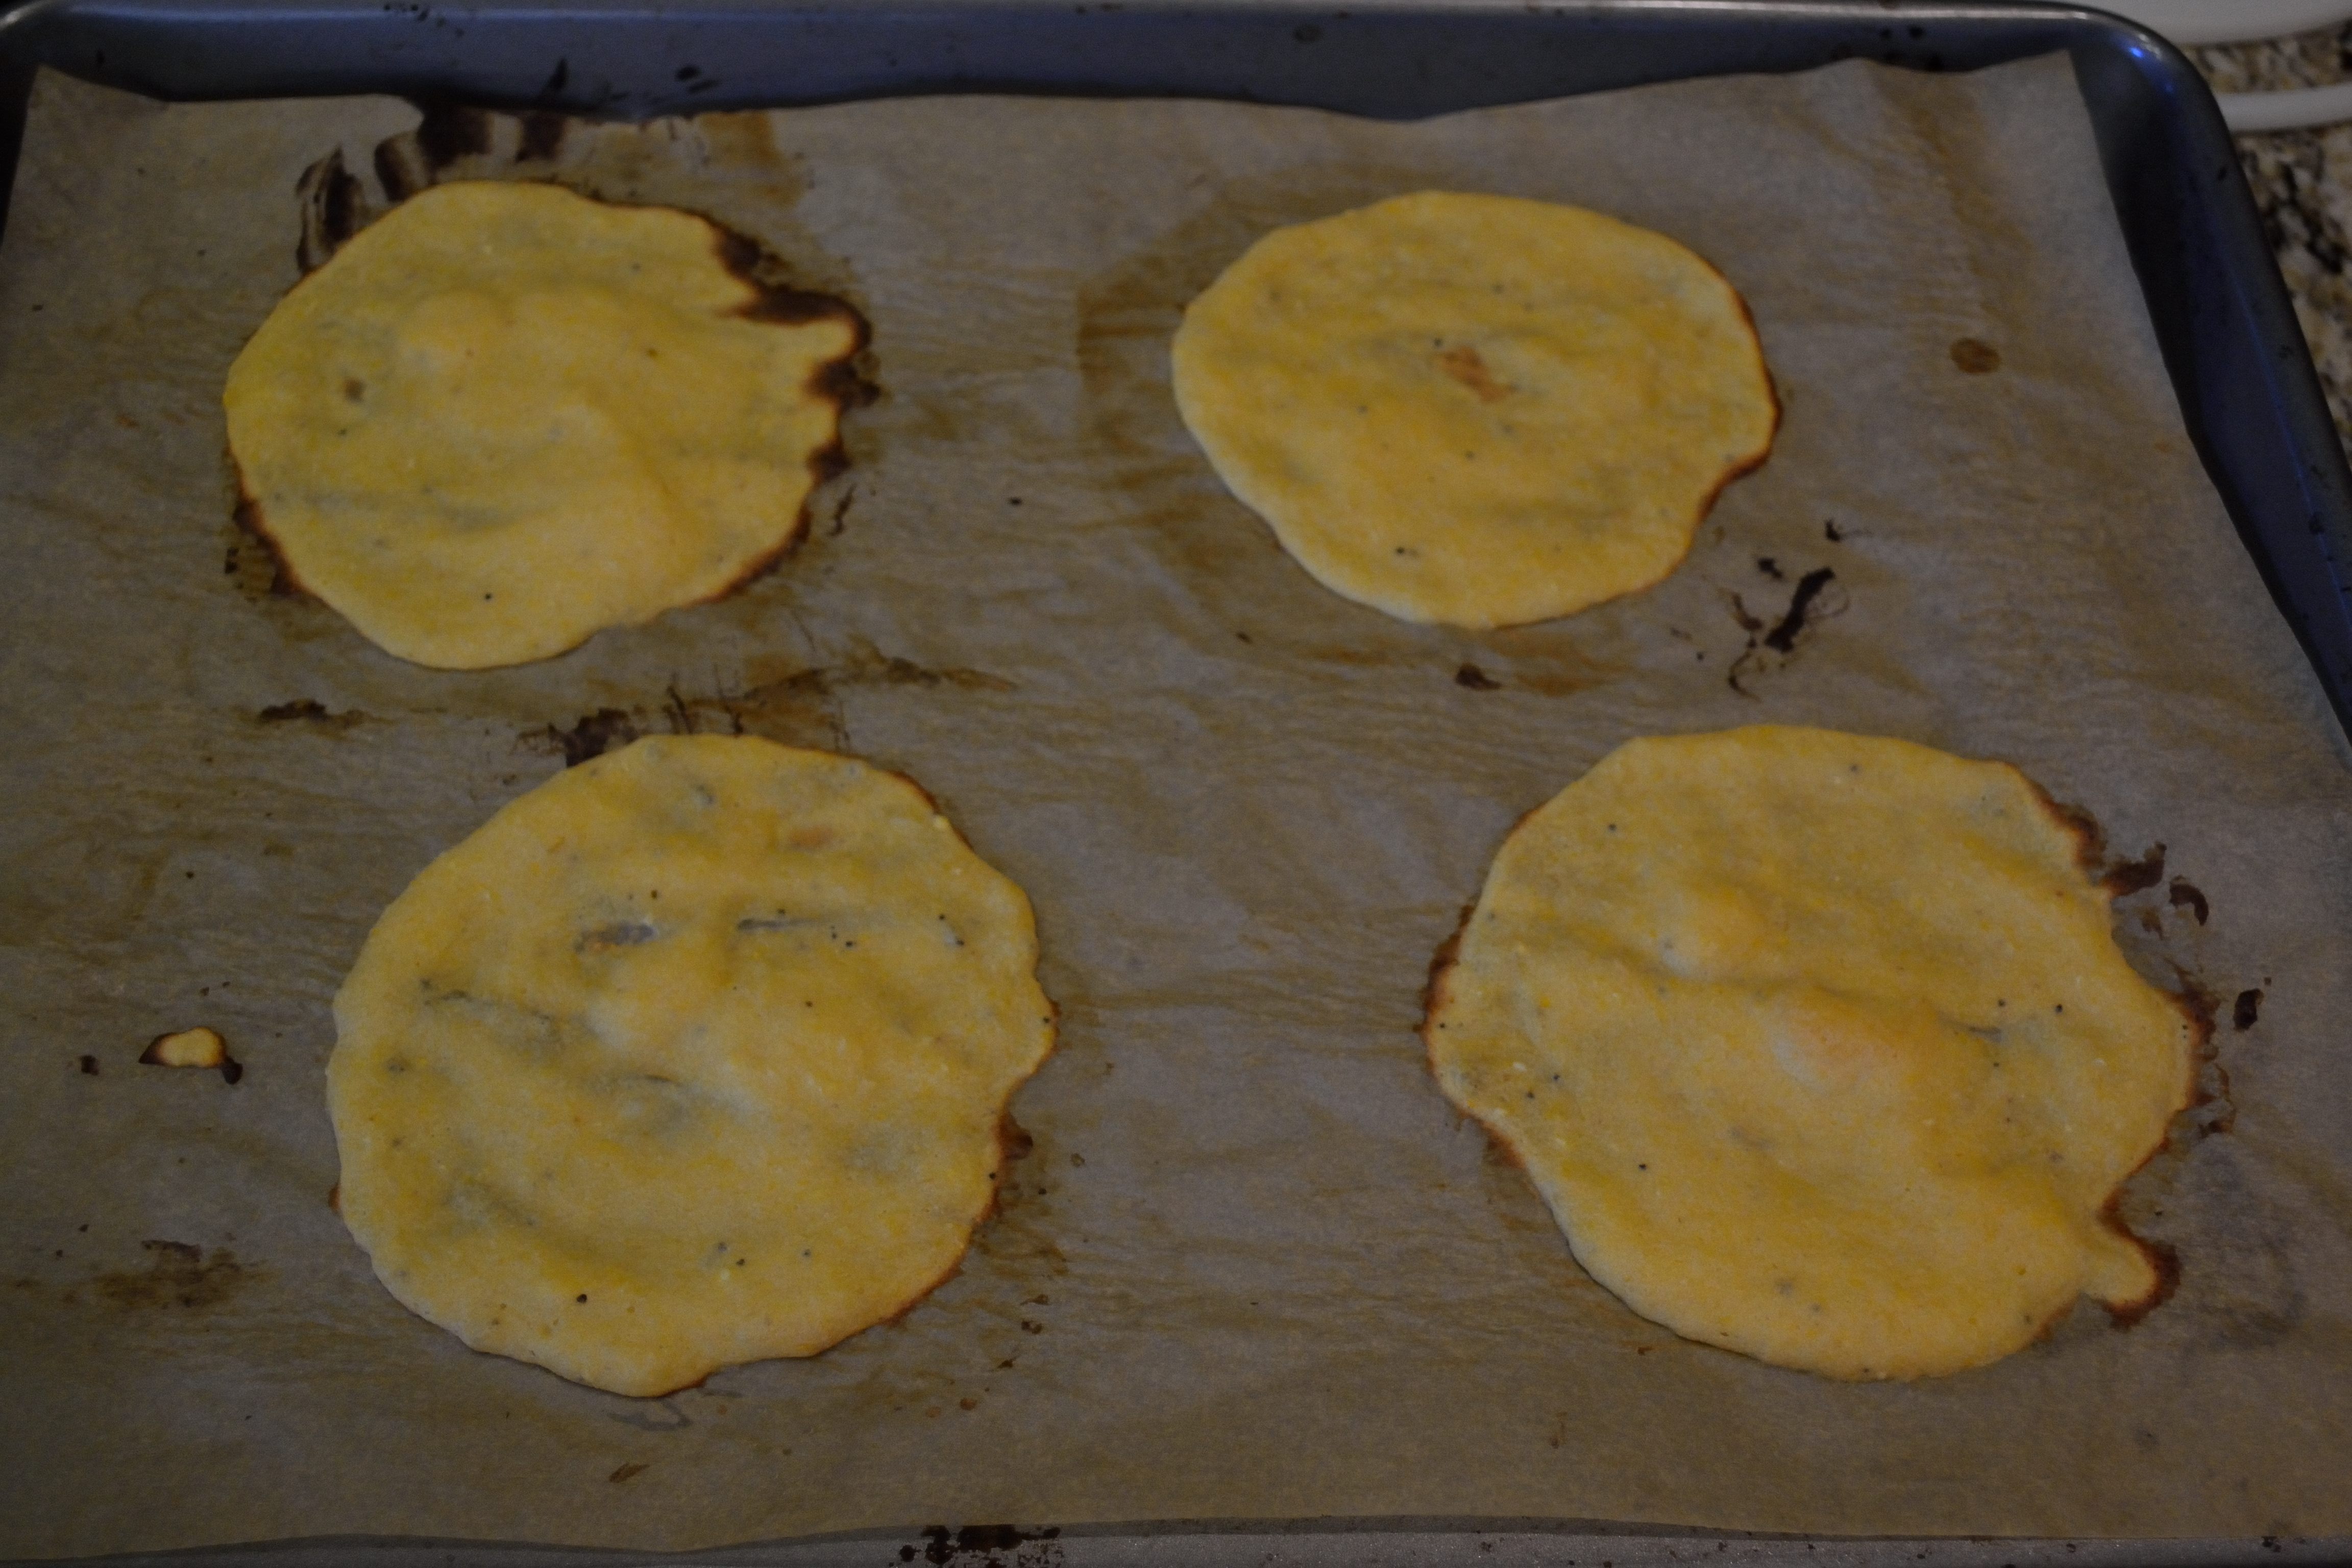
2. Preheat oven to 350 and line a large baking sheet with a Silpat or parchment paper.

3.  Heat a little olive oil in a small skillet over medium high heat.  Pour a little bit of the empanada batter into the skillet and cook for about 3 minutes.  You want the bottom to be cooked but the top to still be a little doughy.

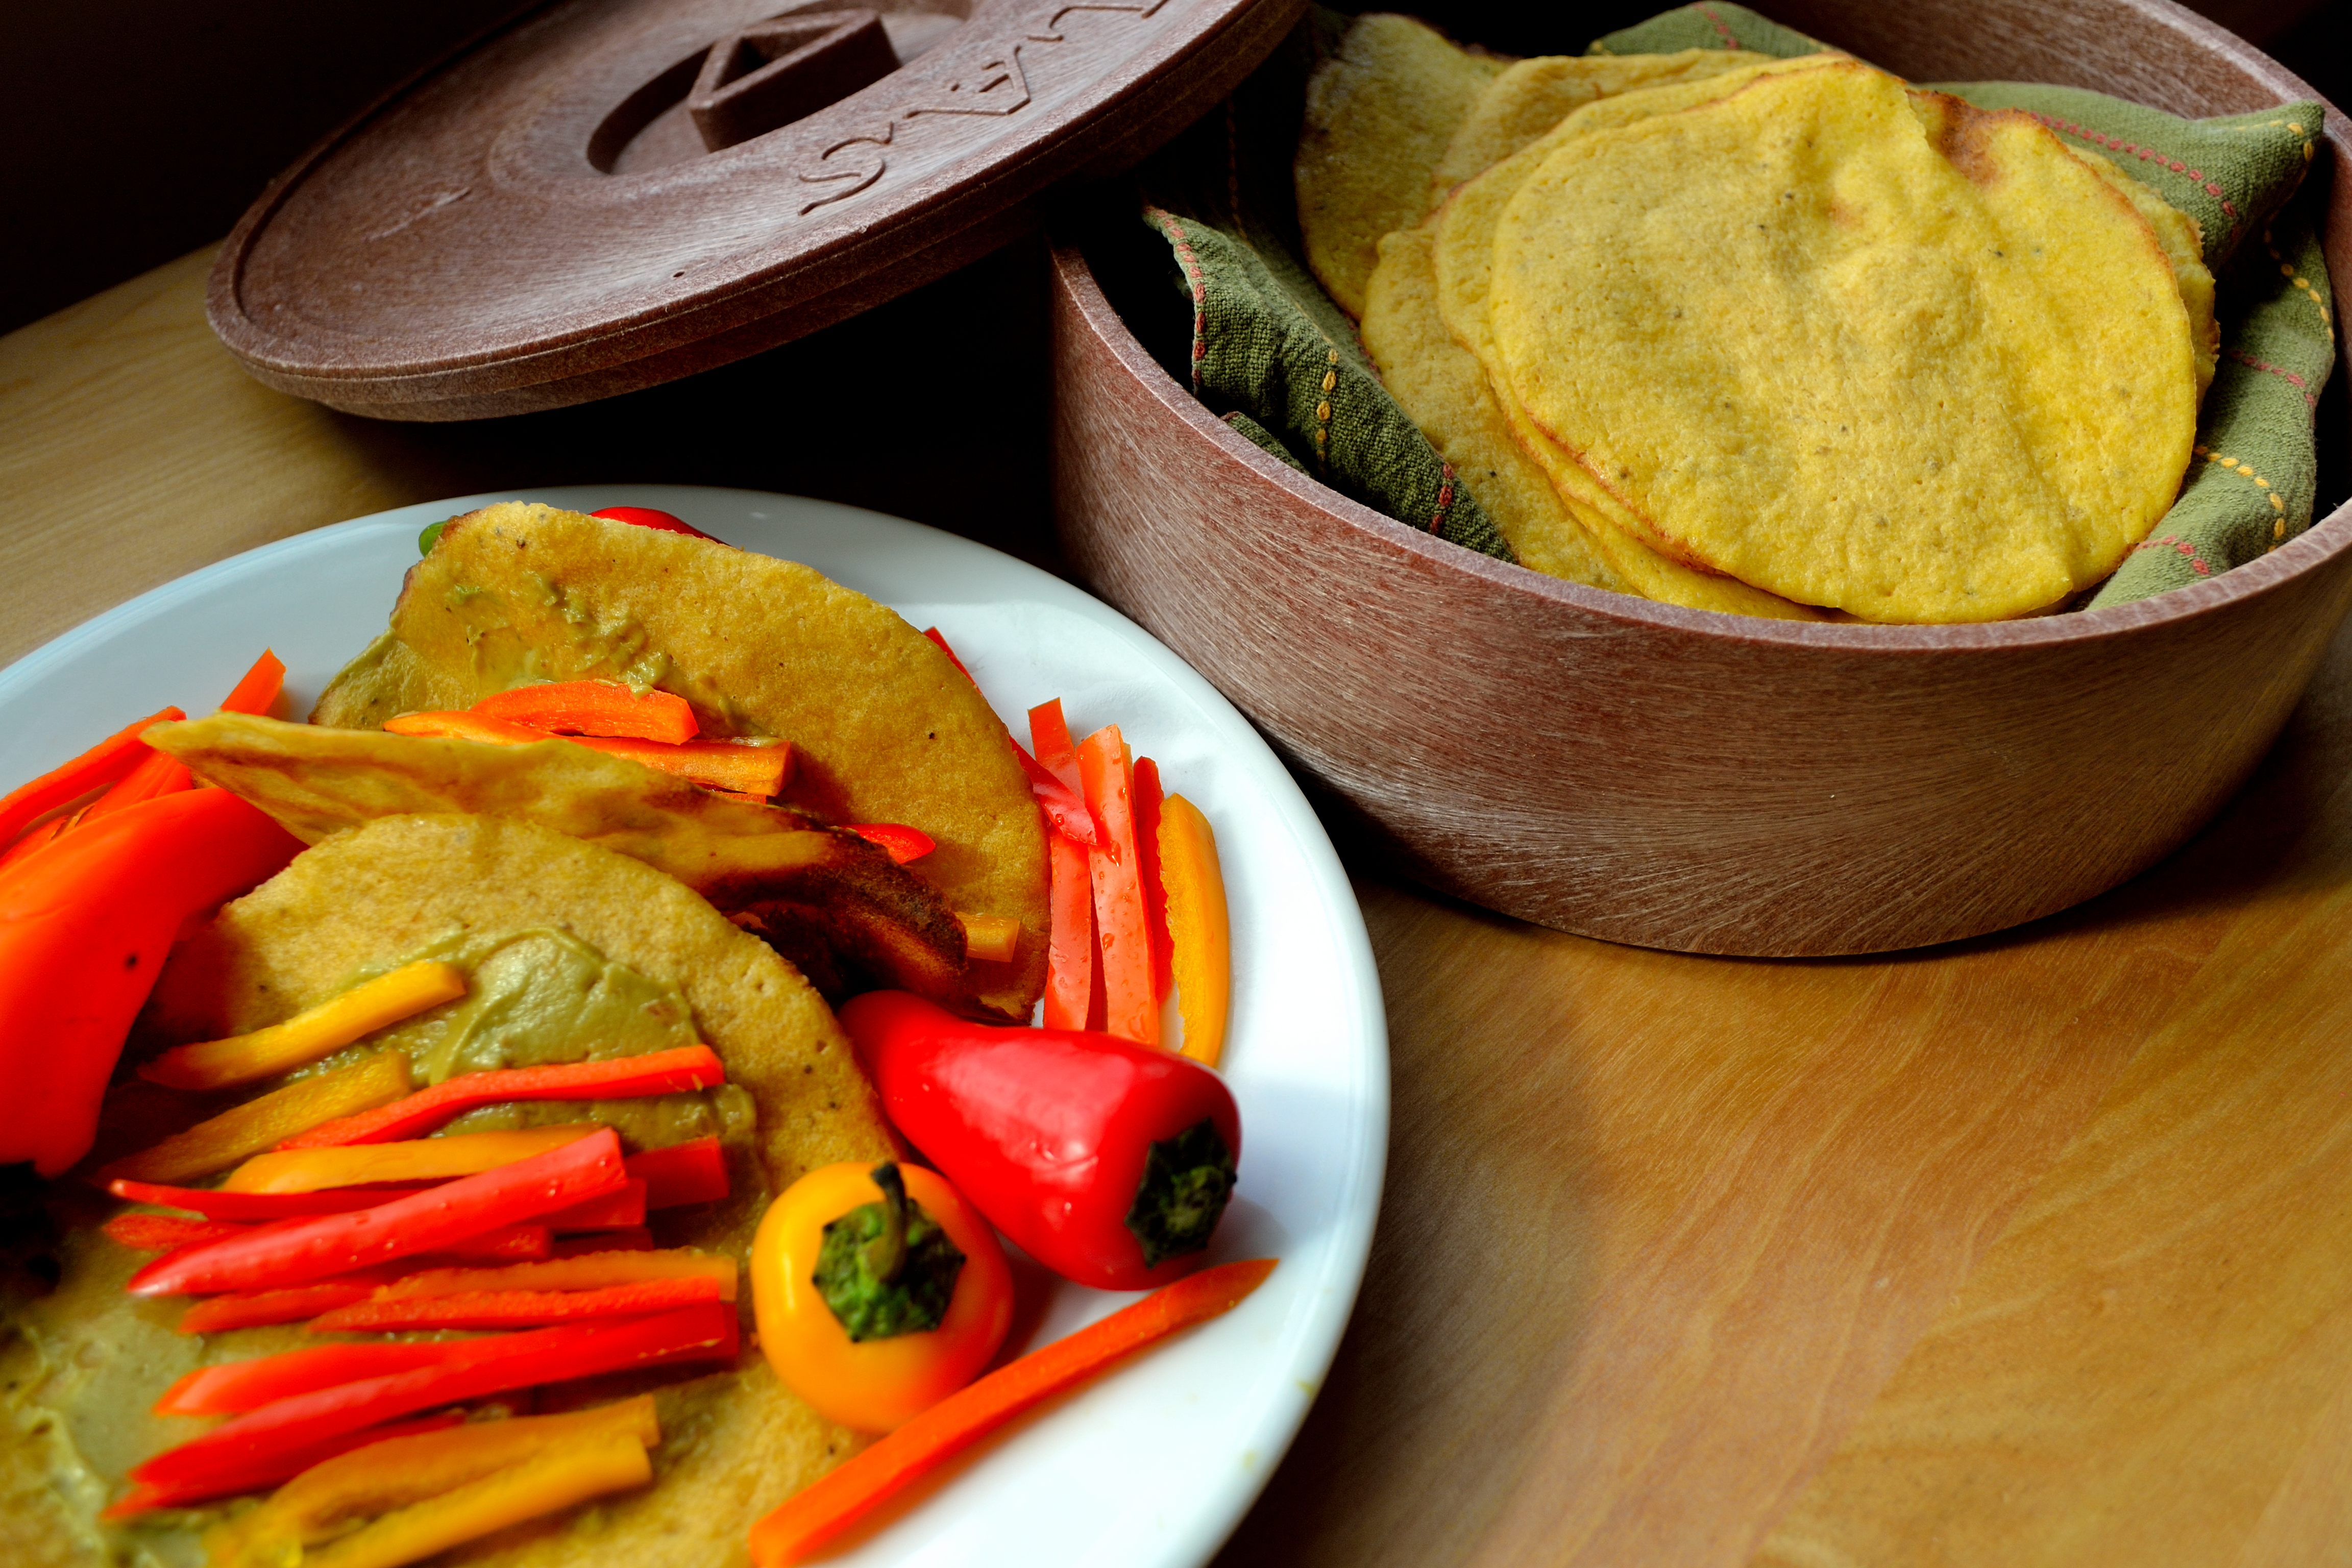
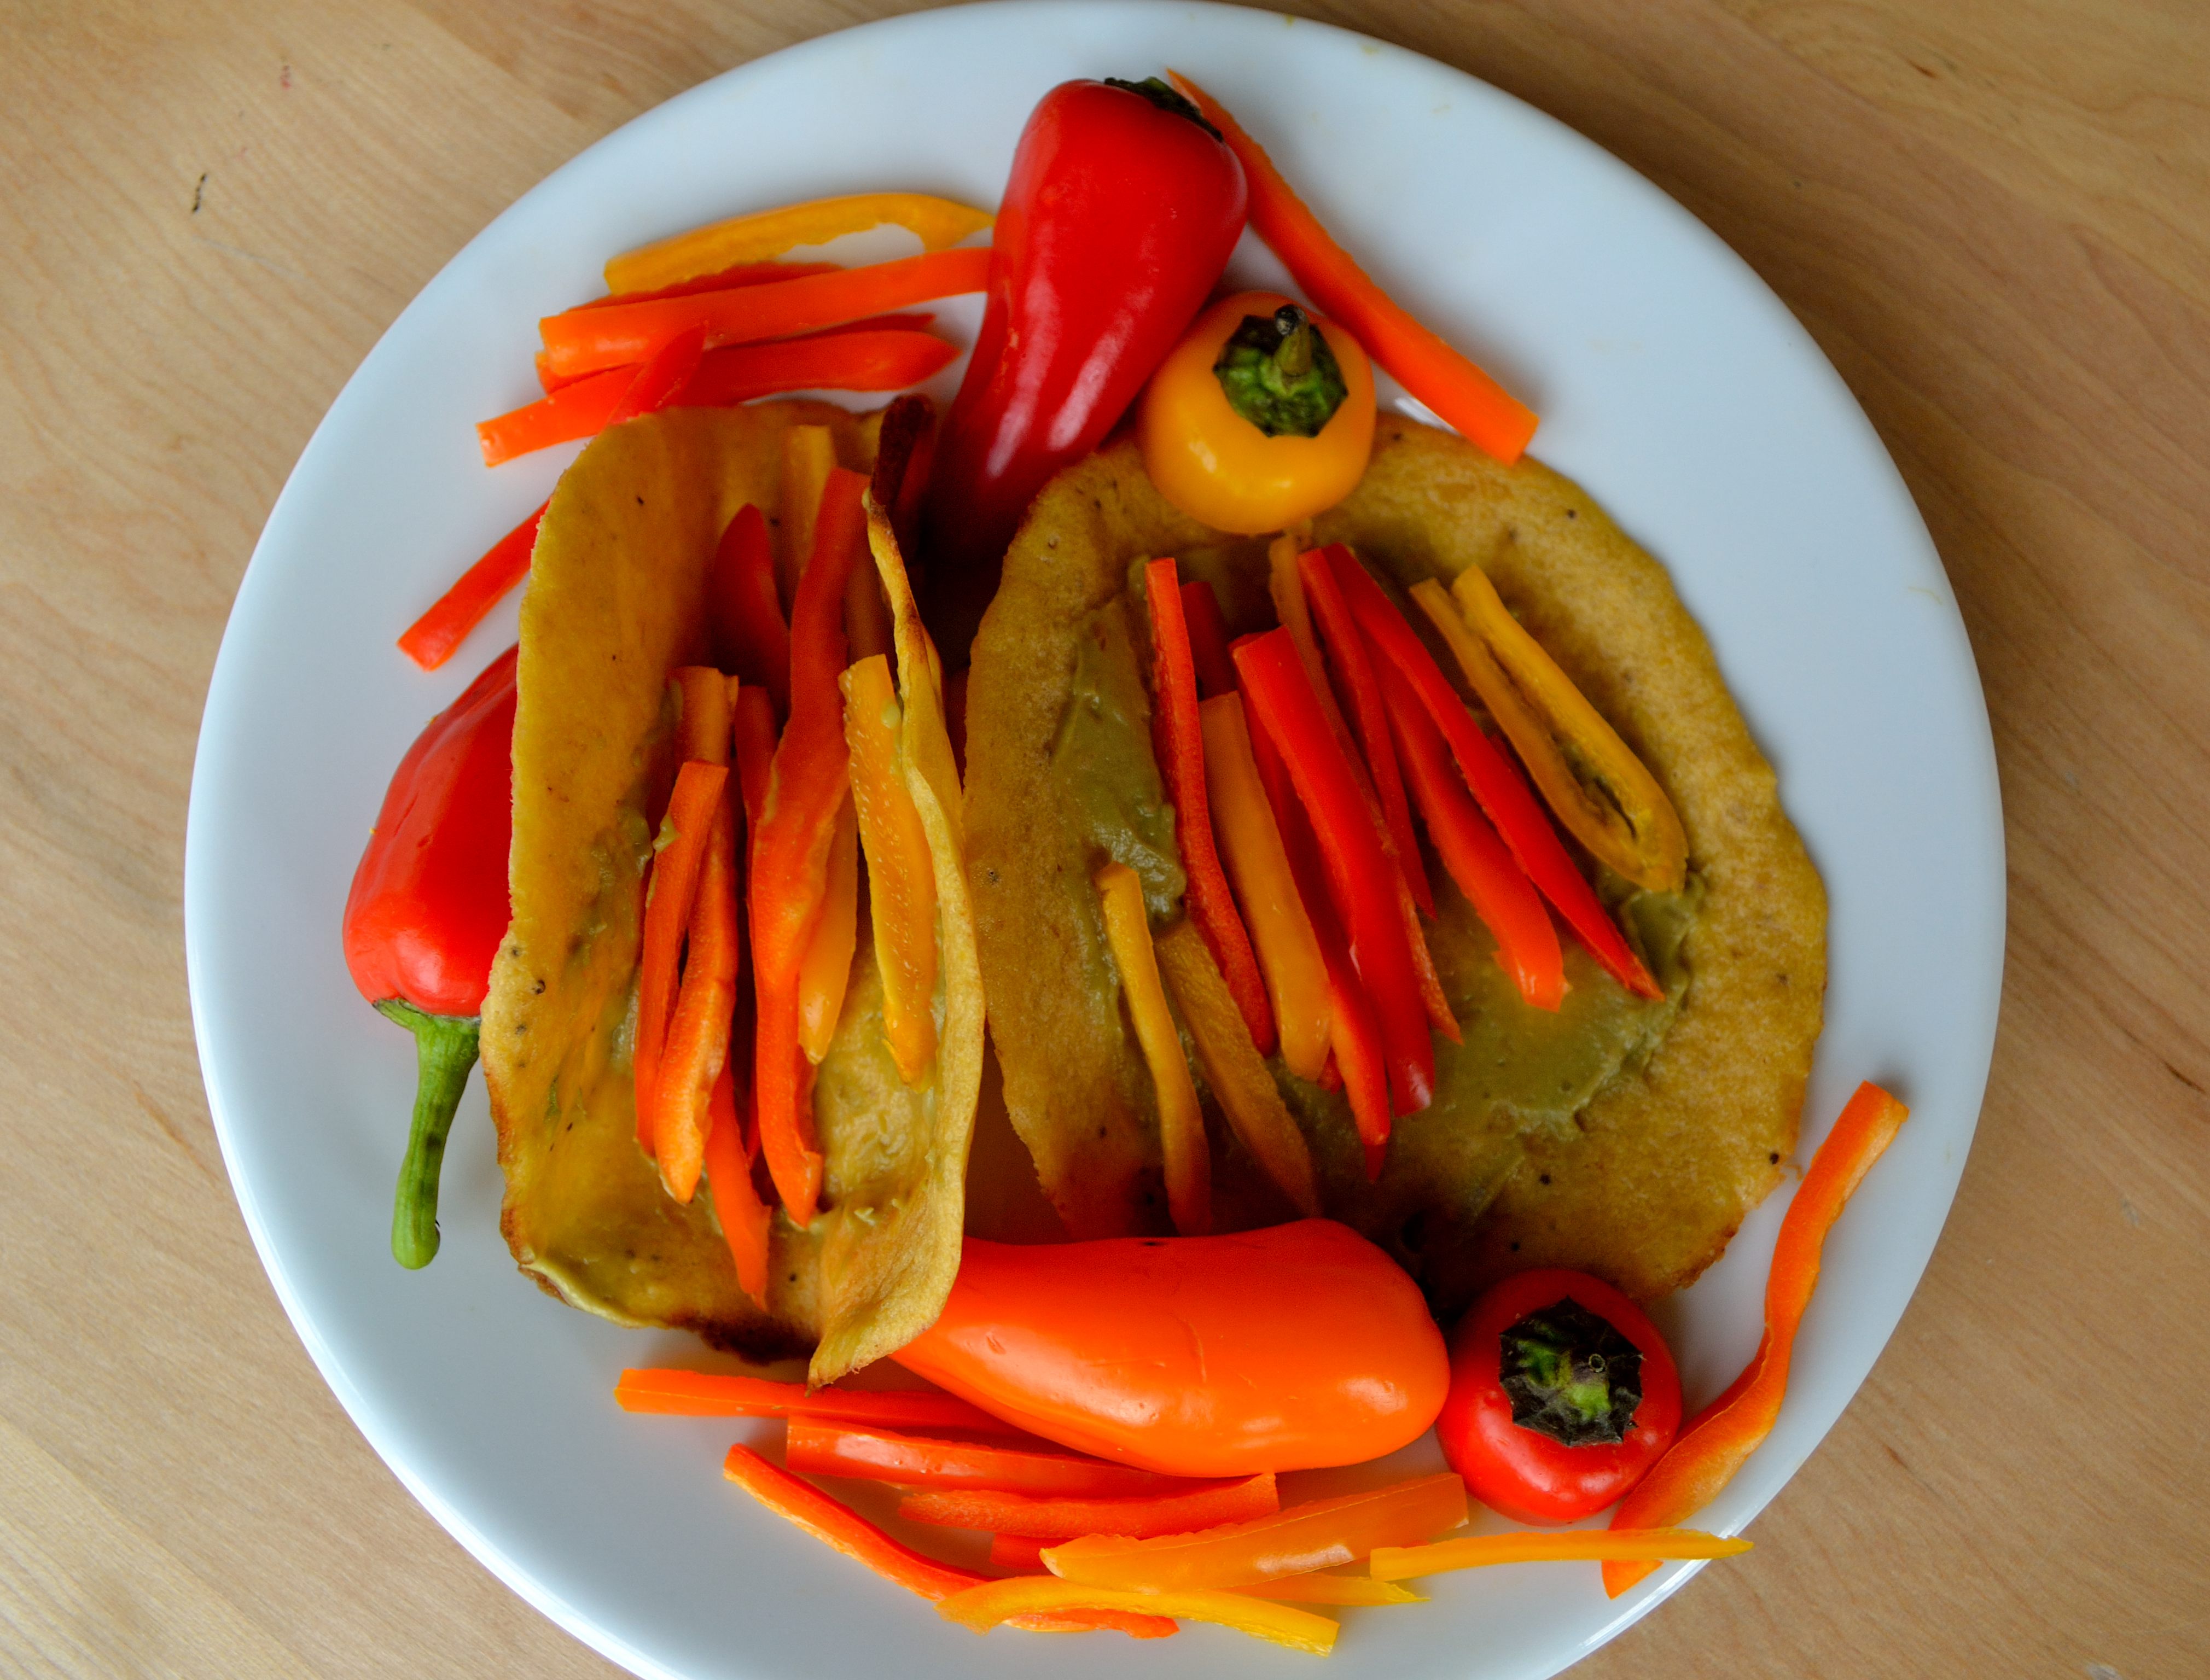
4.  With a spatula transfer the empanada from the skillet over to the lined baking sheet.  Spoon a little of your filling onto one side of the empanada.  Fold over the opposite side pressing along the edges to seal.  Repeat this process until you have used all the batter.  I usually get about 5 empanadas out of this recipe.

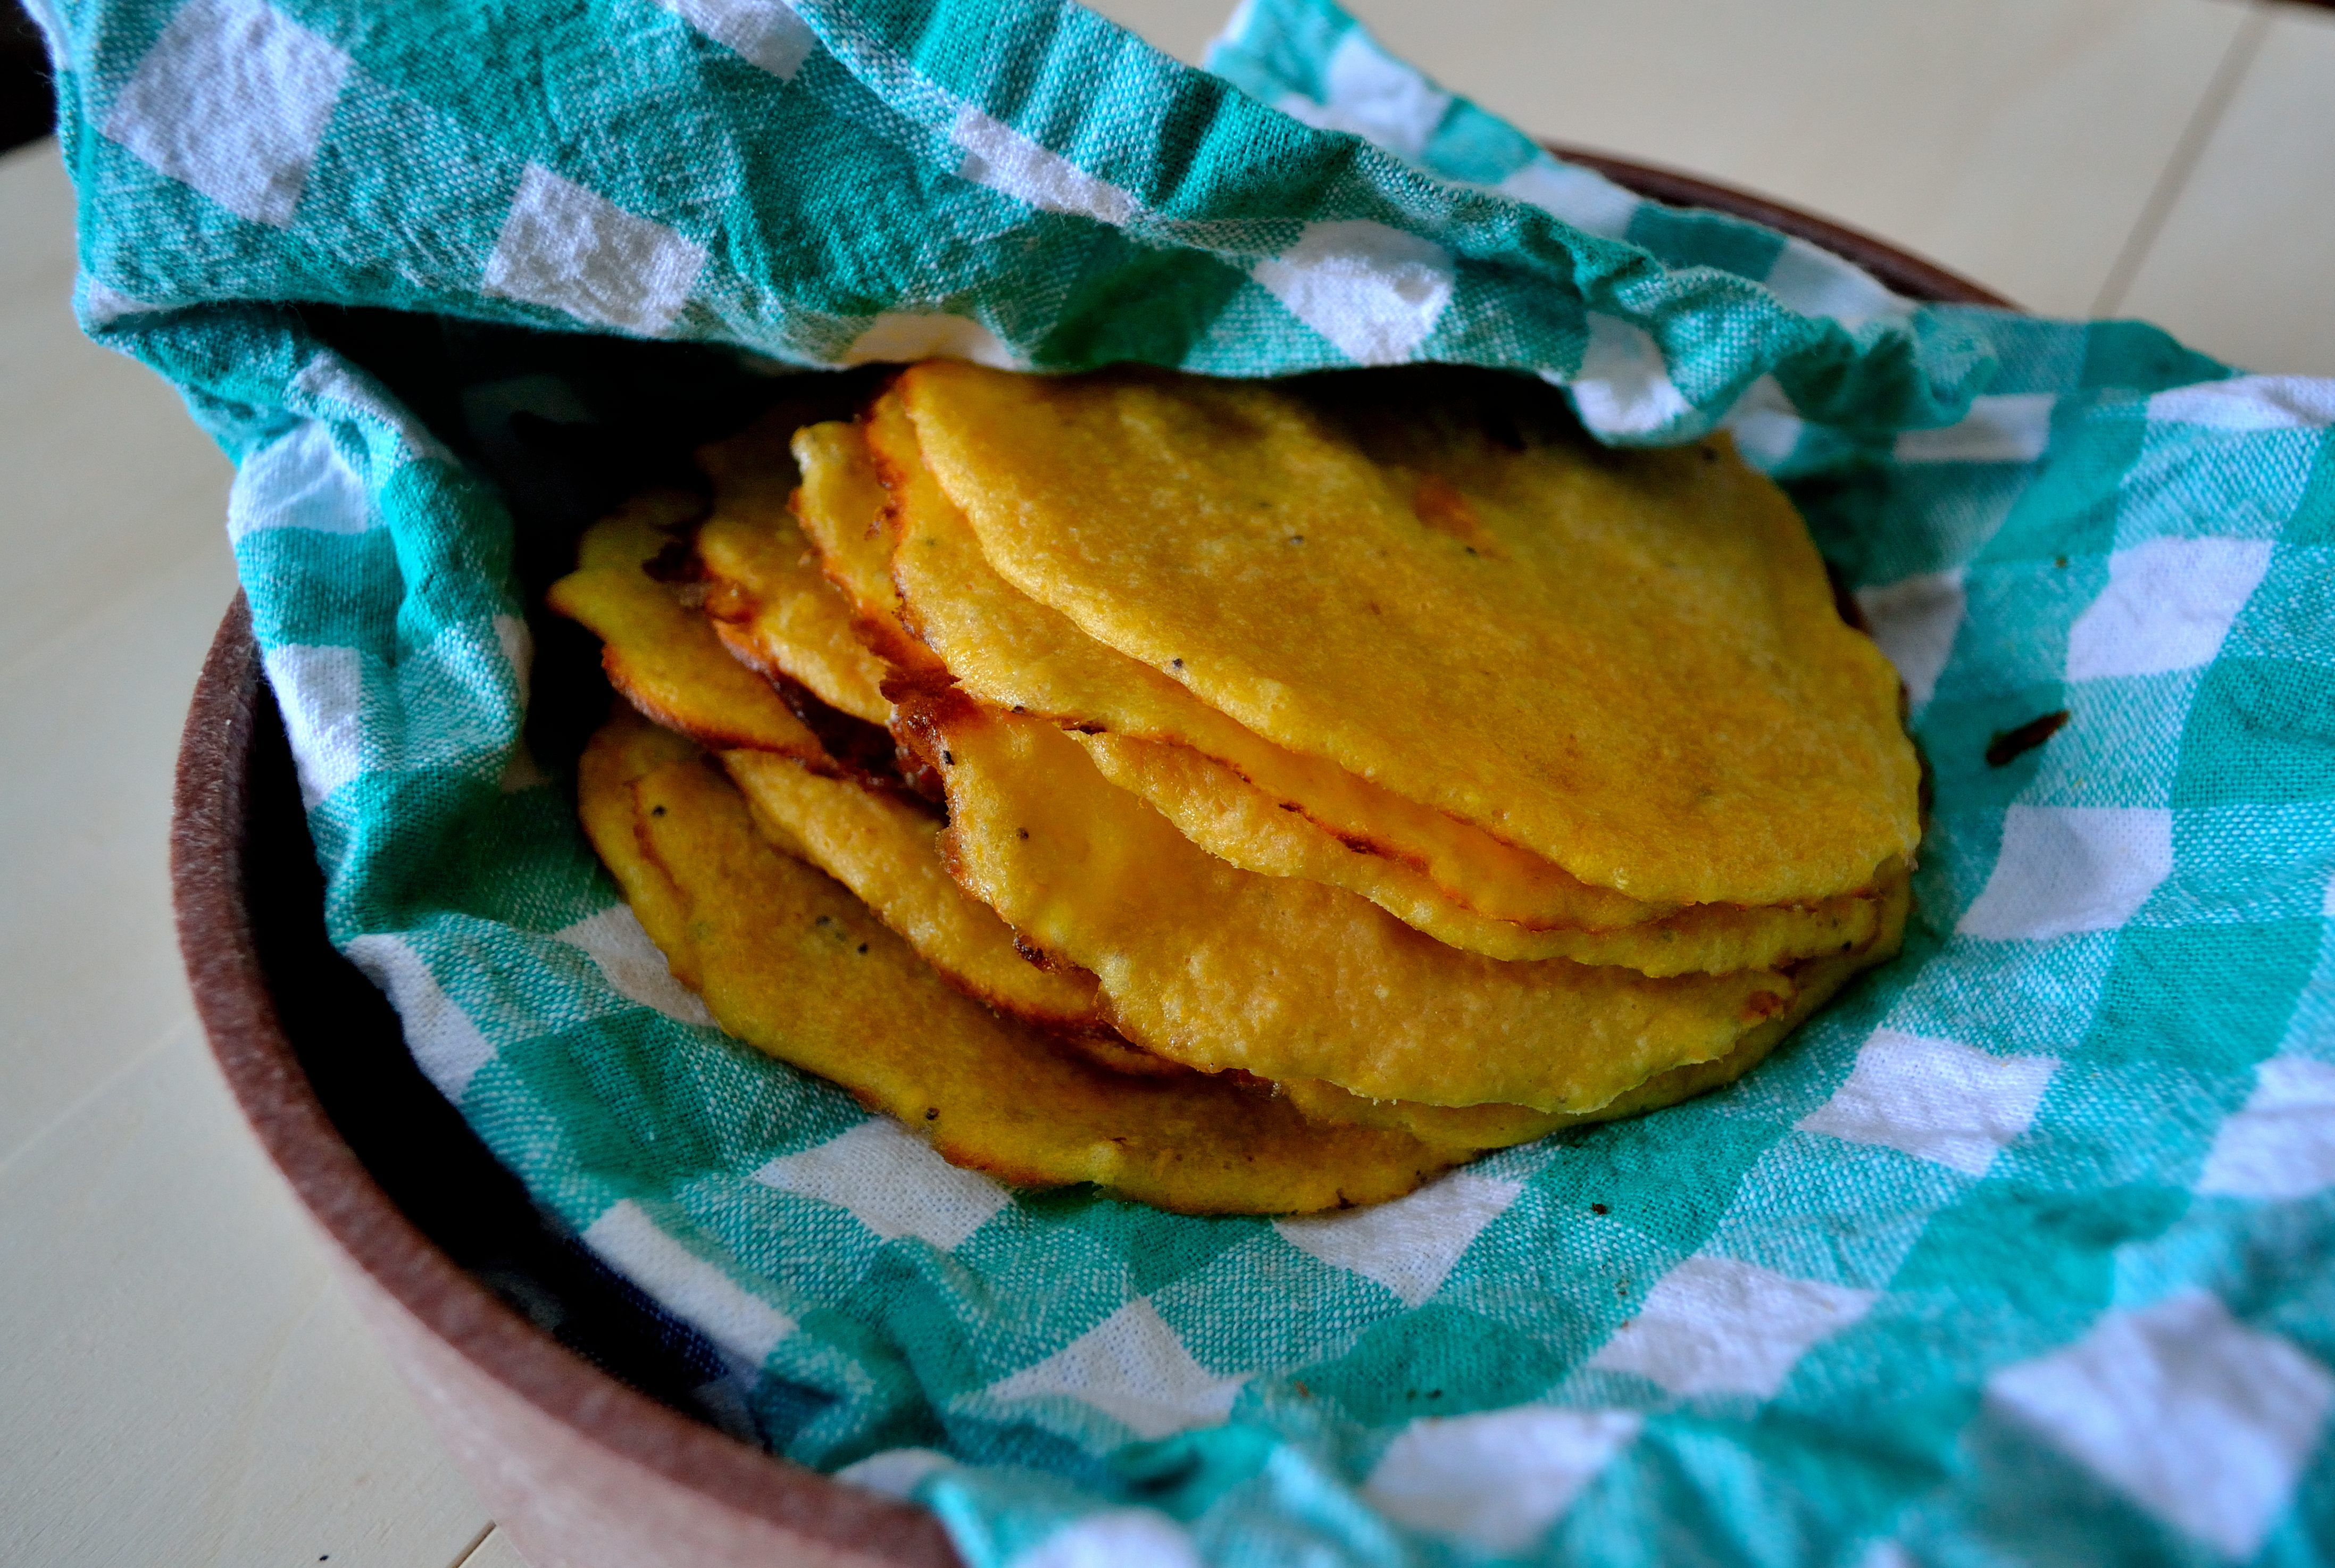
5.  Bake the empanadas for 10 minutes.  Remove from oven and let cool for 5 minutes.  You can top with avocado cream, cashew sour cream, salsa, or hot sauce.

Lentil Taco Filled Empanadas

Lentil Taco Filling

  • 1 cup cooked lentils
  • 1/2 cup cooked black beans (canned or dry)
  • 1/4 cup chopped onions
  • 1 14 oz can fire roasted tomatoes
  • 1/3 cup frozen corn kernels, thawed
  • 3 cloves garlic, minced
  • 2-3 tsp taco seasoning
  • 3 tbsp fresh cilantro chopped
  • 2 tsp tapioca starch or cornstarch mixed in 1/4 cup water

1.  Mix the tapioca starch/cornstarch into the water and set aside.

2.  Heat a little olive oil in a large skillet over medium high heat.  Saute the onions until soft and translucent, about 5-7 minutes.  Add in garlic and saute for another minute.  Add in everything else except for the seasoning, starch, and cilantro.  Cook for about 10 minutes.

3.  Sprinkle the seasoning over the lentil mix and then pour the starch mix over everything.  Cook until the sauce begins to thicken.  Turn off the heat and stir in cilantro.

Lentil Taco Filled Empanada

It might seem like a lot but this meal actually comes together pretty easily.  You can even make your filling ahead of time and then just pull it out when you’re making the empanadas.  Whichever version you try I hope you enjoy these yummy empanadas!

Have a great weekend and enjoy the last few days of May!

What’s your favorite Mexican dish?

Butternut Spinach Gnudi

Butternut Spinach Gnudi

Have you ever heard of gnudi? Don’t worry I hadn’t either until a little while ago.  It’s kind of like the big brother of gnocchi (also pronounced with a silent “G”) and it’s delicious.  I saw a recipe for it in the Clean Eating magazine and at first I dismissed it as too time consuming to make.  Then I had a free Saturday and decided to see if I could tackle the gnudi.  I changed a few things, put my own spin on it and while it does take a little bit of time to put together, it isn’t as hard to make as I thought it would be.

I love the dumpling-like texture of this dish.  It’s filling but not too heavy especially topped with a fresh tomato sauce, plus it gets in all the good nutrients that come with spinach and butternut squash.

If you aren’t like me and don’t have 10 lbs of butternut squash in your freezer you can substitute canned butternut squash or pumpkin instead.  Also, make sure to leave enough time for the gnudi to rest in the refrigerator before you cook them or else they will fall apart in the hot water.

Onto the gnudi!

Butternut Spinach Gnudi- adapted from Clean Eating’s Ricotta, Spinach & Sweet Potato Gnudi

Butternut Spinach Gnudi

  • 1 cup pureed butternut squash (or canned pumpkin)
  • 6 tbsp aquafaba (liquid from a can of chickpeas)
  • 1 cup cashew ricotta
  • 2/3 cup almond meal
  • 2 tsp oregano
  • 1/2 tsp black pepper
  • 1/2 tsp salt
  • 1/4 tsp nutmeg
  • 1/2 cup chopped spinach (frozen or fresh, I used frozen and just made sure it was thawed)
  • 4 1/2 cup brown rice flour
  • 1 batch of my tomato sauce or your favorite store bought sauce (make sure to check the label!)
  1. In a large bowl, whisk the 6 tbsp of aquafaba until it’s frothy.  Then whisk in the cashew ricotta, almond meal, and all the seasonings.
  2. Once that is all well combined mix in the spinach and fold in the butternut squash.  Sprinkle in 1/2 cup of the brown rice flour and stir to combine.
  3. Spread out 2 cups of the brown rice flour onto a large baking sheet.  Using your hands, form the butternut mix into medium sized balls, about the size of a golf ball.  Place the balls onto the baking sheet and repeat until all the mixture is used up.  Cover the balls with the remaining flour and place in the fridge for at least 4 hours.
  4. Warm up your tomato sauce in a medium saucepan.  Once the balls have set, bring a large pot of water to a boil.  Working in batches of 4-5 balls, gently immerse them into the boiling water and cook until they float to the top.  Remove from the water and set aside until all the gnudi is cooked.
  5. Plate a few of the gnudi and top with tomato sauce.  You can also sprinkle a little parmesan cheese or my vegan version.

Butternut Squash Gnudi

Yes it looks like a lot and it looks like it will take forever and you wonder if I think you’re an Italian grandmother who has nothing to do but make gnudi.  Trust me you can do this and it isn’t that hard.  Plus you’ll be rewarded with a delicious healthy meal that will have everyone coming back for seconds.  So give it a try, you might just surprise yourself!

Happy Friday everyone!  I hope you have an awesome weekend!

Soft Taco Shells and Aquafaba

Gluten and Egg Free Soft Shell Tacos

I will get to the Aquafaba in just a second, but let’s talk about these taco shells.

I have always liked tacos but ever since going gluten-free a few years ago I have missed the texture and fold-ability (totally a real word, trust me) of regular flour tacos.  I usually use corn tortillas, which are good but they just aren’t the same as flour tortillas.

Gluten and Egg Free Soft Shell Tacos

There are plenty of recipes out there for Paleo versions of taco shells and I have tried a few of them and they are really good.  Pretty much all of them though use eggs and while that’s not a bad thing if you eat eggs, it poses a problem if you don’t.  Sure, it is really easy to find egg free taco shells at the store or online, but they more often than not have some weird ingredients that I would rather not consume.

Gluten and Egg Free Tacos

Then I read about aquafaba.

Yes that’s a real word and it isn’t as exotic or strange as it sounds.  Technically it’s just the liquid that beans are cooked in.  So bean juice to be precise.  Bean juice apparently doesn’t sound appealing so people have started calling it aquafaba.  Whatever floats their boat.  The important thing to me is that aquafaba acts like eggs in most recipes, plus it’s fairly easy and cheap to get.  You can either buy canned chickpeas and reserve the liquid they are sitting in or cook your own chickpeas and save that liquid.

Gluten and Egg Free Tacos

Armed with this new “fancy” ingredient, I decided to take a stab at making egg free, gluten free, soft taco shells.  Luckily I struck success with my first batch and now I have a simple go-to soft taco shell! Now just a few quick notes:

  • These don’t have the same taste as regular flour shells, but that isn’t a huge problem for me.  I actually really like the taste
  • You can use canned chickpea liquid if you don’t want to cook your own beans and save that liquid like I did.
  • You want your plantains to be slightly yellow.  Not super green and not brown. The really green ones won’t blend as well and the brown ones will give you a sweet taco shell and that might not be what you’re looking for.

Ok enough talking about bean juice, let’s make some tacos!

Soft Shell Tacos

Gluten and Egg Free Taco Shells

  • 1 large plantain, slightly yellow (you can also get a few small plantains, you want about a pound once it’s peeled)
  • 6 tbsp aquafaba (either from a can of chickpeas, or cook your own beans and reserve the liquid)
  • 3 tbsp melted coconut oil
  • juice of one lime
  • a pinch or two of salt (based on your salt preference)
  1. Preheat oven to 350. Peel and cut your plantain into bite size chunks. Add everything into your blender or food processor and blend until everything is smooth.  You want it to look sort of like pancake batter.Scoop out about 1 tbsp of batter. Soft Shell Tacos
  2. Line a large baking sheet with a Silpat or parchment paper.  Scoop about 1 tbsp of batter out onto the baking sheet.  With the back of a spoon, spread out the batter into a fairly thin circle.  Don’t leave it too thick or it won’t cook through and don’t spread it too thin because it will just burn.  You have to be like Goldilocks and get it jusssttttt right 🙂Spread out into shell shapes. Soft Shell Tacos not too thin. Soft Shell Tacos
  3. Do this a few more times, you will have to work in batches because you will only be able to fit 4 to 5 shells on the pan at once. Bake for 8 minutes.
  4. Remove from oven and let them cool for at least five minutes.  Now this is the slightly tricky part, but just have patience at it will all be just fine.  Slowly peel the shells off the baking sheet and move to a wire rack to cool.  If you notice the shell starting to stick just use a spatula to help loosen it from the pan.  As long as you let the shells cool a bit before you lift them up you shouldn’t have too much of a problem.Let cool on pan for 5 minutes. Soft Shell Tacos
  5. Repeat until you have used all the batter.

I used two baking sheets when I made these so I could make more at once, but you can work in batches too.  Once the shells are totally cool fill them with your favorite taco filling and enjoy!

Gluten and Egg Free Taco Shells

Have a great Friday and an awesome weekend!  Don’t forget to wish your mom a Happy Mothers Day on Sunday!

Hobo Skillet Casserole

Sunday is usually my big chore day.  It’s the day that I do all the laundry, clean the bathroom, super clean the kitchen, clean all the floors, and any other cleaning that is needed.  I also get my blog ready for the next day and finish up any other odds and ends that need to be taken care of.  Sometimes when dinner rolls around, I really don’t want to put a lot of effort into my meal.

This is where a well stocked freezer and pantry come in hand.  You can come up with a delicious and healthy meal in a matter of minutes with just a few staples.  I made this meal last Sunday and asked you guys if you would be interested in how to make it.  I got a fairly good response so here it is!  Keep in mind that you can totally customize this dinner with the ingredients you have on hand.

Hobo Skillet Casserole

DSC_1040

  • 1 cup pasta (I used gluten free penne but you can use whatever you normally do)
  • 1 potato, cut into cubes
  • 1 cup butternut squash, cubed (can also use any other squash or sweet potatoes)
  • 1 cup frozen spinach, thawed (can use any green you have like chard, collard, or kale)
  • 1/2 cup assorted vegetables (I used a frozen mix of broccoli, cauliflower, and carrots)
  • 1 small onion, diced
  • 2-3 cloves garlic, minced
  • 1 8 oz can of tomato sauce
  • 1/2 cup almond milk or any other non-dairy milk
  • 1-2 tsp Italian seasoning
  • salt and pepper to taste
  • gluten free breadcrumbs (optional)

DSC_1039

  1. Preheat oven to 350.  Cook pasta according to package, drain, and set aside.
  2. While pasta is cooking, mix tomato sauce, almond milk, Italian seasoning, and salt and pepper in a small bowl and set aside for later.
  3. Heat a cast iron skillet over medium high heat.  If you do not have a cast iron skillet you can use a regular skillet and transfer the casserole into a casserole dish.
  4. Add a little olive oil to the pan and then saute the onions and potatoes until the potatoes are lightly browned. Transfer the potatoes and onions to a bowl with the pasta.
  5. Add the vegetables and butternut squash to the skillet and cook until slightly brown.  Add in the garlic and cook for another minute.  Place the vegetables into the bowl with the potatoes and pasta.
  6. Pour the tomato sauce mix into the other bowl and stir everything to combine.  Add everything back into your skillet or casserole dish.  Place in the oven and bake for 15 minutes.
  7. Remove from oven and top with the bread crumbs if you’re using and bake for another 5 minutes.

This is a great meal to make at the end of the week to use up any food that you have leftover in the fridge.  You can use whatever you have on hand.  If you don’t want to use pasta you can try brown rice, quinoa, or any beans you have.  If want add ground beef or turkey, shredded chicken or pulled pork.  Choose your favorite vegetables or whatever is in season.  Use different seasonings to change up the flavor or try a different sauce like salsa or hummus or cashew cream.

DSC_1043

Meals like this are awesome because they are easy to make and can taste different every time you make it depending on what you use.  Get creative and get eating!

Oh and don’t forget I am still hosting a giveaway on my Facebook page.  If I get to 100 likes I’ll give away two $10 gift cards of their choice to two of my followers.  Make sure you go check out my page and like it!

Have a great Friday and a wonderful weekend!

Chickpea Pizza Bites

I don’t know about where you live, but today we are enjoying some GORGEOUS weather!  The sun is shining, it’s warm, there is a light breeze, and I am one happy camper.  I am going to try and soak in as much as possible because living in Chicago on the lakefront you never know when the weather will turn.

DSC_0965

Today’s recipe was kind of a spur of the moment idea.  I was trying to think of something different to do with my chickpea tofu and somehow pizza popped into my head.  It was easy to put together and makes a really great snack or appetizer.  I made some with regular cheese for Adam and used nutritional yeast for mine.  We devoured these as we watched the season premier of Game of Thrones.  Because I was still housesitting at that point, we were able to watch on a big screen with surround sound and it was amazing.  It was also the first time that we were able to watch the season premier on the actual day that it premiered.  It was quite the night and these little bites made it even better.

DSC_0978

So put some of these for your next get together or make some for your next movie/netflix binge.  You won’t be sorry!

Chickpea Pizza Bites

DSC_0963

  • 1 batch of chickpea tofu, poured into a bread loaf pan instead of a casserole dish or brownie pan.
  • 1 8 oz can of plain tomato sauce
  • 2-3 tsp pizza seasoning OR
  • 1 tsp each of basil, oregano, garlic powder, and marjoram
  • 1/2 tsp salt
  • handful of shredded cheese (cheddar or mozzarella) OR nutritional yeast to keep it vegan

DSC_0975

1. Preheat oven to 375.  Make the chickpea tofu and pour it into a bread loaf pan to set.

2.  Line a baking sheet with parchment paper or a Silpat.  Once the tofu has completely cooled, remove from pan and cut into bite size pieces.  Place on the baking sheet and bake in the oven for 20 minutes.

3. In a small bowl mix together the tomato sauce, pizza seasonings, and salt.  Taste to see if you need to adjust the flavor.

4.  Remove the tofu from the oven and top each slice with tomato sauce and either a sprinkle of cheese or nutritional yeast. Put the pan back in the oven and bake for another 5 minutes or until cheese is melted.

DSC_0973

If you have any extra tomato sauce you can use that to dunk your bites into!  I’m working on making some more snack/appetizer type foods that are simple to put together, taste delicious, and are of course healthy!  Are there any of your favorite appetizers or snacks that you would like to see made healthier?

Giveaway-Banner

Oh and quick sidenote I have started a Facebook page, Life Healthfully Lived.  You can find all my posts, pictures that I take, and other articles/recipes that I find and think you would enjoy.  If you haven’t seen it, go check it out and click like.  If I get to 100 likes by the end of the month, two of my followers will win a $10 gift card of their choice!

Have a great Friday and enjoy your weekend everyone!

DSC_0962