DIY Wednesday: Homemade Mayo + An Egg Free Version

NotDIY Wednesday: Homemade Mayo | Life Healthfully Lived many people know how mayonnaise is made.  You just go to the store and buy a jar of it and go on with your day.  I have never really been a big fan of mayo.  It just had an odd taste to me and I preferred slathering my sandwiches in spicy mustard.  Then one day, I needed mayonnaise for a potato salad I was making.  I didn’t want to go and buy a whole jar just for one recipe so I started looking around to see what if there was anything I could substitute.  That’s when I stumbled on a recipe for homemade mayo.

I was surprised that I could make my own mayonnaise.  This was a few years ago, so I was still learning about how things were made and didn’t know that mayo was just an emulsion of eggs, oil, and seasonings.  I bet that you have all the ingredients right now to make your own mayo.  So I quickly whipped up a batch and to my surprise, I really liked the taste. DIY Wednesday: Homemade Mayo | Life Healthfully Lived

So today’s DIY is all about mayonnaise.  It’s quick and cheap to make your own and you don’t have to worry about additives and preservatives that store brands use to make their product shelf stable.    You can also play with your own seasonings and flavor your mayo with fresh herbs.

Don’t eat eggs?  There is a version here for you too!  Remember that aquafaba I was raving about a few months ago?  Turns out you can make mayonnaise with it too!  I tried it a few days ago and it turned out really well.  Now eggless people can enjoy mayo on their sandwiches and in their recipes too!

Homemade MayoDIY Wednesday: Homemade Mayo | Life Healthfully Lived

  • 1 large egg
  • 2/3  cup neutral tasting oil (I like avocado or safflower oil)
  • 1 tsp lemon juice
  • 1 tsp spicy mustard
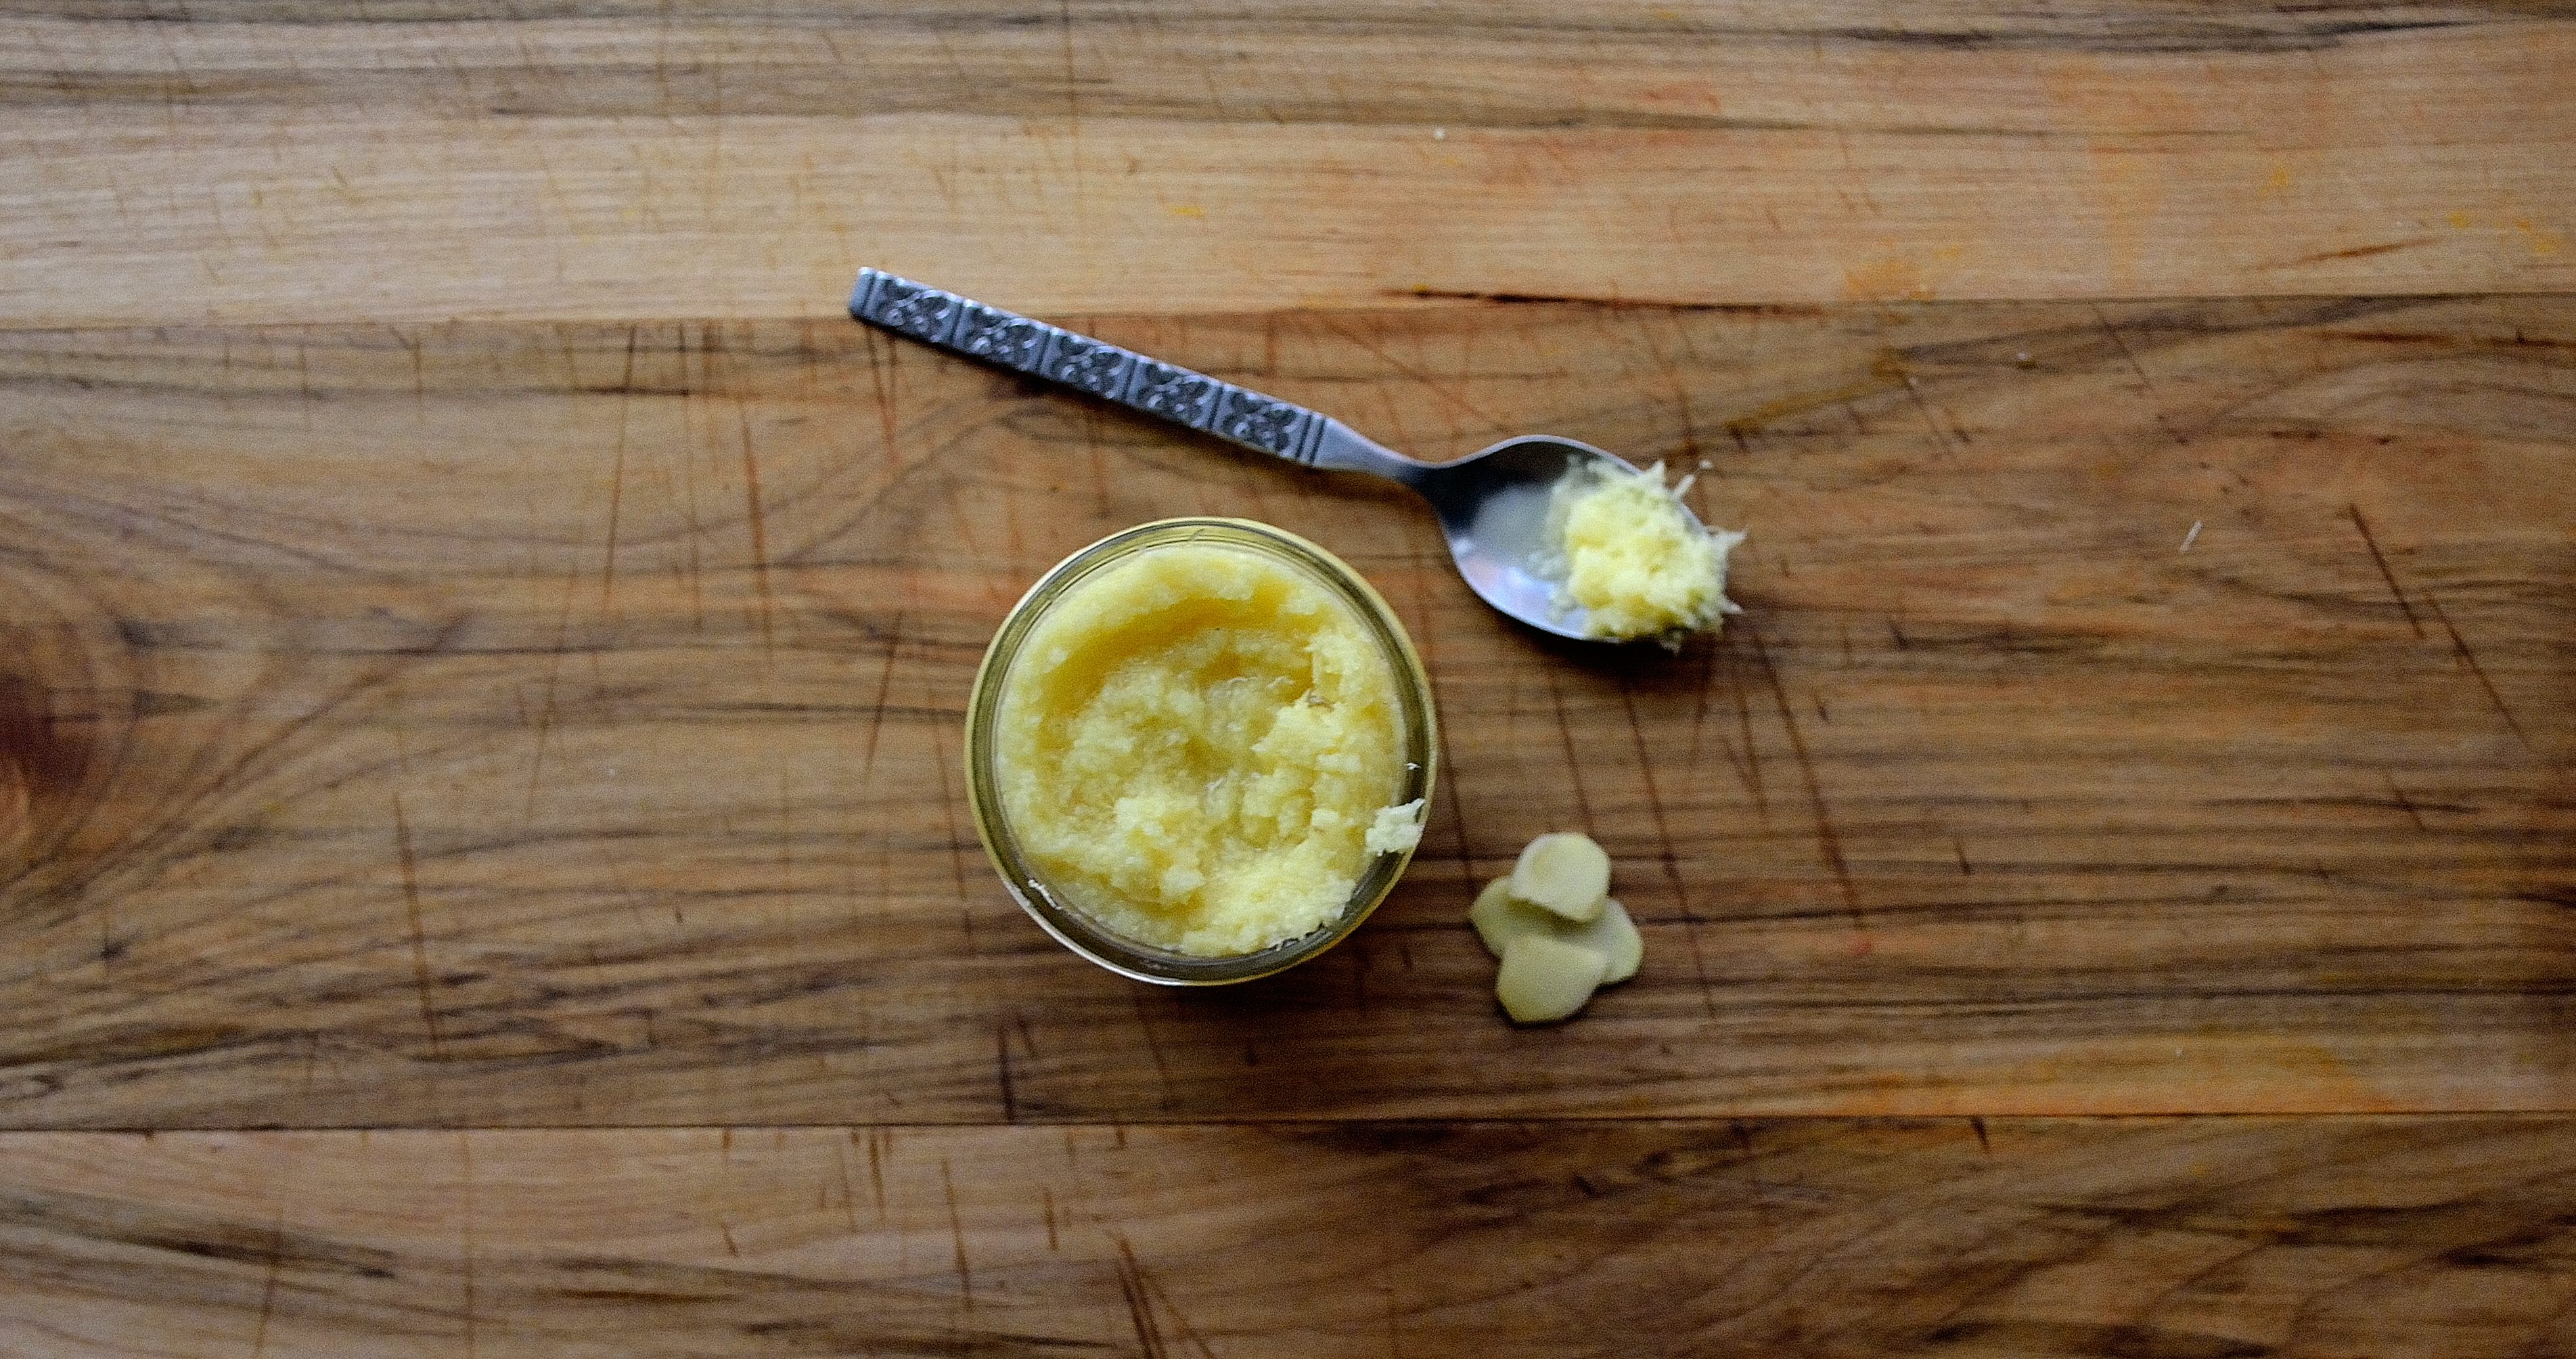
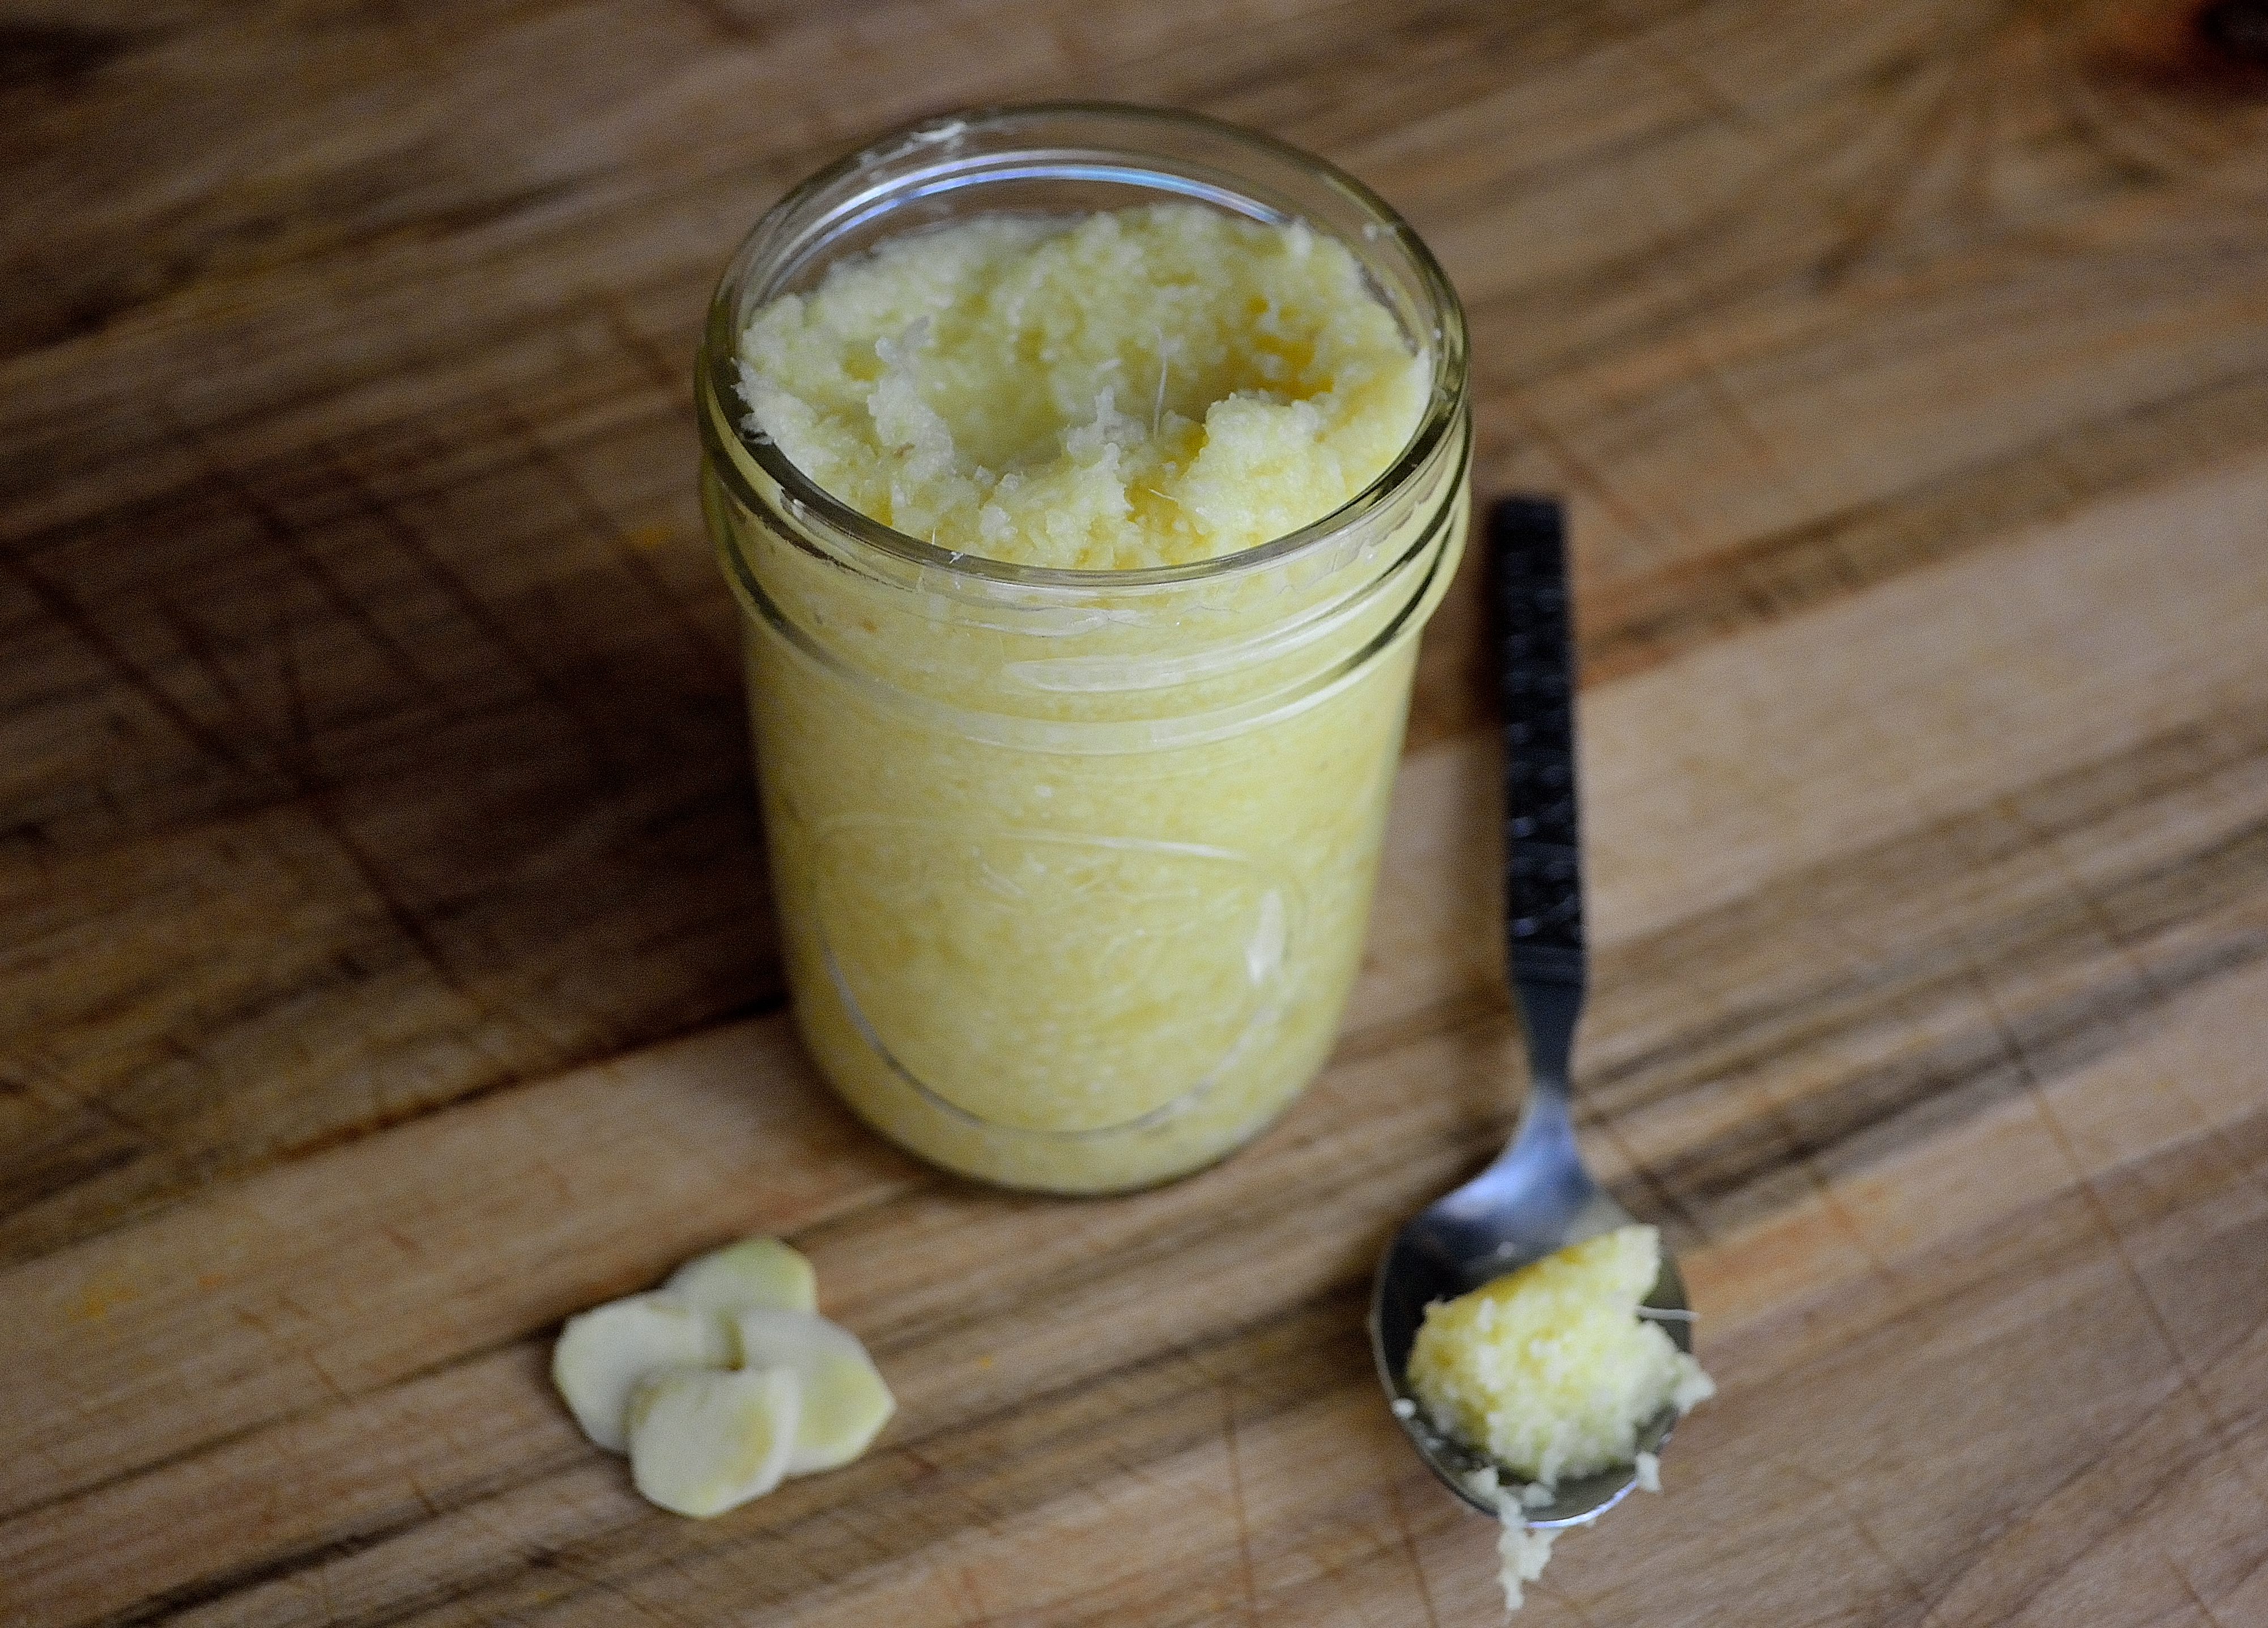
  • 1/2 tsp garlic powder
  • 1/2 tsp herbs like dill, basil, oregano, or cilantro (optional)
  • salt and pepper to taste
  1. Place all the ingredients except the herbs into a tall glass.  Use an immersion blender to whip everything together.  Once the mixture starts to get thick, slowly pull up the immersion blender to make sure everything is incorporated.
  2. You could also do this in a blender.  Place everything in the blender except the oil and the herbs.  Start blending everything and slowly add in the oil until the mixture is nice and thick.
  3. Stir in the herbs and store in an airtight container in the fridge for up to 3 days.

Eggless Mayo

This is the recipe that I used to make the eggless may and it worked great.  I used less oil than the recipe calls for.  The biggest key is to SLOWLY add the oil so you don’t end up with an oily, soupy mess.  DIY Wednesday: Homemade Mayo | Life Healthfully Lived

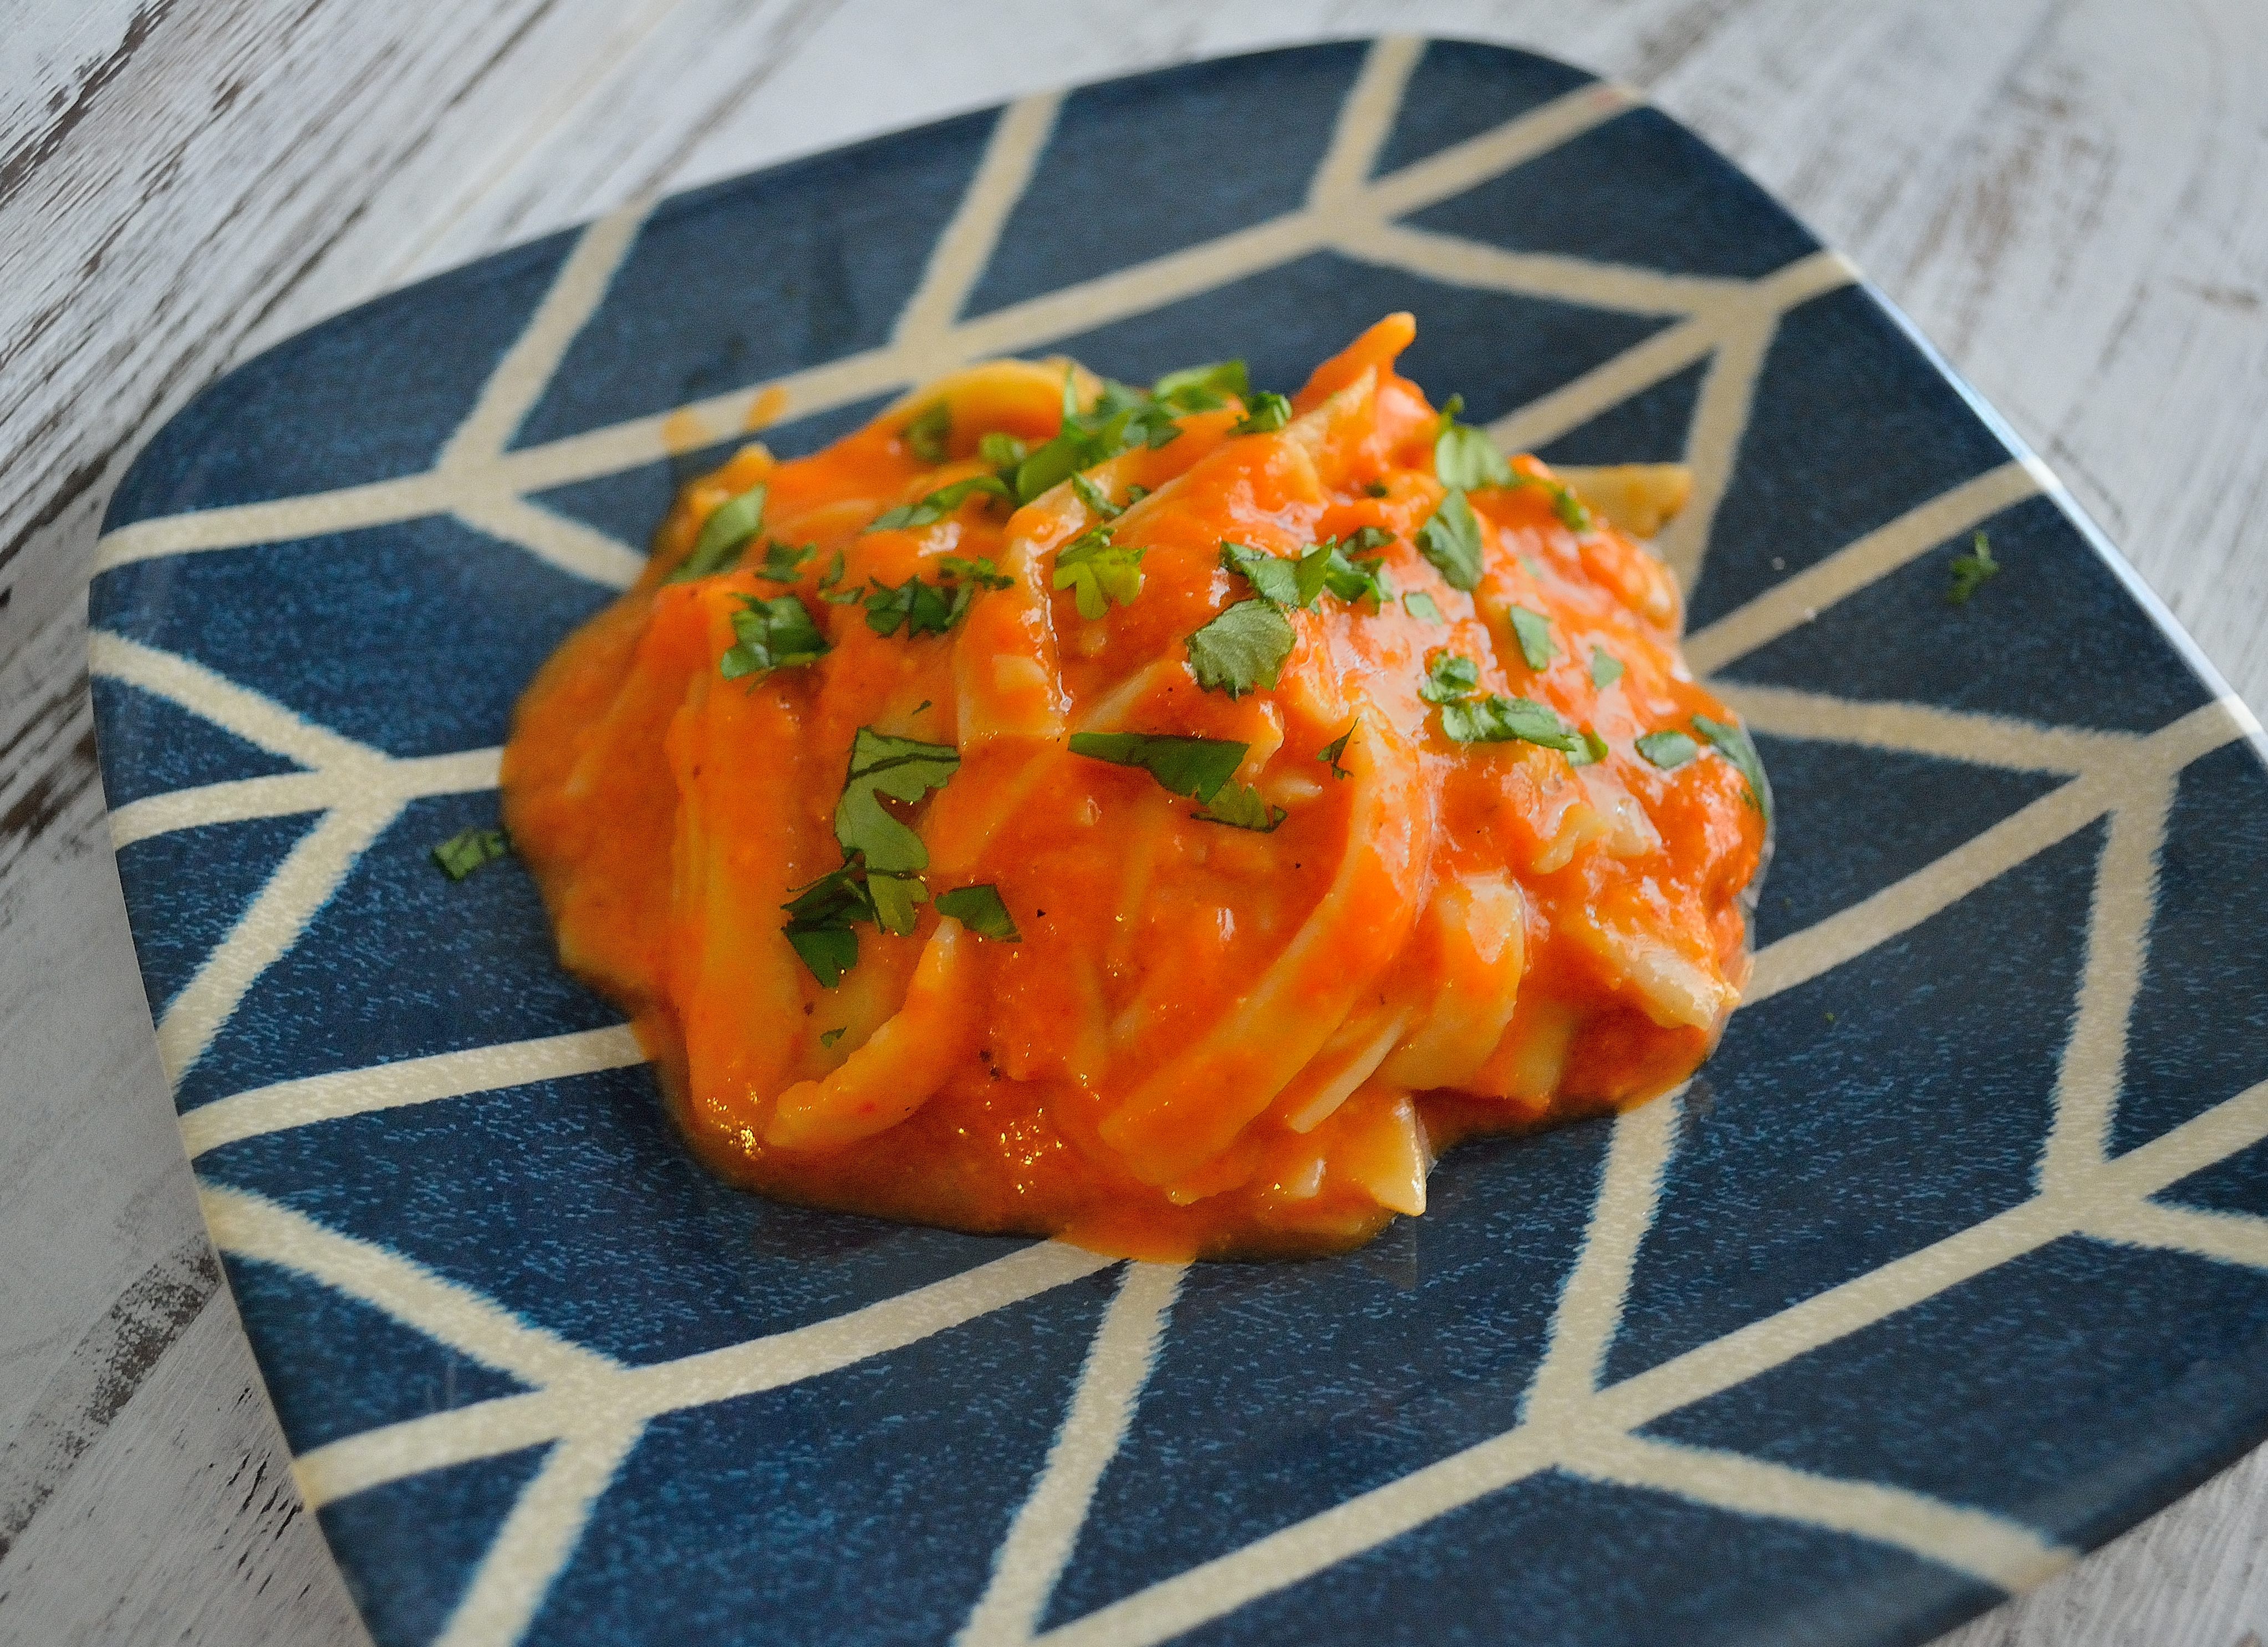
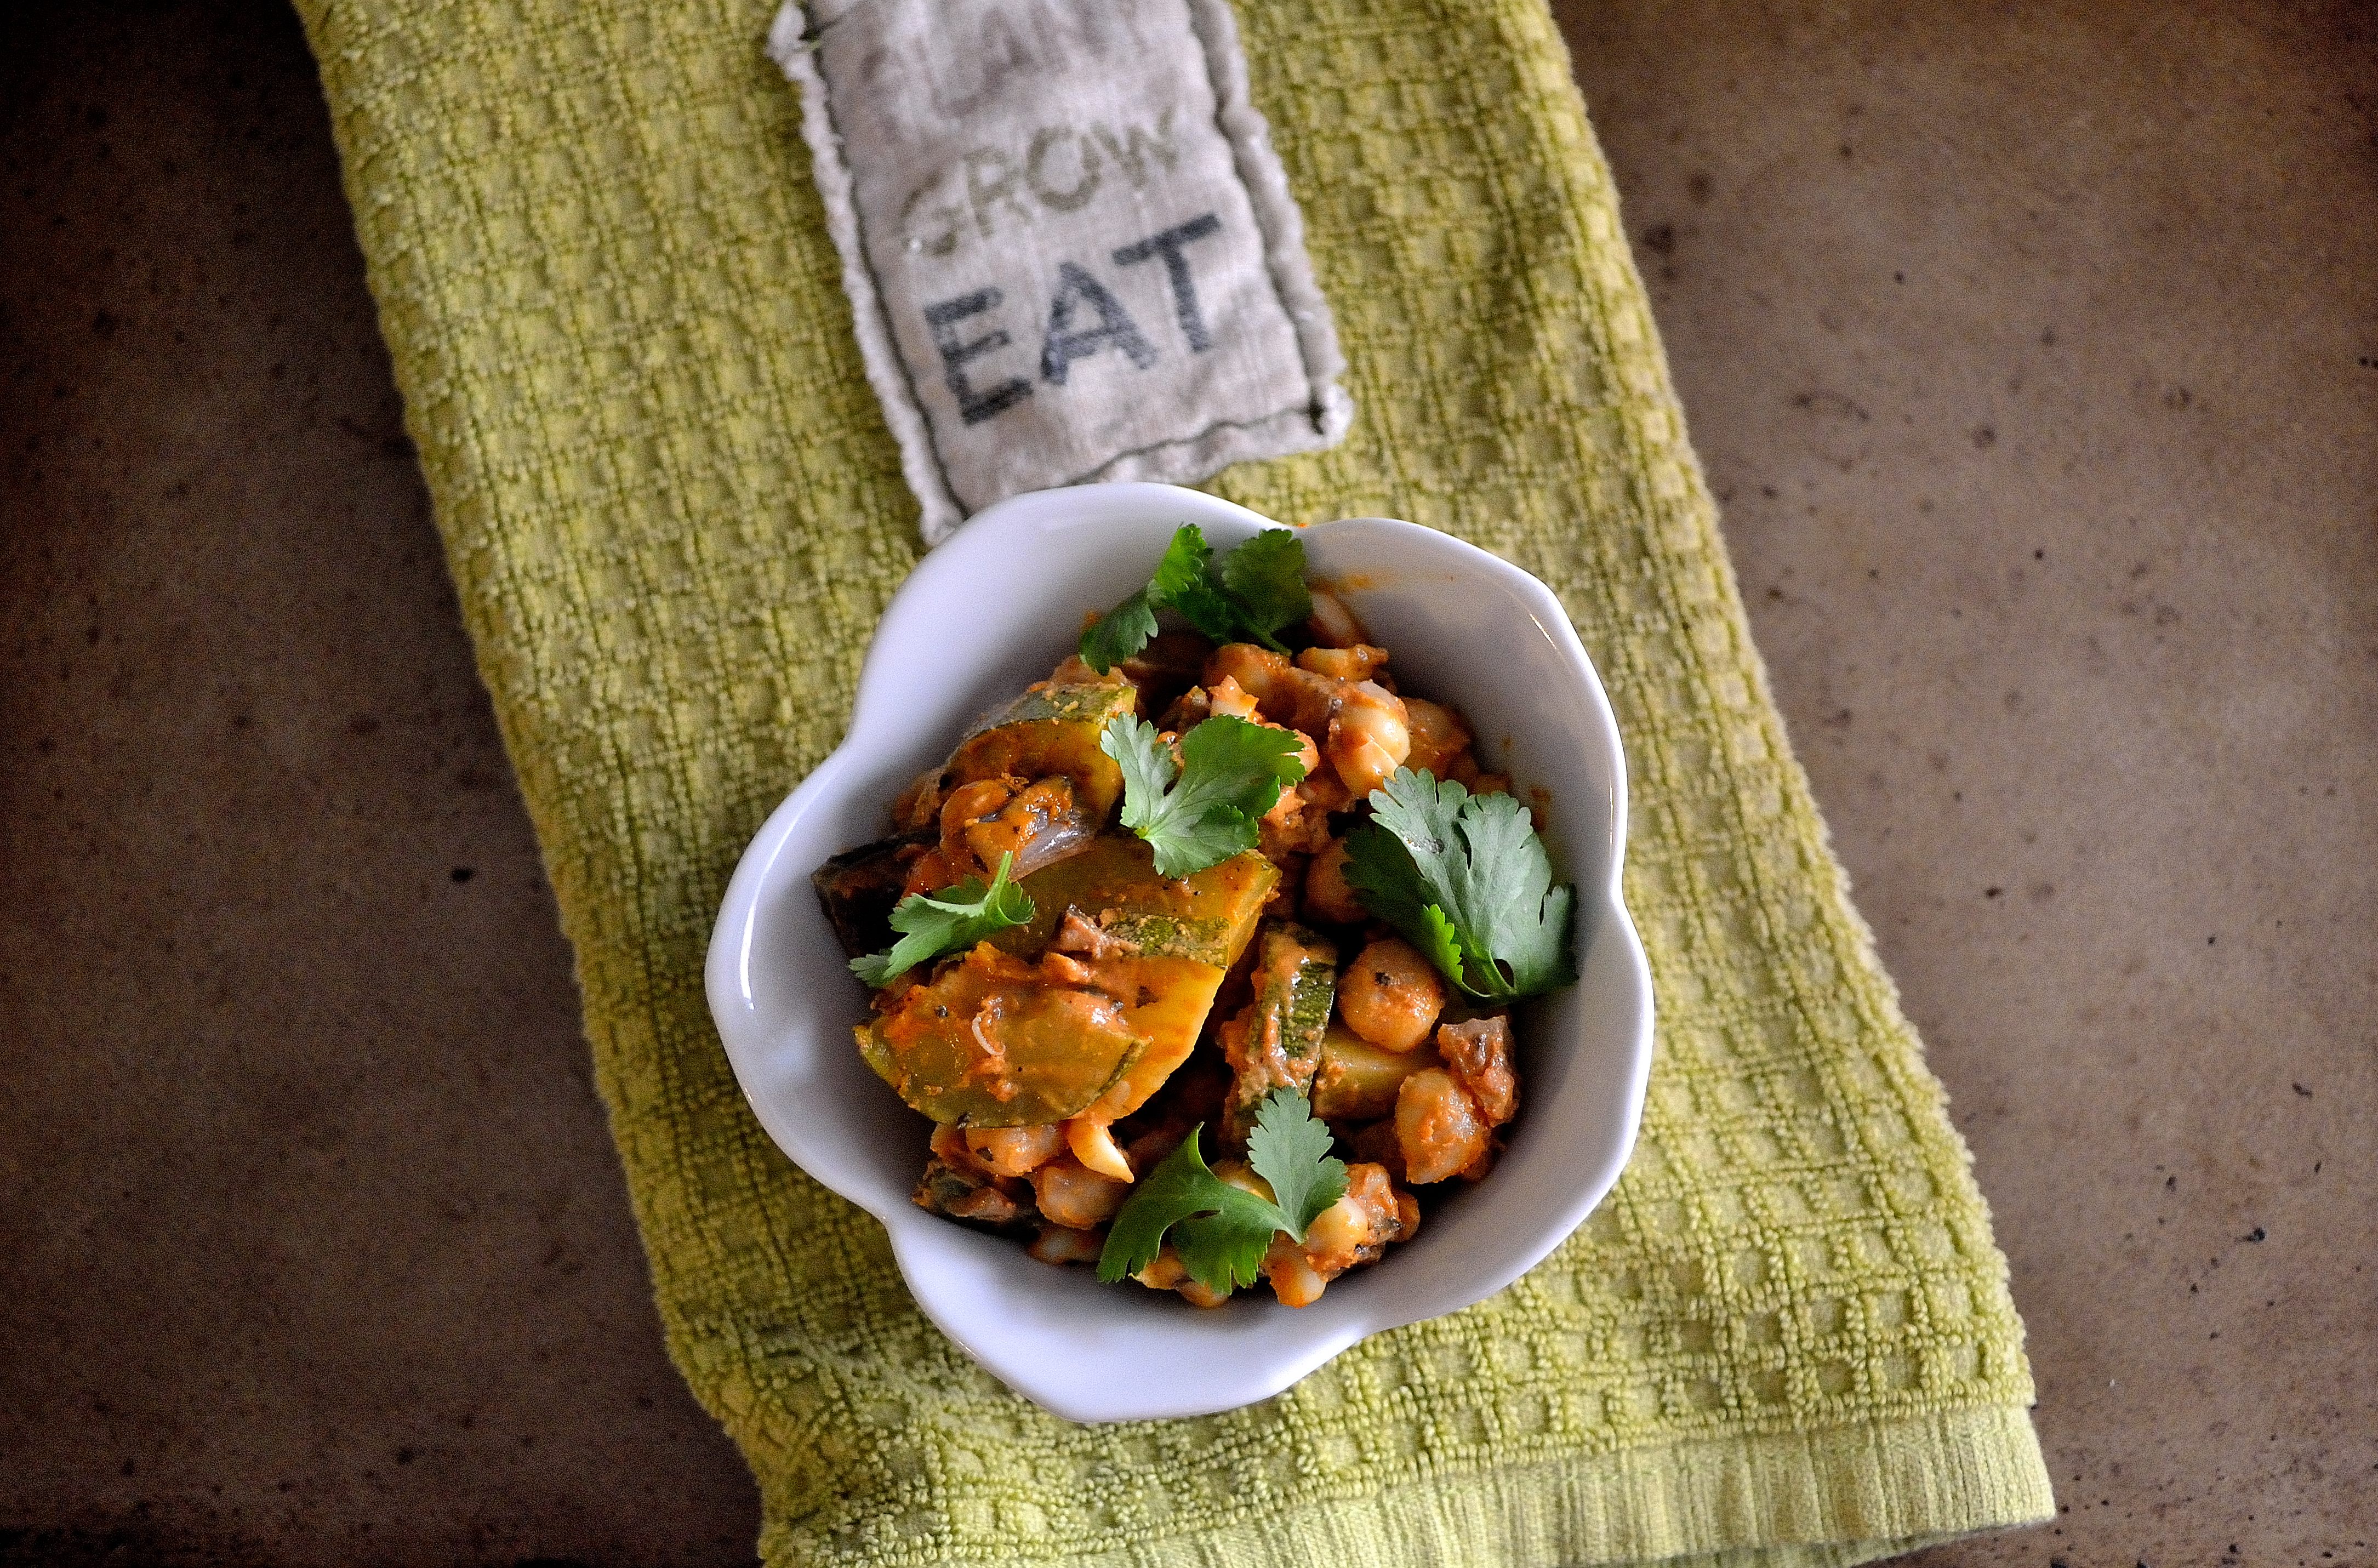
That’s it.  Just a few pantry items and you have delicious homemade mayo.  Make sure that you choose a neutral oil so that you don’t have an odd tasting mayo.  You can use this on sandwiches, in salads, as a marinade, and pretty much anywhere that you would use storebought mayo.  Plus, it’s really cool to see the whole thing magically turn into mayo, kids would definitely love helping with this one.

Roasted Red Pepper Sauce

IRoasted Red Pepper Sauce | Life Healthfully Lived am the queen of roasted things.  It’s pretty much my answer to everything.  Broccoli? Roast it.  Zucchini?  Roast it.  Almonds/cashews/hazelnuts? Roast it. Sweet potatoes.  Roast it.  Annoying relatives that randomly drop in for the weekend without calling?  Roast it.

Ok, maybe not the last one but still.  Whenever I have food that can be roasted, I’m gonna roast it.  So I was shocked that I had never roasted peppers before.  It’s not like it’s a hard process.  It couldn’t be simpler.  I just never looked at a pepper and felt the need to roast it.  Well, that time is over because roasted peppers are delicious.  They add a wonderfully smoky flavor to whatever you use them for and smoky is always good.

I put this sauce over gluten free linguine and it was fantastic.  You could use this over zoodles, in lasagna, over vegetables (roasted of course), or you know just eat it straight out of the pot.  I won’t judge.

Roasted Red Pepper Sauce- slightly adapted from Minimalist Baker’s Vegan Roasted Red Pepper PastaRoasted Red Pepper Sauce | Life Healthfully Lived

  • 2 large red bell peppers
  • 1/2 cup caramelized onions (or regular onion), diced
  • 4 cloves garlic, minced
  • 1/2 to 1 cup coconut milk
  • 3 tbsp nutritional yeast
  • salt and pepper to taste
  1. Preheat oven to 400.  Line a baking sheet with aluminum foil and place the peppers on the sheet.  Roast the peppers for 20 minutes and then flip them over and roast for another 20 minutes.  The pepper should have a little char on it once it’s done.
  2. Remove the peppers from the oven and place a glass bowl over them to allow the steam to loosen the skins.  Let them sit for about 15 minutes.
  3. While the peppers are steaming, heat a little oil in a medium pan over medium-high heat.  Saute the onions and garlic until soft and translucent, about 5 to 7 minutes.  Remove from heat and place in a blender.
  4. Take the peppers out from under the bowl and remove the skins.  The skins should slip off pretty easily.  You can leave a little bit of the char on for a more intense smoky flavor.
  5. Add the peppers, nutritional yeast, salt, and pepper to the blender.  Pulse a few times to break everything up and then add in 1/2 cup of the coconut milk.  Blend until smooth.  If the sauce is still really thick add in more coconut milk, up to 1 cup.
  6. Pour the sauce into a saucepan and heat through, about 5 minutes.  Serve over pasta, vegetables, or even rice.

At first glance, it looks like there are a lot of complicated steps but you’re really just roasting peppers and then blending everything together.  You could even roast the peppers ahead of time and then when you’re ready for dinner you can just throw everything into the blender and you have dinner in no time!  You can also roast the peppers in a few different ways, I just like the oven because it doesn’t take a lot of effort.  Roasted Red Pepper Sauce | Life Healthfully Lived

Anyone have any fun weekend plans besides making this awesome and simple dinner?  I’m looking forward to spending some time with Adam since we haven’t been able to do that for over two weeks!  Have a great weekend everyone!

DIY Wednesday: Ginger Paste

ThisDIY Wednesday: Ginger Paste | Life Healthfully Lived DIY post might be as simple as my homemade tortilla chips.  I’m the type of cook who likes to use things like actual cloves of garlic when I’m making stuff.  I know you can buy a jar of diced garlic at the store and it saves a lot of time and effort because you can just throw in the amount you need and move on.

I have nothing against jars of garlic, I just like peeling and chopping garlic myself.  The one thing I do not like peeling and chopping myself?

Ginger.

Peeling it is a hassle.  If you chop it the wrong way you get these weird hair looking things in it.  It’s just a chore for me.  I really love using fresh ginger though and I’m always tempted to buy those tubes of ginger paste at the store just to avoid the trouble.  The one thing that stops me though is the price.  Those tubes are like $3.00 and sometimes they have things other than just ginger in them.  So I skip the tube and begrudgingly prepare my ginger myself.

Not anymore!  Today I am going to show you how easy it is to make your own ginger paste and start adding it to everything you make.  The best part?  You only need two things and a blender.  Awesome right?!

Ginger Paste

DIY Wednesday: Ginger Paste | Life Healthfully Lived

  • 1 large knob of fresh ginger, about 2 cups roughly chopped
  • 1/3 cup water
  1. Peel the ginger.  I use a vegetable peeler to do this because it’s easier than a knife.  Try to get as much of the peel off as you can.  If you can’t reach some places peel it a little after you chop it.
  2. Chop the ginger into bite-size chunks and add to your blender.  Pour in the water.  Blend the ginger and water until it is in paste form and no big chunks remain.
  3. Store the paste in an airtight container in the fridge for up to two weeks.

That’s it!  It is so simple and now I don’t have to go through the peeling and chopping every time I want to use fresh ginger.  Just once and then I have a whole jar to use!  You can also make a huge batch and freeze some of it so it is always on hand.  Add this paste to marinades, sauces, stir fry, dips, or even add it to hot water for some ginger tea.  So many uses!DIY Wednesday: Ginger Paste | Life Healthfully Lived

Make sure that you are never without fresh ginger and have a jar of ginger paste always on hand.

Friday Recipe Round-Up

Yay Friday!  This week has been a doozy for me.  A ton of projects were suddenly due all at once and I have been working to get all of those done.  On top of that, this weekend is my sister’s bachelorette party so I have been getting things ready for that!  Seriously, how is it possible that my baby sister is getting married?!  We were literally just playing with our Barbies and Polly Pockets.  Like yesterday.  For reals.

Anyway!  Because it’s been a crazy week in the Dawson house I don’t have a new recipe for you today BUT do not start sobbing yet!  I do have a round-up of all the delicious recipes I have found on all the blogs I follow.

I will have new stuff for you next week, but in the meantime enjoy these recipes as well as all the ones I have over on my recipe page!

Key Lime Pistachio Truffles from The Clean DishKey Lime Pistachio Truffles

I am really having a thing with key lime lately.  It is the perfect summer treat and there are so many ways to make it.  These truffles look amazing!

Grain-Free Chocolate Zucchini Bread from Predominantly PaleoGrain-Free Chocolate Zucchini Bread

About this time of year, we’re pretty much drowning in zucchini.  It’s delicious but the same old zucchini bread can get a little tiresome.  I love this chocolate twist!

Avocado Lemon Basil Pesto from Kathy HesterAvocado Lemon Pesto

Along with key lime, I have been having a love affair with pesto this summer.   My fridge has not been without a jar of the stuff for more than 2 hours.  The lemon basil in this is amazing, but if you can’t find any regular basil still makes a tasty pesto!

Chocolate Peanut Butter Magic Shell from The Lemon BowlChocolate PB Magic Shell 

Be prepared for me to cover everything in this delectable concoction.  If you’re smart you should do the same.

Have an awesome weekend and make one of these glorious dishes!

Tahini BBQ Summer Vegetable Bake

ITahini BBQ Summer Vegetable Bake | Life Healthfully Lived have been all about the tahini lately.  I have been finding ways to put it on everything and I have not been disappointed.  Most of us only know tahini as an ingredient in hummus.  It helps give it that nice creamy, earthy flavor.  While hummus is delicious, tahini deserves to be more than just an ingredient in a popular dip.

It is awesome in baked goods, drizzled over pancakes or roasted plantains, and it turns any homemade dressing into creamy delicious lick the bottom of the bowl good.  The fact that it turns things creamy is one of my favorite things.

I like creamy, creamy is good, but sadly people only associate creamy with cheese or other dairy products.    I’m going to change your mind one tahini filled recipe at a time. Tahini BBQ Summer Vegetable Bake | Life Healthfully Lived

This one is really easy to make and is a great way to use up the surplus of zucchini and other summer vegetables I’m sure are crowding your fridge.  I also like this one because it can be made the night before and then just popped into the oven and it’s done.  That’s actually what I did when I made this last weekend and it worked beautifully.

The sauce I made for this vegetable bake would also be awesome as a dip or slathered on wings or ribs or burgers or a spoon…. You get the idea.  Go grab all the summer vegetables you have, whip up this sauce, and throw together this yummy dish!

Tahini BBQ Summer Vegetable Bake

Tahini BBQ Summer Vegetable Bake | Life Healthfully Lived

Tahini BBQ Sauce-

  • 1/4 cup tahini
  • 2 tbsp homemade ketchup (or the best you can find/afford at the store)
  • 1 tsp molasses
  • 2 tsp apple cider vinegar
  • 1 tsp garlic powder
  • 2 tsp smoked paprika (make sure it’s smoked)
  • 1/2 tsp chili powder
  • 1/2 tsp salt
  1. Blend all ingredients together until smooth and well combined

Vegetable Bake-

  • 1 batch of tahini BBQ sauce
  • 1 zucchini, sliced and diced
  • 1 summer squash, sliced and diced
  • 1 cup corn kernels, fresh or frozen
  • 1 cup red onion, diced
  • 1 1/2 cup cooked garbanzo beans (or whatever bean you have on hand)
  • 2 tsp Italian seasoning
  • salt and pepper
  1. If you want/have the time, roast the zucchini and summer squash.  You don’t have to, but it adds a nice flavor to the dish.  Drizzle with a little olive oil and salt and pepper and roast at 400 for 15 minutes.
  2. Remove the zucchini and squash, turn the oven to 375 and place the roasted vegetables into a large bowl.
  3. Add the corn, onion, garbanzo beans, and stir everything to combine.  Sprinkle with Italian seasoning and salt and pepper and stir again.
  4. Add in all the tahini BBQ sauce and stir everything making sure the sauce is coating all of the vegetables and beans.
  5. Transfer everything to a large casserole dish.  Cover with aluminum foil and bake for 20 minutes.  Take off the aluminum foil and bake for another 5 minutes.
  6. Remove from oven and let it cool for at least 5 minutes before serving. Tahini BBQ Summer Vegetable Bake | Life Healthfully Lived