We almost escaped the holidays without getting sick. Almost. It’s tough because during the holidays you’re around so many people and eating foods that might not be the healthiest and not sticking to your normal exercise routine. It’s almost like inviting germs to take up residence in your body.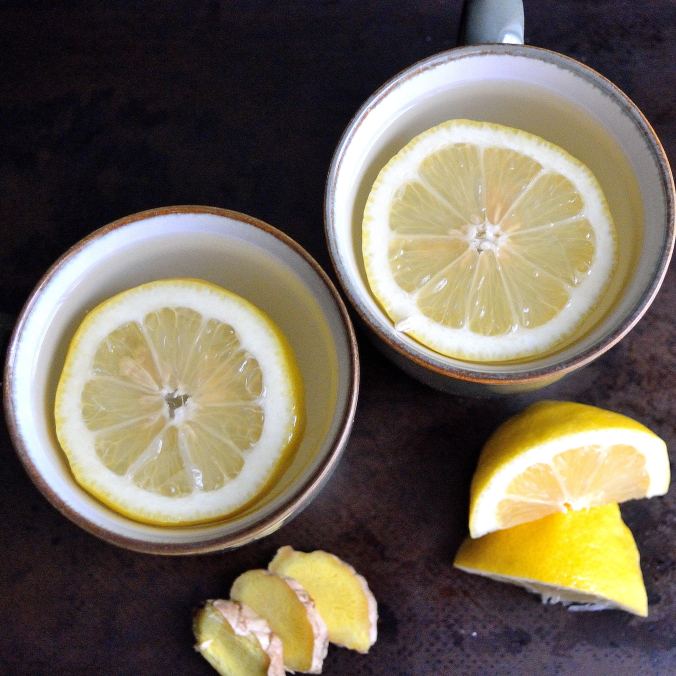
The Monday after Christmas, Adam started feeling a little funny and by Tuesday was knocked out with a cough and cold. He had the works, stuffed nose, sore throat, nasty cough, and achy all over. The doctor said it was a virus, but not the flu, and only gave him a nose spray to relieve congestion. So he pretty much had to ride it out on the couch for a week.
While taking care of him and seeing his misery, I knew that I had to take action to make sure I wasn’t the next visitor to the sick couch. I upped my intake of vitamin C with oranges and lemons, made sure I got turmeric in as many dishes as possible, and tried my best to exercise and eat well to make sure that I stayed healthy.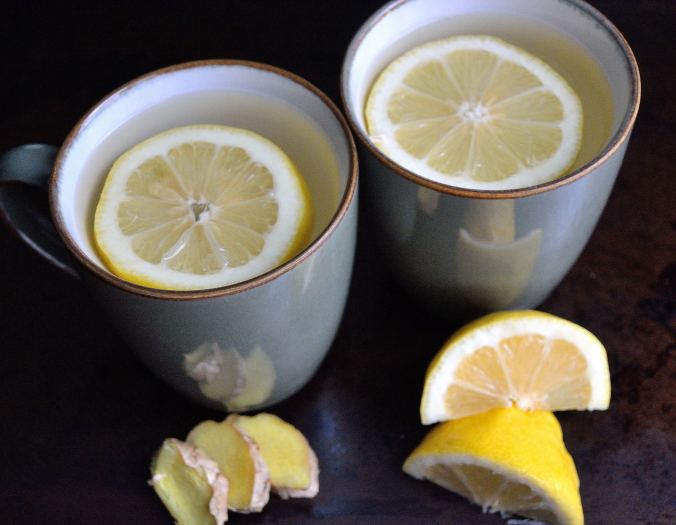
I have a little congestion, but I think I missed the worst of the virus and I’m going to chalk that up to the steps I took to ward it off. One of the things that I did was down this tea every morning first thing. You can buy lemon-ginger tea at the store, but it is so easy to make and I think that fresher ingredients make a bigger impact on your immune system.
So if you’re looking to make sure you don’t get sick this winter, try this tea in the morning and if you do feel something coming on, up your self-care routine. Take extra rest, don’t go run a marathon, but do move a little, and try to eat as much real food as possible. Your body will thank you!
Lemon-Ginger Tea- if it’s available and you can afford it, try to get organic ingredients. If not, don’t stress too much over it, this tea is still better than no tea. 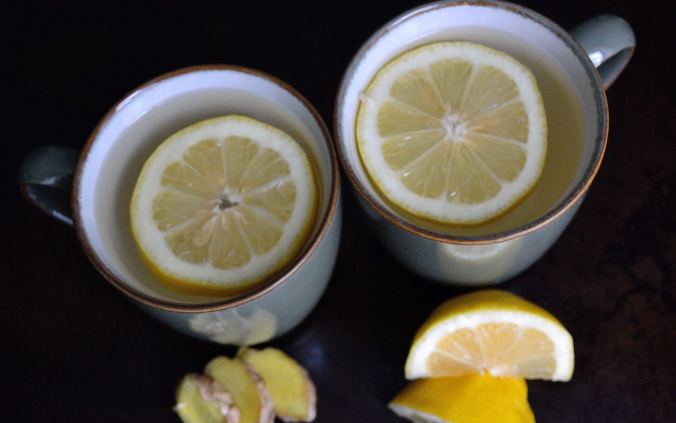
- One-quarter of a lemon (half of a half)
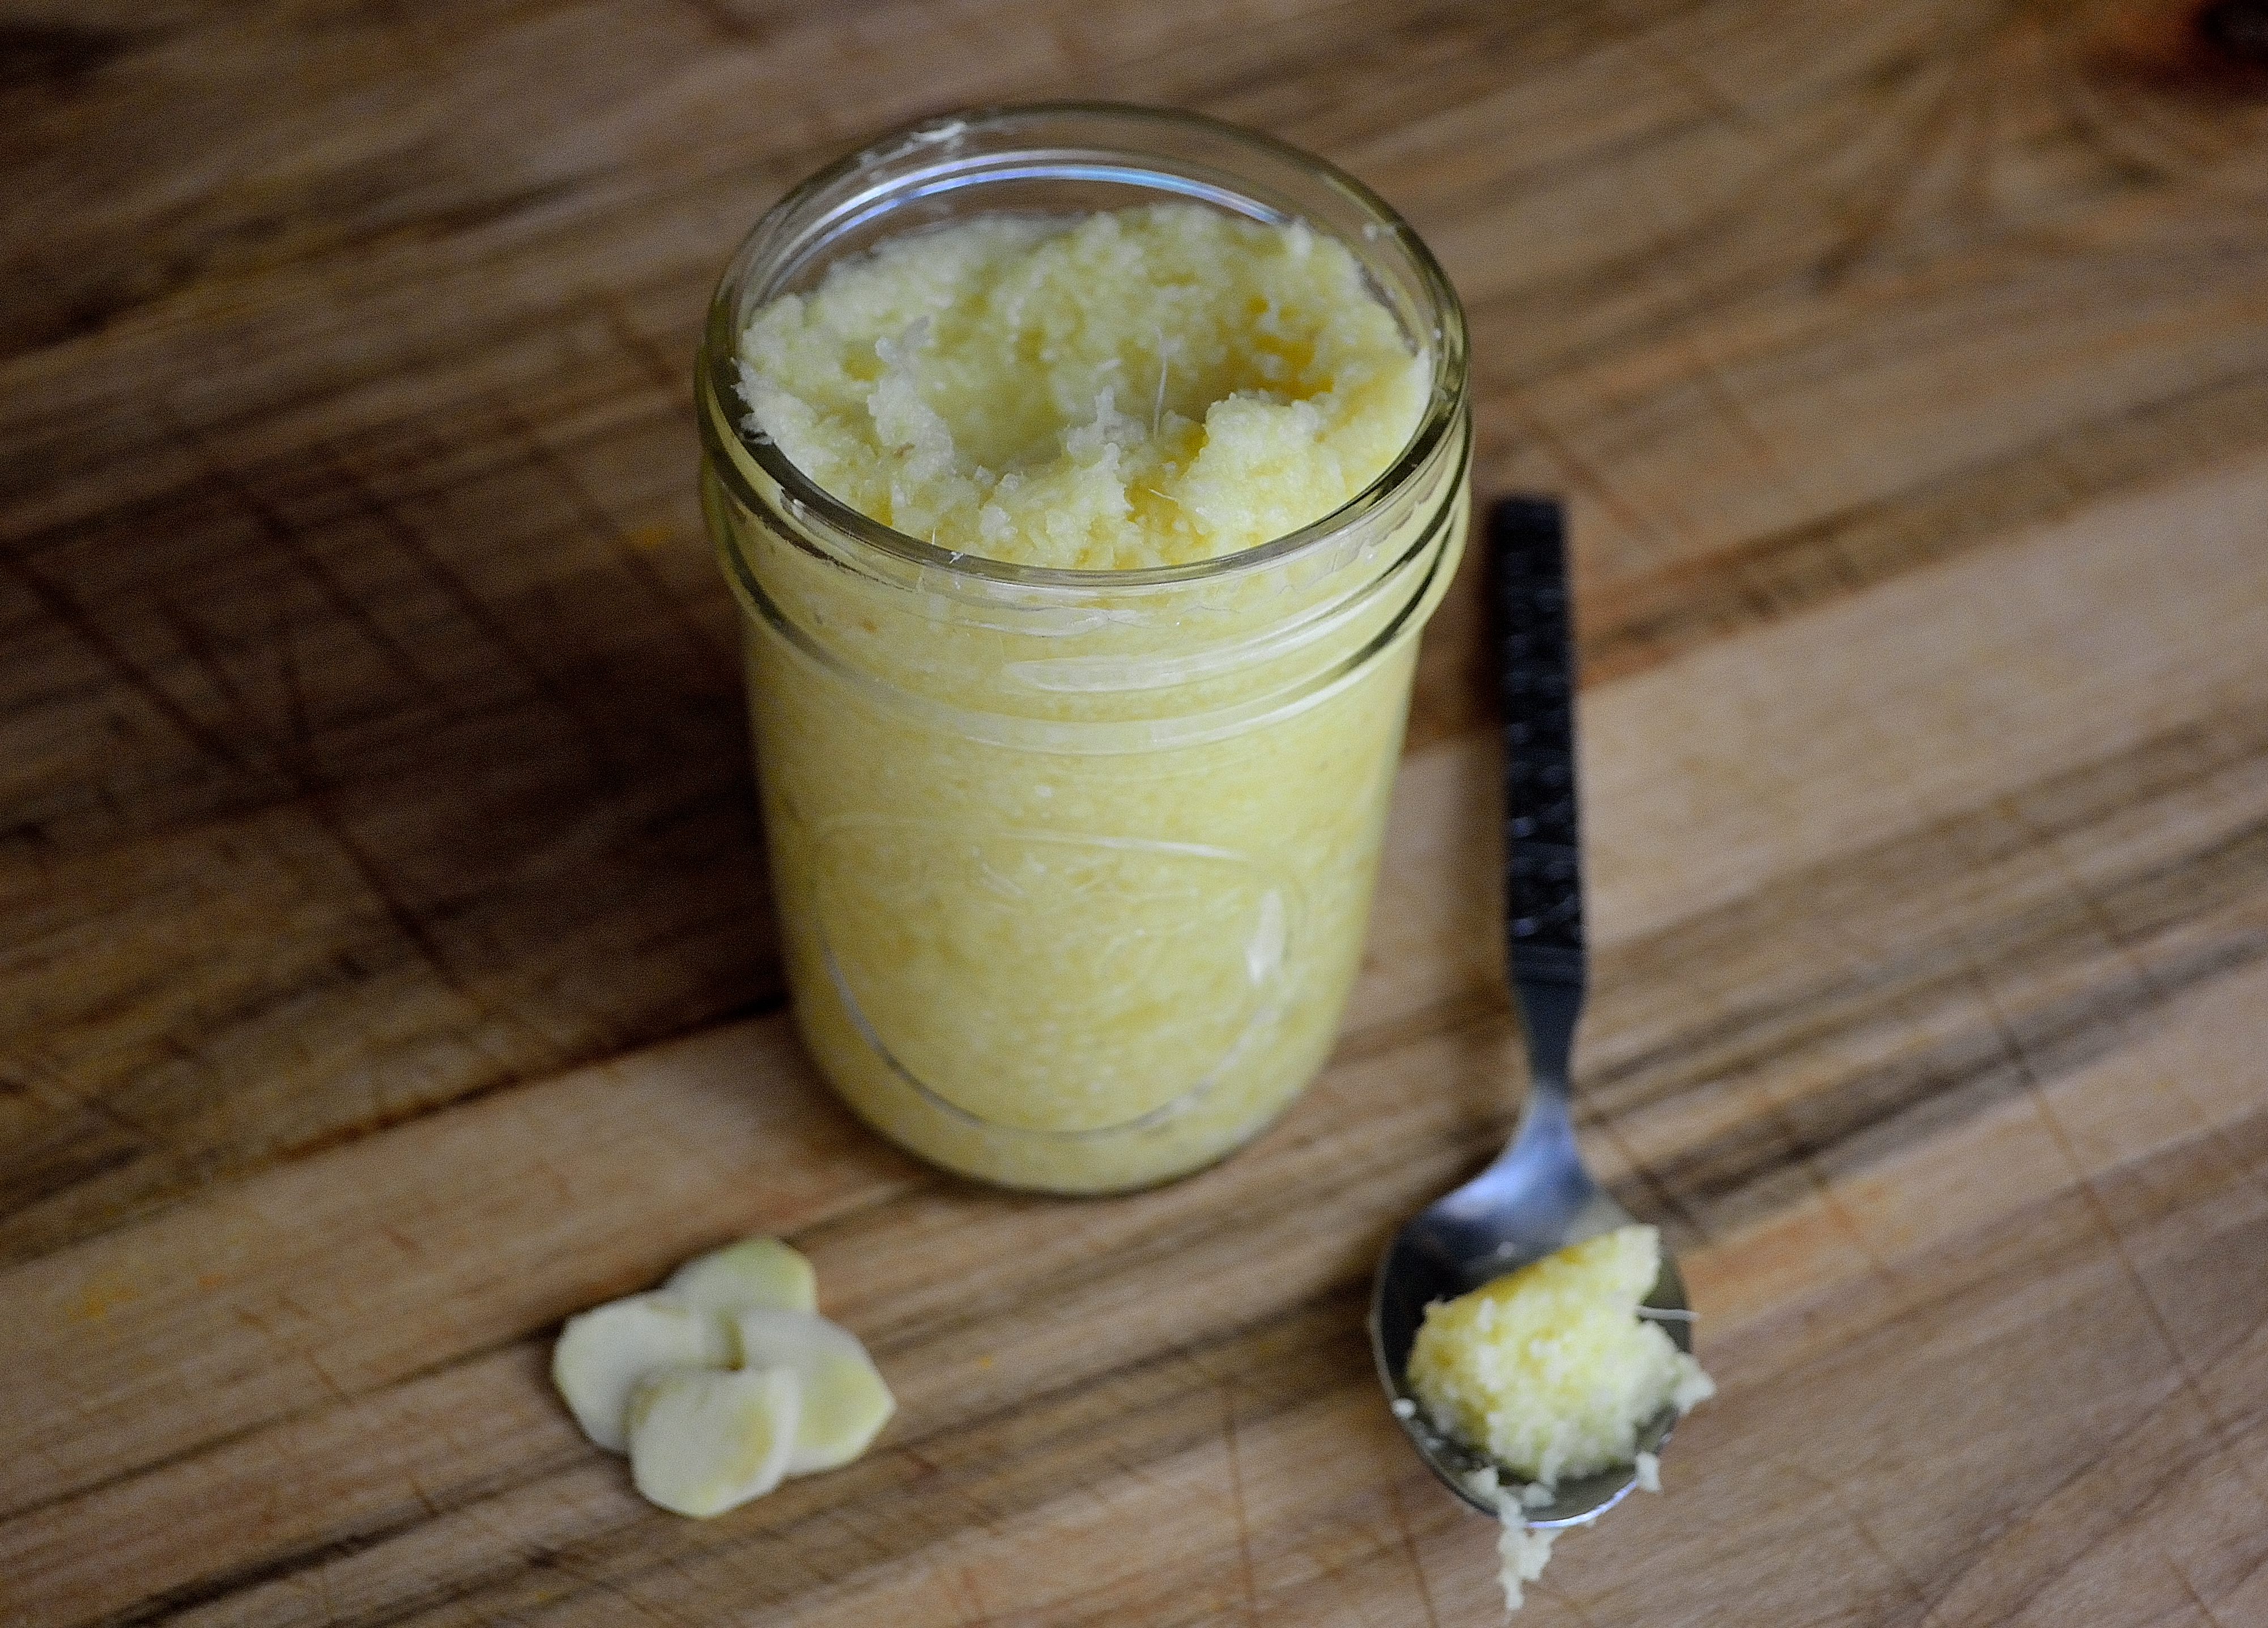
- 3 thick slices of ginger
- 8 oz hot water
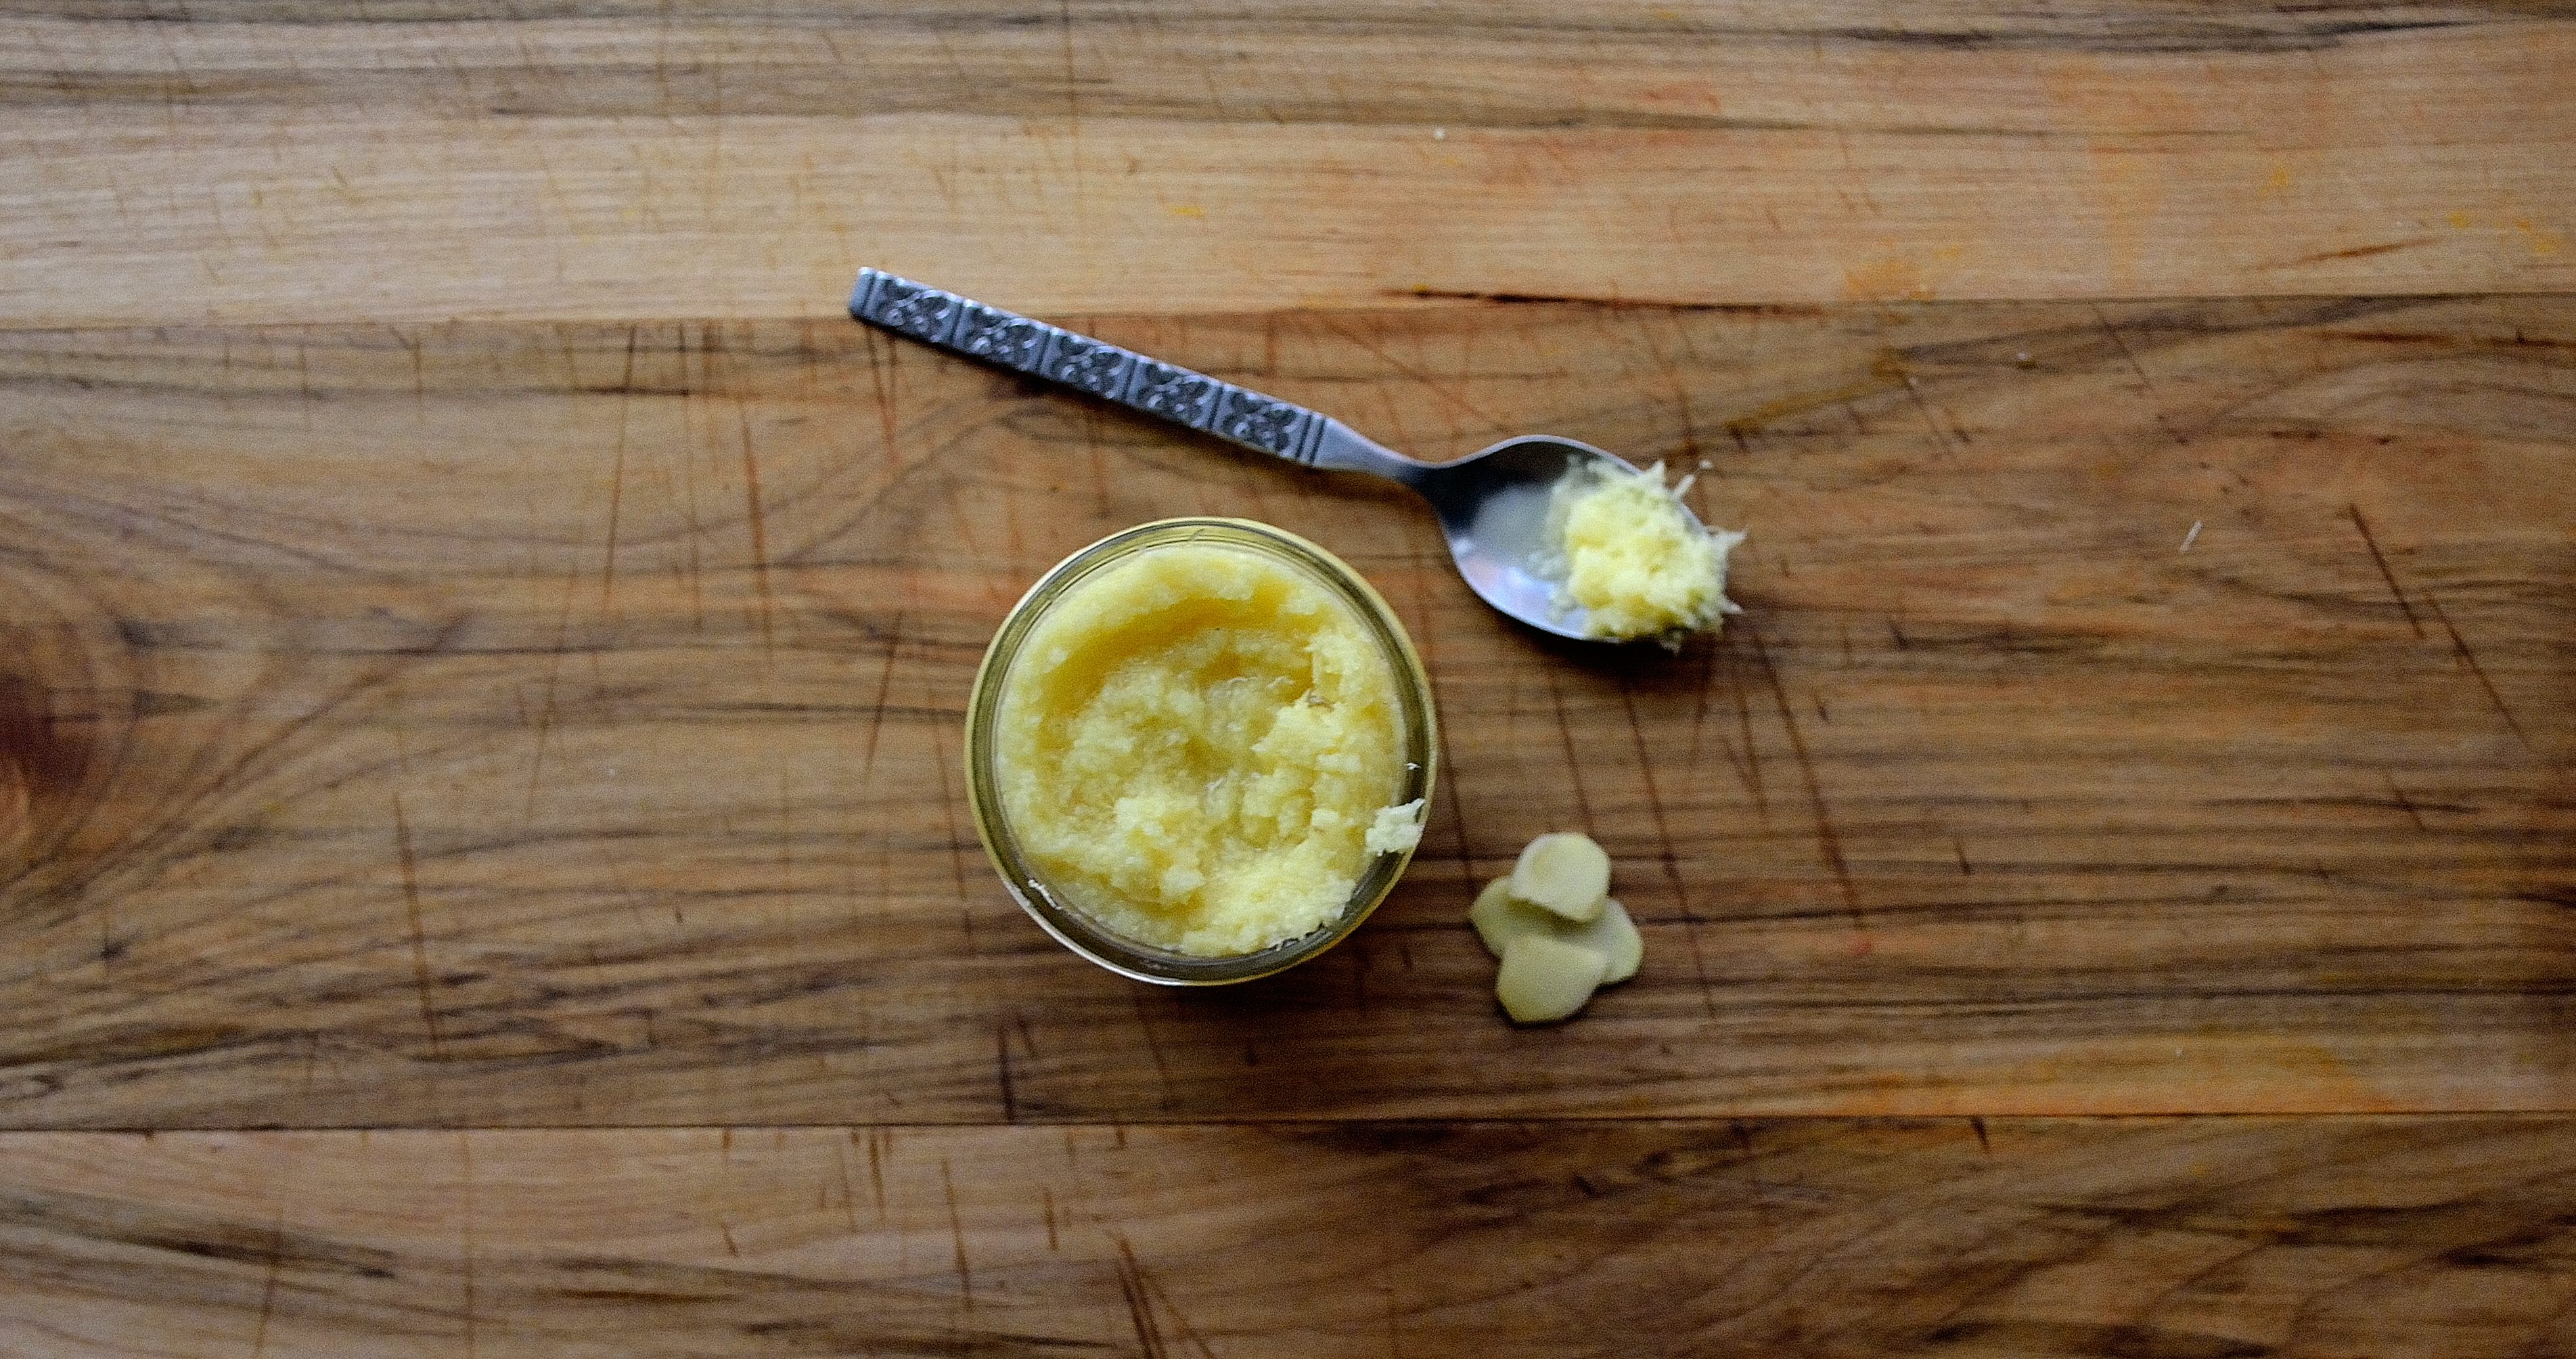
- Optional add-ins- honey, sprinkle of cayenne, fresh or powdered turmeric (fresh tastes a little better if you can find it because powdered might not dissolve as much and leave a gritty feeling)
- Boil the water. While the water is heating up, slice and peel the ginger and put into the bottom of your mug. Slice the lemon and get any add-ins that you want.
- Once the water has boiled, let it sit for a few minutes. Then, pour it over the ginger slice and squeeze in the lemon juice. I like to put the whole lemon wedge in the water after I’ve squeezed it. Add in the honey, cayenne, or turmeric if you want and stir everything together.
- Let it steep for a few minutes and cool down before you drink it/