My Shopping Cart: Jewel Edition

jewelosco

For the next three weeks I am going to share my grocery shopping with you.  I think it’s important to know how to grocery shop because that’s where healthy eating starts.  I also think that many people have misconceptions about how and where they have to grocery shop if they want to eat better.  You don’t have to go to specialty stores and you don’t have to buy all organic all the time.  If you have the ability and the means to do that, awesome!  But you can have a healthy lifestyle without those things too.

I have four main places that I grocery shop for our household.  Jewel, Whole Foods, Walmart, and Aldi.  I go to these places at least once sometimes twice a week.  I do one big shopping trip on Friday morning and then supplement throughout the week with a few other trips.  This helps me save money and find the best deal on food.

IMG_20150429_081844500_HDR (1)

I’m starting with Jewel because that is where I do the bulk of my shopping.  Not only are they on my block but they also have a good selection.  Before I get into what I buy here are a few quick tips on making the most of any grocery shopping trip:

  • MAKE A LIST!  A list will keep you from just wandering the aisles and throwing whatever catches your eye into your cart. Know exactly what you need for your meals and what you need to restock and stick to your list!
  • Shop early.  I know not everyone can go to the store first thing in the morning, but if you can do it.  There aren’t that many people there, the shelves are usually fully stocked, and it’s quicker to get done when there aren’t tons of people around.  Nothing makes grocery shopping worse than doing it with 500 other people all trying to get the exact same bunch of kale.
  • Don’t be afraid to ask.  In my experience people who work in grocery stores know A LOT about groceries.  They know all the deals, the best time to shop produce, and a few have even given me some great tips on preparing the food I buy.  If you have a question just ask!

IMG_20150429_081812046_HDR (1)

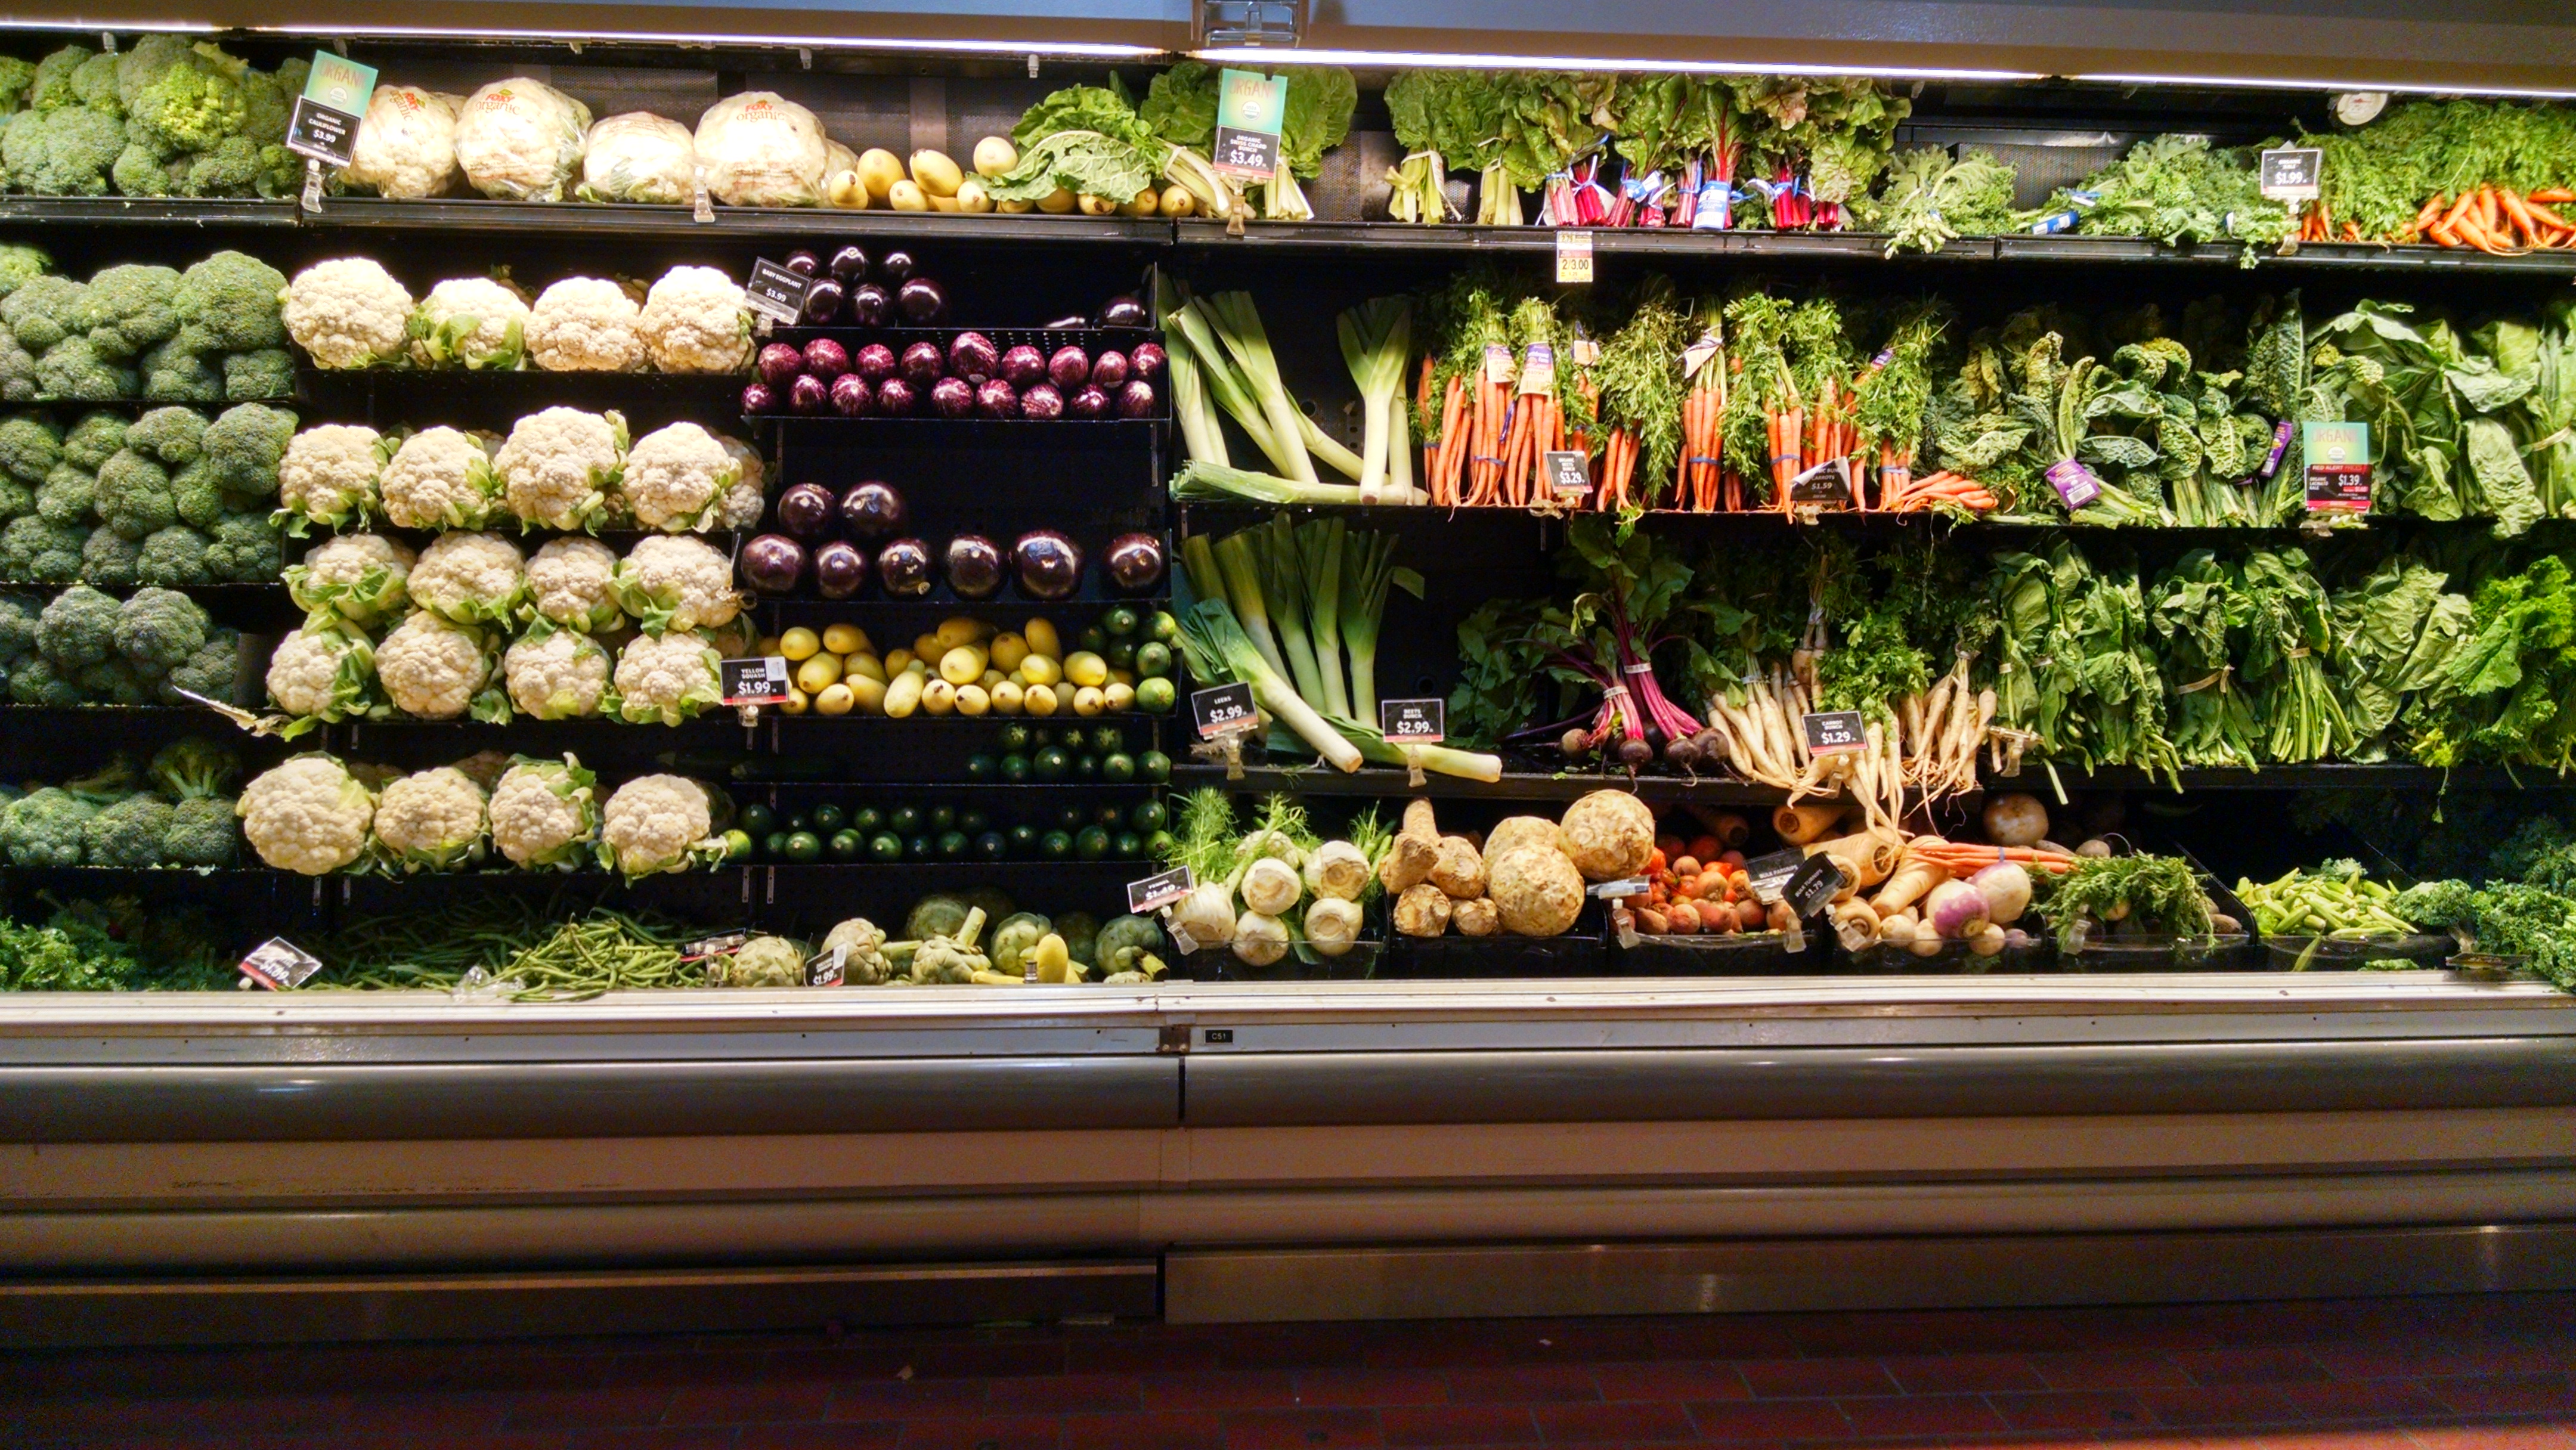
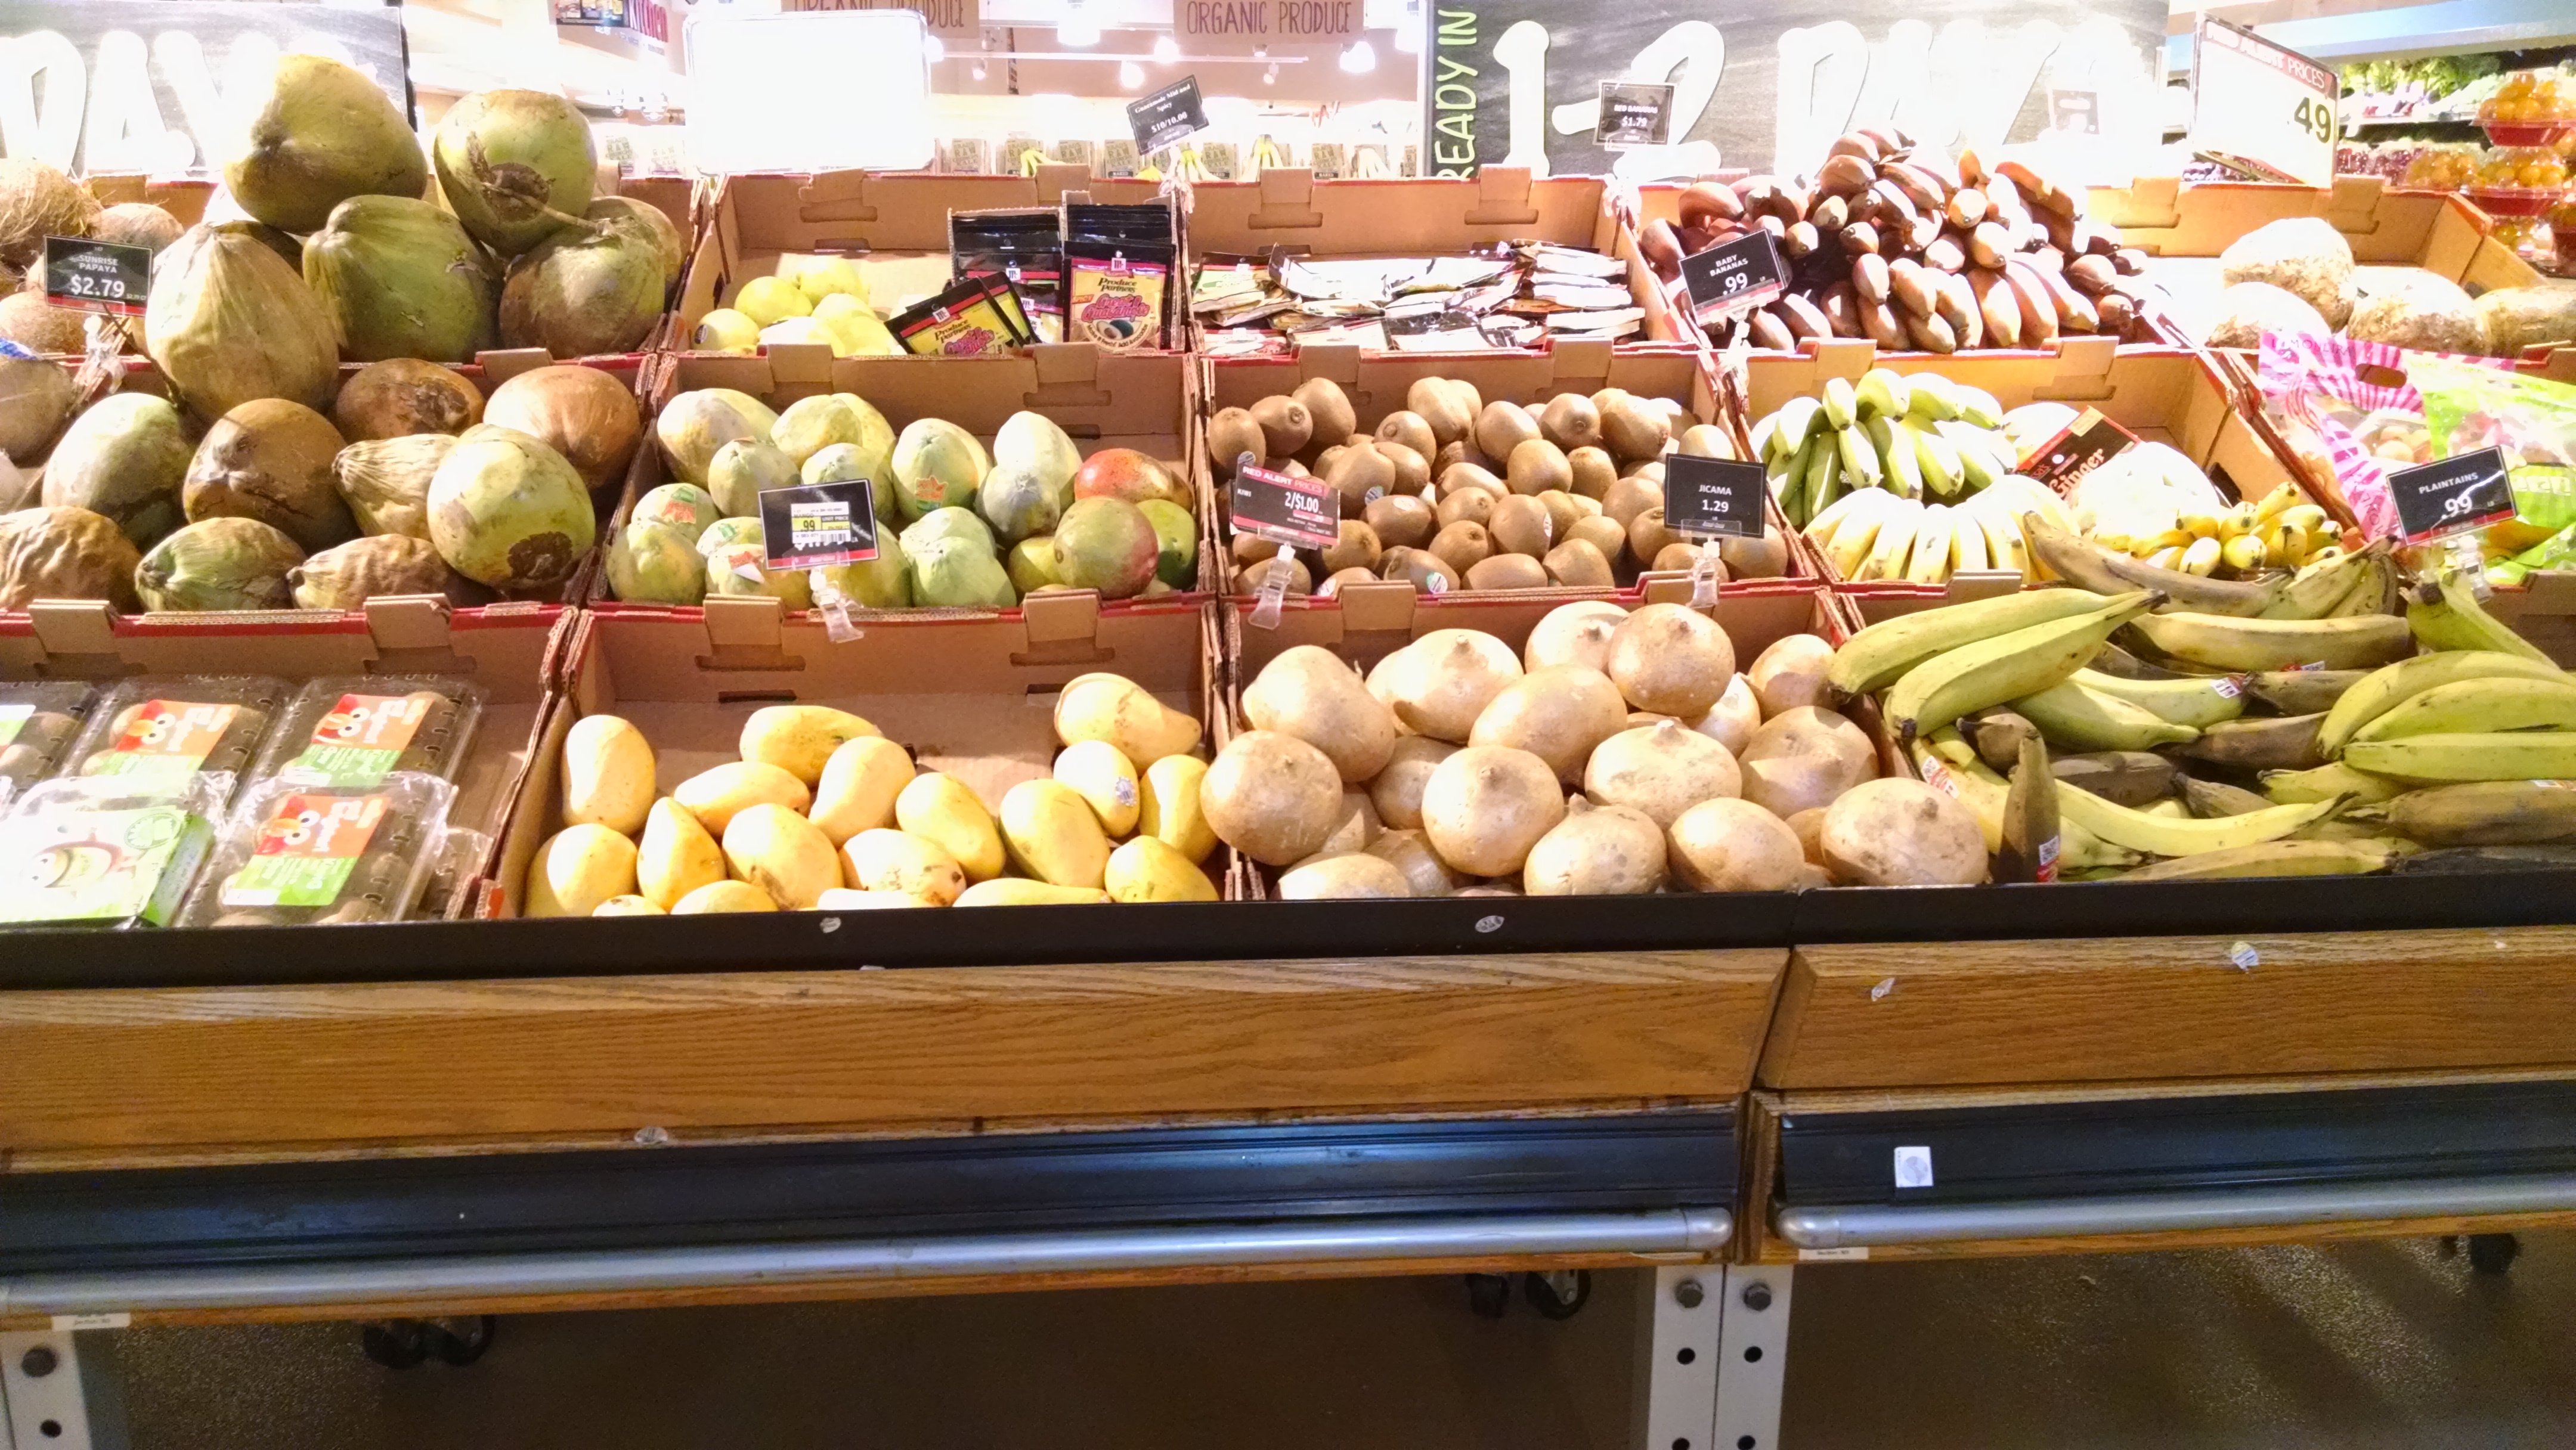
Onto the shopping!  I buy all of my fresh produce at Jewel because they have a good selection and they also tend to have really good seasonal offerings.  No matter what the season though I usually always buy:

  • broccoli
  • carrots
  • bananas
  • cabbage
  • fresh herbs
  • onions
  • garlic
  • apples
  • oranges/pears/plums/whatever other fruit is on sale or in season

IMG_20150429_082153156

Then depending on season I sometimes have squash, summer squash, beets, parsnips, asparagus, leafy greens, or whatever else catches my eye.

I try to stay in season and choose produce that is on sale to get the most bang for my buck.  I also don’t buy the organic versions of these.  At this point in time I just don’t have the financial resources to buy all organic and that is totally fine! Regular broccoli is better than no broccoli at all.  I do however make sure that I wash all of my produce well before I eat it.

Jewel is also where I get canned goods, eggs, and frozen vegetables.  I always make sure to have canned tomatoes and tomato paste/sauce on hand and I get the Jewel brand of these.  The ingredient list is short and simple which is always important and it’s the cheapest brand, also important!  I buy a lot of eggs, at least 24 perhaps more a week, but again I can’t afford to buy organic or cage free at this time so I just get the best that I can afford.

IMG_20150429_082018965_HDR

Finally frozen vegetables.  Jewel has a really big and inexpensive selection of frozen vegetables that I love.  Frozen vegetables sometimes get a bad rap as not being as good as fresh but that is totally wrong.  They are just as nutritious and are sometimes more convenient than fresh.  I keep a good variety on hand to throw into stir frys, soups, stews, salads, or as a quick side.  Some of my favorites right now are:

  • green beans
  • shelled edamame
  • sugar snap peas
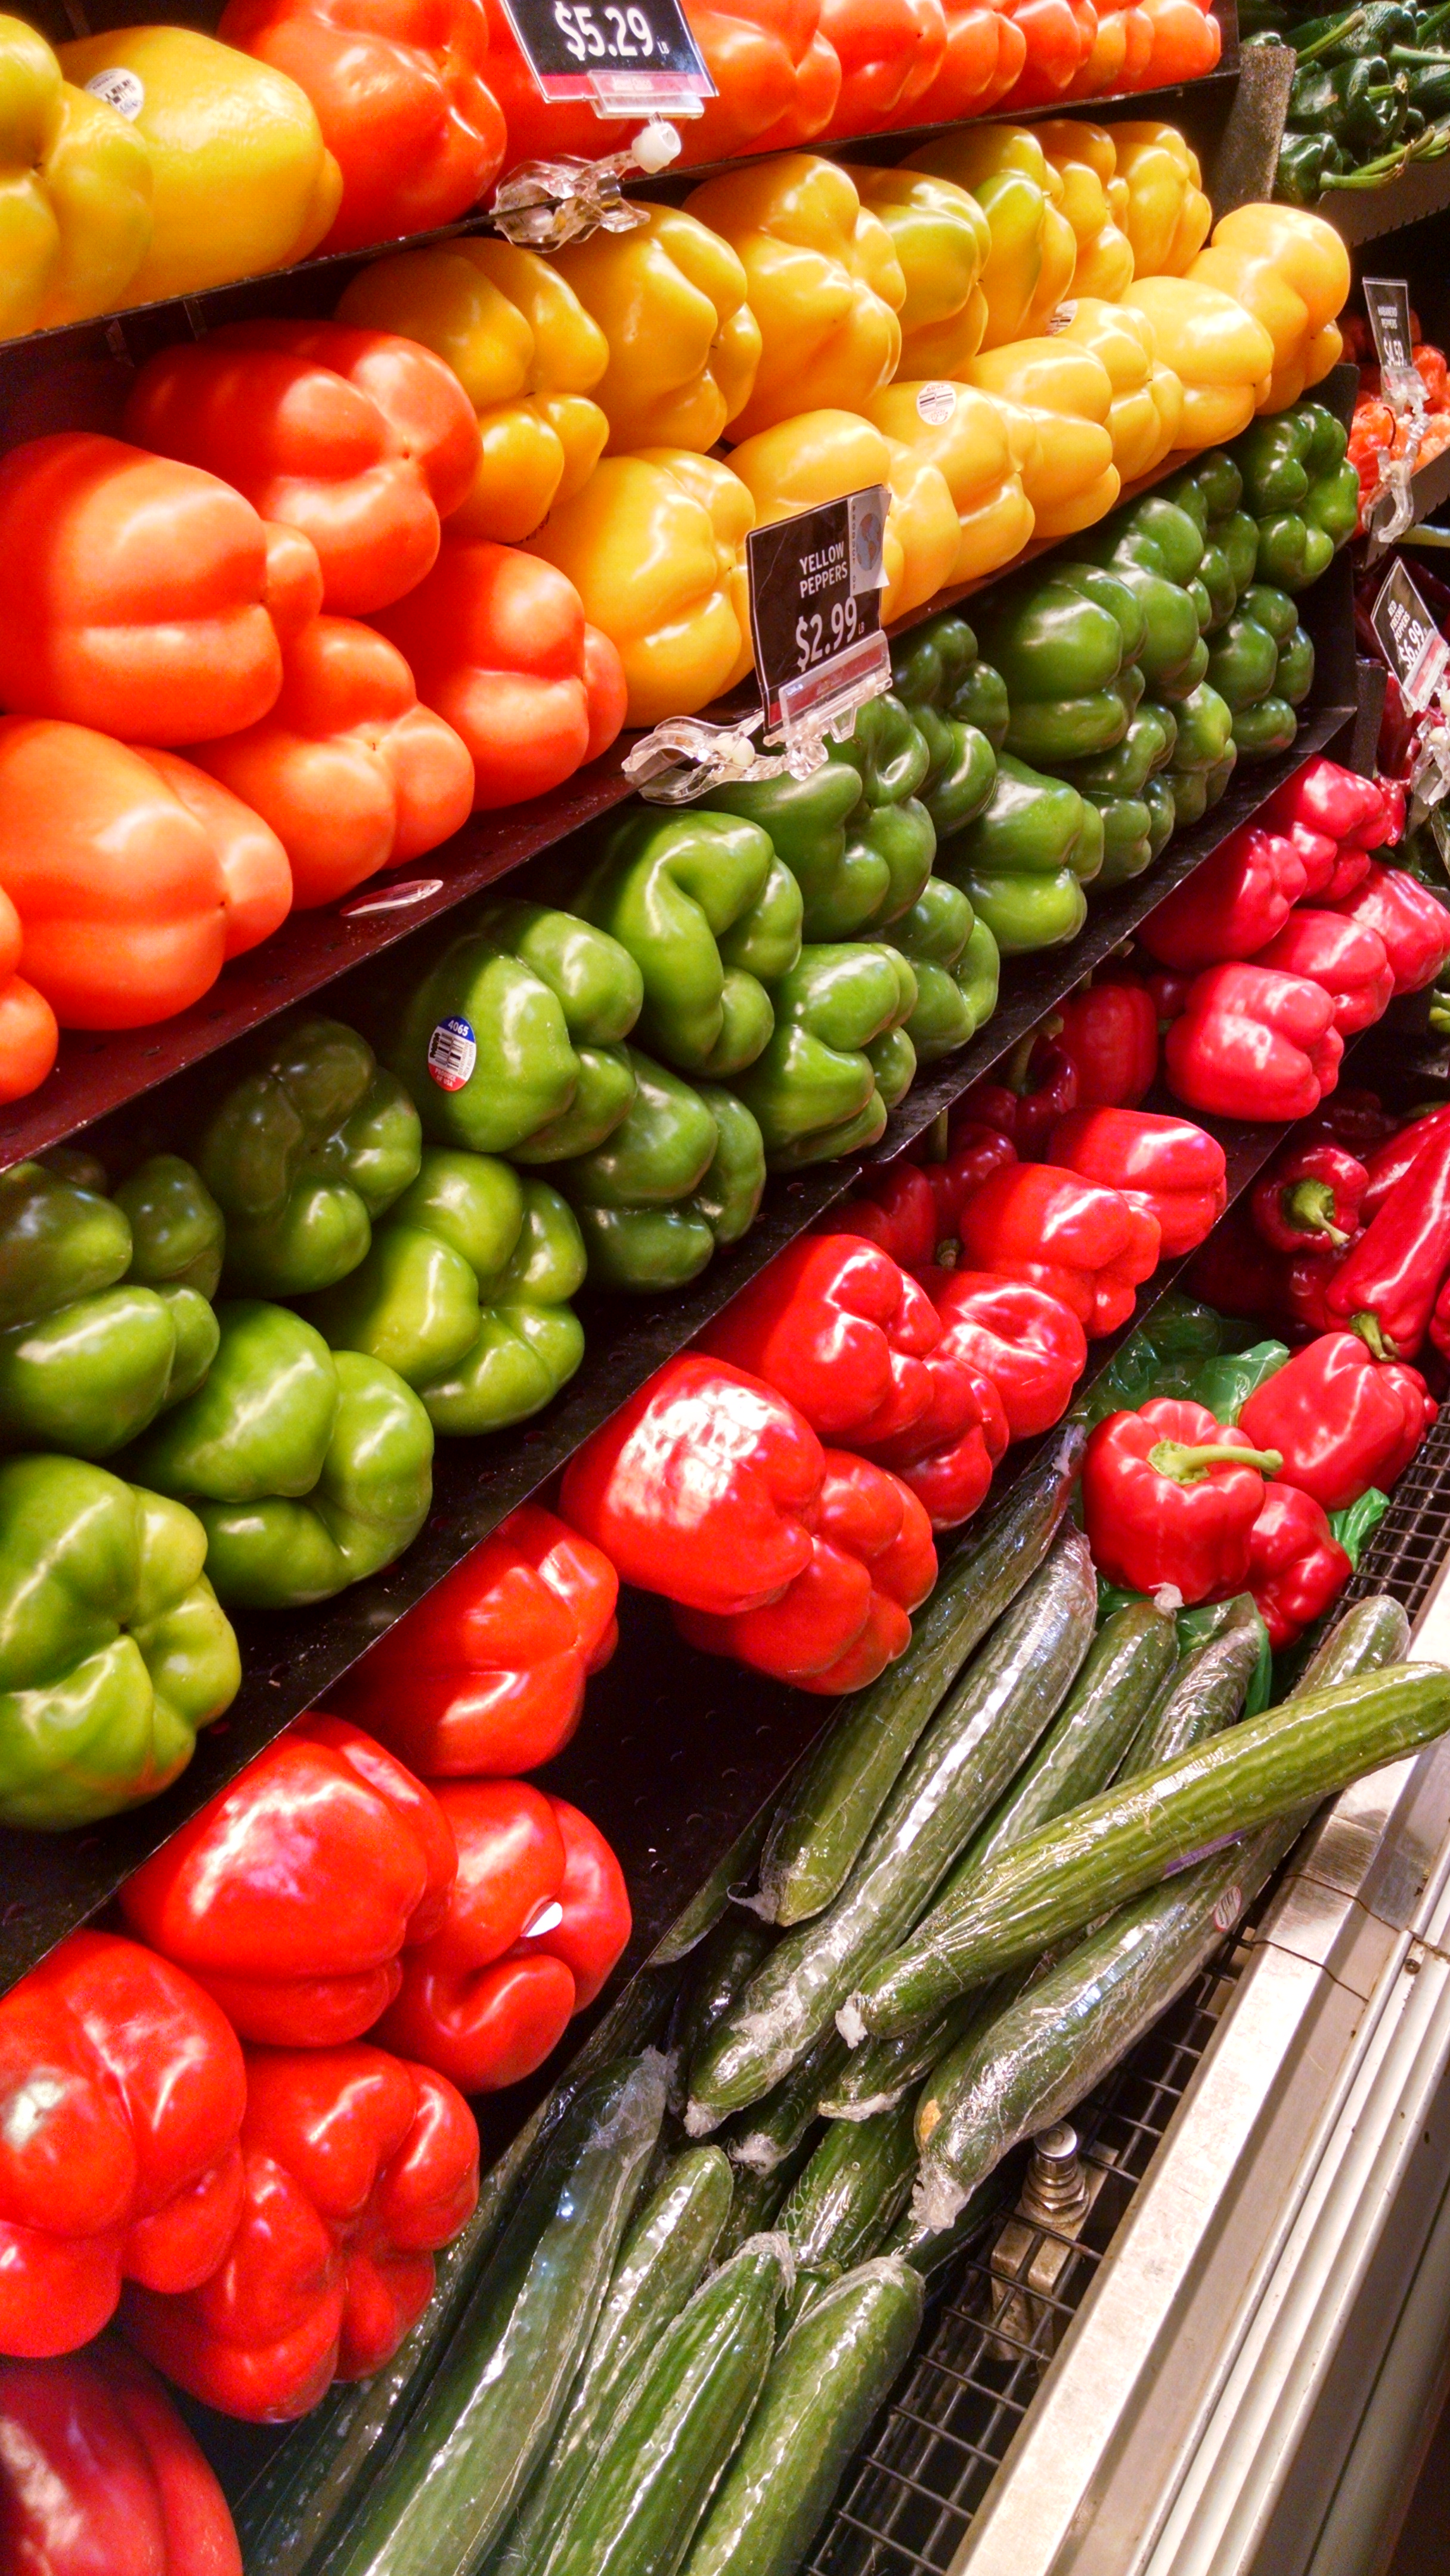
  • 3 pepper blend (red, green, and yellow peppers)
  • california blend (cauliflower, broccoli, carrots)
  • chopped spinach or kale

That’s my Jewel shopping trip.  My Jewel also has a really good natural food market, a part of the store that has food you would normally find at say Whole Foods but for less money.  I’ll sometimes get tea, gluten free pasta, and chickpea flour here.

IMG_20150429_081821794_HDR

Next Wednesday I will talk about what I get at Walmart and Aldi.  Yes, you can find healthy food at Walmart and Aldi and save a lot of money.  Have a great Wednesday everyone!

IMG_20150429_082121531

Where do you shop?  What is the hardest part of grocery shopping for you?

The Food I Eat

I’m not a vegan, I eat eggs and honey.

I’m not paleo, I eat grains and legumes.

I’m not a raw foodist, I cook a lot of my food.

I’m Katie and I am so much more than the way I eat.

Delicious omelet at our favorite breakfast place

Delicious omelet at our favorite breakfast place

I think that the health world can get too caught up in labels.  We all want to know what diet you’re following or what workout craze is holding your attention.  We want to tout the benefits of a certain lifestyle over another.  Sometimes we want to spend all our energy bashing other lifestyles that don’t fit our mold.  Either way it can seem that instead of a person all we see is a label.

An entire meal of yummy vegetables

An entire meal of yummy vegetables

I understand the necessity of labels.  I use them myself, on my blog, on Instagram and Facebook and Twitter.  It is helpful when sharing recipes to let people know what is or isn’t in the ingredients.  But I don’t want to feel tied to a name that only describes one thing about me.

Creamy dairy free and gluten free spring pasta

Creamy dairy free and gluten free spring pasta

Yes, I eat mostly plant-based.  Yes, I don’t eat dairy.  Yes, I limit the amount of gluten I eat.  I do all these things because that way of eating is what works best for me.  The foods I eat are what fuel me in the best way, satisfies my hunger in the best way, and tastes good to me.  It’s ok to not have a specific name for the way you eat.

All the good fats in pistachios

All the good fats in pistachios

Eat real food, as close to their natural state as possible.

Try to avoid processed or man made food products.

Don’t worry about what is on your neighbors plate.

Let them eat for them and you eat for you.

We’ll all be a lot happier and healthier if we keep those things in mind.

I'm not just the food I eat. I'm wonderfully weird, witty, and wacky too!

I’m not just the food I eat. I’m wonderfully weird, witty, and wacky too!

Chocolate Macadamia Milk

Who doesn’t like chocolate milk?  It’s chocolate that you can drink!  When I was younger, we had a glass of milk with every meal but chocolate milk was a special treat.  We didn’t buy it often and when my mom did let us have it she would mix it with regular milk to make it last longer and cut down on the amount of sugar we were consuming.  Pretty sneaky mom!

I haven’t had regular chocolate milk in years due to my lactose intolerance and the fact that there really is a lot of sugar in those drinks.  But I had a hankering the other day and I decided to try my hand at making a nut milk version.  Now I will say that I don’t have a fancy high powered blender like the Vitamix or Blendtec but I was still able to make a decent nut milk with my old Ninja blender.  So those of you who are lucky enough to possess those amazing blenders this will be a breeze for you and to those of you like me it will just take a little extra time.

You will have to soak the nuts for at least 6 hours so make sure that you plan ahead a little.  Otherwise this recipe comes together fairly quickly and will last for about a week if kept in the fridge.  Let’s get to that chocolate milk!

Chocolate Macadamia Milk 

DSC_0657

  • 1 cup raw macadamia nuts
  • 3 1/2 cups water
  • 2-3 tbsp honey or maple syrup (could also use 5-6 dates)
  • 1 tsp vanilla extract
  • 1/4 tsp salt
  • 4 oz dark chocolate (at least 70% or darker)
  • cheese cloth or nut milk bag

1.  Soak the nuts for at least 6 hours.  Drain them and place into blender and pulse a few times to break up the nuts.

2.  Add in water, sweetener of choice, vanilla, and salt.  Blend everything until it is smooth and creamy.  High powered blenders will take less time, regular blenders will take a bit longer.

3.  Place cheesecloth/nut milk bag over a large bowl and pour nut milk into the bowl.  Carefully squeeze out all of the liquid until you just have pulp left in the cloth or bag.  (Save the pulp to use in baking/cracker/smoothies/or as bread crumbs) Pour the milk into a medium saucepan.

4.  Turn heat to medium low and add the dark chocolate to your milk.  Constantly stirring the milk, melt the chocolate completely.  It may look like the chocolate isn’t going to incorporate into the milk, but don’t worry.  Just make sure there are no huge chunks left.

5.  Once everything is melted, using either an immersion blender or blender, blend until the chocolate is fully combined.  Your milk should turn brown like regular chocolate milk and there shouldn’t be any pieces left.

6.  Pour your milk into a container and let it cool completely.  Store in the fridge and it should keep for up to 5 days.

DSC_0665

I love how thick and creamy this milk turned out and it really hit the spot.  You could use this to dunk cookies or pour over cereal for an extra treat.  You can also play with the amount of sweetener you use to fit your taste.  I used the lower end because I didn’t want it super sweet but you can use more if you wanted.

I hope you have a great weekend and I will see you back on Monday!

Keep It Simple Series: Kitchen Tools

keep_it_simple_wallpaper_by_tomsoncze-d77oh5vIf you have never really cooked before it can feel overwhelming when you’re deciding what tools, utensils, and appliances to buy.  There are so many things out there and they all seem necessary, especially to a new cook.  In today’s video I highlight 3 of my most used kitchen tools that I think are essential when you’re starting out.  Of course you will need more than three things in your kitchen, but these are a great place to start!

Remember, start slow when building up your kitchen and try to stay away from the dreaded unitasker.  They will just take up space and usually are a waste of money.

Have a great Wednesday everyone!

My Favorite Hummus

Hummus has almost a cult like following.  People can’t get enough of the stuff and will put it on any and everything.  I am one of those people.  I love the creamy texture and garlicky, smokey taste.  I like dipping things into it, spreading it on anything, and adding it to any meal that I can.  It’s pretty much amazing.

But there is one problem.  I have had a really hard time recreating the texture at home.  Store bought hummus is so smooth and creamy and that’s what makes it so addicting.  I really like making my own though because it’s cheaper and I control the ingredients.  It seemed every time that I made my own the taste would be just fine but I would end up with a dense and thick paste instead of smooth and creamy.  Not so good.

After a lot of testing out a ton of recipes and techniques I think I finally found the best method to make the perfect hummus.  It’s actually a combination of a few techniques out there to help make that perfect texture.  This is a little labor intensive, but I promise it’s worth it.  You can make a really big batch so it will last longer and you will always have hummus on hand.  Now onto the hummus!

Perfectly Creamy Hummus

You will need at least 24 hours to soak the chickpeas. Don’t skip this step!!

DSC_0640

  • 1 cup dried chickpeas
  • 1/2 tsp baking soda
  • 4 whole cloves garlic
  • 3 tbsp lemon juice
  • 1/2 cup tahini
  • 1/2 tsp cumin (freshly ground if possible)
  • 1/2 tsp smoked paprika
  • 1 tsp salt
  • 1/2 cup water, reserved from cooking the chickpeas

1.  24 hours before you want hummus, place chickpeas into a large bowl and cover with water.  Stir in the 1/2 tsp of baking soda.  Cover and place the bowl into fridge.

2.  After 24 hours, drain and rinse chickpeas and place into a large pot.  Cover with at least 5 to 6 cups of water.  Add in the 4 whole garlic cloves and bring the water to a boil.  With a slotted spoon, skim off any foam/skins that floats to the top.  Lower to a simmer, cover, and cook for 3 hours.  The chickpeas should be super soft at this point.

3.  Drain the chickpeas and garlic, reserving at least 1/2 cup of the water.  Now at this point you can remove some of the skins off the chickpeas if you want.  I have tried it both ways and haven’t noticed a huge difference.  Place chickpeas and garlic into a food processor or blender.  Add in the rest of the ingredients except the water.  Pulse a few times to start to combine everything.

4.  Turn the processor on and slowly add in water.  This will turn the hummus into that wonderfully creamy texture.  You might need less water, but I have found the full 1/2 cup makes the creamiest version.

DSC_0641

Yes, it seems like a lot to make hummus when you can just go to the store and buy some and be on your merry way.  But it is really hard to find hummus that doesn’t have weird ingredients or preservatives, and it can get expensive to support a serious hummus addiction with store bought.  Take the time to make this and you will be rewarded with a delicious hummus that is half the cost and ready to be used in any way you want!

Have a great Friday and wonderful weekend!