DIY Wednesday: Dinner Rolls

Follow my blog with Bloglovin

DIY Wednesday: Dinner Rolls | Life Healthfully LivedMy husband is a bread fiend.  You know the saying “Man cannot live on bread alone”?  Yeah, it doesn’t apply to him.  I could put a hunk of bread down in front of him for every meal and he would be happy.  I wouldn’t even have to change the kind of bread just get the carb-y goodness into his mouth as fast as possible.

He married a woman who doesn’t really eat bread.

Not that I don’t like bread, it just doesn’t like me back very much.  Plus, if I ate as much bread as the man I married does I would probably be 600 pounds.  600 pounds of bread.  DIY Wednesday: Dinner Rolls | Life Healthfully Lived

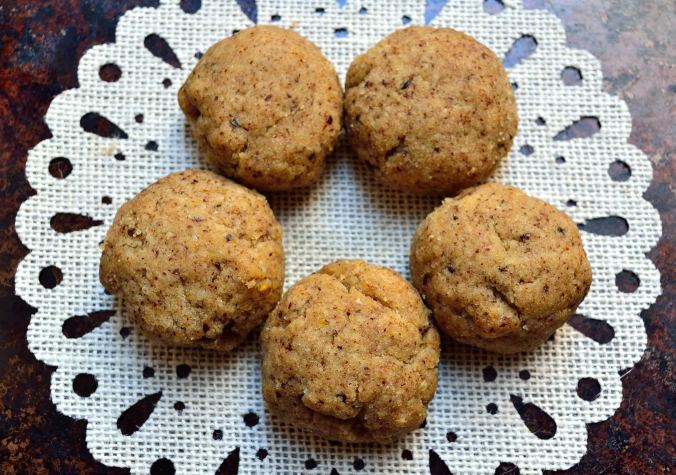
Over the years, I’ve made various kinds of gluten-free, dairy-free, egg-free bread and while they were good enough for me as a stand in for traditional bread, Adam never really took to them.  Which is fine because while he also likes eating bread he really likes the process of making it too.  But I wanted to make bread that both of us could enjoy and could get as close to real bread as possible.

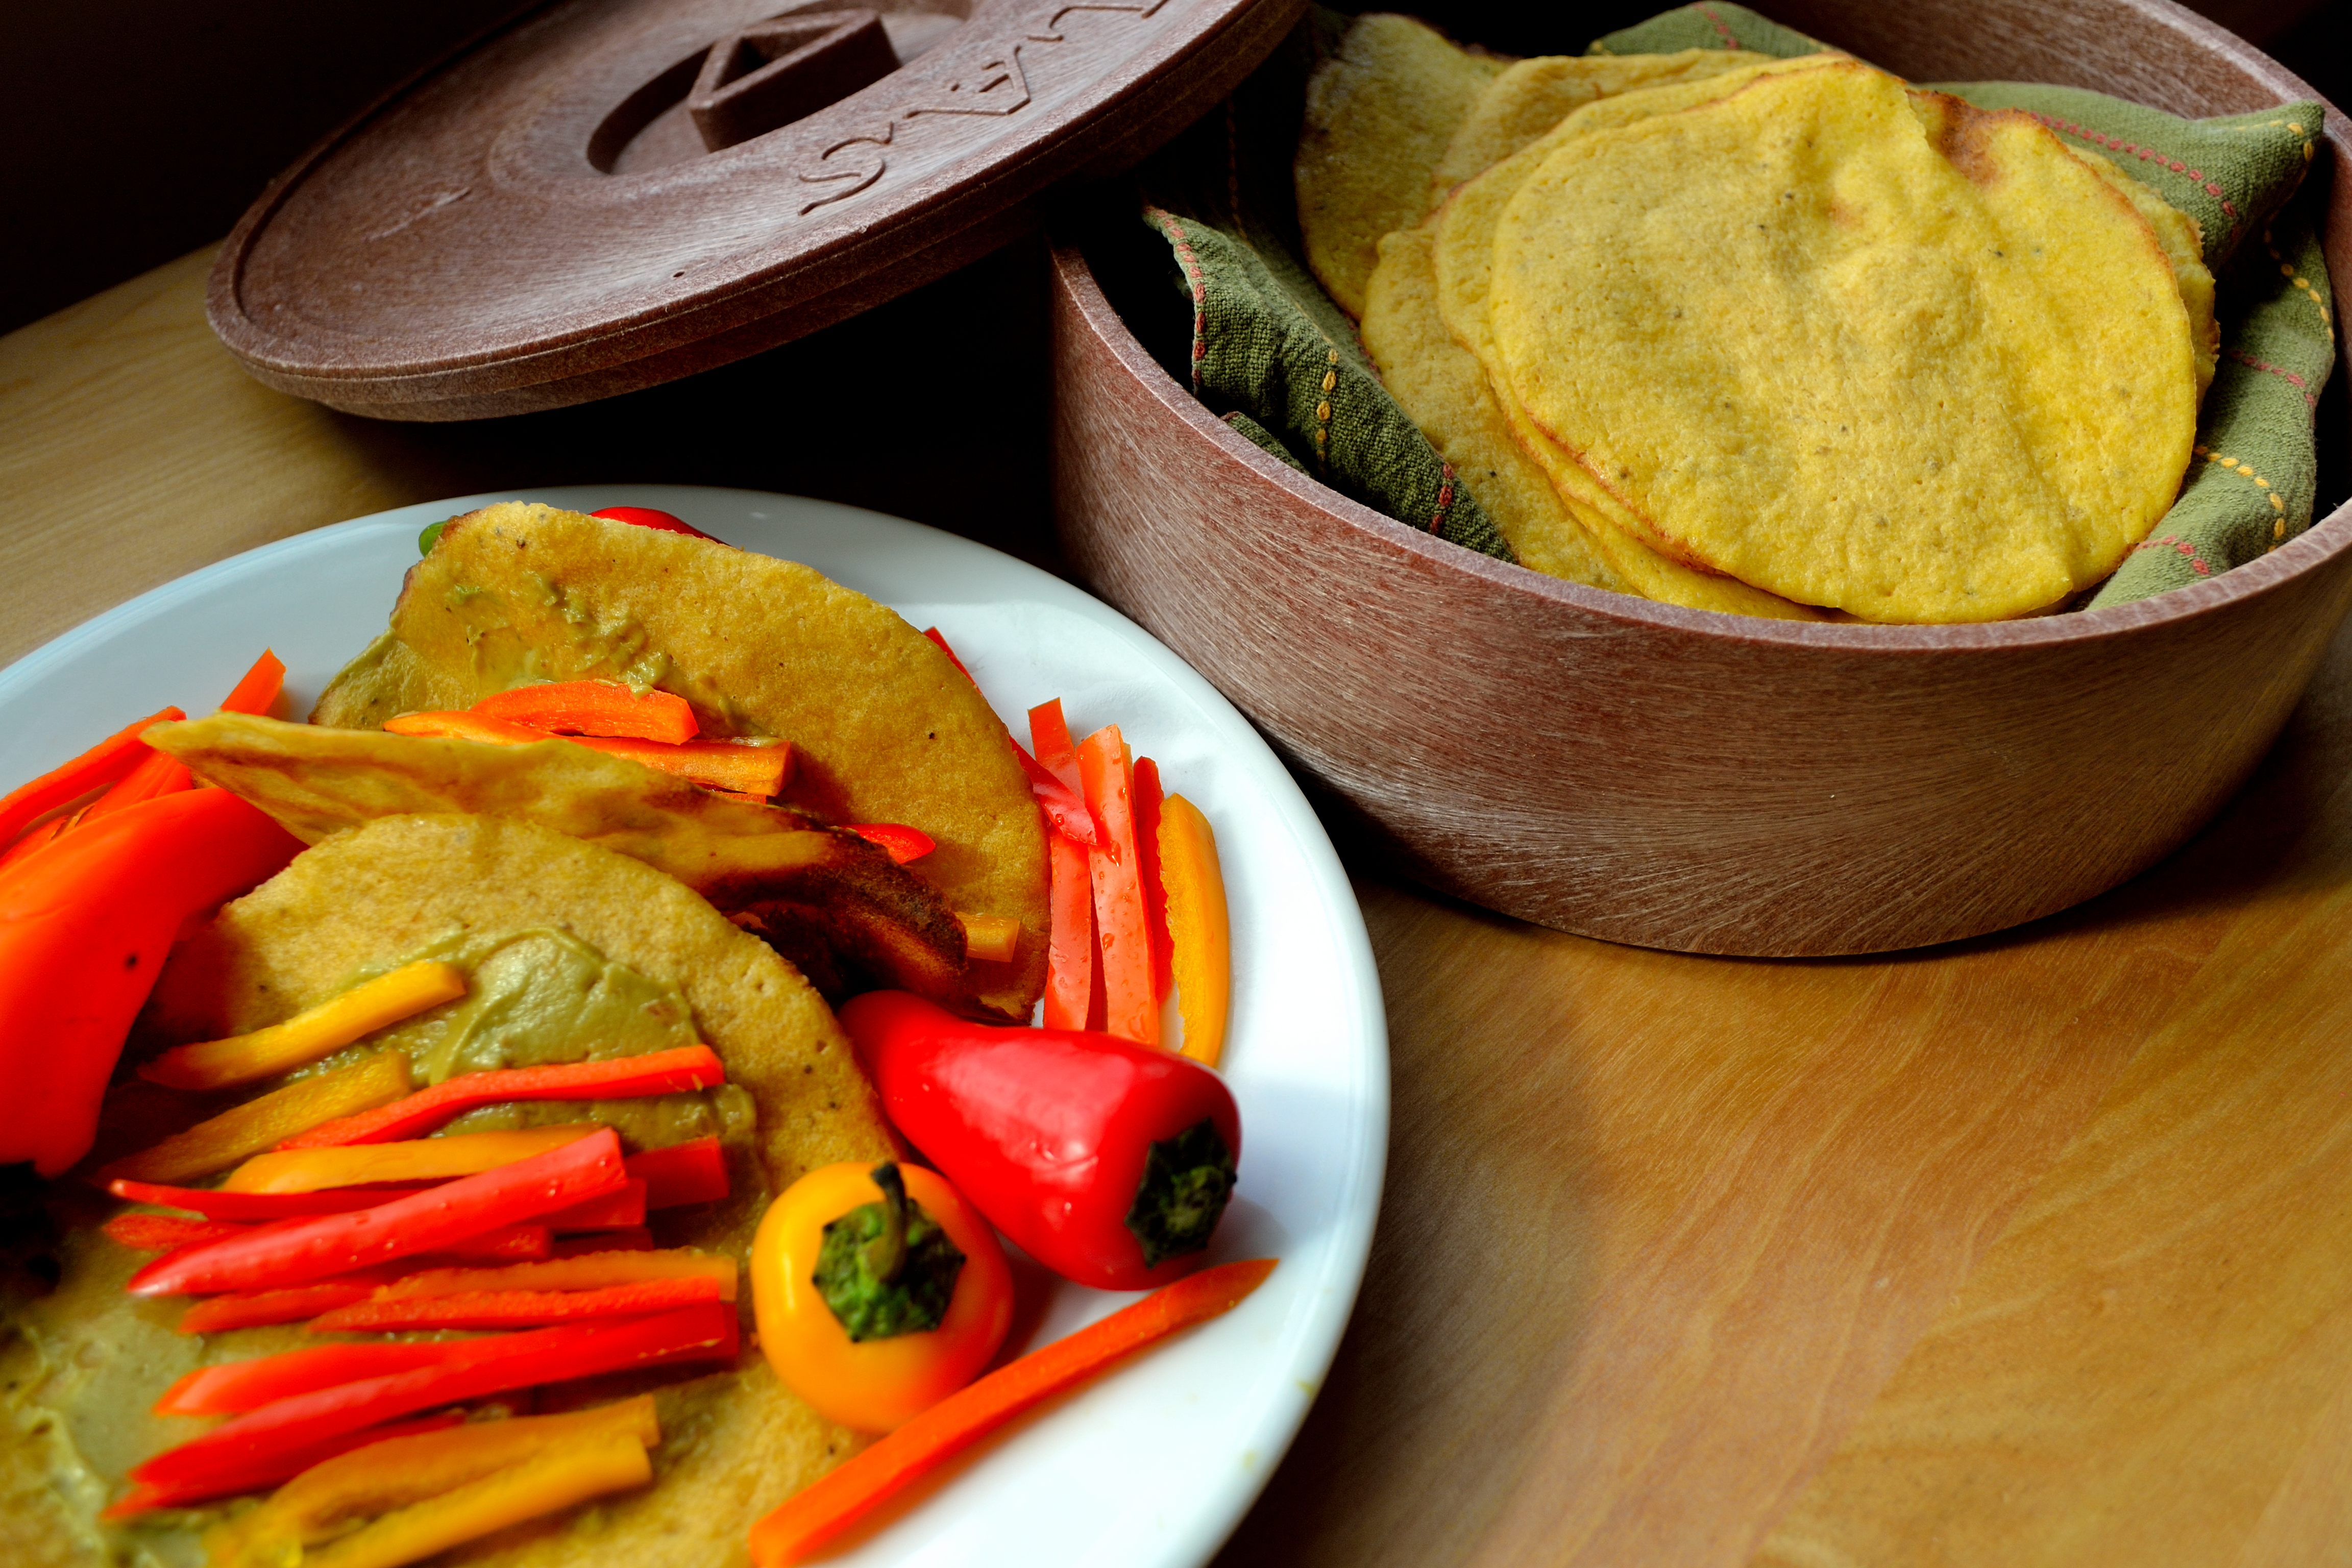
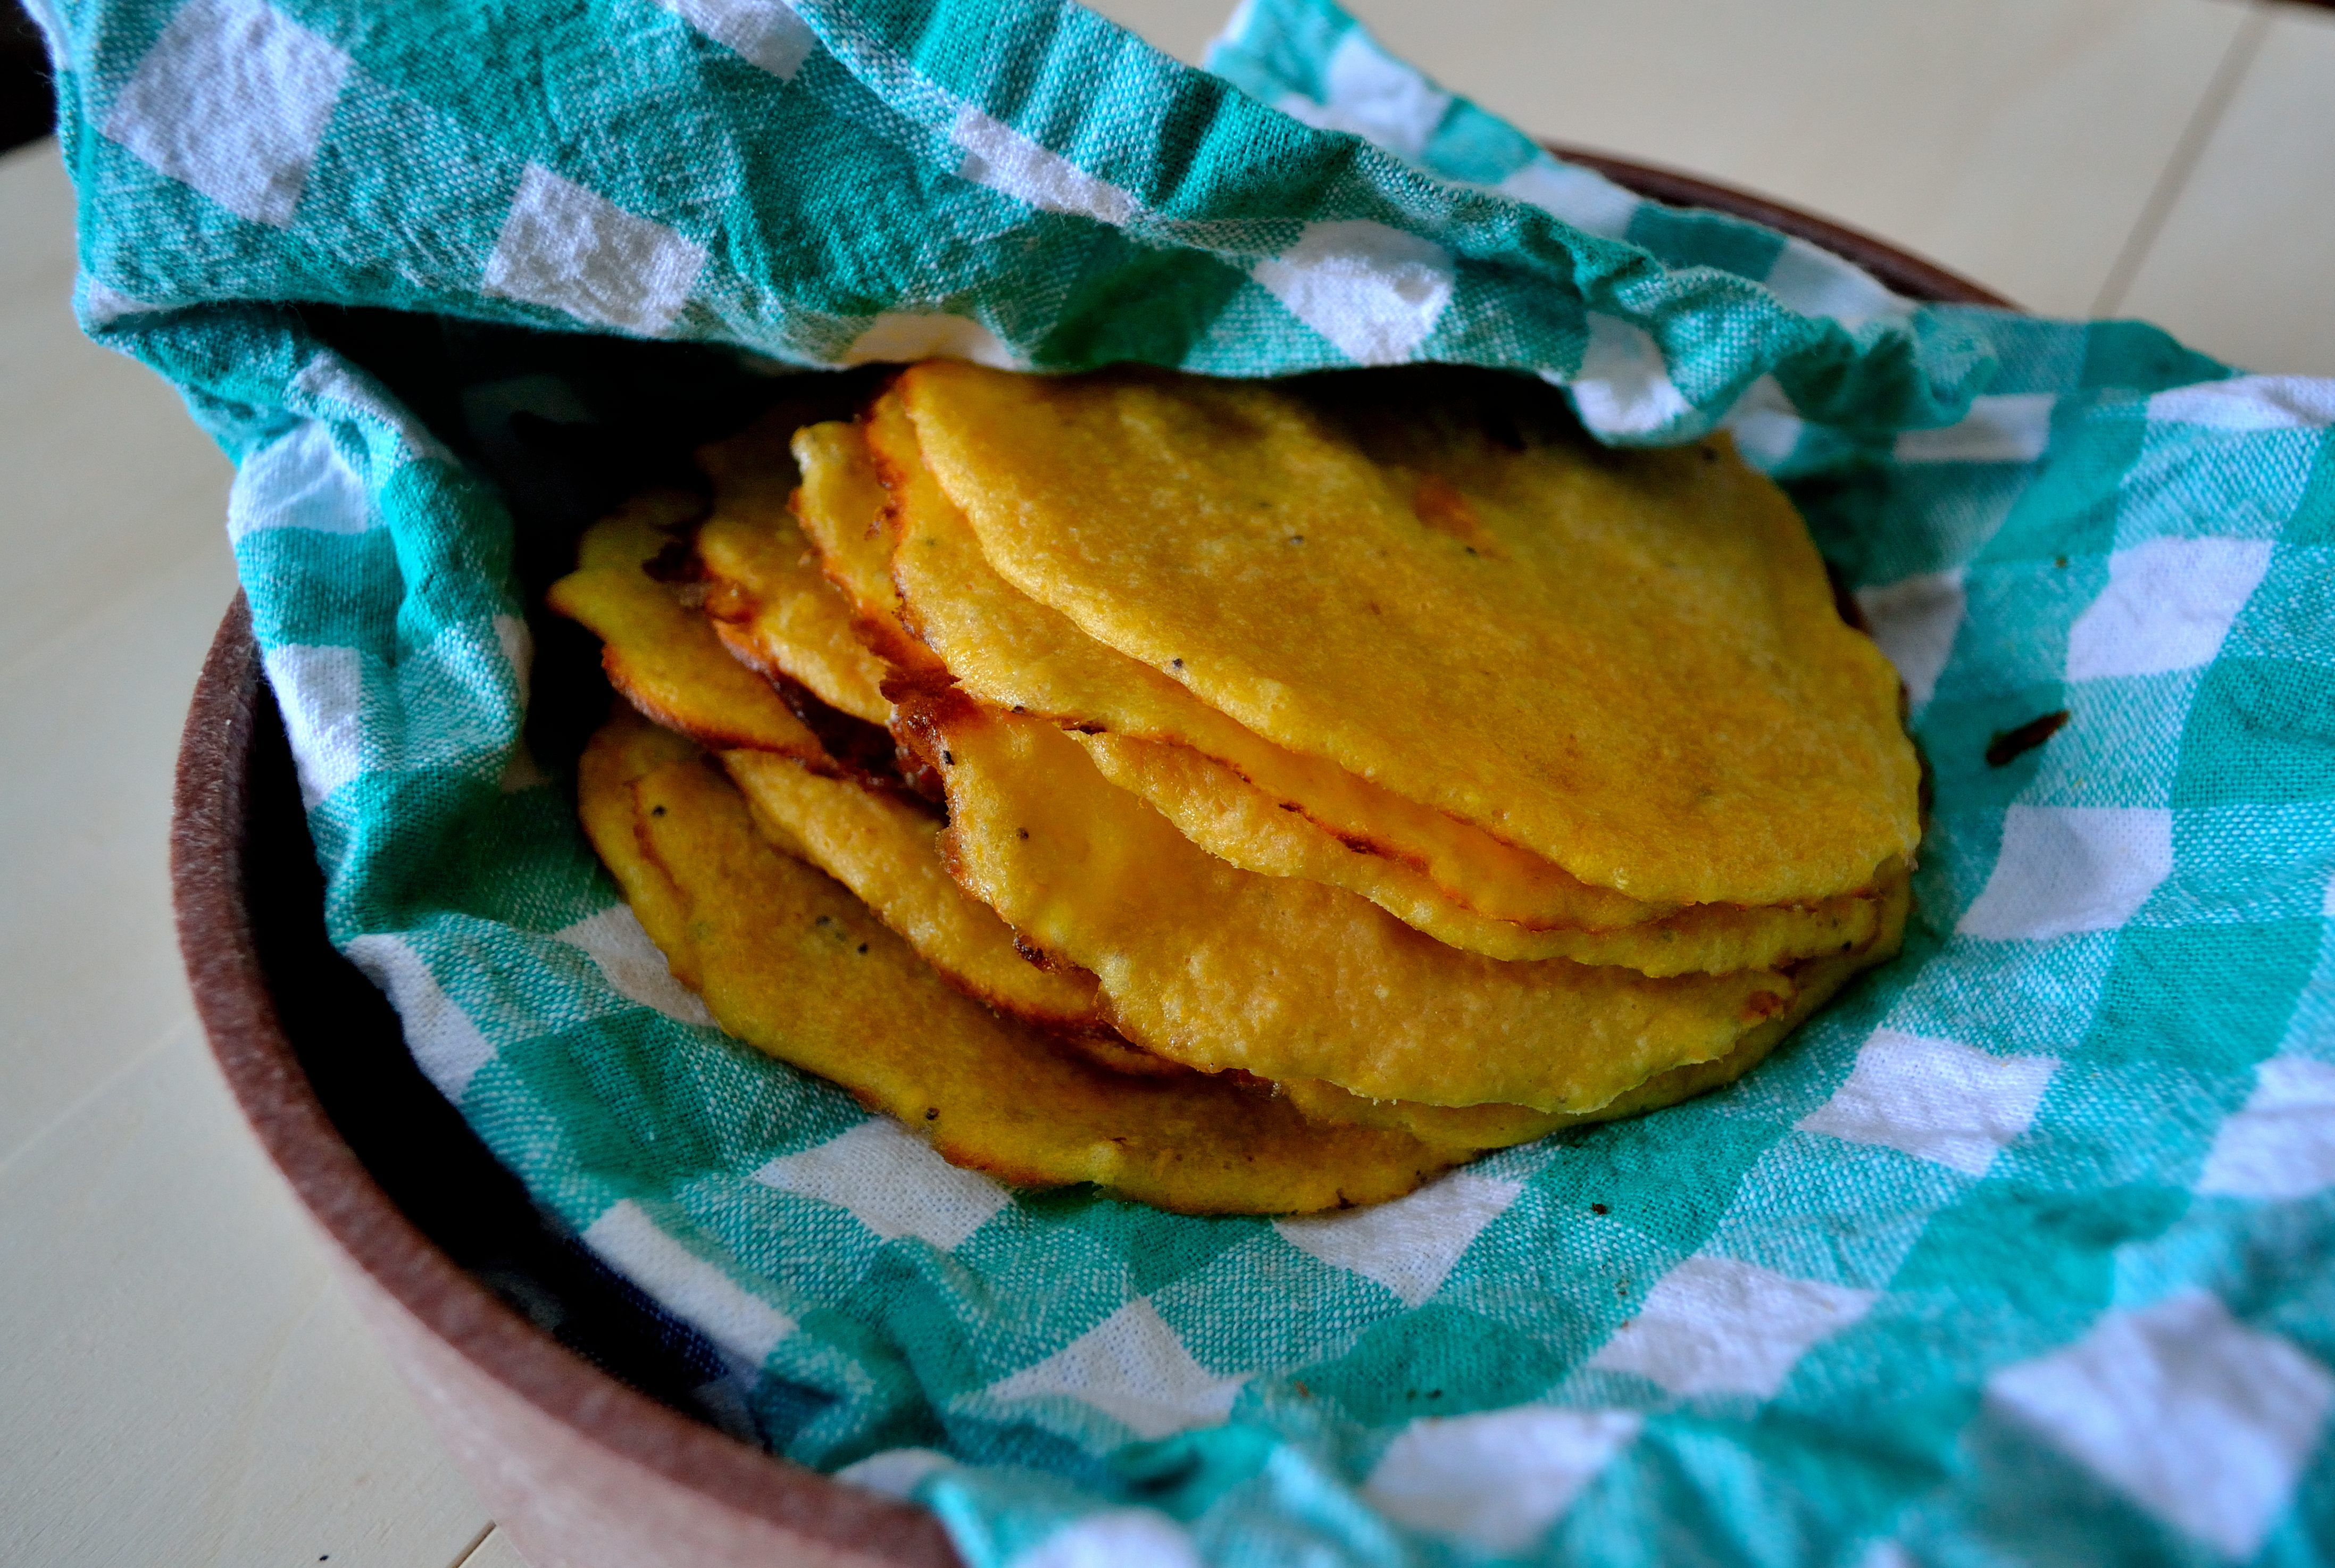
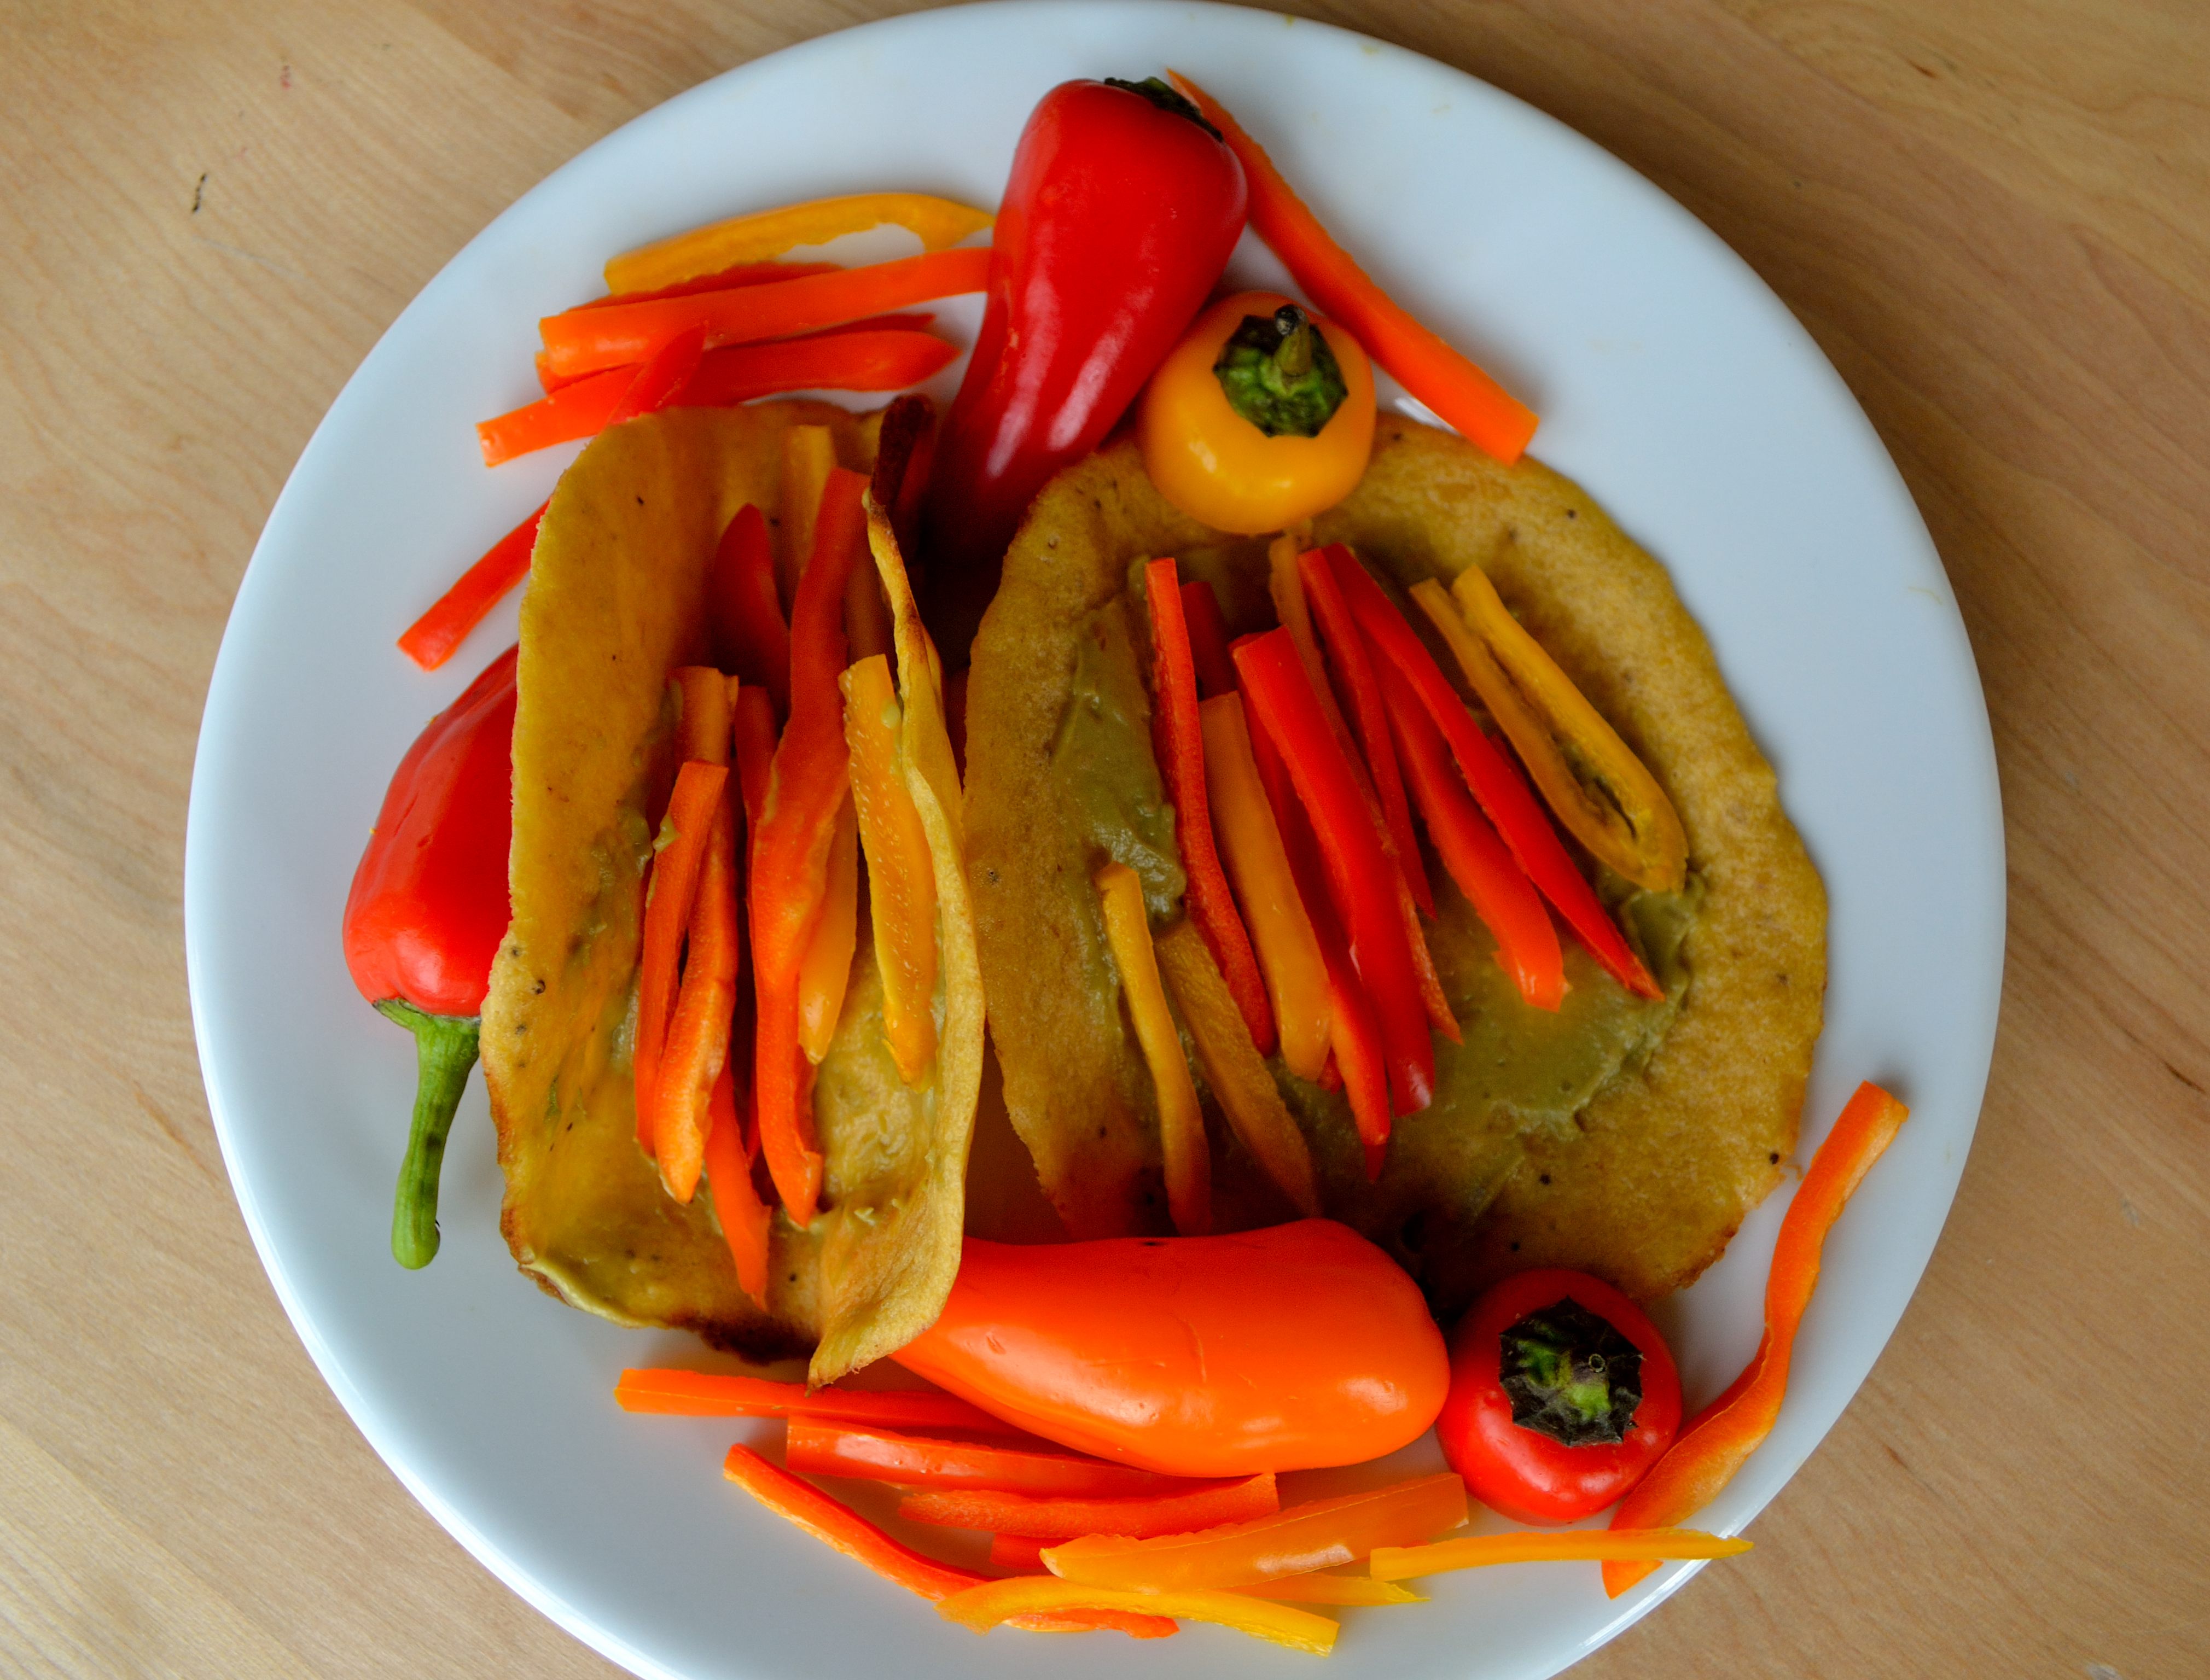
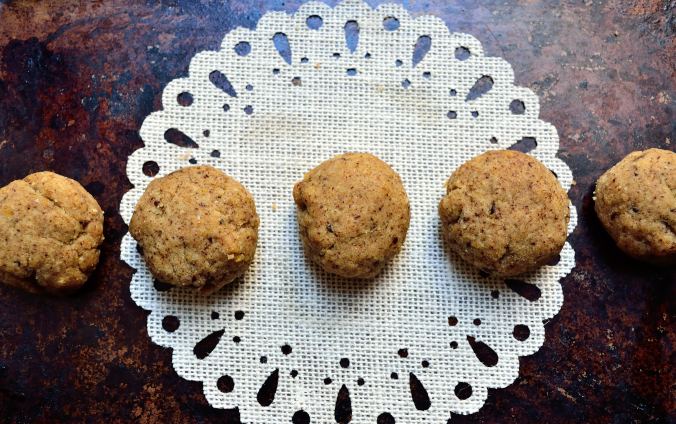
I think I might have gotten it.  Are these exactly like traditional dinner rolls?  No.  But Adam did eat 5 (or 6) of the 9 rolls I made and I think that’s good enough for me!  You can make these rolls ahead of time and keep them in the fridge until you’re ready to bake them.  You could even freeze a bunch and then just pull them out when you’re ready to use them!

Dinner Rolls- Makes 9-10 rolls depending on how big you make them.  Based off these Honey Biscuits from Against All Grain. DIY Wednesday: Dinner Rolls | Life Healthfully Lived

  • 1 3/4 cups almond flour
  • 2 tbsp coconut flour
  • 2 tsp baking powder
  • 1/2 tsp salt
  • 3 tbsp ground flax seed
  • 6 tbsp water
  • 1/4 cup coconut oil, semi-soft (if your oil is liquid like mine always is, measure it out and then stick it in the fridge for a few minutes).
  • 2 tbsp coconut milk or water
  1. Preheat oven to 350 and line a baking sheet with parchment paper or a Silpat.  Mix the 3 tbsp ground flax seed and 6 tbsp water and set aside to gel.
  2. Combine all of the dry ingredients, and seasonings if you’re using them, and whisk together.
  3. In a separate bowl, combine the gelled flax seed, semi-soft coconut oil, and 2 tbsp coconut milk together.  Mix it really well so that everything is combined.
  4. Make a well in the dry ingredients and pour in the wet.  Use a rubber spatula and mix everything together.  You should get a very stiff dough and be able to form a ball.  If not, add a little more coconut flour one tablespoon at a time.
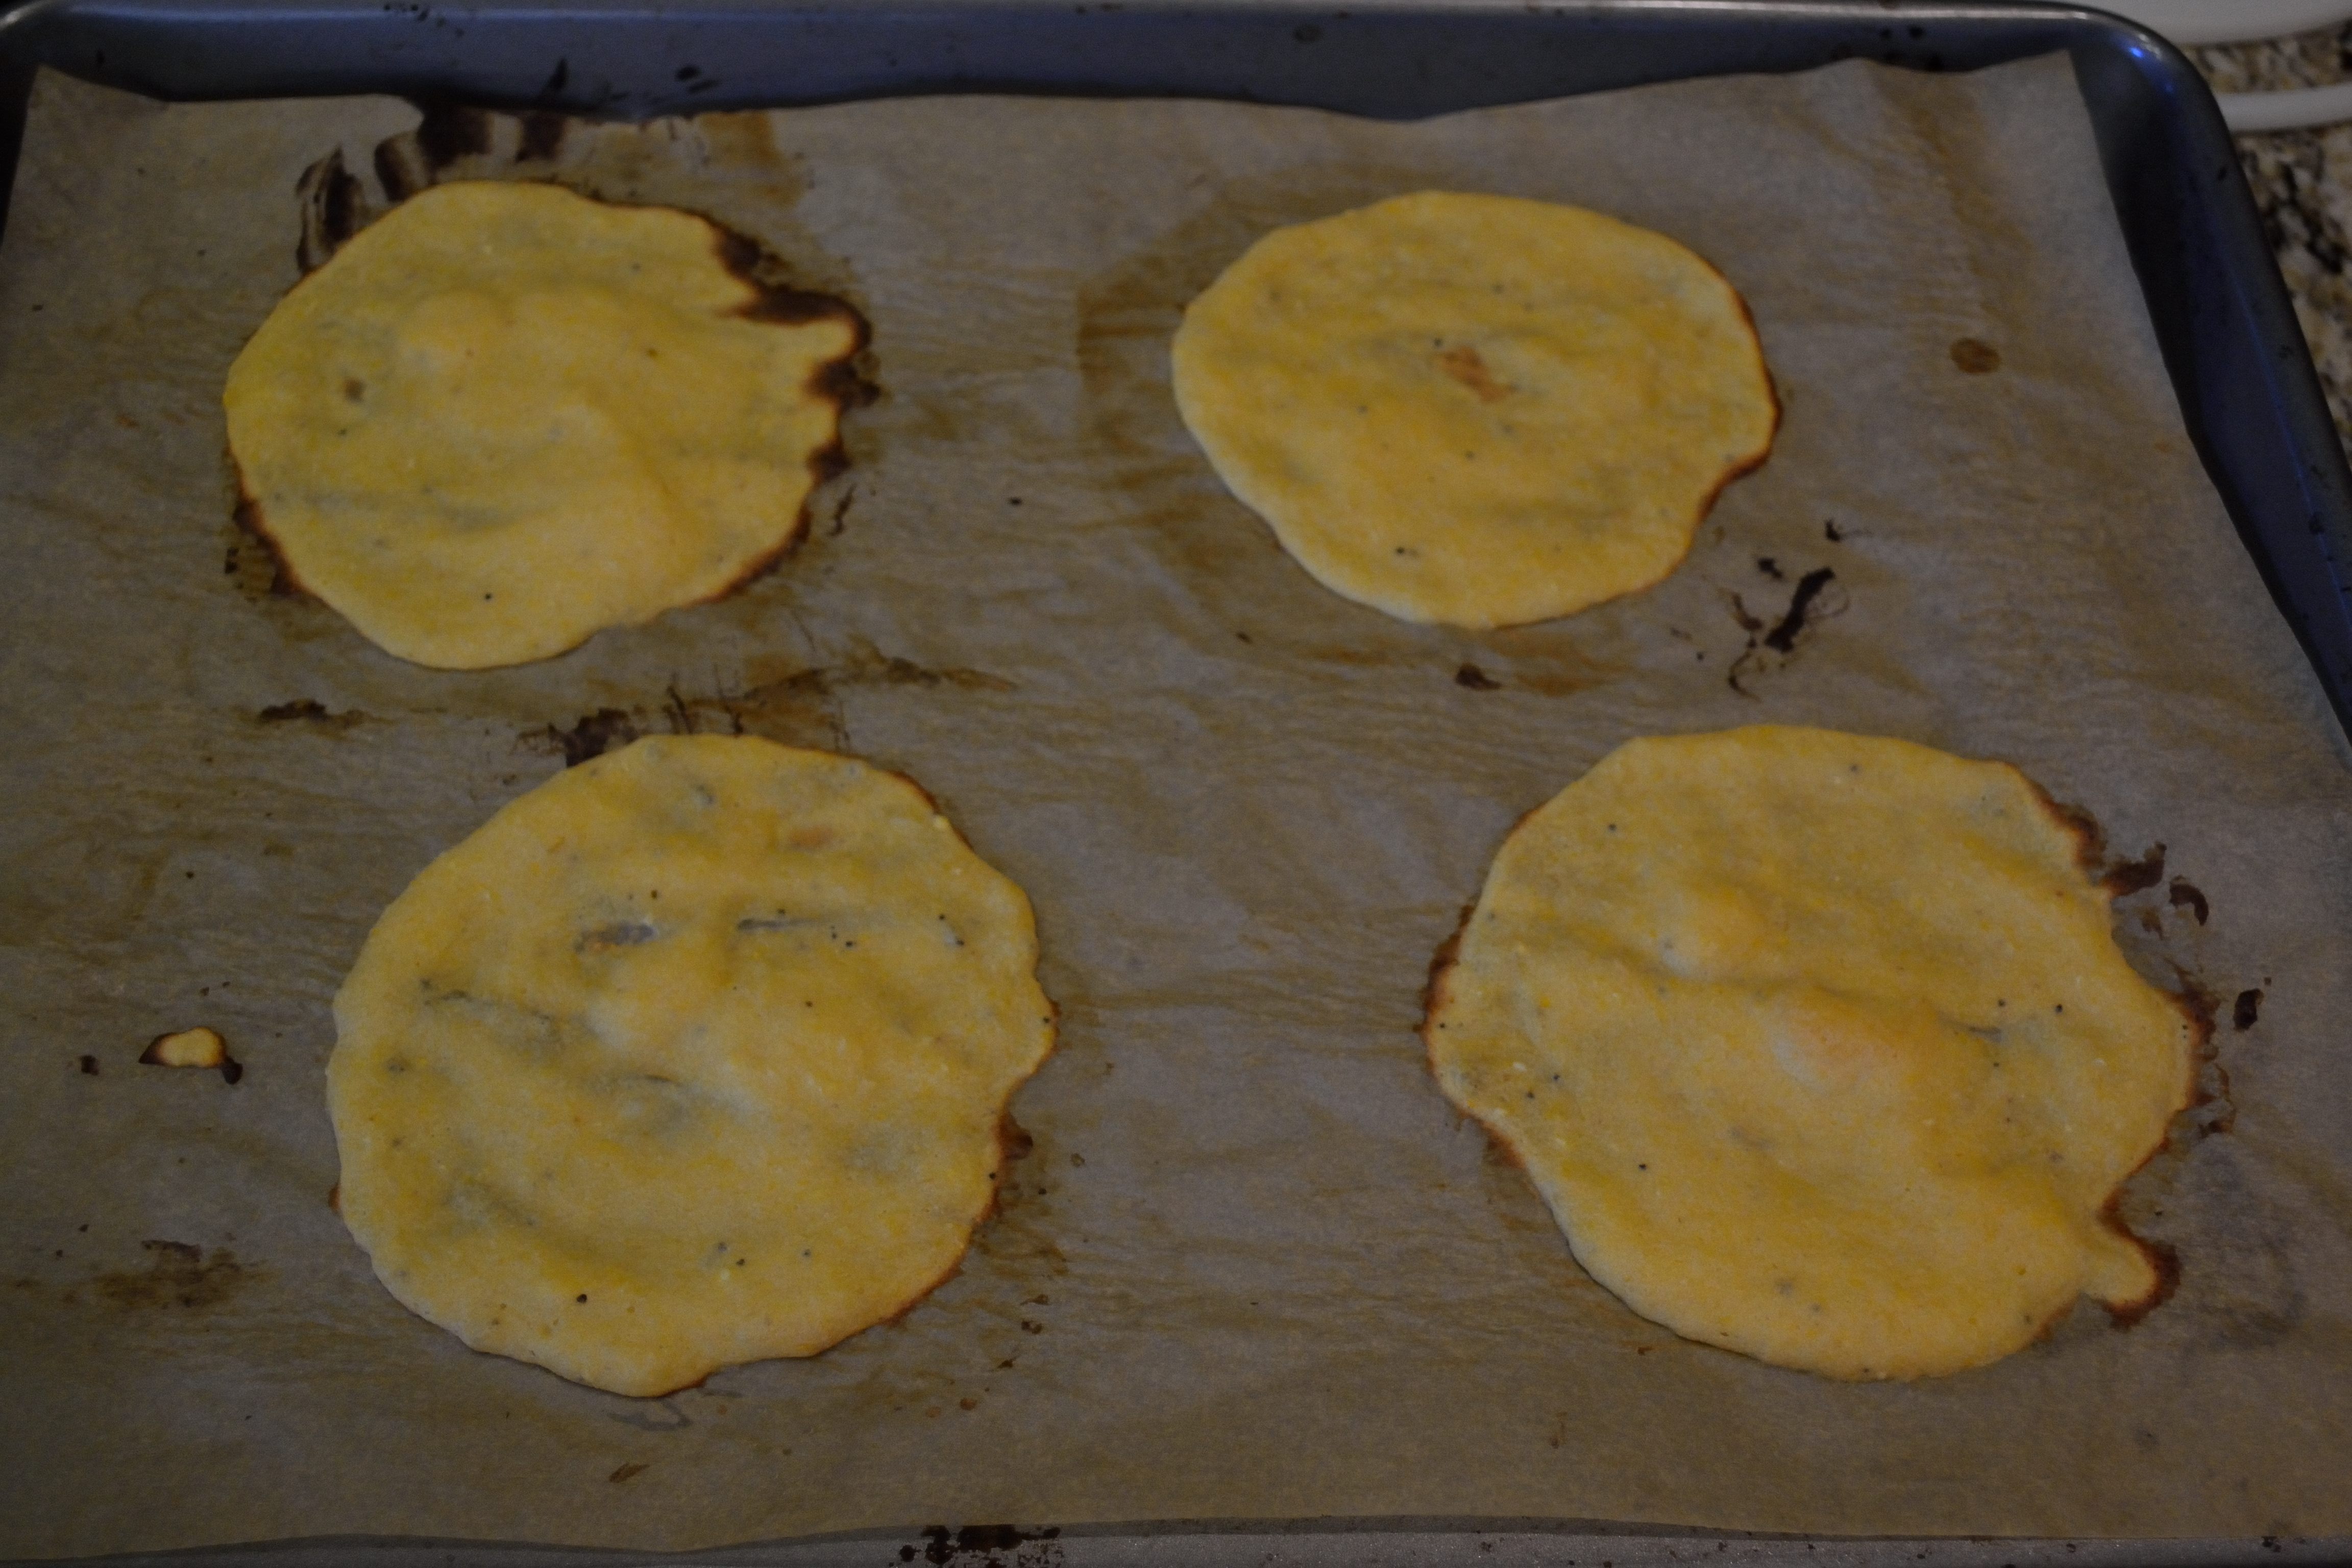
  5. Take out a little of the dough from the dough ball and roll into a ball.  Place it on the sheet and slightly flatten it with the palm of your hand.  Continue until all the dough is gone.
  6. Bake for 10 to 15 minutes.  Check at 10 minutes and if it’s golden on the edges take it out and let it cool for a few minutes before serving.   DIY Wednesday: Dinner Rolls | Life Healthfully Lived

Homemade Banana Pudding

Homemade Banana Pudding | Life Healthfully LivedOk, so I learned some new things while making this recipe.  First, I have to tell you about my inspiration for this one because it’s weird and who doesn’t like weird stuff? No one.  That’s who.

I was making a loaf of my gluten-free banana bread (which you should make immediately because it’s the bomb.  Side note: I’m bringing back “the bomb”) and as I was blending the banana and avocado together I thought to myself, “Antoinette, (I call myself Antoinette NBD) that kind of looks like pudding.  I wonder if it would be any good as pudding?  I wonder if there is banana pudding?” So I set about to research banana pudding.

This is my life people.Homemade Banana Pudding | Life Healthfully Lived

I remember pudding snack packs used to have a banana flavor but I doubt that there was any actual banana in that pudding.  My google searches told me that banana pudding was indeed a thing.  A southern thing.  Which means it’s delicious because it has all the fat and sugar.  All delicious things have fat and sugar.  Most recipes called for making a vanilla custard type deal and adding sliced bananas, vanilla wafers, and in one case merengue.  While it wasn’t a difficult process, it was more steps than I wanted for my pudding. And by more, I mean this is pretty much just one step.

There are no eggs in this so you don’t have to cook anything but because of the addition of avocado, stick with me, it is creamy and delicious without the eggs.  And depending on how ripe your bananas are, it’s pretty sweet too.  You can add maple syrup if it isn’t sweet enough but mine was totally delicious without it.  See?  Fat and sugar.  Just a better version of fat and sugar.

I know you’re probably getting tired of me putting avocado in things but I’m not, so get over it 🙂  It’s delicious and I can’t stop, won’t stop.  You can get creative with toppings like coconut whip cream, pecans or walnuts, crumbled up graham crackers, or in my case cacao nibs because, chocolate.

Banana PuddingHomemade Banana Pudding | Life Healthfully Lived

As I was making this I started singing the part about figgy pudding from We Wish You A Merry Christmas.  Adam asked me if I was singing a Christmas song and I said no, I was singing a pudding song because how do you make pudding without singing about it?  So feel free to sing about pudding while making this because I think it enhances the flavor.  

  • 2 very ripe bananas, sliced (about 2 cups)
  • 1/2 avocado, diced (about 1/2 cup)
  • 1/2 cup coconut cream (you can buy coconut cream from Trader Joes or just put a can of full-fat coconut milk in the fridge overnight and scoop off the solid cream)
  • 1 tbsp maple syrup, optional if your bananas aren’t super ripe.  I didn’t need any extra sweetener for mine
  • 2 tsp cinnamon
  • pinch of salt
  • 1 1/2 tsp maca powder, optional but adds a nice caramel-y flavor

Toppings (optional)

  • chocolate chips or cacao nibs
  • pecans or walnuts or almonds
  • sliced banana
  • coconut whip cream
  • graham crackers
  • nilla wafers if you’re rebellious or Southern 😉
  1. Ready for this?  Put all the pudding ingredients into a blender and blend until super smooth.  Dish it out and put on all the toppings.

Told you it was one step 😀 Happy Friday friends! Have a great weekend!Homemade Banana Pudding | Life Healthfully Lived

Apple-Banana Muffins

IApple-Banana Muffins | Life Healthfully Lived like to eat, eat, eat, eeples and baneenees.

If you have no clue what I am talking about, you need to spend more time in pre-school.

Last week I went to the apple orchard with my dad and came home with a whole peck of apples.  I’ve already made a huge batch of my squash apple butter, eaten as many raw as I can, and a tart is in the works.

I also wanted to try making a bread with my apples and I had a few over-ripe bananas sitting on my counter so I thought an apple/banana combo was in order.  Two baked goods in a row on the blog… Lucky you!Apple-Banana Muffins | Life Healthfully Lived

While my baking is getting better, I still run into a few problems now and then.  When I made my first batch of my bread concoction, the flavor and texture were right but it did not hold together very well.  My second time around I tweaked a few things and decided to make them into muffins instead of one loaf.

Success!

I ended up with a yummy fall inspired muffin that also happens to be gluten free, dairy free, egg free, and refined sugar-free.  Pretty impressive if I do say so myself!

Apple-Banana MuffinApple-Banana Muffins | Life Healthfully Lived

  • 1 cup almond meal
  • 1/2 cup coconut flour
  • 2 tsp baking powder
  • 1/4 tsp baking soda
  • 1 tsp pumpkin pie spice
  • 3 tbsp date sugar or coconut sugar
  • 1/2 cup almond milk
  • 2 large ripe bananas (the riper they are the sweeter the muffin will be)
  • 1 tbsp molasses or maple syrup
  • 2 tbsp macadamia nut butter or almond butter
  • 1 tsp vanilla extract
  • 1 large apple, shredded (more subtle apple flavor) or small diced
  • 16-18 whole pecans, optional
  1. Preheat the oven to 350 and line a muffin tin with paper liners
  2. Combine all of the wet ingredients and mix well until you have a smooth batter.
  3. Combine all of the dry ingredients into a large bowl and whisk together.  Pour the wet ingredients into the dry and stir to combine.  The batter will be a little stiff, that is ok.
  4. Add in the shredded or diced apple and stir to mix everything together
  5. Spoon a little over a tablespoon of the batter into each muffin well and press down just a little.  Press one pecan onto the top of each muffin.
  6. Bake the muffins for 20 to 25 minutes, until the top is slightly brown and batter is set.
  7. Let the muffins cool in the muffin tin for 5 minutes and then move to a wire rack to cool completely.

These are kind of like fall in a muffin wrapper and that isn’t a bad thing. You could also try making this into two mini loaves if you really wanted bread.Apple-Banana Muffins | Life Healthfully Lived

Anyone have fun plans for this weekend?  Adam and I are planning on just hanging around our neighborhood and relaxing.  Oh and if you’re keeping count, only 8 more days until my birthday.  Delicious food presents welcome…

Happy weekend friends!

Soft Taco Shells and Aquafaba

Gluten and Egg Free Soft Shell Tacos

I will get to the Aquafaba in just a second, but let’s talk about these taco shells.

I have always liked tacos but ever since going gluten-free a few years ago I have missed the texture and fold-ability (totally a real word, trust me) of regular flour tacos.  I usually use corn tortillas, which are good but they just aren’t the same as flour tortillas.

Gluten and Egg Free Soft Shell Tacos

There are plenty of recipes out there for Paleo versions of taco shells and I have tried a few of them and they are really good.  Pretty much all of them though use eggs and while that’s not a bad thing if you eat eggs, it poses a problem if you don’t.  Sure, it is really easy to find egg free taco shells at the store or online, but they more often than not have some weird ingredients that I would rather not consume.

Gluten and Egg Free Tacos

Then I read about aquafaba.

Yes that’s a real word and it isn’t as exotic or strange as it sounds.  Technically it’s just the liquid that beans are cooked in.  So bean juice to be precise.  Bean juice apparently doesn’t sound appealing so people have started calling it aquafaba.  Whatever floats their boat.  The important thing to me is that aquafaba acts like eggs in most recipes, plus it’s fairly easy and cheap to get.  You can either buy canned chickpeas and reserve the liquid they are sitting in or cook your own chickpeas and save that liquid.

Gluten and Egg Free Tacos

Armed with this new “fancy” ingredient, I decided to take a stab at making egg free, gluten free, soft taco shells.  Luckily I struck success with my first batch and now I have a simple go-to soft taco shell! Now just a few quick notes:

  • These don’t have the same taste as regular flour shells, but that isn’t a huge problem for me.  I actually really like the taste
  • You can use canned chickpea liquid if you don’t want to cook your own beans and save that liquid like I did.
  • You want your plantains to be slightly yellow.  Not super green and not brown. The really green ones won’t blend as well and the brown ones will give you a sweet taco shell and that might not be what you’re looking for.

Ok enough talking about bean juice, let’s make some tacos!

Soft Shell Tacos

Gluten and Egg Free Taco Shells

  • 1 large plantain, slightly yellow (you can also get a few small plantains, you want about a pound once it’s peeled)
  • 6 tbsp aquafaba (either from a can of chickpeas, or cook your own beans and reserve the liquid)
  • 3 tbsp melted coconut oil
  • juice of one lime
  • a pinch or two of salt (based on your salt preference)
  1. Preheat oven to 350. Peel and cut your plantain into bite size chunks. Add everything into your blender or food processor and blend until everything is smooth.  You want it to look sort of like pancake batter.Scoop out about 1 tbsp of batter. Soft Shell Tacos
  2. Line a large baking sheet with a Silpat or parchment paper.  Scoop about 1 tbsp of batter out onto the baking sheet.  With the back of a spoon, spread out the batter into a fairly thin circle.  Don’t leave it too thick or it won’t cook through and don’t spread it too thin because it will just burn.  You have to be like Goldilocks and get it jusssttttt right 🙂Spread out into shell shapes. Soft Shell Tacos not too thin. Soft Shell Tacos
  3. Do this a few more times, you will have to work in batches because you will only be able to fit 4 to 5 shells on the pan at once. Bake for 8 minutes.
  4. Remove from oven and let them cool for at least five minutes.  Now this is the slightly tricky part, but just have patience at it will all be just fine.  Slowly peel the shells off the baking sheet and move to a wire rack to cool.  If you notice the shell starting to stick just use a spatula to help loosen it from the pan.  As long as you let the shells cool a bit before you lift them up you shouldn’t have too much of a problem.Let cool on pan for 5 minutes. Soft Shell Tacos
  5. Repeat until you have used all the batter.

I used two baking sheets when I made these so I could make more at once, but you can work in batches too.  Once the shells are totally cool fill them with your favorite taco filling and enjoy!

Gluten and Egg Free Taco Shells

Have a great Friday and an awesome weekend!  Don’t forget to wish your mom a Happy Mothers Day on Sunday!