DIY Wednesday: Sports Drink

DIY Wednesday: Sports Drink | Life Healthfully LivedI would say that sport’s drinks like Gatorade, Propel, and Powerade are some of the most controversial products when it comes to hydration.  You have the people who are firmly in the water-is-the-only-hydration-you-need camp and then you have others who are firmly in the you-need-to-replenish-your-electrolytes-after-activity camp.  Then you have those in the murky middle ground who believe sometimes you need sports drinks and sometimes you don’t.  It can be very confusing.

I am somewhere in the murky middle ground.  It all depends on the activity you’ve been doing and how long you’ve been active for.  The vast majority of us don’t do enough work or exercise that will require anything other than water to rehydrate.  There is no need for a Gatorade after a 20-minute workout or to hand out sports drinks after a kids soccer game.  There are a few instances where you do need to replenish your electrolyte levels with something other than just water.

People who run/train for marathons, triathlons, Ironman competitions, or any other grueling endurance sport are probably going to need something more than just water.  That is because they are asking their bodies to work at full capacity for a long period of time.  Anything more than a 90-minute workout session is going to probably warrant a little extra attention to your hydration levels.DIY Wednesday: Sports Drink | Life Healthfully Lived

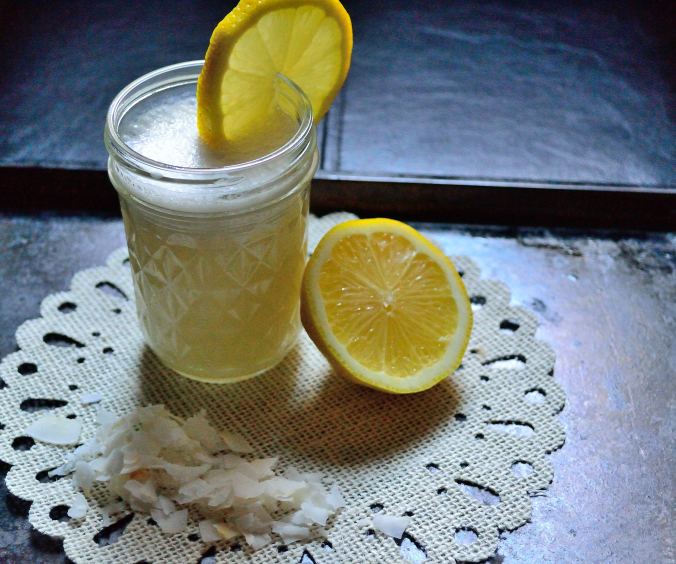
Now, here is my other sticking point:  I think that commercially sold sports drinks are NOT the way to replenish your fluids and electrolytes.  They’re full of sugar and other ingredients that actually make you thirstier than you were before.  How else would they sell their product?  If one drink made rehydrated you, you wouldn’t need another.  Plus you’re getting way more calories than you need from a drink.

Lucky for you, it’s easy to make your own sports drink that will rehydrate you as well as replenish your electrolyte levels without the calories, sugar, or any other possible weird ingredients.  You can make these in advance of a tough workout or activity and have them ready to go when you’re done.  You can play with the levels of citrus and natural sweetener to suit your tastes.

You can play with the levels of citrus and natural sweetener to suit your tastes and if you don’t want or can’t find coconut water, regular water works just as well.  And yes, I know there is salt in here and you’re going to tell me that is ridiculous because we all know that salt makes you thirstier.  Yes, BUT, you also need the proper amount of sodium levels in your body to rehydrate and absorb minerals like potassium.  If you’ve been sweating like crazy, then you have been losing a lot of sodium as well and need to replenish those stores.  So don’t skip the salt (and make sure you use sea salt NOT regular table salt), it won’t make you thirstier and you won’t be choking down a salty drink.
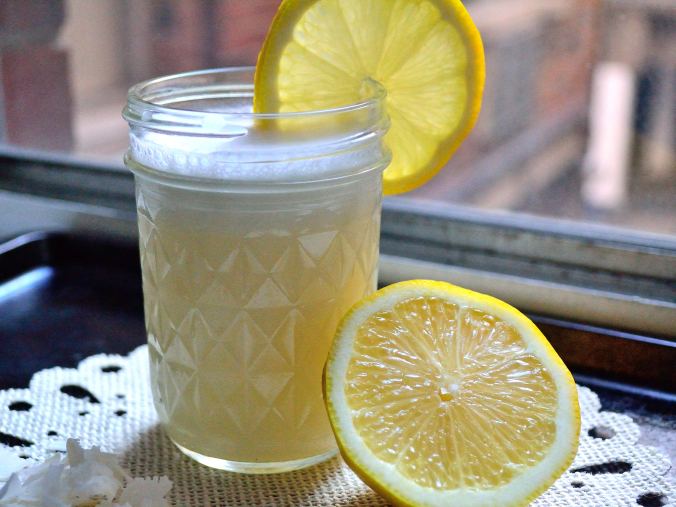
Sports DrinkDIY Wednesday: Sports Drink | Life Healthfully Lived

  • 1 cup coconut water or regular water (make sure it’s just plain coconut water, no added sugars)
  • 1-2 tsp fresh lemon juice
  • 1-2 tsp fresh lime juice
  • 1 tsp honey or maple syrup (less or more to suit your taste)
  • pinch of sea salt
  1. Put everything into a blender and blend for a few seconds.  Taste and adjust things as needed.

Keep this drink stored in the fridge up to 2 days before you need it.  You can also double or triple this recipe to make sure that you have enough on hand for when it’s needed.


DIY: Lemon-Ginger Tea

We almost escaped the holidays without getting sick.  Almost.  It’s tough because during the holidays you’re around so many people and eating foods that might not be the healthiest and not sticking to your normal exercise routine.  It’s almost like inviting germs to take up residence in your body.DIY: Lemon-Ginger Tea | Life Healthfully Lived

The Monday after Christmas, Adam started feeling a little funny and by Tuesday was knocked out with a cough and cold.  He had the works, stuffed nose, sore throat, nasty cough, and achy all over.  The doctor said it was a virus, but not the flu, and only gave him a nose spray to relieve congestion.  So he pretty much had to ride it out on the couch for a week.

While taking care of him and seeing his misery, I knew that I had to take action to make sure I wasn’t the next visitor to the sick couch.  I upped my intake of vitamin C with oranges and lemons, made sure I got turmeric in as many dishes as possible, and tried my best to exercise and eat well to make sure that I stayed healthy.DIY: Lemon-Ginger Tea | Life Healthfully Lived

I have a little congestion, but I think I missed the worst of the virus and I’m going to chalk that up to the steps I took to ward it off.  One of the things that I did was down this tea every morning first thing.  You can buy lemon-ginger tea at the store, but it is so easy to make and I think that fresher ingredients make a bigger impact on your immune system.

So if you’re looking to make sure you don’t get sick this winter, try this tea in the morning and if you do feel something coming on, up your self-care routine.  Take extra rest, don’t go run a marathon, but do move a little, and try to eat as much real food as possible.  Your body will thank you!

Lemon-Ginger Tea- if it’s available and you can afford it, try to get organic ingredients.  If not, don’t stress too much over it, this tea is still better than no tea. DIY: Lemon-Ginger Tea | Life Healthfully Lived

  • One-quarter of a lemon (half of a half)
  • 3 thick slices of ginger
  • 8 oz hot water
  • Optional add-ins- honey, sprinkle of cayenne, fresh or powdered turmeric (fresh tastes a little better if you can find it because powdered might not dissolve as much and leave a gritty feeling)
  1. Boil the water.  While the water is heating up, slice and peel the ginger and put into the bottom of your mug.  Slice the lemon and get any add-ins that you want.
  2. Once the water has boiled, let it sit for a few minutes.  Then, pour it over the ginger slice and squeeze in the lemon juice.  I like to put the whole lemon wedge in the water after I’ve squeezed it.  Add in the honey, cayenne, or turmeric if you want and stir everything together.
  3. Let it steep for a few minutes and cool down before you drink it/

DIY Wednesday: Almond Milk

ThereDIY Almond Milk is no shortage of nut milk tutorials out there.  There are so many that I almost thought about skipping it as part of my DIY series.  I didn’t think that I could really add much to what you can already find.  Then I remembered the first time that I made my own almond milk and I realized that I did have something to add.

I was really excited to make my own almond milk since I always buy it.  I thought this would be perfect because I could save money and control all the things that went into my milk.  I followed the recipe and all the instructions exactly and poured out a glass and eagerly took a big sip.

And promptly spit it back out.

Instead of the creamy delicious drink I was expecting it tasted like dirty water.  Not the most appetizing thing.  I tried to figure out what I did wrong.  Maybe I used bad almonds? Did it matter that I used an old food processor instead of a fancy Vitamix? Did I not use good water?

I tried again, this time with brand new almonds, a fancy Vitamix, and cold filtered water.  I still got dirty water almond milk.  I tried tweaking every part of making the almond milk, using less water and more almonds, blending for a long time, anything I could think of to try and make the almond milk work.  Then by accident I ran out of the cheesecloth I was using to strain the almond milk and had to use a regular mesh strainer.  I thought I would have another bad batch, but I ended up with the creamy and delicious milk I had been looking for.

I tried it this way again and got the same result.  By not completely straining out all the blended almond pieces, I was able to recreate the same taste and texture as store bought almond milk.  Give this a try and start making your own milk instead of buying. Oh and P.S. you don’t need the fancy Vitamix…but it doesn’t hurt!

Here is my DIY almond milk with a slight tweak in technique.

DIY Almond Milk 

DIY Almond Milk

You will need a food processor/blender and a regular mesh strainer. You can use a nut milk bag or cheesecloth, but you might end up with the dirty almond water.

  • 1 cup raw almonds
  • 3 cups filtered water
  •  optional: 1 tsp vanilla, 3-4 pitted dates to make it sweeter (I like it plain)
  1. Place soaked almonds into a blender or food processor and pulse a few times to break up the almonds a little.
  2. Add in the 3 cups of water.  Blend for a few minutes until the almonds are completely broken down.  If you have a high powered blender this will only take a minute.  Other blenders and food processors will need a little more time.
  3. Place the mesh strainer over a large bowl and pour the milk over the strainer.  You might need to help push the water through the strainer with a spatula.  It’s ok if some of the almond pulp makes it through the strainer, in fact, that’s what you want!
  4. Transfer the strained milk into a container and keep in the fridge for up to 4 days.  Keep the pulp and dry it out to use for other baking needs.

DIY Almond Milk