DIY Wednesday: Caramelized Onions

FunDIY Wednesday: Caramelized Onions fact time: I have never had caramelized onions.  I know what they are, I know people love them, and I’ve listened to many a chef on Food Network talk lovingly about making them just right.  Despite all that, I have never eaten them or attempted to make them.  I don’t have anything against onions, I use them all the time.  I always have some in my kitchen and will throw them into any meal.

The biggest thing stopping me from making my own caramelized onions?  Time.

If you have ever made caramelized onions, you know that it takes quite a bit of time.  You have to cook them for a long time, at least an hour, over a very low heat.  That’s how you get the onions to release their sugar and caramelize.  I don’t know about you, but on most days I don’t have over an hour to slowly cook onions no matter how delicious the outcome.  Plus, now that it’s summer the idea of standing over a hot stove for an extended period of time doesn’t sound too appealing.  Have no fear though, I have the solution to our problem.

DIY Wednesday: Caramelized Onions

The slow cooker.

I always forget about the slow cooker during the summer because I always equate it with soups and chili’s and their ain’t nobody who wants to eat soup when it’s 90 degrees out.  But the slow cooker does so much more than cold weather favorites and today it’s going to do all the work for you when it comes to caramelized onions.  While this method actually takes much longer than the traditional way, you don’t have to do anything but turn the slow cooker on.  Nothing could be simpler than that!

Caramelized Onions

DIY Wednesday: Caramelized Onions

  • 3-4 large yellow onions, I used 3 very big onions each a little over a pound
  • 3 tbsp olive oil
  • 1/2 tsp salt
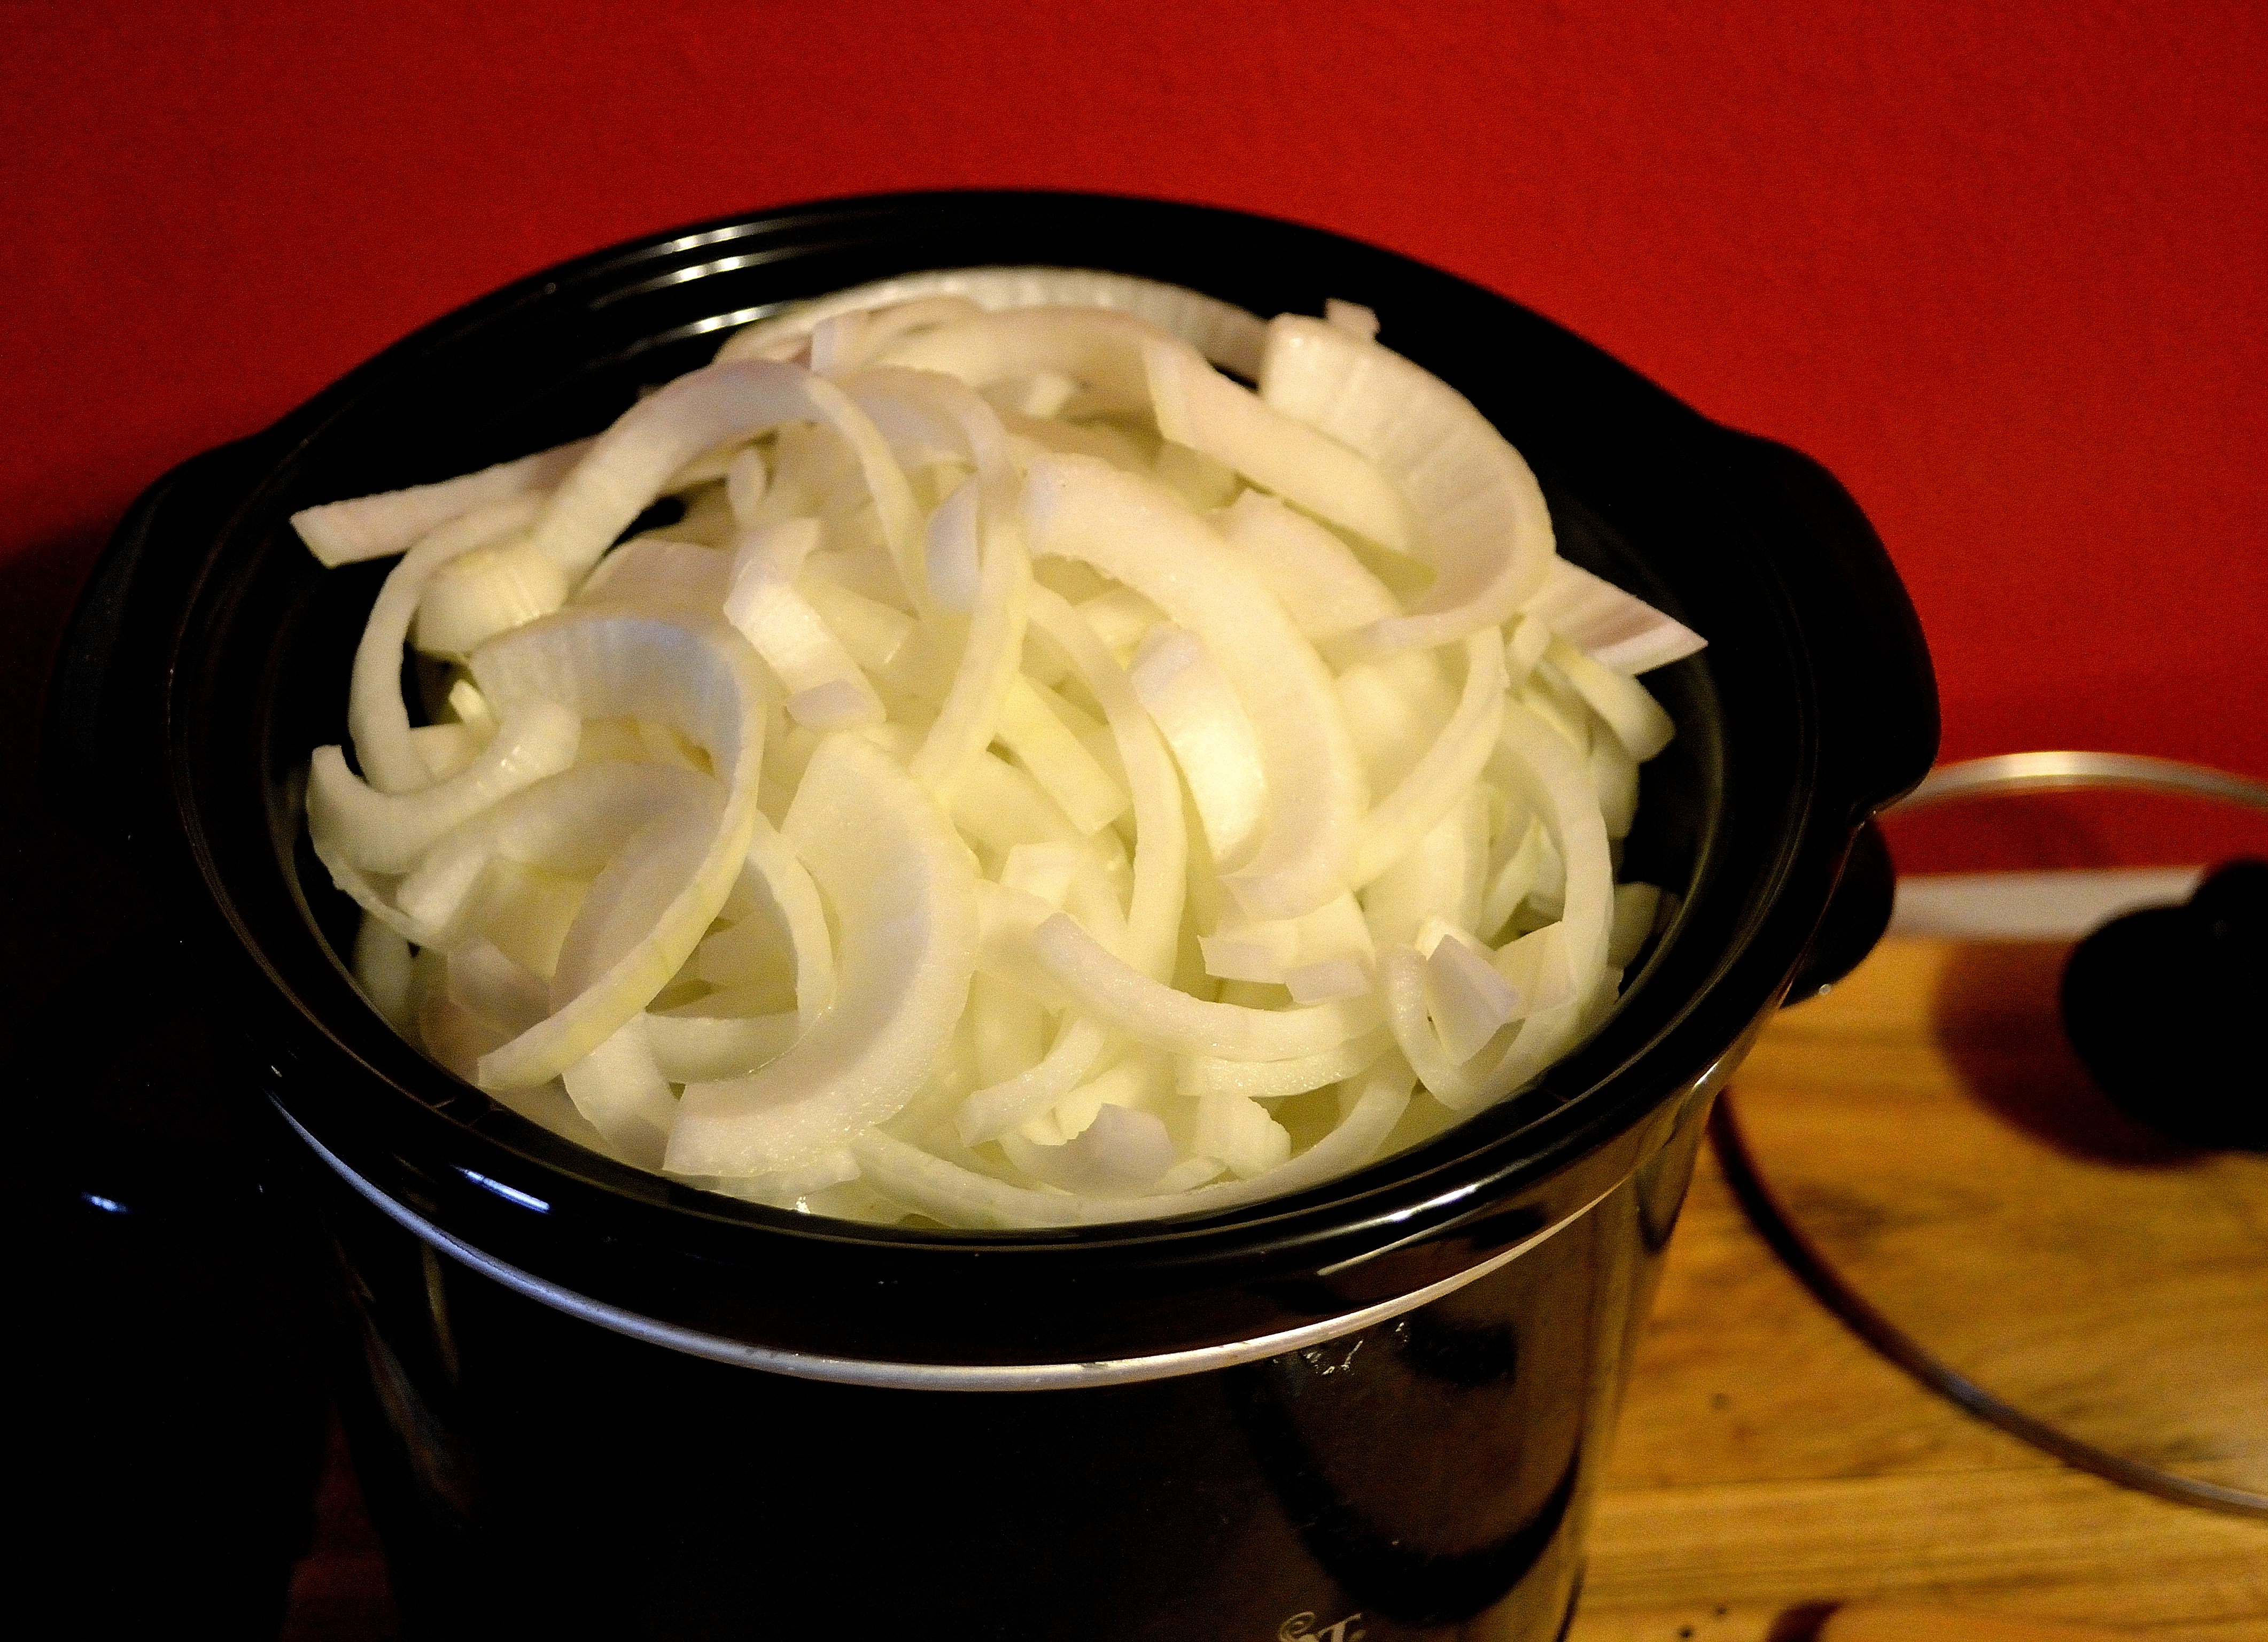
  1. Peel the onions and cut each onion in half, longways (cut from the top down to the root) then cut the onions into half moons.  Place all of the onions into your slow cooker.  You want to leave just a little room at the top.

    DIY Wednesday: Caramelized Onions

    I actually switched to my bigger slow cooker because I had so many onions!

  2. Drizzle 2 tbsp of the oil over the onions and toss to coat. If you need more add in the last tbsp of oil.  Sprinkle the salt over the top and stir to combine.
  3. Cover the slow cooker and cook the onions on LOW for at least 10 hours.  If you can stir the onions occasionally, but this isn’t a necessary step.
  4. At the end of 10 hours, turn off the slow cooker and let the onions cool.  Drain off any liquid and store in an airtight container in the fridge.  You can also freeze the onions in ice cube trays to be used later.

    DIY Wednesday: Caramelized Onions

    Just freeze and then pop them out whenever you need them!

See wasn’t that simple?  Now go put caramelized onions on everything and enjoy the caramelized goodness! DIY Wednesday: Caramelized Onions

DIY Wednesday: Pickles

Let’sDIY Wednesday: Pickles talk about pickles for a second.  Is there anything more satisfying than the briny crunch of a good dill pickle?  Put a pickle on anything and it’s instantly elevated.  Sandwiches are good but add a pickle and they become phenomenal.  Need a little zip on your burger?  Slap on a pickle.  You can even make soup out of pickles.  It’s better than you would think, trust me.  Pickles also come in so many different types.  Spicy, sweet, dill, bread and butter, gherkins, kosher…. The list is endless.

I’m sure you know that you can make your own pickles.  It’s not that difficult of a process, but for some reason pickling anything causes some people to back away slowly.  It seems like a complicated process that can be messed up very easily.  It isn’t, but I get it.  For the longest time, I shied away from making my own pickles and just bought mine at the store.  Unfortunately when I started to read labels, I had the hardest time finding any that didn’t have added sugar, preservatives, or weird ingredients.  There were a few out there, but they were few and far between.

So I decided to try and make my own.  I looked at a few recipes and came up with my own brine and got to pickling.  It was really easy and I was left with some tasty pickles.  I’ll share how I made my own brine, but I’m also going to share a little secret.  You don’t have to make your own brine to make homemade pickles, you can use a little shortcut.  If you have a brand of pickles you usually buy and the ingredients are good, you can just re-use that for your own pickles.  All you have to do is cut up your cucumber and add it to the jar.  Voila! You have pickles.  Easy-peasy!

DIY Pickles

DIY Wednesday: Pickles

  • 1-2 cucumbers, sliced into spears
  • 3-4 cloves garlic
  • 1 cup vinegar
  • 2 tsp salt
  • 2 tsp mustard seeds
  • 2 tsp dried dill or small bunch of fresh dill
  • 1 tsp coriander seeds
  • 1/2 tsp turmeric
  1. Find a large jar that has a tight seal.  Place the cucumber spears and cloves of garlic into the jar and pour in the vinegar.
  2. Add in all the seasonings.  Close the jar and then shake to disperse the seasonings throughout.  Place the jar into the fridge for about a week to fully pickle the cucumbers.

Isn’t that simple?  And it’s even easier if you’re just reusing a store bought jar.  You can play with the seasonings and adjust them to your taste.  If you want to have a spicy pickle try adding in cayenne pepper or red pepper flakes.  If you want to try something a little sweeter add in a little honey, maple syrup, or coconut sugar.  You can also change up which vegetables you use.  Try carrots, beets, cauliflower, parsnips, or zucchini.  This is a great way to preserve the vegetables you get at the market and it makes for a quick healthy snack.

DIY Wednesday: Pickles

Have you ever tried making your own pickles?

DIY Wednesday: Grainy Mustard

I DIY Wednesday: Grainy Mustardlove mustard.  I put it on everything.  Sandwiches, vegetables, pasta, rolls, spoons… Yes, I have eaten mustard right out of the jar.  I love the spicy bite that it adds and I especially like the texture of a good, grainy mustard. After peanut butter, I would say that mustard is my favorite spread.

Which is why it’s shocking to me that I have never made my own.  I mean, it’s fairly simple.  Mustard seeds, some vinegar, salt, and turmeric is all it takes to make standard mustard.  Once you get that down, you can get fancy and make honey mustard or horseradish mustard or spicy mustard.  You can make it super smooth or keep it nice and grainy.  The possibilities are endless.

Here is the basic mustard recipe.  Once you get this down, you can play with some variations and have an endless supply of mustard.  That sounds like heaven, doesn’t it?

Grainy Mustard 

DIY Wednesday: Grainy Mustard

  • 1/4 cup yellow mustard seeds
  • 1/4 cup brown mustard seeds
  • 1 cup apple cider vinegar
  • 1 tsp salt
  • 1 tsp turmeric
  • water, as needed
  1. Add mustard seeds and apple cider vinegar into a small bowl and make sure all of the seeds are submerged.  Let the seeds soak for a day or two.
  2. Add everything into a blender.  Blend until the mustard reaches the consistency you would like.  If you want a smoother, thinner mustard blend for a longer time and add a little water to smooth things out. For a grainier texture, blend for a shorter amount of time and don’t use as much water.
  3. Store in a sealed container in the fridge.

I don’t think that I will buy mustard again after realizing how easy it is to make my own.  Plus, I can make my own specialty mustard for much cheaper.  I’m all about homemade and less expensive!

DIY Wednesday: Grainy Mustard

DIY Wednesday: Croutons and Breadcrumbs

Today’sDIY Wednesday: Croutons and Breadcrumbs DIY is so easy, it barely counts as a “recipe”.  I didn’t even think about it until I was trying to brainstorm ideas for this series because it’s something that I don’t even think about I just do it.  You will never have to buy croutons or breadcrumbs again with this handy little trick up your sleeve.

The other great thing about this DIY is that you can customize it to your needs.  Whether you need gluten-free, low-carb, egg or dairy free, you can make sure that you get what fits your lifestyle.  I will say that making these things with homemade bread works a little better than store bought.  Sometimes store bought bread has preservatives and conditioners that prevent the bread from drying out, which is what you need for croutons and bread crumbs.  Make sure to read the ingredient list and only buy things that you are comfortable with eating.

One more tip, using older bread is better than using fresh bread.  You can use fresh bread you just might have to adjust times on drying out in the oven.

Croutons and Breadcrumbs

DIY Wednesday: Croutons and Breadcrumbs

  •  bread, a few days old (use gluten-free bread if needed)
  • Italian seasonings, optional
  • salt and pepper, optional
  • olive oil, optional

For Croutons:  Preheat oven to 200.  Cut the bread into 1-inch cubes.  If you want seasoned croutons, place the cubes into a bowl and drizzle with a small amount of olive oil and then sprinkle with seasonings.  Mix until everything is covered.  Spread the cubes out onto a large baking sheet and bake for 20-30 minutes, rotating every 10 minutes.  The croutons are done when the bread is entirely dried out and crunchy.

For Breadcrumbs:  Preheat oven to 200 and cut bread into bite size pieces.  Place the chunks into a food processor or blender and pulse until bread is broken up into small crumbs.  If you want seasoned breadcrumbs, add in those into the food processor and pulse a few times to combine.  Spread out the crumbs onto a large baking sheet and bake for 20-30 minutes, shaking the pan every so often to prevent burning.  Once the breadcrumbs are golden brown, they’re done.

Like I said, this is a really simple DIY and can be used anywhere you would use the store bought versions.  The croutons can add a nice crunch to your salad and the breadcrumbs make a great binder for my lentil loaf or a nice crunchy topping for casseroles.  Enjoy!

Where do you like to use croutons?

DIY Wednesday: Almond Milk

ThereDIY Almond Milk is no shortage of nut milk tutorials out there.  There are so many that I almost thought about skipping it as part of my DIY series.  I didn’t think that I could really add much to what you can already find.  Then I remembered the first time that I made my own almond milk and I realized that I did have something to add.

I was really excited to make my own almond milk since I always buy it.  I thought this would be perfect because I could save money and control all the things that went into my milk.  I followed the recipe and all the instructions exactly and poured out a glass and eagerly took a big sip.

And promptly spit it back out.

Instead of the creamy delicious drink I was expecting it tasted like dirty water.  Not the most appetizing thing.  I tried to figure out what I did wrong.  Maybe I used bad almonds? Did it matter that I used an old food processor instead of a fancy Vitamix? Did I not use good water?

I tried again, this time with brand new almonds, a fancy Vitamix, and cold filtered water.  I still got dirty water almond milk.  I tried tweaking every part of making the almond milk, using less water and more almonds, blending for a long time, anything I could think of to try and make the almond milk work.  Then by accident I ran out of the cheesecloth I was using to strain the almond milk and had to use a regular mesh strainer.  I thought I would have another bad batch, but I ended up with the creamy and delicious milk I had been looking for.

I tried it this way again and got the same result.  By not completely straining out all the blended almond pieces, I was able to recreate the same taste and texture as store bought almond milk.  Give this a try and start making your own milk instead of buying. Oh and P.S. you don’t need the fancy Vitamix…but it doesn’t hurt!

Here is my DIY almond milk with a slight tweak in technique.

DIY Almond Milk 

DIY Almond Milk

You will need a food processor/blender and a regular mesh strainer. You can use a nut milk bag or cheesecloth, but you might end up with the dirty almond water.

  • 1 cup raw almonds
  • 3 cups filtered water
  •  optional: 1 tsp vanilla, 3-4 pitted dates to make it sweeter (I like it plain)
  1. Place soaked almonds into a blender or food processor and pulse a few times to break up the almonds a little.
  2. Add in the 3 cups of water.  Blend for a few minutes until the almonds are completely broken down.  If you have a high powered blender this will only take a minute.  Other blenders and food processors will need a little more time.
  3. Place the mesh strainer over a large bowl and pour the milk over the strainer.  You might need to help push the water through the strainer with a spatula.  It’s ok if some of the almond pulp makes it through the strainer, in fact, that’s what you want!
  4. Transfer the strained milk into a container and keep in the fridge for up to 4 days.  Keep the pulp and dry it out to use for other baking needs.

DIY Almond Milk