Doesn’t the word porridge always conjure up old-timey meals like in Oliver Twist? Or at the very least make you think of Goldilocks and the only three bears on the planet that prefer a hot breakfast over raw carcass?
Just me? Cool.
Porridge is actually any type of oatmeal, grain, or cereal that is cooked with boiling water or milk. Most people go for oatmeal because it’s the most readily available but you can make porridge out of a lot of different things. But for the most part it’s usually made out of some kind of grain and if you happen to be following the paleo diet, grains are a no-go. So does that mean you can never enjoy a warm bowl of porridge on a cold winter morning again?
Of course not! Not when you’ve got me around.
Not only can you make porridge out of cereals or grains, you can also make it out of meals (as in ground up stuff) and that includes nut meals. Finely ground nuts make a great base for porridge and it is entirely paleo-approved! I decided to go with almond meal because it can be made savory or sweet and it’s what I had on hand. Also, almond meal is fairly easy to find so you won’t have to hunt through a specialty store to make your own paleo porridge.
I have a recipe for a sweet porridge and a savory porridge, both are essentially same, but the seasonings and liquid choices are a bit different. If you’ve been missing your morning bowl of warm, cozy porridge try this easy grain-free version!
Paleo Porridge- Makes two servings
Sweet Porridge
- 2/3 + 2 tbsp almond meal (go for meal instead of flour because you don’t want it too finely ground)
- 1 cup almond milk or any other non-dairy milk you prefer
- 1 tbsp honey, maple syrup, or coconut nectar
- 1 tsp cinnamon
- 1/4 tsp sea salt
Savory Porridge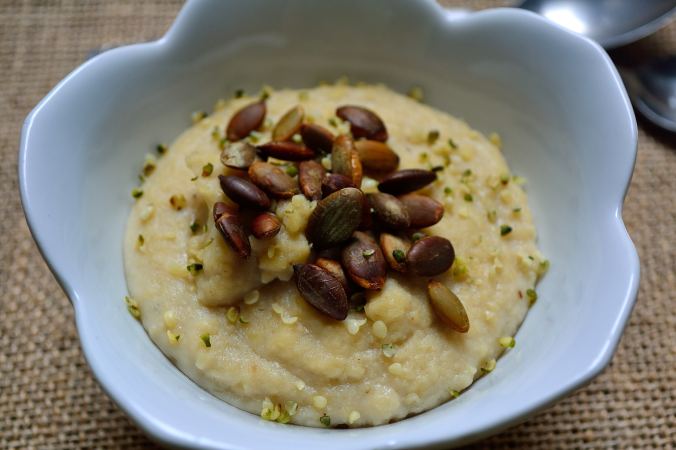
- 2/3 + 2 tbsp almond meal
- 1 cup vegetable broth or water
- 1/4 tsp freshly ground black pepper
- salt to taste
- No matter what version you make, the directions are going to be the same. In a medium saucepan, bring the liquid to a boil.
- Whisk in the almond meal and turn the heat to low. Keep whisking as the almond meal thickens. This will take about 5 to 8 minutes.
- Add in the sweetener (if making the sweet version) and seasonings as you keep whisking. Once you’re porridge has reached your desired thickness, pour into a bowl and finish it with your favorite toppings.
If you’re porridge is too thin add more almond meal, one tablespoon at a time. If it’s too thick add more liquid, one tablespoon at a time. As for topping ideas? How about:
- any kind of berry
- raisins
- bananas or any fruit
- cacao nibs
- pumpkin seeds
- hemp seeds
- flax or chia seeds
- chopped nuts
- nut or seed butter
- herbs like parsley or cilantro
- salsa
- roasted squash
- poached egg
- mushrooms
- heck, you could even add cooked meat or fish to your savory bowl!
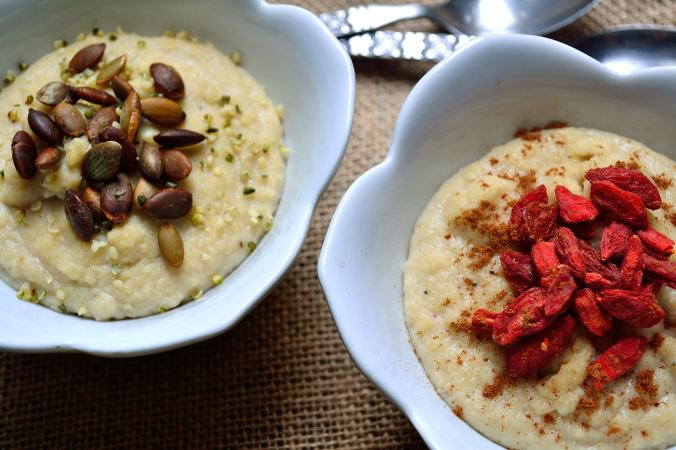
There you have it! Porridge two ways for all you grain-free people out there!
 I’m going to tell you a story about pancakes. Don’t worry it will make sense in the end.


 Popcorn is one of my favorite snacks because it’s easy to make and you can eat a huge bowl of it without feeling gross. I’m a huge fan of volume eating because I like food. Unfortunately, a lot of popcorn that you can buy in the store is NOT so good for you.


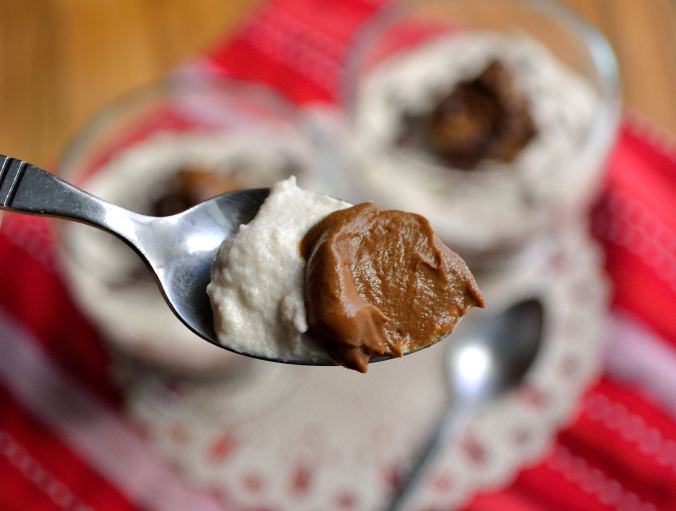
 Valentine’s Day needs chocolate. It’s just a fact of life. I mean every day needs chocolate, but Valentine’s Day needs the fancy chocolate. Enter this dessert.