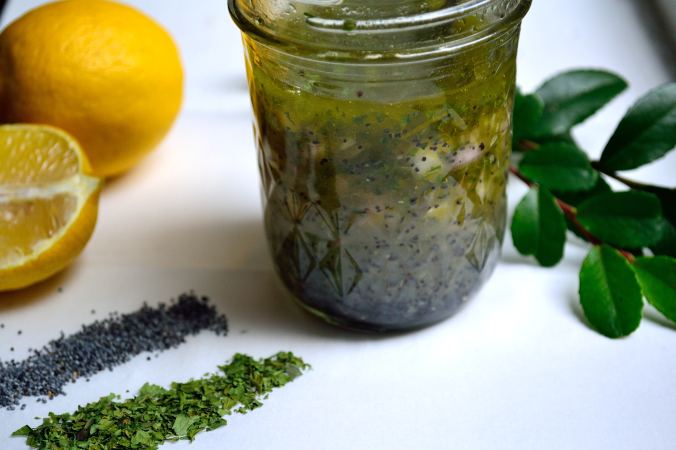
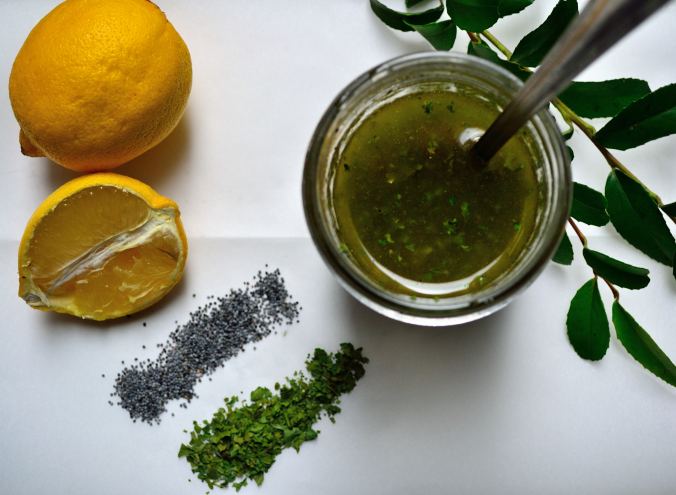
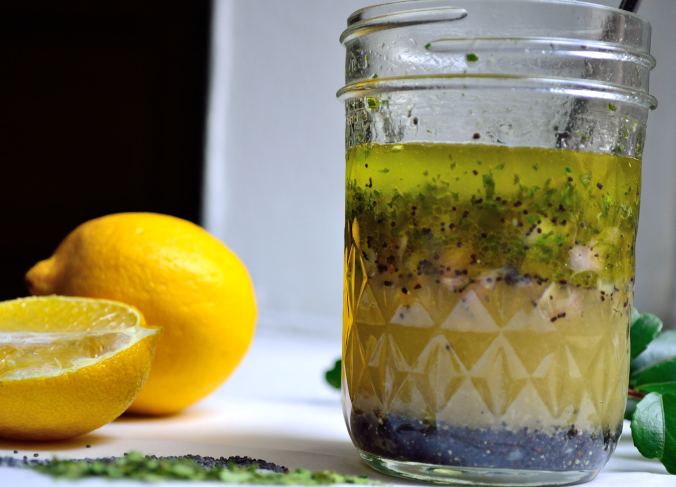
Told you this week was all about the Meyer lemons and poppy seeds.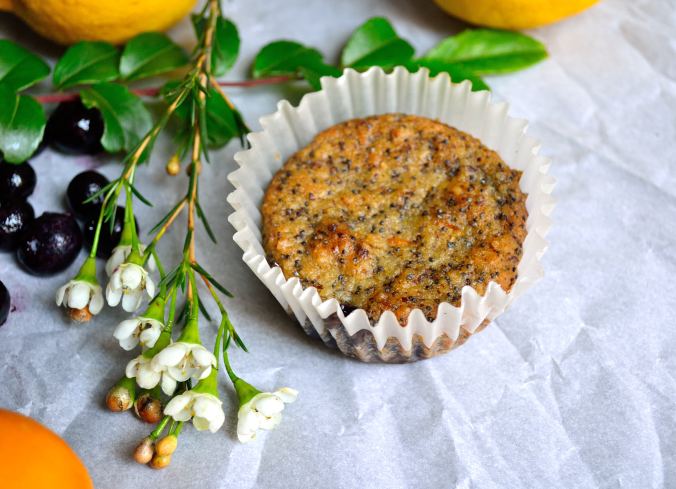
Of course, I had to make some lemon poppyseed muffins because who gets lemons and poppy seeds and DOESN’T make muffins? Psychos, that’s who. I might be crazy but I’m no psycho. Anyways….
I was a little worried that these wouldn’t turn out after I made my first batch and they were…. well, bland. They tasted like nothing and that’s not what you want from a muffin. So I switched a few things around and the second batch turned out much better. They even got the approval of my family at Easter, so that’s an even bigger plus!

I used frozen blueberries because that’s what I had at the time but if you want to use fresh that’s good too. You might have to adjust your cook time, so keep an eye on them. Other than that this recipe is pretty straightforward and fairly simple to make!
After the recipe, you’ll find a quick poll. It will only take a few seconds and it will help me make this blog even better for you. Thank you in advance and have an awesome weekend!
Meyer Lemon Poppy Seed Muffins with Blueberry Bottoms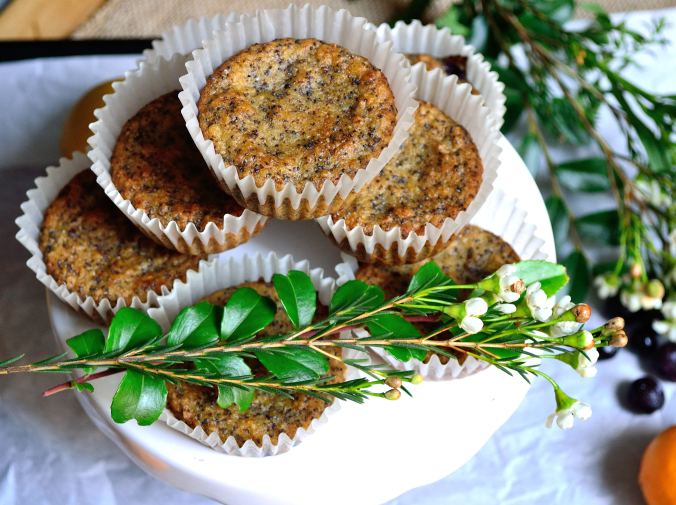
- 1 cup almond flour
- 6 tbsp tapioca starch
- 1/2 tsp baking powder
- 1/4 tsp baking soda
- 1/4 tsp salt
- 1/2 cup freshly squeezed Meyer lemon juice
- 3 tbsp Meyer lemon zest
- 1 flax egg (3 tbsp flax meal mixed with 6 tbsp water. Let sit for 10 minutes to gel)
- scant 1/4 cup maple syrup
- 1/4 cup coconut oil, melted
- 2 tbsp coconut sugar
- 2 tbsp poppy seeds
- 1 cup blueberries, fresh or frozen
- Preheat the oven to 350 and line a muffin tin with paper liners or lightly oil each well.
- Combine all of the dry ingredients, except for the lemon zest, into a medium bowl and whisk together so it’s light and fluffy.
- In a smaller bowl, whisk together the wet ingredients and make sure everything is completely incorporated.
- Make a well in the dry ingredients and pour the wet ingredients into the well. With a spatula, fold everything together. Once mixed together, add the zest and stir a few times to combine.
- Place 3 to 4 blueberries in the bottom of each muffin well and then spoon in about 2 tablespoons of batter. These won’t rise a ton, so you can fill them about 3/4 of the way up.
- Bake the muffins for about 22 minutes (a little less if using fresh blueberries). Remove them from the oven and see if the middle is set. If not bake for another 2 minutes.
- Remove the muffins from the oven and let them cool in the pan for about 5 minutes and then move them to a wire rack to cool completely.