Hearty Vegetable Cassoulet

CassouletHearty Vegetable Stew | Life Healthfully Lived 
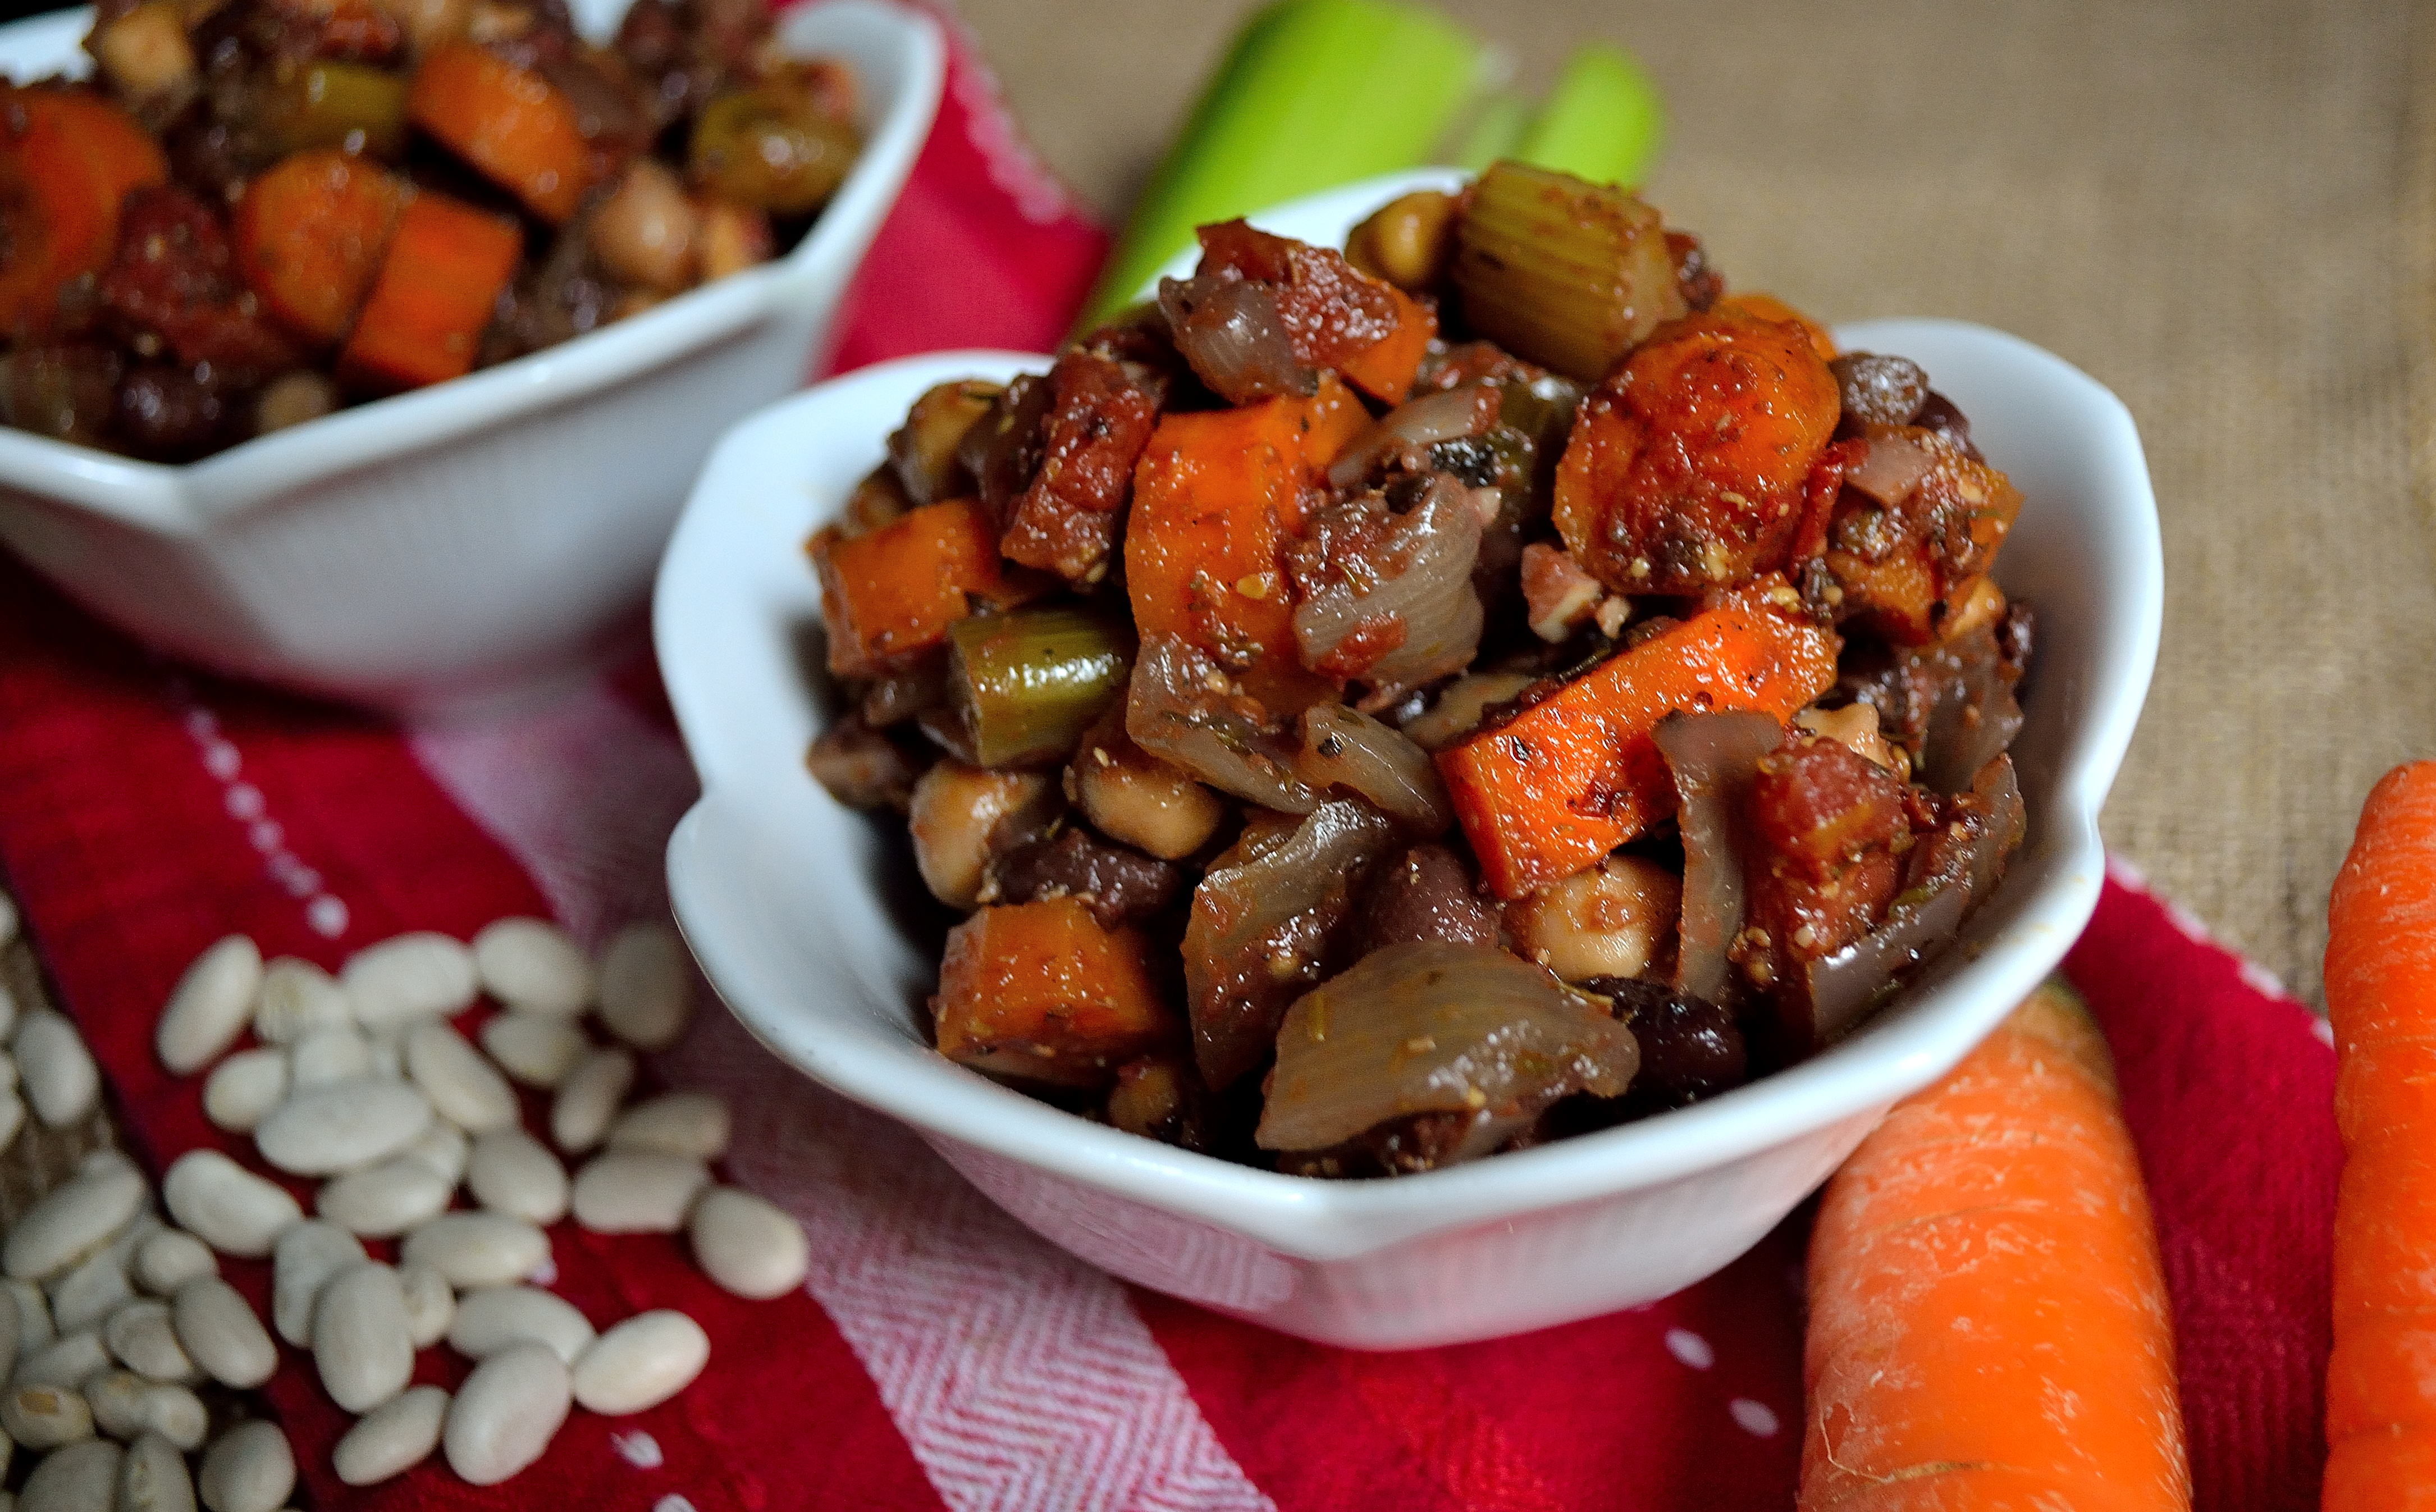
.  It just sounds fancy doesn’t it?  But then again, most French words sound fancy.  In fact, this dish is probably as far from fancy as you can get.  A cassoulet is a slow-cooked casserole that started out as a peasant meal.  Basically, all the scraps of meat, bones, and vegetables were placed into a clay baking dish and cooked over low heat for a long time to make a delicious cross between a casserole and a hearty stew.

Over the years, chefs and restaurants got a hold of it and “elevated” it to make it good enough to be put on expensive menus.  The truth was that not much needed to be changed to make a delicious dish because sometimes the simplest things are the tastiest.Hearty Vegetable Stew | Life Healthfully Lived

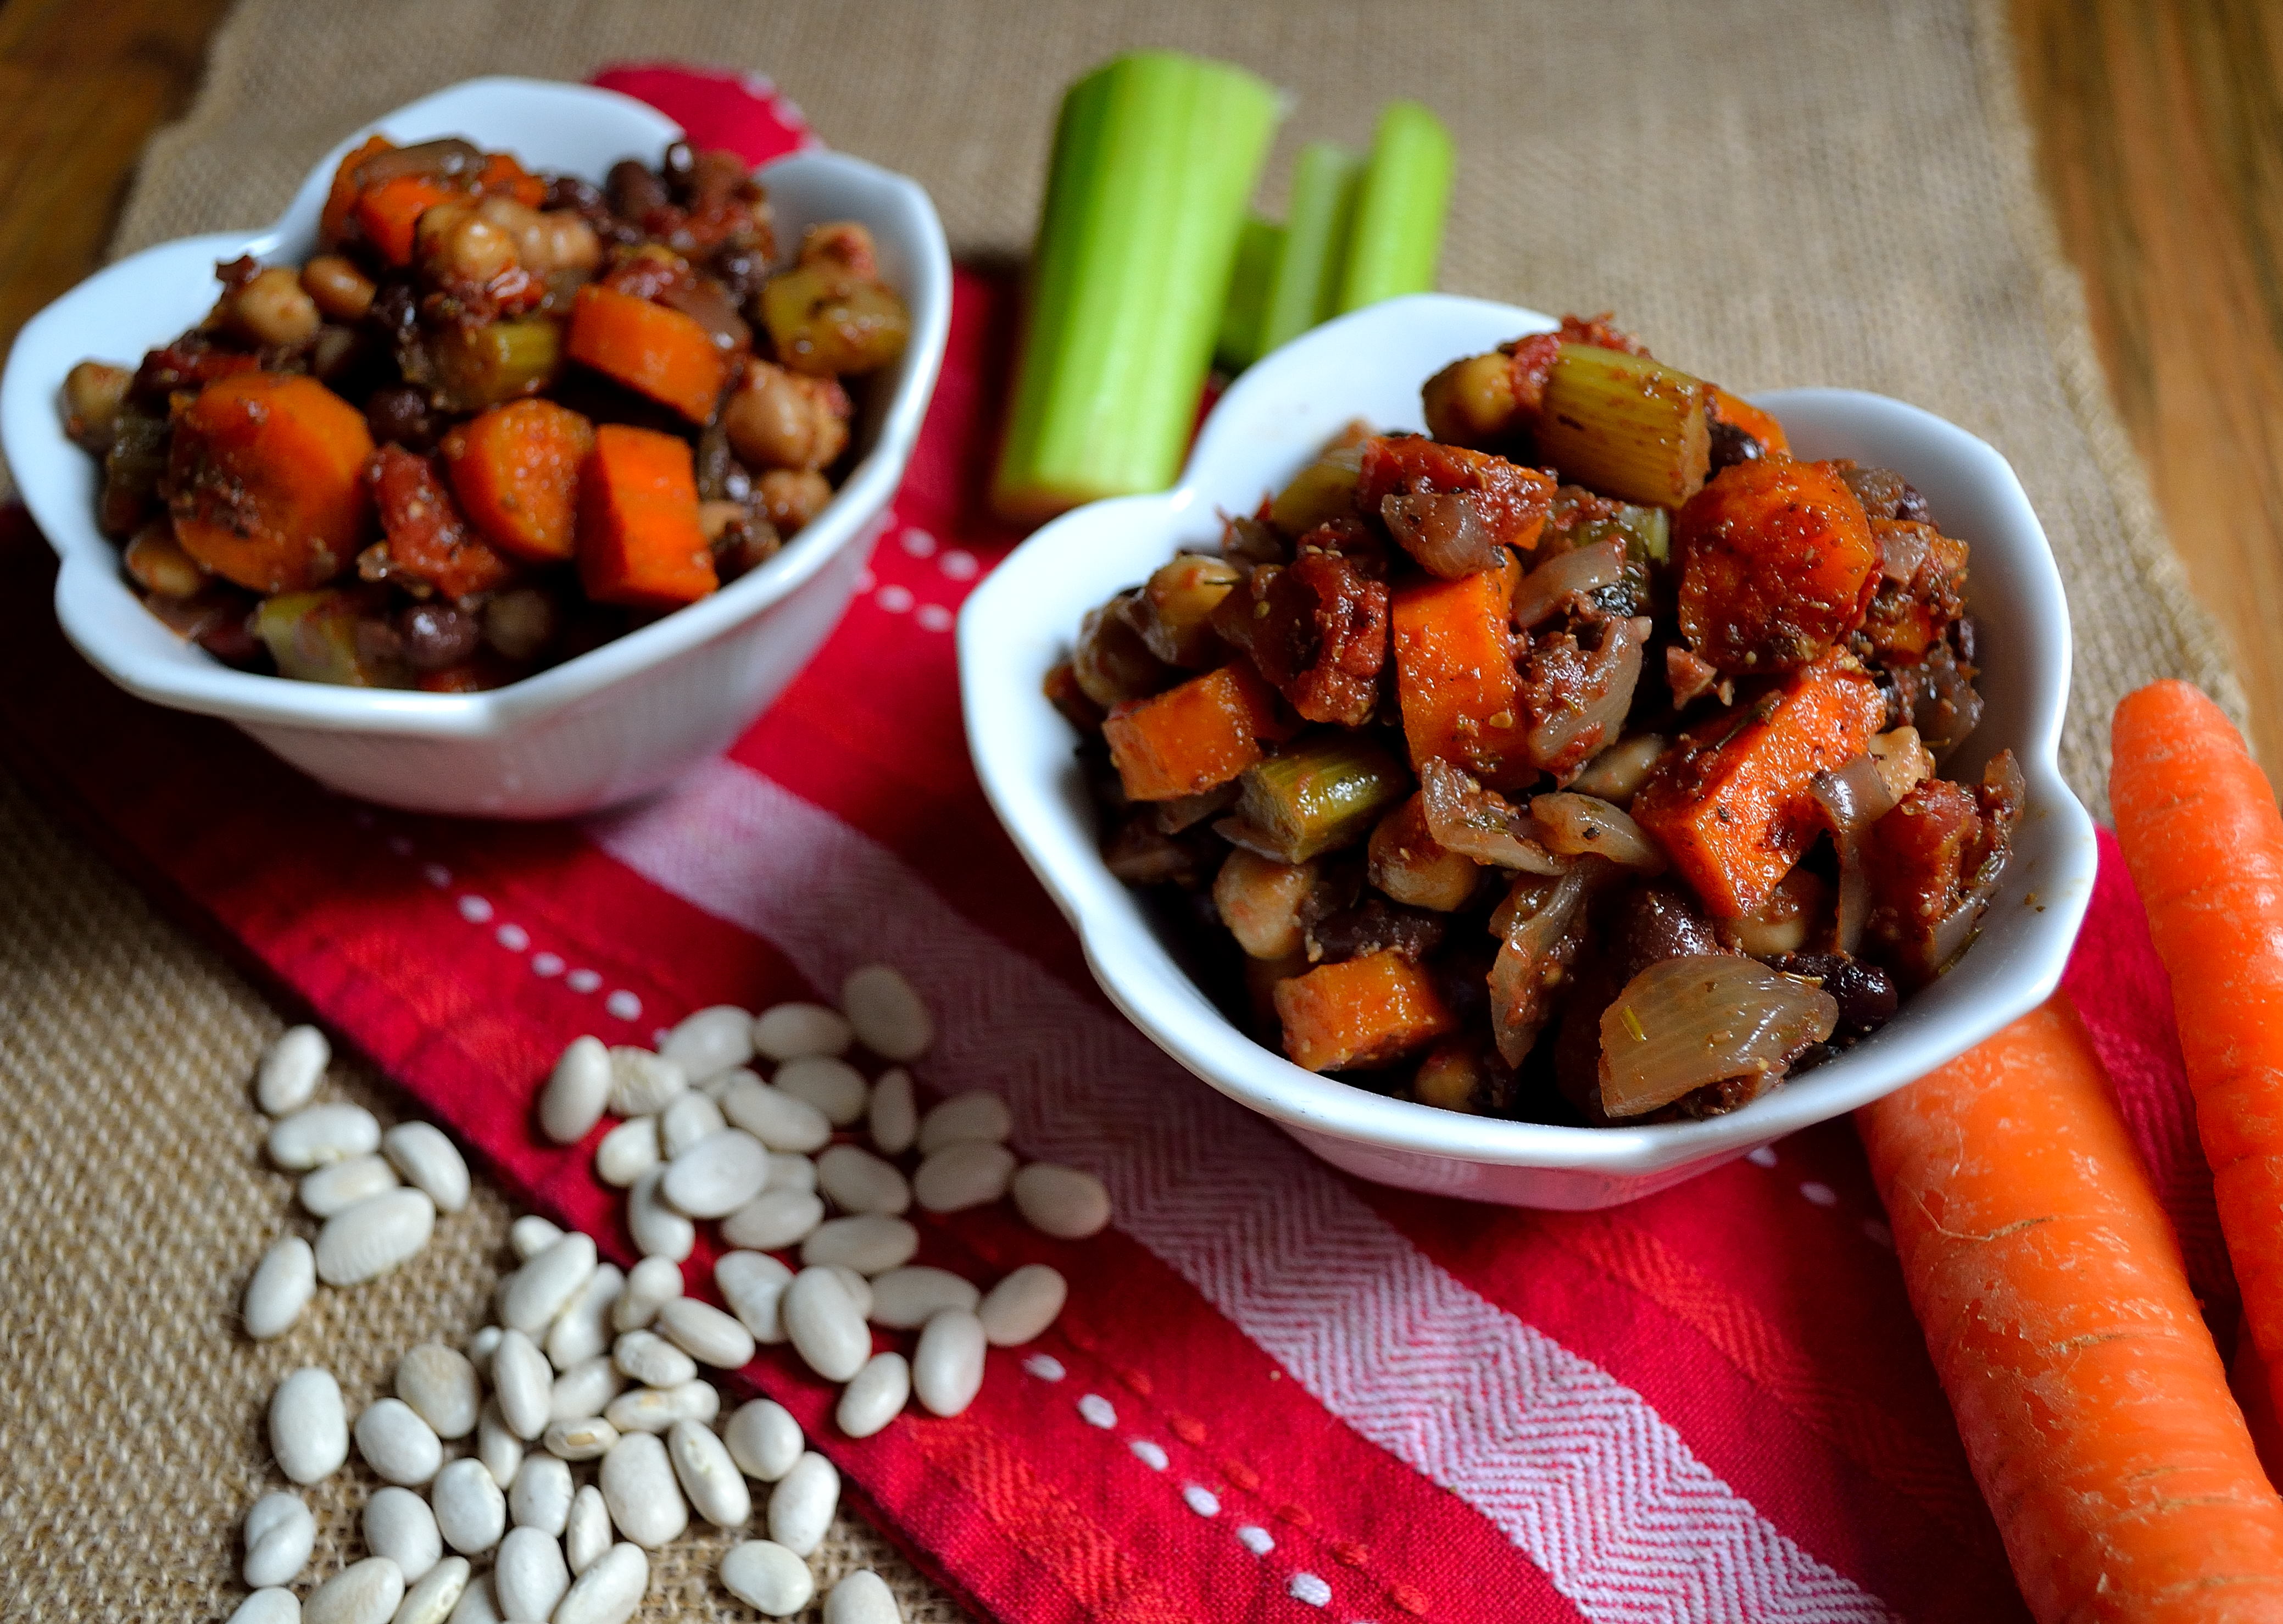
I made this cassoulet a little different than the traditional dish because I didn’t include any meat.  It is still a very rich dish that is great for the cooler nights we’ve been having.  You can also add meat if you wanted or mushrooms if you wanted to keep it vegetarian but add a “meaty” component.

This dish can be made ahead of time and then just popped in the oven when it’s time for dinner.  It tastes like you have spent all day cooking it, but we can just keep that our little secret!  So impress your friends and family with a tasty and fancy cassoulet that is as simple as could be.

Hearty Vegetable CassouletHearty Vegetable Stew | Life Healthfully Lived

  • 1 tsp olive oil
  • 6 cloves of garlic, minced
  • 1 1/2 cup onion, diced
  • 1/2 tsp dried thyme
  • 1/2 tsp marjoram
  • 1 tsp rosemary
  • 1/2 cup dry red wine (I used a malbec, but you can use whatever you have on hand)
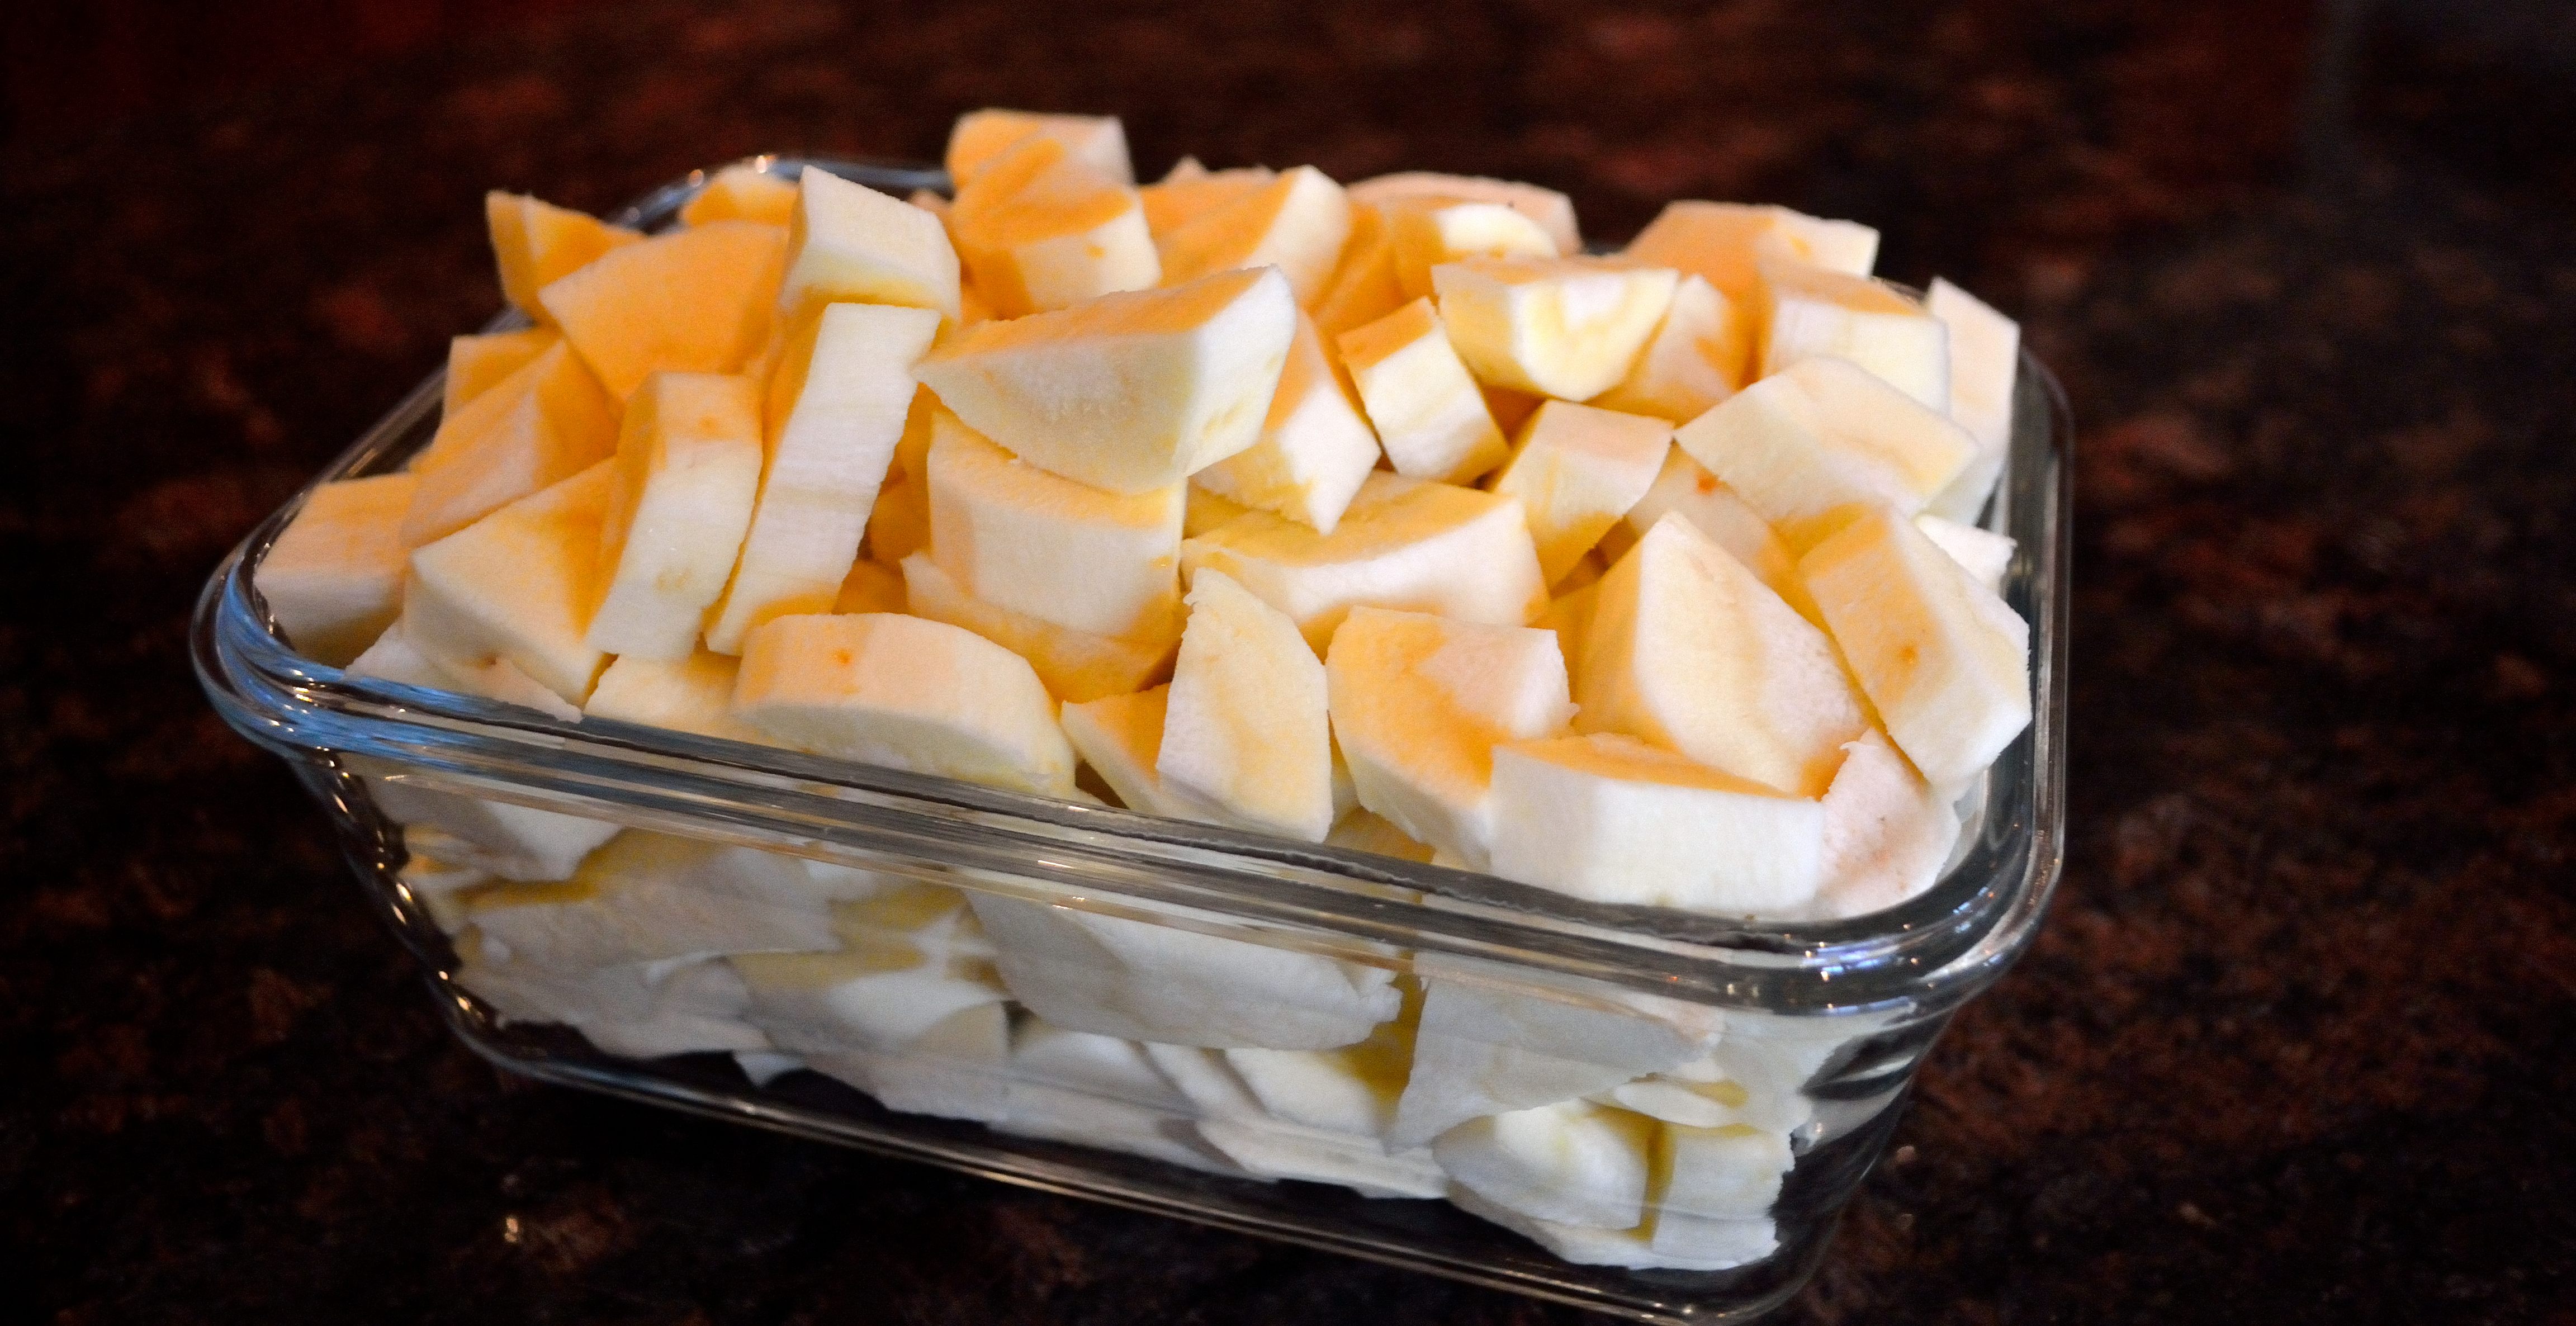
  • 1 cup carrots, peeled and diced into rounds
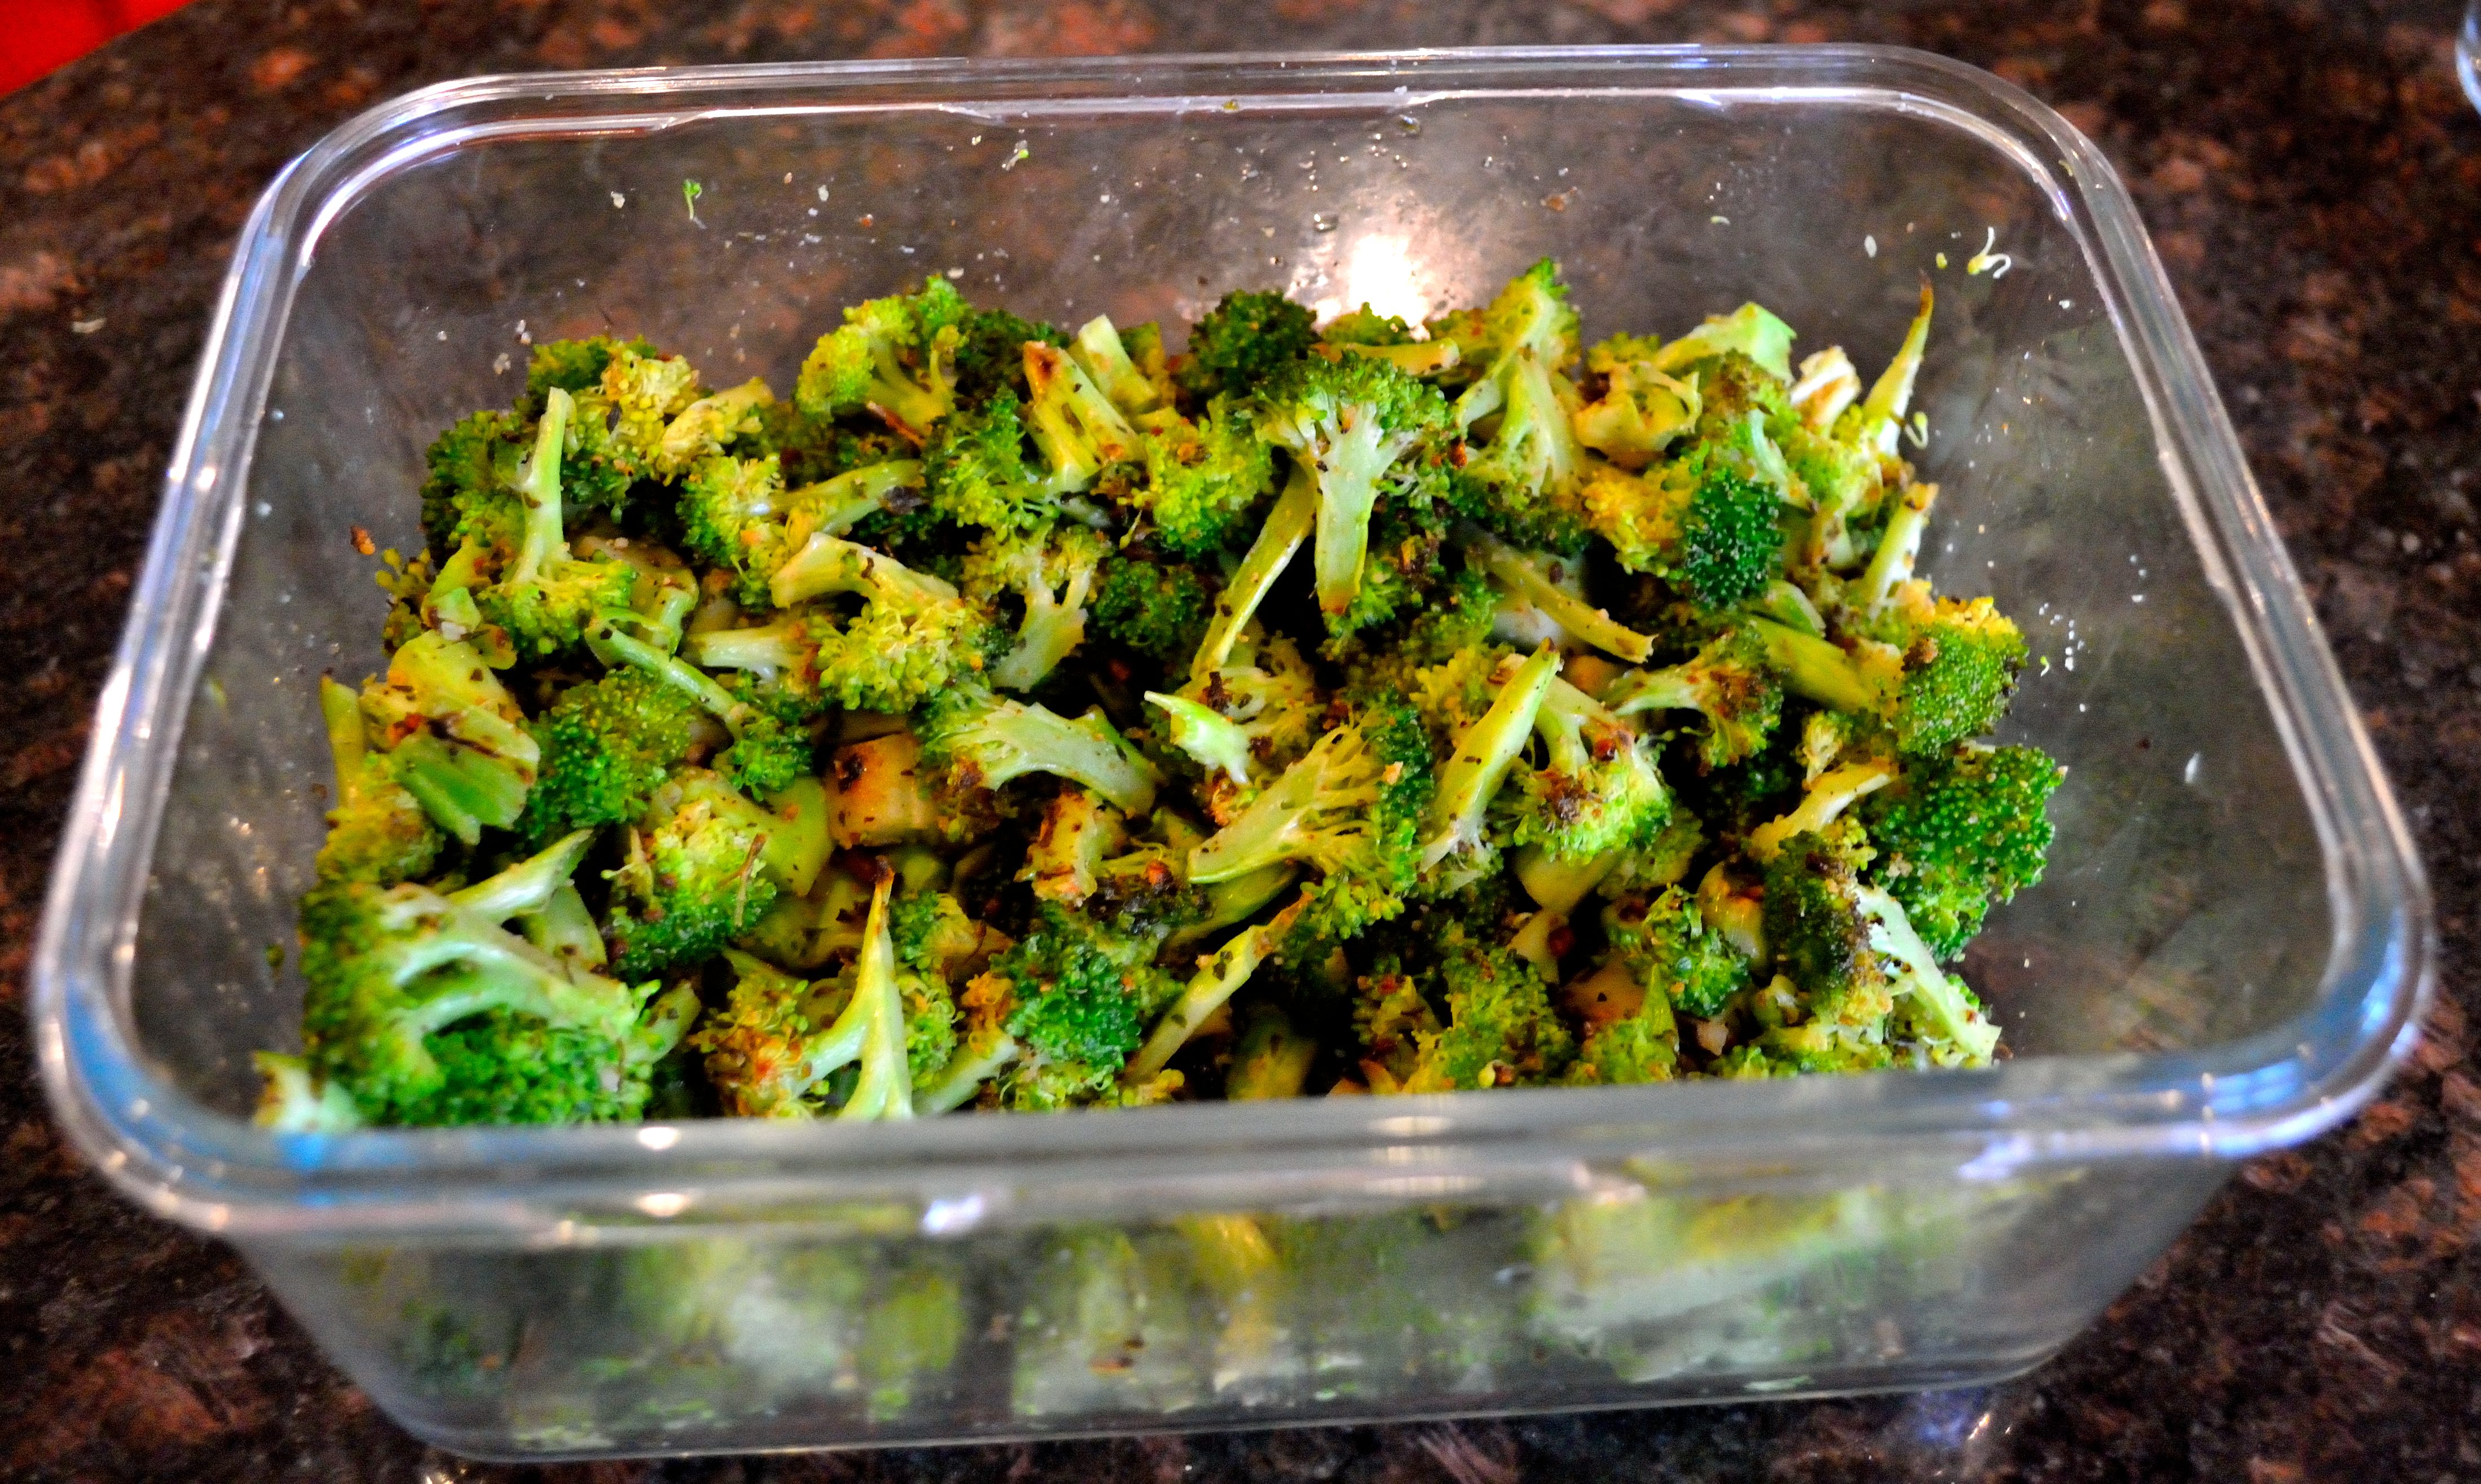
  • 3/4 cup celery, sliced
  • 1 can diced tomatoes (I used fire-roasted)
  • 1 tbsp molasses (you could use maple syrup too)
  • 1 tbsp spicy brown mustard
  • 1 can garbanzo beans, drained and rinsed
  • 1 can white beans, drained and rinsed
  • salt and pepper to taste
  1. Preheat oven to 350 and heat olive oil in a large saucepan over medium heat.  Add in the onions, garlic, thyme, marjoram, and rosemary.  Saute for 2 to 3 minutes
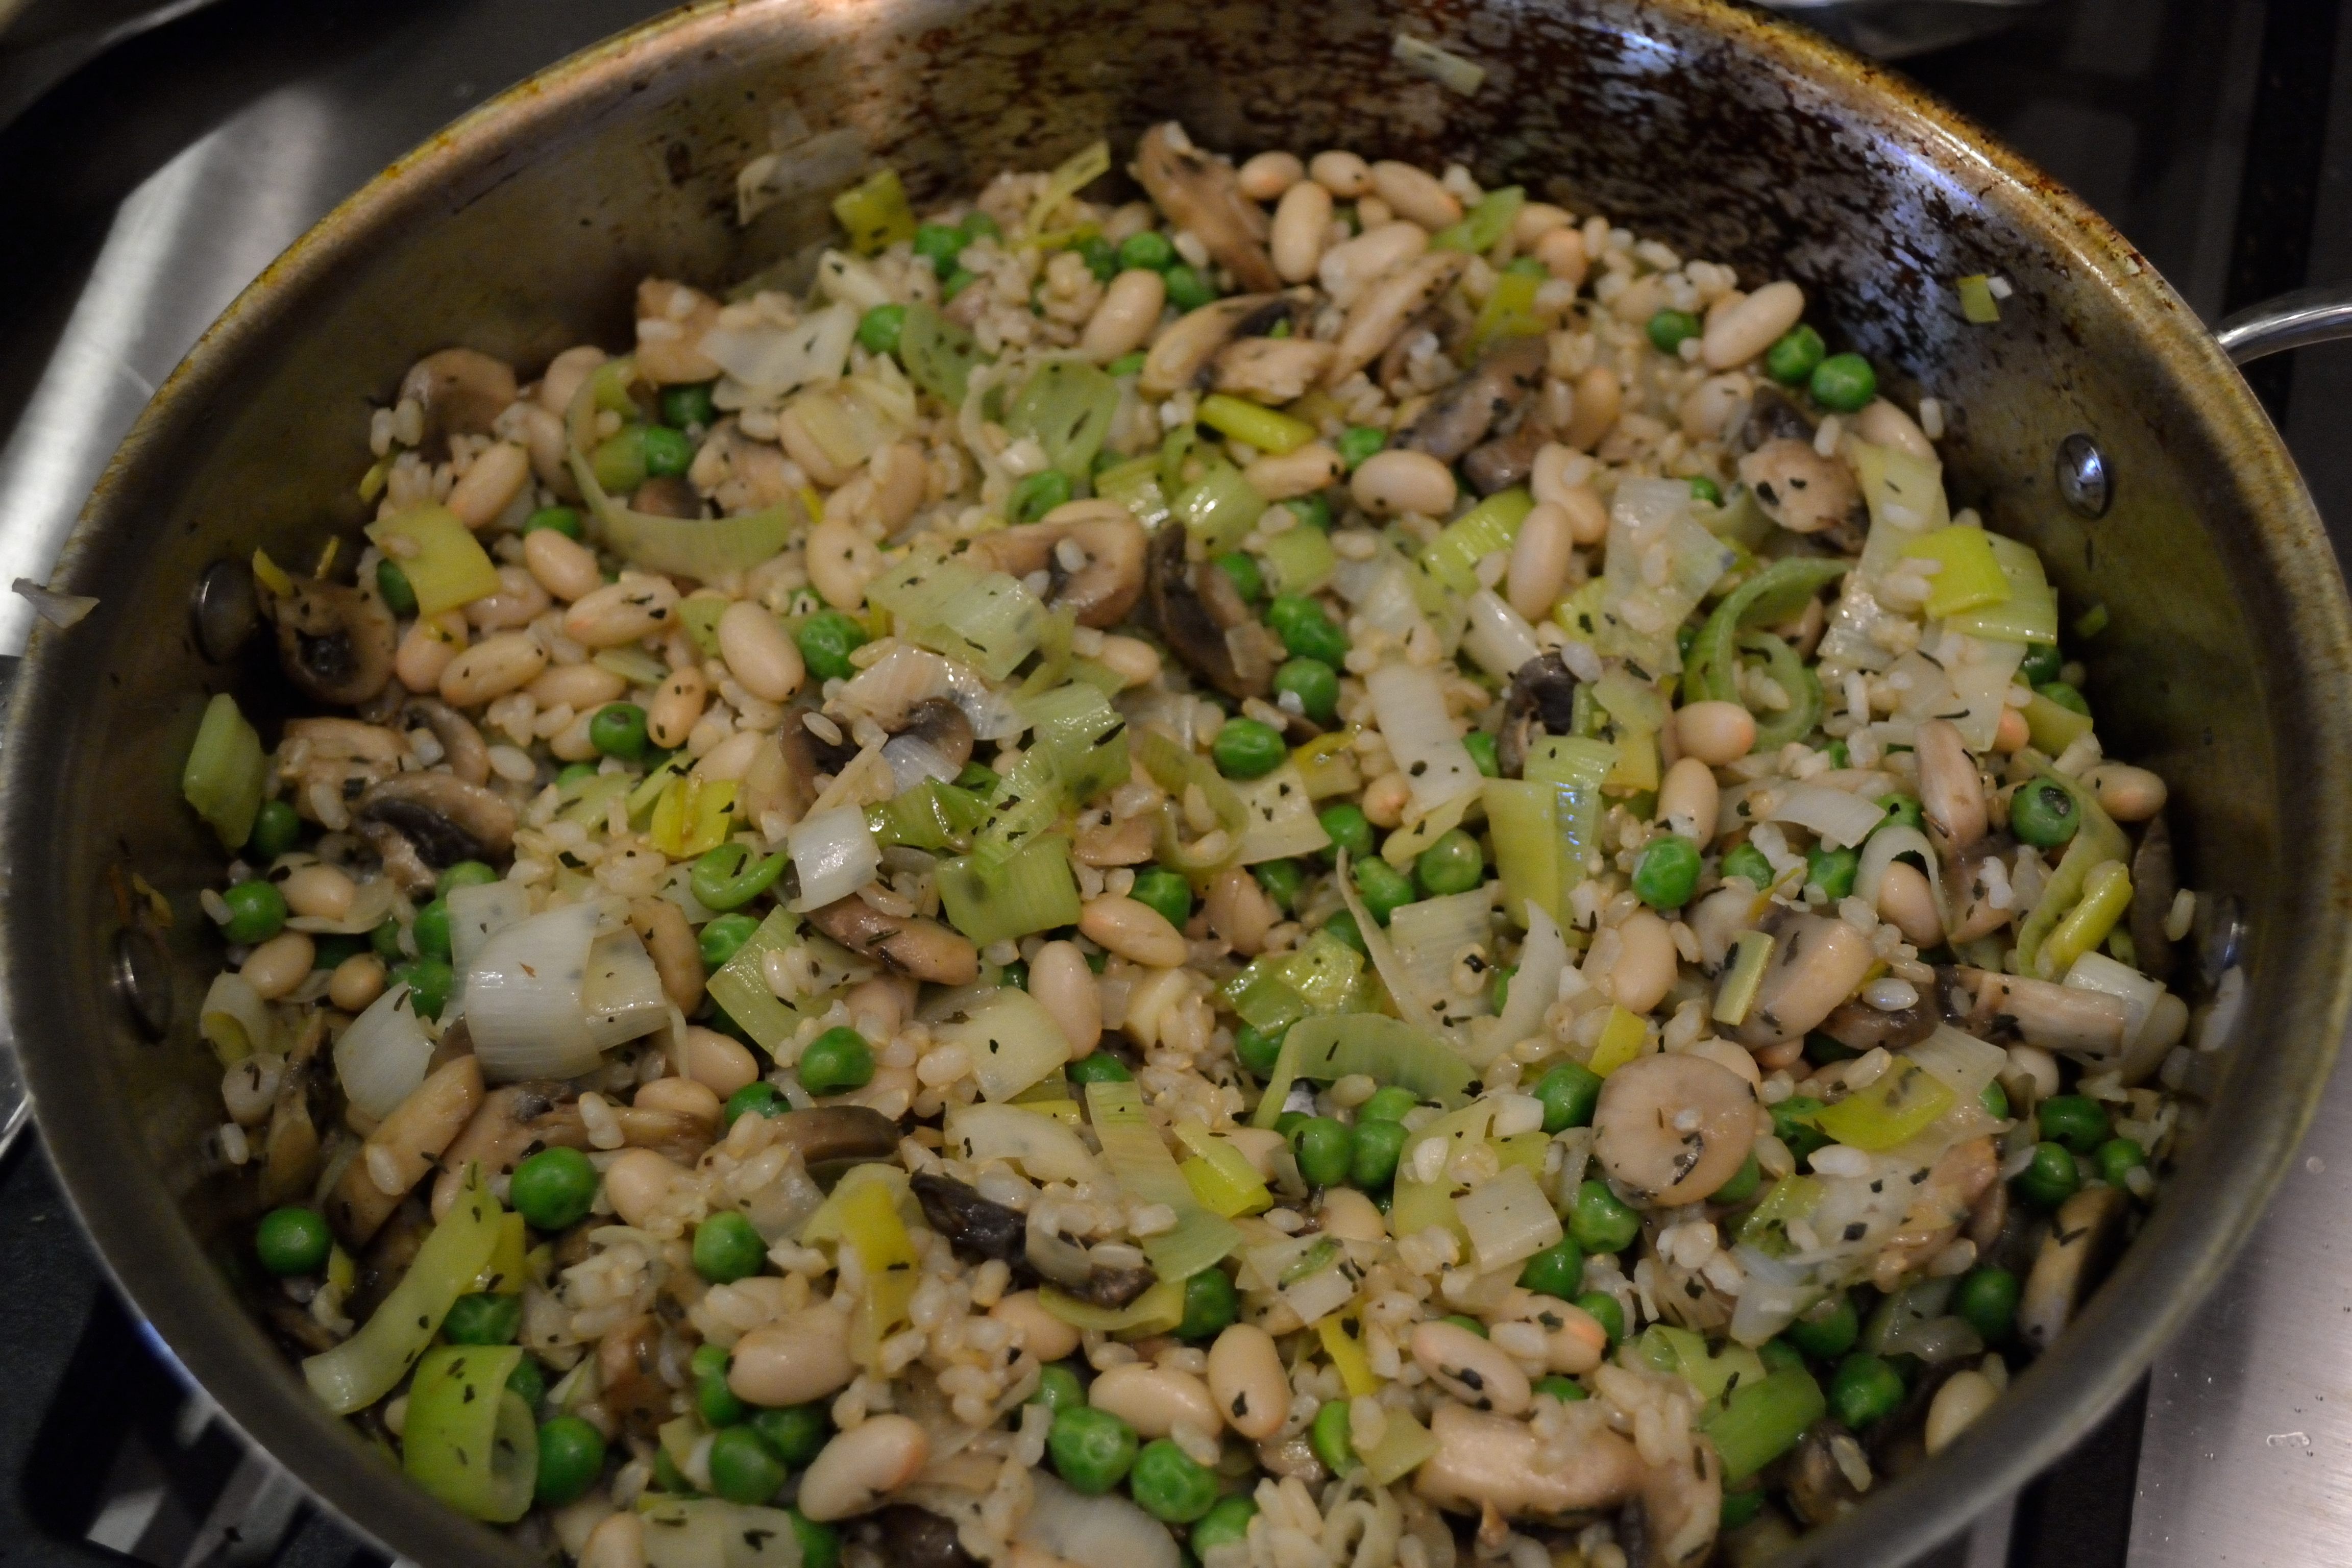
  2. Add the 1/2 cup wine and bring to a slow simmer.  Cover the dish and simmer for 5 minutes.  Remove cover and stir in the vegetables and simmer for another 10 minutes.  Add in the rest of the ingredients and return to a simmer.
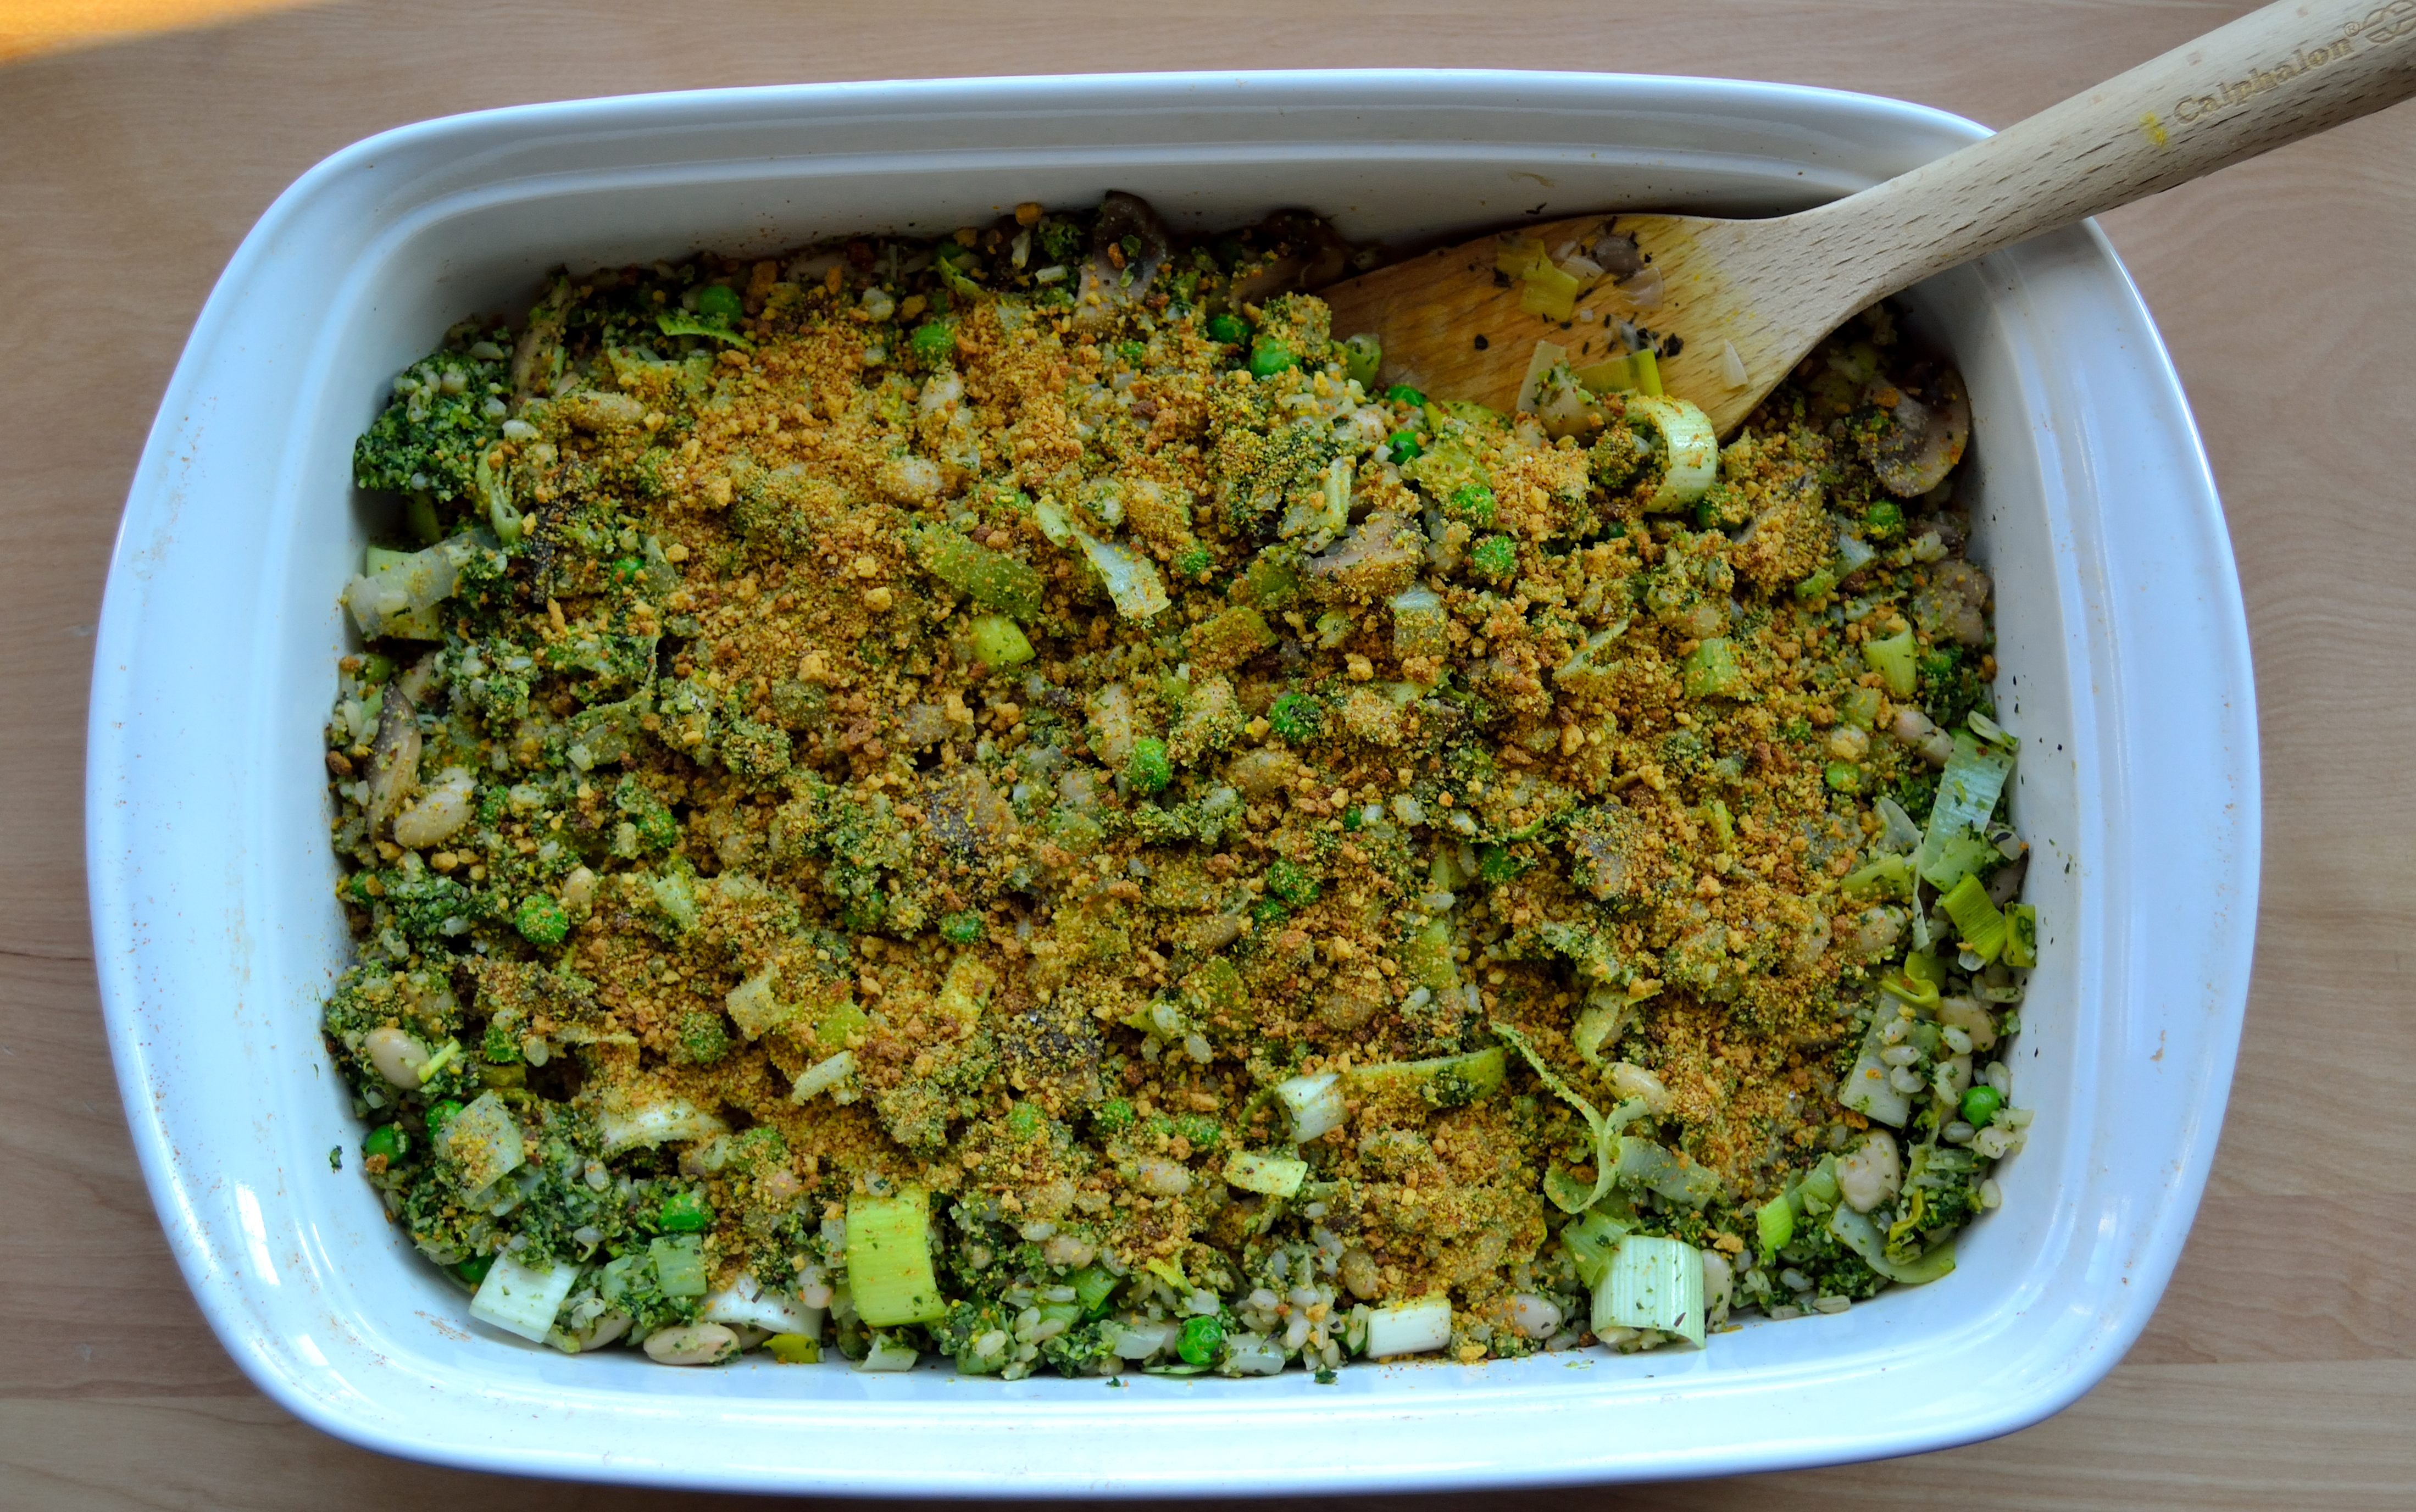
  3. Taste and adjust the salt and pepper to your taste.  Transfer the whole things to a 9 x 13 casserole dish and cover with aluminum foil.  Cook in the oven for 45 minutes.

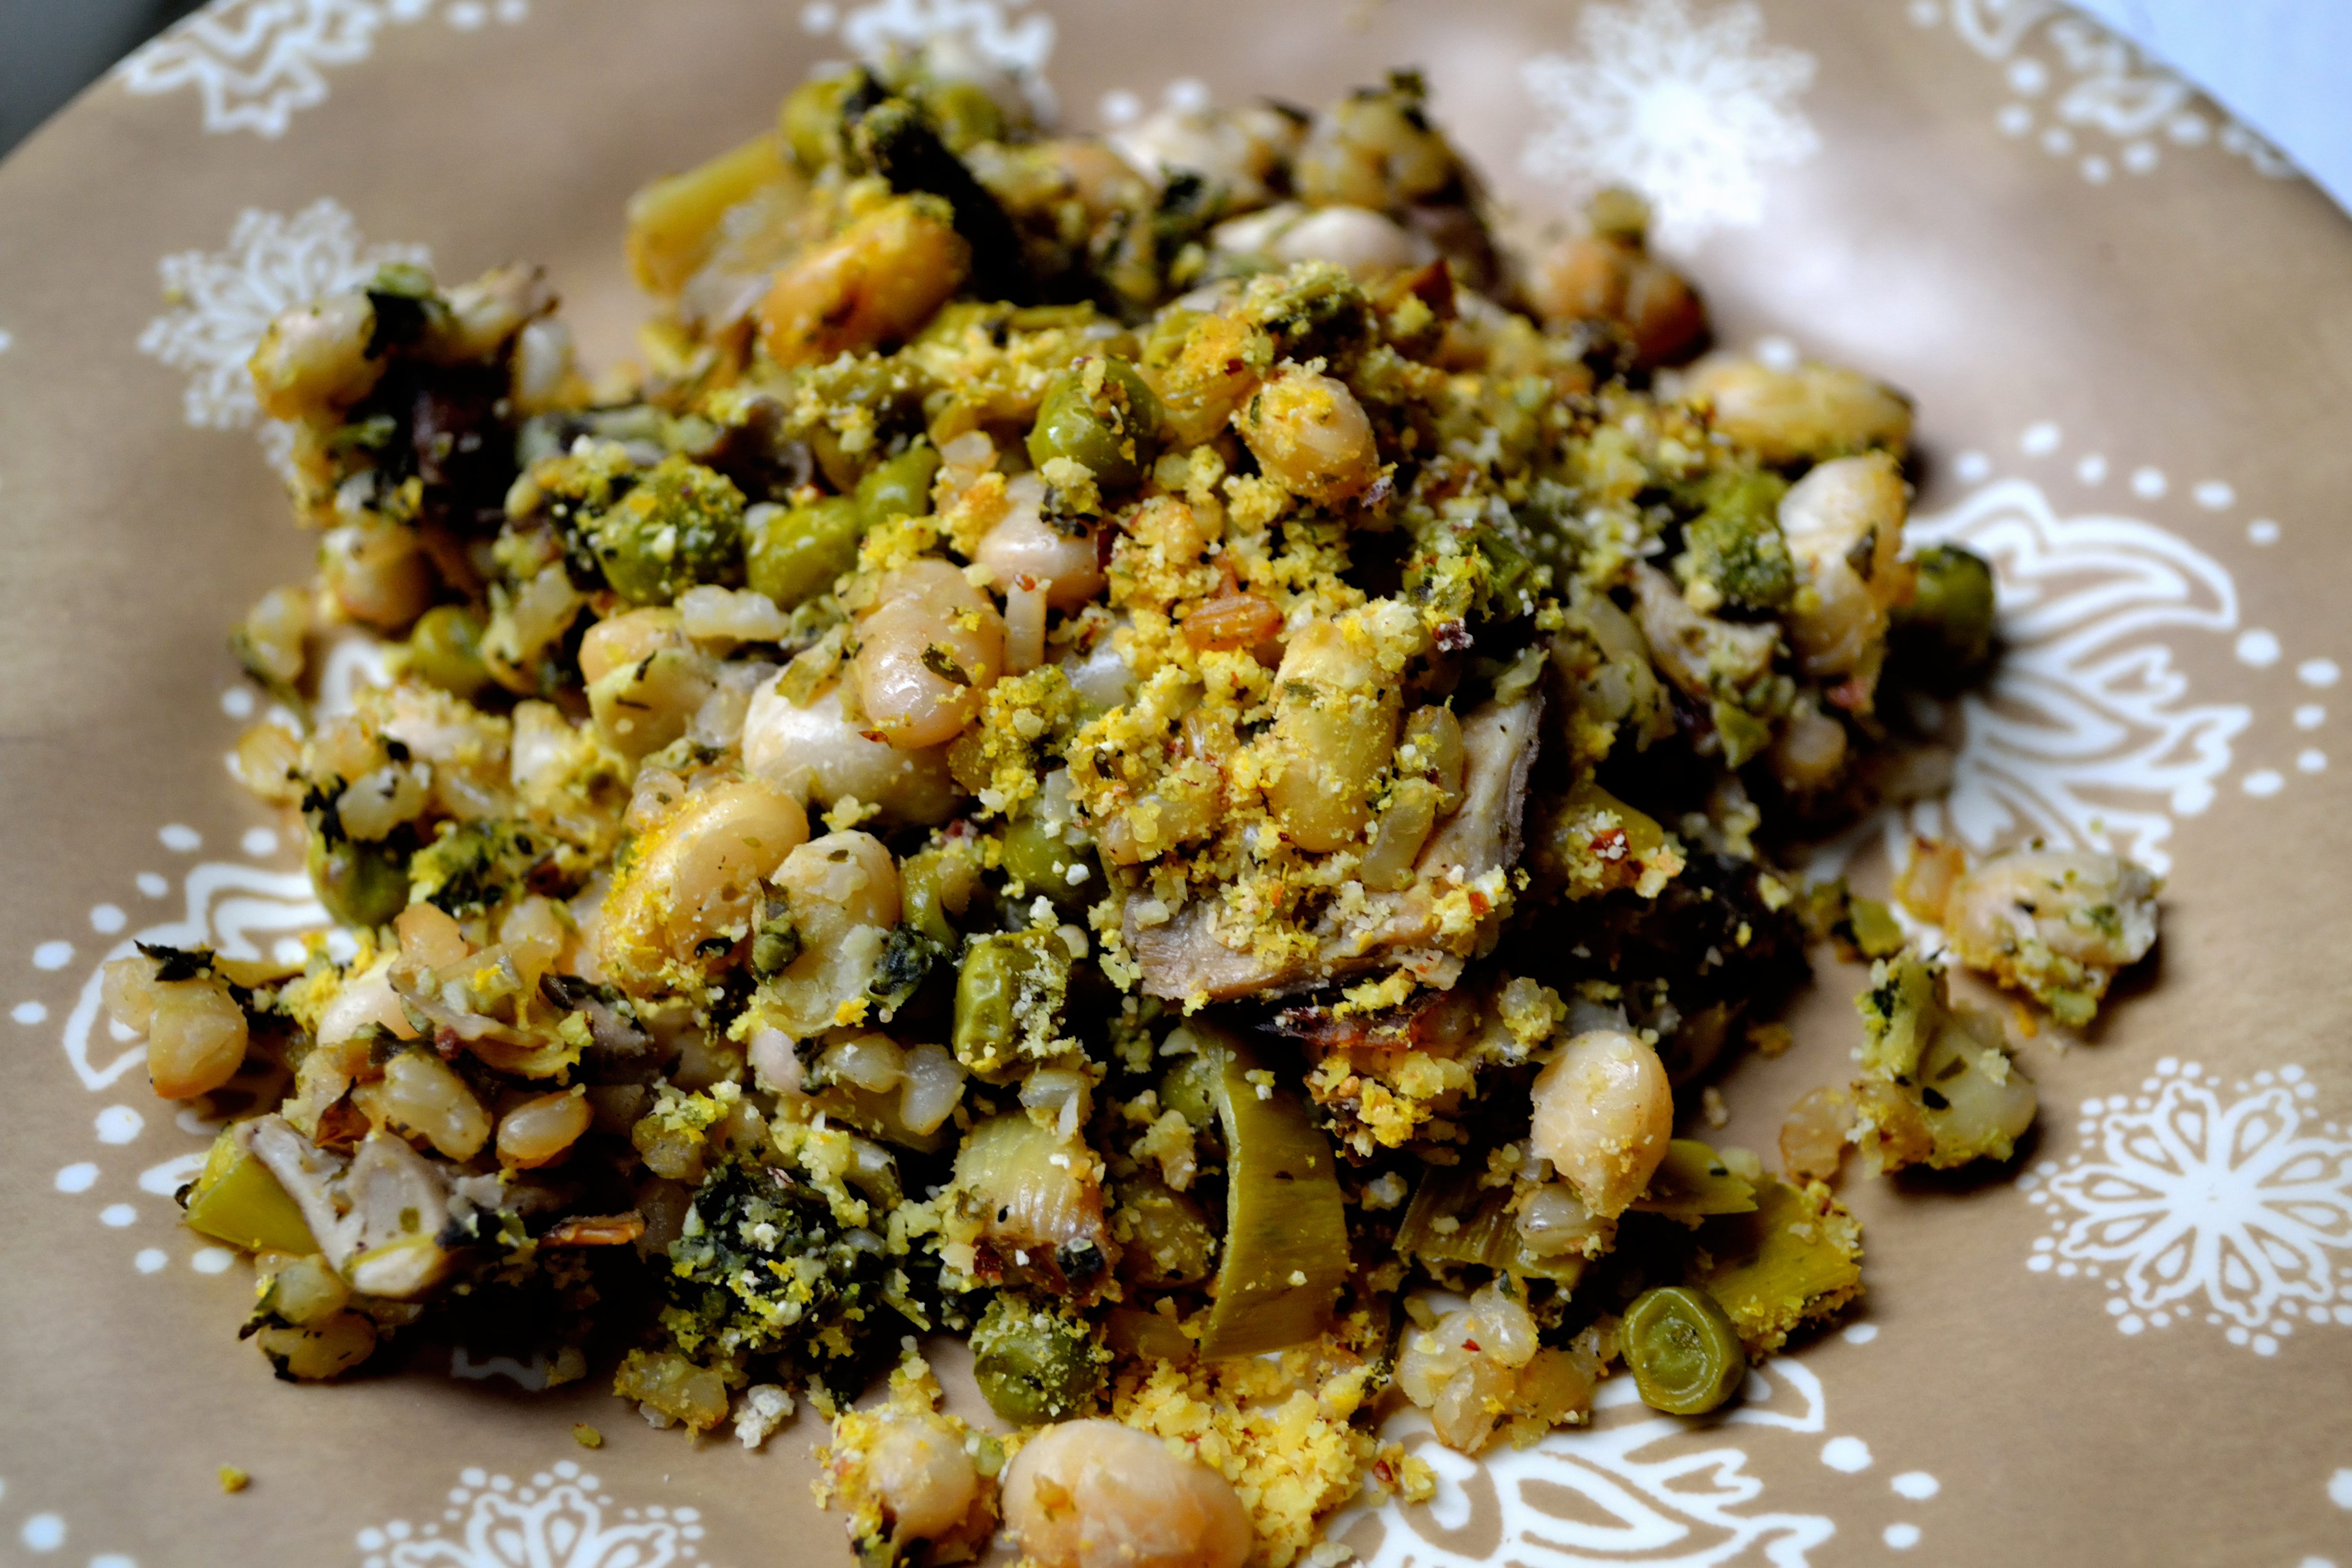
See? It really is a simple meal.  After cooking in the oven for 45 minutes, you’re left with a meal that is stick to your ribs good and is loaded with good for you vegetables and legumes.  If you want to do this meal with meat, I would use chunks of beef because they will handle the long cook time well.  Just make sure to brown them before adding them into the dish.Hearty Vegetable Stew | Life Healthfully Lived

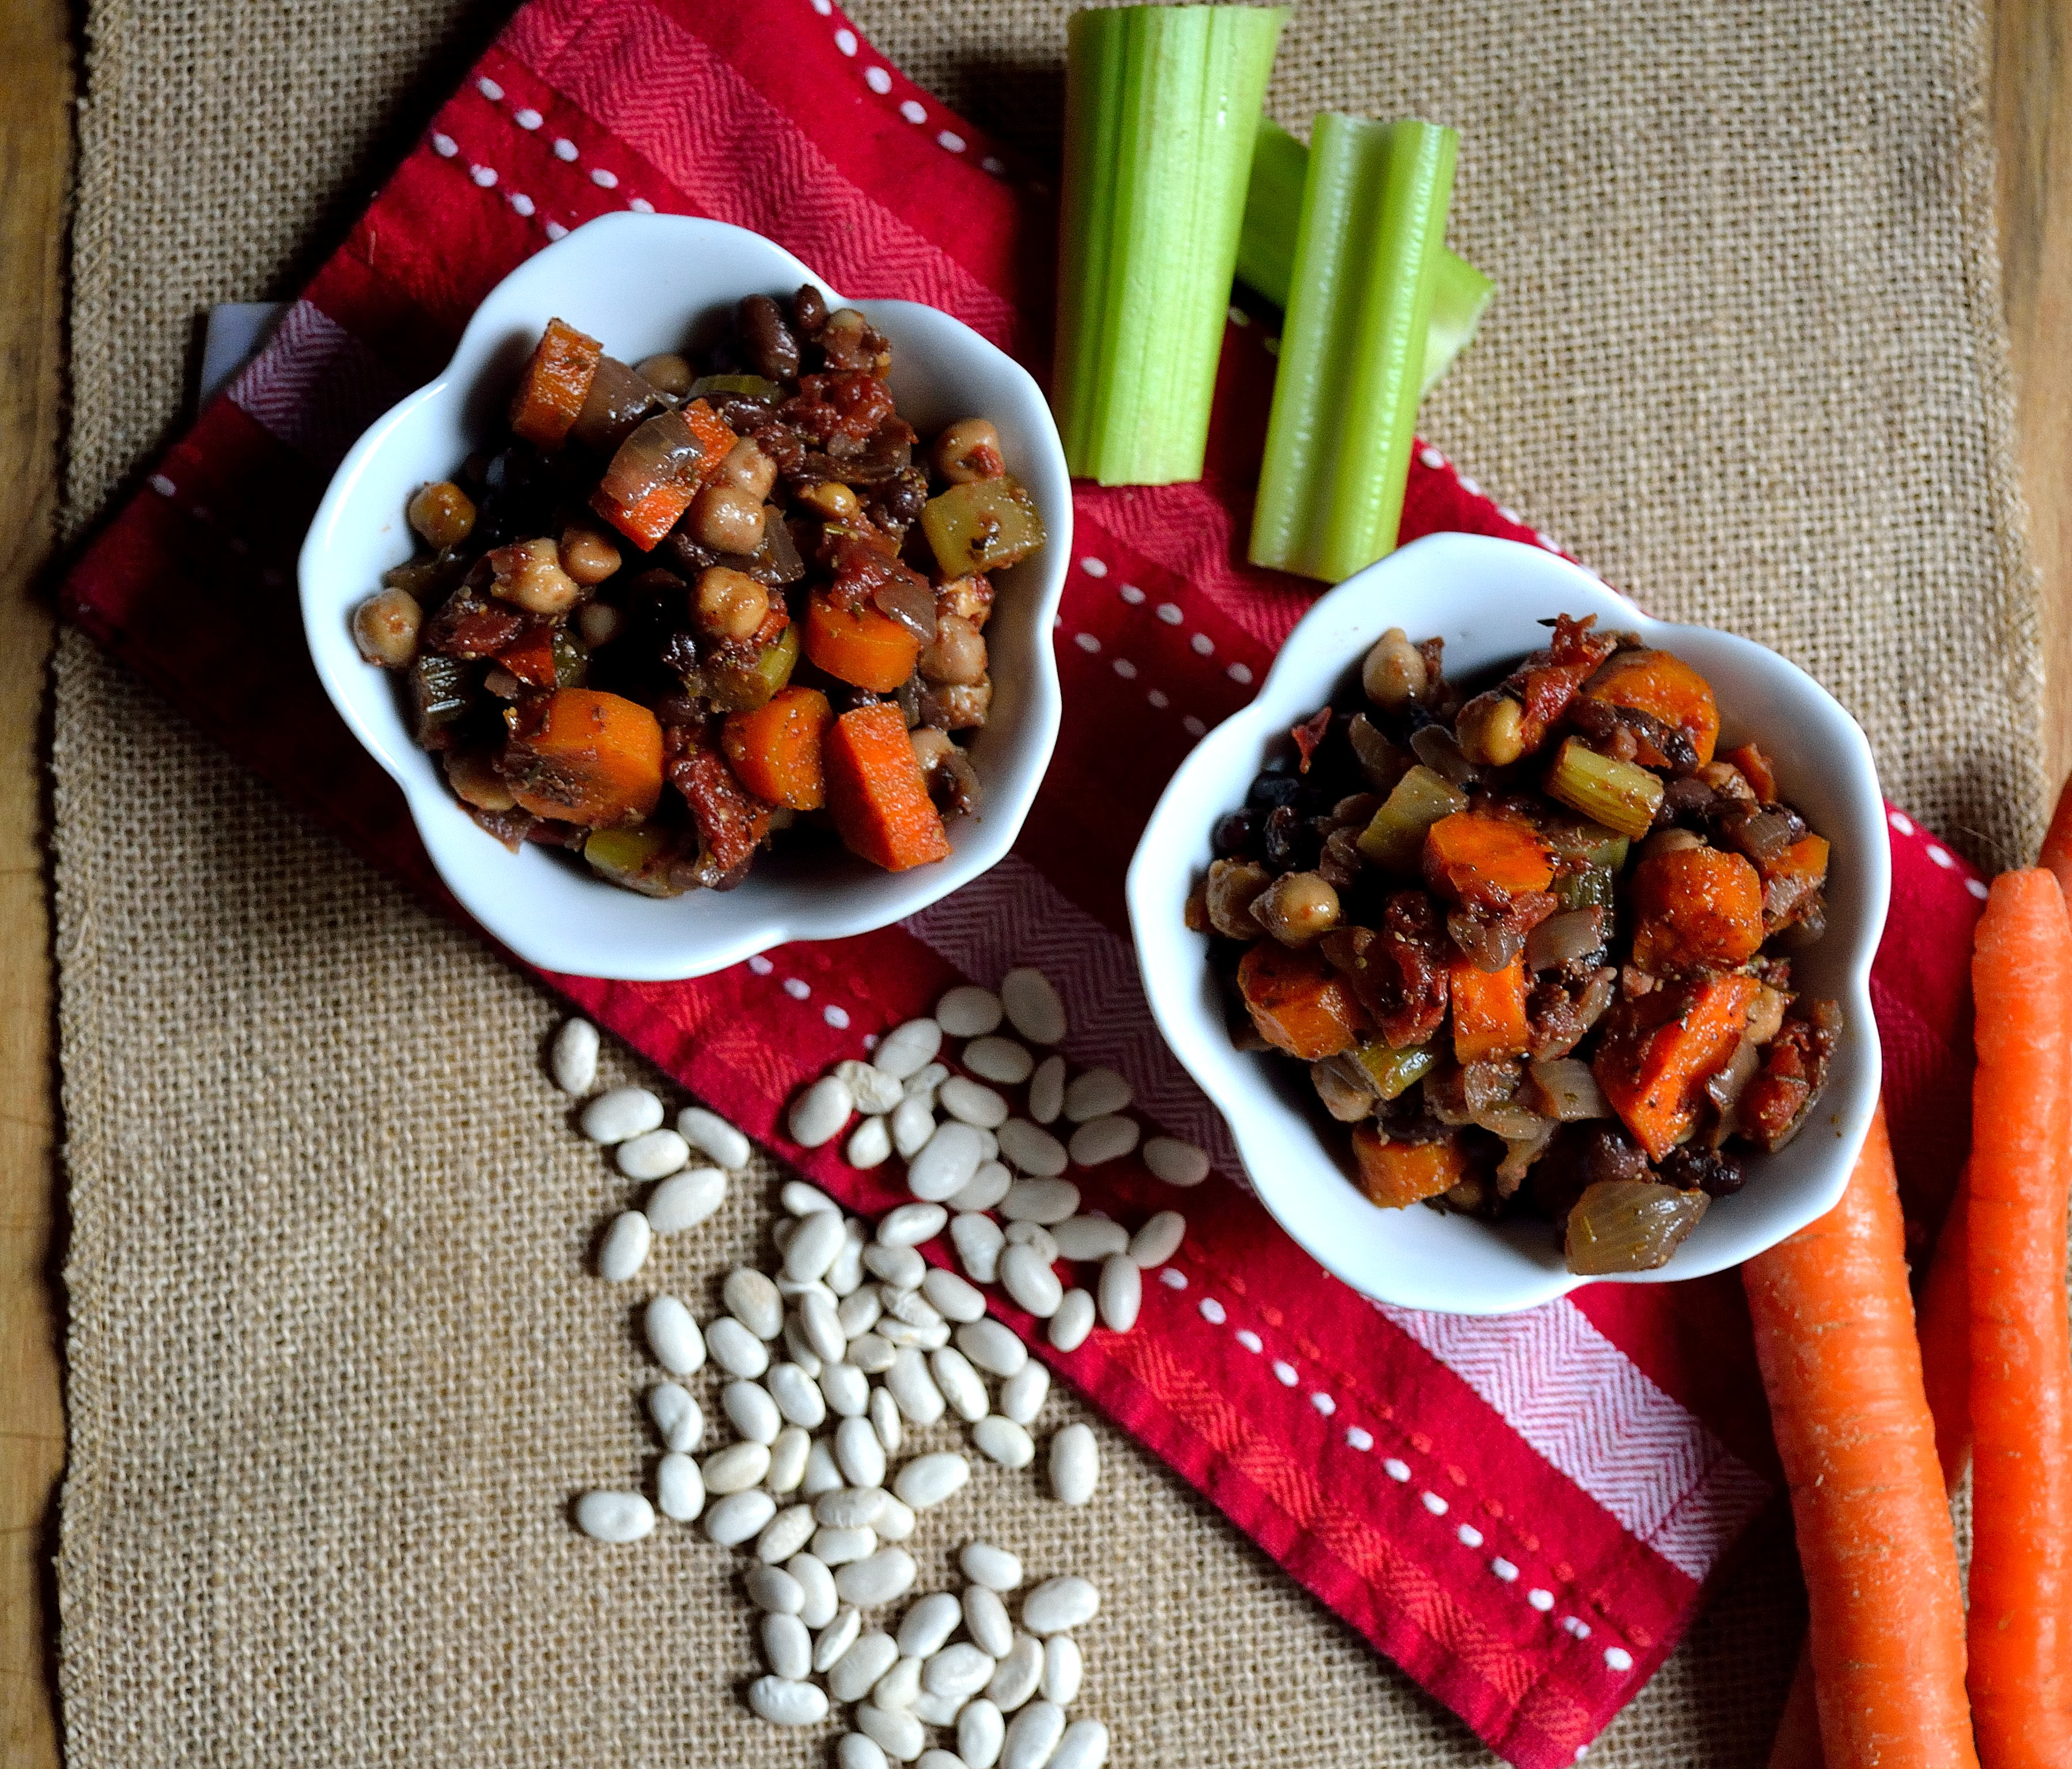
Oh, and Adam wants me to make sure to tell you to serve this with bread.  But then again he wants me to serve bread with every meal…

Have a great Friday everyone and I will see you on Monday!

Quick BBQ Dishes

Happy Labor Day everyone!  As we all enjoy this last long weekend of summer, I thought I would bring you a quick post highlighting some of my recipes that are easy to make and great to bring along to a party.

Maybe you totally forgot that you said you would bring something for the BBQ you’re headed to later today, don’t worry I’ve got you covered.  These recipes come together quick and are a big hit with the masses.  Plus they’re healthy, what more could you ask for?!

Even Better BBQ Sauce– Quick, delicious, and great for meat or vegetables!BBQ

Quinoa Cornbread Bites– Tasty little bites that are quick and gluten free! 

Tomato Cucumber Salad– One of my favorites, and perfect on a hot dayDSC_1760

Avocado Chicken Salad– A fun and tasty spin on the classic chicken salad

Tahini BBQ Summer Vegetable Bake– This one is great because it can be served hot or coldDSC_1843

Penne Pesto Pasta with Roasted Tomatoes– Who doesn’t love pasta, pesto, & tomatoes?DSC_1172

Key Lime Popsicles Make these immediately.  You and other party-goers will thank me. DSC_1818

Healthy Brownie Bites– A healthy version of brownies and a crowd pleaser! 

Hope these help you out and you enjoy your Labor Day!  See you on Wednesday!

Spring Casserole

It’s been a struggle, but I think spring is almost here.  Every time I say that we slip back into 30 degree temperatures with a chance of flurries in the forecast.  But I’m going to be optimistic and say the worst is passed and sunshine and warmth is right on the horizon.

One of the ways I’m able to stay so optimistic is that spring produce is starting to hit the shelves.  Things like asparagus, peas, leeks, and mushrooms are all emerging and signaling the end of a long winter.  When new fruits and vegetables come to the grocery store I always get excited to try new recipes and come up with some delicious meals.

I can’t take all the credit for this dish though. It was largely influenced by Keepin’ It Kind’s Pumpkin Seed Pesto Rice Casserole.  I really liked the idea of using a pesto as the sauce in a casserole.  I changed a few things up and loaded it with a lot of yummy spring vegetables. I brought it along with me to my families Easter brunch and they seemed to enjoy it.  It’s great to feed a crowd and really simple to put together, plus the leftovers are delicious!

Spring Casserole

DSC_0863

Slightly adapted from Keepin’ It Kind’s Pumpkin Seed Pesto Rice Casserole

Pesto Sauce

  • 1/2 cup sunflower seeds
  • 1 cup spinach (I used frozen but if you use fresh add another cup)
  • 3 large cloves garlic
  • 1 tsp dried basil
  • 2 tbsp lemon juice
  • 2 tbsp olive oil
  • 1/4 tsp salt
  • 1/4 tsp pepper

Spring Casserole

  • 1 cup chopped asparagus
  • 1 package mushrooms, sliced (any variety, I used baby bella)
  • 1 cup peas
  • 2 leeks, white parts only, sliced
  • 1/2 cup chopped onion
  • 1 15 oz. can cannellini beans, rinsed and drained
  • 1 cup cooked brown rice or quinoa
  • 2 tsp Italian seasoning
  • salt and pepper to taste
  • lemon juice to taste

Bread crumb topping

This topping is totally optional but adds a nice crunch. If you’re gluten-free use your favorite gluten free bread. 

  • 2-3 slices bread, dried out
  • 1 tbsp nutritional yeast
  • 1/2 tsp basil
  • 1/2 tsp oregano
  • 1/4 tsp salt

1. Start by making your bread crumbs.  Place everything in a food processor or blender and pulse a few times until you have a crumb consistency. Set aside.

Bread Crumb Topping

Bread Crumb Topping

2. Make your pesto next.  Combine all pesto ingredients in a food processor or blender until you reach desired consistency.

Spinach Pesto

Spinach Pesto

3. Next, heat a large pan over medium high heat.  Saute the onion and leeks until soft, about 5 minutes.  Then add in the mushrooms and cook until their size reduces by half.  Then add in the peas, asparagus, rice, beans, and seasonings and heat through for another 5 to 8 minutes.  Place this mixture into a large bowl.

DSC_0853

4.  Preheat oven to 375. Scoop the pesto into the large bowl and combine everything really well.  You don’t want any large chunks of pesto hanging out in the mix. Then pour the mixture into a lightly oiled casserole dish and sprinkle the bread crumbs across the top.  Place in the oven and cook for 20 to 25 minutes or until the bread crumbs are golden brown.

DSC_0856

And that’s it!  A simple spring casserole that is easy to make and tasty to eat!

DSC_0787

What are some of your favorite spring vegetables and how do you like to eat them?

Happy Friday everyone and have a great weekend!

DSC_0866

Big Batch Cooking

While I’m working on coming up with a new video series for the blog (totally open to suggestions of what YOU want to see) I thought I would use the Wednesday post to share a few of the things that I do during the week to help make eating and being healthy easier.

Big batch cooking is one of the best ways that I save time and brain power when it comes to making healthy meals.  It’s exactly what it sounds like; I cook a lot of food all at once.  That simple.  I do this with vegetables and grains/legumes. Sunday and Monday I will spend time washing, cutting, and prepping all the vegetables that I bought on Friday.

Parsnips cut and ready to be roasted

Parsnips cut and ready to be roasted

Then it’s time to cook it all.

My favorite way to cook my vegetables is to roast them.  It tastes great and it’s an easy way to cook a lot of vegetables at one time.  I roast sweet potatoes, parsnips, beets, cabbage, and green beans.  I also saute a big batch of broccoli and sometimes throw a few carrots into the mix.

Broccoli cooked and ready to be added to meals!

Broccoli cooked and ready to be added to meals!

While my vegetables are roasting I cook up quinoa, brown rice, and whatever beans I have on hand like black beans or garbanzo beans.  I cook these on the stovetop.  I know a lot of people like to use canned beans for the convenience, but I like to use dried beans because it’s cheaper than buying the cans.  It takes a little bit of planning since you have to soak the beans before you cook them but other than that you just boil and simmer them on the stove for 20-40 minutes.

Once everything is done cooking, I put them into large glass containers, let them cool, and stick them in the fridge.  Now I don’t have to worry about cooking them on a busy weeknight.  I can just pull out the container warm them up, throw them into whatever dish I have planned for that night and get dinner on the table in a timely manner.

You can do this with other things as well.  You can cook up big batches of chicken or pork, you can hard boil a bunch of eggs, or you can wash, dry and cut up leafy greens to be used for salads throughout the week.

Batch of my chickpea tofu ready to be added to stir fry

Batch of my chickpea tofu ready to be added to stir fry

Cooking a whole lot of things all at once and having them ready when you want to eat takes the work out of planning a healthy meal.  How many times have you come home from a long day at work and realized if you want to eat a healthy dinner you’re going to have to spend at least 40 minutes in the kitchen getting it ready?  At that points it becomes much more tempting to just grab something at a drive through or get a frozen dinner from the grocery store, neither of which are that healthy of an option.

Do yourself a favor and give big batch cooking a try.  I bet you’ll find that it saves you a bunch of time and helps you stick to your healthy lifestyle!

My Favorite Hummus

Hummus has almost a cult like following.  People can’t get enough of the stuff and will put it on any and everything.  I am one of those people.  I love the creamy texture and garlicky, smokey taste.  I like dipping things into it, spreading it on anything, and adding it to any meal that I can.  It’s pretty much amazing.

But there is one problem.  I have had a really hard time recreating the texture at home.  Store bought hummus is so smooth and creamy and that’s what makes it so addicting.  I really like making my own though because it’s cheaper and I control the ingredients.  It seemed every time that I made my own the taste would be just fine but I would end up with a dense and thick paste instead of smooth and creamy.  Not so good.

After a lot of testing out a ton of recipes and techniques I think I finally found the best method to make the perfect hummus.  It’s actually a combination of a few techniques out there to help make that perfect texture.  This is a little labor intensive, but I promise it’s worth it.  You can make a really big batch so it will last longer and you will always have hummus on hand.  Now onto the hummus!

Perfectly Creamy Hummus

You will need at least 24 hours to soak the chickpeas. Don’t skip this step!!

DSC_0640

  • 1 cup dried chickpeas
  • 1/2 tsp baking soda
  • 4 whole cloves garlic
  • 3 tbsp lemon juice
  • 1/2 cup tahini
  • 1/2 tsp cumin (freshly ground if possible)
  • 1/2 tsp smoked paprika
  • 1 tsp salt
  • 1/2 cup water, reserved from cooking the chickpeas

1.  24 hours before you want hummus, place chickpeas into a large bowl and cover with water.  Stir in the 1/2 tsp of baking soda.  Cover and place the bowl into fridge.

2.  After 24 hours, drain and rinse chickpeas and place into a large pot.  Cover with at least 5 to 6 cups of water.  Add in the 4 whole garlic cloves and bring the water to a boil.  With a slotted spoon, skim off any foam/skins that floats to the top.  Lower to a simmer, cover, and cook for 3 hours.  The chickpeas should be super soft at this point.

3.  Drain the chickpeas and garlic, reserving at least 1/2 cup of the water.  Now at this point you can remove some of the skins off the chickpeas if you want.  I have tried it both ways and haven’t noticed a huge difference.  Place chickpeas and garlic into a food processor or blender.  Add in the rest of the ingredients except the water.  Pulse a few times to start to combine everything.

4.  Turn the processor on and slowly add in water.  This will turn the hummus into that wonderfully creamy texture.  You might need less water, but I have found the full 1/2 cup makes the creamiest version.

DSC_0641

Yes, it seems like a lot to make hummus when you can just go to the store and buy some and be on your merry way.  But it is really hard to find hummus that doesn’t have weird ingredients or preservatives, and it can get expensive to support a serious hummus addiction with store bought.  Take the time to make this and you will be rewarded with a delicious hummus that is half the cost and ready to be used in any way you want!

Have a great Friday and wonderful weekend!