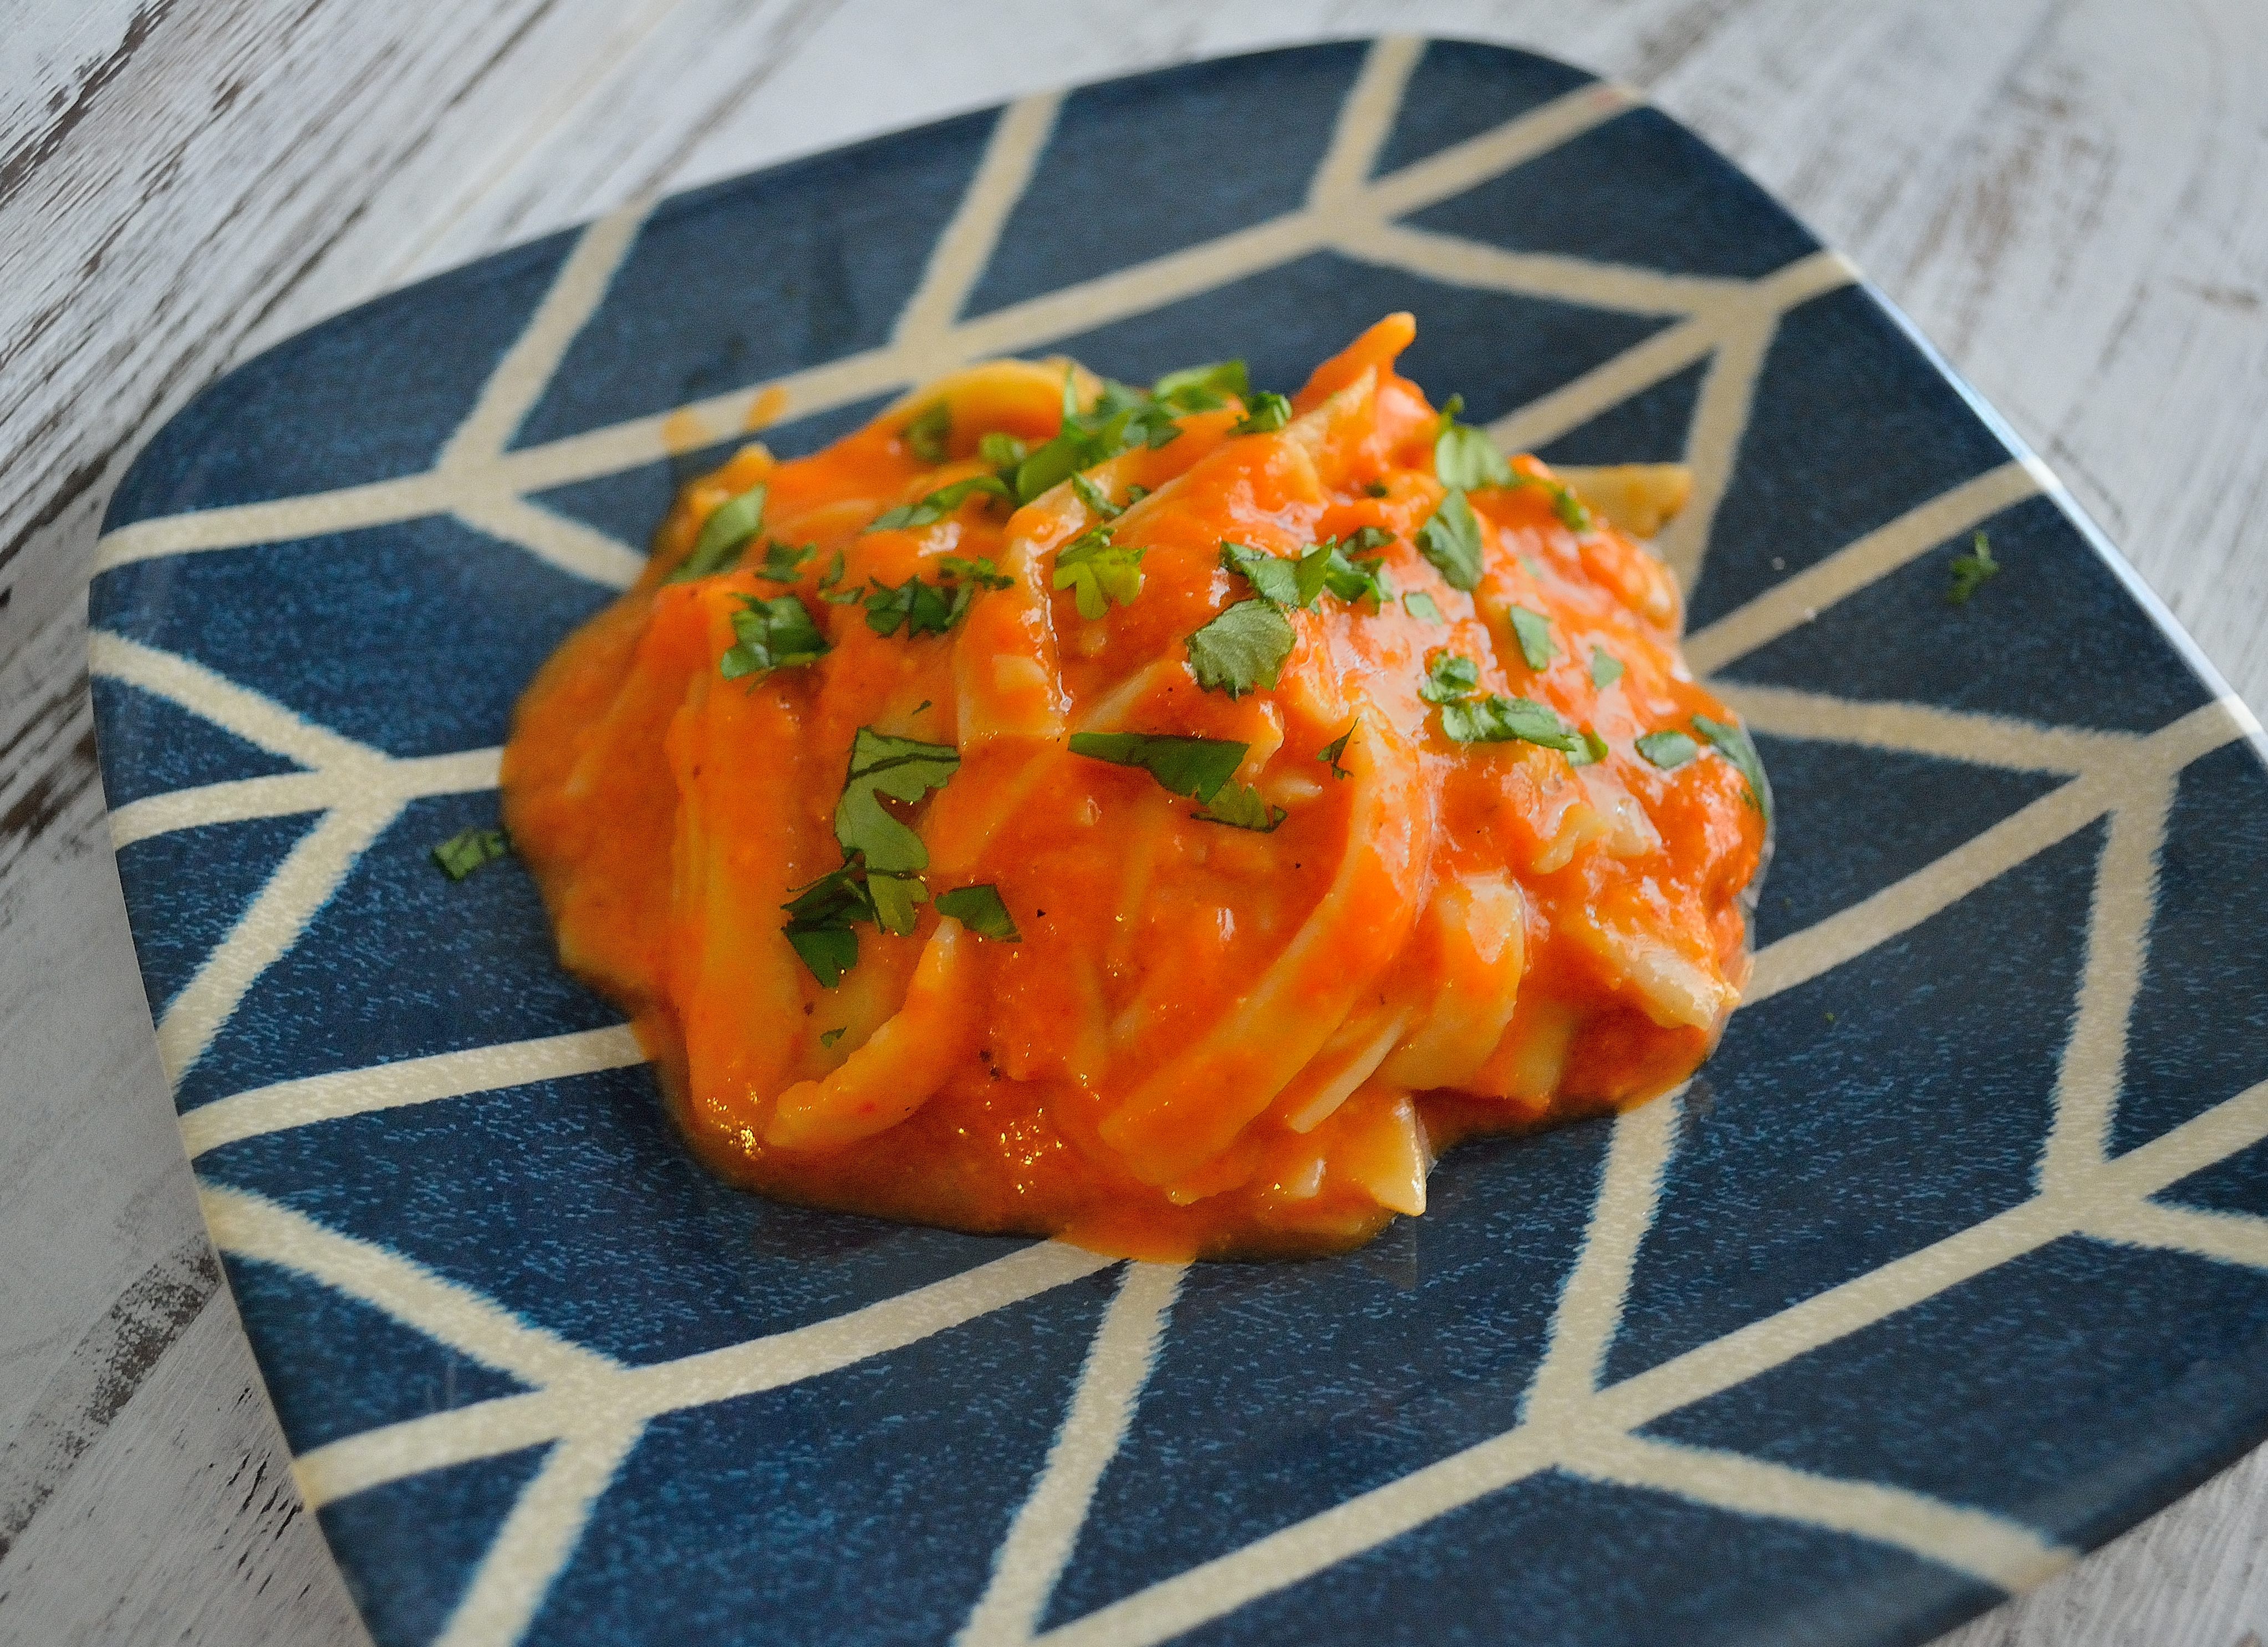
Butternut Squash & Black Bean Enchiladas

LastButternut Squash & Black Bean Enchiladas | Life Healthfully Lived Friday, I posted a picture of these enchiladas on Instagram and people went nuts.  Ok, maybe not nuts.  BUT this picture did get 55 likes which is like way more than I ever get.  Plus 9 people commented on it.  Watch out folks.  I’m gonna be an Instagram star!

I get it though.  These enchiladas are fabulous and they are really easy to make.  When I posted these pictures, one of the things that I said was that I loved that I could make them ahead of time and then just throw them in the oven at dinner time.  Meals like that make me happy.

Butternut Squash & Black Bean Enchiladas | Life Healthfully Lived

Little side story about why I went with the butternut squash filling.  A few weeks ago, Adam went on an Alaskan fishing trip.  It was a boys trip with his stepdad and other boys in the family and they spent two days out on a boat in Homer, Alaska fishing for halibut, rockfish, and salmon.  They all caught a ridiculous amount of fish and Adam came home with about 35 pounds of frozen fish.  Now, I have a VERY tiny freezer and it is well stocked.  So when he came back with all that fish I had no idea how it was going to fit.  Butternut Squash & Black Bean Enchiladas | Life Healthfully Lived

It turns out, my husband can Macgyver about 20 lbs of fish into an already full freezer.  When I opened my freezer, I was met with a wall of frozen fish.  Literally.  Just one wall of fish.  So in order to create a little space, I started going through the freezer to see what I could use up.  I found some cubed frozen butternut squash from last fall and decided it was time to put it to good use.  Butternut Squash & Black Bean Enchiladas | Life Healthfully Lived

Long story short:  Alaska + fishing + tiny freezer = delicious enchiladas.

Butternut Squash & Black Bean EnchiladasButternut Squash & Black Bean Enchiladas | Life Healthfully Lived

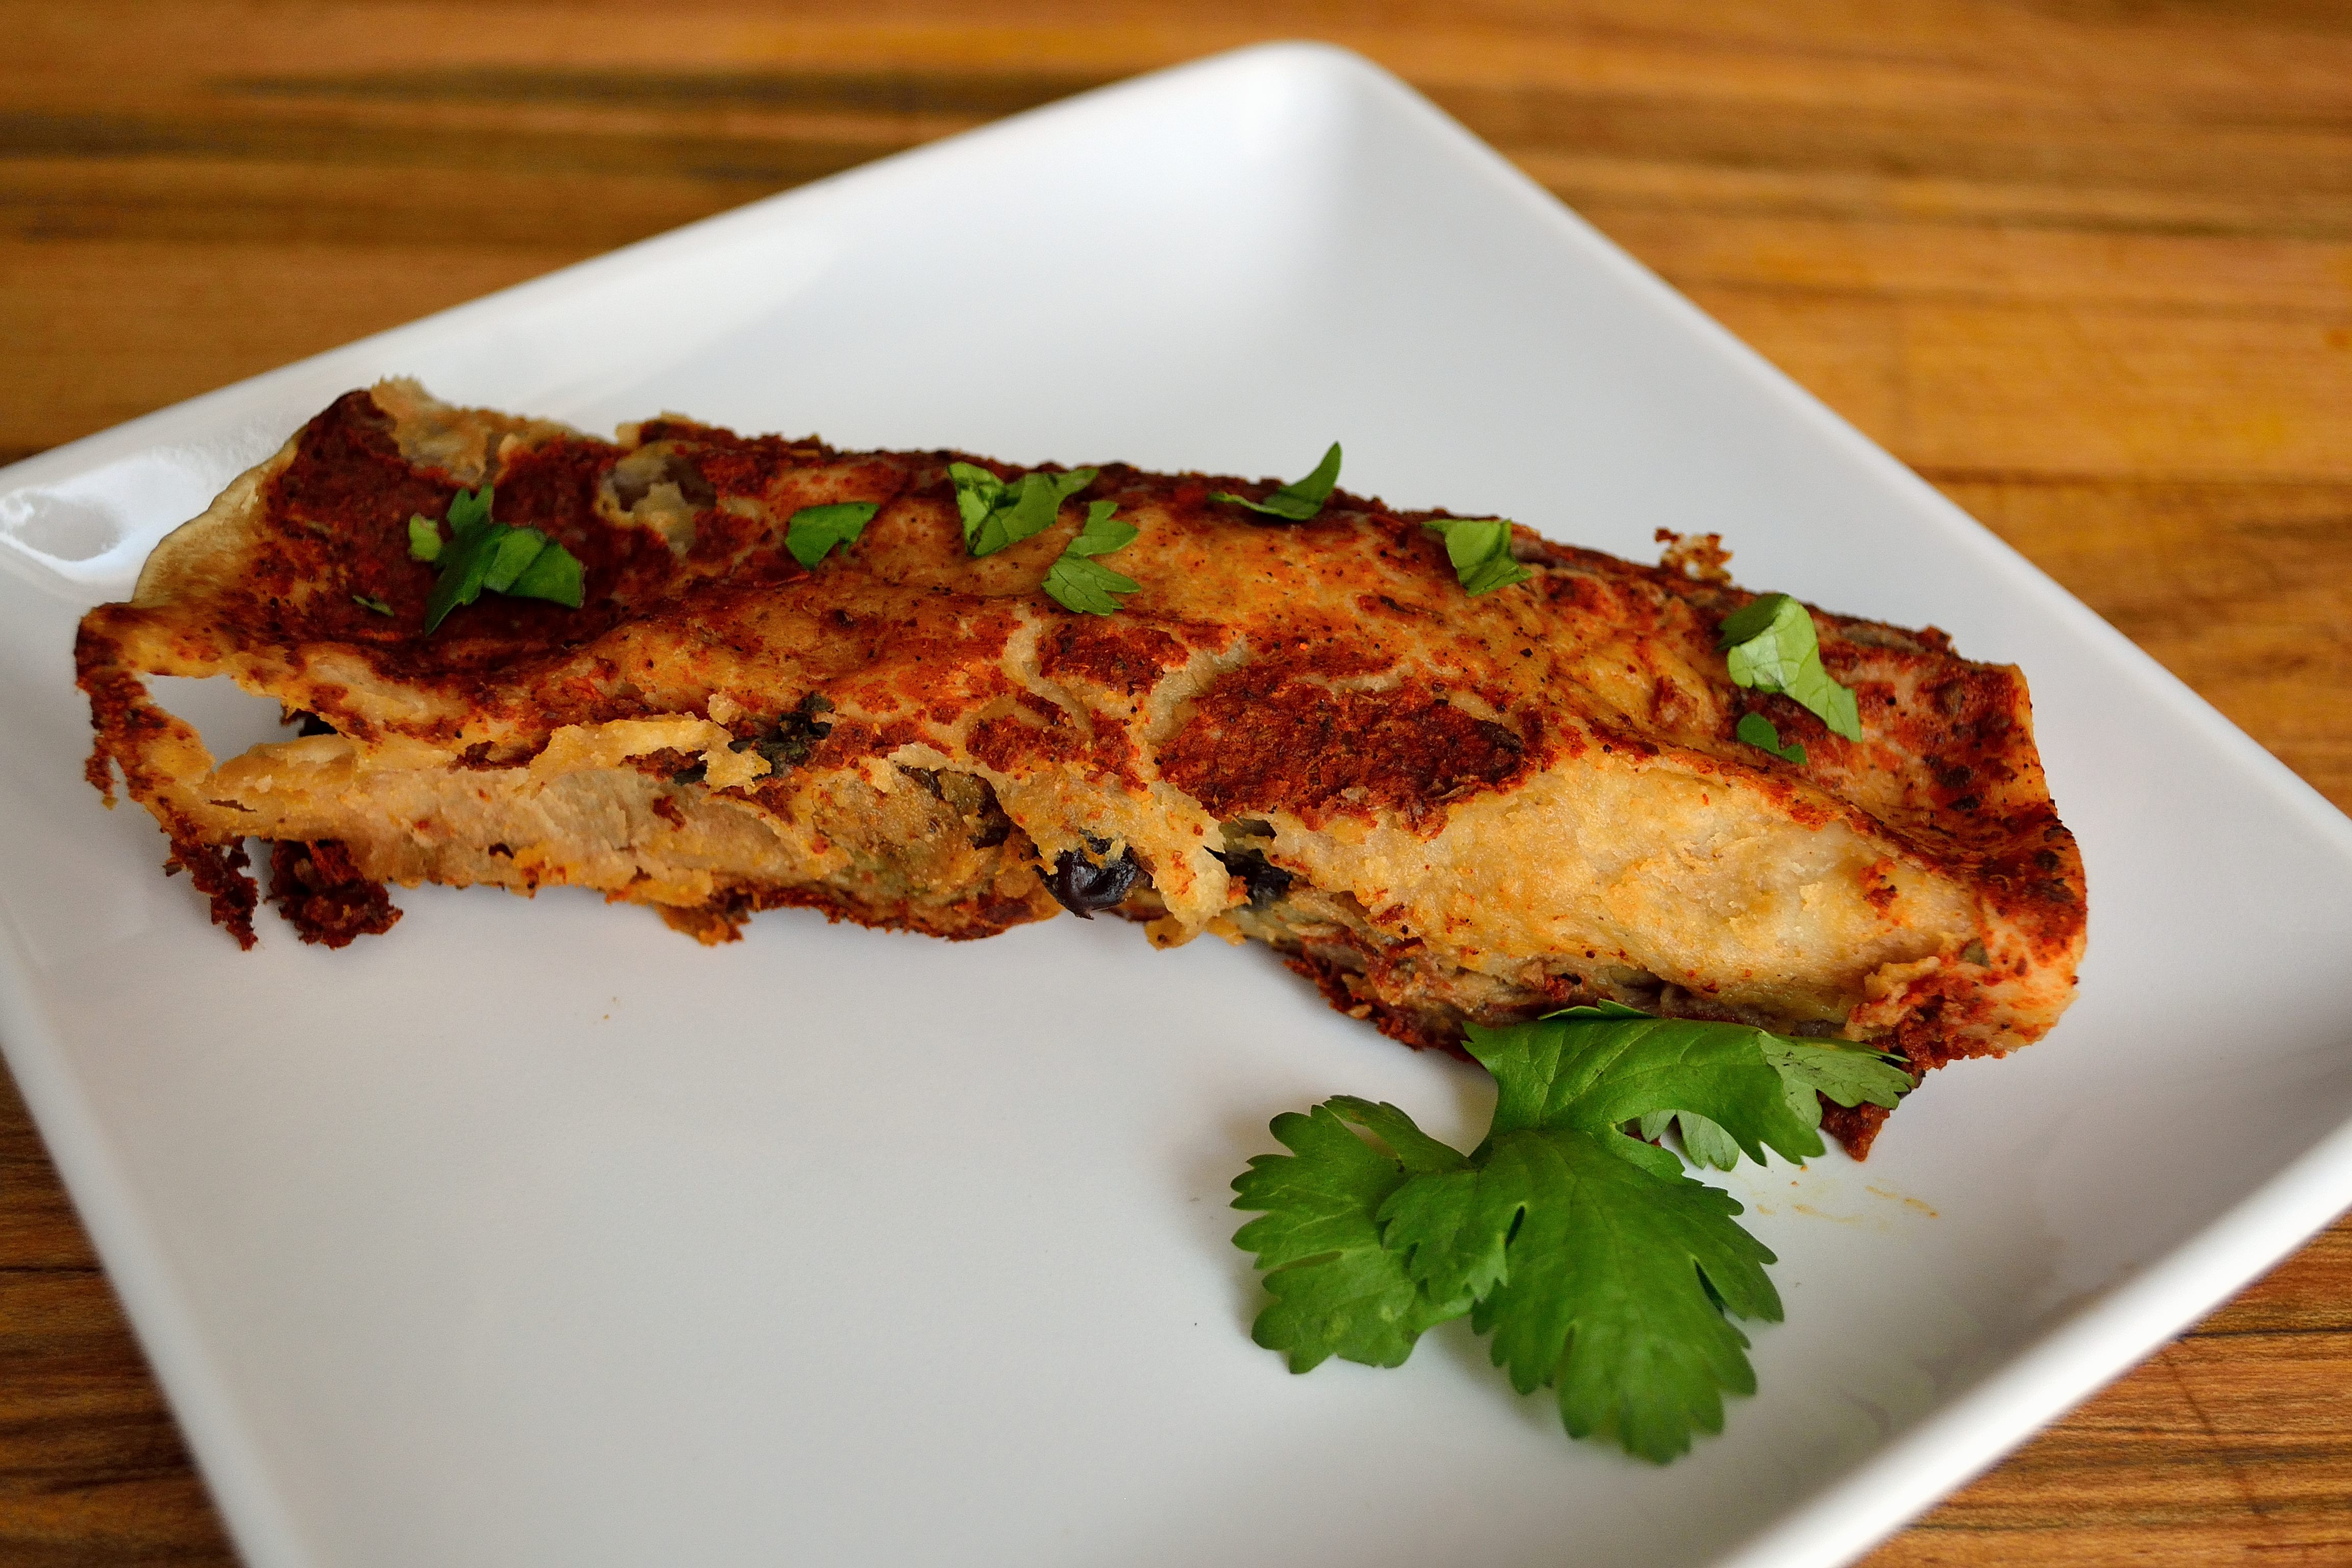
  • 6 to 8 corn tortillas
  • 2 to 3 cups peeled and cubed butternut squash
  • 1 can black beans, drained and rinsed
  • 3 tbsp fresh cilantro, chopped
  • 1 tsp cumin
  • 1 tsp chili powder
  • 1 tsp garlic powder
  • 1/2 tsp salt
  • 1 can fire roasted tomatoes
  • 3/4 cup water
  • juice of 1/2 a lime
  • 2 1/2 tsp chili powder
  • 2 tsp cumin
  • 1 tsp salt
  • 2 tsp oregano
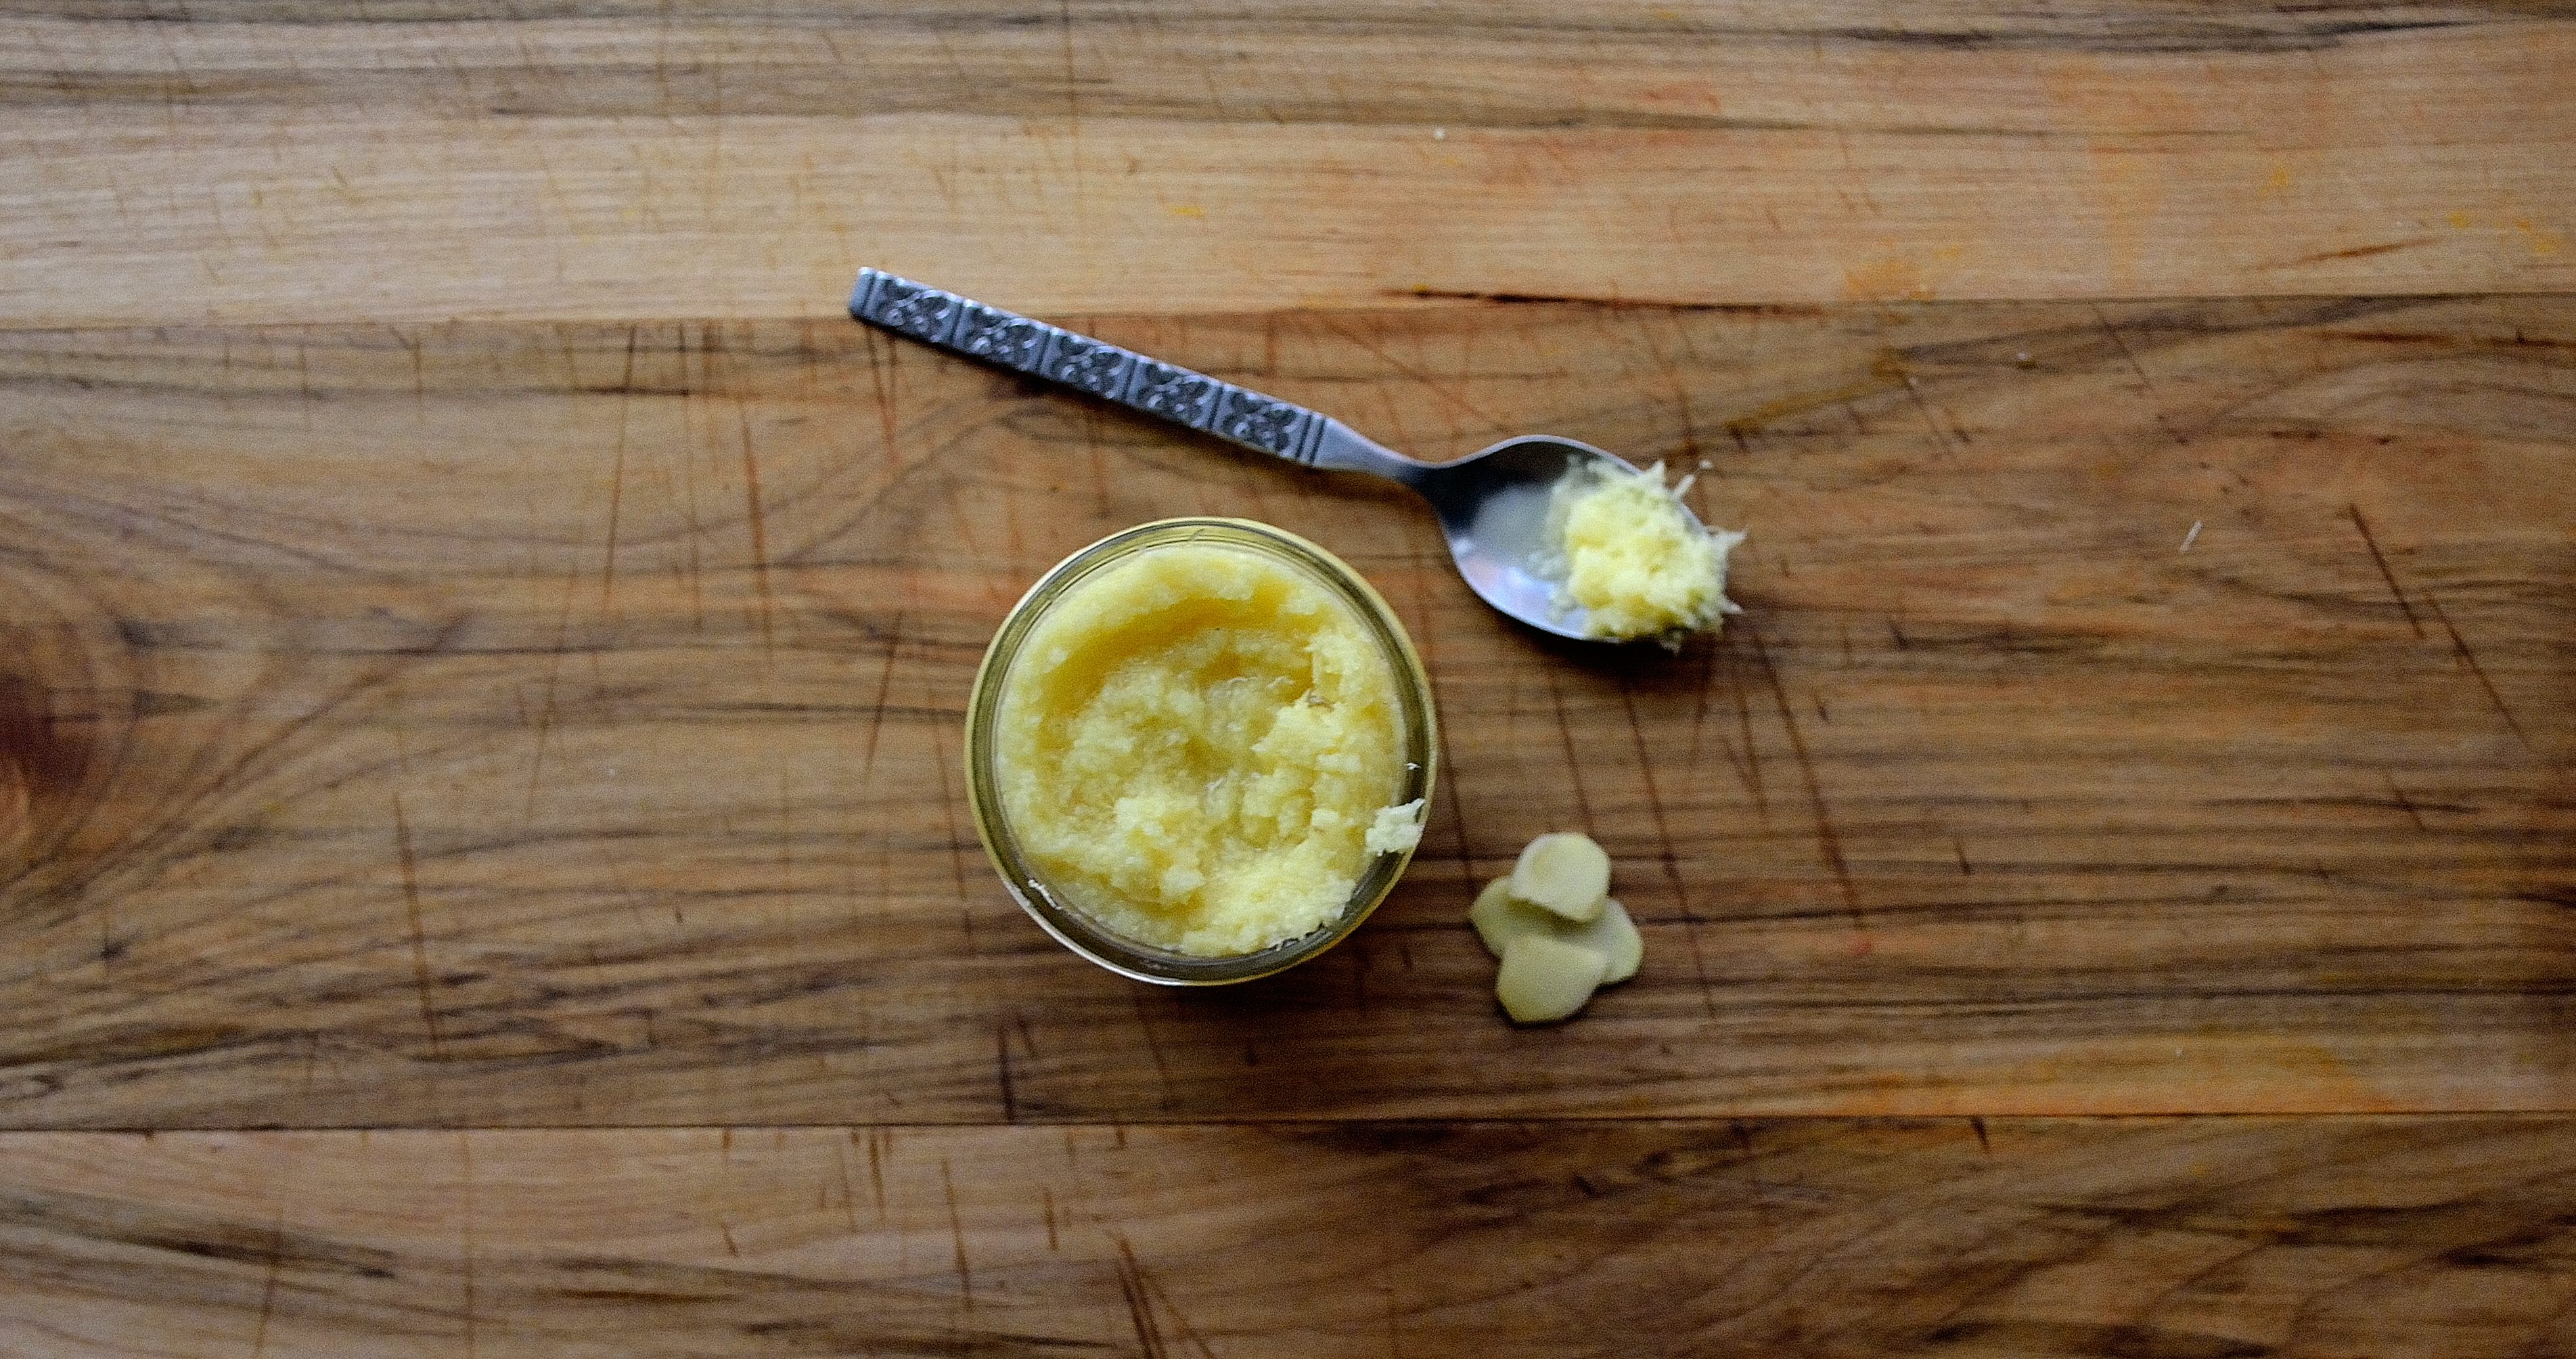
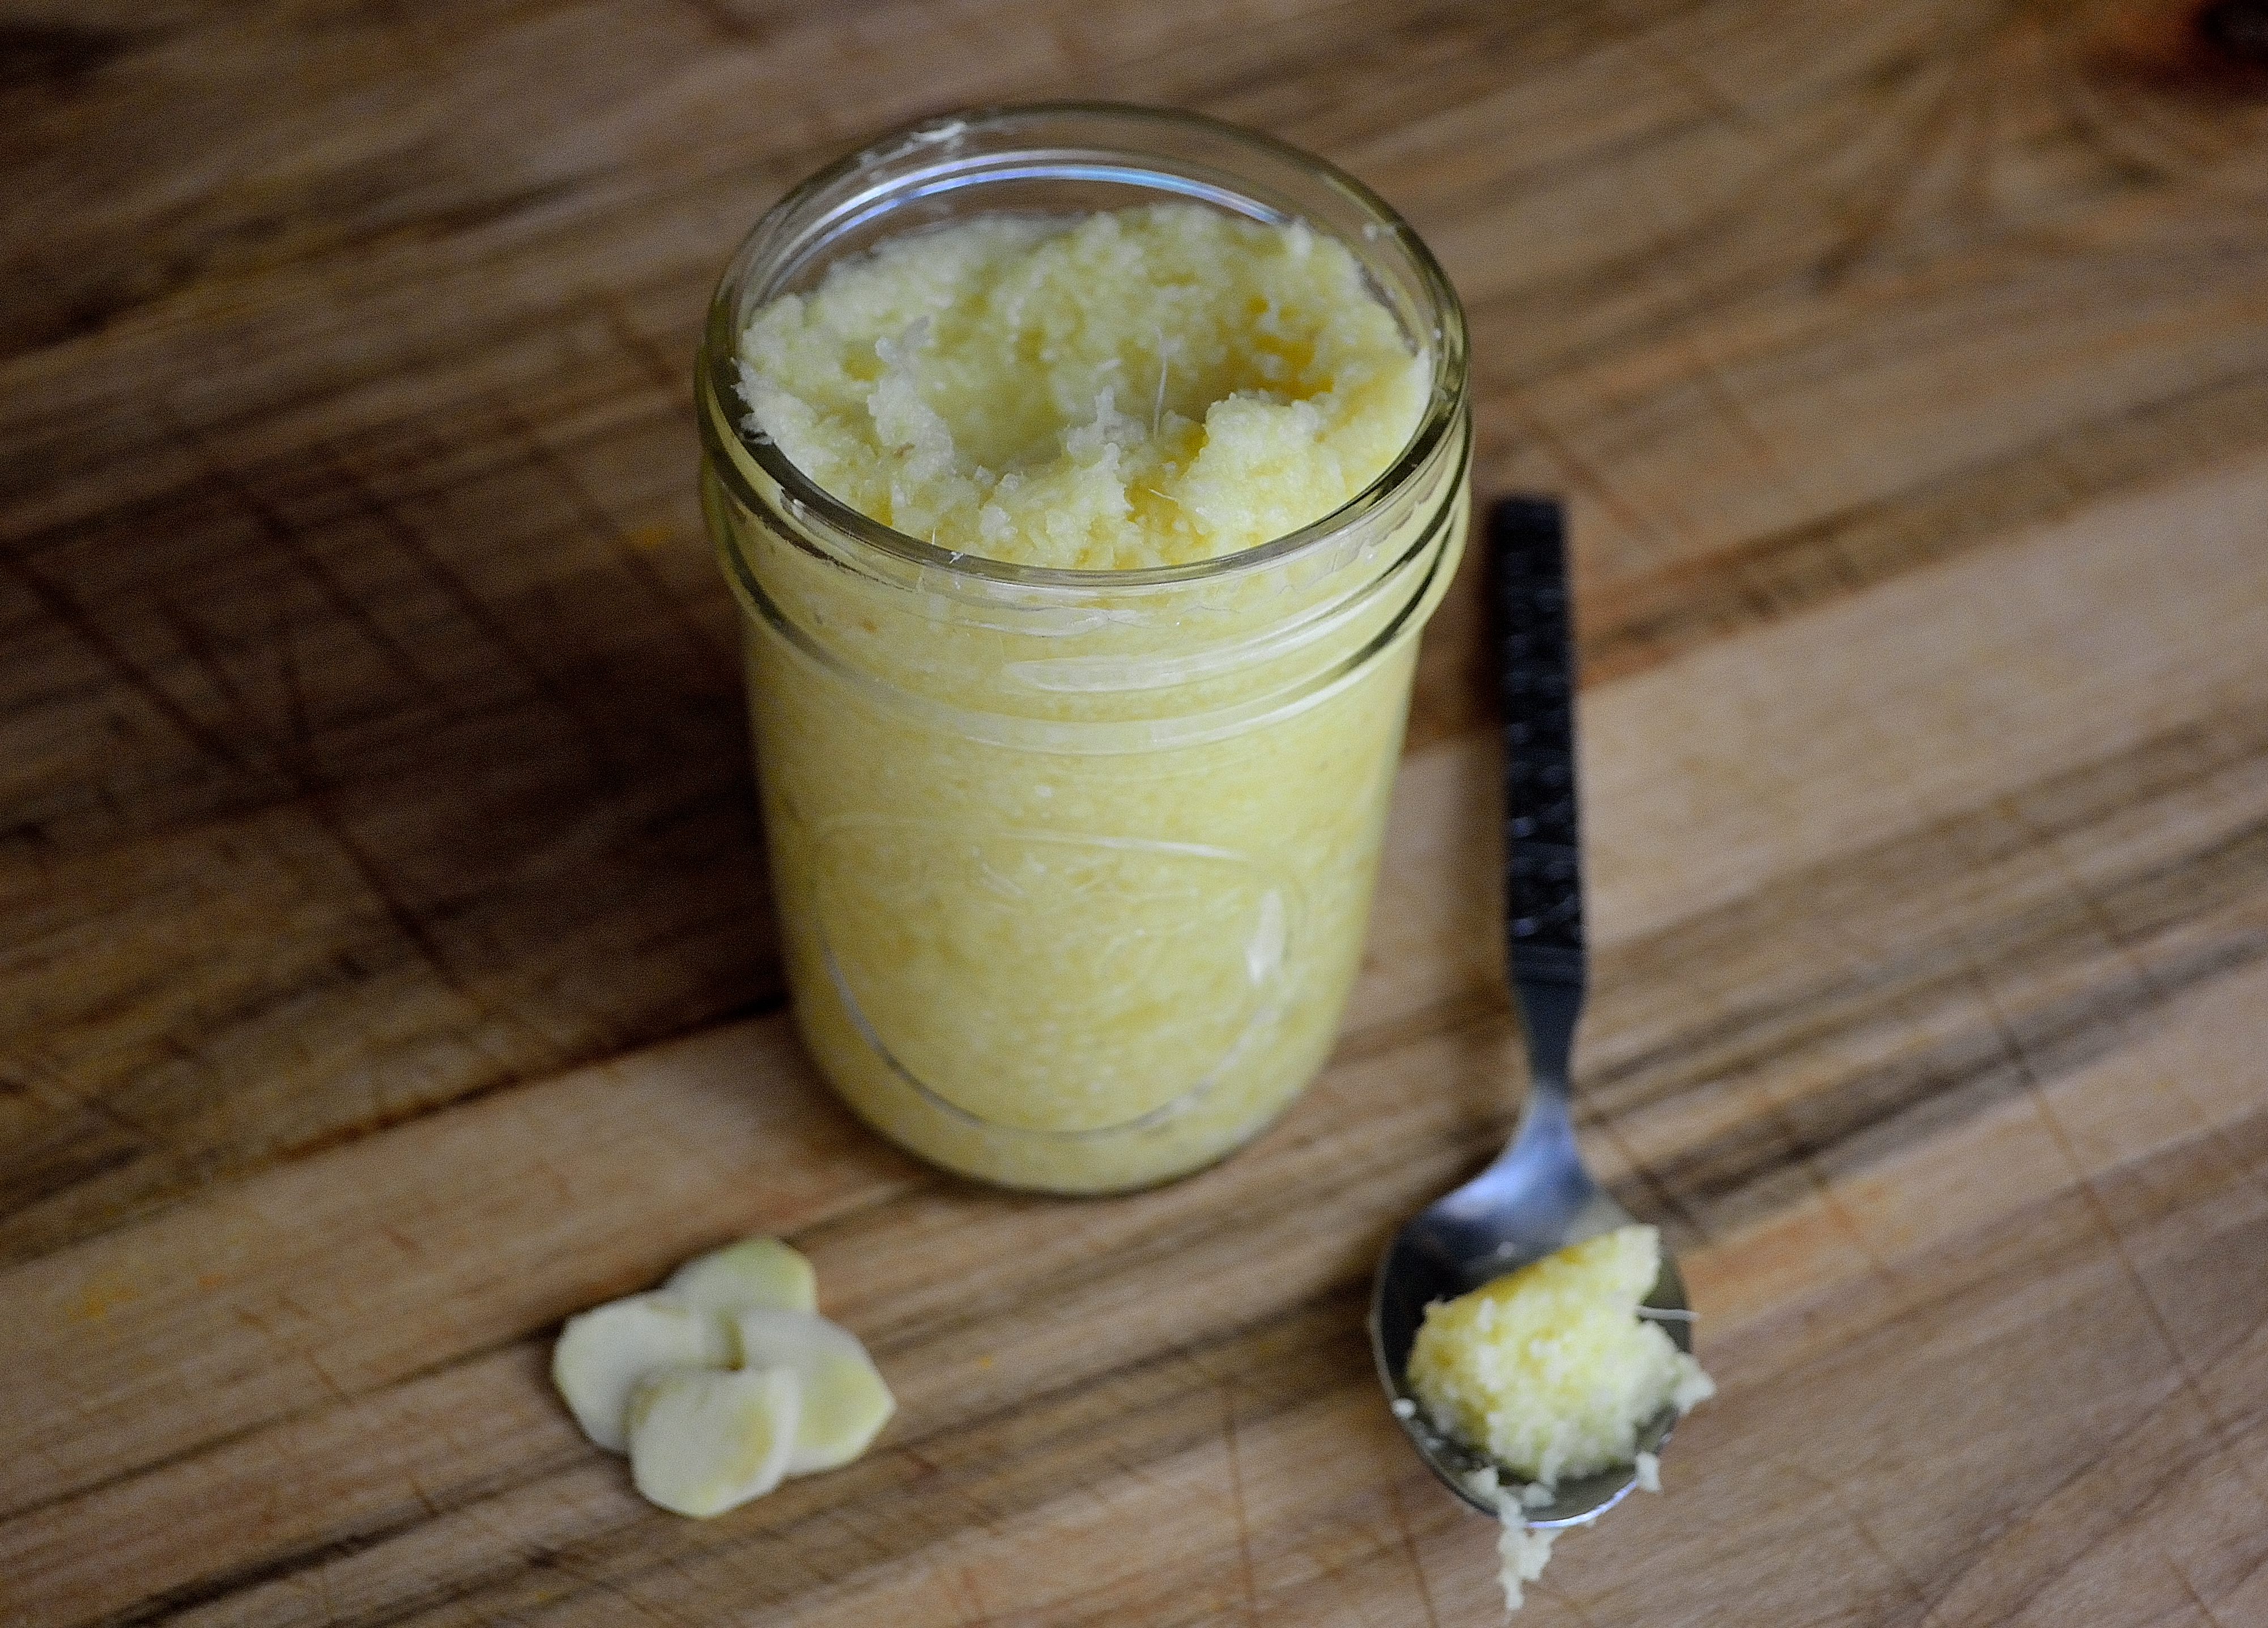
  • 2 tsp roasted garlic or 2 to 3 cloves garlic, minced
  1. Preheat oven to 400 and line a large baking sheet with parchment paper or a Silpat.
  2. Place the cubed squash into a bowl and drizzle with a little olive oil, 1 tsp cumin, 1 tsp garlic powder, 1 tsp chili powder, and 1/2 tsp salt.  Toss to coat and spread evenly on the baking sheet.  Roast in the oven for 10 minutes and then flip and roast for 10 more minutes.
  3. While the squash is roasting, make the enchilada sauce.  Place the fire roasted tomatoes and 3/4 cup water into a blender.  Pulse a few times and then add in lime, garlic, and rest of the seasonings.  Blend everything until you have a smooth sauce.
  4. Once the squash is done put it back into the large bowl, add in the drained and rinsed beans, and mash things up a bit.  You want a few chunks left in the filling.  Stir in the fresh cilantro.
  5. Get a 9 x 13 casserole dish and pour a thin layer of enchilada sauce on the bottom.  Warm the corn tortillas a little so they are pliable and then fill with 1/4 cup of the filling.  Roll the tortillas and place into the casserole dish, seam side done.  Complete until the filling is gone and dish is full.
  6. Pour the rest of the sauce over the top of the tortillas and then cover with aluminum foil.  At this point, you can keep them in the fridge until you’re ready to cook.  When you’re ready to cook them, preheat oven to 350 and cook for 25 minutes.
  7. Remove from the oven and take off the aluminum foil.  Let the enchiladas cool for at least 5 minutes before serving.  Top with more fresh cilantro if you want. Butternut Squash & Black Bean Enchiladas | Life Healthfully Lived

Ok, it might look like there are a lot of ingredients and a lot of steps but I promise you this meal is not complicated.  You can also make substitutions to fit your dietary needs.  You can use sweet potatoes or pumpkin instead of the squash or you can use shredded chicken, pork, or beef if you want to have meat.  You can top it with cheese if you want and serve it with sour cream, guacamole, or cashew sour cream.  These also make phenomenal leftovers and once they are cooled completely, freeze really well.  So go make some enchiladas and love life!  Butternut Squash & Black Bean Enchiladas | Life Healthfully Lived

What is your favorite make-ahead meal?

P.S. Did you know you can follow all my healthy cooking adventures on Instagram, Twitter, and Facebook?  I know.  Life is good again 🙂

DIY Wednesday: Homemade Mayo + An Egg Free Version

NotDIY Wednesday: Homemade Mayo | Life Healthfully Lived many people know how mayonnaise is made.  You just go to the store and buy a jar of it and go on with your day.  I have never really been a big fan of mayo.  It just had an odd taste to me and I preferred slathering my sandwiches in spicy mustard.  Then one day, I needed mayonnaise for a potato salad I was making.  I didn’t want to go and buy a whole jar just for one recipe so I started looking around to see what if there was anything I could substitute.  That’s when I stumbled on a recipe for homemade mayo.

I was surprised that I could make my own mayonnaise.  This was a few years ago, so I was still learning about how things were made and didn’t know that mayo was just an emulsion of eggs, oil, and seasonings.  I bet that you have all the ingredients right now to make your own mayo.  So I quickly whipped up a batch and to my surprise, I really liked the taste. DIY Wednesday: Homemade Mayo | Life Healthfully Lived

So today’s DIY is all about mayonnaise.  It’s quick and cheap to make your own and you don’t have to worry about additives and preservatives that store brands use to make their product shelf stable.    You can also play with your own seasonings and flavor your mayo with fresh herbs.

Don’t eat eggs?  There is a version here for you too!  Remember that aquafaba I was raving about a few months ago?  Turns out you can make mayonnaise with it too!  I tried it a few days ago and it turned out really well.  Now eggless people can enjoy mayo on their sandwiches and in their recipes too!

Homemade MayoDIY Wednesday: Homemade Mayo | Life Healthfully Lived

  • 1 large egg
  • 2/3  cup neutral tasting oil (I like avocado or safflower oil)
  • 1 tsp lemon juice
  • 1 tsp spicy mustard
  • 1/2 tsp garlic powder
  • 1/2 tsp herbs like dill, basil, oregano, or cilantro (optional)
  • salt and pepper to taste
  1. Place all the ingredients except the herbs into a tall glass.  Use an immersion blender to whip everything together.  Once the mixture starts to get thick, slowly pull up the immersion blender to make sure everything is incorporated.
  2. You could also do this in a blender.  Place everything in the blender except the oil and the herbs.  Start blending everything and slowly add in the oil until the mixture is nice and thick.
  3. Stir in the herbs and store in an airtight container in the fridge for up to 3 days.

Eggless Mayo

This is the recipe that I used to make the eggless may and it worked great.  I used less oil than the recipe calls for.  The biggest key is to SLOWLY add the oil so you don’t end up with an oily, soupy mess.  DIY Wednesday: Homemade Mayo | Life Healthfully Lived

That’s it.  Just a few pantry items and you have delicious homemade mayo.  Make sure that you choose a neutral oil so that you don’t have an odd tasting mayo.  You can use this on sandwiches, in salads, as a marinade, and pretty much anywhere that you would use storebought mayo.  Plus, it’s really cool to see the whole thing magically turn into mayo, kids would definitely love helping with this one.

5 Things I Do When I’m Struggling With Bad Body Image

For5 Things I Do When I'm Struggling With Body Image | Life Healthfully Lived some reason this weekend, I was having a tough time with my body.  Every piece of clothing I put on felt awkward, I didn’t like the way I looked, and I felt like everyone was just staring at all of my flaws.  It was not a very fun weekend to say the least.

As much as I would love to always be proud of my body and never struggle with these insecurities, I know that I will probably always have to work on body image.  When I was younger, I would let these negative thoughts consume me.  I literally thought that my body was ugly and all the problems I saw in the mirror were the only things that other people could see.   These thoughts would rule my day, my mood, and how I viewed my worth.  They dictated what I would say and think, whether I would speak up in class or if I would volunteer for something where people had to look at me.  It was rough and I never thought much of myself.  I just wanted to fade in the background and for the most part, I did.

With a lot of time and work, I have pushed past that younger version of myself.  No one gets to determine my worth based on my looks, not even myself.  I understand so much more about my body and know that just because I see something in the mirror doesn’t mean it’s true in real life.

But there are still days when the struggle is real.  Days when I want to go back to hiding in my shell.  Days when no matter what, the reflection I see does not match what is actually there.  I’m sure every once in awhile, you have those days too.  Days when you doubt whether you are beautiful, capable, or even worthy.  What you do on those days can make you stronger or keep tearing you down.  So here are five things I do when I struggle with bad body image.  Hopefully, these can help you or give you some motivation to find ways to move past the lies you might be telling yourself about your own body.

1.  I realize they are lies5 Things I Do When I'm Struggling With Body Image | Life Healthfully Lived

Most often, the reason I have a “bad body” day  is that I feel like I have gained a ridiculous amount of weight.  The logical part of my brain knows this isn’t true.  There is no way that one meal can make you gain 10 pounds and you don’t wake up one day suddenly overweight.  But the logical part of my brain doesn’t always rule my day.  While I might feel overweight and insecure, I tell myself that it is a lie.  What I see in the mirror isn’t true.  My habits are overall healthy and I won’t suddenly just backslide.  I might not believe this at first, but actually physically telling myself that it is a lie helps to get me back on track.

2. I try something new5 Things I Do When I'm Struggling With Body Image | Life Healthfully Lived

This might sound weird, but trying something new really helps me get out of my funk.  Usually, I try a new yoga pose that I haven’t been able to do before or an exercise that I struggle with.  By doing something new, I get my mind off the woe is me/I’m ugly mentality.  Many times I end up surprising myself by doing something that I didn’t think I could do.  Even if I can’t get into a new pose or still struggle with that tough exercise, the fact that I tried and tried to improve myself helps me feel more confident with my body.

3.  Look at where I started5 Things I Do When I'm Struggling With Body Image | Life Healthfully Lived

I have come a long way from Jr. high/high school Katie.  Looking back at that time, I realize that I am a completely different and better person.  On the days when it feels like I am right back where I started, just taking out pictures from that time proves me completely wrong.  I know I have done a lot of work to get to this point and reminding myself of that helps me see how strong and capable I have become.

4.   I talk about it5 Things I Do When I'm Struggling With Body Image | Life Healthfully Lived

I am a private person and I tend to keep things bottled up inside.  I let my negative thoughts eat away at me and they never fail to bring me down.  While it’s still hard for me to open up and share, talking about it helps let that negativity out.  Sharing things with someone you trust gets things off your chest and shows you that some of those things just aren’t true.  Even writing this post helps me push past my doubt and uncertainty and stops negative talk in it’s tracks.

5.   I understand it will pass5 Things I Do When I'm Struggling With Body Image | Life Healthfully Lived

I won’t let my negative thoughts persist anymore.  They might have ruled my life before, but I refuse to let that happen again.  I know that this bad day is one day and it will pass.  There will be good days again, days where I see how strong I am, how capable I have become, and how beautiful I truly am.  I can’t dwell on these insecure thoughts or else they will take over.  I acknowledge that I have had a bad day and now it is over and I will do my best to move on.  It isn’t always easy, but I know I can do it.5 Things I Do When I'm Struggling With Body Image | Life Healthfully Lived

Next time you are faced with body image issues, try a few of these things.  Or find something that works for you.  The most important advice I can give you is to not let these issues consume you.  Don’t let them take over.  You are better and stronger than they are and you can and will get to a place where you see your beauty and worth!

Roasted Red Pepper Sauce

IRoasted Red Pepper Sauce | Life Healthfully Lived am the queen of roasted things.  It’s pretty much my answer to everything.  Broccoli? Roast it.  Zucchini?  Roast it.  Almonds/cashews/hazelnuts? Roast it. Sweet potatoes.  Roast it.  Annoying relatives that randomly drop in for the weekend without calling?  Roast it.

Ok, maybe not the last one but still.  Whenever I have food that can be roasted, I’m gonna roast it.  So I was shocked that I had never roasted peppers before.  It’s not like it’s a hard process.  It couldn’t be simpler.  I just never looked at a pepper and felt the need to roast it.  Well, that time is over because roasted peppers are delicious.  They add a wonderfully smoky flavor to whatever you use them for and smoky is always good.

I put this sauce over gluten free linguine and it was fantastic.  You could use this over zoodles, in lasagna, over vegetables (roasted of course), or you know just eat it straight out of the pot.  I won’t judge.

Roasted Red Pepper Sauce- slightly adapted from Minimalist Baker’s Vegan Roasted Red Pepper PastaRoasted Red Pepper Sauce | Life Healthfully Lived

  • 2 large red bell peppers
  • 1/2 cup caramelized onions (or regular onion), diced
  • 4 cloves garlic, minced
  • 1/2 to 1 cup coconut milk
  • 3 tbsp nutritional yeast
  • salt and pepper to taste
  1. Preheat oven to 400.  Line a baking sheet with aluminum foil and place the peppers on the sheet.  Roast the peppers for 20 minutes and then flip them over and roast for another 20 minutes.  The pepper should have a little char on it once it’s done.
  2. Remove the peppers from the oven and place a glass bowl over them to allow the steam to loosen the skins.  Let them sit for about 15 minutes.
  3. While the peppers are steaming, heat a little oil in a medium pan over medium-high heat.  Saute the onions and garlic until soft and translucent, about 5 to 7 minutes.  Remove from heat and place in a blender.
  4. Take the peppers out from under the bowl and remove the skins.  The skins should slip off pretty easily.  You can leave a little bit of the char on for a more intense smoky flavor.
  5. Add the peppers, nutritional yeast, salt, and pepper to the blender.  Pulse a few times to break everything up and then add in 1/2 cup of the coconut milk.  Blend until smooth.  If the sauce is still really thick add in more coconut milk, up to 1 cup.
  6. Pour the sauce into a saucepan and heat through, about 5 minutes.  Serve over pasta, vegetables, or even rice.

At first glance, it looks like there are a lot of complicated steps but you’re really just roasting peppers and then blending everything together.  You could even roast the peppers ahead of time and then when you’re ready for dinner you can just throw everything into the blender and you have dinner in no time!  You can also roast the peppers in a few different ways, I just like the oven because it doesn’t take a lot of effort.  Roasted Red Pepper Sauce | Life Healthfully Lived

Anyone have any fun weekend plans besides making this awesome and simple dinner?  I’m looking forward to spending some time with Adam since we haven’t been able to do that for over two weeks!  Have a great weekend everyone!

DIY Wednesday: Ginger Paste

ThisDIY Wednesday: Ginger Paste | Life Healthfully Lived DIY post might be as simple as my homemade tortilla chips.  I’m the type of cook who likes to use things like actual cloves of garlic when I’m making stuff.  I know you can buy a jar of diced garlic at the store and it saves a lot of time and effort because you can just throw in the amount you need and move on.

I have nothing against jars of garlic, I just like peeling and chopping garlic myself.  The one thing I do not like peeling and chopping myself?

Ginger.

Peeling it is a hassle.  If you chop it the wrong way you get these weird hair looking things in it.  It’s just a chore for me.  I really love using fresh ginger though and I’m always tempted to buy those tubes of ginger paste at the store just to avoid the trouble.  The one thing that stops me though is the price.  Those tubes are like $3.00 and sometimes they have things other than just ginger in them.  So I skip the tube and begrudgingly prepare my ginger myself.

Not anymore!  Today I am going to show you how easy it is to make your own ginger paste and start adding it to everything you make.  The best part?  You only need two things and a blender.  Awesome right?!

Ginger Paste

DIY Wednesday: Ginger Paste | Life Healthfully Lived

  • 1 large knob of fresh ginger, about 2 cups roughly chopped
  • 1/3 cup water
  1. Peel the ginger.  I use a vegetable peeler to do this because it’s easier than a knife.  Try to get as much of the peel off as you can.  If you can’t reach some places peel it a little after you chop it.
  2. Chop the ginger into bite-size chunks and add to your blender.  Pour in the water.  Blend the ginger and water until it is in paste form and no big chunks remain.
  3. Store the paste in an airtight container in the fridge for up to two weeks.

That’s it!  It is so simple and now I don’t have to go through the peeling and chopping every time I want to use fresh ginger.  Just once and then I have a whole jar to use!  You can also make a huge batch and freeze some of it so it is always on hand.  Add this paste to marinades, sauces, stir fry, dips, or even add it to hot water for some ginger tea.  So many uses!DIY Wednesday: Ginger Paste | Life Healthfully Lived

Make sure that you are never without fresh ginger and have a jar of ginger paste always on hand.