Fusilli N’ Cheeze

Part of my palate is still a small child and one of my favorite comfort foods is mac and cheese.  I used to love eating that wonderful blue box delicacy, just like most kids in America.  I can’t remember the last time that I had “regular” mac and cheese and given the recent recall on top of the fact that there isn’t any real cheese in there, I don’t think I will be indulging any time soon.

There are plenty of dairy free versions of mac and cheese out there, I actually have two of my own versions on the blog.  I like those versions, but I was missing the smooth and creamy texture of the boxed variety.  Many versions use cashews in the sauce and because I don’t have a fancy schmancy high powered blender, I usually end up with a slightly grainy texture.  It tastes like mac and cheese but it doesn’t feel like mac and cheese.  So I set out to make a “cheese” sauce that didn’t use cashews for those of us who have to suffer without a Vitamix or Blendtec.

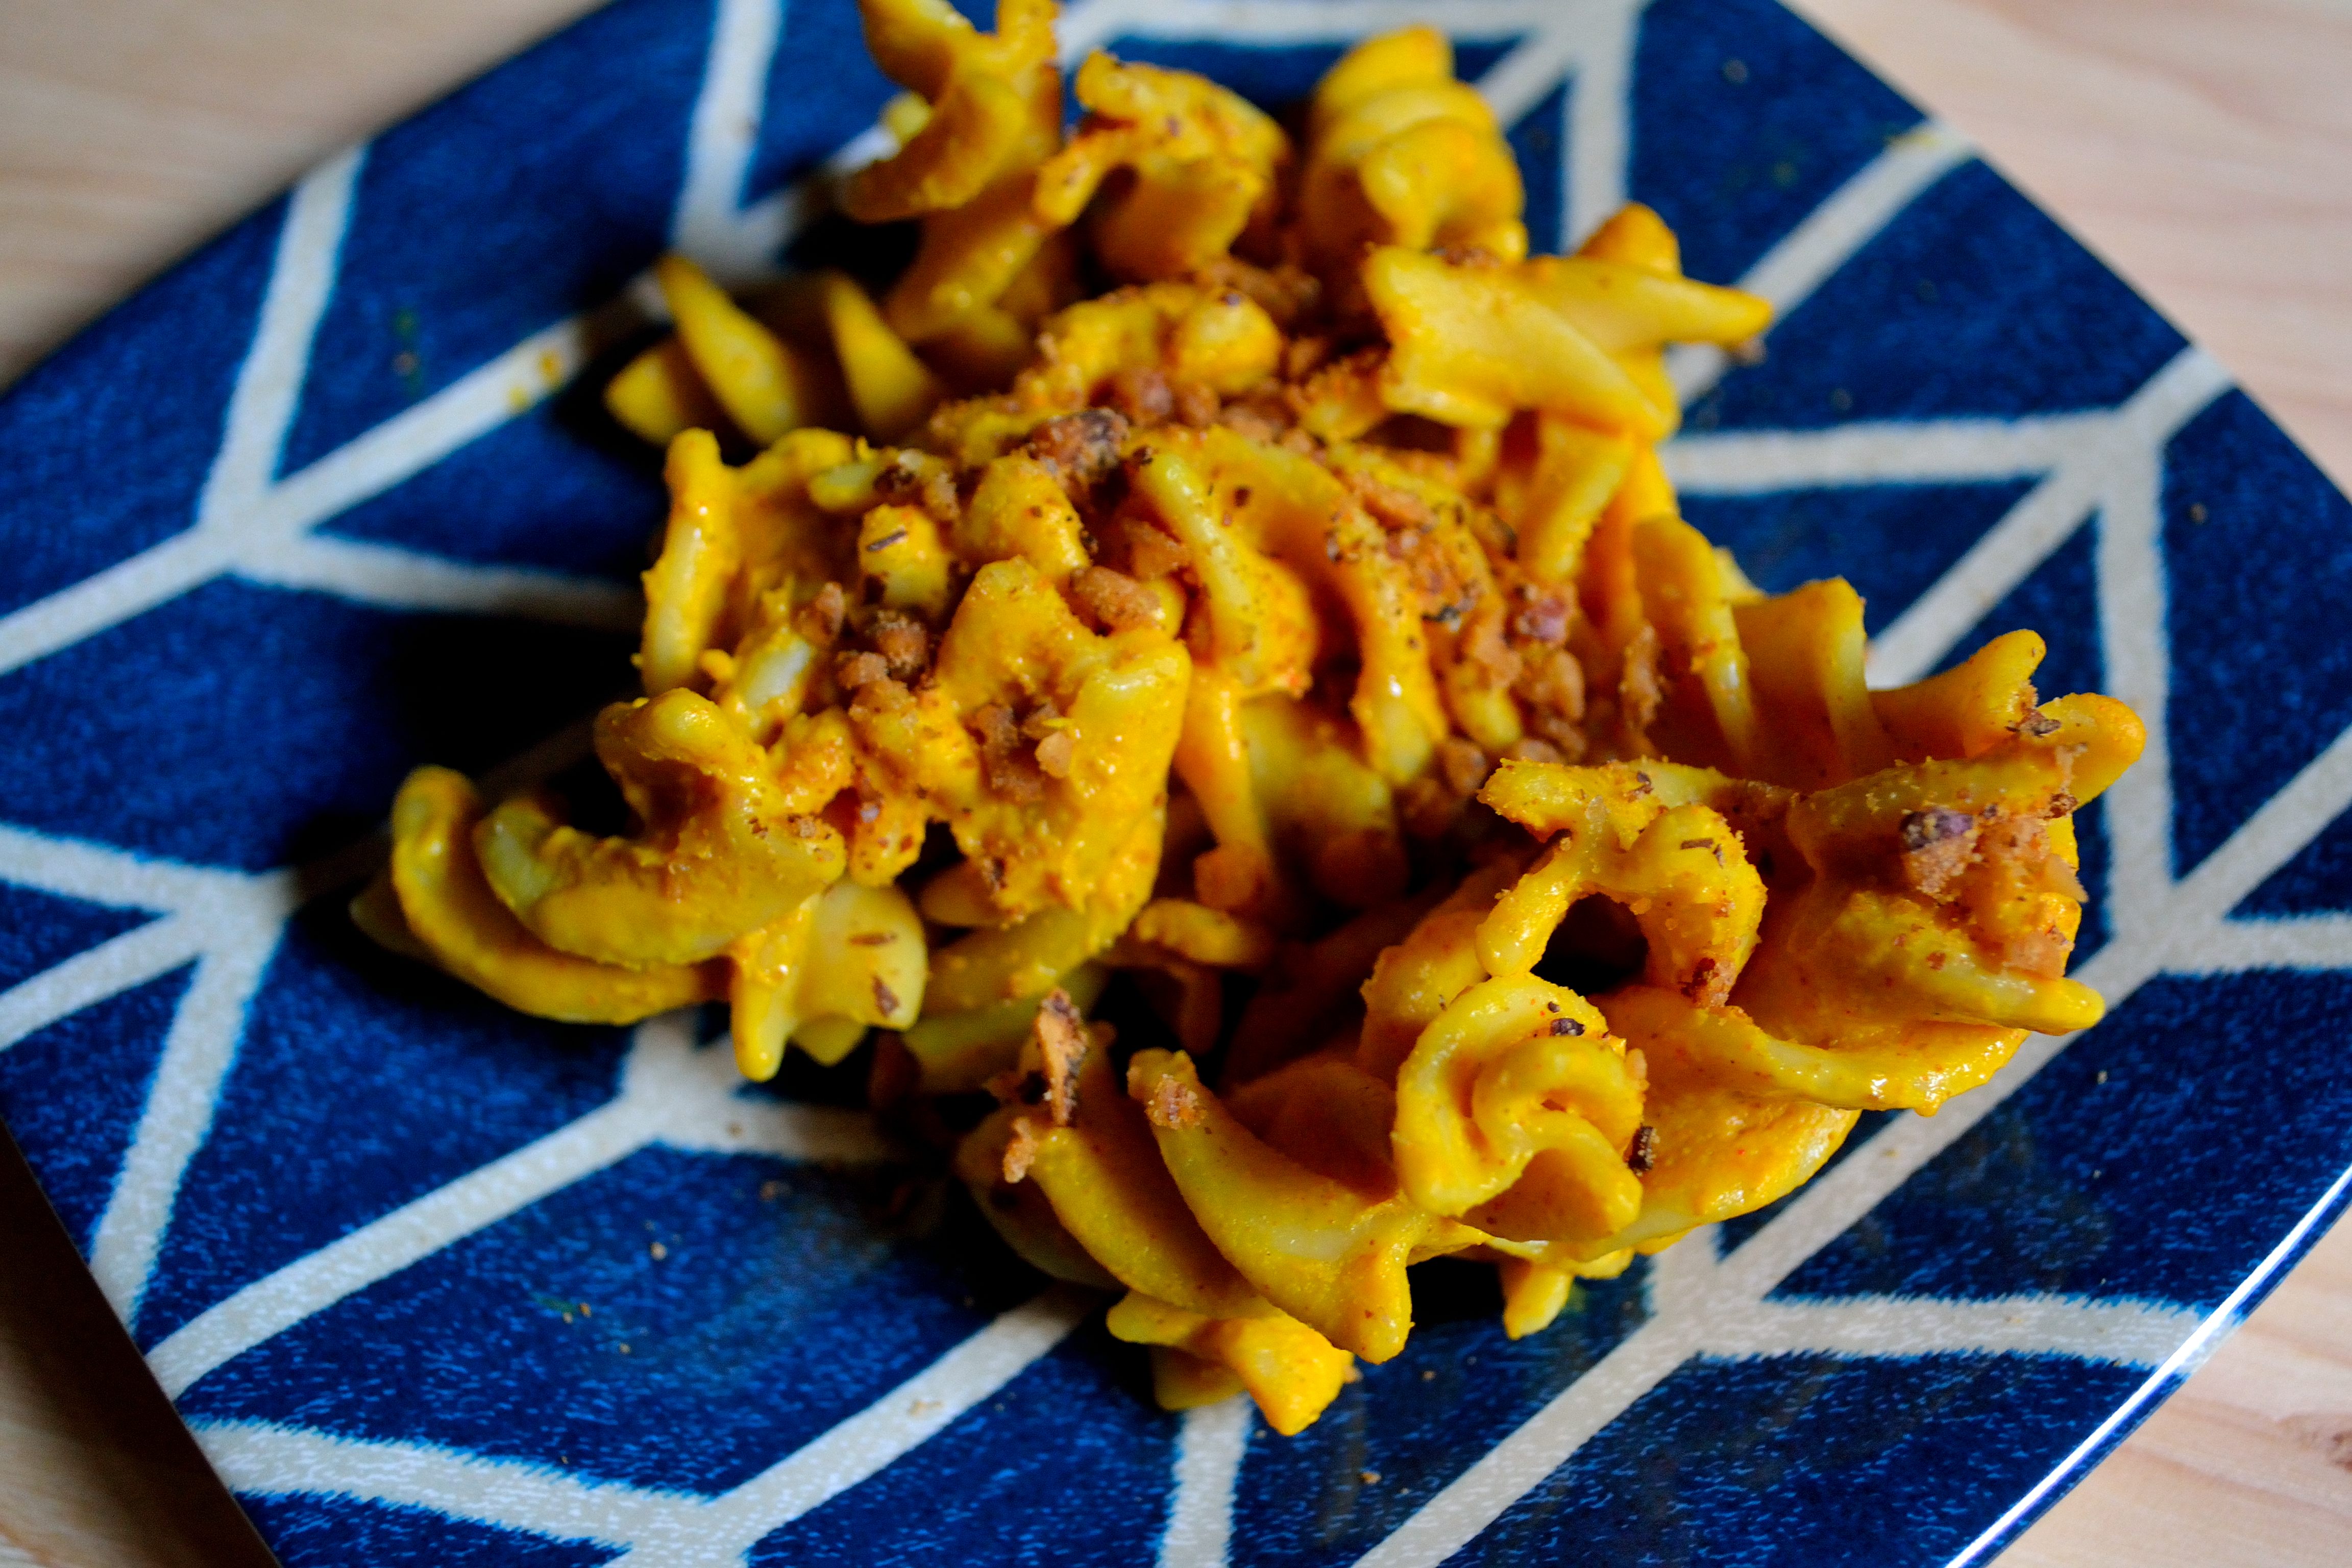
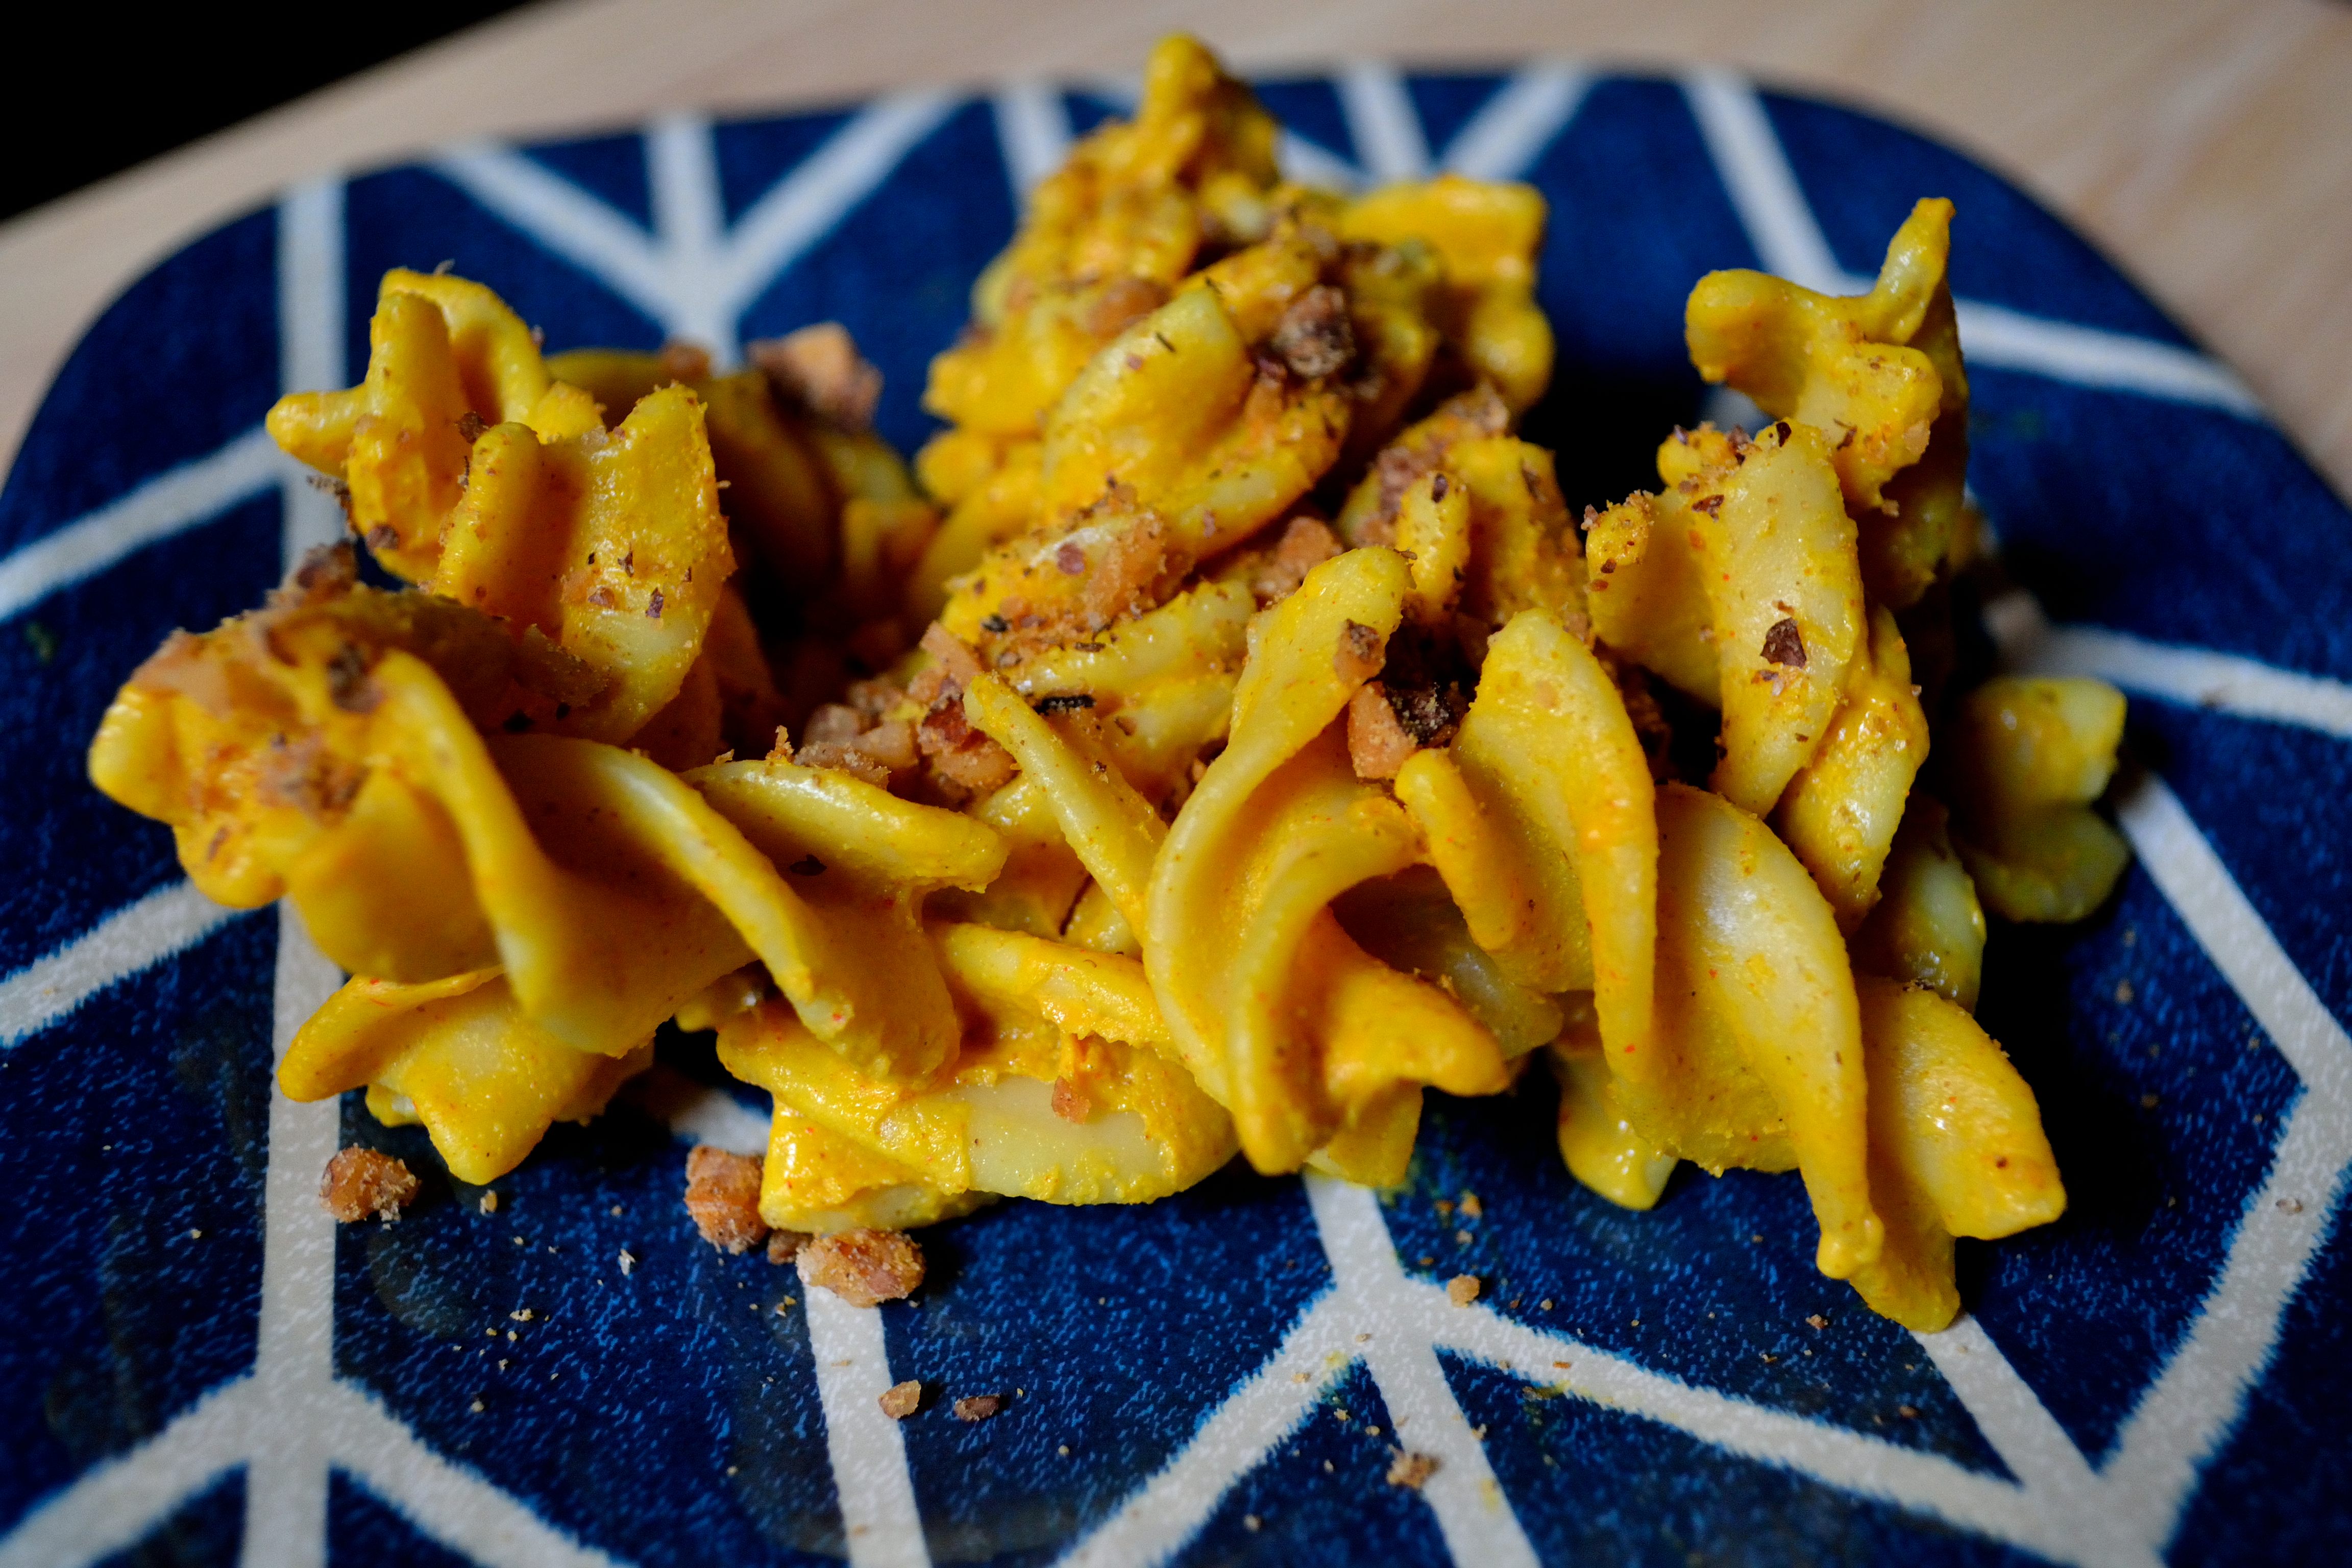
While this does have a cheesy taste to me, don’t expect it to be an exact replica of Kraft or any other regular boxed version.  It will have that nice and creamy texture though and that is enough for me!

Fusilli N’ Cheeze

DSC_0757

  • 1 package of brown rice fusilli (I get mine from Trader Joes.  It’s awesome!)
  • 1 cup non-dairy milk (I have used coconut and almond milk with great results)
  • 1 1/4 cup water
  • 3/4 cup nutritional yeast (this is your cheese flavor so if you want a cheesier taste, use up to 1 cup)
  • 3 tbsp tapioca starch (you can also use corn starch)
  • 1 tbsp lemon juice
  • 2 tbsp tahini (you can also use sunflower seed butter)
  • 1 tsp miso (I used red but you can use white or whatever you have on hand. if you don’t have miso, use extra salt)
  • 1 tsp brown mustard
  • 1/2 tsp salt
  • 1/2 tsp smoked paprika
  • 1/4 tsp turmeric

DSC_0753

1.  Cook the pasta according to the directions on the package. While that is cooking, prepare the sauce.

2.  Ready for this?  Put all of the ingredients into a blender and blend until everything is combined.  It will seem really watery but don’t worry, it’s going to thicken.

3.  Put the pasta back into the pot you used to cook it in and pour the sauce over the noodles.  Stir everything to coat the pasta and turn the heat on to medium high heat.  Keep stirring and as the sauce heats up it will begin to thicken.  Cook for about 5 to 10 minutes.

DSC_0758

The other awesome thing about this?  It takes less than 30 minutes to make.  So when you have the urge for some good old comfort food you can whip it up just as fast as the box kind.  This version though won’t have fake chemicals or pieces of metal in it.

Happy first day of Spring (even if it doesn’t feel like it) and have a great Friday!

My Favorite Hummus

Hummus has almost a cult like following.  People can’t get enough of the stuff and will put it on any and everything.  I am one of those people.  I love the creamy texture and garlicky, smokey taste.  I like dipping things into it, spreading it on anything, and adding it to any meal that I can.  It’s pretty much amazing.

But there is one problem.  I have had a really hard time recreating the texture at home.  Store bought hummus is so smooth and creamy and that’s what makes it so addicting.  I really like making my own though because it’s cheaper and I control the ingredients.  It seemed every time that I made my own the taste would be just fine but I would end up with a dense and thick paste instead of smooth and creamy.  Not so good.

After a lot of testing out a ton of recipes and techniques I think I finally found the best method to make the perfect hummus.  It’s actually a combination of a few techniques out there to help make that perfect texture.  This is a little labor intensive, but I promise it’s worth it.  You can make a really big batch so it will last longer and you will always have hummus on hand.  Now onto the hummus!

Perfectly Creamy Hummus

You will need at least 24 hours to soak the chickpeas. Don’t skip this step!!

DSC_0640

  • 1 cup dried chickpeas
  • 1/2 tsp baking soda
  • 4 whole cloves garlic
  • 3 tbsp lemon juice
  • 1/2 cup tahini
  • 1/2 tsp cumin (freshly ground if possible)
  • 1/2 tsp smoked paprika
  • 1 tsp salt
  • 1/2 cup water, reserved from cooking the chickpeas

1.  24 hours before you want hummus, place chickpeas into a large bowl and cover with water.  Stir in the 1/2 tsp of baking soda.  Cover and place the bowl into fridge.

2.  After 24 hours, drain and rinse chickpeas and place into a large pot.  Cover with at least 5 to 6 cups of water.  Add in the 4 whole garlic cloves and bring the water to a boil.  With a slotted spoon, skim off any foam/skins that floats to the top.  Lower to a simmer, cover, and cook for 3 hours.  The chickpeas should be super soft at this point.

3.  Drain the chickpeas and garlic, reserving at least 1/2 cup of the water.  Now at this point you can remove some of the skins off the chickpeas if you want.  I have tried it both ways and haven’t noticed a huge difference.  Place chickpeas and garlic into a food processor or blender.  Add in the rest of the ingredients except the water.  Pulse a few times to start to combine everything.

4.  Turn the processor on and slowly add in water.  This will turn the hummus into that wonderfully creamy texture.  You might need less water, but I have found the full 1/2 cup makes the creamiest version.

DSC_0641

Yes, it seems like a lot to make hummus when you can just go to the store and buy some and be on your merry way.  But it is really hard to find hummus that doesn’t have weird ingredients or preservatives, and it can get expensive to support a serious hummus addiction with store bought.  Take the time to make this and you will be rewarded with a delicious hummus that is half the cost and ready to be used in any way you want!

Have a great Friday and wonderful weekend!

Vegan Fish Nuggets and Dipping Sauce

Before you turn up your nose or totally dismiss this recipe because there is no way you’re eating some vegan meal, give this a try!  I promise it isn’t as bad as you’re imagining.

If you’re tapped into the vegan blog world or are a vegan yourself, you’ve probably heard of crab cakes/fish sticks made with hearts of palm.  And if you’re like me, you were probably skeptical that a vegetable could transform into a fish dish.  Unlike me you probably went about your day and that was the end of it.  I on the other hand had to try it out myself and see if it actually worked.

Much to my surprise, it did work.  I won’t say that it is exactly like fish and will fool fish eaters, but it does mimic the taste and texture of fish sticks.  It was nice and flaky on the inside and crispy, crunchy on the outside.  I like being able to make my own substitutes to regular food instead of buying the processed versions and this was really simple to put together.

But what really makes this recipe is the dipping sauce.  I could (and sort of did) drink this stuff it’s so good.  I used it in scrambled eggs, on top of my lentil loaf, mixed into stir fry, and dipped everything in my fridge into it.  I promise I’m only slightly obsessed.

Vegan Fish Nuggets and Dipping Sauce

DSC_0610

Nugget ingredients

  • 1 14 oz can hearts of palm (read ingredients to make sure you’re getting just hearts of palm in water)
  • 1/4 cup almond flour
  • 1 tsp soy sauce/liquid or coconut aminos
  • 1/2 tsp celery seed
  • 1/2 tsp dill weed
  • 1/4 tsp salt
  • 1/2 cup coarsely ground almonds
  • 1 tsp old bay seasoning
  • 1/2 tsp smoked paprika
  • 1/4 tsp salt

1. Drain and rinse hearts of palm and place in blender.  Pulse a few times until it’s shredded.  Make sure there aren’t any big chunks but don’t totally pulverize it.  Place into a medium bowl.

2.  Add in almond flour, soy sauce, celery seed, dill weed and 1/4 tsp salt.  Stir with a spatula until combined.  In a separate bowl mix the rest of the ingredients until well combined.

3. Preheat oven to 375.  Take about a 1 tbsp of the wet mix and roll into a ball.  Roll this in the dry mix until coated and place on a baking sheet lined with a Silpat or parchment paper. Continue until all the wet mix is gone.

4.  Spray the nuggets with a little olive oil and place into the oven.  Bake for 15 minutes, remove and turn the nuggets, and bake for another 5 minutes.  While the nuggets are cooking, make your sauce.

DSC_0612

Dipping sauce– slightly adapted from this recipe

  • 1/2 cup cashews, soaked for at least 4 hours
  • 1/2-2/3 cup water
  • 2 tbsp olive or coconut oil
  • 1/4 cup lemon juice
  • 3 tbsp nutritional yeast (NOT bakers yeast)
  • 1 tbsp roasted garlic
  • 2 tsp soy sauce/liquid or coconut aminos
  • 1/2 tsp cumin
  • 1/2 tsp chili powder
  • 1/4 tsp smoked paprika
  • 1/4 tsp salt

1. Drain and rinse nuts and place all the ingredients into a blender.  Blend until you have a smooth sauce.  Place it into the fridge to help it thicken just a little.

DSC_0611

I know that many of you will shy away from a vegan recipe, but I think this is a good one to try because it doesn’t really use any weird ingredients.  Hearts of Palm are a lot like canned artichokes (that’s where you’ll find them in the store) and they are really tasty.  It’s always good to try new things and broaden your eating horizons.  And if that still doesn’t convince you try this, at least make the sauce because I promise you will want to put it on everything!

Have a great weekend everyone!

Keep It Simple Series: One Skillet Meal

keep_it_simple_wallpaper_by_tomsoncze-d77oh5vEveryone is looking for a quick and easy meal.  Rachael Ray got her start with 30 minute meals and googling quick meals will give you thousands of recipes.  Today’s video is my favorite quick and healthy meal and it uses just one pan.  I make this at least once a week and it is always a big hit, plus it never gets boring because you can always change things up just a little bit to keep it interesting.  So let’s get to it!

Hopefully this video will give you some ideas on how to make your own one skillet meal, just make sure that you are using cooked grains/legumes and meat.  Other than that go crazy with your version of this delicious and healthy meal!

Chili & PB Marinated Chickpea Tofu

At first glance all those flavors don’t seem to go together, but trust me on this one.  A few weeks ago I gave you a recipe for Chickpea Tofu and since then I have been working on other ways to prepare it.  After just baking it and covering it with a sauce, I decided I wanted to try it marinated and sauteed.  All it took was a few attempts to perfect the marinade and I had a really yummy and simple weeknight meal!

Make sure that you do plan ahead just a little bit so you have enough time for your tofu to set before you start cooking.  Otherwise this is a really easy meal to throw together fairly quickly!

Chili & PB Marinated Chickpea Tofu

DSC_0628

  • 1 batch of chickpea tofu
  • 1/3 cup water
  • 1 tbsp sesame oil (can use olive oil too but I like the flavor of sesame in this marinade)
  • 1 tbsp molasses
  • 2 tbsp liquid aminos/coconut aminos/soy sauce
  • 2 tsp roasted garlic or 2-3 cloves minced
  • 2 tbsp creamy peanut butter
  • 1/2 tsp chili powder (more if want it a little spicier)

1. Make your chickpea tofu and while it’s setting preheat your oven to 400 and mix together all the marinade ingredients.

2.  Once your tofu is ready, cut into bite size pieces and place into a large bowl.  Drizzle a little olive oil and toss to coat.  Line a baking sheet with parchment paper or a Silpat and bake the tofu for 20 minutes.

3.  Remove tofu from the oven and place back into the large bowl.  Pour the marinade in and stir to make sure everything is coated.  Let it sit for about 10 minutes.

4.  Heat a large pan over medium high heat and add in all the tofu and sauce.  Saute for a few minutes until the sauce has started to crisp up.  Serve the tofu on it’s own or over rice or vegetables.

DSC_0622

I am really liking how chickpea tofu acts a lot like regular tofu in most recipes.  I am still working on other ways to prepare it so that you can have a variety of ways to use this tasty ingredient!

Have a great weekend and I’ll see you on Monday!