Hobo Skillet Casserole

Sunday is usually my big chore day.  It’s the day that I do all the laundry, clean the bathroom, super clean the kitchen, clean all the floors, and any other cleaning that is needed.  I also get my blog ready for the next day and finish up any other odds and ends that need to be taken care of.  Sometimes when dinner rolls around, I really don’t want to put a lot of effort into my meal.

This is where a well stocked freezer and pantry come in hand.  You can come up with a delicious and healthy meal in a matter of minutes with just a few staples.  I made this meal last Sunday and asked you guys if you would be interested in how to make it.  I got a fairly good response so here it is!  Keep in mind that you can totally customize this dinner with the ingredients you have on hand.

Hobo Skillet Casserole

DSC_1040

  • 1 cup pasta (I used gluten free penne but you can use whatever you normally do)
  • 1 potato, cut into cubes
  • 1 cup butternut squash, cubed (can also use any other squash or sweet potatoes)
  • 1 cup frozen spinach, thawed (can use any green you have like chard, collard, or kale)
  • 1/2 cup assorted vegetables (I used a frozen mix of broccoli, cauliflower, and carrots)
  • 1 small onion, diced
  • 2-3 cloves garlic, minced
  • 1 8 oz can of tomato sauce
  • 1/2 cup almond milk or any other non-dairy milk
  • 1-2 tsp Italian seasoning
  • salt and pepper to taste
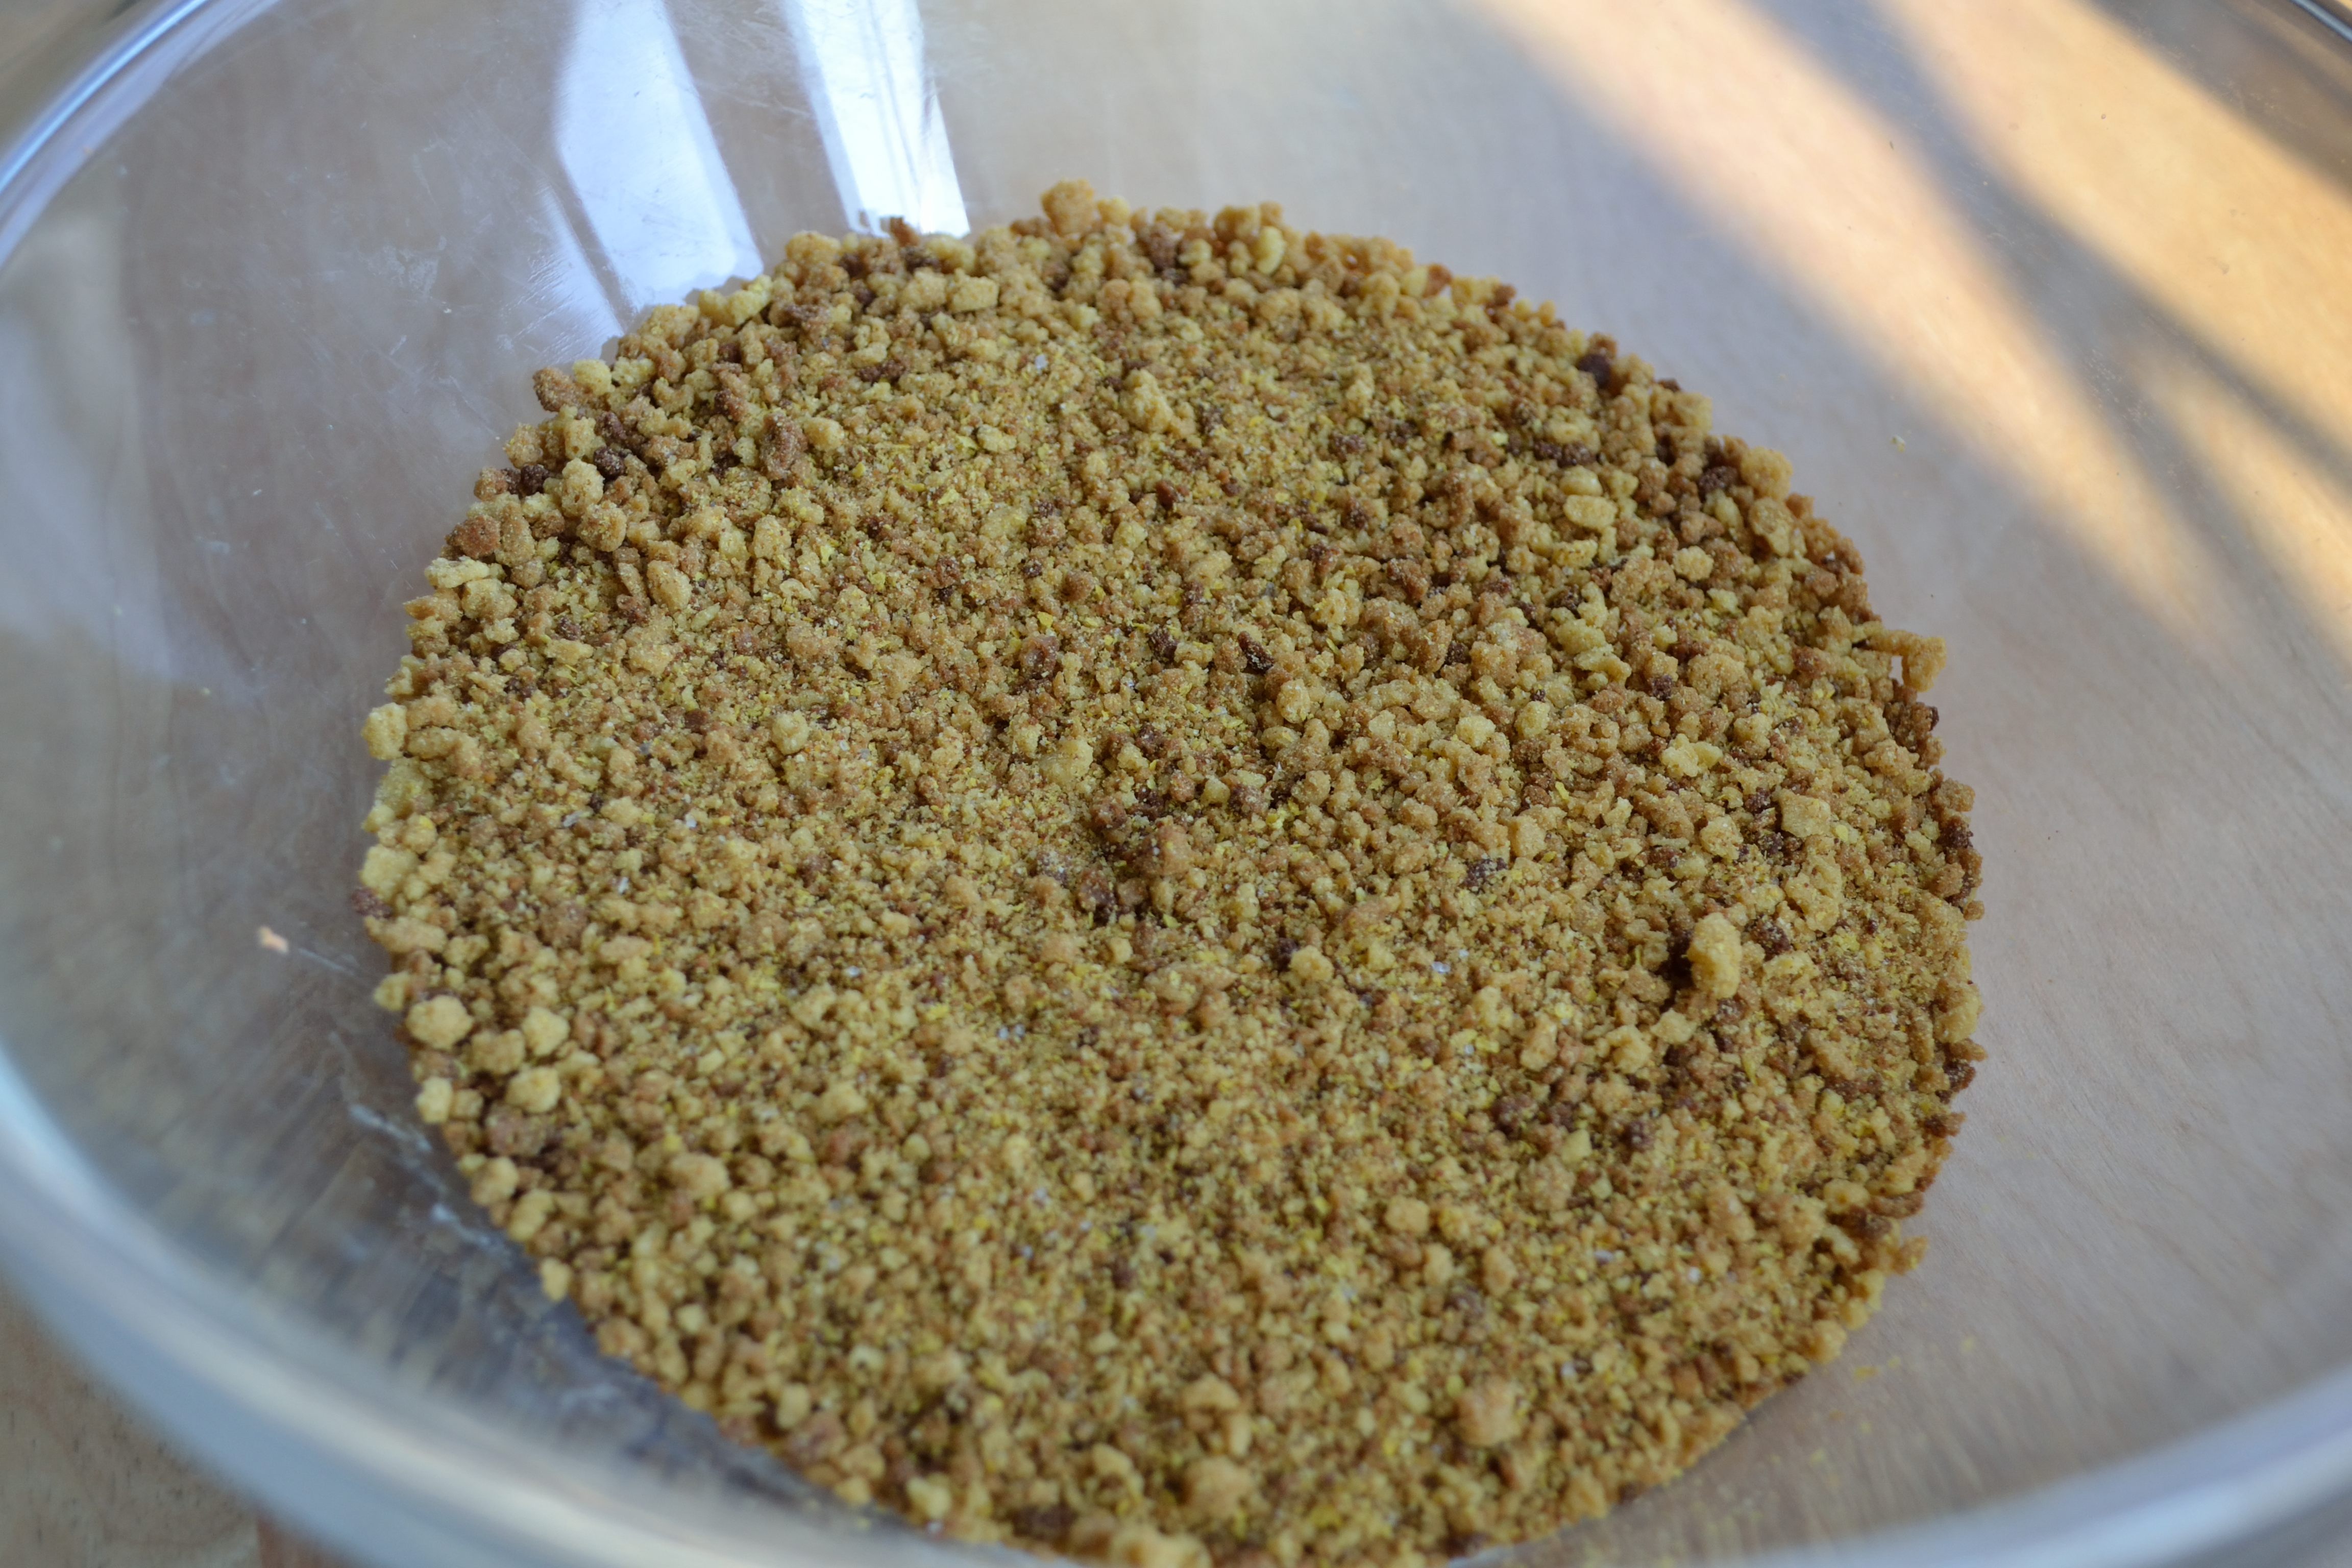
  • gluten free breadcrumbs (optional)

DSC_1039

  1. Preheat oven to 350.  Cook pasta according to package, drain, and set aside.
  2. While pasta is cooking, mix tomato sauce, almond milk, Italian seasoning, and salt and pepper in a small bowl and set aside for later.
  3. Heat a cast iron skillet over medium high heat.  If you do not have a cast iron skillet you can use a regular skillet and transfer the casserole into a casserole dish.
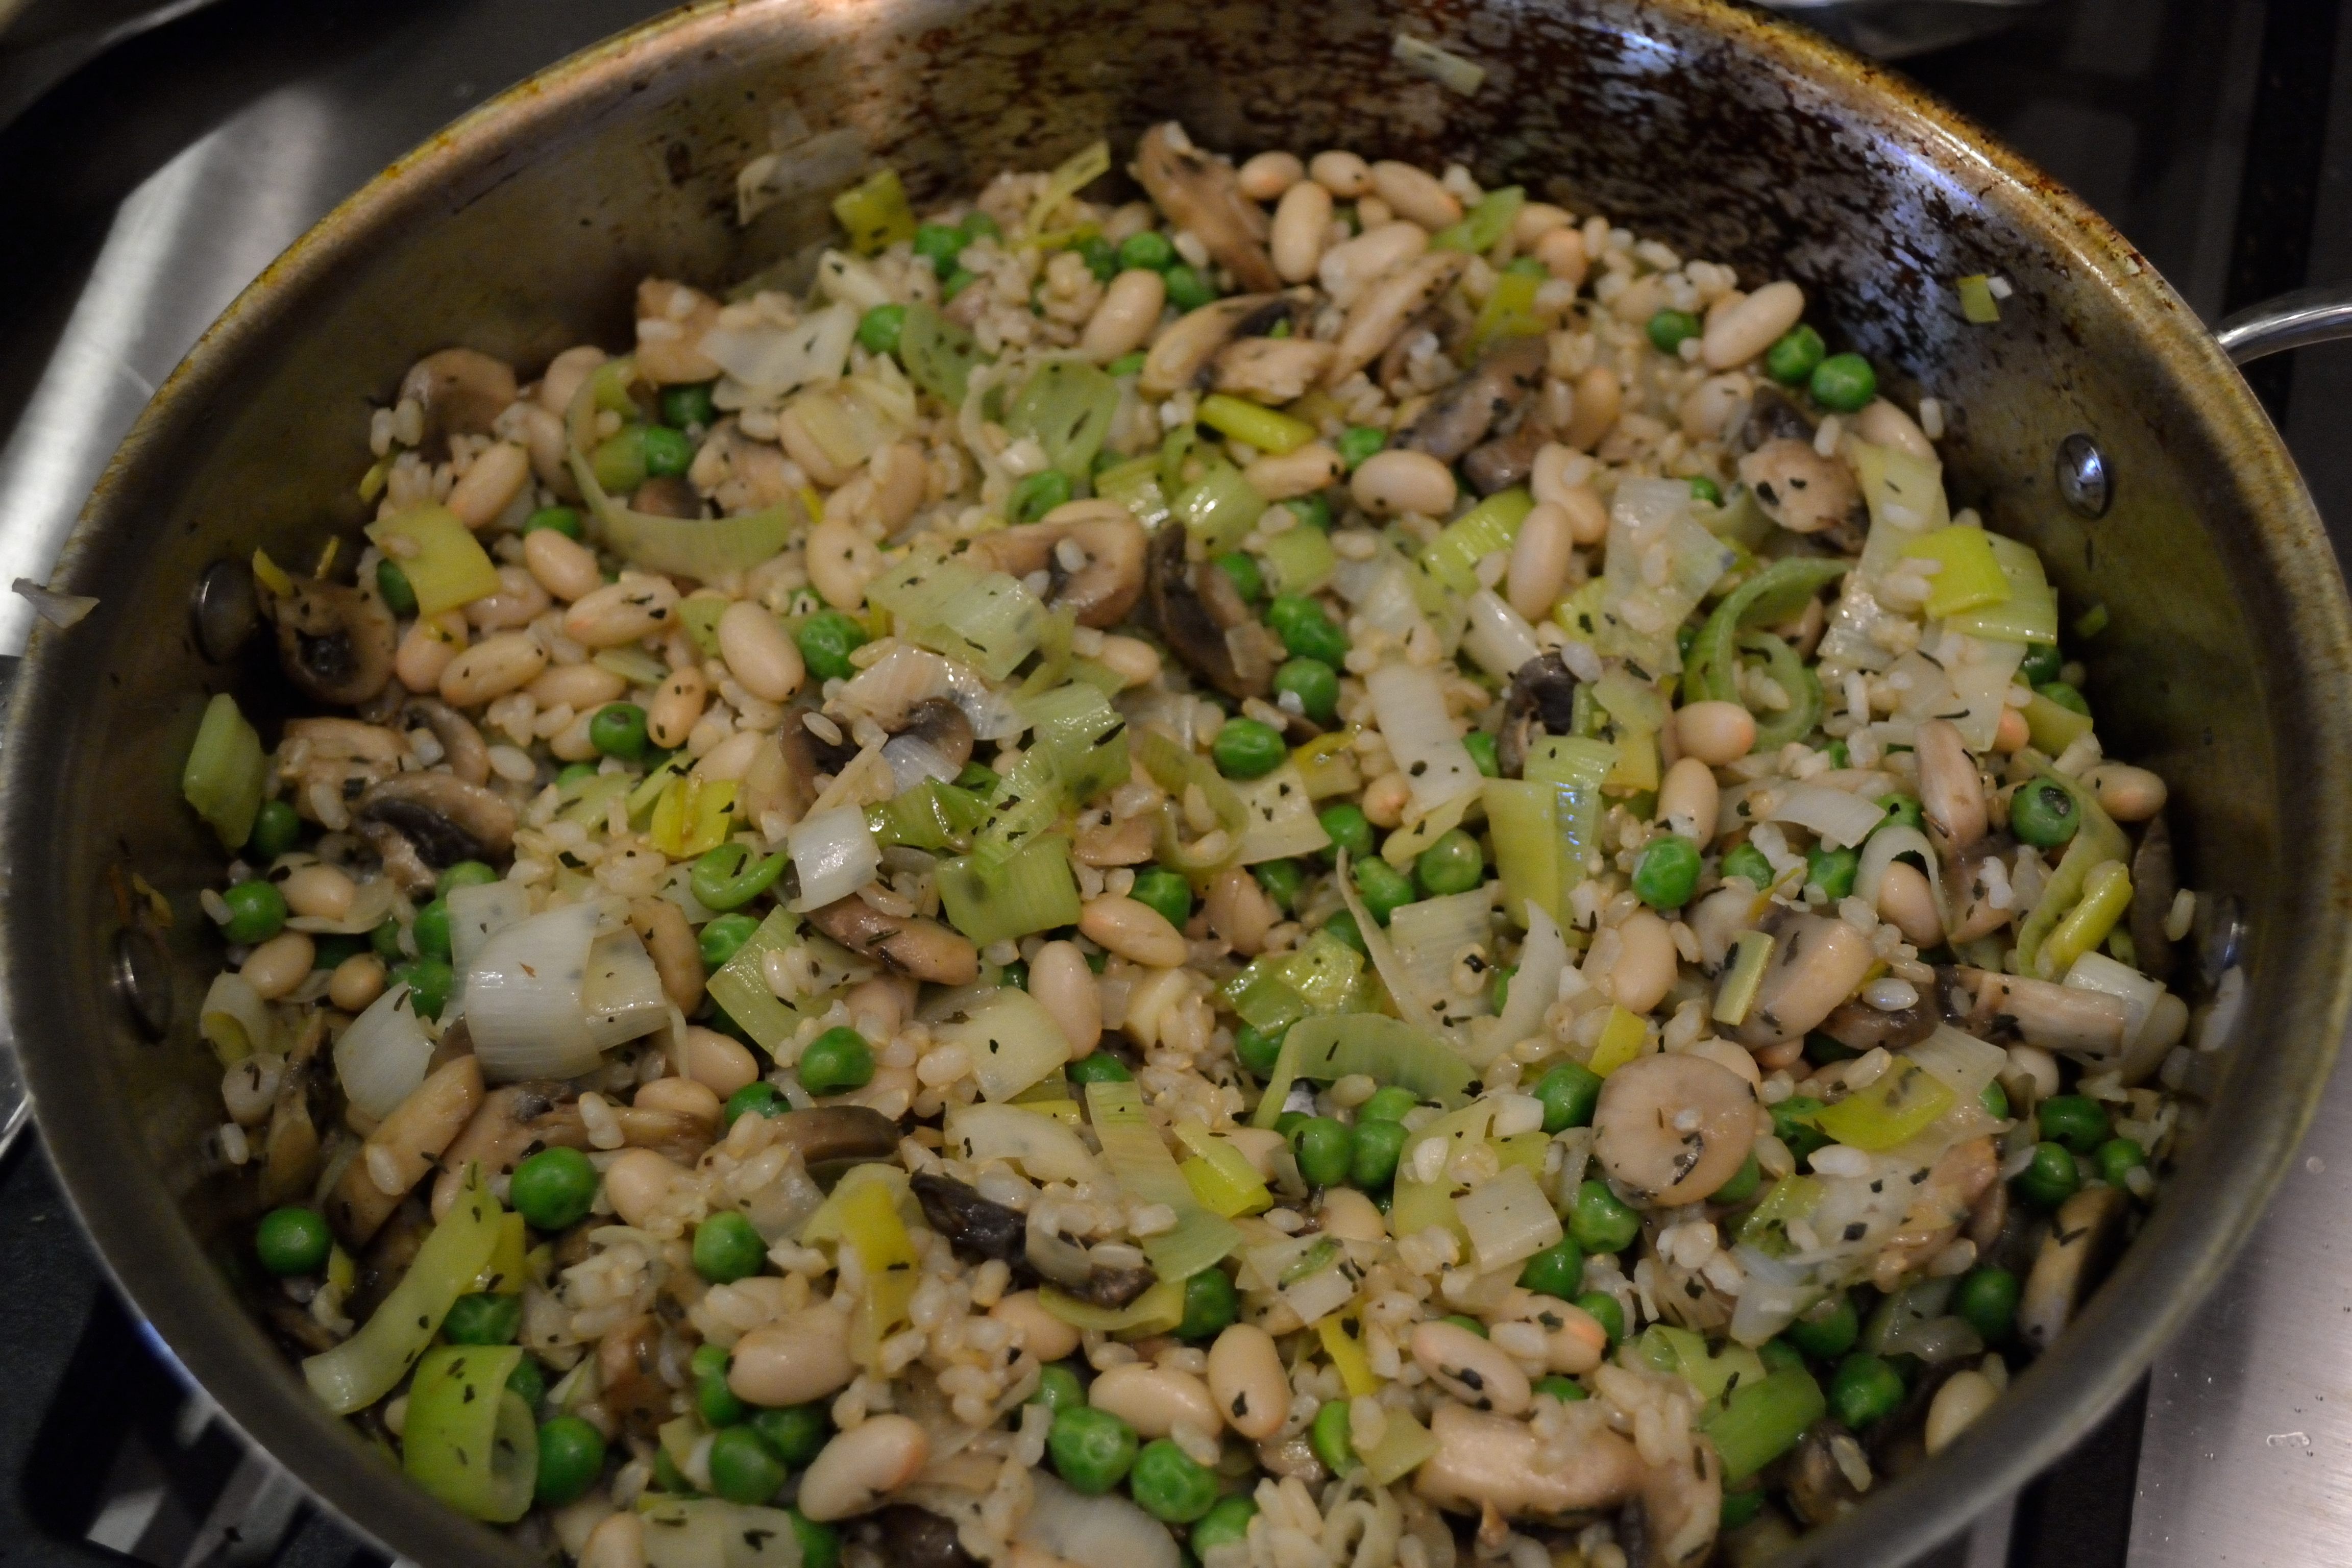
  4. Add a little olive oil to the pan and then saute the onions and potatoes until the potatoes are lightly browned. Transfer the potatoes and onions to a bowl with the pasta.
  5. Add the vegetables and butternut squash to the skillet and cook until slightly brown.  Add in the garlic and cook for another minute.  Place the vegetables into the bowl with the potatoes and pasta.
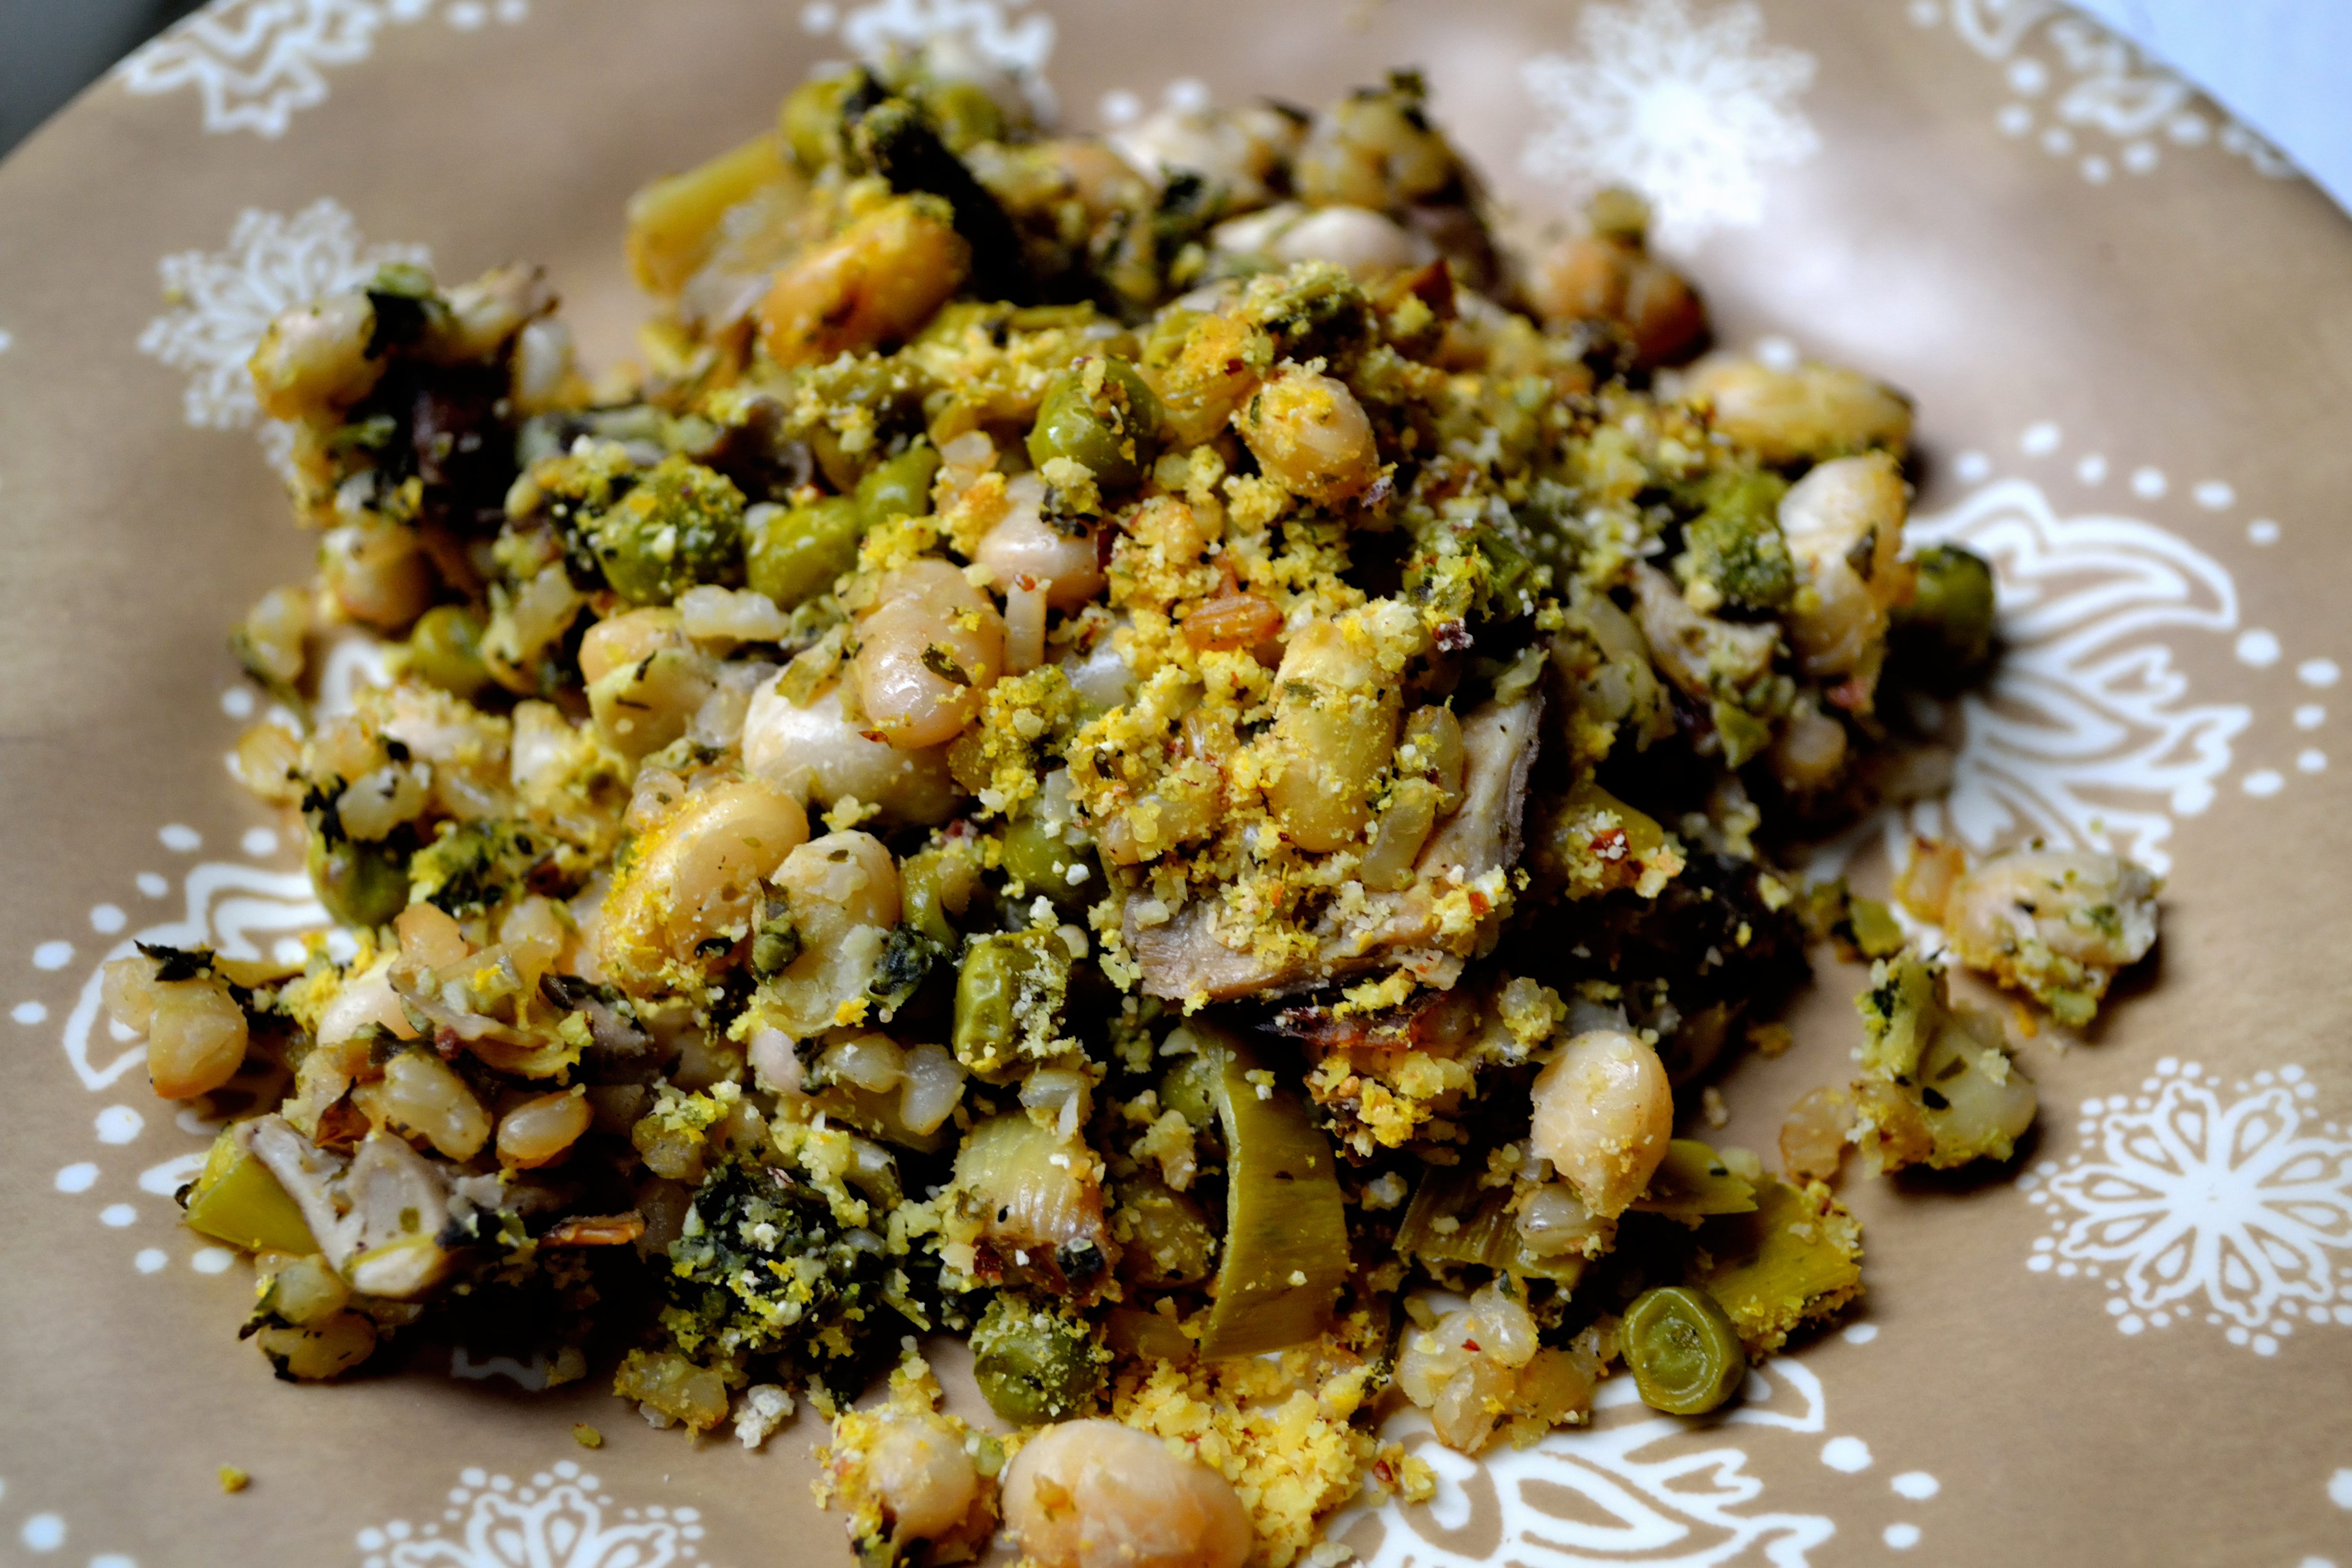
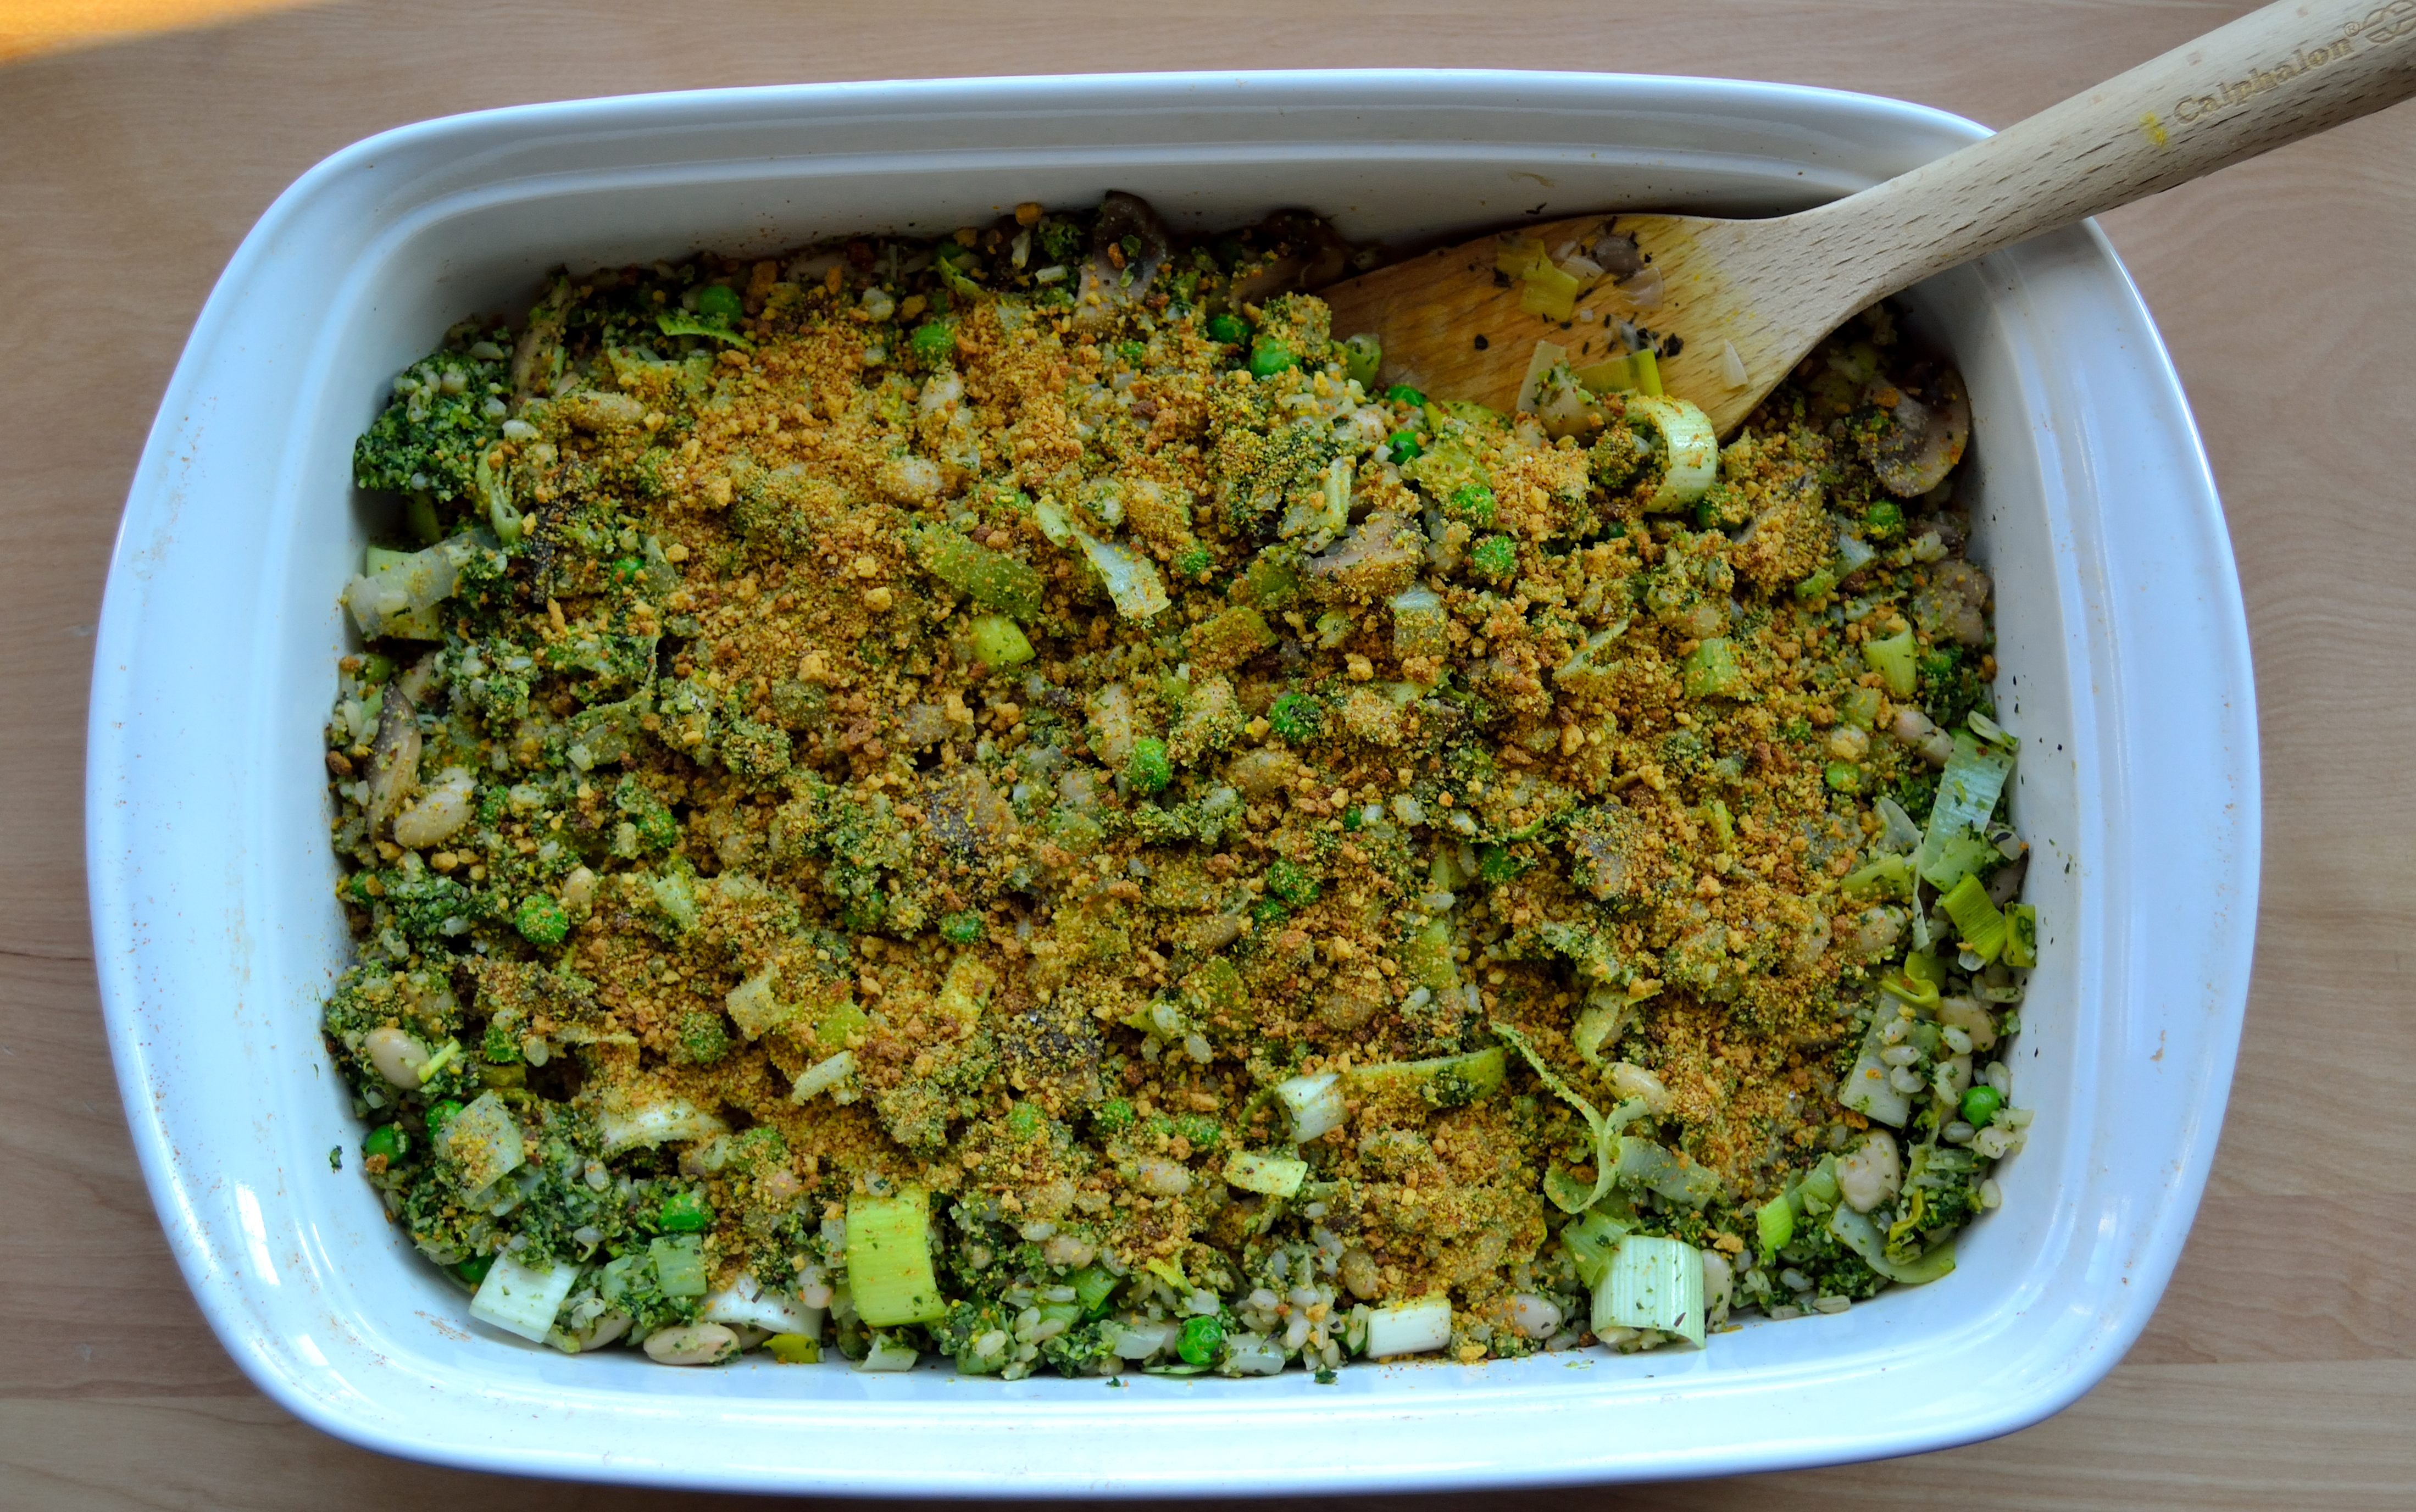
  6. Pour the tomato sauce mix into the other bowl and stir everything to combine.  Add everything back into your skillet or casserole dish.  Place in the oven and bake for 15 minutes.
  7. Remove from oven and top with the bread crumbs if you’re using and bake for another 5 minutes.

This is a great meal to make at the end of the week to use up any food that you have leftover in the fridge.  You can use whatever you have on hand.  If you don’t want to use pasta you can try brown rice, quinoa, or any beans you have.  If want add ground beef or turkey, shredded chicken or pulled pork.  Choose your favorite vegetables or whatever is in season.  Use different seasonings to change up the flavor or try a different sauce like salsa or hummus or cashew cream.

DSC_1043

Meals like this are awesome because they are easy to make and can taste different every time you make it depending on what you use.  Get creative and get eating!

Oh and don’t forget I am still hosting a giveaway on my Facebook page.  If I get to 100 likes I’ll give away two $10 gift cards of their choice to two of my followers.  Make sure you go check out my page and like it!

Have a great Friday and a wonderful weekend!

Chickpea Pizza Bites

I don’t know about where you live, but today we are enjoying some GORGEOUS weather!  The sun is shining, it’s warm, there is a light breeze, and I am one happy camper.  I am going to try and soak in as much as possible because living in Chicago on the lakefront you never know when the weather will turn.

DSC_0965

Today’s recipe was kind of a spur of the moment idea.  I was trying to think of something different to do with my chickpea tofu and somehow pizza popped into my head.  It was easy to put together and makes a really great snack or appetizer.  I made some with regular cheese for Adam and used nutritional yeast for mine.  We devoured these as we watched the season premier of Game of Thrones.  Because I was still housesitting at that point, we were able to watch on a big screen with surround sound and it was amazing.  It was also the first time that we were able to watch the season premier on the actual day that it premiered.  It was quite the night and these little bites made it even better.

DSC_0978

So put some of these for your next get together or make some for your next movie/netflix binge.  You won’t be sorry!

Chickpea Pizza Bites

DSC_0963

  • 1 batch of chickpea tofu, poured into a bread loaf pan instead of a casserole dish or brownie pan.
  • 1 8 oz can of plain tomato sauce
  • 2-3 tsp pizza seasoning OR
  • 1 tsp each of basil, oregano, garlic powder, and marjoram
  • 1/2 tsp salt
  • handful of shredded cheese (cheddar or mozzarella) OR nutritional yeast to keep it vegan

DSC_0975

1. Preheat oven to 375.  Make the chickpea tofu and pour it into a bread loaf pan to set.

2.  Line a baking sheet with parchment paper or a Silpat.  Once the tofu has completely cooled, remove from pan and cut into bite size pieces.  Place on the baking sheet and bake in the oven for 20 minutes.

3. In a small bowl mix together the tomato sauce, pizza seasonings, and salt.  Taste to see if you need to adjust the flavor.

4.  Remove the tofu from the oven and top each slice with tomato sauce and either a sprinkle of cheese or nutritional yeast. Put the pan back in the oven and bake for another 5 minutes or until cheese is melted.

DSC_0973

If you have any extra tomato sauce you can use that to dunk your bites into!  I’m working on making some more snack/appetizer type foods that are simple to put together, taste delicious, and are of course healthy!  Are there any of your favorite appetizers or snacks that you would like to see made healthier?

Giveaway-Banner

Oh and quick sidenote I have started a Facebook page, Life Healthfully Lived.  You can find all my posts, pictures that I take, and other articles/recipes that I find and think you would enjoy.  If you haven’t seen it, go check it out and click like.  If I get to 100 likes by the end of the month, two of my followers will win a $10 gift card of their choice!

Have a great Friday and enjoy your weekend everyone!

DSC_0962

Spring Casserole

It’s been a struggle, but I think spring is almost here.  Every time I say that we slip back into 30 degree temperatures with a chance of flurries in the forecast.  But I’m going to be optimistic and say the worst is passed and sunshine and warmth is right on the horizon.

One of the ways I’m able to stay so optimistic is that spring produce is starting to hit the shelves.  Things like asparagus, peas, leeks, and mushrooms are all emerging and signaling the end of a long winter.  When new fruits and vegetables come to the grocery store I always get excited to try new recipes and come up with some delicious meals.

I can’t take all the credit for this dish though. It was largely influenced by Keepin’ It Kind’s Pumpkin Seed Pesto Rice Casserole.  I really liked the idea of using a pesto as the sauce in a casserole.  I changed a few things up and loaded it with a lot of yummy spring vegetables. I brought it along with me to my families Easter brunch and they seemed to enjoy it.  It’s great to feed a crowd and really simple to put together, plus the leftovers are delicious!

Spring Casserole

DSC_0863

Slightly adapted from Keepin’ It Kind’s Pumpkin Seed Pesto Rice Casserole

Pesto Sauce

  • 1/2 cup sunflower seeds
  • 1 cup spinach (I used frozen but if you use fresh add another cup)
  • 3 large cloves garlic
  • 1 tsp dried basil
  • 2 tbsp lemon juice
  • 2 tbsp olive oil
  • 1/4 tsp salt
  • 1/4 tsp pepper

Spring Casserole

  • 1 cup chopped asparagus
  • 1 package mushrooms, sliced (any variety, I used baby bella)
  • 1 cup peas
  • 2 leeks, white parts only, sliced
  • 1/2 cup chopped onion
  • 1 15 oz. can cannellini beans, rinsed and drained
  • 1 cup cooked brown rice or quinoa
  • 2 tsp Italian seasoning
  • salt and pepper to taste
  • lemon juice to taste

Bread crumb topping

This topping is totally optional but adds a nice crunch. If you’re gluten-free use your favorite gluten free bread. 

  • 2-3 slices bread, dried out
  • 1 tbsp nutritional yeast
  • 1/2 tsp basil
  • 1/2 tsp oregano
  • 1/4 tsp salt

1. Start by making your bread crumbs.  Place everything in a food processor or blender and pulse a few times until you have a crumb consistency. Set aside.

Bread Crumb Topping

Bread Crumb Topping

2. Make your pesto next.  Combine all pesto ingredients in a food processor or blender until you reach desired consistency.

Spinach Pesto

Spinach Pesto

3. Next, heat a large pan over medium high heat.  Saute the onion and leeks until soft, about 5 minutes.  Then add in the mushrooms and cook until their size reduces by half.  Then add in the peas, asparagus, rice, beans, and seasonings and heat through for another 5 to 8 minutes.  Place this mixture into a large bowl.

DSC_0853

4.  Preheat oven to 375. Scoop the pesto into the large bowl and combine everything really well.  You don’t want any large chunks of pesto hanging out in the mix. Then pour the mixture into a lightly oiled casserole dish and sprinkle the bread crumbs across the top.  Place in the oven and cook for 20 to 25 minutes or until the bread crumbs are golden brown.

DSC_0856

And that’s it!  A simple spring casserole that is easy to make and tasty to eat!

DSC_0787

What are some of your favorite spring vegetables and how do you like to eat them?

Happy Friday everyone and have a great weekend!

DSC_0866

Honey Roasted Almond Butter

You guys.  This almond butter.  When I found out that I would have access to a Vitamix for a few days the first thing I knew that I wanted to make was some kind of nut butter.  I am a nut/seed butter junkie and I have some form of it everyday.  The down side to this addiction is that it can get a little pricey.  For some reason people seem to think that you need to add a bunch of ingredients to nut butter when in reality all you need is nuts and a little salt.  You would think that the versions with less ingredients would in turn cost less but alas they are more expensive.  Now I can still find peanut butter and almond butter for a decent price, but I can’t indulge in all the other awesome nut and seed butters out there unless there is a big sale.

DSC_0823

It a lot more cost-effective to make your own nut butter, but I sadly do not have the proper equipment to do this.  I tried once to do it with my food processor and I’m pretty sure I almost blew it up.  That wasn’t the case with the Vitamix.  In less than five minutes I had wonderfully creamy almond butter.  It was magical.

I didn’t want to just do a regular nut butter for you today, I wanted to make it a little special.  Celebrate high-powered blenders, ya know?  So with just a few easy steps you can have this tasty honey (or maple) roasted almond butter to put on everything.  And if you’re like me, you WILL put it on everything.  Toast, oatmeal, celery, spoons, fingers…. Anywho, onto the recipe!

Honey Roasted Almond Butter

DSC_0821

  • 2 cups raw almonds
  • 1/3 cup honey or maple syrup to make vegan
  • sea salt

1.  Pre-heat oven to 375.  Place almonds in a large bowl.  In a small saucepan over medium heat, warm the honey or maple syrup for a few minutes.  Constantly stir and make sure that you don’t let it boil.  You just want to heat it up to a nice pourable consistency.

2.  Pour honey/maple syrup over your almonds and stir to coat.  On a baking sheet lined with parchment paper, spread out the almonds into an even layer.  Sprinkle with a little sea salt and place into the oven.

3.  Bake for 10 minutes.  Remove and shake the almonds a little to move around and place back in the oven for 5 to 10 minutes.  Make sure you watch the almonds carefully so they don’t burn.  You want them to be a nice golden brown not black.

4.  Once done remove from oven and let cool for a few minutes.  Once cooled, place all the almonds into your blender or food processor.  Depending on the kind of blender you have this could take a few minutes and you might have to stop and scrape down the sides a few times.  Just be patient and soon you’ll have a smooth and creamy nut butter.

DSC_0845

That’s it!  A few simple ingredients, a few easy steps, and you have yourself a nice treat!  Make sure you store it in an airtight container and it should last you a week if kept in the fridge.  Now go find things to eat with your almond butter.  Remember fingers work just as well!

2

Chocolate Macadamia Milk

Who doesn’t like chocolate milk?  It’s chocolate that you can drink!  When I was younger, we had a glass of milk with every meal but chocolate milk was a special treat.  We didn’t buy it often and when my mom did let us have it she would mix it with regular milk to make it last longer and cut down on the amount of sugar we were consuming.  Pretty sneaky mom!

I haven’t had regular chocolate milk in years due to my lactose intolerance and the fact that there really is a lot of sugar in those drinks.  But I had a hankering the other day and I decided to try my hand at making a nut milk version.  Now I will say that I don’t have a fancy high powered blender like the Vitamix or Blendtec but I was still able to make a decent nut milk with my old Ninja blender.  So those of you who are lucky enough to possess those amazing blenders this will be a breeze for you and to those of you like me it will just take a little extra time.

You will have to soak the nuts for at least 6 hours so make sure that you plan ahead a little.  Otherwise this recipe comes together fairly quickly and will last for about a week if kept in the fridge.  Let’s get to that chocolate milk!

Chocolate Macadamia Milk 

DSC_0657

  • 1 cup raw macadamia nuts
  • 3 1/2 cups water
  • 2-3 tbsp honey or maple syrup (could also use 5-6 dates)
  • 1 tsp vanilla extract
  • 1/4 tsp salt
  • 4 oz dark chocolate (at least 70% or darker)
  • cheese cloth or nut milk bag

1.  Soak the nuts for at least 6 hours.  Drain them and place into blender and pulse a few times to break up the nuts.

2.  Add in water, sweetener of choice, vanilla, and salt.  Blend everything until it is smooth and creamy.  High powered blenders will take less time, regular blenders will take a bit longer.

3.  Place cheesecloth/nut milk bag over a large bowl and pour nut milk into the bowl.  Carefully squeeze out all of the liquid until you just have pulp left in the cloth or bag.  (Save the pulp to use in baking/cracker/smoothies/or as bread crumbs) Pour the milk into a medium saucepan.

4.  Turn heat to medium low and add the dark chocolate to your milk.  Constantly stirring the milk, melt the chocolate completely.  It may look like the chocolate isn’t going to incorporate into the milk, but don’t worry.  Just make sure there are no huge chunks left.

5.  Once everything is melted, using either an immersion blender or blender, blend until the chocolate is fully combined.  Your milk should turn brown like regular chocolate milk and there shouldn’t be any pieces left.

6.  Pour your milk into a container and let it cool completely.  Store in the fridge and it should keep for up to 5 days.

DSC_0665

I love how thick and creamy this milk turned out and it really hit the spot.  You could use this to dunk cookies or pour over cereal for an extra treat.  You can also play with the amount of sweetener you use to fit your taste.  I used the lower end because I didn’t want it super sweet but you can use more if you wanted.

I hope you have a great weekend and I will see you back on Monday!