Recipe Re-Do: Even Better BBQ Sauce

IRecipe Re-do: Even Better BBQ Sauce was trying to come up with a good 4th of July recipe to give you guys today.  I had some really awesome ideas, but they all involved a grill.  Sadly, I don’t own a grill and didn’t have access to one in time to make any of my awesome ideas.  That’s ok though, I’ll have some great grilled recipes for you later this summer.

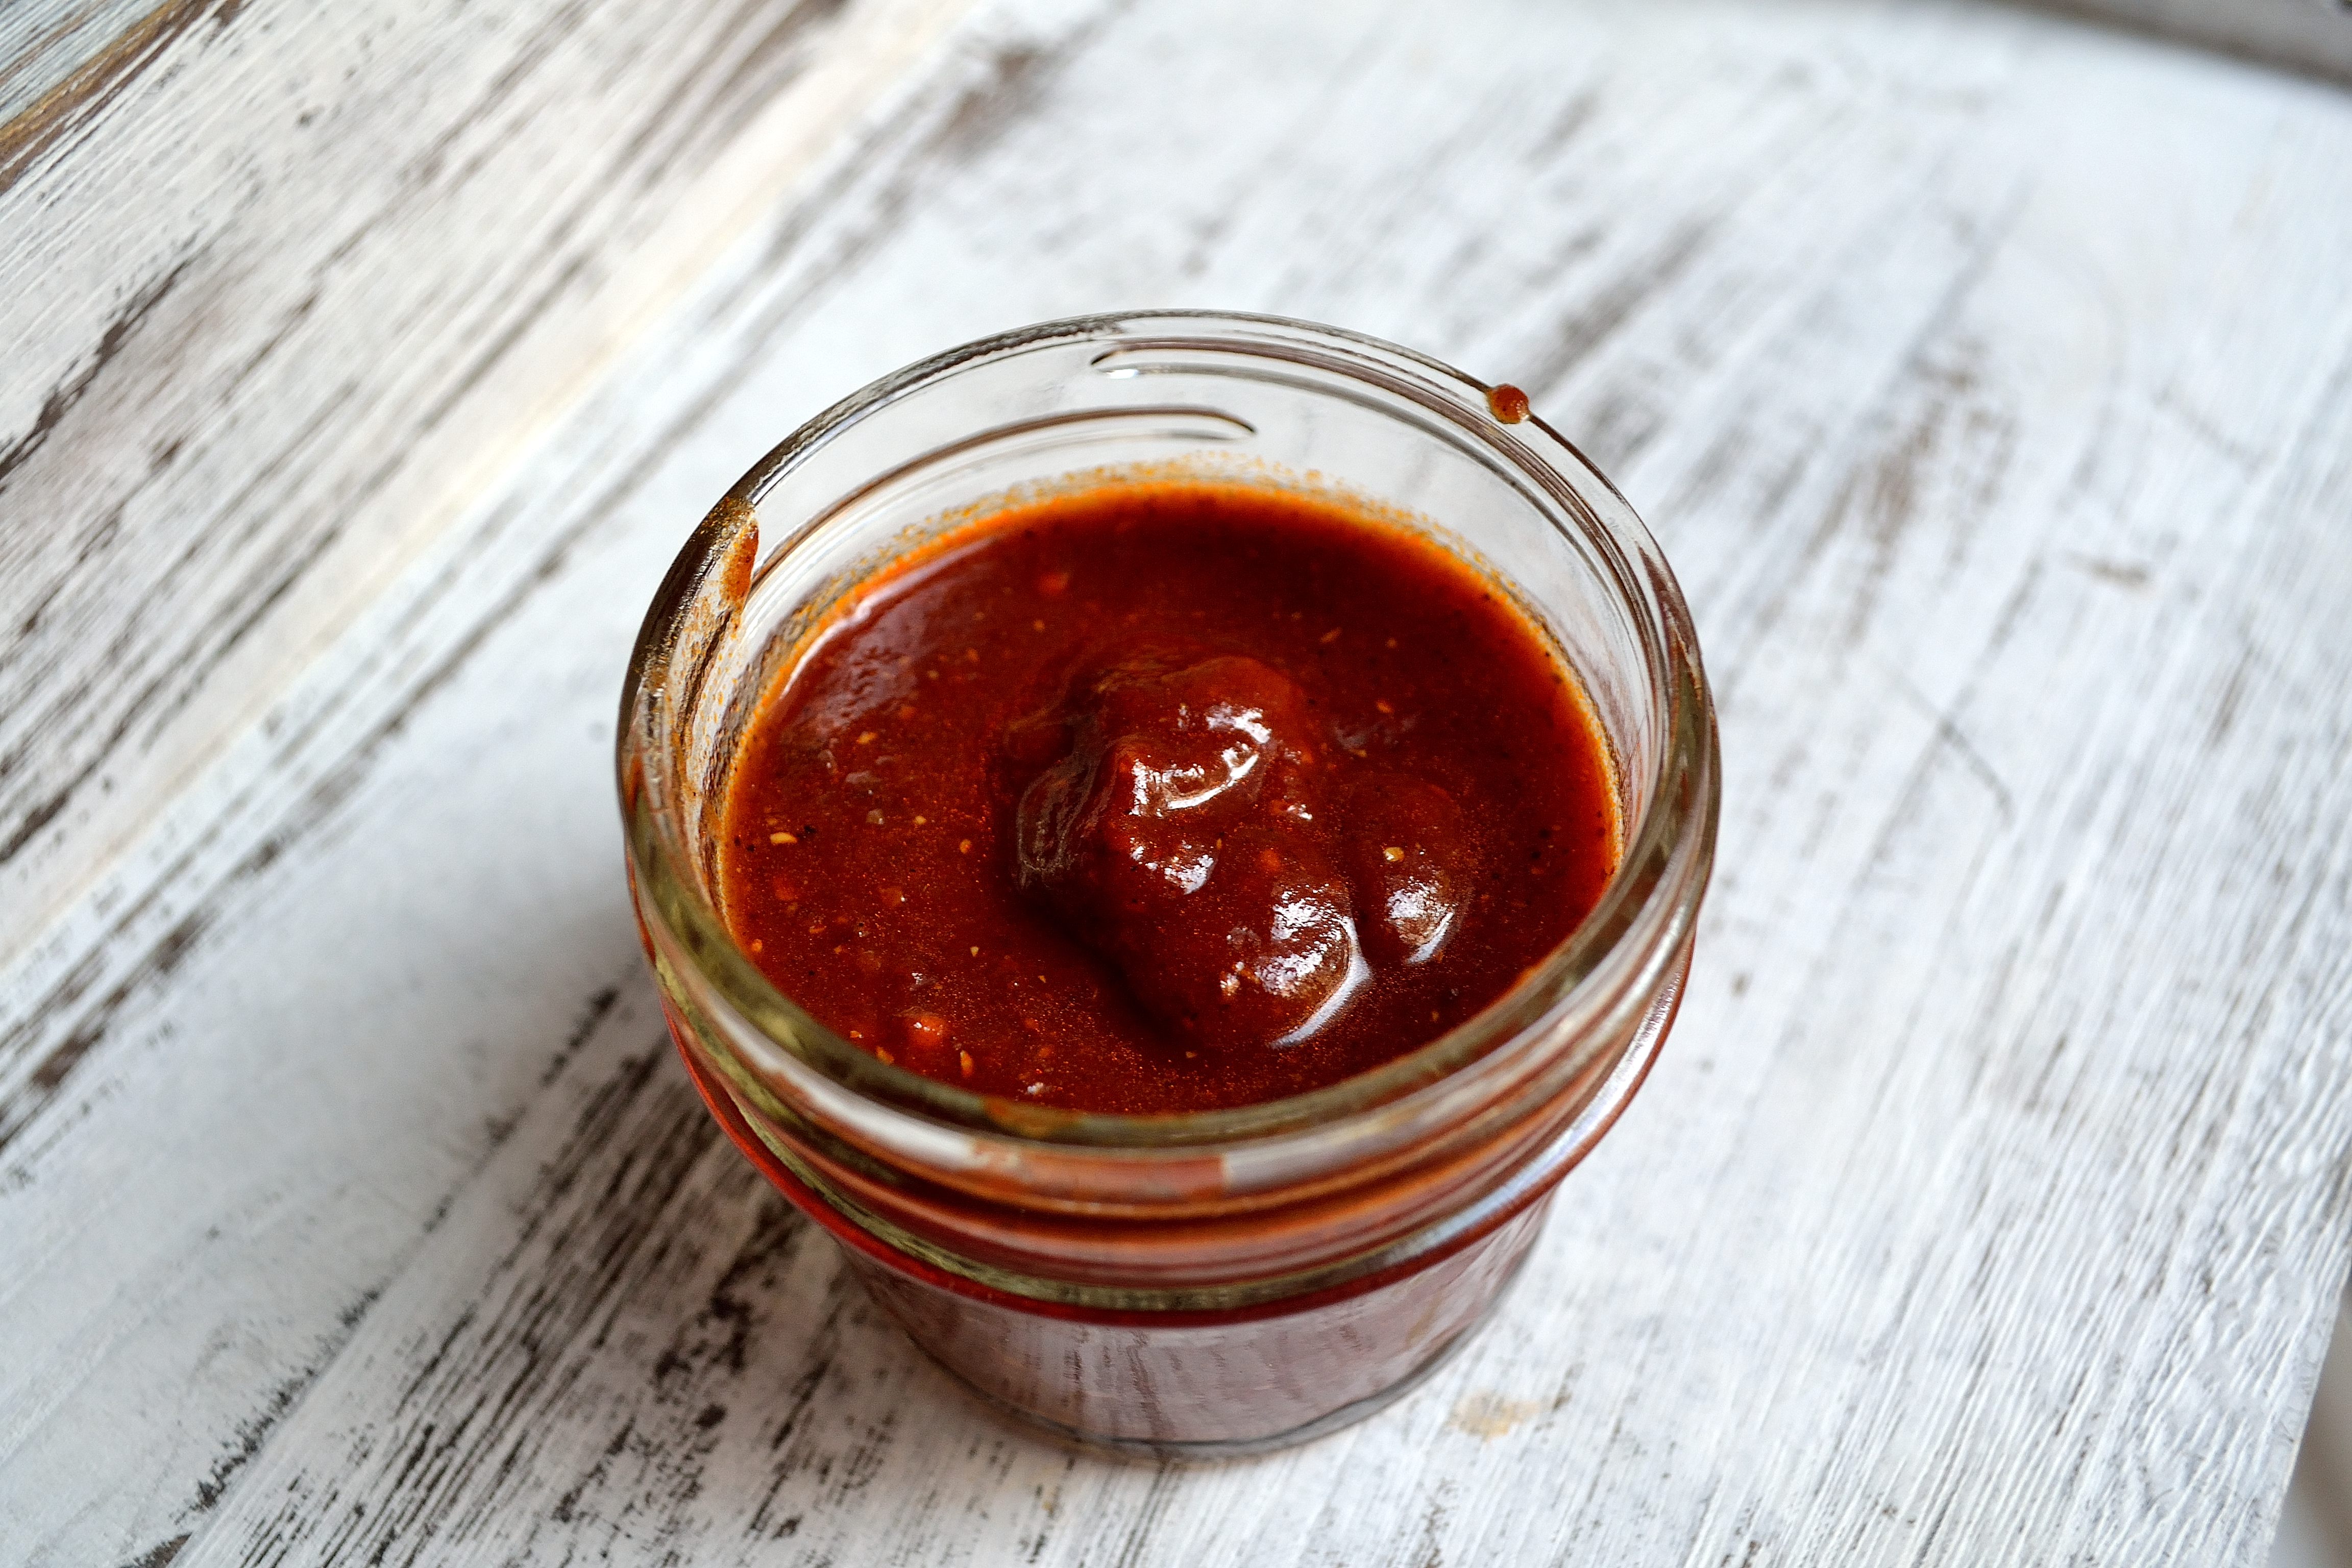
In lieu of a grilled recipe, I thought that I would go back and re-visit some of my other BBQ-worthy recipes.  I decided that my Quick BBQ Sauce could use a little make over.  And what could be more important to a BBQ than the BBQ sauce?  Beer, but that is beside the point.

I didn’t change too much to the ingredient list, but I did change the way you make the sauce.  It does take a little longer, but it makes the flavor even better.  And because it’s easy to double or triple you can whip up a big batch of this sauce for your 4th of July party and put it on everything.  Maybe not the beer…

Even Better BBQ Sauce- adapted from my Quick and Delicious BBQ Sauce Recipe

Recipe Re-do: Even Better BBQ Sauce

  • 1 (8 oz) can tomato sauce, no salt added
  • 1 tbsp maple syrup or honey
  • 1 tbsp olive oil
  • 2 tbsp liquid aminos or tamari sauce
  • 1 1/2 tsp grainy mustard
  • 2 tsp smoked paprika
  • 1 tsp chili powder
  • 1 tsp oregano
  1. Add all ingredients to a small saucepan.  Mix well
  2. Bring the sauce to a boil, then lower to a simmer.  Simmer uncovered for 15 to 20 minutes until it has thickened.
  3. Remove the pan from heat and let it cool completely before moving to a jar or squeeze bottle.  Keep the sauce in the fridge until you’re ready to use it.

Recipe Re-do: Even Better BBQ Sauce

DIY Wednesday: Grainy Mustard

I DIY Wednesday: Grainy Mustardlove mustard.  I put it on everything.  Sandwiches, vegetables, pasta, rolls, spoons… Yes, I have eaten mustard right out of the jar.  I love the spicy bite that it adds and I especially like the texture of a good, grainy mustard. After peanut butter, I would say that mustard is my favorite spread.

Which is why it’s shocking to me that I have never made my own.  I mean, it’s fairly simple.  Mustard seeds, some vinegar, salt, and turmeric is all it takes to make standard mustard.  Once you get that down, you can get fancy and make honey mustard or horseradish mustard or spicy mustard.  You can make it super smooth or keep it nice and grainy.  The possibilities are endless.

Here is the basic mustard recipe.  Once you get this down, you can play with some variations and have an endless supply of mustard.  That sounds like heaven, doesn’t it?

Grainy Mustard 

DIY Wednesday: Grainy Mustard

  • 1/4 cup yellow mustard seeds
  • 1/4 cup brown mustard seeds
  • 1 cup apple cider vinegar
  • 1 tsp salt
  • 1 tsp turmeric
  • water, as needed
  1. Add mustard seeds and apple cider vinegar into a small bowl and make sure all of the seeds are submerged.  Let the seeds soak for a day or two.
  2. Add everything into a blender.  Blend until the mustard reaches the consistency you would like.  If you want a smoother, thinner mustard blend for a longer time and add a little water to smooth things out. For a grainier texture, blend for a shorter amount of time and don’t use as much water.
  3. Store in a sealed container in the fridge.

I don’t think that I will buy mustard again after realizing how easy it is to make my own.  Plus, I can make my own specialty mustard for much cheaper.  I’m all about homemade and less expensive!

DIY Wednesday: Grainy Mustard

Marinated Mushrooms and Roasted Rutabaga with Smoked Paprika Sauce

BecauseMarinaded Mushrooms and Roasted Rutabaga I mostly eat a plant based diet, I don’t make many marinades.  For some reason, I always forget about marinading vegetables and this makes me sad because I love the flavor a good marinade can impart.  Plus marinades don’t have to be super complicated and can be made with the things you already have on hand.

Mushrooms were on sale at Jewel the past week so I decided it was time to make a good vegetable marinade.  This one would also be really good with eggplant or maybe some jicama.  Oooo, jicama would be tasty…. Anyway, this marinade pulls double duty in this recipe because it turns into the sauce at the end of the process.  Good for you because it means less work for a super tasty dinner.

Make sure you leave enough time to marinate the mushrooms for at least 12 hours, preferably a full 24.  That gives the dish the most intense flavor.

Marinated Mushrooms and Roasted Rutabaga with Smoked Paprika Sauce

Marinaded Mushrooms and Roasted Rutabaga

For the marinade:

  • 4-5 cups sliced mushrooms, I used cremini but use what you like
  • 1 cup onion, chopped
  • 5 cloves garlic, minced
  • 4 tbsp cilantro, chopped
  • 3 tbsp olive oil
  • 2 tbsp smoked paprika
  • 2 tsp oregano
  • 1 tsp cumin
  • salt and pepper to taste
  1. Place all ingredients into a large container or zip lock bag and mix to combine.  Put in the fridge to marinade for at least 12 hours, 24 hours if you can.

For the roasted rutabaga:

  • 3 cups rutabaga, cubed (I used a medium-sized rutabaga)
  •  olive oil
  • Italian seasonings
  • salt and pepper to taste
  • 1-quart vegetable broth or water
  • 2 tsp smoked paprika
  1. Preheat oven to 400.  Place cubed rutabaga onto a large baking sheet lined with a Silpat or parchment paper.  Drizzle with a little olive oil and sprinkle with herbs and spices.  Toss to coat and roast for 30 minutes rotating halfway through.
  2. Once the rutabaga has finished roasting, heat a teaspoon of olive oil in  a large pot or dutch oven over medium-high heat.  Add in the mushrooms and all the marinade and saute for 5-7 minutes.
  3. Add in the rutabaga and mix to make sure they are covered with the marinade too.  Cook for another minute.  Pour in the vegetable broth or water and season with extra smoked paprika and salt and pepper.
  4. Stir everything together and bring the broth to a boil.  Once it’s boiling lower to a simmer and cook for 20 minutes, stirring occasionally.  Once the sauce has thickened it’s ready.

At first glance, it looks like there are a lot of steps and a lot of ingredients, but half of them are for the marinaded mushrooms and that is the easiest part.  This meal is good enough on its own but if you want an even heartier meal you can serve it over rice or pasta.  You can also use this marinade on chicken or pork and use those instead of the mushrooms.  Or use all of the meat and vegetables, it’s all fair game!

Marinaded Mushrooms and Roasted Rutabagas

Cilantro-Garlic Pasta with Egg Sauce

SometimesCilantro-Garlic Pasta with Egg Sauce when I am coming up with recipes I let things get a little out of hand.  I blame The Flavor Bible and The Vegetarian Flavor Bible.  These are my go-to cookbooks when I am creating recipes and they are awesome.  You look up whatever ingredient you have and find flavors and other ingredients that go well with them.  I get a little ingredient happy as I’m looking through the lists and soon I end up with a recipe that has 500 ingredients, not all of which are easy to find.

I have to remind myself to keep it simple.  We often think simple recipes that have fewer ingredients can’t be as good as the fancy elaborate recipes.  Fancy recipes have their place, but it’s the simple recipes that are the backbone of the food world.

I took it simple with this pasta dish.  I was looking for a meal that was light and refreshing but also felt like comfort food.  I also didn’t have much food on hand so I had to work with what I had.  I remembered seeing a recipe for spaghetti carbonara and wanted to try and make a pasta using the same kind of a sauce.  This in no way is spaghetti carbonara, but the egg sauce is made in the same way.  With only four ingredients and less than 20 minutes to put together, this makes for a really easy weeknight meal that everyone will love.

Cilantro-Garlic Pasta with Egg Sauce 

Cilantro-Garlic Pasta with Egg Sauce

  • 1 package of pasta like penne or rotini (I used Trader Joes brown rice pasta)
  • 4 large cloves garlic, minced
  • 1/3 cup cilantro, chopped
  • 4 large eggs
  • salt and pepper to taste
  1. Cook pasta according to package drain and set aside.  While pasta is cooking, mince the garlic and chop the cilantro and whisk the eggs.
  2. Once the pasta is cooked and drained, in a medium saucepan, heat a little olive oil over medium high heat.  Add the minced garlic and saute for 1 minute.  Add the pasta into the pan and mix to coat with olive oil and garlic.
  3. Remove the pan from the heat.  Pour in the eggs while constantly stirring the pasta.  Make sure you keep stirring the pasta or else you will end up with scrambled eggs over pasta instead of a creamy sauce.
  4. Once all the eggs have been whisked in, stir in chopped cilantro and season with salt and pepper.

Cilantro-Garlic Pasta with Egg Sauce

That’s it!  The egg sauce makes this dish feel super comforting and indulgent, but the cilantro helps brighten it up and make it not feel too heavy of a meal.  This is also great poor college student food because there are no specialty ingredients and each serving is less than $3.00.

Cilantro-Garlic Pasta with Egg Sauce

What is your favorite simple meal?

Happy Friday and have a great weekend everyone!

DIY Wednesday: Almond Milk

ThereDIY Almond Milk is no shortage of nut milk tutorials out there.  There are so many that I almost thought about skipping it as part of my DIY series.  I didn’t think that I could really add much to what you can already find.  Then I remembered the first time that I made my own almond milk and I realized that I did have something to add.

I was really excited to make my own almond milk since I always buy it.  I thought this would be perfect because I could save money and control all the things that went into my milk.  I followed the recipe and all the instructions exactly and poured out a glass and eagerly took a big sip.

And promptly spit it back out.

Instead of the creamy delicious drink I was expecting it tasted like dirty water.  Not the most appetizing thing.  I tried to figure out what I did wrong.  Maybe I used bad almonds? Did it matter that I used an old food processor instead of a fancy Vitamix? Did I not use good water?

I tried again, this time with brand new almonds, a fancy Vitamix, and cold filtered water.  I still got dirty water almond milk.  I tried tweaking every part of making the almond milk, using less water and more almonds, blending for a long time, anything I could think of to try and make the almond milk work.  Then by accident I ran out of the cheesecloth I was using to strain the almond milk and had to use a regular mesh strainer.  I thought I would have another bad batch, but I ended up with the creamy and delicious milk I had been looking for.

I tried it this way again and got the same result.  By not completely straining out all the blended almond pieces, I was able to recreate the same taste and texture as store bought almond milk.  Give this a try and start making your own milk instead of buying. Oh and P.S. you don’t need the fancy Vitamix…but it doesn’t hurt!

Here is my DIY almond milk with a slight tweak in technique.

DIY Almond Milk 

DIY Almond Milk

You will need a food processor/blender and a regular mesh strainer. You can use a nut milk bag or cheesecloth, but you might end up with the dirty almond water.

  • 1 cup raw almonds
  • 3 cups filtered water
  •  optional: 1 tsp vanilla, 3-4 pitted dates to make it sweeter (I like it plain)
  1. Place soaked almonds into a blender or food processor and pulse a few times to break up the almonds a little.
  2. Add in the 3 cups of water.  Blend for a few minutes until the almonds are completely broken down.  If you have a high powered blender this will only take a minute.  Other blenders and food processors will need a little more time.
  3. Place the mesh strainer over a large bowl and pour the milk over the strainer.  You might need to help push the water through the strainer with a spatula.  It’s ok if some of the almond pulp makes it through the strainer, in fact, that’s what you want!
  4. Transfer the strained milk into a container and keep in the fridge for up to 4 days.  Keep the pulp and dry it out to use for other baking needs.

DIY Almond Milk