
Welcome to week two in the Keep It Simple Series! I hope that you were able to get a few tips from last week’s video and are slowly building up your healthier pantry!
Today I have a quick and easy tip that comes right from my Grandma!
Welcome to week two in the Keep It Simple Series! I hope that you were able to get a few tips from last week’s video and are slowly building up your healthier pantry!
Today I have a quick and easy tip that comes right from my Grandma!
When I was younger, my sister, mom, and I would spend most of our summer days at the park district pool. My sister and I would play in the pool all day while my mom would read by the side of the pool. Our park district pool was actually really awesome. It had slides, diving boards, drop slides, waterfalls, sprinklers, and a sand pit. Needless to say it was hours of fun and we would play to exhaustion. Like most pools there was a mandatory break every hour where everyone had to get out of the pool for 15 minutes. During this time we would eat the snacks that my mom brought along. She had frozen grapes, pretzels, and peanut butter balls. Those peanut butter balls were awesome. They were sweet, bite size, and provided more energy to play in the sun all day long.
I haven’t had those peanut butter balls in a really long time, but I thought about turning them into a dessert for the holidays. All I did was tweak a few of the ingredients and then obviously I had to dip them in chocolate to make them even better than before.
These were a hit and they are a great little treat to keep on hand for when you need something a little sweet. While the ingredients are healthier than say a Reeses Peanut Butter Cup, this is still a treat. So try not to shove five in your face at once. Not like I’ve done that….
Chocolate Covered PB Balls

Peanut Butter Balls
Chocolate Covering
1. In a large bowl mix together peanut butter, maple syrup, salt and honey. Slowly add in the oat flour until you have a dough. You might not use the full 1/2 cup or you might need more.
2. Using a tablespoon, scoop out some peanut butter dough and roll into balls. Place onto a baking sheet lined with foil. Once you have used all the dough, place the baking sheet into the freezer.
3. Either using a double broiler or a microwaveable bowl, melt the baking chocolate. Before adding the maple syrup, make sure it is room temperature. If you add it in cold, the chocolate will seize up and you will have a clumpy mess (trust me, not fun). Add in room temperature syrup and oil and stir to combine.
4. Remove peanut butter balls from the freezer. Using a fork, dunk the balls into the chocolate covering and place back on the baking sheet. If you want to make them fancy, you can sprinkle with sea salt, crushed peanuts or other nut. Once you are done place the peanut butter balls back into the freezer for at least 30 minutes.

Keep these in a container in either the freezer or refrigerator until you’re ready to eat. If you’re a huge fan of the pb/chocolate combo then these are going to be your new favorite thing. I think that I might have to keep them on hand at all times…..
What is your favorite flavor combo?
Have a great weekend everyone!
Hello and welcome to the first part in my keep it simple series! Also welcome to my very first video. I won’t lie and say that I’m not nervous about this whole endeavor, but I am excited to add a new dimension to my blog. I hope that is able to connect me better with my readers.
Today’s video is about building up your healthy pantry/freezer. I’ve talked about this before, but I wanted to give everyone a little reminder as well as inform any new readers that I might have. This video is going to be a little longer than the rest of my videos in this series, but I wanted to make sure that I hit all the important parts.
So without further adieu, here is the debut of the Keep It Simple series!
If you have been living under a rock for the past week, I may have some shocking news for you. It’s cold. Not just, “Oh it’s slightly chilly out there, better zip up”. It’s full on cover every inch of your body in three layers of the warmest clothing you have so you don’t turn into a human popsicle the minute you step outside cold. I don’t mind cold weather, but when it gets this cold I just want to burrow into a nest of my warmest blankets and drink hot cocoa. I’m sure some of you have the same feelings. So in an attempt to get you warm and give you some comfort, I have a delicious stew for you.
This stew is hearty, comforting, warm, tasty, and will hit the spot after a long cold day. Plus you can make it in your slow cooker so you can start it before you go to work and come home to a healthy and hot meal. Now I ask you, what’s better than that?
Butternut Peanut Stew

1. In a food processor or blender add garlic, tomatoes, ginger, peanut butter, cumin, cinnamon, cayenne, curry powder, and cilantro. Blend until you have a thick paste.
2. Place drained and rinsed chickpeas, onions, peppers, and butternut squash in a slow cooker. Pour in peanut paste and add in coconut milk. Stir until everything is well combined. Cook on low for 6 to 8 hours.
3. Toward the end of the cook time stir every so often. If it’s getting too dry, add in a little water. Add salt and pepper if needed.

This stew is great on it’s own, but if you want an even heartier meal, you can serve it over rice or pasta. Hopefully these temperatures will warm up just a touch but until then make yourself some of this yummy stew! Happy Friday!
What tricks do you have to keep warm in frigid temps?
I think cranberry sauce might be one of the most debated dishes at holiday meals. Do you make it from scratch or get in the can? Leave it tart or add copious amounts of sugar? Eat it on it’s own or use it as a turkey topping? Each family has their own preference and it’s usually steeped in tradition. We’ve always done it this way so we’re going to keep doing it this way.

Delicious canned cranberries. Look at those rings!
Well my cranberry palate has changed over the years. When I was younger, I was all about the canned cranberries. Nothing was better than opening the can and shaking it back and forth until the glob of cranberries, shaped exactly like the can rings and all, slid out onto the plate. I loved slicing rings off of that glob and gobbling them up. I’m sure the crazy amounts of high fructose syrup had nothing to do with that… Then as I got older I really started to like the cranberry relish that my mom made every year. It was a mix of cranberries, apples, oranges, and spices. I liked the tartness of the cranberries with the sweet of the apple and I liked the simplicity of the dish.
Then my mother in law brought a new cranberry sauce to Thanksgiving this year and it was amazing. It was a Guy Fieri recipe and it was a sweet and spicy sauce that was just awesome. I had to control myself so I didn’t eat the whole container! Luckily, I was able to snag some leftovers and got to enjoy the cranberries for a little longer. But once they were gone, I knew that I needed to make some more. So I looked up the recipe and realized that I had none of the ingredients other than the cranberries. Since I didn’t want to make a trip to the store just to get the ingredients for one dish, I decided to see if I could make my own version.
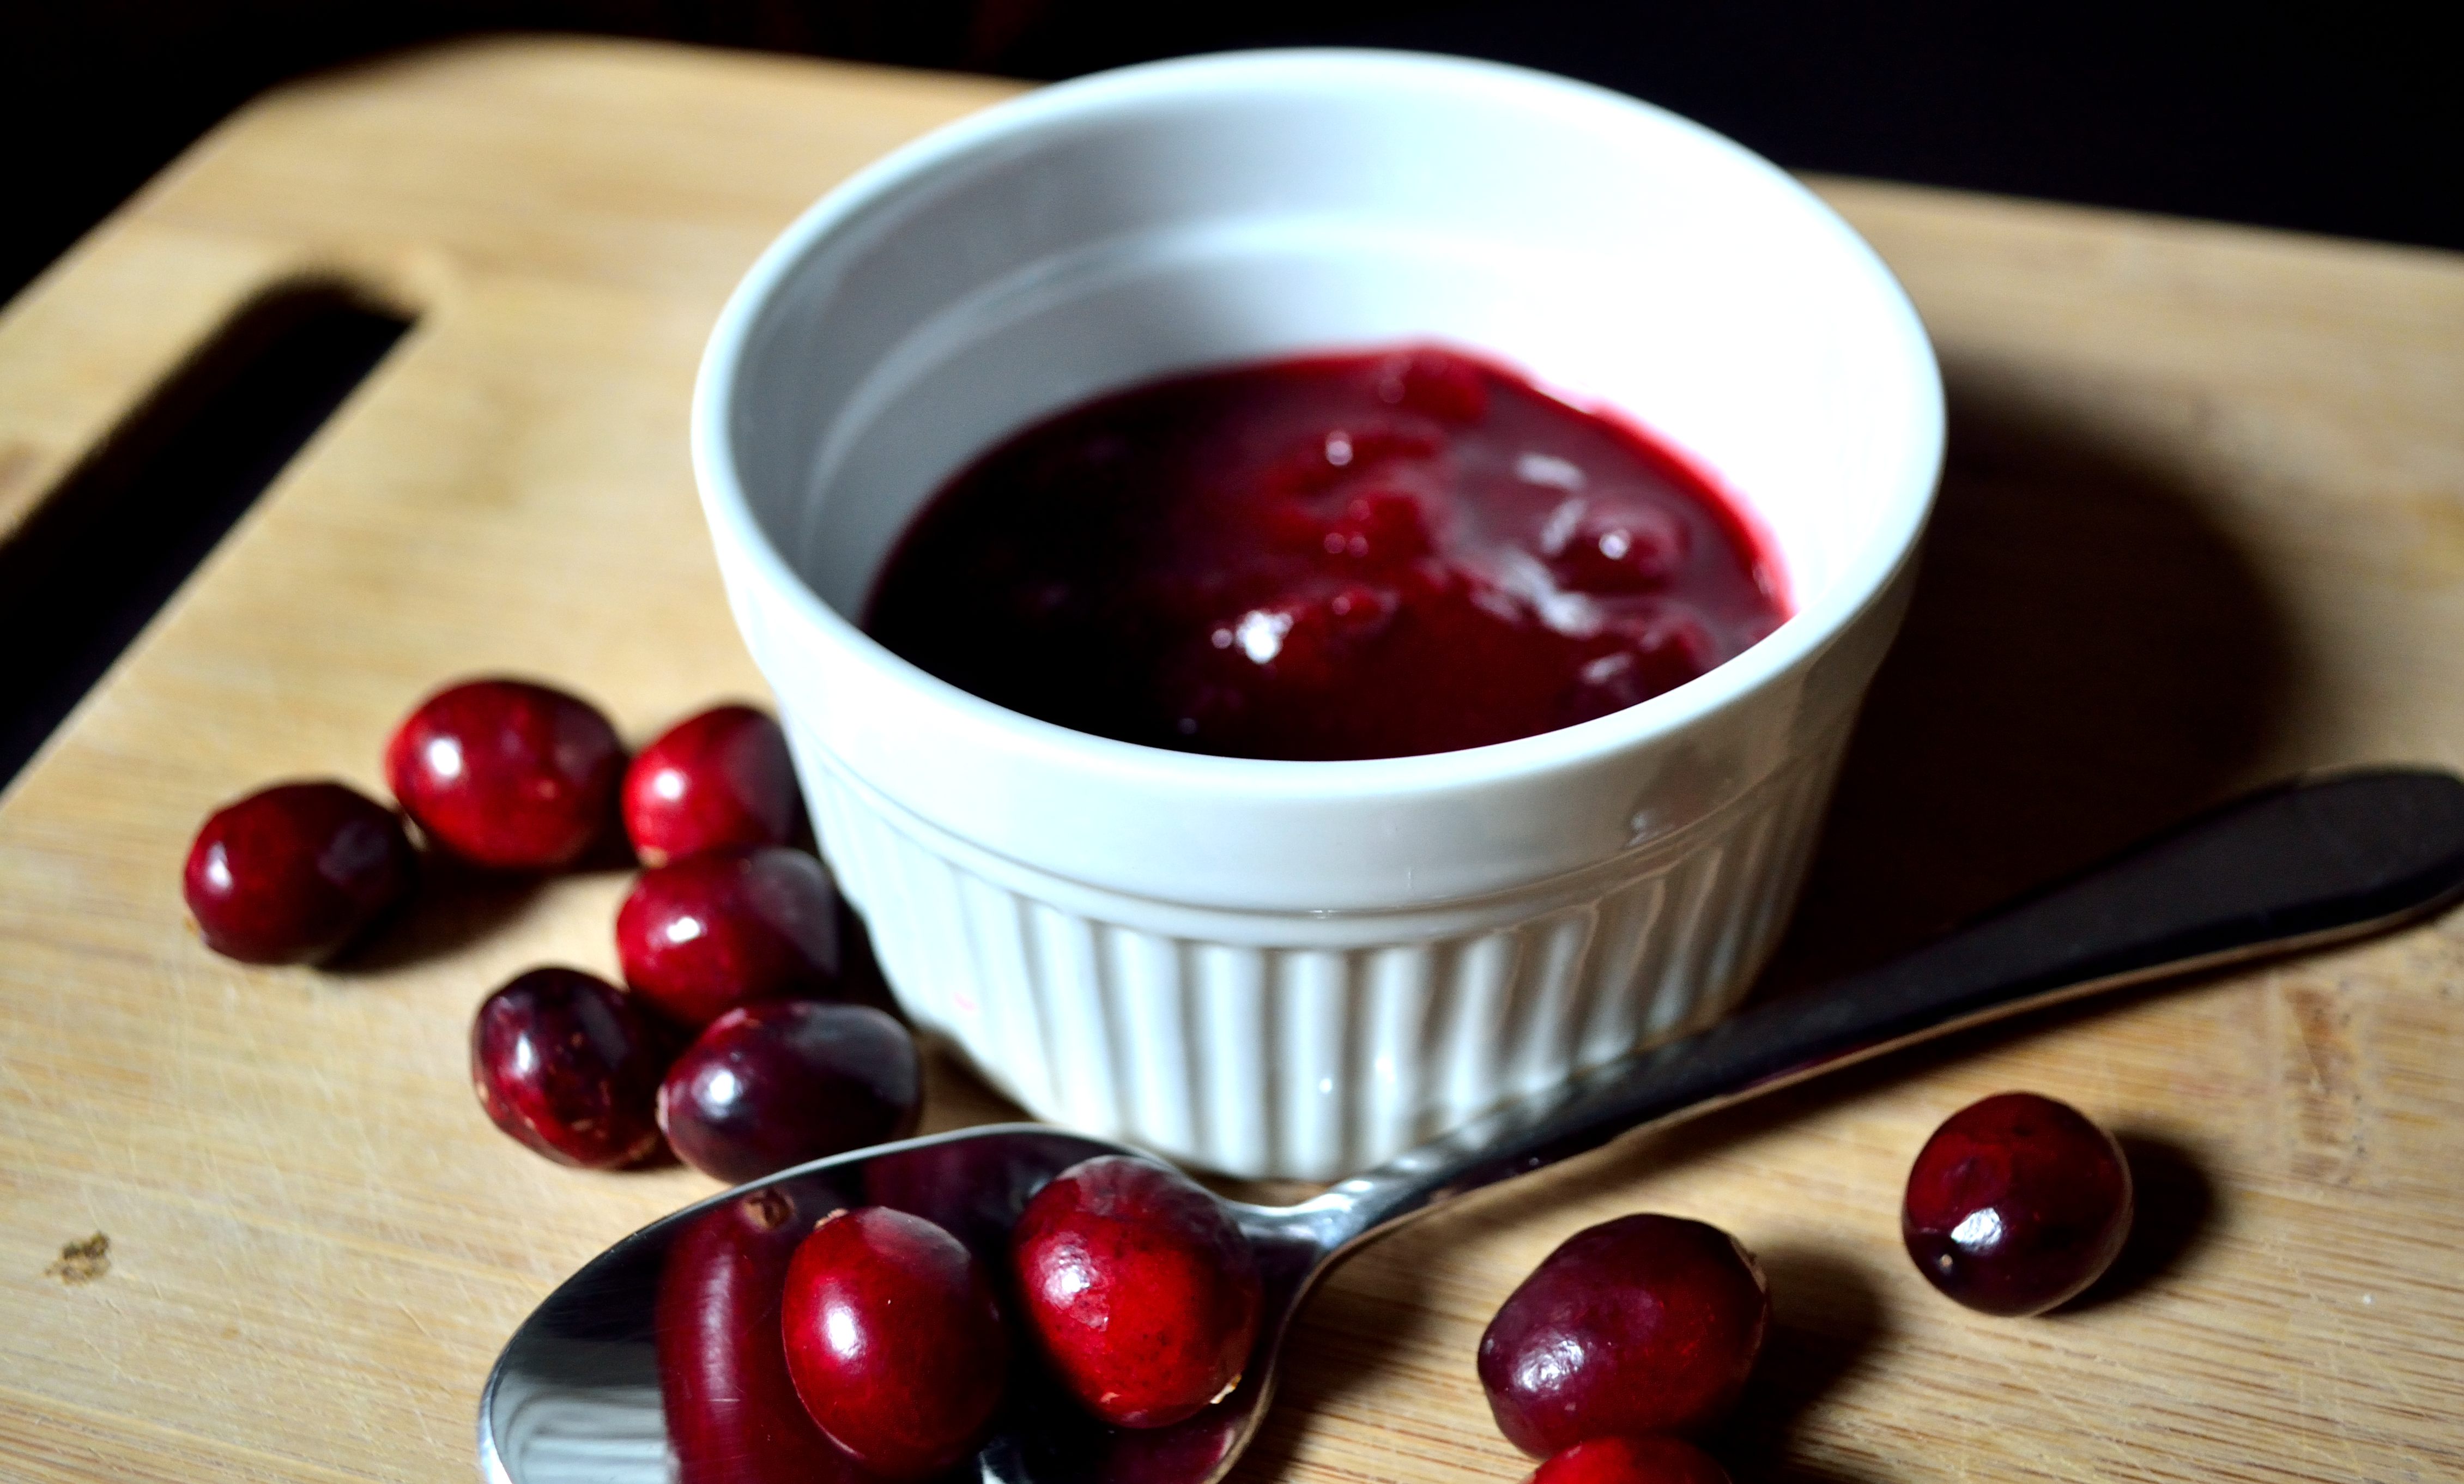
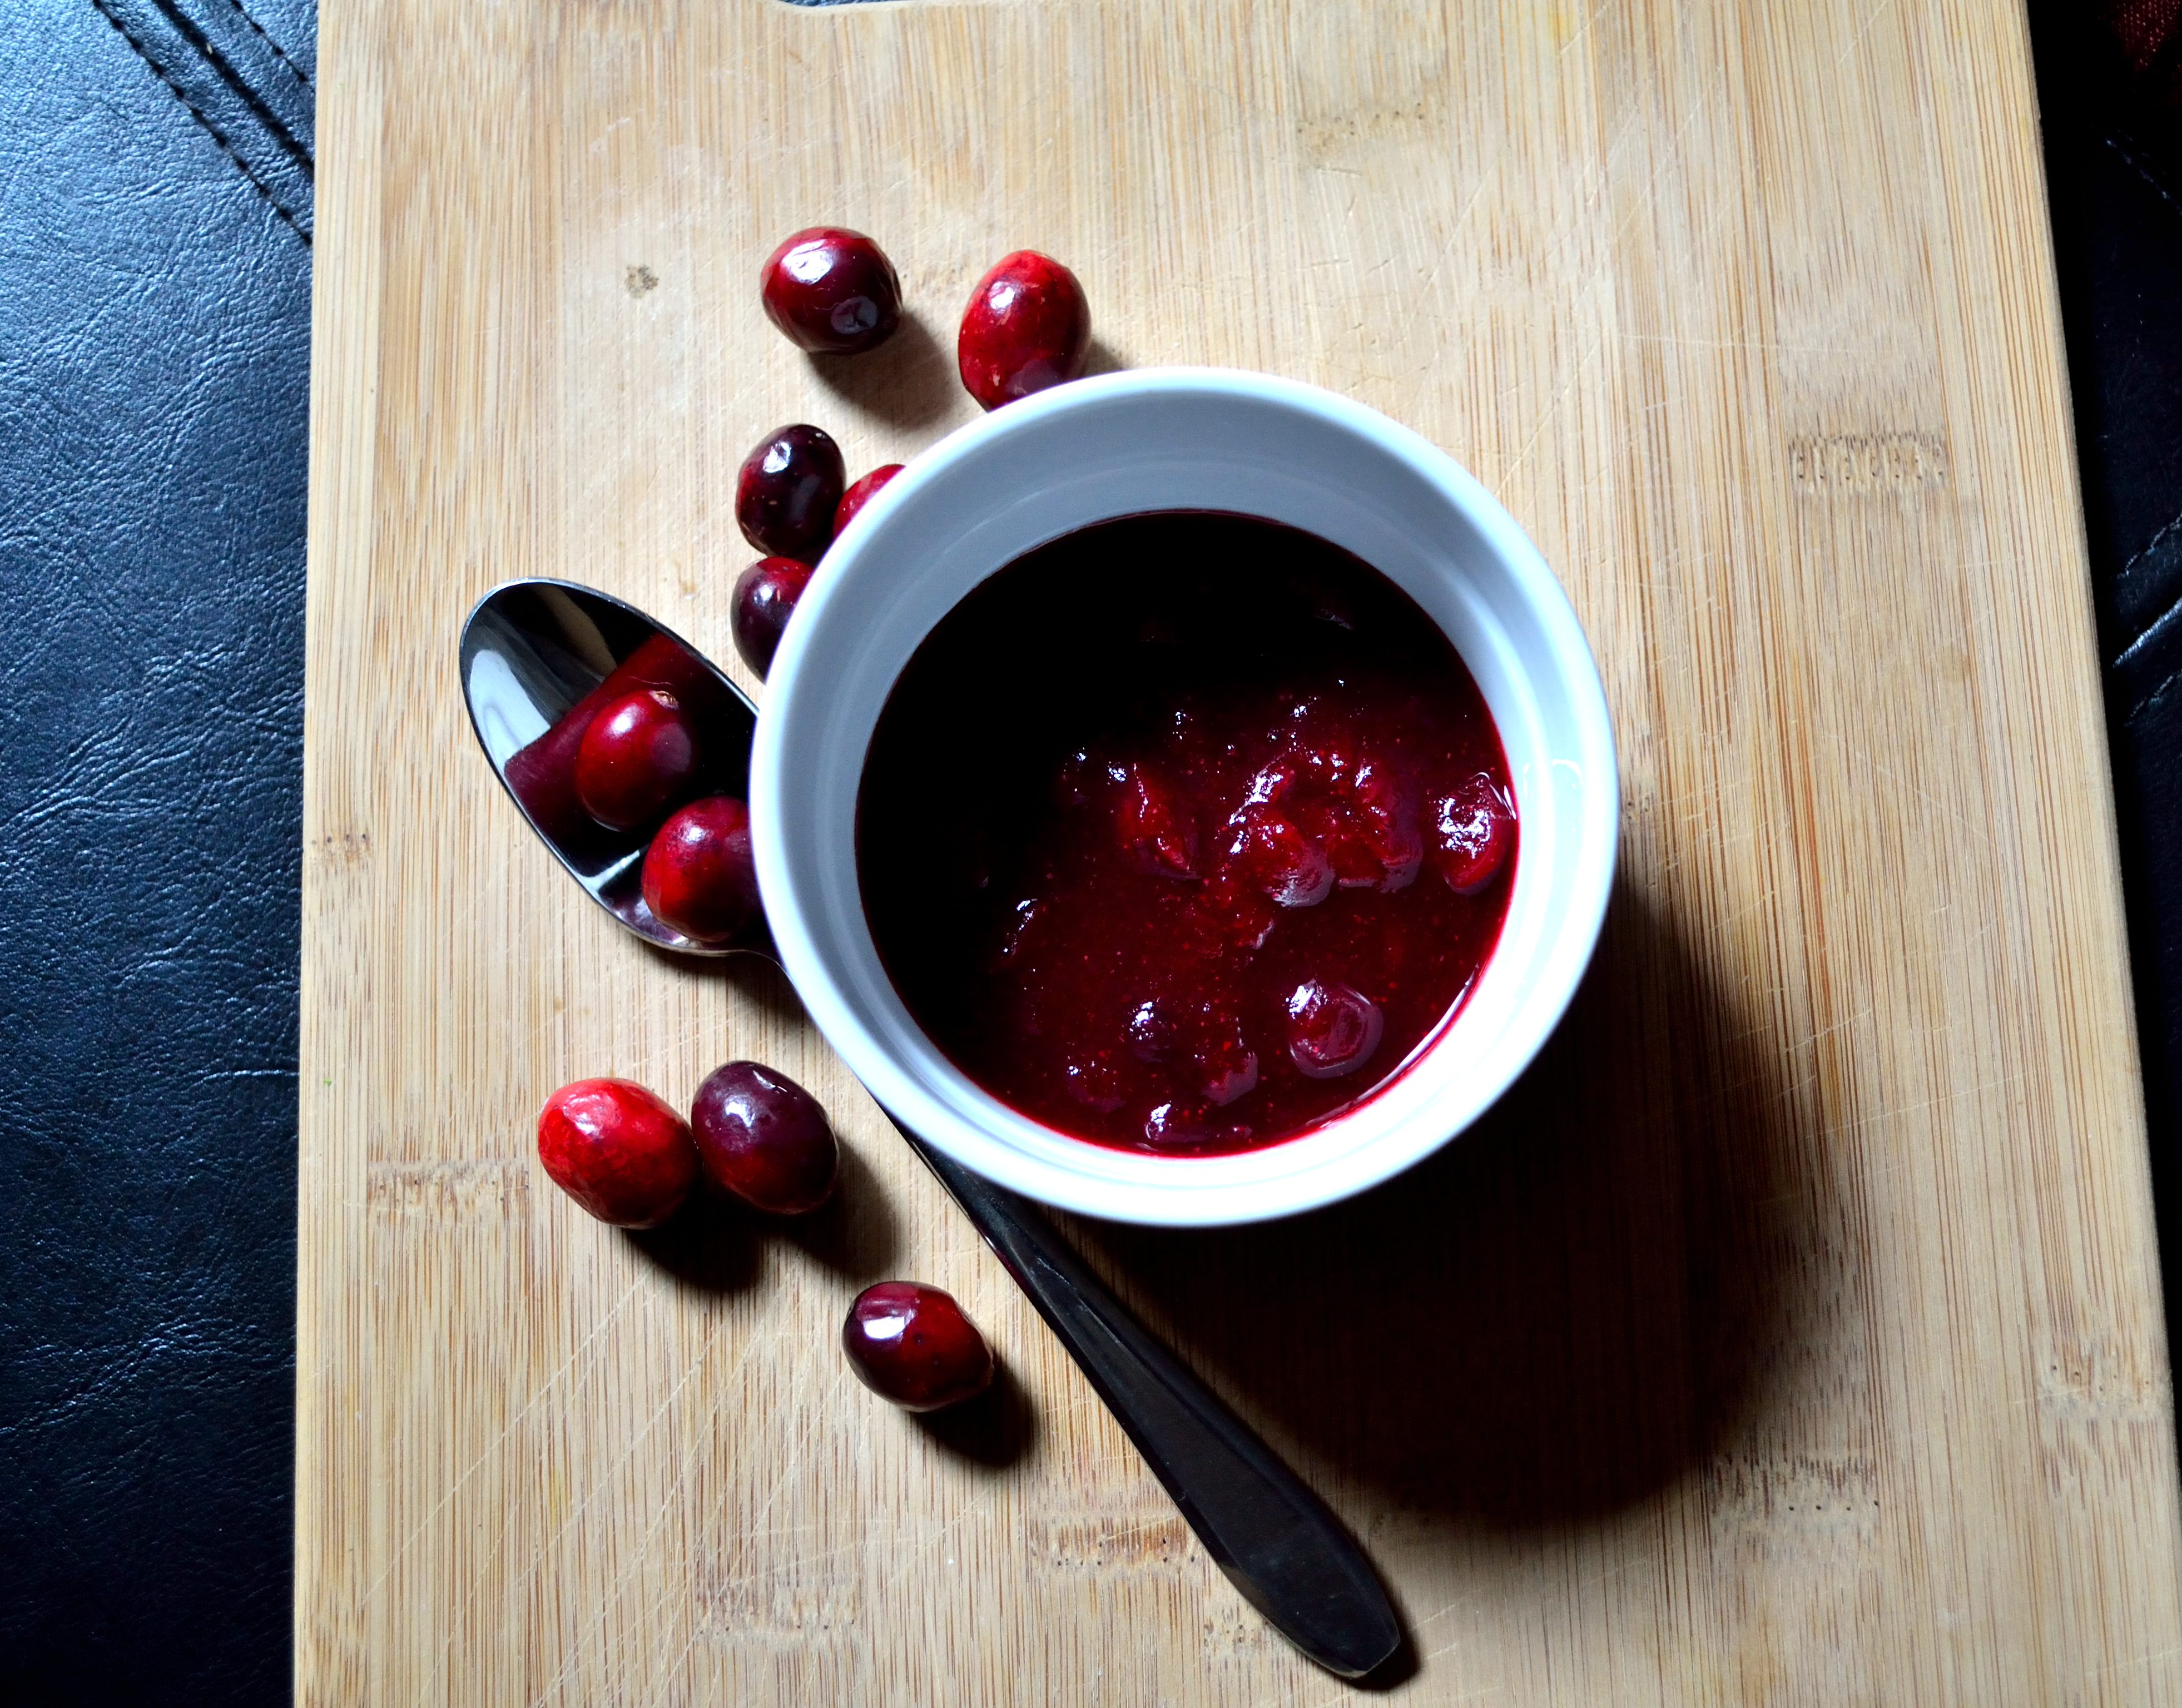
With a minimal amount of ingredients, I was able to recreate the sweet and spicy sauce that I had fallen in love with. This is a really easy dish to make and you can use this sauce for numerous other dishes. I’ve mixed it into oatmeal, used it as a topping for fish, tried it on some cookies, and even just eaten it with a spoon. It’s that versatile. Ok, enough talking about cranberry sauce time to go make some!
Spicy Cranberry Sauce

*adapted from Guy Fieri’s Red Devil Cranberries
1. In a medium saucepan, bring 1 cup water and 2 tbsp honey to a boil and then immediately lower to a simmer. Add in the cranberries and stir occasionally. Keep stirring until the cranberries start to burst.
2. Add in all the seasonings and stir to combine. Keep the heat on low and cook until the sauce has reduced and started to thicken.
3. Taste and adjust the seasonings to your taste. Turn off the heat and let the sauce cool. As it cools it will thicken even more. Store in an airtight container in the fridge.
That’s it! It’s a fairly simple process and the sauce keeps for awhile in the fridge. Because cranberries are so abundant and cheap right now, you can make big batches and then freeze so you can have a delicious sauce for weeks to come. I hope that you enjoy your weekend and I’ll see you on Monday!
